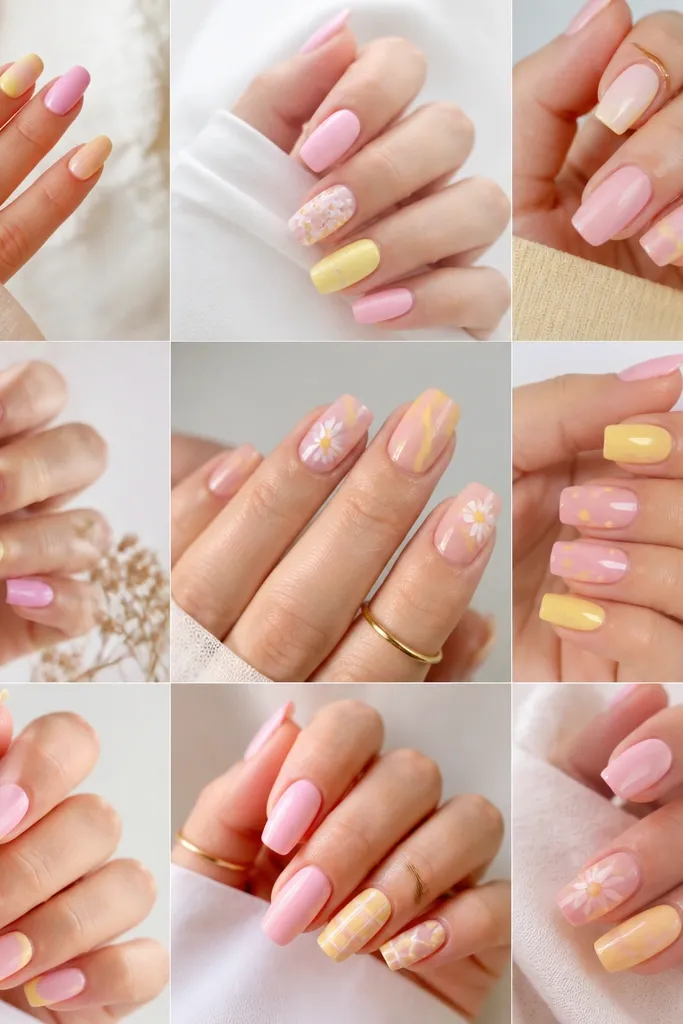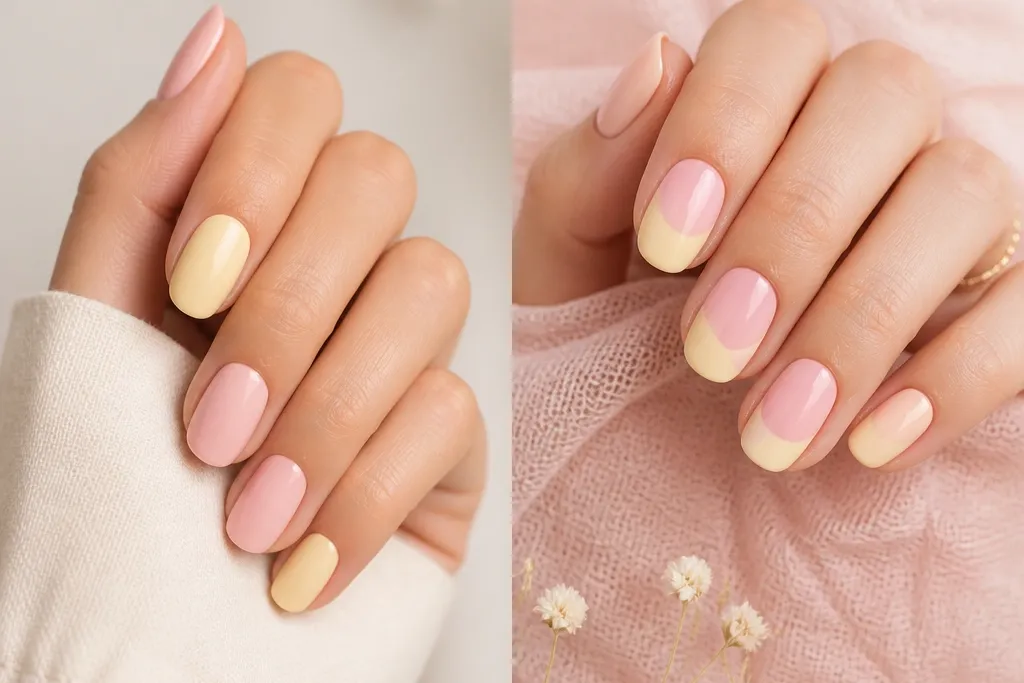
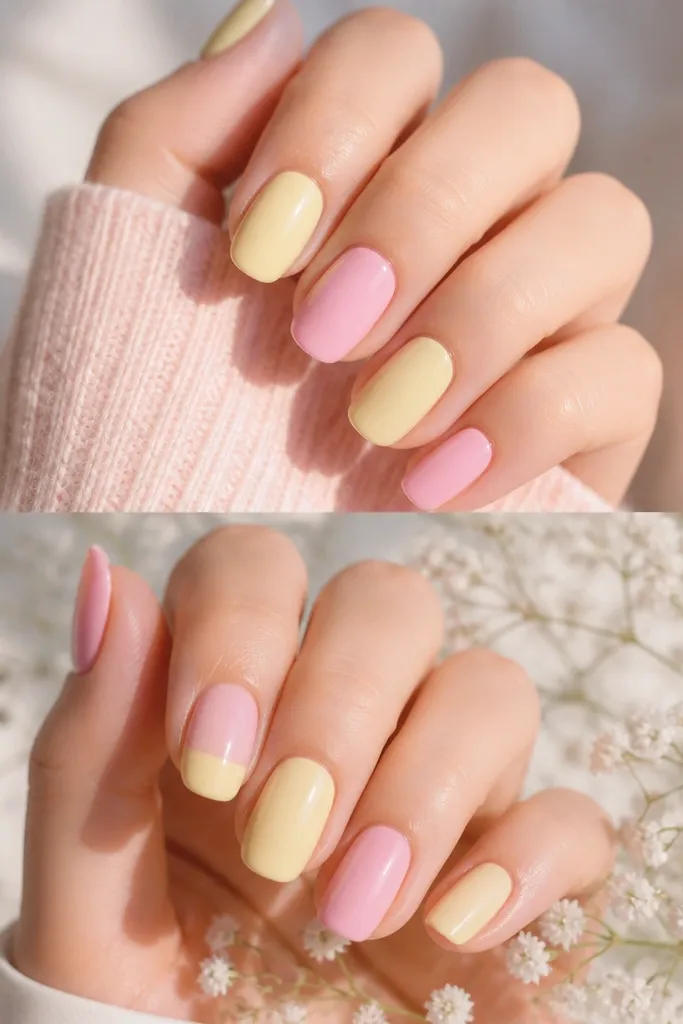
1. Butter-tip with sheer blush curve
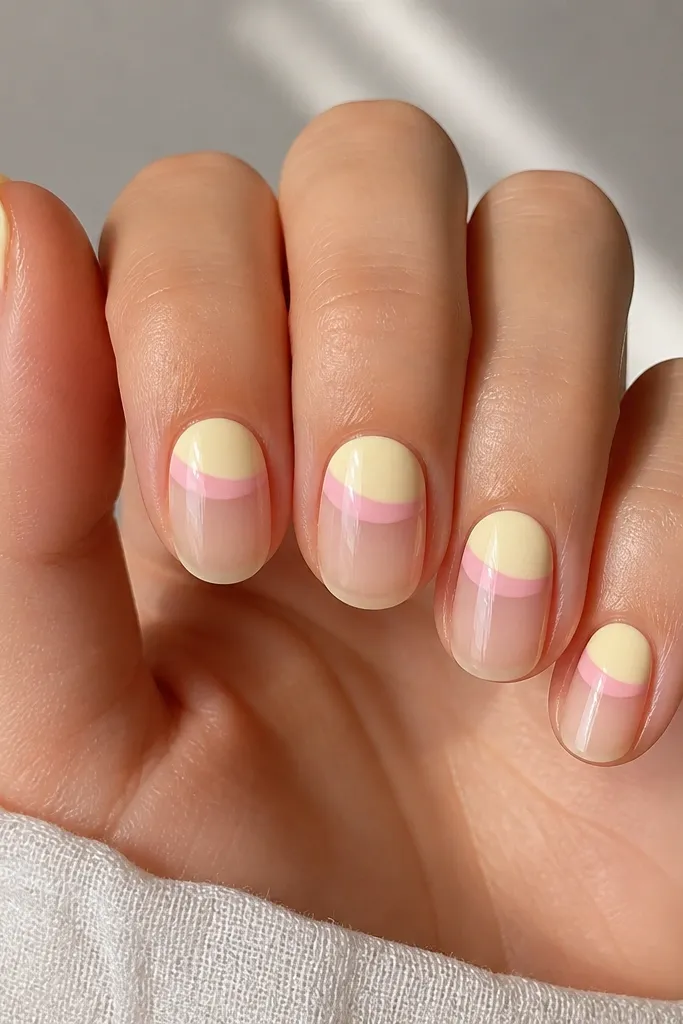
This look works because the yellow reads like a highlight and the pink acts like a frame. The curve under the yellow makes the nails look longer, even when you keep them short. I use a sheer blush for the pink so the transition stays smooth and not harsh.
Paint light yellow on the tip area first, staying about 1-2 mm away from the sidewalls. Then add a thin pink curve with a striping brush - start at one side and arc toward the center. Finish with top coat to blend the edges visually.
Editor's noteUse a striping brush you've wiped on the bottle lip so it lays down a thin line instead of a blob.
Watch outDon't make the pink curve too thick or it turns into a chunky band that looks heavy on pale nails.
2. Pink half-moon at the cuticle + light yellow rest
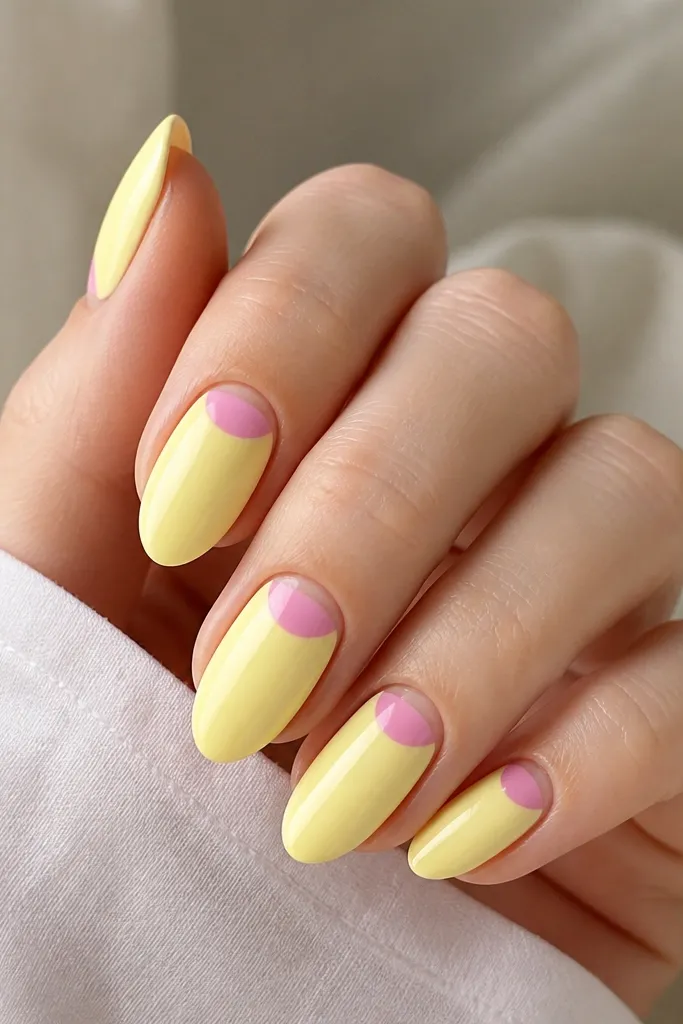
Half-moons look clean because they follow the nail's natural shape. Keeping the yellow as the main field makes the set look bright without needing a lot of art. The small gap at the cuticle prevents the half-moon from smearing into the yellow.
Paint the whole nail light yellow in two thin coats. Then use a dotting tool to place a pink dot near the cuticle center and pull it into a half-moon arc. If you want extra neat edges, use a small vinyl half-moon sticker for alignment.
Editor's noteLet the yellow fully dry before you place the pink half-moon so the edges don't bleed.
Watch outSkip thick pink near the cuticle; thick paint takes longer to dry and smudges.
3. Diagonal split with tape-clean edges
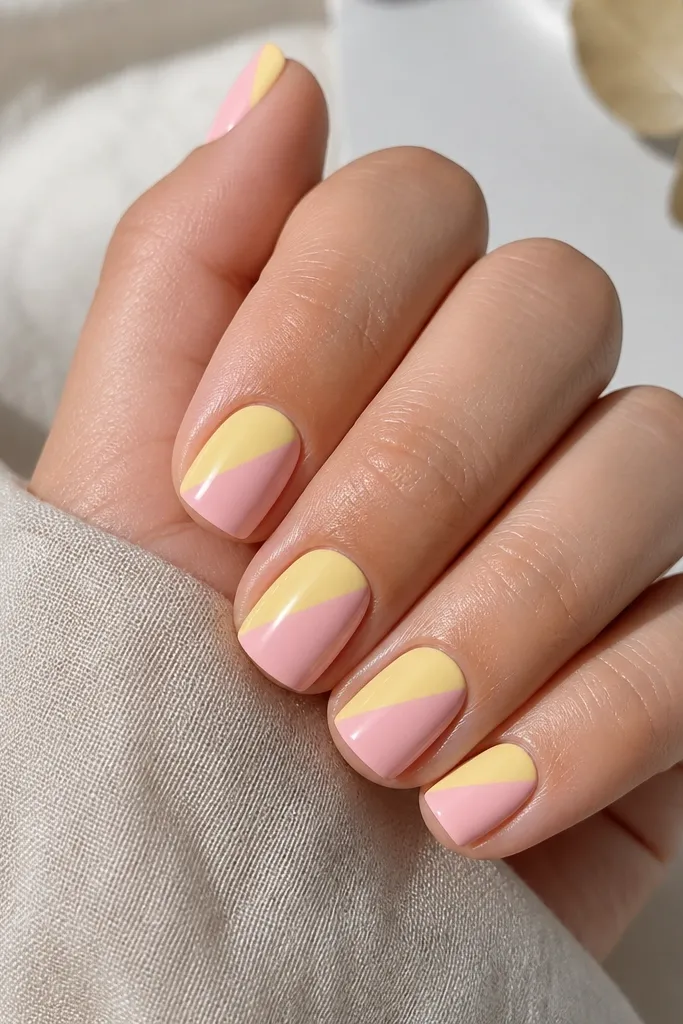
Diagonal splits look sharp even with simple colors. Tape gives you the straight line you'd otherwise struggle to paint freehand, especially with pale shades. The light yellow and pink create a candy-like contrast without looking neon.
Base coat first. Apply light yellow to one diagonal section, let it dry, then cover the other section with pink. Remove tape slowly at a slight angle while the top coat is not applied yet.
Editor's notePress tape down on the nail for 5 seconds, then seal the tape edge with a thin coat of matching base color.
Watch outDon't use thick polish on tape lines; it creeps under the tape and ruins the crisp separation.
4. Sponge gradient from pink to light yellow
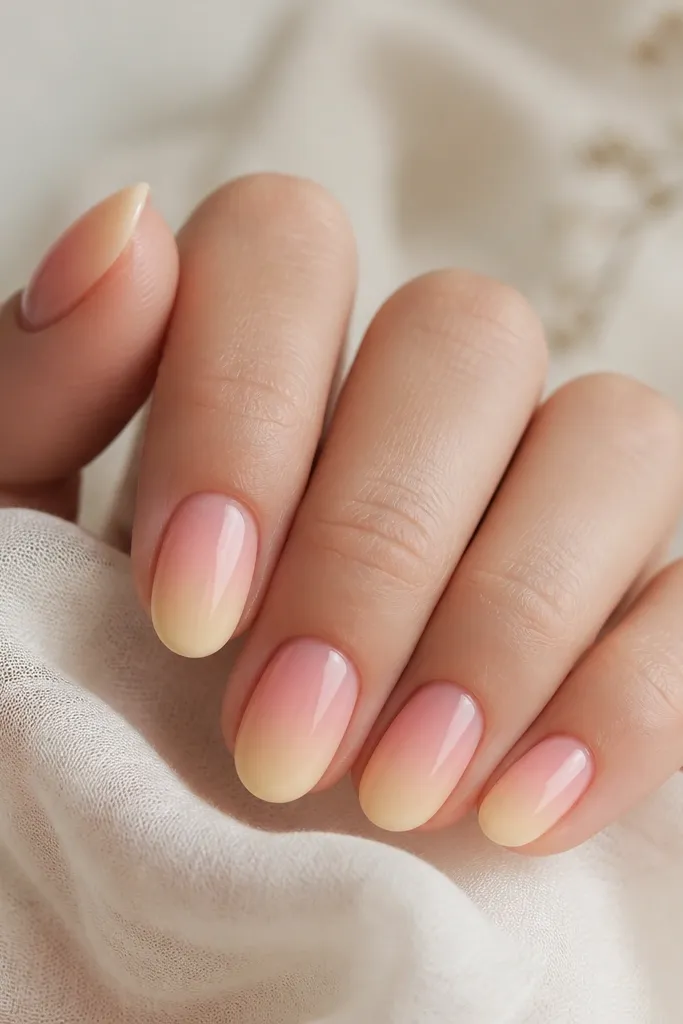
A sponge gradient looks expensive because the transition is gentle. Pink near the cuticle keeps it fresh, and light yellow on the tip reads bright. This works best with sheer-to-medium coverage polishes, so the blend stays soft.
Paint a base layer of pink first. Dab a makeup sponge with light yellow over the upper half of the nail, then lightly tap downward to blend. Keep re-dabbing on scrap paper so you don't flood the nail with too much pigment.
Editor's noteUse a small foam piece and rotate it every few taps so you don't get one hard edge pattern.
Watch outDon't scrub the sponge across the nail; it creates streaks and texture.
5. Tiny dot cluster in pink on light yellow
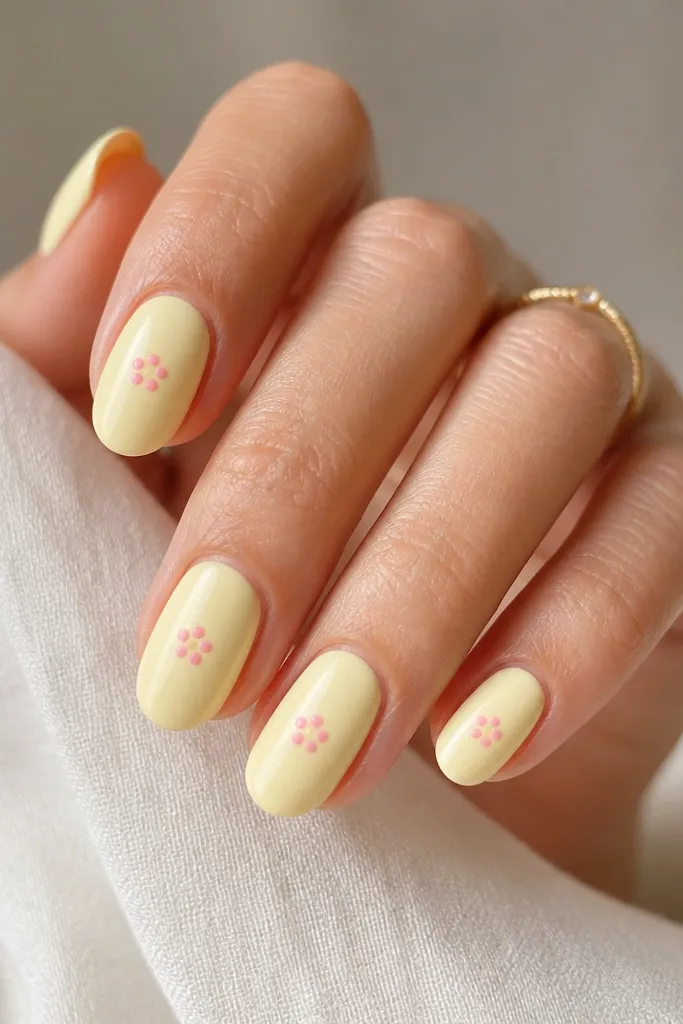
Dots are the fastest way to make pale yellow feel decorated. A cluster looks cute without needing lines or shapes. I like using pink dots that are slightly translucent so they look like candy sprinkles, not stickers.
After two coats of light yellow, load a dotting tool with pink. Press lightly for small dots, then add one extra dot at a slightly different size to avoid perfect symmetry. Seal with top coat.
Editor's noteIf your dots smear, wait 60-90 seconds after the yellow coat before placing pink.
Watch outSkip oversized dots; big dots make short nails look bulky.
6. Pink French tips with a light yellow base
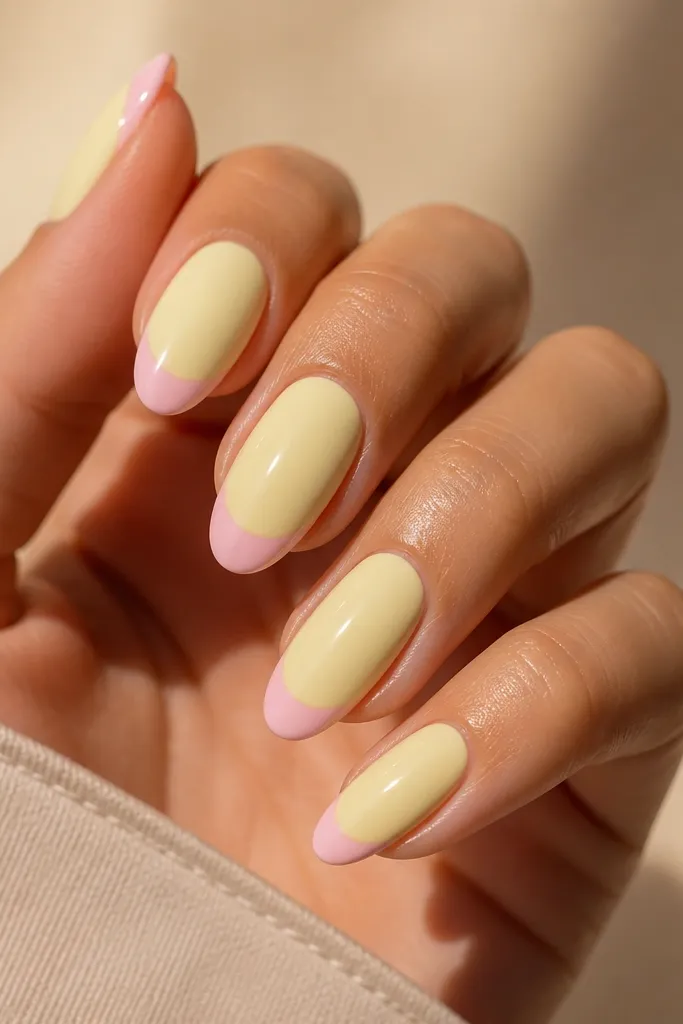
French tips are easy because your eye already understands the shape. Swapping the usual white tip for pink keeps it playful, and the yellow base makes it look warm instead of stark. This set looks good even when your tips grow out a little.
Paint nails light yellow first. Then use a thin striping brush to paint a soft pink French tip, starting at the center and pulling toward the sides. Keep the tip line thin so the yellow shows through.
Editor's noteUse a guide: place a small piece of tape along the tip curve for your first nail, then mirror it on the rest.
Watch outDon't paint the tip too close to the nail center or it turns into a banded look.
7. Light yellow "half swipe" over pink base
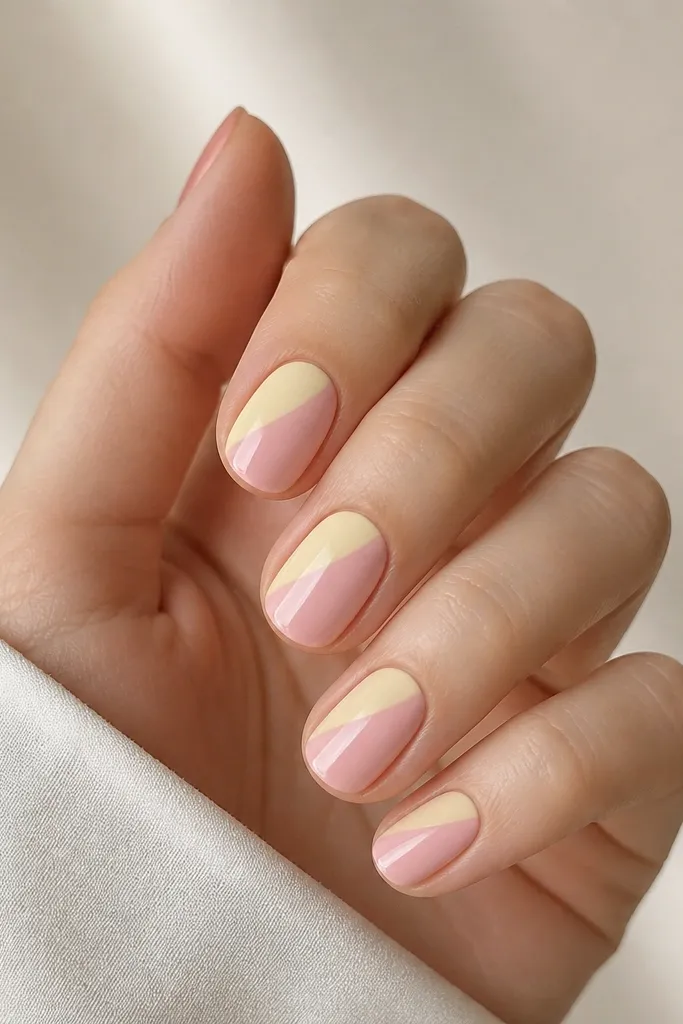
This is my go-to when I want something cute but not time-consuming. The half swipe gives movement and makes the nails look like you planned the design. It also hides small nail imperfections because the yellow covers only part of the surface.
Start with a pink base coat in two thin layers. Then paint a light yellow half-swipe from near the cuticle toward the tip, keeping one edge crisp and the other slightly softer. Alternate left and right on different nails for variety.
Editor's noteUse a striping brush for the crisp edge and a wider brush for the softer edge so both textures match.
Watch outDon't make the swipe too wide; if it takes over the whole nail, it stops looking intentional.
8. Glossy milk-yellow base with pink lace sticker
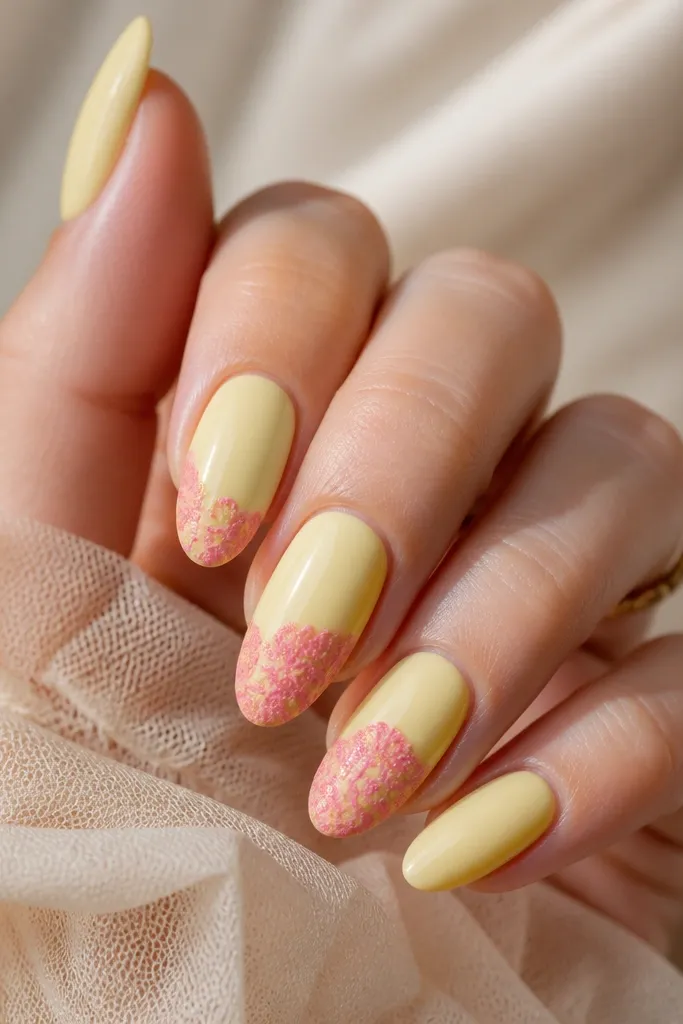
Lace decals make pale colors look styled without freehand work. The glossy light yellow keeps everything looking smooth and candy-like. Pink lace on top adds texture and contrast that still feels soft.
After light yellow base coats, apply a tacky layer of top coat where the sticker will sit. Place the pink lace decal, smooth from the center outward, then seal with two thin top coats. Keep accent nails to two max so it doesn't overwhelm.
Editor's noteTrim lace decals close to the nail edge with small scissors so the top coat doesn't build up.
Watch outDon't skip sealing around the edges; lifted corners snag and peel fast.
9. Pink outline hearts on light yellow tips
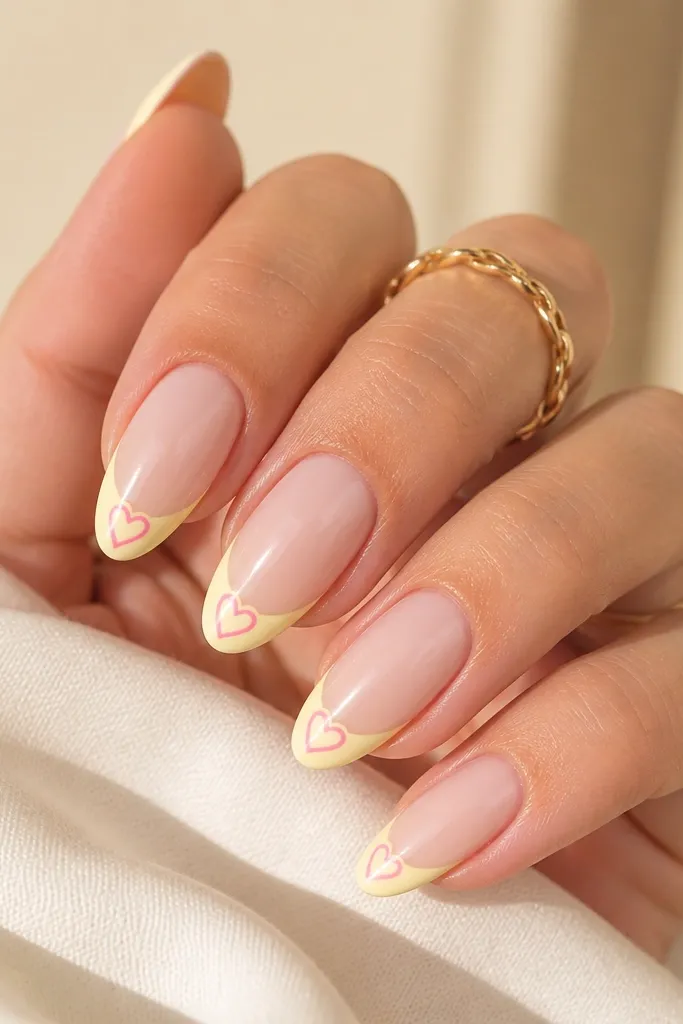
Outline hearts look clean and they don't require perfect filling. Light yellow gives the heart shapes a sweet background, and the pink outline keeps the design airy. I like this for dates and birthdays because it reads festive without being loud.
Paint tips light yellow first. Then use a thin striping brush or a heart stencil. Draw a small heart outline about 2-3 mm tall and center it on the tip line. Add one accent nail with two hearts if you want extra cuteness.
Editor's notePractice on a paper strip first, then match the heart size to your nail width.
Watch outDon't use a thick brush for outlines; thick lines look like marker and cheapen the look.
10. Dot-to-dot confetti across the nail
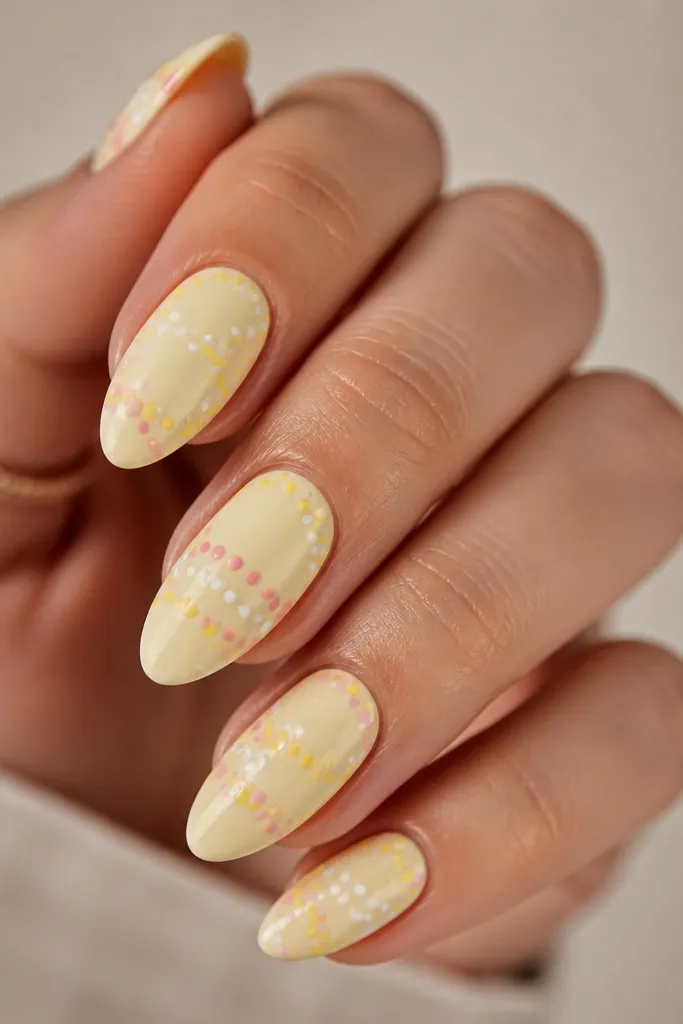
Confetti nails hide uneven polish edges because the eye lands on the dots. Different dot sizes look more natural than a perfectly repeating pattern. The light yellow base keeps it bright while pink adds a playful pop.
After yellow coats, dot pink in small clusters: one larger dot, two medium, and a few micro dots. Space them so there's a little breathing room - don't fill every inch. Top coat seals everything.
Editor's noteLoad the dotting tool lightly; you want tiny dots, not blobs.
Watch outSkip a full cover of dots; heavy confetti turns the manicure into a textured mess.
11. Pink mini bow on one accent nail
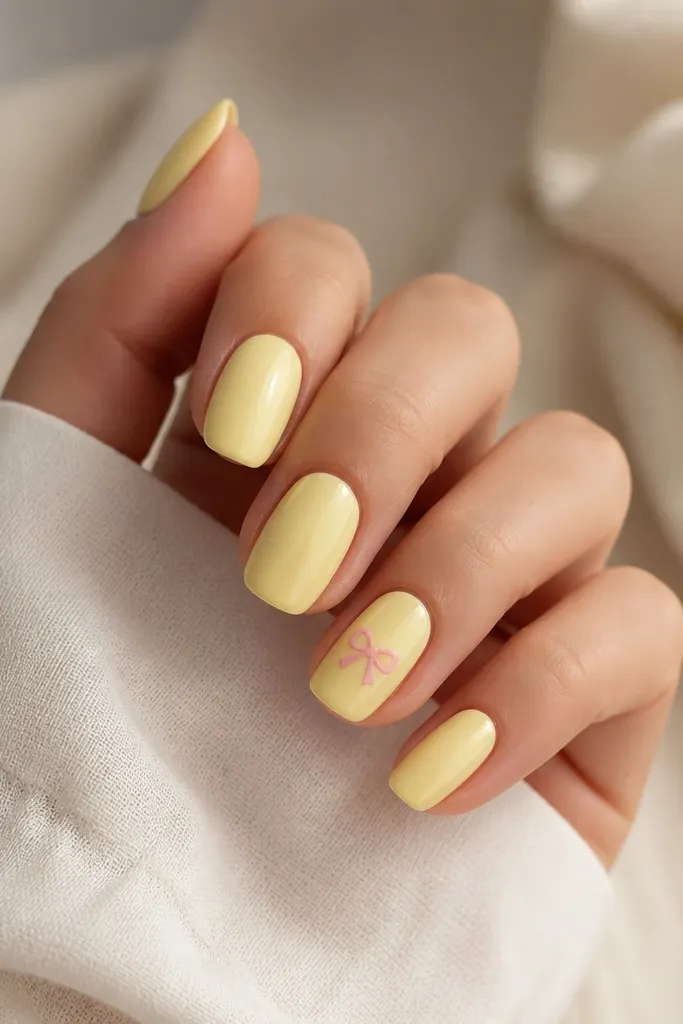
A single bow is enough to make the whole set look intentional. Light yellow keeps the base simple, and the bow gives you a focal point. I like this when I want cute but still work-appropriate.
Paint all nails light yellow. On one accent nail, make two small pink loops using a dotting tool to place the loop edges, then add a tiny knot in the center. Add a second accent nail only if your first bow looks too small.
Editor's noteIf you mess up the bow placement, remove just the top layer with a cotton swab dipped in acetone, then repaint the bow.
Watch outDon't put the bow too close to the cuticle; it drags the design upward and looks off-balance.
12. Half-and-half nails with alternating corners
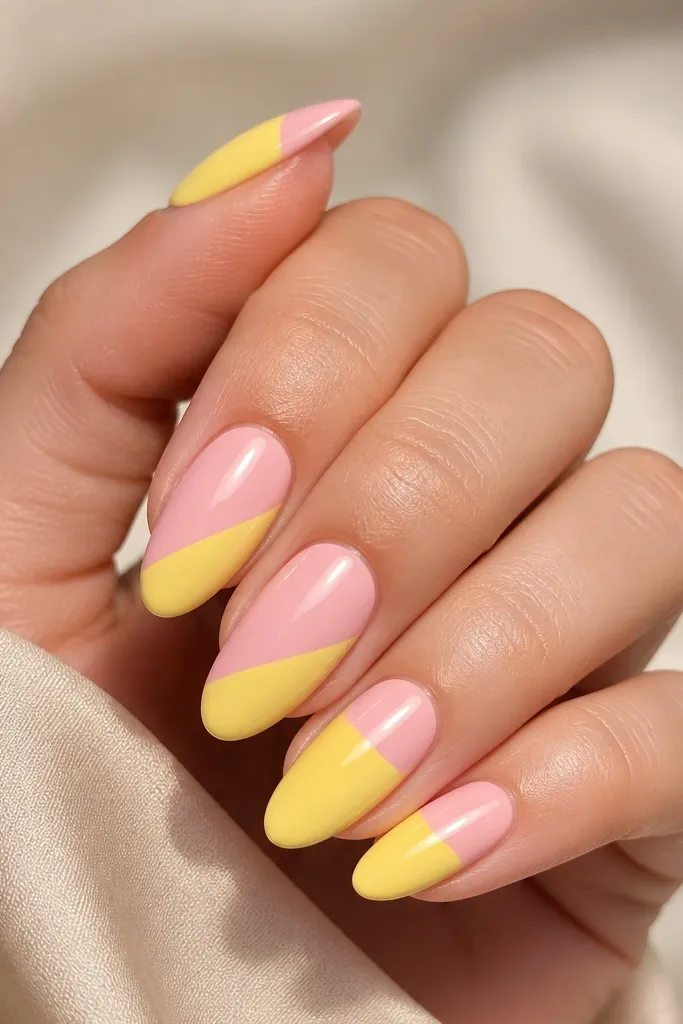
Alternating corners makes the manicure feel coordinated without needing matching art on every nail. The light yellow and pink triangles look graphic, but the colors keep it soft. This is perfect when you want "done" nails for a weekend and you're short on time.
Base coat and paint one color across the nail first, then apply the other color as a triangle using tape. Rotate the triangle direction on every other nail so you get rhythm. Seal with top coat.
Editor's noteUse the same tape width for every triangle so your angles match across nails.
Watch outDon't eyeball triangle edges without tape; one uneven triangle makes the whole set look sloppy.
13. Pink check dots on a light yellow base
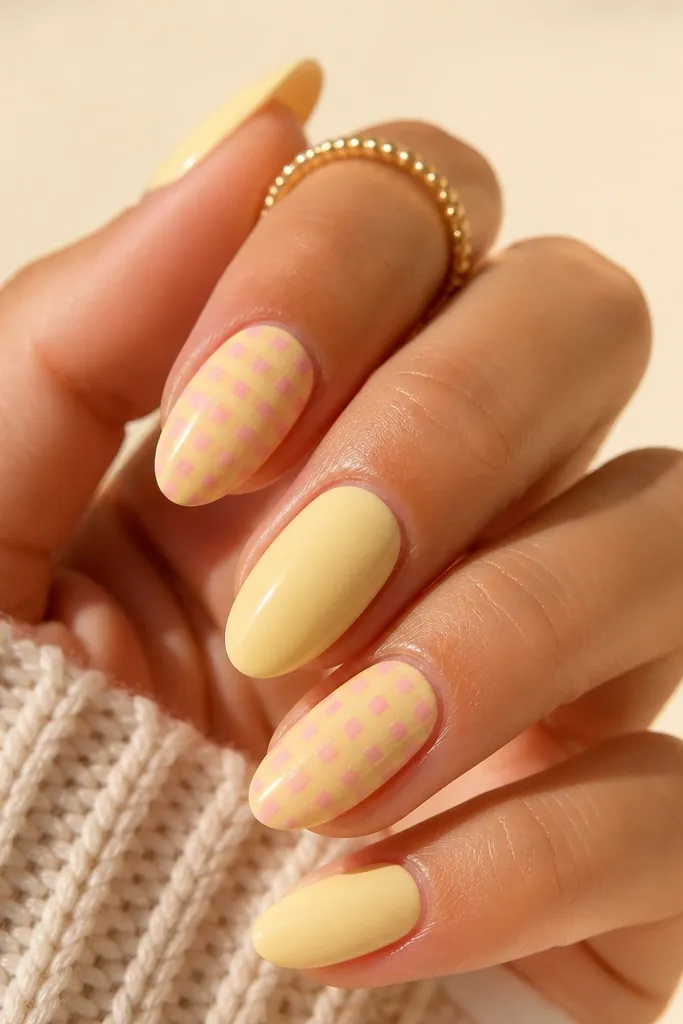
Dot check patterns look neat because they create a grid without requiring straight lines. The light yellow base stays bright, and the pink dots give texture. It reads like a modern manicure even though it's just dots.
After yellow coats, place pink dots in two rows near the tip. Offset the second row by half a dot so it looks like checker spacing. Add top coat, then check from the side - the dots should feel flat, not raised.
Editor's noteMake dot spacing consistent by using the same dot size and counting two nail widths from the sidewall.
Watch outSkip uneven dot sizes; random big and small dots makes the pattern look accidental.