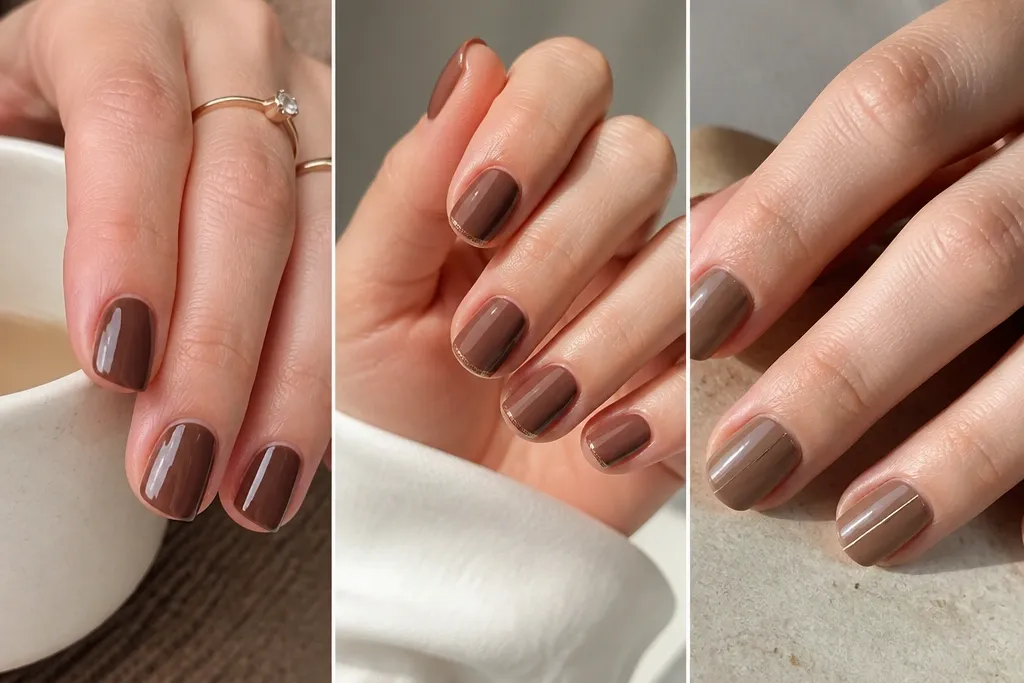
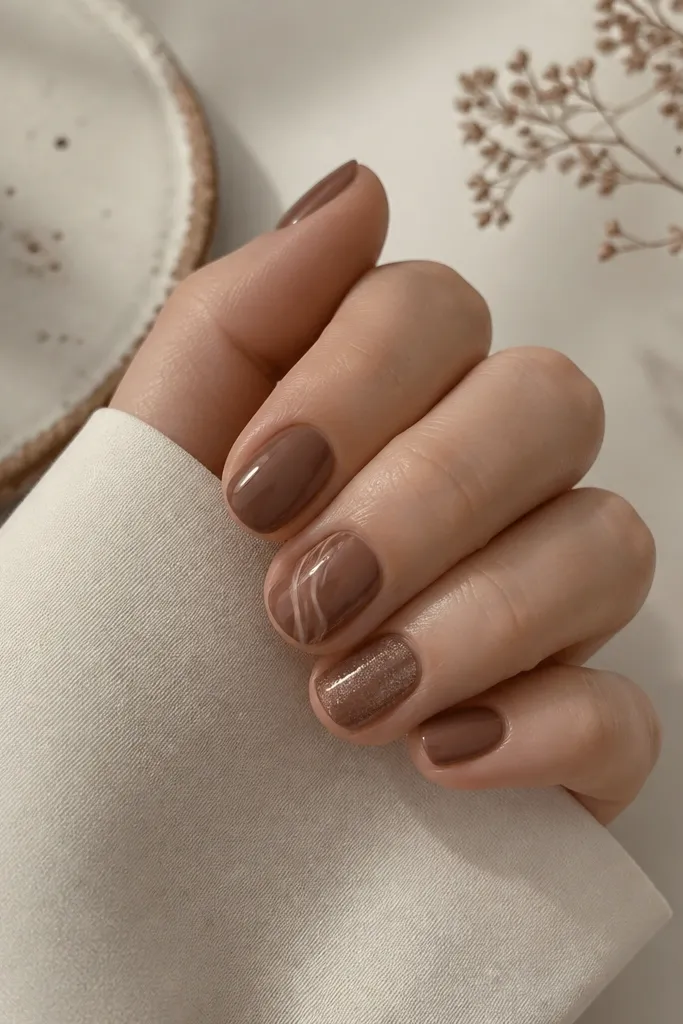
1. Half-moon espresso with nude base
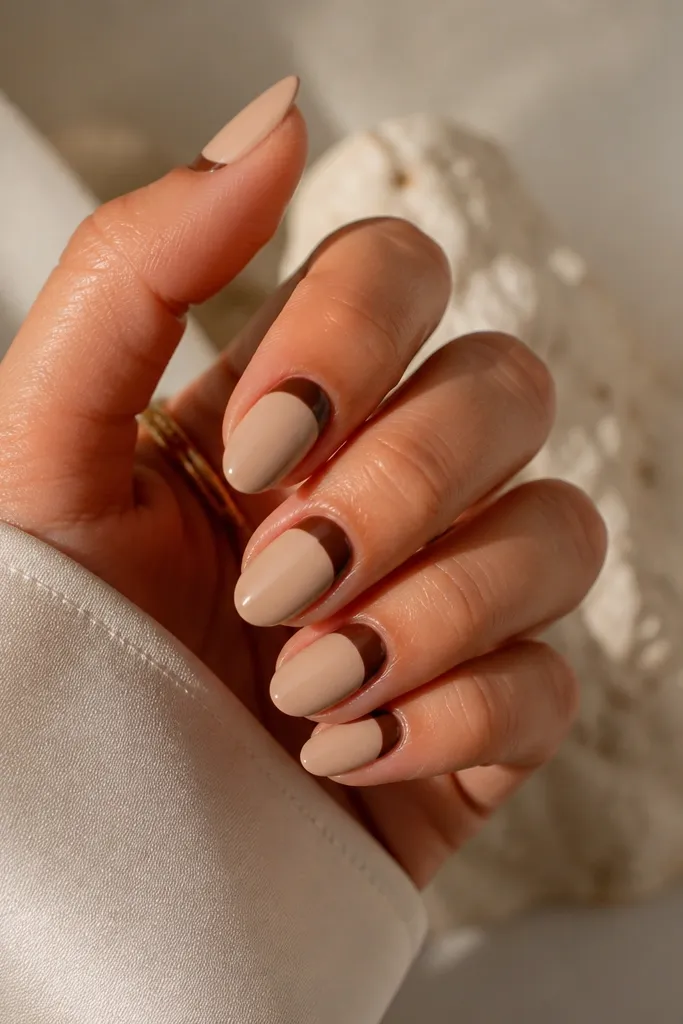
This design keeps brown concentrated at the base, so your short nails look longer. The nude base smooths everything out, and the half-moon gives a polished, salon vibe. Espresso brown is dark enough to look intentional but not so warm that it turns orange. The glossy top coat makes the half-moon look crisp.
Use a sheer nude polish or nude gel with a slightly pink undertone. Paint a small C-shaped half-moon near the cuticle with a thin detail brush. Keep the moon about 1/3 of the nail width so it doesn't swallow the short nail. Seal with one or two thin coats of high-gloss top coat.
Editor's noteDip your brush in acetone on a cotton swab to clean the cuticle edge before curing or drying.
Watch outDon't make the half-moon too big - it makes short nails look squat.
2. Caramel micro-French on squoval tips
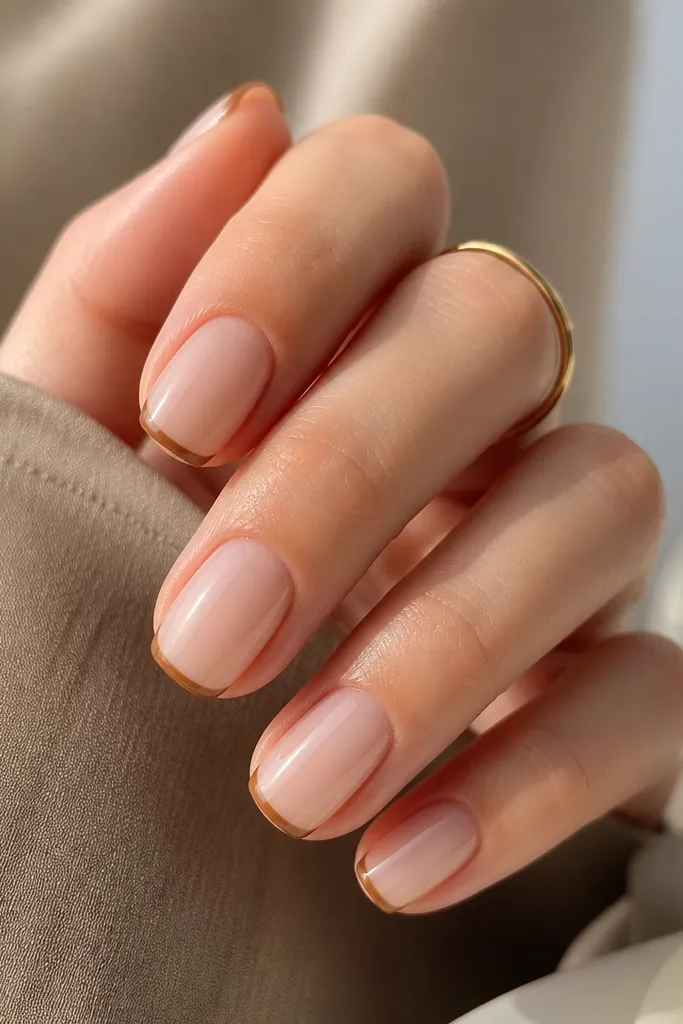
Micro-French works because it adds length only at the edge. Caramel brown is warm and flattering, especially on short squoval shapes. The thin line keeps the nail from looking thick or crowded. Gloss makes the tip line pop without looking harsh.
Start with a milky nude base, then use a striping brush to draw a line about 1 mm from the tip edge. Fill lightly - you want a line, not a thick band. Leave the rest nude so the nail still looks airy. Top coat over the whole nail.
Editor's noteUse nail tape as a guide: stick it slightly away from the tip, paint the line, then remove before it dries.
Watch outAvoid a wide French band - it shortens the look on short nails.
3. Chocolate swirl accent on one nail
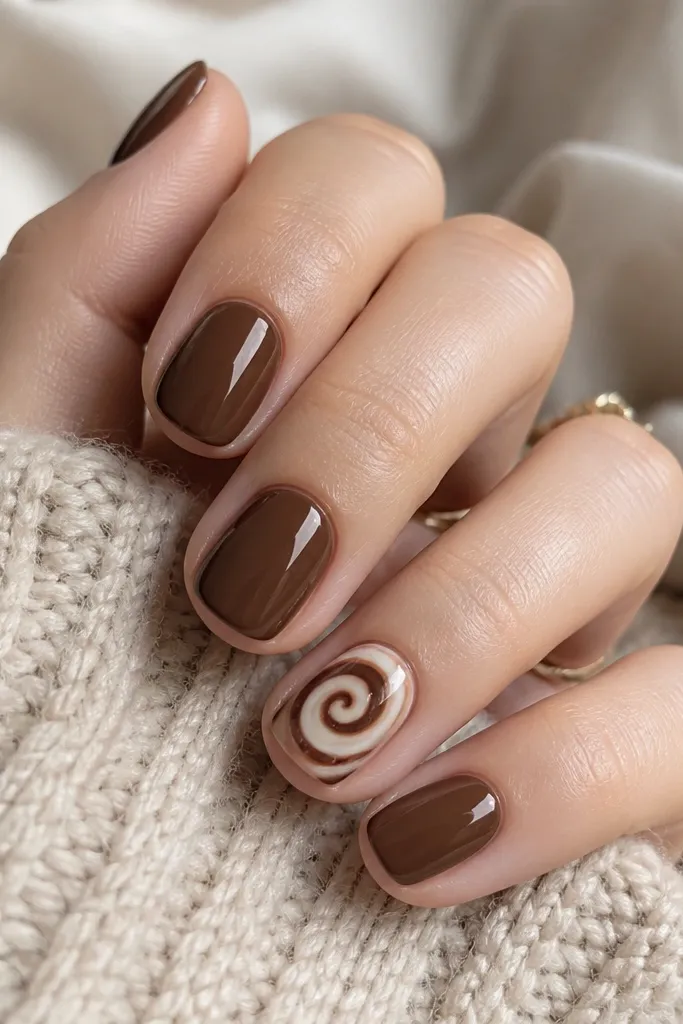
This is the easiest way to make brown nails look designed without covering every nail. The swirl gives movement, and the lighter contrast lines keep it from looking flat. Chocolate brown as the base is forgiving because it hides tiny streaks. A glossy top coat makes the swirl look raised and clean.
Paint all nails chocolate brown except the ring finger (or middle finger). On the accent nail, use a fine liner brush to draw one centered swirl, starting small near the center and curling outward. Add a second thin line next to the first for a ribbon effect. Finish with gloss.
Editor's notePractice the swirl on a paper towel first - the pressure control is what makes it look smooth.
Watch outDon't draw multiple swirls on short nails - it turns into a blob.
4. Taupe gradient fade from cuticle
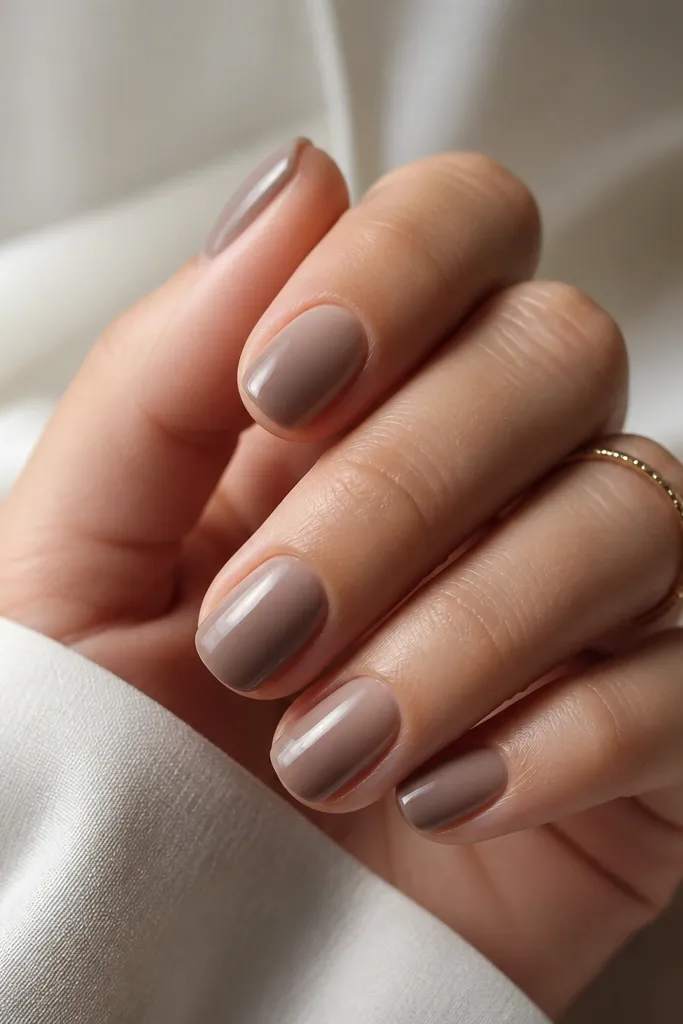
A gradient makes short nails look dimensional and longer because the eye travels from light to dark. Taupe-brown is subtle enough to look classy even with minimal art. The fade also hides minor brush marks better than solid color. Gloss gives a soft, "lit from within" effect.
Use a sponge (make-up sponge or nail gradient tool). Dab a light nude-taupe at the cuticle, then blend mid-brown toward the tip with gentle taps. Keep the gradient within the nail - don't spread onto the skin. Clean the edges with a small brush and top coat after it sets.
Editor's noteSeal the gradient with a thin base/top coat layer before your final top coat to lock in the blend.
Watch outAvoid harsh sponge stripes - tap and blend slowly, don't swipe.
5. Matte cocoa with glossy half-tip
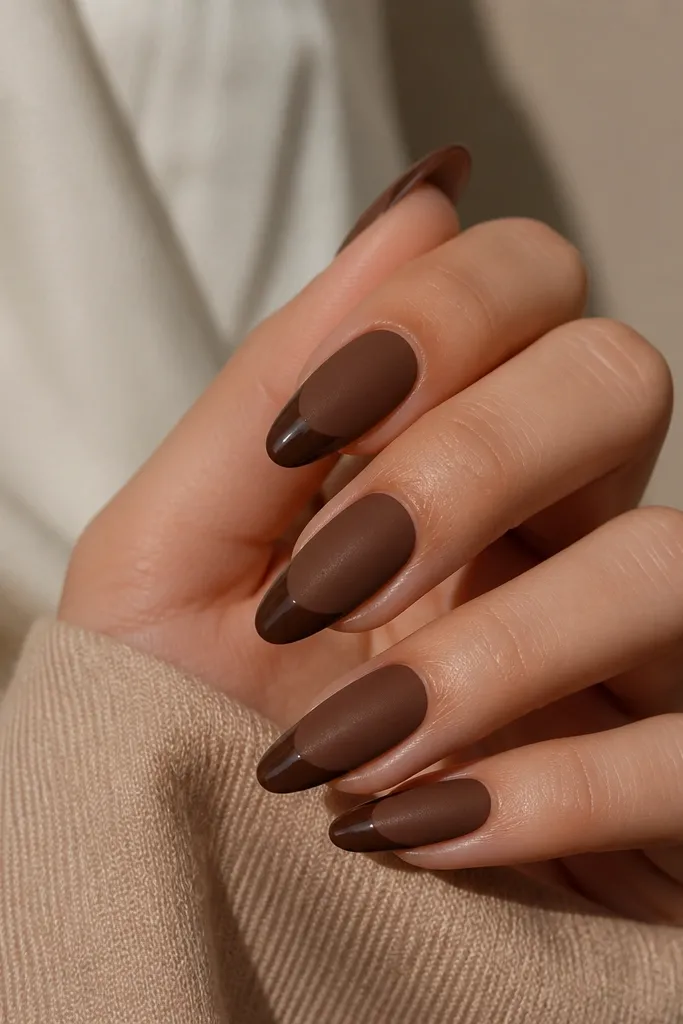
Mixing matte and gloss makes short nails look intentional even with only one color. Matte cocoa absorbs light, which gives the base a soft look. The glossy half-tip adds shine at the edge, which visually lengthens the nail. The contrast line looks clean when you keep it straight.
Paint all nails with cocoa brown, then apply matte top coat over the whole nail. After it dries, tape or use nail forms to mask the bottom half and apply glossy top coat only on the upper half. Remove the tape while the glossy coat is still slightly tacky for a crisp edge.
Editor's noteIf your line looks wobbly, add a thin matching cocoa line with a liner brush to straighten it.
Watch outDon't mix matte and gloss on a thick layer - it peels at the edges.
6. Spiced cinnamon dots in a diagonal
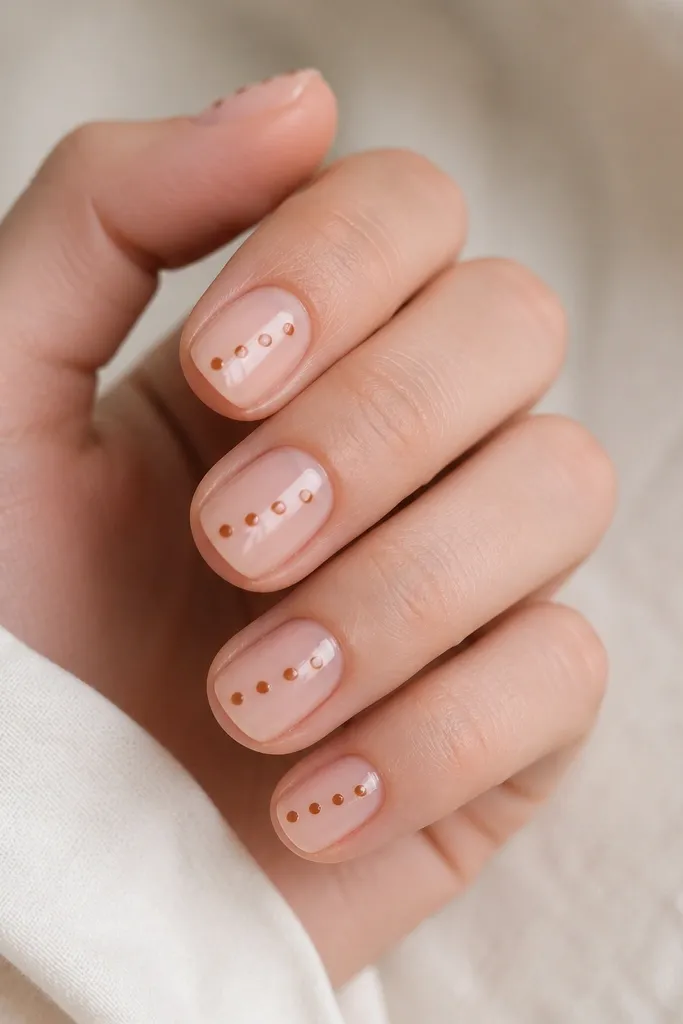
Dots are the fastest way to make short nails look cute without covering the whole nail with art. The diagonal pattern creates movement and makes the nail feel longer. Cinnamon-brown is bright enough to read clearly on nude. Gloss keeps the dots looking rounded and smooth.
Use a sheer nude base. With a dotting tool, place 4-5 dots in a diagonal line, starting near the center and moving toward the tip. Keep the dots small - about the size of a sesame seed - so the nail still looks airy. Top coat seals them and smooths the surface.
Editor's noteDip the dotting tool lightly so you get a consistent dot size across nails.
Watch outDon't press too hard into the wet polish - it smears the dots.
7. Espresso nail with thin gold-brown line
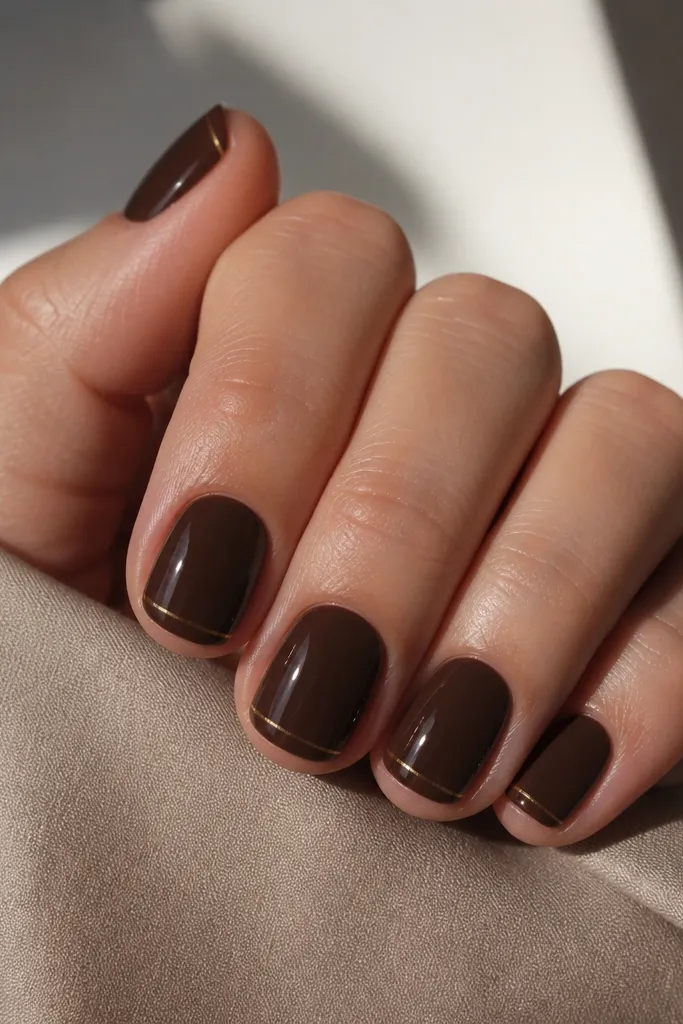
A single line turns plain brown into something graphic. Gold-brown reads warmer than true gold, so it still feels in the brown family. Placing the line near the tip adds length without needing a full French. Espresso also makes the line look sharp instead of muddy.
Paint a full coat of espresso brown. Use a striping brush to draw a line parallel to the free edge, leaving about 1 mm of brown above it. Keep the line straight across each nail, even if the nail shape varies. Add glossy top coat for shine.
Editor's noteUse a damp brush dipped in top coat to fix tiny line wobbles before it fully dries.
Watch outAvoid thick lines - they make short nails look blocky.
8. Caramel leopard print mini spots
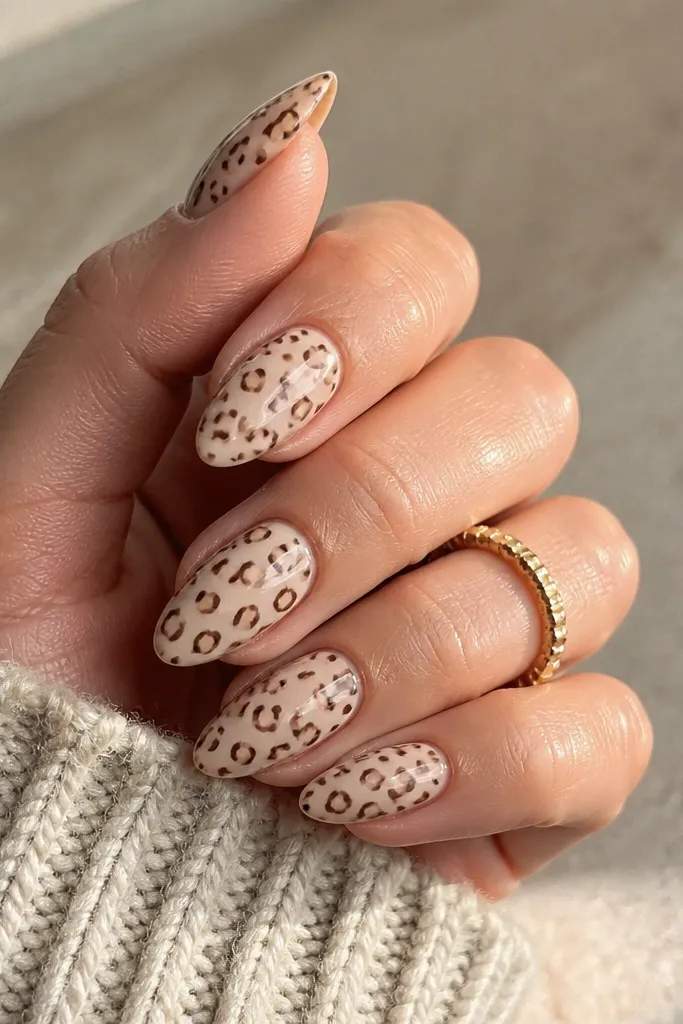
Mini leopard spots look fun but still work on short nails when the pattern stays small. Caramel base gives warmth and softness, while chocolate spots add definition. The irregular edges mimic animal print without making the nail look busy. Gloss keeps the spots looking smooth, not grainy.
Start with a milky caramel polish. Use a dotting tool for small filled spots, then add tiny curved outlines around a few spots with a liner brush. Keep the pattern to the center area so the free edge stays clean. Seal with gloss.
Editor's noteDo one nail at a time - the spots dry fast and you want crisp edges.
Watch outDon't cover the whole nail - full leopard on short nails looks messy.
9. Mocha ombre with clear jelly top
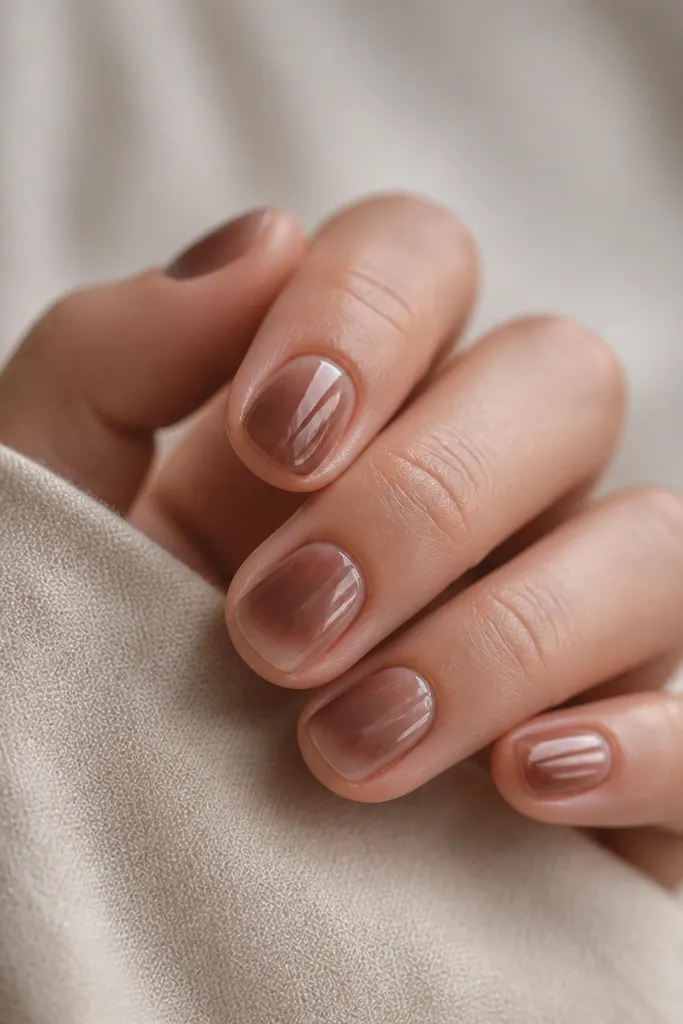
Jelly top effects make short nails feel lighter. The mocha ombre gives depth at the base, while the translucent top lets the nail look fresh. This is a great option if solid brown feels too heavy. The shine also makes the gradient look smoother.
Blend mocha brown from cuticle down using a sponge, then lightly dab clear jelly gel polish at the tip to create translucency. Cure in thin layers so it doesn't get too thick. Finish with a standard glossy top coat.
Editor's noteUse a makeup sponge with barely-there polish for the fade - the best ombres look airy, not smoky.
Watch outDon't overbuild the jelly layer - thick jelly makes short nails feel bulky.
10. Coffee bean accent with tiny dots
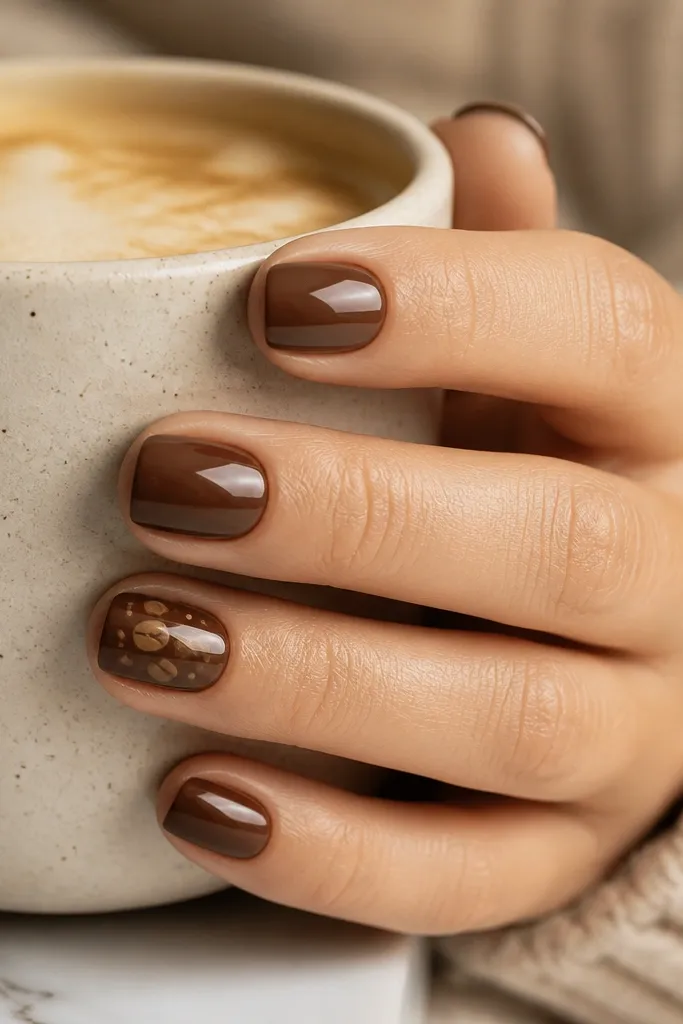
Coffee bean art is tiny, so it works on short nails without crowding. The lighter caramel shapes on a darker base create contrast that still feels cozy. A few supporting dots make it look intentional, like a mini coffee theme. Gloss makes the tiny shapes readable instead of flat.
Paint all nails a medium warm brown. On one nail, use a dotting tool to place two small ovals side by side, then add a slight line in the center of each oval with a liner brush. Add 2-3 small dots around it. Top coat to seal.
Editor's noteKeep the accent nail to one - too many coffee details start looking theme-y fast.
Watch outAvoid big ovals - they swallow the short nail.
11. Brown chrome flakes on nude base
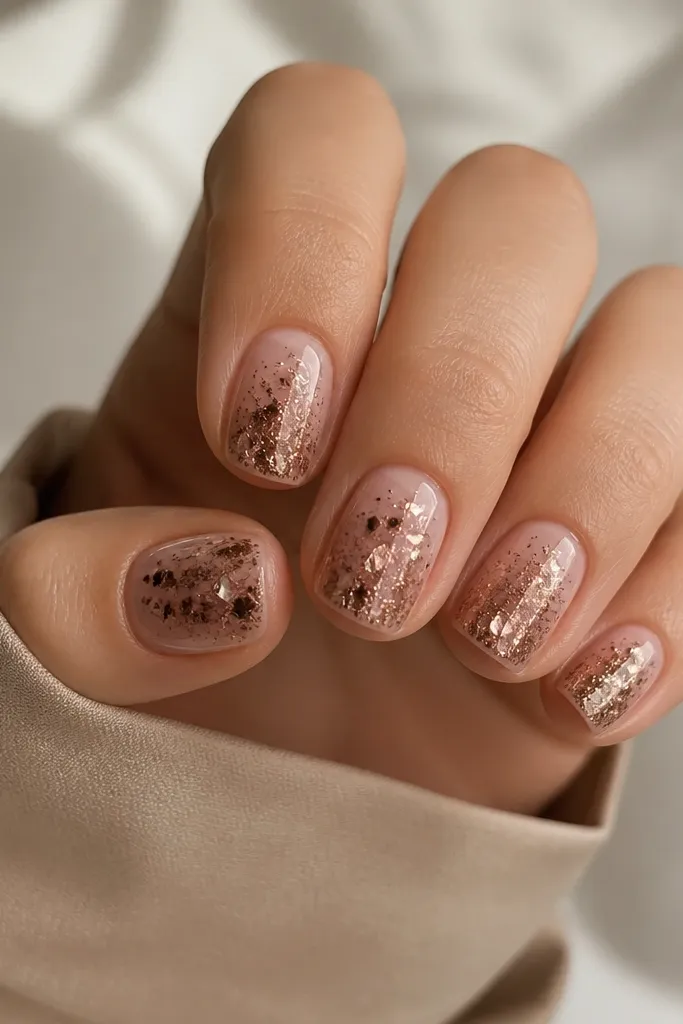
Chrome flakes bring shine without requiring long length. Brown chrome reads more wearable than silver because it matches the nail's color family. The cluster placement in the middle makes short nails look like they have depth. Gloss keeps the flakes smooth and sealed.
Use a nude base gel or polish. Apply a thin layer of sticky base or tacky gel where you want flakes, then press brown chrome flakes onto the nail with a silicone tool. Leave gaps for the nude base to show. Seal with a gel top coat.
Editor's notePress flakes lightly - heavy pressure crushes them and dulls the sparkle.
Watch outDon't skip sealing - flakes lift if you don't fully cover the edges.
12. Mocha marble swipe (easy version)
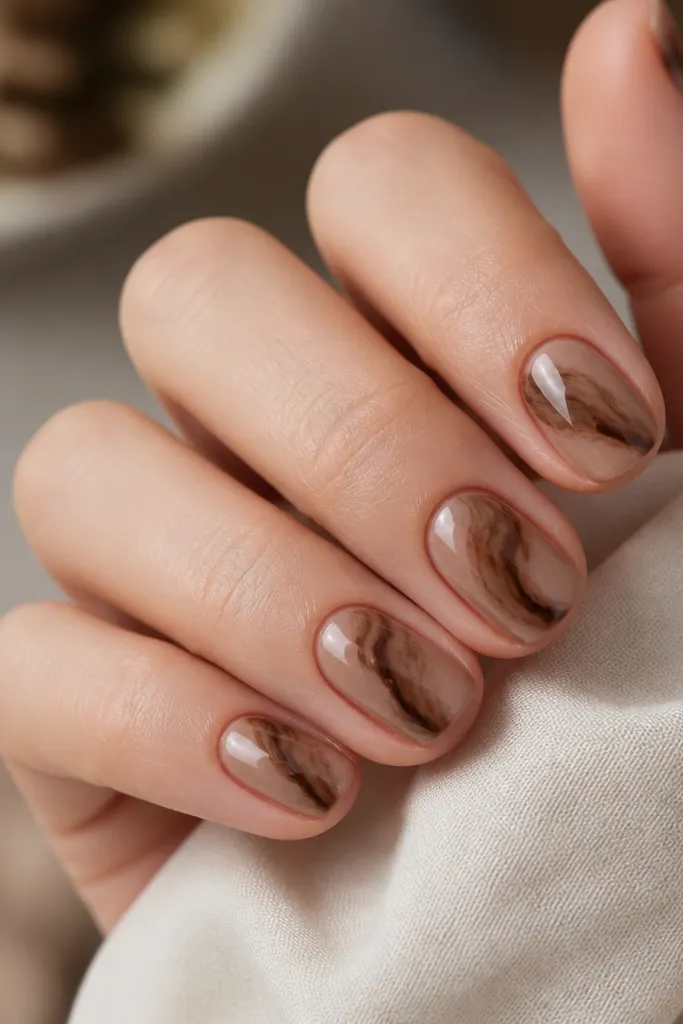
Marble looks hard, but the easy swipe version is forgiving on short nails. Thick swipes create the effect without needing tiny veins. Light mocha base keeps it airy, while darker swipes add dimension. Gloss makes the swipes look like glass.
Paint a light mocha base. Use a damp striping brush to drag darker espresso polish in 2-3 curved swipes across the nail, then dab the ends with a sponge to soften. Add one extra swipe near the tip for balance. Top coat glossy.
Editor's noteDo fewer swipes than you think - short nails need space to breathe.
Watch outDon't do thin vein lines everywhere - it turns into streaks.
13. Chocolate checkered half nail
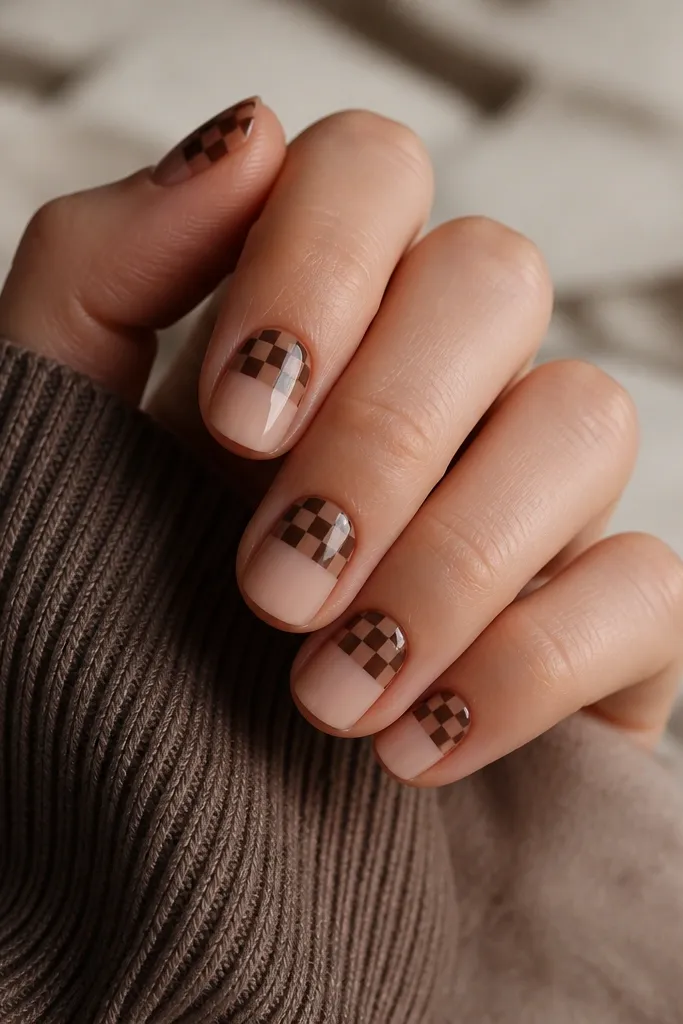
Checks look graphic and neat, which reads premium even when the nail is short. Keeping the pattern to the top half prevents overcrowding. Using two close browns creates depth without harsh contrast. Gloss makes the squares look crisp and smooth.
Start with a nude base. Mask the top half using tape or a silicone nail shield, then paint a chocolate base on that section. While it's tacky, add lighter cocoa squares with a dotting tool or small brush. Clean the edges with a brush dipped in remover.
Editor's noteUse nail tape with a firm press so the checker edge stays straight.
Watch outAvoid low-contrast browns that are too similar - you need to see the squares.
14. Sienna stripe + tiny dot combo
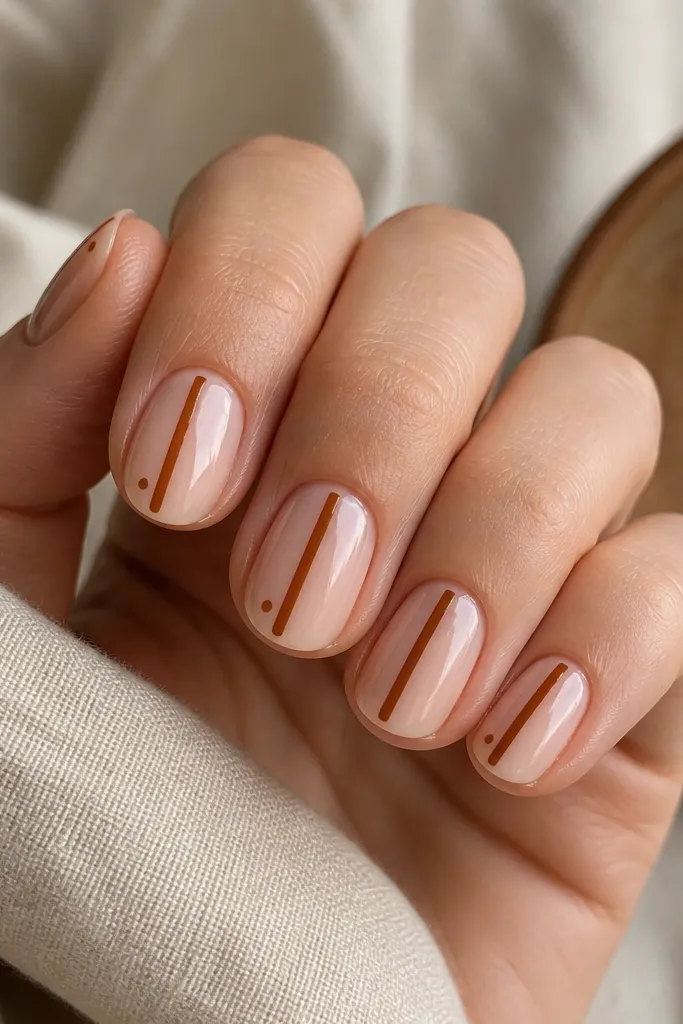
A vertical stripe pulls the eye upward, which makes short nails look longer. Pairing it with a tiny dot adds a "button" detail so it doesn't look plain. Sienna-brown is warm and flattering, especially over nude. Gloss makes the stripe look smooth and reflective.
Paint nude sheer base. With a liner brush, draw one thin vertical stripe from near the cuticle down to near the tip, stopping before the very edge. Add one tiny dot beside the stripe near the cuticle. Finish with gloss.
Editor's noteIf your stripe is uneven, wipe the brush and redraw - thin lines look best when they're clean, not blended.
Watch outAvoid thick stripes - they make the nail feel smaller.
15. Brown ombre tips with sheer base
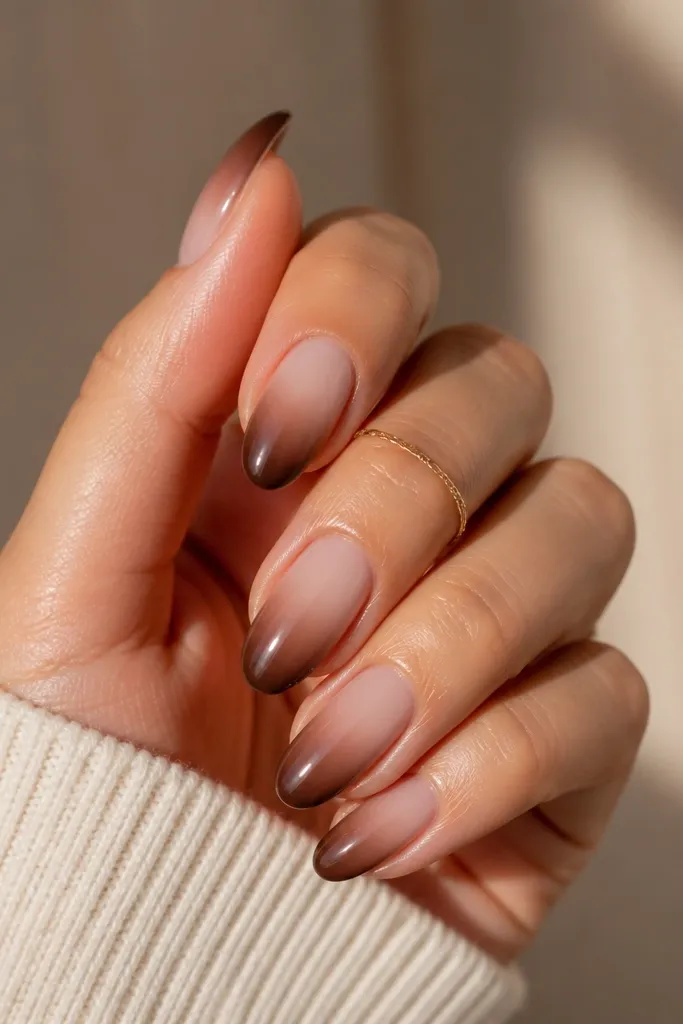
This is the easiest ombre because it limits blending to the tip area. The sheer base keeps everything light, and the brown fade adds softness. It looks like a gentle gradient French without the sharp edge. Gloss gives it that salon smoothness.
Paint a sheer pink or nude base. Sponge mid-brown at the tip and blend upward 1/3 of the nail. Stop blending when you like the softness - you're aiming for a haze, not a full gradient. Seal with glossy top coat.
Editor's noteUse a flat sponge corner so you get a controlled fade line.
Watch outDon't blend too far up - if brown reaches the cuticle, short nails look heavier.
16. Matte taupe with glossy V at the tip
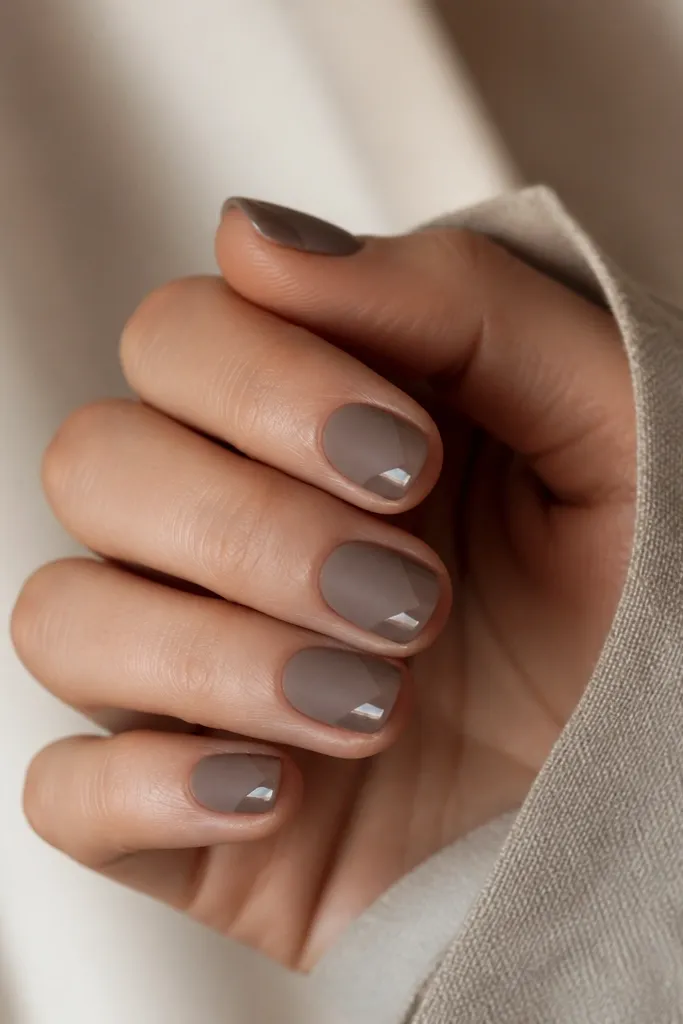
A V shape at the tip frames the nail and adds a length illusion. Matte taupe keeps the design soft and modern, while the glossy V gives contrast. This combo looks clean on short nails because it's mostly negative space. The V also hides tiny tip imperfections better than a full line.
Paint matte taupe and let it fully set. Use tape or a nail art guide to mask a V centered on the tip, then apply glossy top coat inside the V. Remove the mask carefully while the glossy is still workable so the V edges stay crisp. Add another thin matte coat around if needed to even the finish.
Editor's noteCenter the V - if it leans, the nail looks crooked even when your hand is steady.
Watch outAvoid a wide V - keep it thin so the nail still looks neat.
17. Chocolate bow on nude short nail
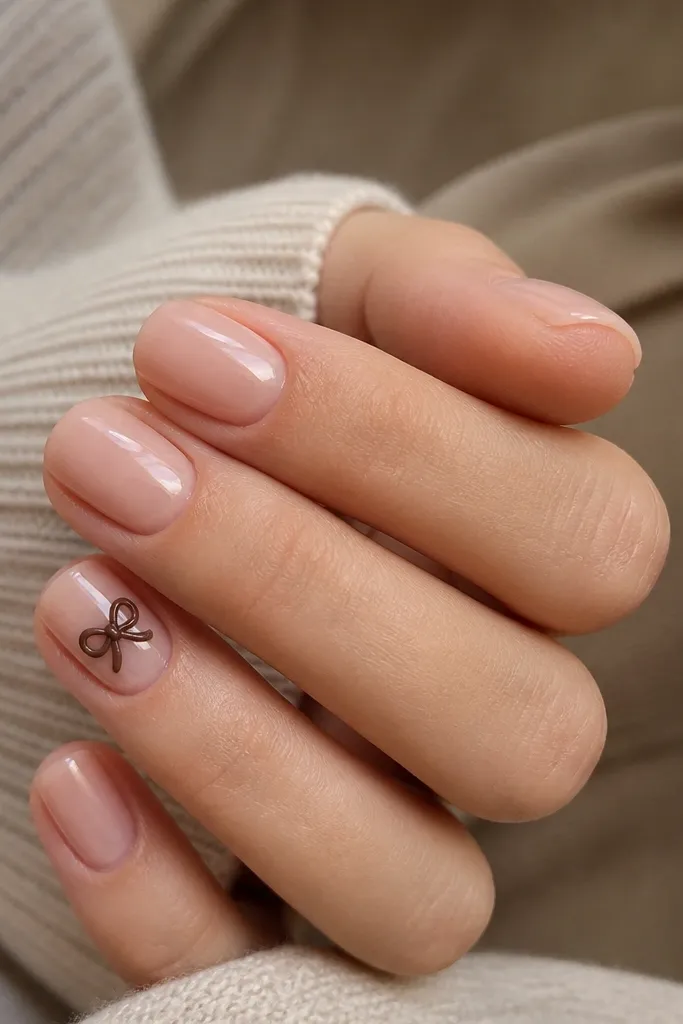
A tiny bow looks sweet without needing long nails. The nude base makes the bow stand out, and the chocolate-brown keeps it from looking childish. Since it's one accent nail, the rest can stay simple and still look coordinated. Gloss makes the bow look smooth and slightly raised.
Paint nude on all nails, then choose one accent nail. Use a fine liner brush to draw two loops, then a small knot in the center. Add a thin highlight line in a lighter cocoa only if you want extra dimension. Seal with glossy top coat.
Editor's noteMake the bow slightly higher than the center - it lifts the look on short nails.
Watch outDon't make the bow too wide - it should fit within about 1/2 the nail width.
18. Brown glazed donut drip dots
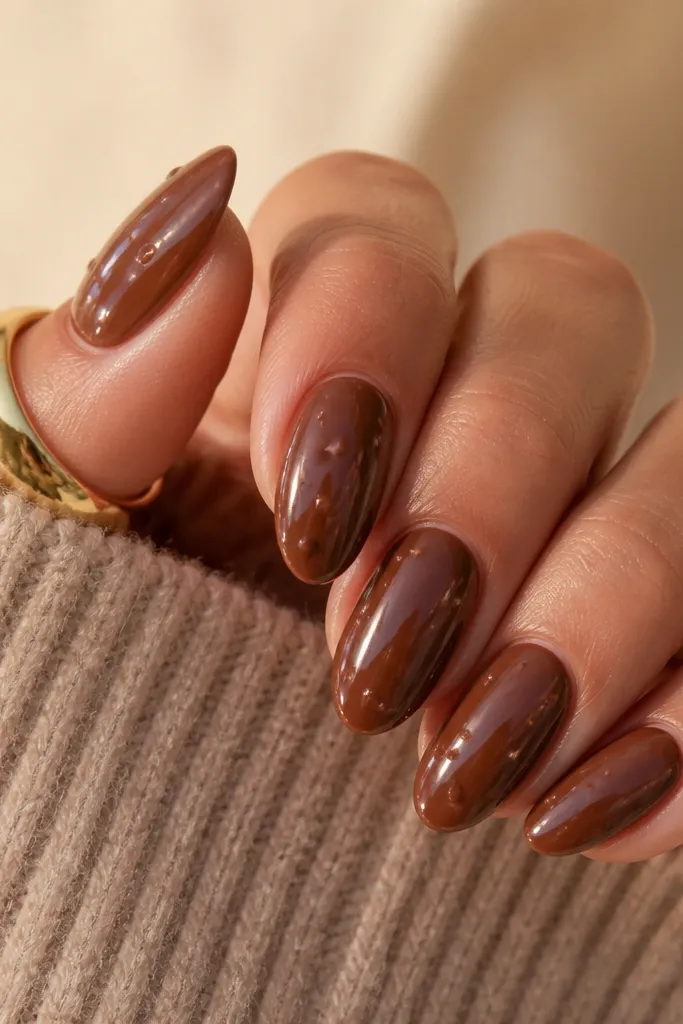
This one looks trendy because the ring sits in the middle, and the dots add a playful drip effect. Milk-brown base keeps it wearable, while darker brown dots give a "glaze" contrast. The ring shape gives structure on short nails so the design doesn't feel random. Gloss makes the dots look like they're sitting on top.
Paint a milk-brown or caramel-beige base. On each nail, draw a small ring with a liner brush or a dotting tool connected into a circle. Add 2-3 small drip dots beneath the ring. Keep the ring about the size of a small pea on the nail surface. Top coat glossy.
Editor's noteIf rings look shaky, use a nail stamp for the circle and then add dots by hand.
Watch outAvoid too many drips - two or three dots is enough.
19. Espresso outline French with nude fill
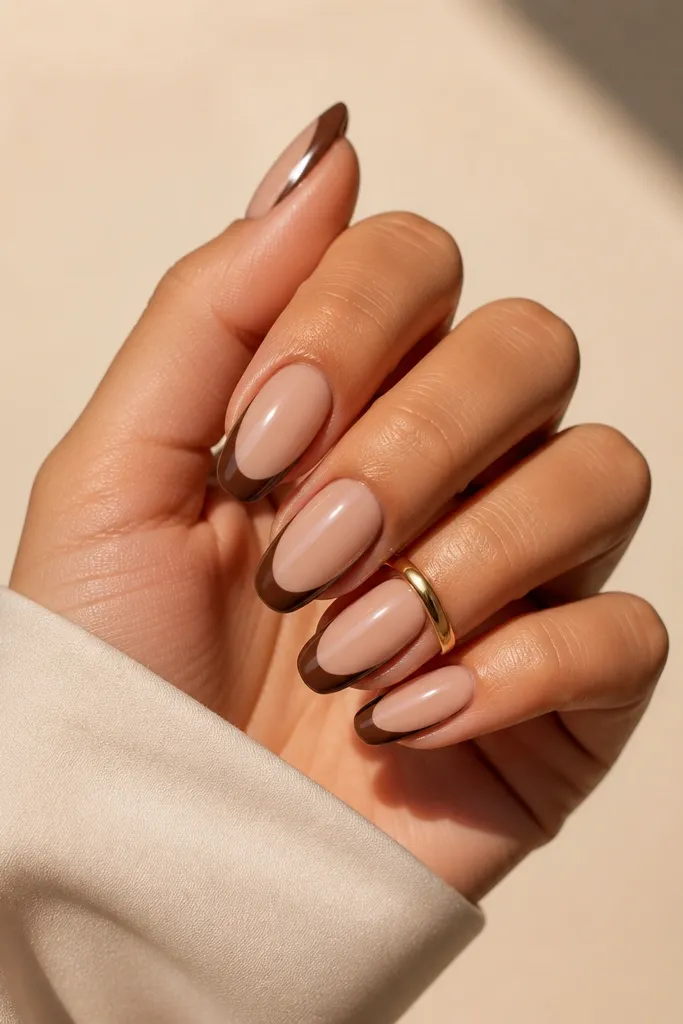
Outline French is clean and classy because it doesn't block the nail with solid brown. Espresso outlines look sharp and make short nails look crisp. Leaving the inside nude keeps the nail airy and longer-looking. Gloss makes the outline pop without looking thick.
Paint nude base. Use a liner brush to draw a thin outline around the tip edge, staying inside the free edge. Don't fill the tip - just trace the border. Seal with glossy top coat.
Editor's noteUse a steady hand by resting your pinky finger on your desk while you draw the outline.
Watch outAvoid thick outlines - they look like sticker residue on short nails.
20. Caramel swirl tips with clear negative space
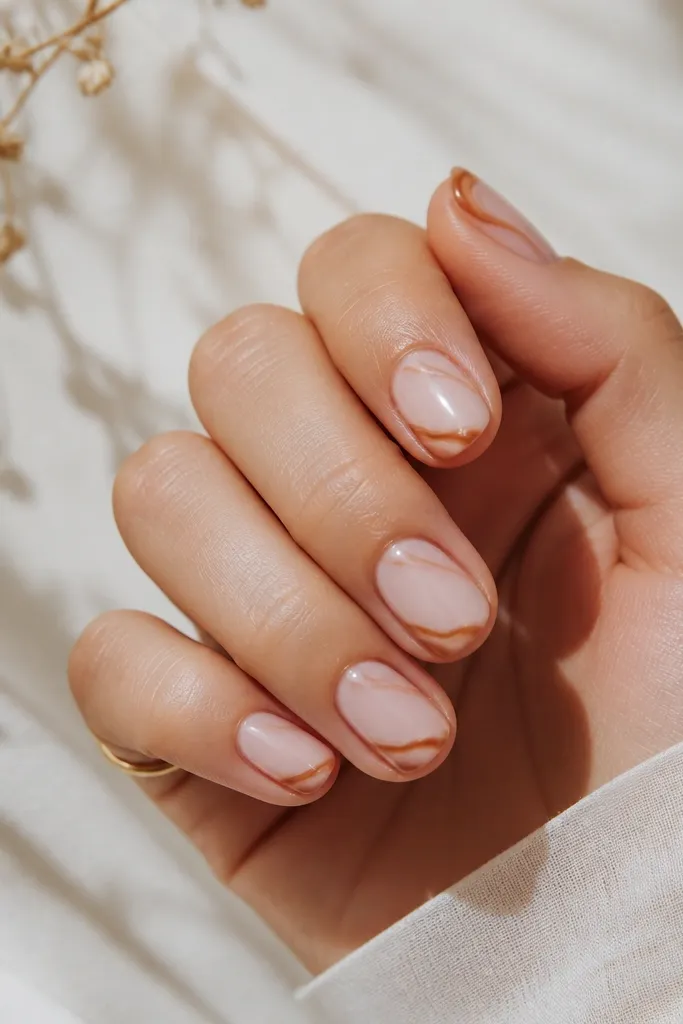
Negative space is your best friend on short nails. Swirls that sit only on the side of the tip create movement without crowding the nail. Caramel-brown is warm and flattering, and the clear area makes the nail look longer. Gloss makes the swirl strokes look smooth and glassy.
Paint nude base. Use a thin brush to draw one or two caramel swirls on the side of the tip, leaving a clean gap in the middle. Keep the swirl height under 1/3 of the nail length. Top coat gloss over everything.
Editor's noteIf your swirl touches the sidewall, clean it with a brush and remover so it stays sharp.
Watch outAvoid full-coverage swirls - they remove the length illusion.
21. Brown fade dots over nude (polka haze)
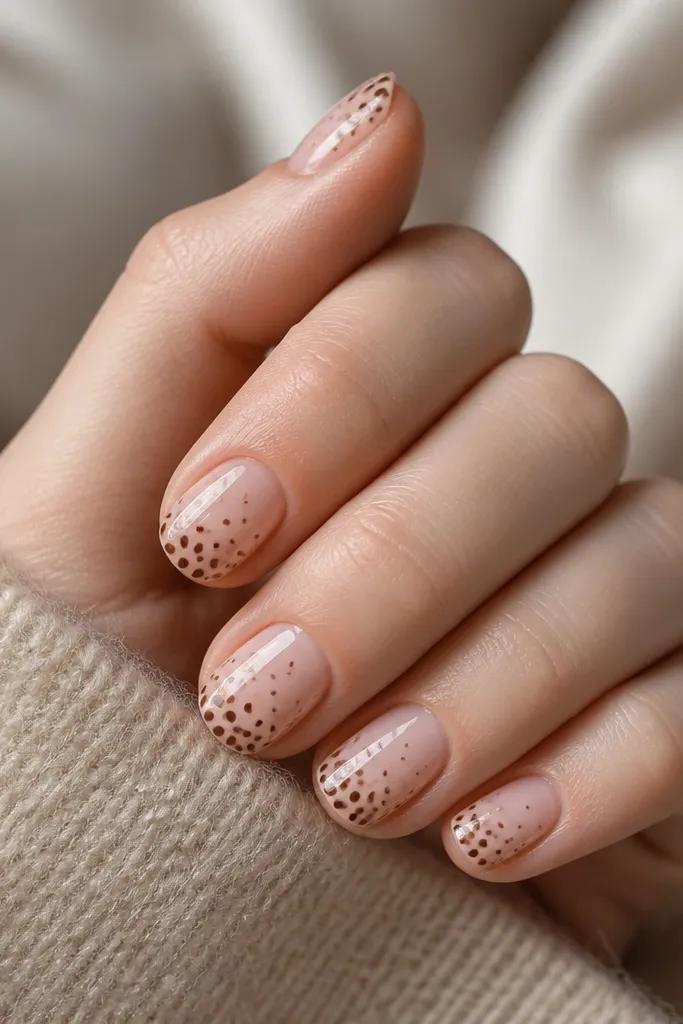
A polka haze looks soft and cozy, and the fading density makes it flattering on short nails. Using multiple browns keeps it interesting without needing detailed art. The denser dots near the tip create a visual lift. Gloss rounds the dots so they look like tiny candies.
Paint a sheer nude base. Add dots with a dotting tool in three browns: light caramel, medium chocolate, and espresso. Place more dots near the tip and fewer near the cuticle, spacing them evenly. Seal with glossy top coat to lock everything in.
Editor's noteStart by placing the tip dots first, then fill gaps downward so the fade looks intentional.
Watch outAvoid random dot placement - the fade needs a clear direction.
22. Chocolate glitter line at the edge
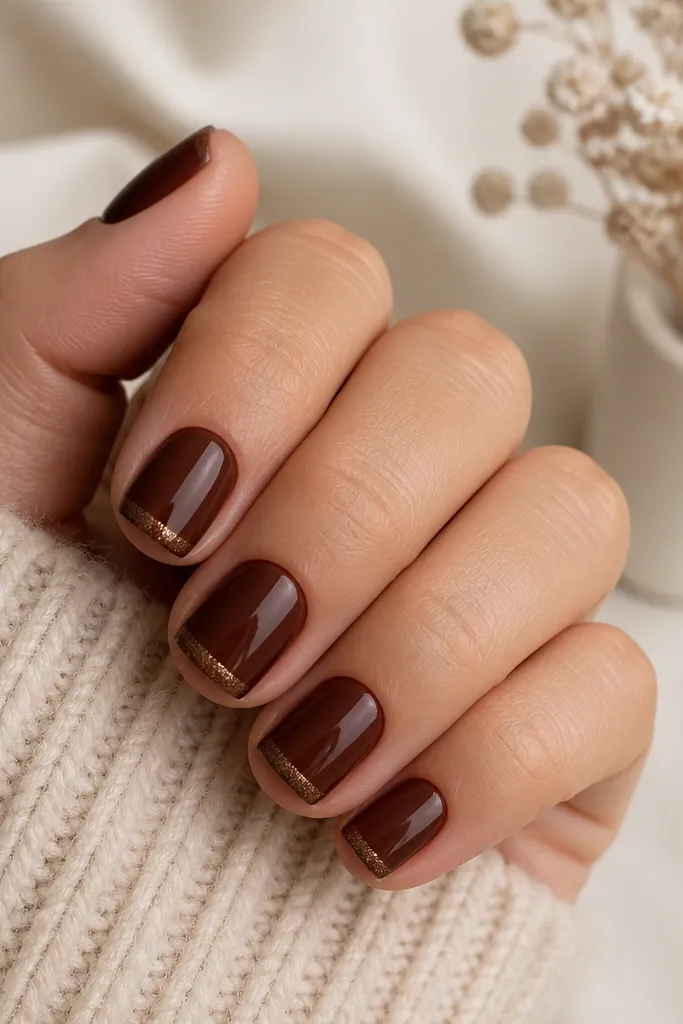
Glitter borders look expensive on short nails because they sit where the light hits. A thin line keeps the nail from looking chunky. Chocolate glitter blends with the brown base so it doesn't look like "random sparkle." Gloss seals the glitter so it stays smooth.
Paint chocolate brown base. Using a striping brush or thin sponge brush, apply a thin glitter line right at the free edge, about 1 mm tall. Press gently so glitter adheres evenly. Top coat over carefully, using thin layers to avoid bumps.
Editor's noteIf glitter catches on fabric, do a final ultra-thin top coat, then buff lightly once dry.
Watch outAvoid full glitter nails if you want short-length flattering - it can look heavy.
23. Toffee plaid mini squares
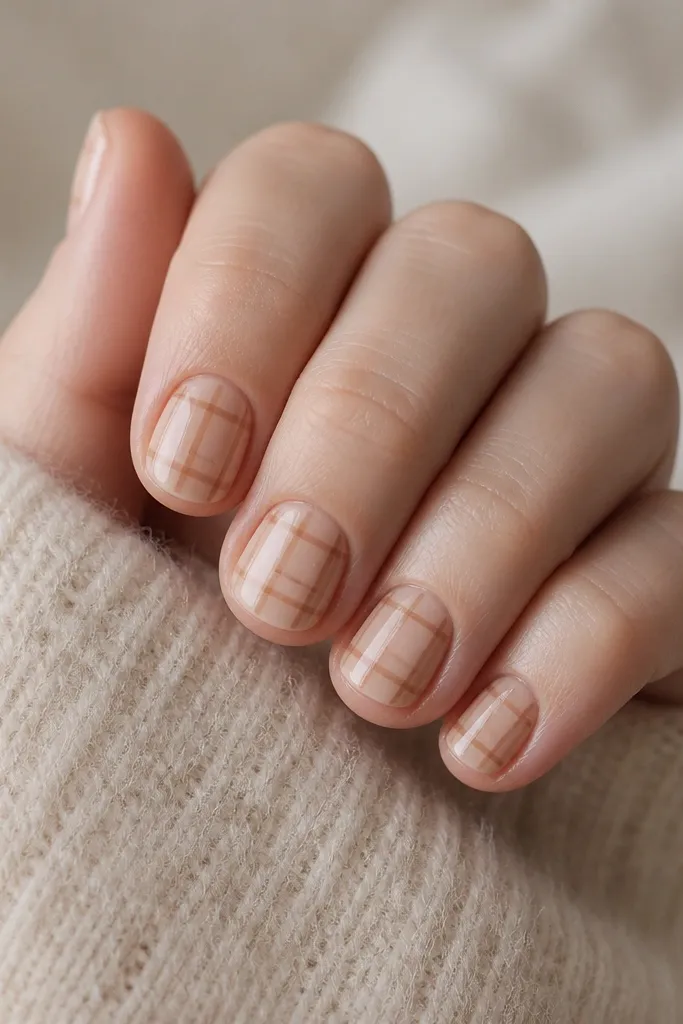
Plaid looks cute and structured when the squares are tiny. Nude base keeps the pattern light, and the two close browns avoid harsh contrast. Thin lines are the trick - they keep short nails from looking thick or busy. Gloss makes the lines look crisp and smooth.
Paint a nude base. Use a striping brush to draw thin vertical lines across the nail, then add horizontal lines to form small squares. Keep the plaid to the center area so the tip stays clean. Add a third line only if you want extra depth, using a slightly darker brown.
Editor's noteLet each line dry before adding the next so the plaid stays sharp.
Watch outAvoid thick marker-like lines - they look messy on short nails.
24. Mocha cuticle shimmer frame
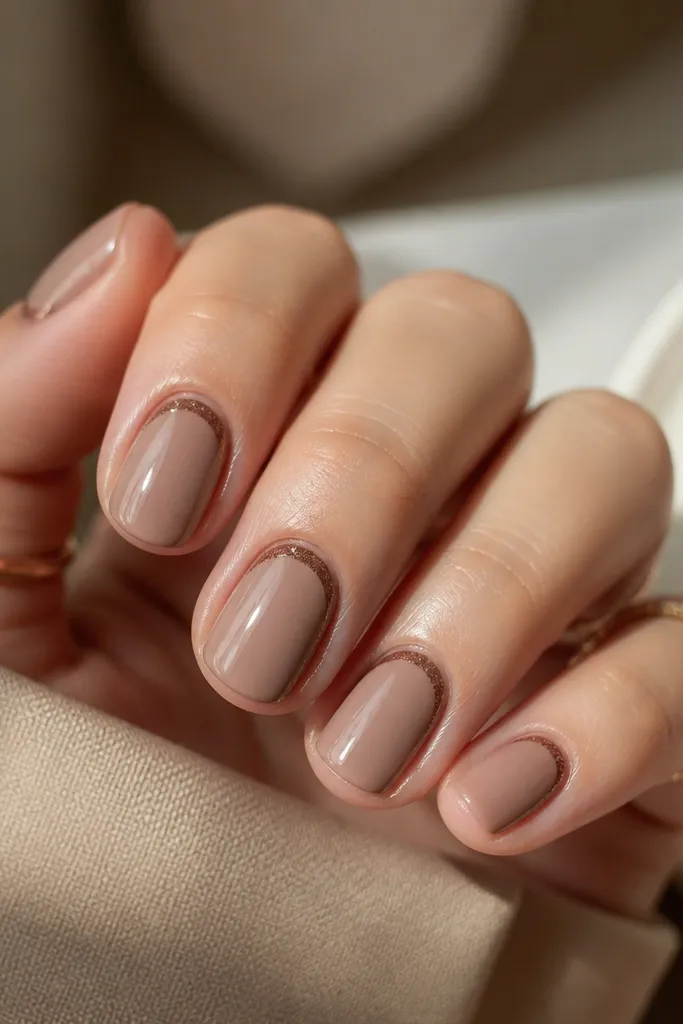
A cuticle frame draws the eye around the nail and makes the nail look neatly finished. Shimmer at the base reads like jewelry, and the nude mocha keeps it wearable. This design is subtle but high impact because the shimmer catches light right where your hand moves. Gloss keeps the frame smooth and not gritty.
Paint a mocha nude base. Using a small liner brush, draw a thin curved line around the cuticle, leaving the center clean. Use a brown shimmer polish or fine glitter gel for the frame. Apply top coat carefully so it doesn't flood under the skin edges.
Editor's noteUse a silicone cuticle pusher to gently remove any stray shimmer from the skin before top coat.
Watch outDon't overfill the cuticle frame - thick shimmer can lift and look rough.