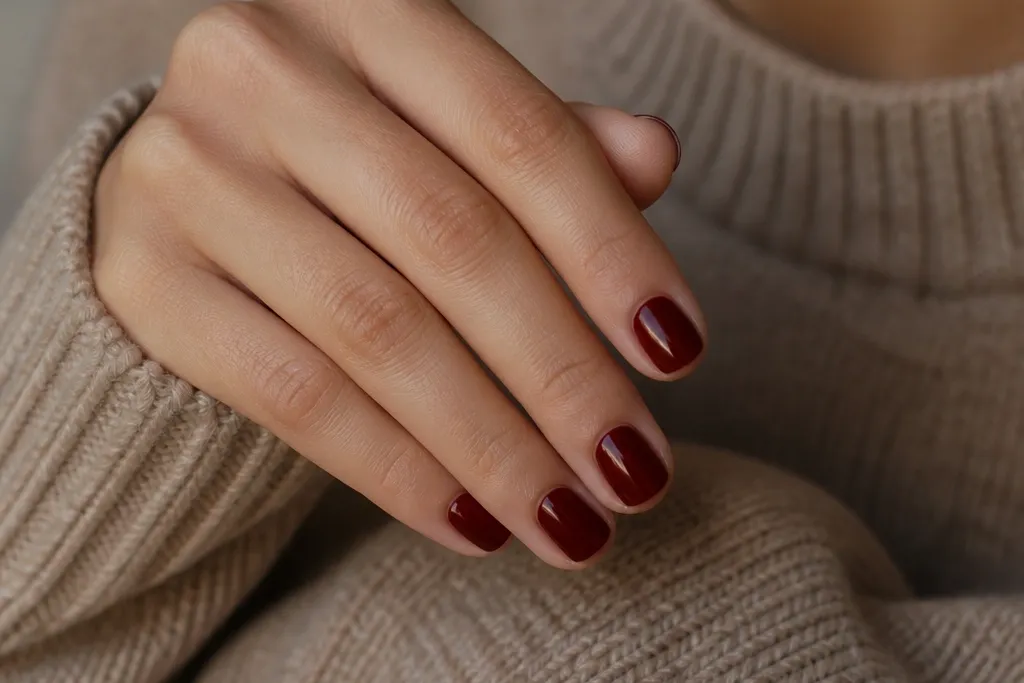
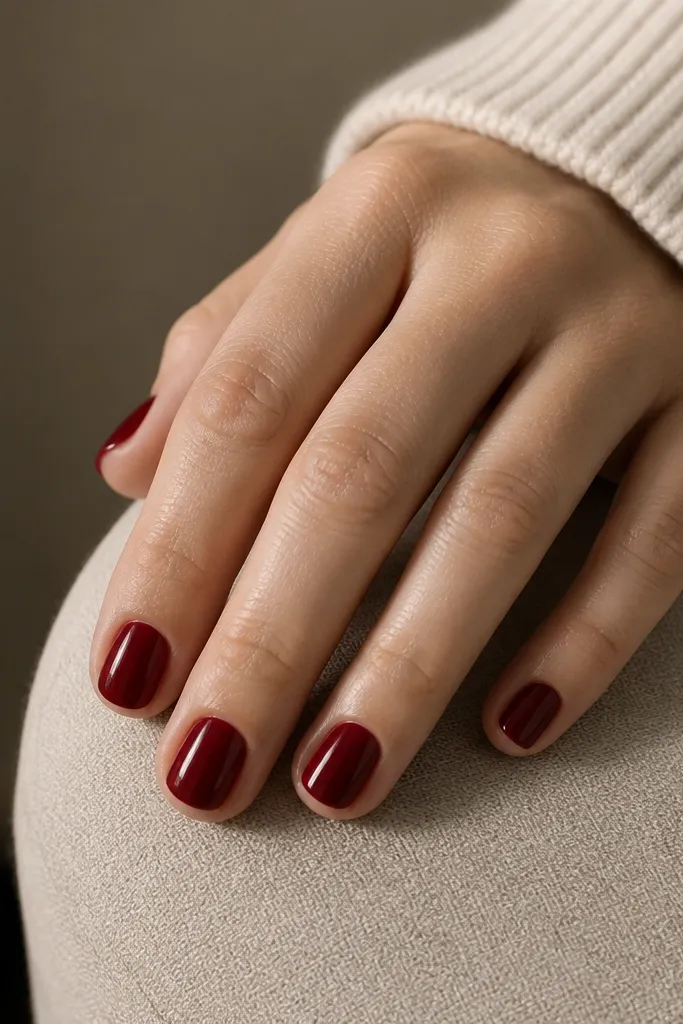
1. Cherry Gloss Soft Squoval
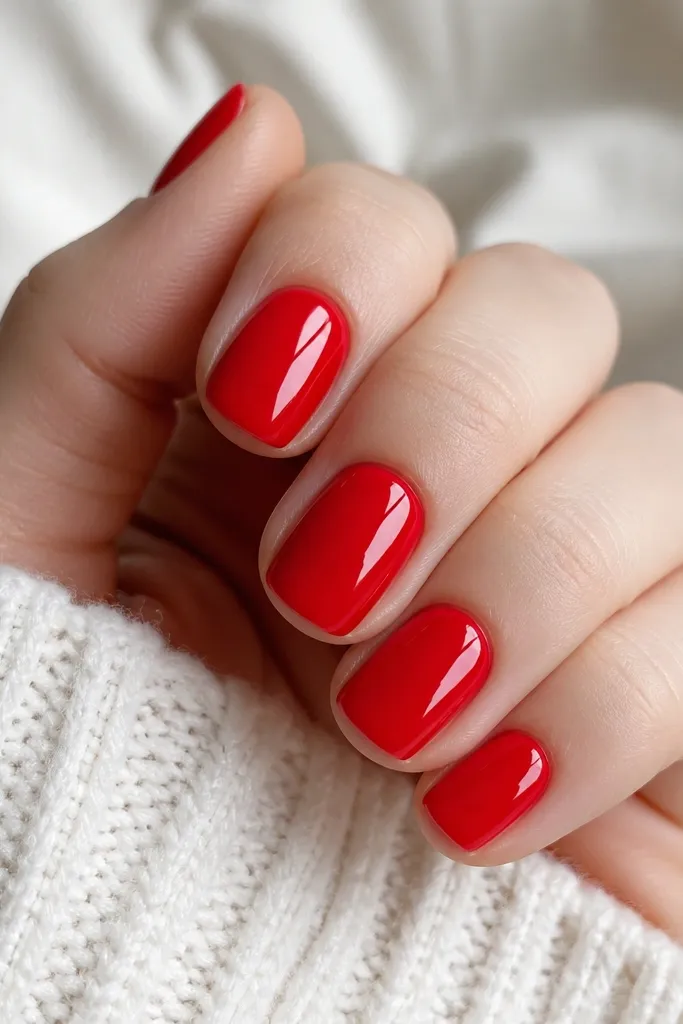
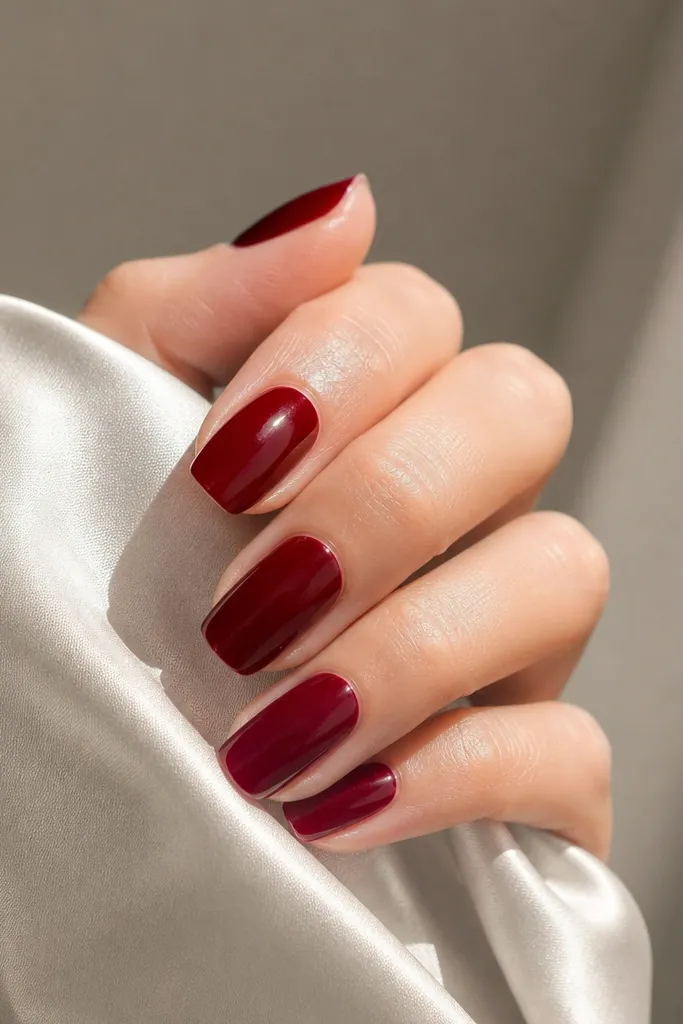
This is the clean baseline I use when I want deep red nails short easy to look expensive without art. The shade is a true cherry - slightly blue-toned so it stays red, not rusty. High gloss matters because deep reds show every tiny texture and streak. With soft squoval, the rounded sides make the red look smooth and lengthening.
Shape your nails so the tip is squared just a touch, then round the corners with a file. Apply two thin coats of cherry gel polish, then cap the free edge on each coat. Finish with a glassy topcoat, cured fully at the end.
Editor's noteAfter your second coat, wipe the tacky layer with a gel cleanser and inspect in a mirror - fix uneven spots before topcoat.
Watch outDon't use a thick first coat; it pulls pigment toward the center and makes the short nail look bumpy.
2. Black-Cherry Half-Moon
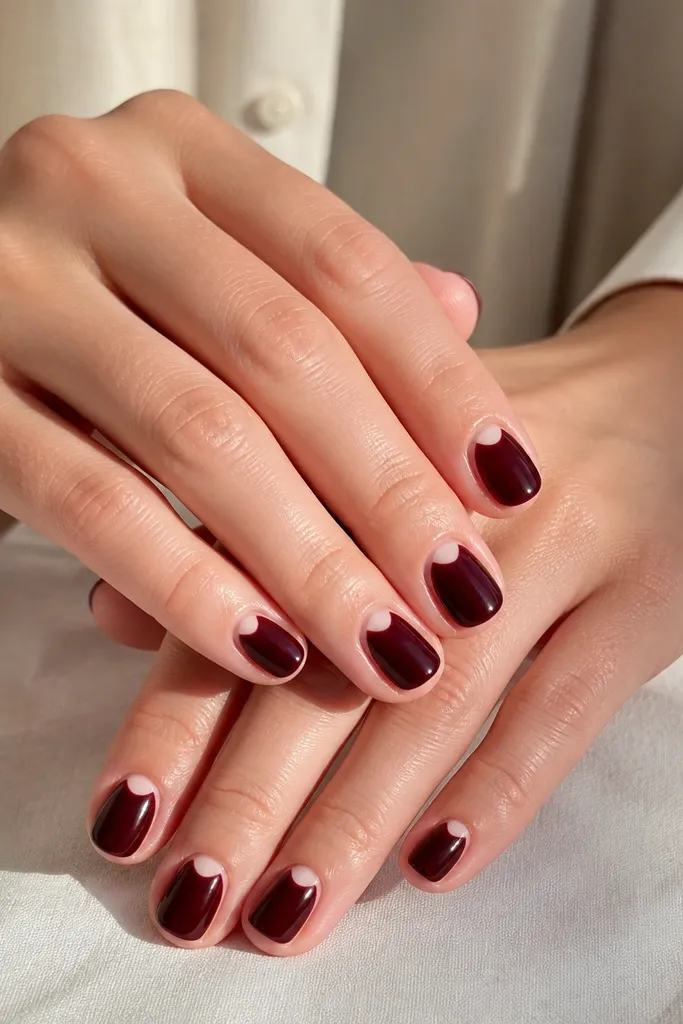
A half-moon on short nails gives the illusion of a longer nail bed while keeping the look minimal. I pair a near-black cherry base with negative space so the detail looks crisp instead of muddy. The half-moon placement should sit just above the cuticle line, not halfway down the nail. This one looks great when your nails have tiny ridges because the negative space hides uneven coverage at the top.
Paint a black-cherry base in two coats. Use half-moon guides or cut thin nail tape to mask the top curve, then remove the mask before topcoat. Keep the exposed half-moon width around 1/5 of the nail width.
Editor's noteIf you don't have guides, use a tiny piece of tape and press only at the center first, then smooth the ends down.
Watch outDon't drag the brush over the cuticle to "fill" gaps - it blurs the half-moon edge.
3. Micro Dot Cherry Confetti
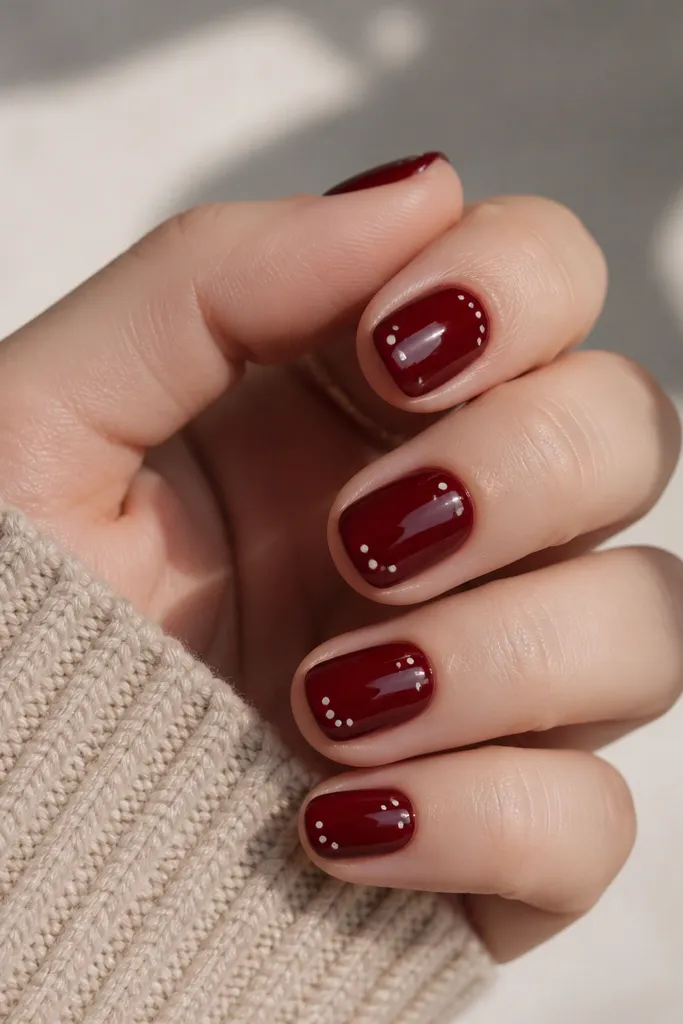
Micro dots make deep red feel playful without turning into chunky nail art. I like a white dot because it pops hard against cherry and doesn't look gray. Place the dots near the sidewall rather than the center so short nails look longer. The dots also break up the solid color, which hides minor application lines.
Start with two coats of cherry red. Use a dotting tool with acrylic paint or gel paint to place 2 small dots per nail, each about the size of a pinhead. Cure each dot if using gel, then seal with a glossy topcoat.
Editor's notePractice dot size on a paper towel first - gel paint spreads slightly when cured.
Watch outAvoid big dots; they swallow the nail width on short lengths.
4. Thin Gold Line Tip
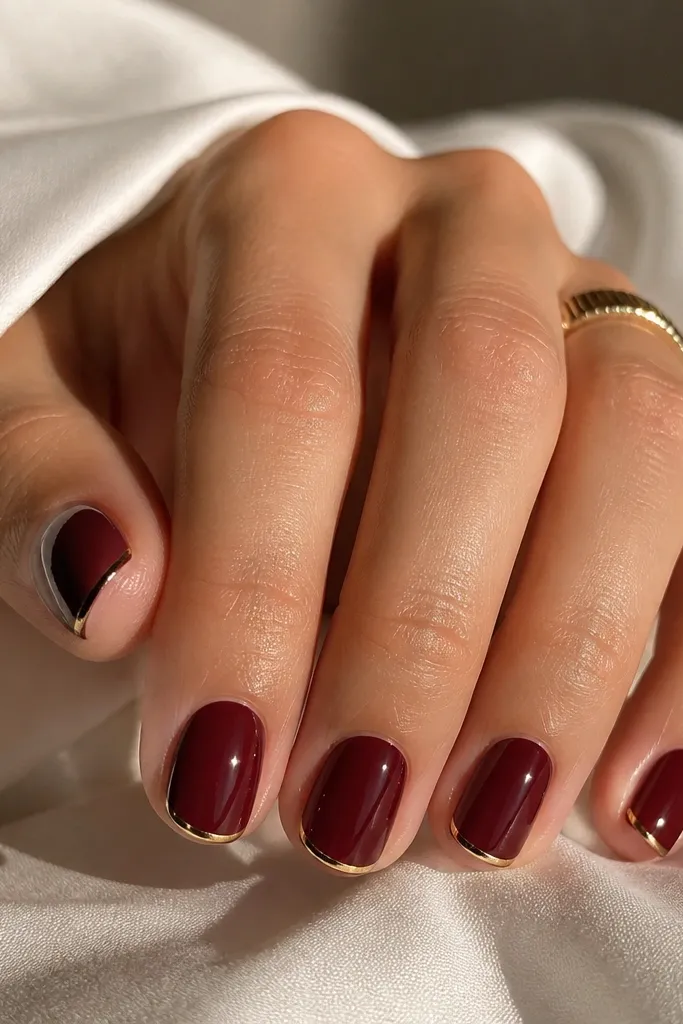
A single thin gold line at the tip makes deep red look tailored. The gold reads like jewelry, and the line placement creates a clean boundary that makes short nails look intentional. Keep the line narrow - about the width of a hair - so it doesn't thicken the nail visually. This one looks amazing for holiday parties and dinner plans because it catches light immediately.
Paint nails deep wine-red in two coats. Use a 10/0 striping brush with gold gel polish and draw a straight line just inside the free edge, leaving a tiny red border. Cure and finish with glossy topcoat.
Editor's noteIf your line wobbles, fix it with a tiny brush dipped in cleanser before curing - once cured, red gel won't erase cleanly.
Watch outDon't wrap the gold line down the sides; it makes short nails look wider than they are.
5. Matte Deep Cherry with Gloss Accent
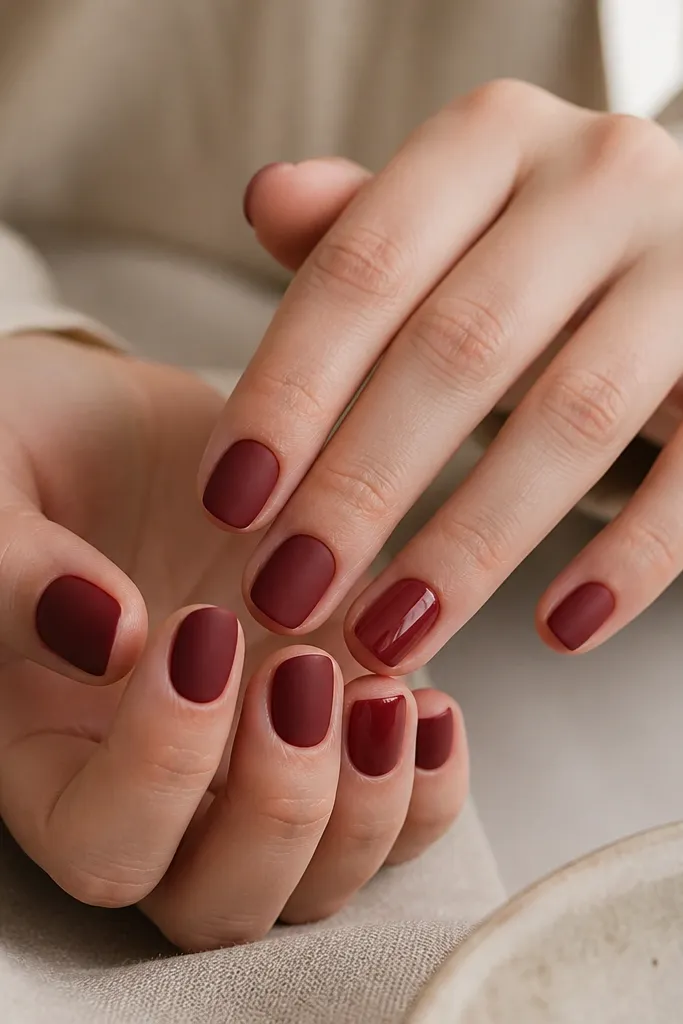
Matte makes deep red look velvety and soft, and the gloss accent keeps it from feeling flat. I do matte on all nails except the ring finger, which gets glossy topcoat only. The contrast is what makes short nails look styled rather than "unfinished." This set also hides tiny surface imperfections better than full gloss.
Apply deep cherry gel in two coats. Cure, then apply matte topcoat to all nails except the ring finger. On the ring finger, apply glossy topcoat instead and cure both properly.
Editor's noteStir matte topcoat gently - shaking adds bubbles that show on short nails.
Watch outDon't touch matte nails right after curing; fingerprints grab fast.
6. Crimson Gradient Fade
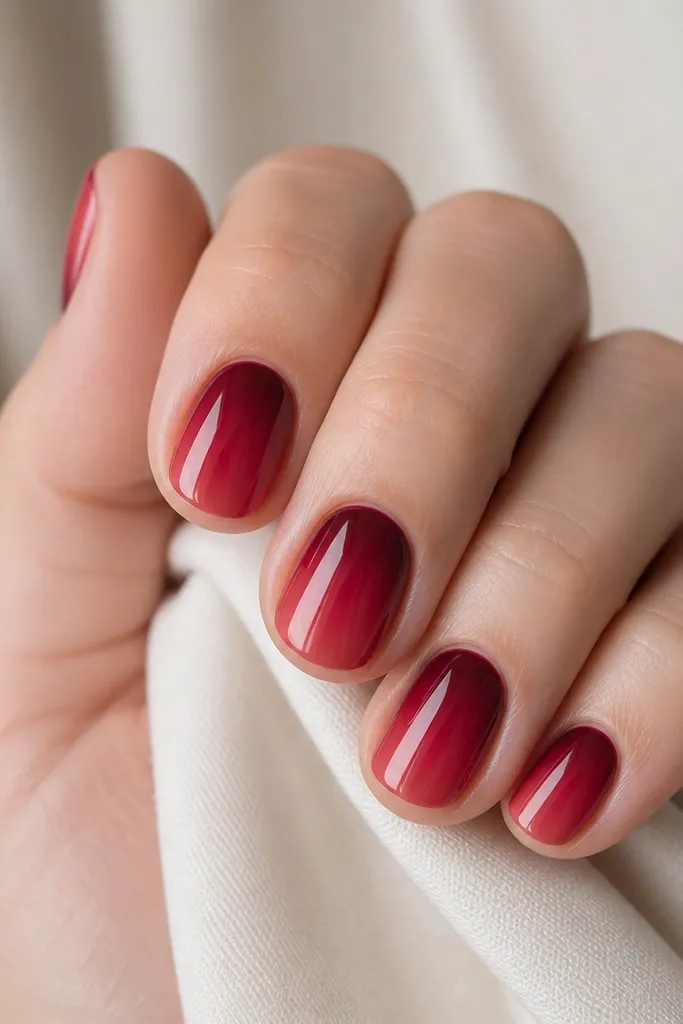
A gradient fade lengthens because the darker color anchors near the cuticle and the lighter tone lifts the tip. I use two close reds: a near-black crimson base and a brighter cherry-red top layer. The gradient has to be subtle; if it looks striped, it defeats the lengthening effect. This is one of the easiest ways to make short nails look custom without complex art.
Paint a near-black crimson in two coats. Sponge a brighter cherry-red onto the top half of the nail, then blend downward with light taps. Seal with glossy topcoat, and cap the free edge.
Editor's noteUse a makeup sponge cut small - big sponges deposit too much pigment on short nails.
Watch outDon't overlap the sponge too far down; thick fade bands make short nails look shorter.
7. Red Patent Skittle (Two-Tone Accent)
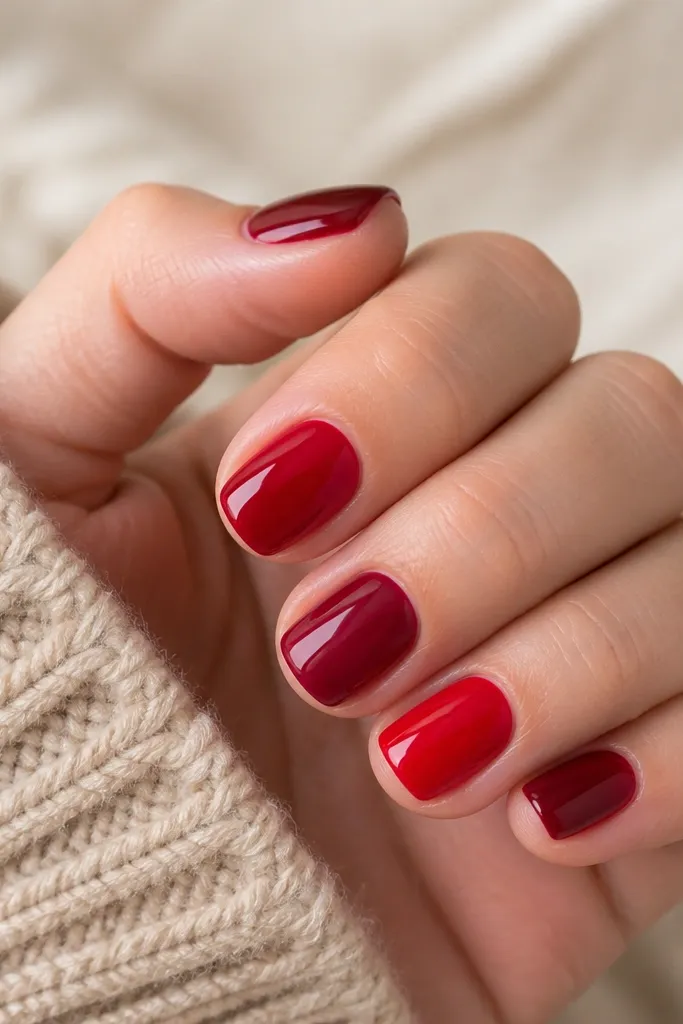
This is my "I want variety but still easy" set. Most nails stay deep red, and two nails get slightly different shades so your hand looks styled without nail art tools. The key is keeping everything glossy and clean - the color difference does the work. It flatters short nails because the shine makes each nail look even.
Pick two reds: deep cherry and bright true red, plus optional maroon for the accent nail. Paint deep cherry on three nails, bright true red on the next, and maroon on the last. Finish with one consistent glossy topcoat so all nails reflect light the same way.
Editor's noteKeep the accent nails on the same fingers each hand so the set looks intentional.
Watch outAvoid matte with multiple reds; the shade differences look patchy on short nails.
8. Oxblood Micro Chevron
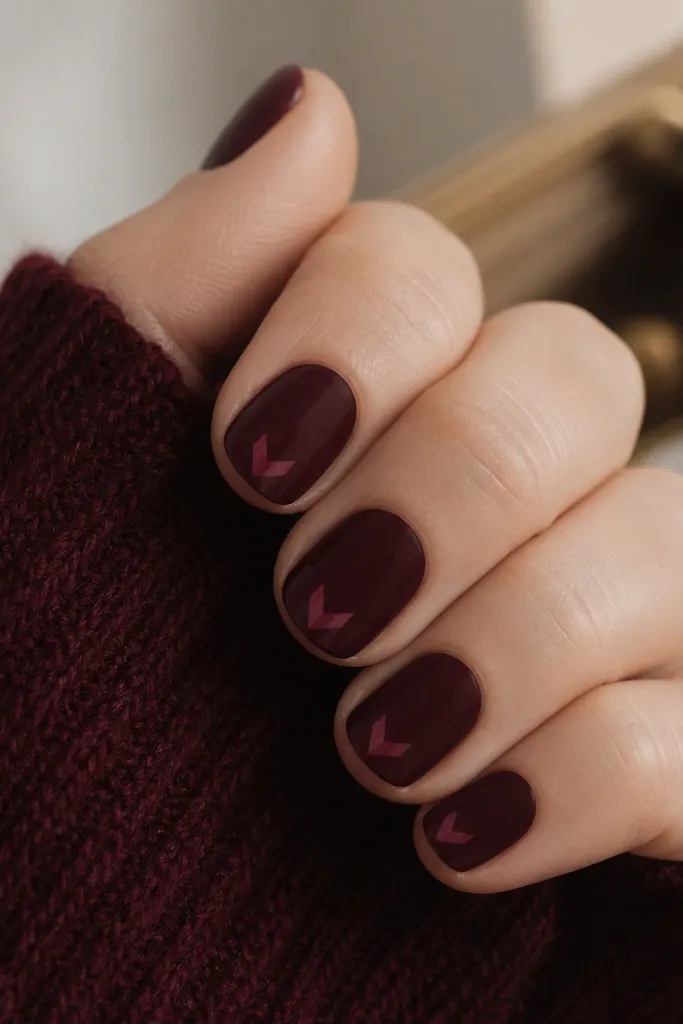
A micro chevron gives a graphic look without taking over the nail. I use oxblood as the base and a slightly lighter burgundy for the chevron so it stays in the same family. Place the chevron near the tip, not the center, so short nails still feel long. It looks sharp in photos because the lines catch light.
Apply oxblood in two coats. With a 00 liner brush, paint two diagonal lines meeting at a point near the free edge, leaving small gaps so it doesn't look like a blob. Add one more thin highlight line if you want extra definition, then topcoat.
Editor's noteUse nail tape as a guide strip so both diagonals match thickness.
Watch outDon't make the chevron too wide; it will swallow the short nail.
9. Deep Red Side Fade
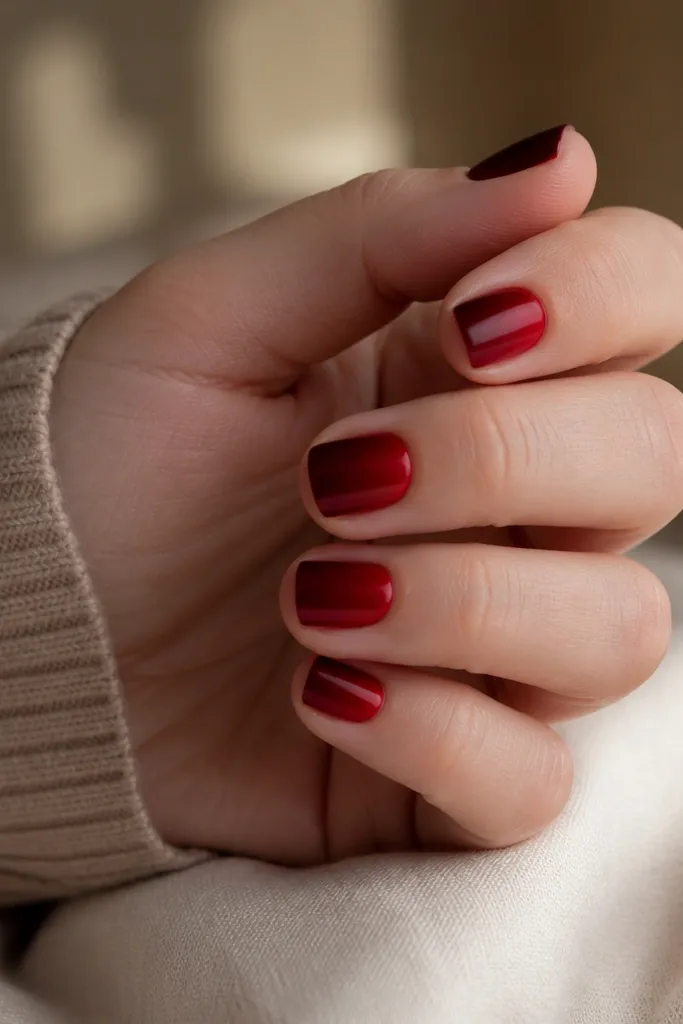
Side fade is a sneaky trick for short nails because it creates movement along the nail's vertical line. The lighter tone on one side makes the nail look narrower and longer. I like using a brighter cherry-red fade over a darker oxblood base so the contrast stays subtle. It also hides small asymmetry in nail shape because the fade draws the eye.
Paint a deep oxblood base in two coats. Sponge or brush a lighter cherry-red onto just one side of the nail from mid-nail to the tip. Blend with a clean brush lightly at the edge, then seal with glossy topcoat.
Editor's noteKeep the fade edge soft - harsh stripes look accidental on short nails.
Watch outDon't put the lighter shade in the center; it makes the nail look wider.
10. Glossy Deep Red with Cuticle Dot
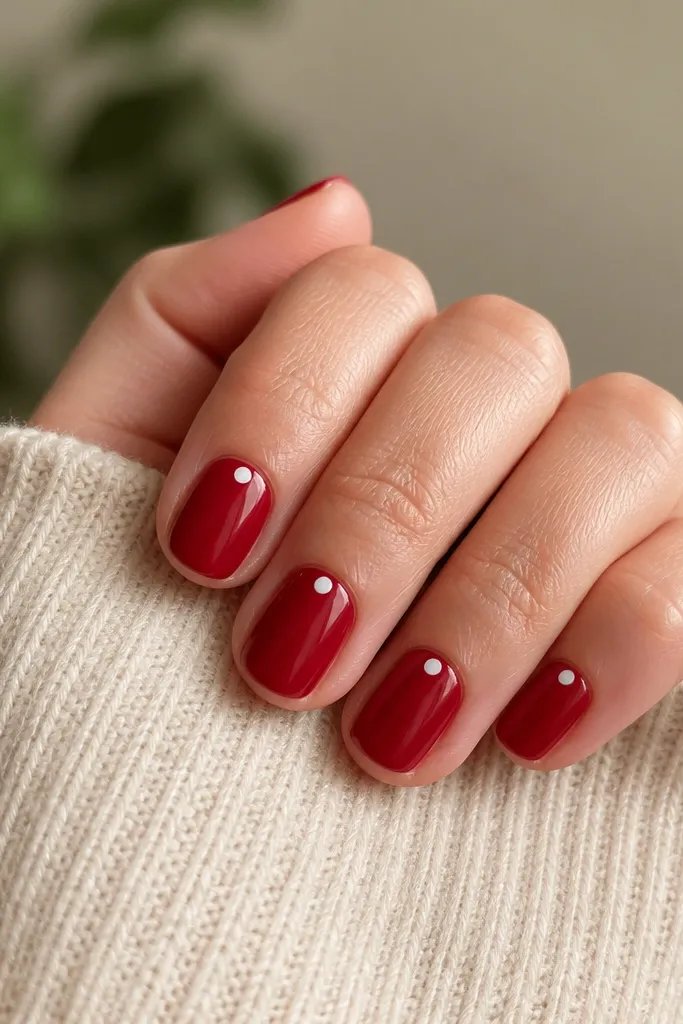
This is the smallest accent that still feels styled. The cuticle dot acts like a focal point that draws attention upward, which helps short nails look more deliberate. I use white gel paint so it stays crisp and doesn't turn translucent. The rest stays pure deep red and glossy for a clean, modern look.
Apply deep red in two thin coats and cure fully. Dot a tiny white circle at the cuticle center - the dot should be about 1/10 the nail width. Cure and finish with glossy topcoat.
Editor's noteUse the side of your dotting tool, not the tip, to control dot size.
Watch outAvoid placing the dot too low; it should sit near the cuticle line.
11. Red Marble Swipe (Simple)
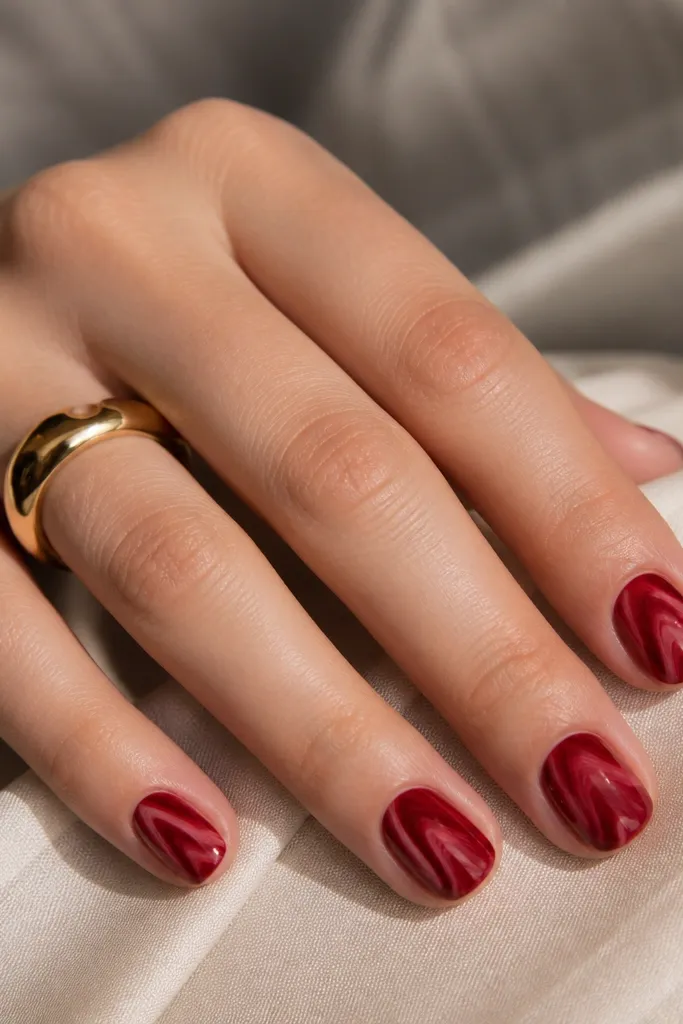
Marble can look complicated, but the swipe method is quick and forgiving. Deep red marble looks classy because the movement stays in one color family. I mix a darker wine and a brighter cherry so the marble has contrast without going pink or brown. Short nails love marble because the pattern breaks up the flat color plane.
Paint deep red base in two coats. On a damp top layer (or with gel paint), drag a thin brush loaded with lighter cherry across the nail in 2-3 streaks, then repeat with a darker wine. Use a cleanup brush to soften edges before curing. Finish with glossy topcoat.
Editor's noteDo marble on two nails per hand, not all five. It looks more intentional when you leave some plain deep red.
Watch outDon't swirl aggressively; tight swirls look muddy on short nail width.
12. Rhinestone Halo on One Nail
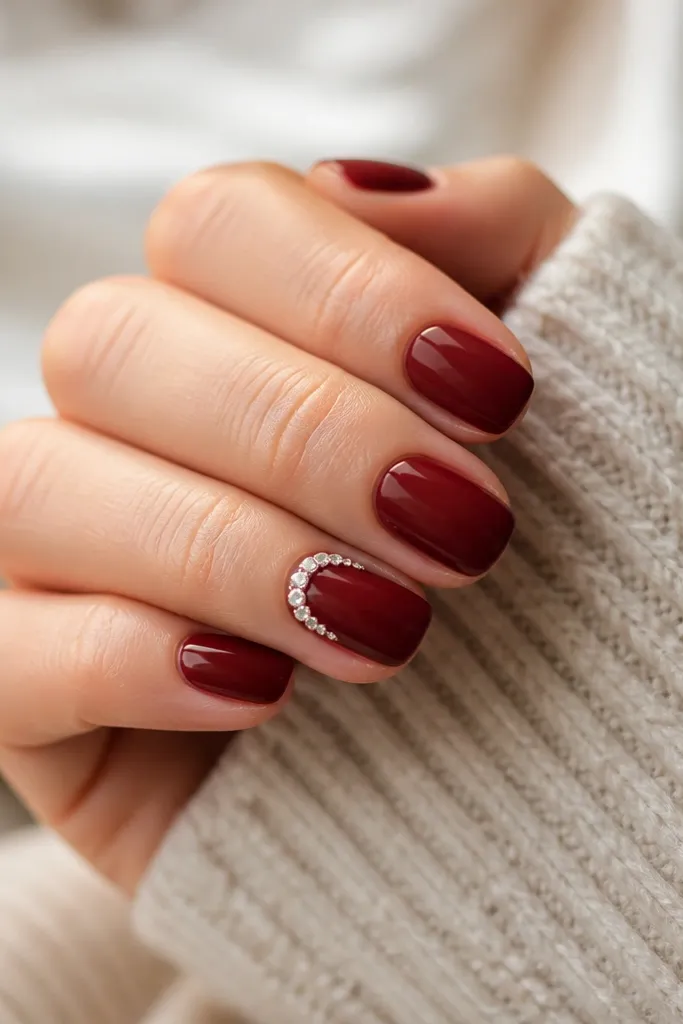
A tiny rhinestone halo gives you that "done for tonight" look without heavy coverage. I place the stones in a half-circle so it frames the nail bed and makes short nails look longer. The base stays deep red and glossy so the stones sit on a smooth surface. Keep it to one accent nail per hand to avoid clutter.
Paint deep red in two coats. On the accent nail, apply a small amount of gel adhesive near the cuticle curve and set 6-8 tiny clear stones in an even arc. Cure, then seal around the stones with a thin topcoat layer.
Editor's noteUse tweezers with good grip and place the stones slowly - one misaligned stone ruins the curve.
Watch outDon't bury stones under thick gel; it makes them look cloudy and raised.
13. Velvet Oxblood with Dry Brush
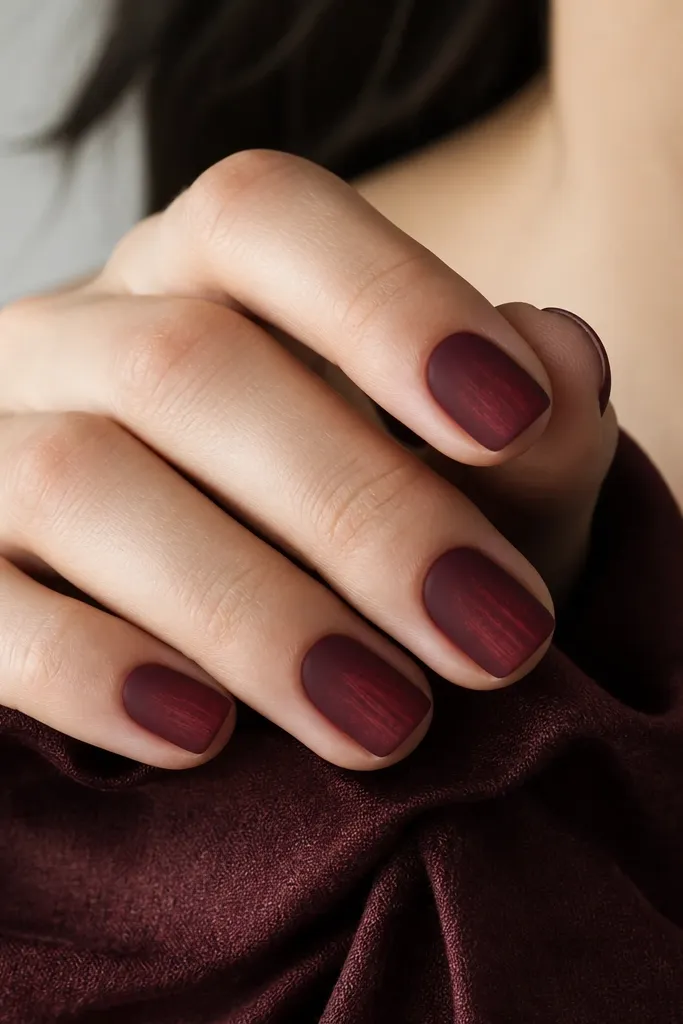
Velvet finish makes oxblood look like fabric and it hides tiny nail texture. The dry brush adds a little dimensional fade that still reads "deep red" from across the room. This is a great option if your nails have slight ridges because matte reduces shine reflections that show imperfections. The lighter streaks are subtle, so it stays wearable.
Apply oxblood gel, then use a velvet-matte topcoat (or matte topcoat plus a velvet powder kit if you have it). For the dry brush, tap a small amount of lighter burgundy onto a dry flat brush and swipe lightly near the tips. Seal with a matte topcoat again.
Editor's noteLess paint on the dry brush - you want whisper-thin streaks, not visible brush lines.
Watch outAvoid thick dry brush - it turns patchy on short nail real estate.
14. Deep Red Chrome Half-Moon
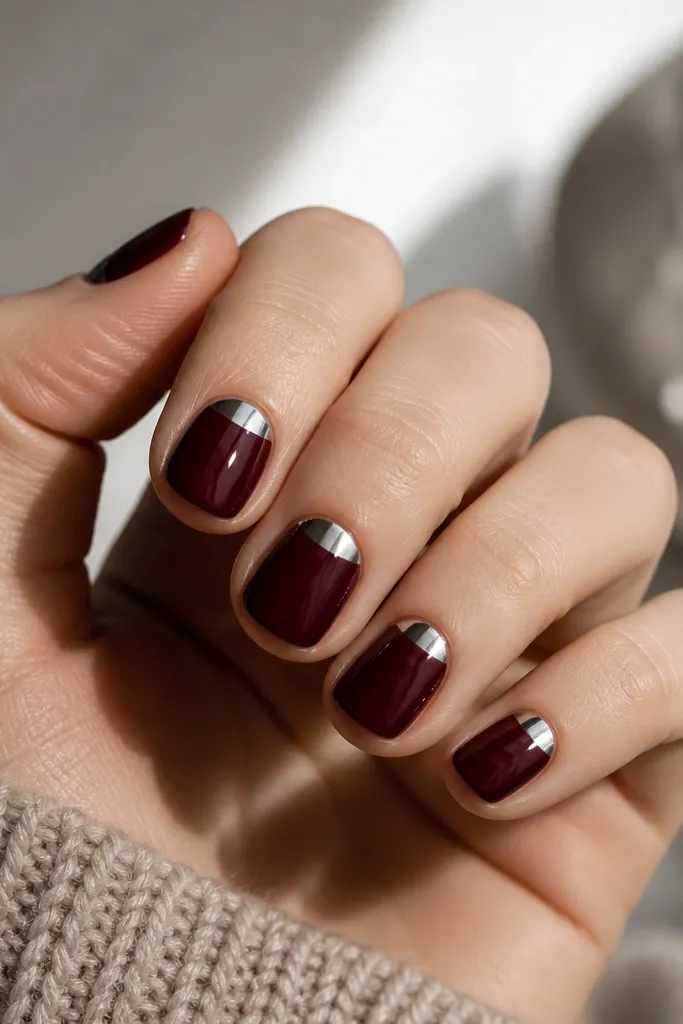
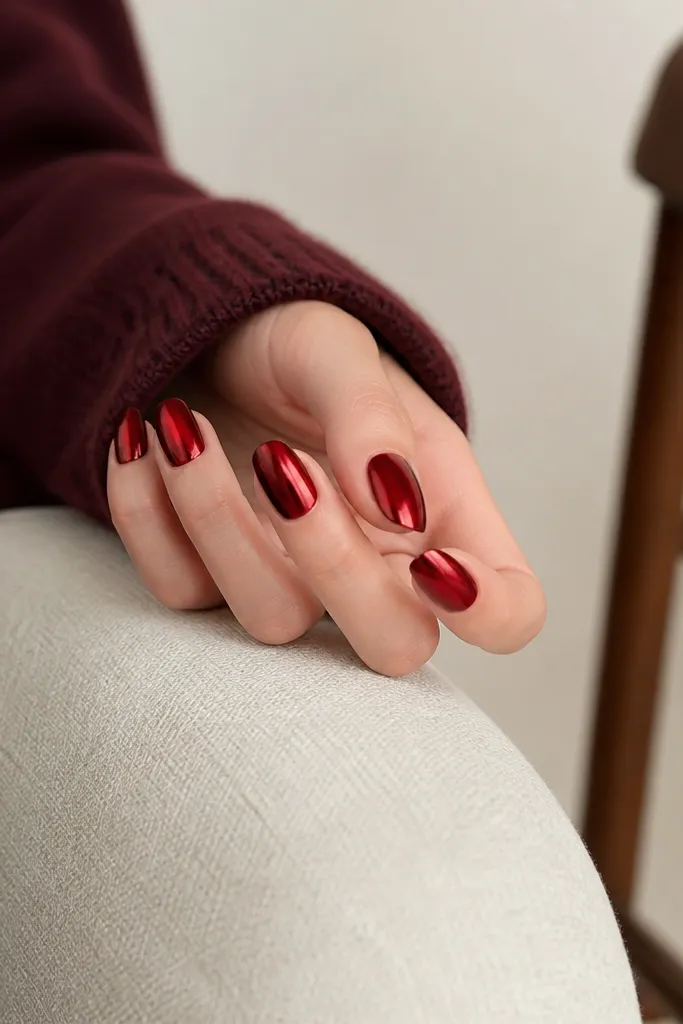
Chrome half-moon is the fast way to make deep red feel special. The reflective silver sits right at the cuticle, so it adds brightness and makes the nail look cleaner. I prefer a true silver chrome for this instead of gold because gold can go warm and dull the red. The look stays short-friendly because the chrome area stays small.
Paint deep red in two coats. Mask the half-moon with a small curved strip of nail tape, then apply silver chrome powder or chrome gel in that area. Buff lightly, remove tape, and seal with a topcoat that's compatible with chrome (use a thin layer).
Editor's noteIf your chrome looks dull, rub the area gently with a soft applicator pad before sealing.
Watch outDon't use a heavy topcoat right on chrome - it can kill the shine.
15. Deep Red Velvet French Tips
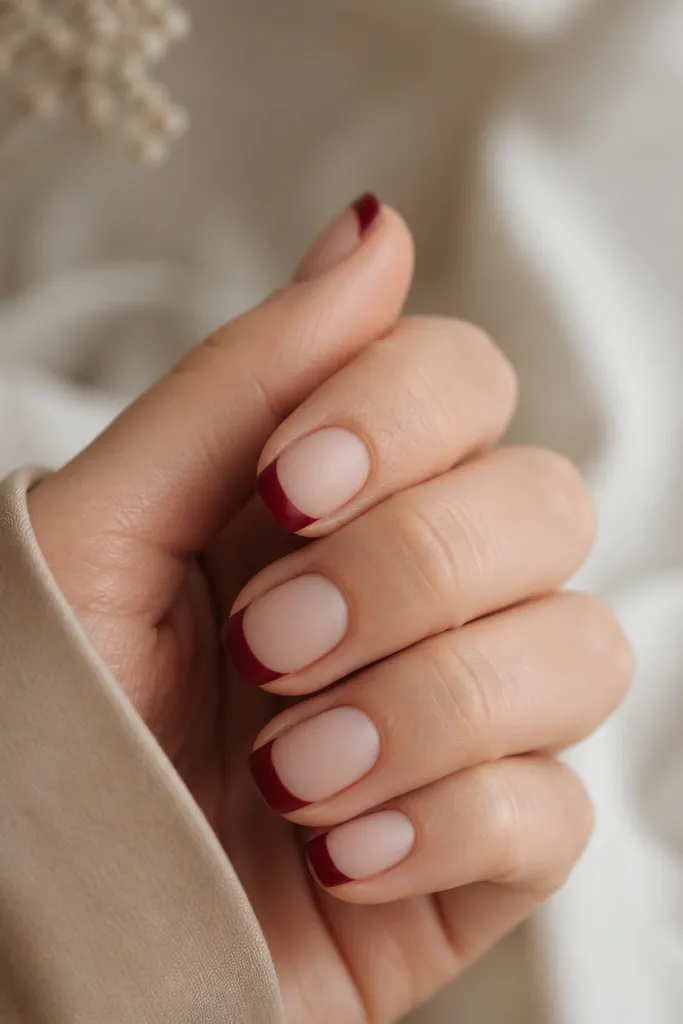
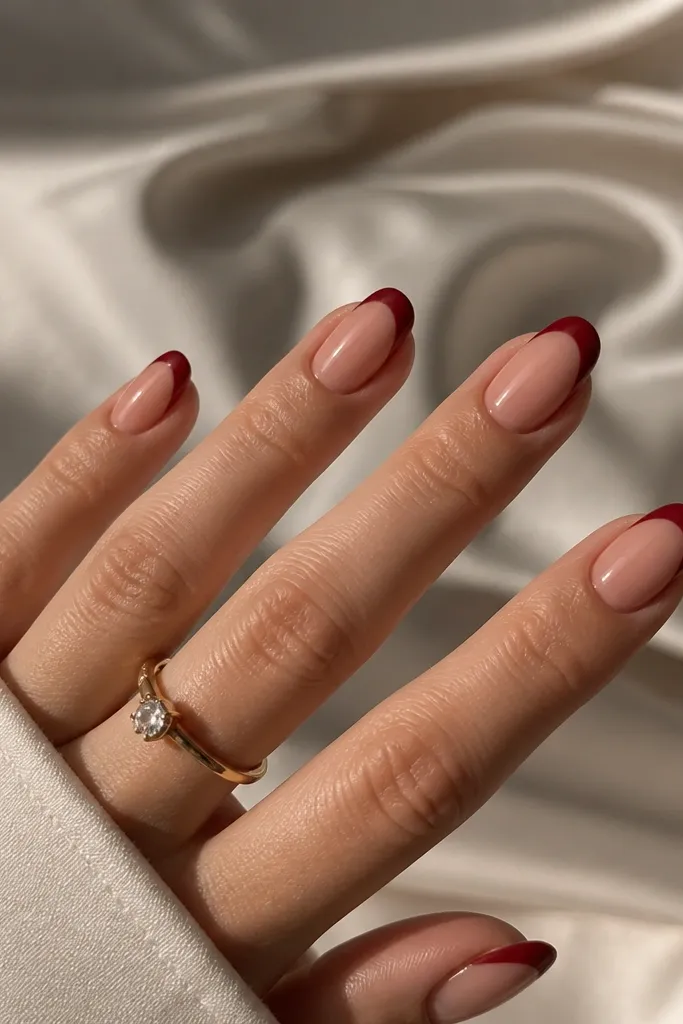
French tips on short nails look best when the tip line is thin and the base is clean. This set uses a nude-pink base with deep red French tips, then adds a velvet matte texture only on the red. That texture makes the red look thicker and richer even on a short nail. It's a classy look that still reads modern because the velvet finish isn't glossy.
Apply a nude-pink base gel in two thin coats. Use a French guide strip and paint deep red tips in one or two thin coats. Cure, then matte or velvet topcoat only on the red tips so the base stays glossy or satin.
Editor's noteKeep the French line slightly higher than you think - short nails need the tip line to be crisp, not wide.
Watch outDon't make the tip too thick; thick French tips shrink the nail bed visually.
16. Deep Red Micro Studs
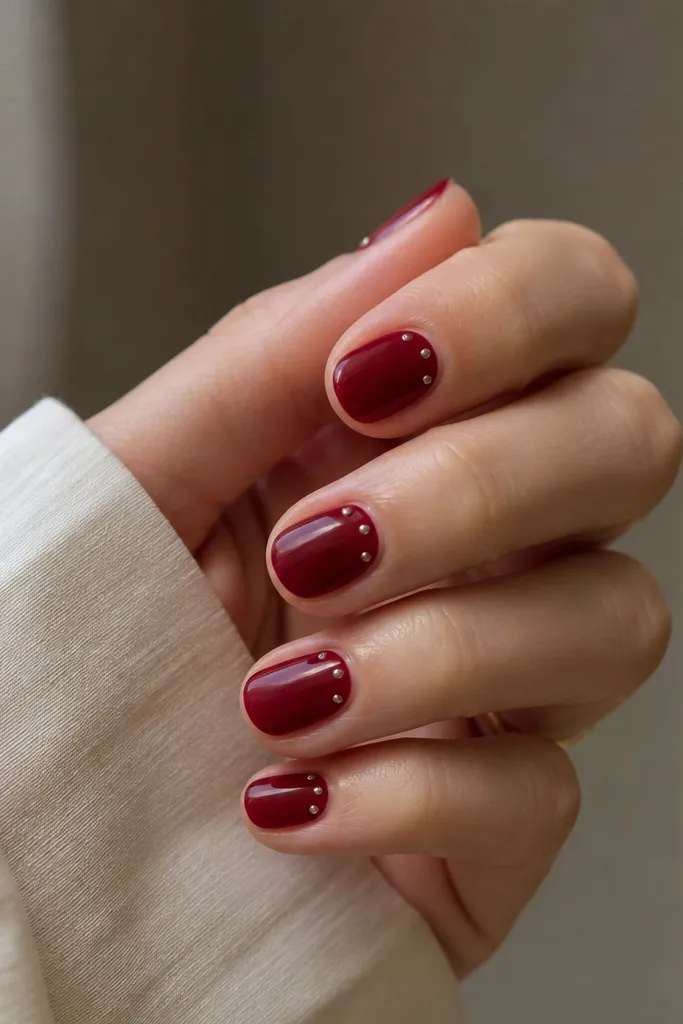
Micro studs add texture without bulky nail art. I place one stud near the sidewall on each nail, then vary the position between index and ring finger so the hand looks styled. The studs catch light like little dots, which makes deep red feel more dimensional. This is also a good option if you hate painting details - you're placing hardware, not drawing lines.
Paint deep red in two coats and cure. Add a small dab of gel adhesive where you want each stud, then place tiny studs with tweezers. Cure and seal with a thin topcoat layer that covers the base of each stud.
Editor's notePress each stud for 5-8 seconds so it grabs before curing.
Watch outAvoid large studs; they make short nails look top-heavy.
17. Wine Red Gloss with Negative Stripe
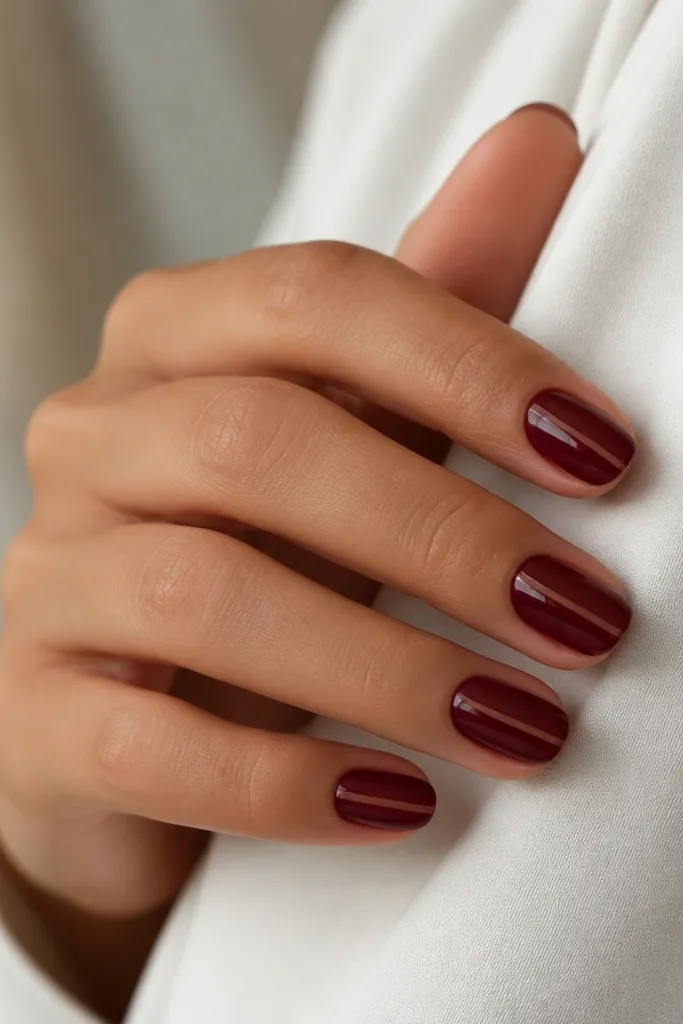
A single vertical negative stripe creates a long, clean line. Deep wine-red stays rich, and the stripe adds breathing room so the nail doesn't feel crowded. This also makes your nail shape look more symmetrical because the stripe becomes the visual center line. I like a super thin stripe for short nails - anything wider looks like a gap.
Paint two coats of wine-red and cure. Apply a thin strip of nail tape lengthwise down the center, leaving a narrow gap, then paint over the tape with a final thin red layer. Remove tape before topcoat so the stripe stays negative.
Editor's noteUse cuticle scissors to trim tape edges so they don't lift at the sides.
Watch outDon't leave the stripe too low; it should start close to the cuticle line.
18. Deep Red Aura Glow (Sponge)
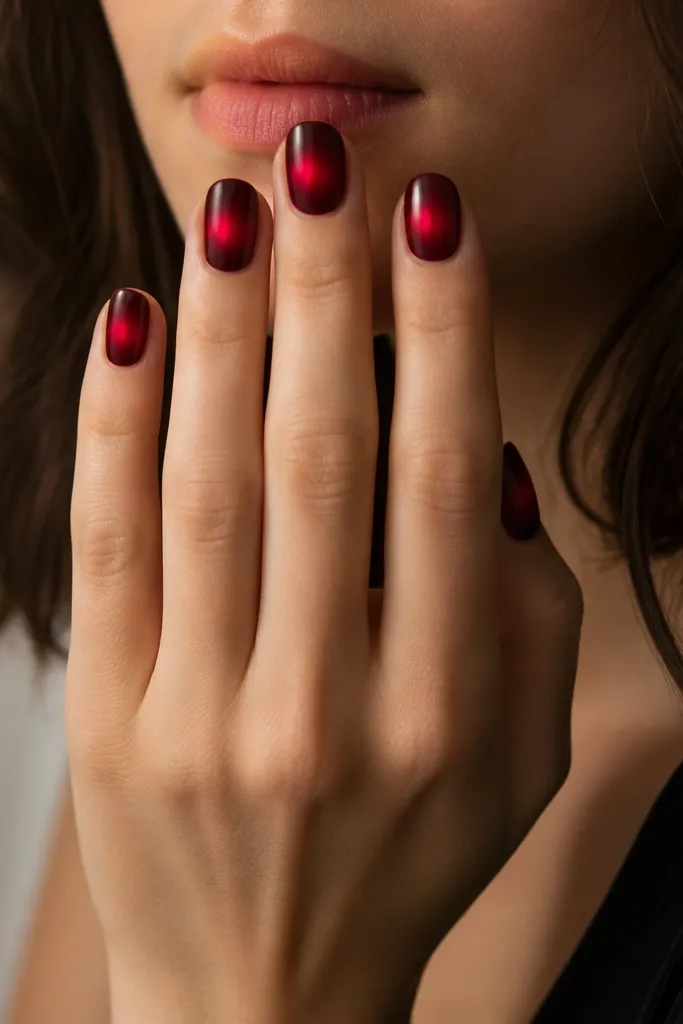
Aura nails look like a soft halo, and on short nails it adds a glow without needing long length. I use a darker deep red base, then sponge a brighter cherry-red in a small circle around the center above mid-nail. The glow effect makes the nail bed area look lifted. It's one of the easiest "looks like salon work" techniques.
Apply deep red base in two coats. Sponge brighter cherry-red around the center near the cuticle, using small circular taps so it stays diffused. Clean up the sides with a brush dipped in cleanser, then seal with glossy topcoat.
Editor's noteKeep the aura circle small - about 1/3 of the nail width - so it doesn't cover the whole nail.
Watch outAvoid hard edges from the sponge; wipe off excess sponge before tapping.
19. Deep Red Lace Bow Accent
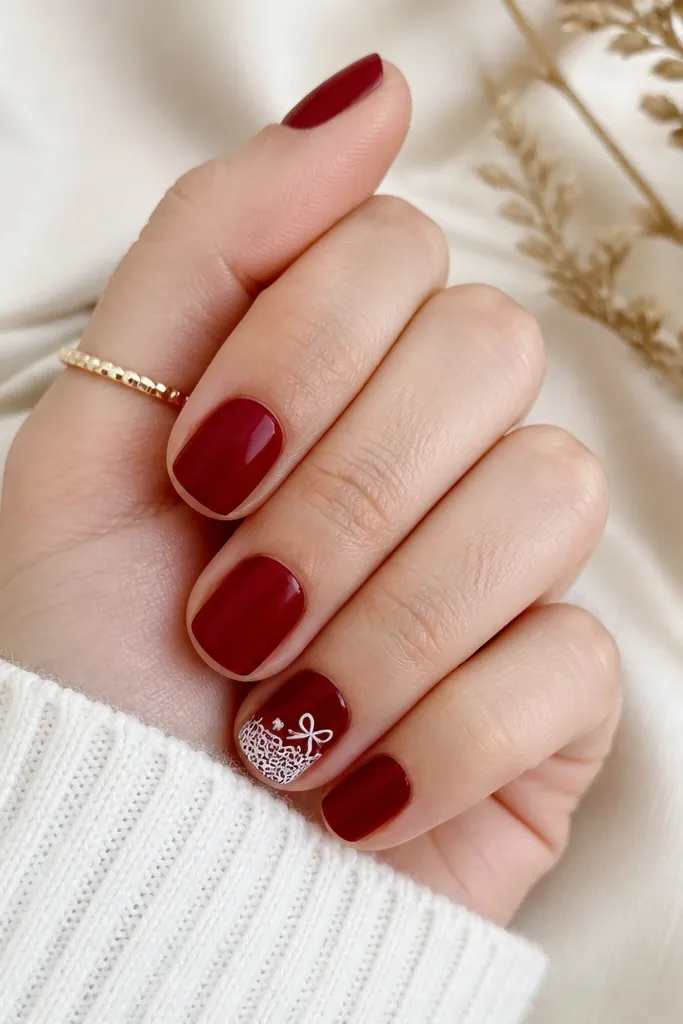
A lace bow is cute without being childish when the base is dark and glossy. I use white lace decals or lace stamping, then place a tiny bow motif on one nail near the tip. Deep red makes the white look crisp, not off-white. This set works especially well for date nights and weddings where you want something "pretty" but still grown.
Paint all nails deep red in two coats. On the accent nail, apply a white lace decal over a thin layer of clear gel, then add a small bow sticker or paint a bow with a 00 liner. Seal with glossy topcoat, focusing extra on edges so the decal doesn't lift.
Editor's noteTrim decal edges after it's set but before topcoat; it prevents a raised ridge on short nails.
Watch outDon't put lace on every nail; short nails need negative space to look clean.
20. Deep Red Swirl with Thin Outline
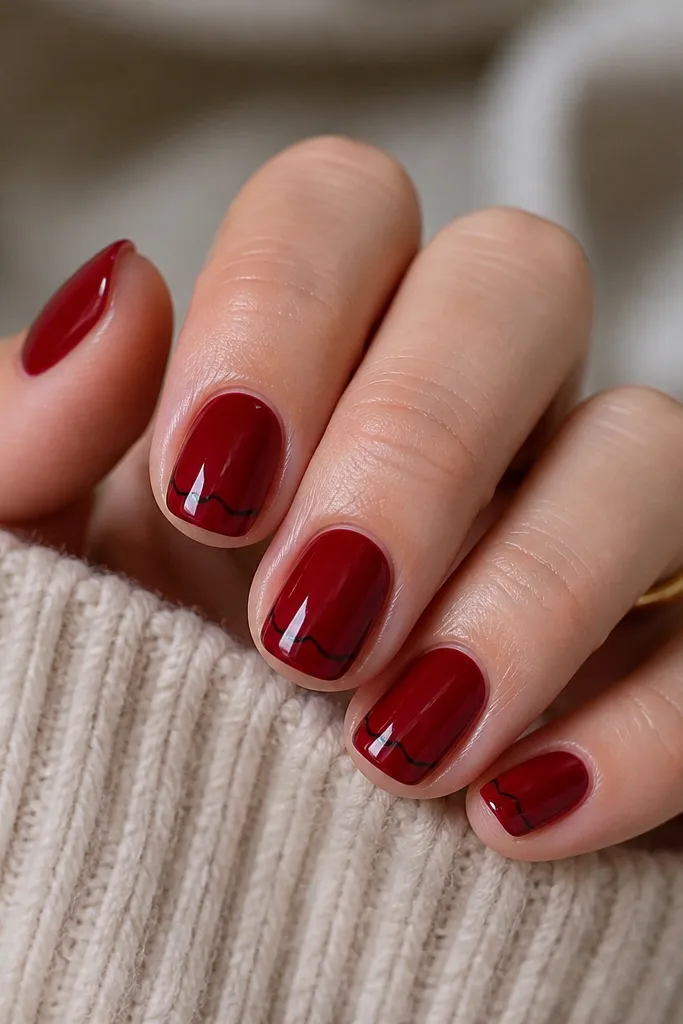
A thin swirl outline makes deep red look like nail art without heavy color changes. I use black gel paint for the outline because it stays sharp against dark red. Place the swirl near the tip so it frames the free edge and makes the nail look more curved. This style also covers tiny chips because the outline draws attention away from imperfections.
Paint deep red in two coats and cure. With a 00 liner brush, draw a small open swirl near the tip - like a gentle S curve. Outline it with black gel paint, cure, then seal with glossy topcoat.
Editor's noteIf your line is thick, wipe the brush on a lint-free pad before you start the swirl.
Watch outAvoid looping too many swirls; one clean curve looks intentional on short nails.