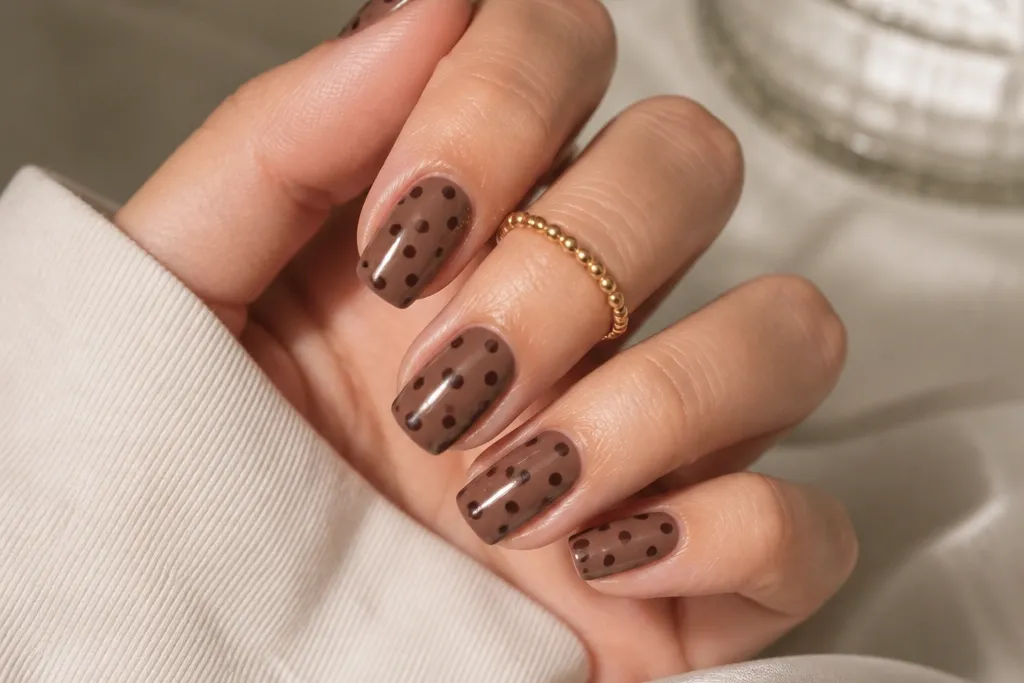
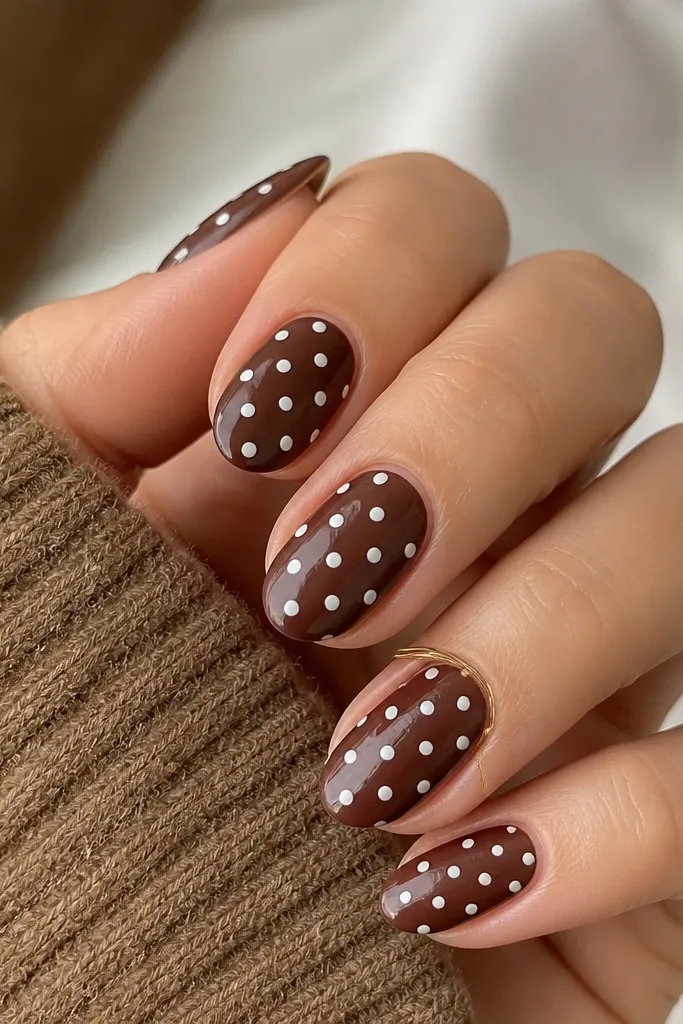
1. Chocolate French Tips with Tiny Dots
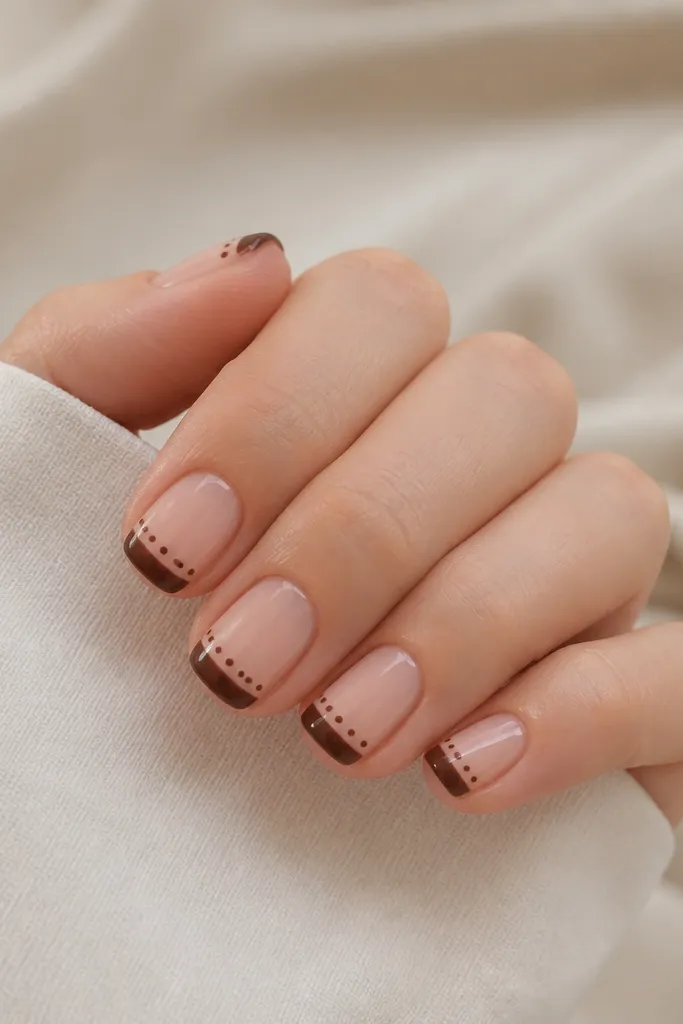
This setup makes your nail look longer without adding a full pattern. The nude base keeps the dots from feeling heavy, and the chocolate tip gives strong contrast. Tiny dots are forgiving because small circles hide small mistakes. The gloss makes each dot look like it's printed, not painted.
Paint two thin coats of nude (milky beige or classic nude). Create a French tip with a clean guide strip, then dot only inside the tip area. Use a dot tool or toothpick dipped lightly in chocolate so the dot lands round and stays that size.
Editor's noteAfter dotting, cap each tip edge with top coat so the dots don't catch on your hair.
Watch outDon't flood the tip with thick brown paint - thick paint spreads and turns dots into blobs.
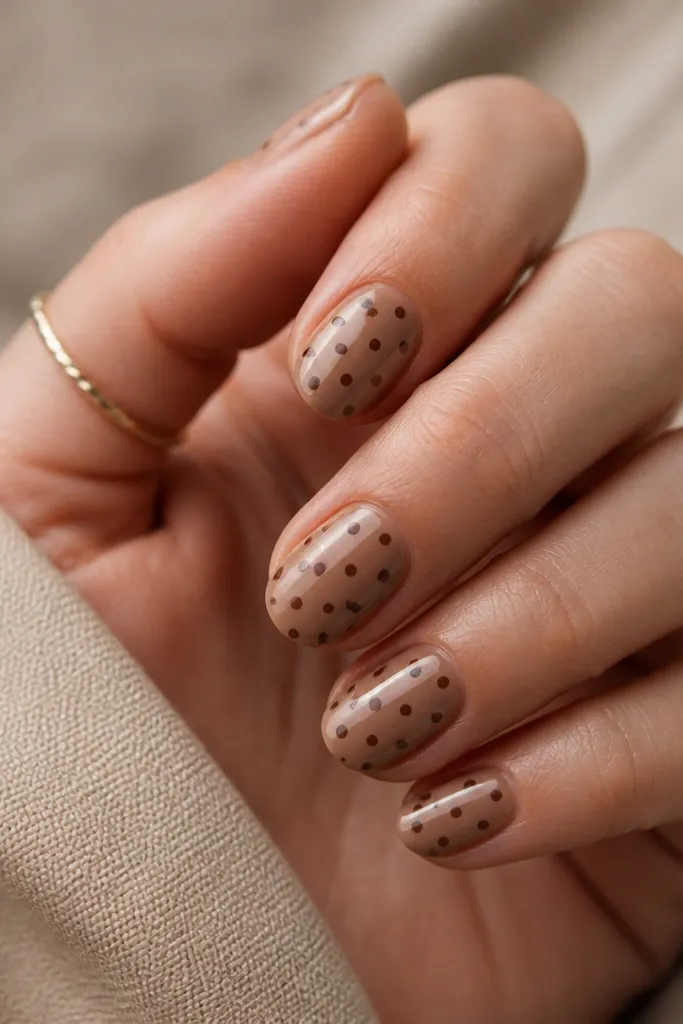
2. Milk-Taupe Dots on Nude Jelly Base
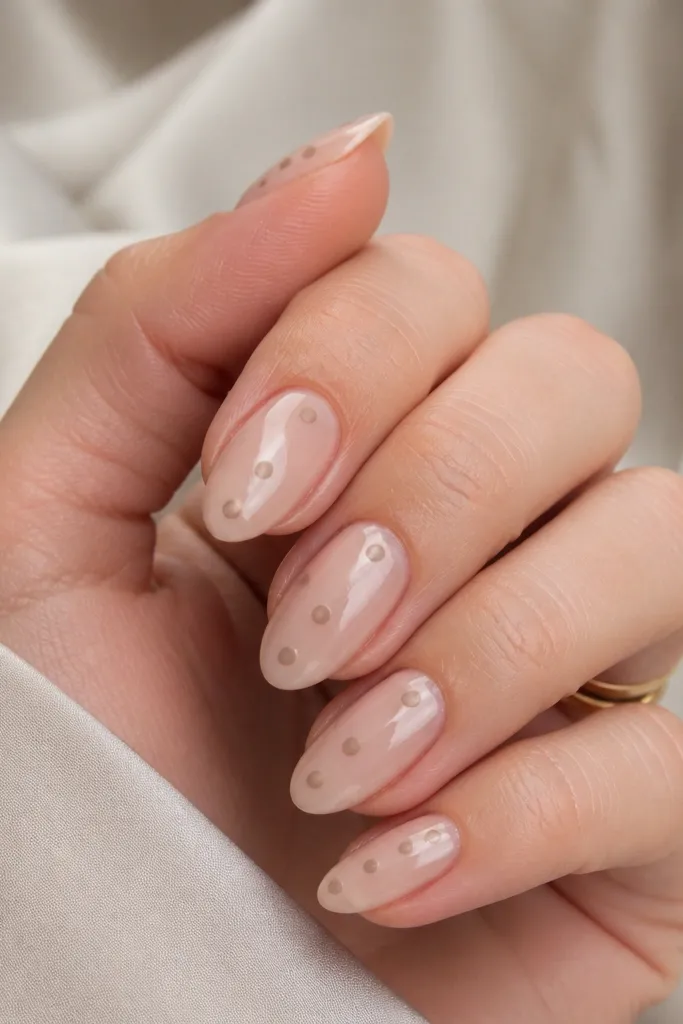
A jelly base makes the dots look like they're floating on top. Milk-taupe is softer than chocolate, so the pattern feels sweet instead of harsh. Medium dots are bold enough to read clearly in photos. The slight translucence also hides any unevenness in your dot placement.
Use a nude jelly polish that's sheer but buildable. Add one or two coats until it looks even, not opaque. Dot in a single vertical stripe down the nail center, then add a second stripe that's slightly off-center for a playful look.
Editor's noteLet the jelly base dry fully before dotting; tacky polish drags the dot shape.
Watch outSkip matte top coat - it makes the dots look dry and less round.
3. Half-Moon Cuticle Cluster in Espresso Brown
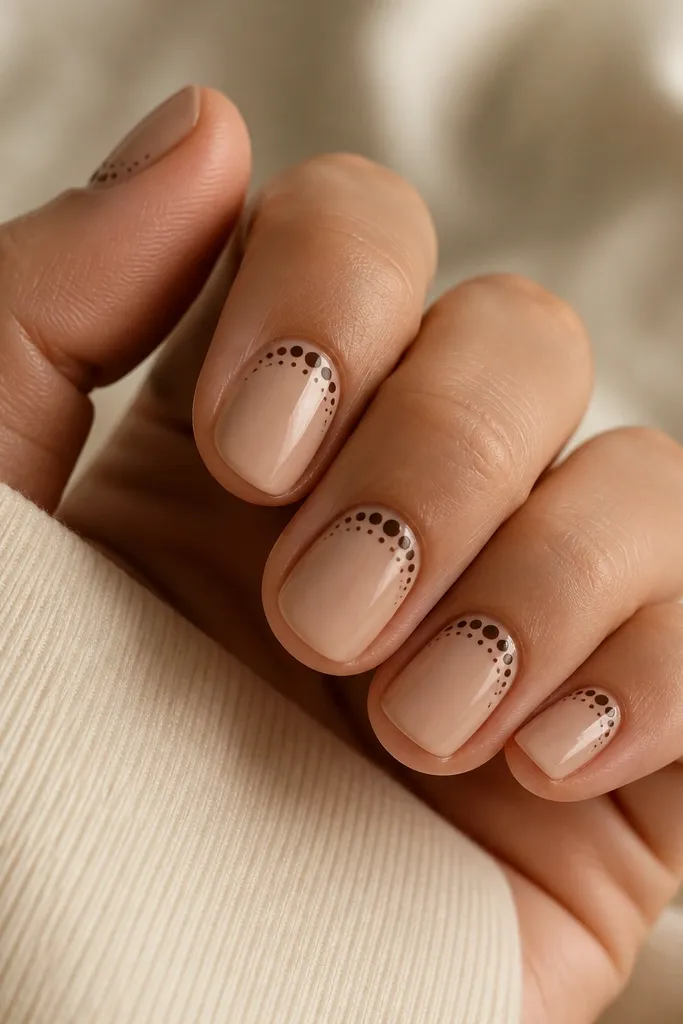
The half-moon cluster frames your cuticle area and makes your hands look polished right away. Espresso brown is deep and classy, and the fade from large to small adds a soft gradient effect. Because the dots are concentrated at the top, you don't need a full nail pattern to get the look. It also works great if you hate dots on the whole nail.
Paint nude base in two thin coats. Use a dot tool to place 7-10 dots forming a curved line above the cuticle, then reduce dot size as you move outward. Keep the cluster small enough that it doesn't reach the sidewalls.
Editor's notePush the first dot row slightly toward the cuticle, then cover the edge with a thin top coat to seal it.
Watch outDon't place dots too low - if they start in the middle of the nail bed, the half-moon effect disappears.
4. Diagonal Dot Sweep with Negative Space
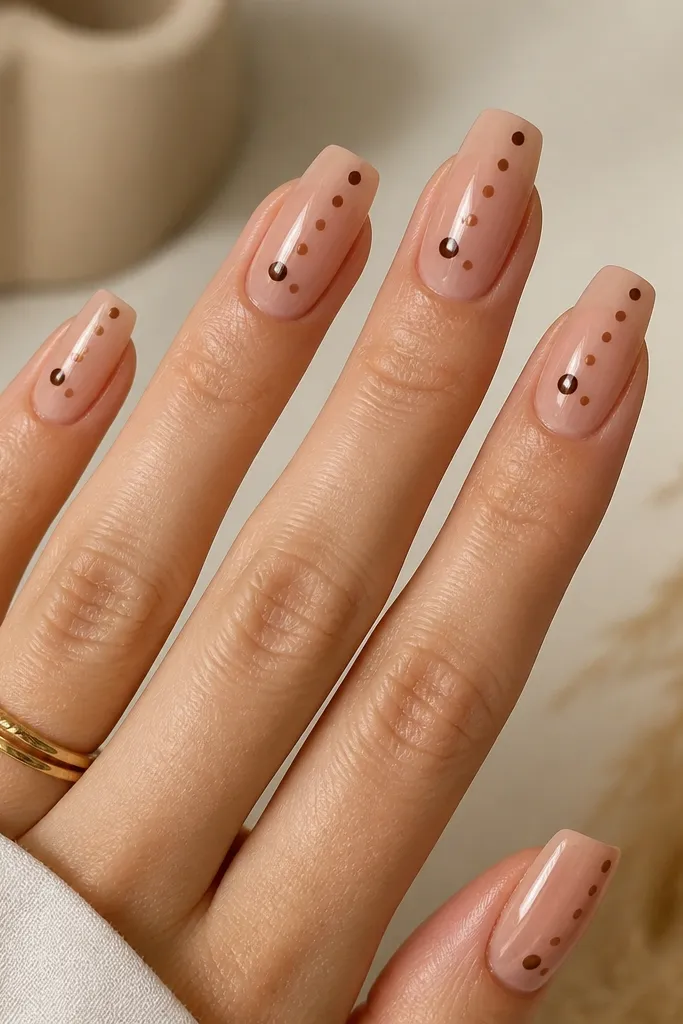
Diagonal placement makes even short nails look intentional. Negative space keeps the pattern airy and makes each dot look crisp. Alternating sizes keeps it from looking like a simple stamp. This one is my go-to when I want polka dots but I don't want to commit to full coverage.
Start with a nude base. Lightly mark the diagonal path with a dot of polish on each side of the nail (not a line, just anchors). Then fill with alternating dot sizes along that diagonal, leaving gaps so the nail still shows through.
Editor's noteIf your diagonal wobbles, fix it by adding one extra small dot that "pulls" the line back into place.
Watch outAvoid dotting edge-to-edge - dots too close to sidewalls look messy on close-up.
5. Brown Polka Dots Over Nude Micro-French
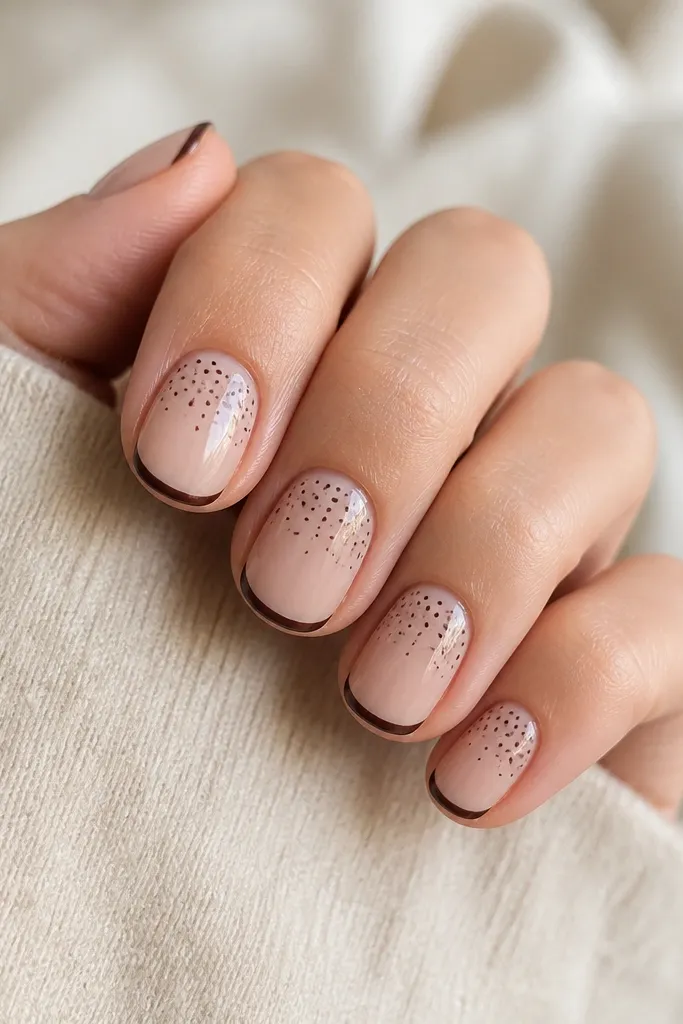
Micro-French is subtle, and polka dots on top give it a playful twist. This combo keeps the dots from taking over because the tip line gives structure. Small dots scattered across the upper half read neat. Dark brown on nude looks sharp without needing bright color.
Paint a nude base. Add a thin brown line at the tip using a strip or a fine brush. Then dot from just under the line down toward the middle in two to three clusters, not random all over.
Editor's noteUse a top coat that's high gloss and slow-drying; it levels the dots without shrinking them.
Watch outDon't make the French line too thick - thick lines plus dots can look crowded.
6. Caramel Base with Chocolate Dot Topcoat
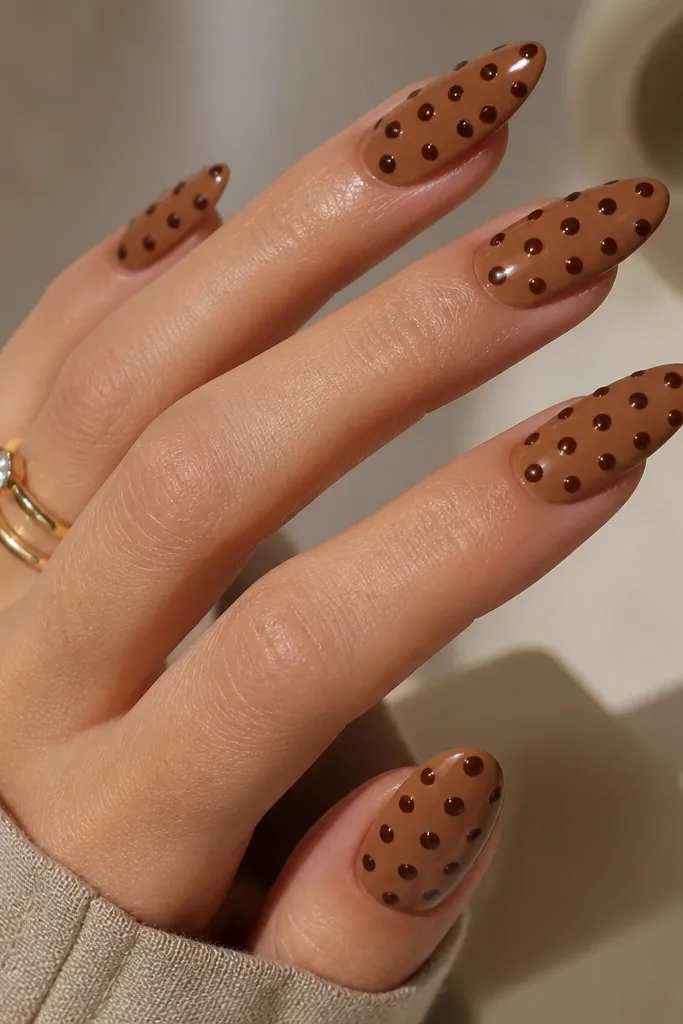
This is the bold version that still looks clean because the dots are the same color family. Caramel base is warm and makes the chocolate dots pop without harsh contrast. A grid-like spacing makes it feel designed, not accidental. The glossy finish keeps the dots looking raised and precise.
Apply caramel polish in two coats for full coverage. Use a dot tool with a consistent polish load so each dot matches. Start at the cuticle and place a row, then line up the next row just slightly shifted so it doesn't look like perfect stamp wallpaper.
Editor's noteIf your dots start to look uneven, wipe your dot tool between nails and reload polish fresh.
Watch outSkip watery brown for the dot color - thin polish spreads and destroys spacing.
7. Oat Latte Nude with Speckled Dot Confetti
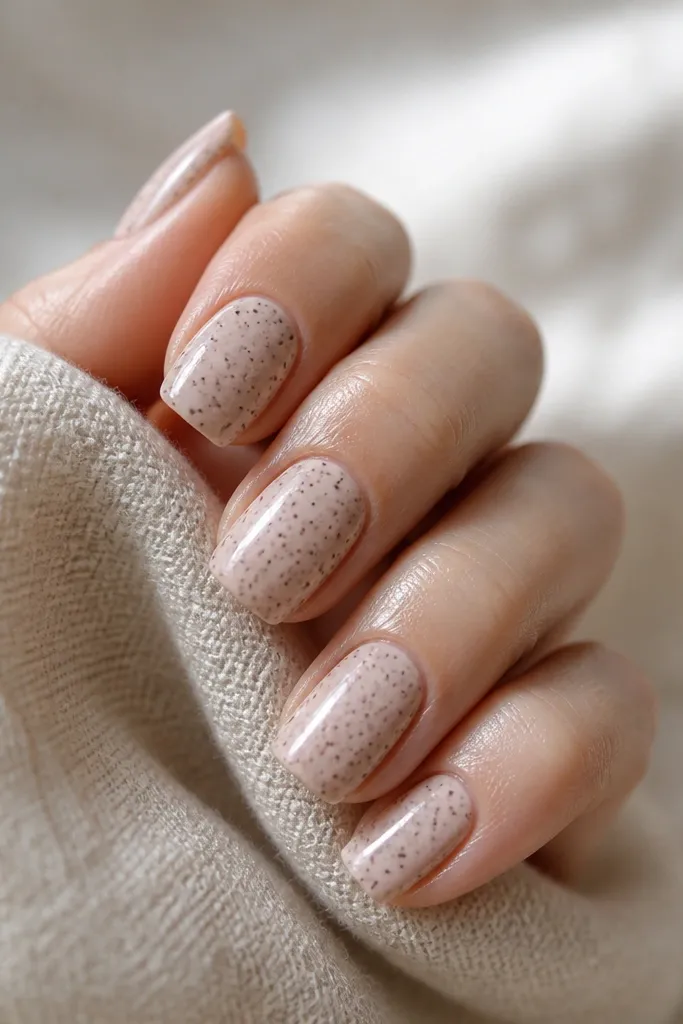
Speckled confetti dots are the most forgiving style because you're not trying to line anything up. Oat-latte nude gives warmth, and the tiny dots add texture from far away. It reads cute and casual, especially if you keep the dots small. The key is density - enough dots to feel intentional, not so many that it becomes a solid speckle coat.
Use an opaque oat-beige nude base. Dot lightly across the nail in a random scatter, but keep most dots in the center and fewer near the edges. Add a few slightly larger dots (still small, around 1 mm) to create visual rhythm.
Editor's noteWork in sections: do the left half, then right half, so you don't lose track of density.
Watch outDon't cover the entire nail with the same dot size - it looks flat and printed.
8. Brown Polka Dots on Clear Tips (Reverse French)
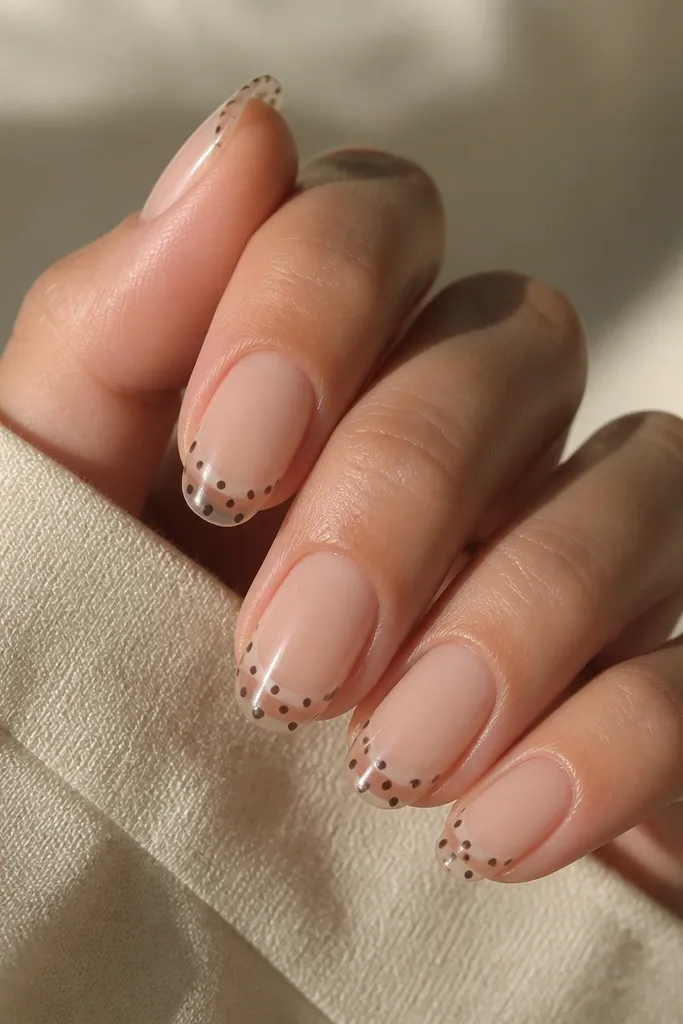
Reverse French makes the dots feel light and modern. Brown dots on clear tips look crisp because there's less color behind them. It's a fun alternative if you hate painting full tips. The result looks like you planned it, even though it's simple.
Paint a nude base only up to about 1/3 of the nail. Leave the rest clear or use a sheer topcoat for a see-through tip. Dot only on the clear section, keeping dots clustered near the center so the edges stay clean.
Editor's noteSeal the border between nude and clear with a very thin top coat so it doesn't chip.
Watch outDon't let nude creep too far down - the clear tip must stay visibly clear for the effect.
9. Terracotta Brown Dots with Nude Stripes
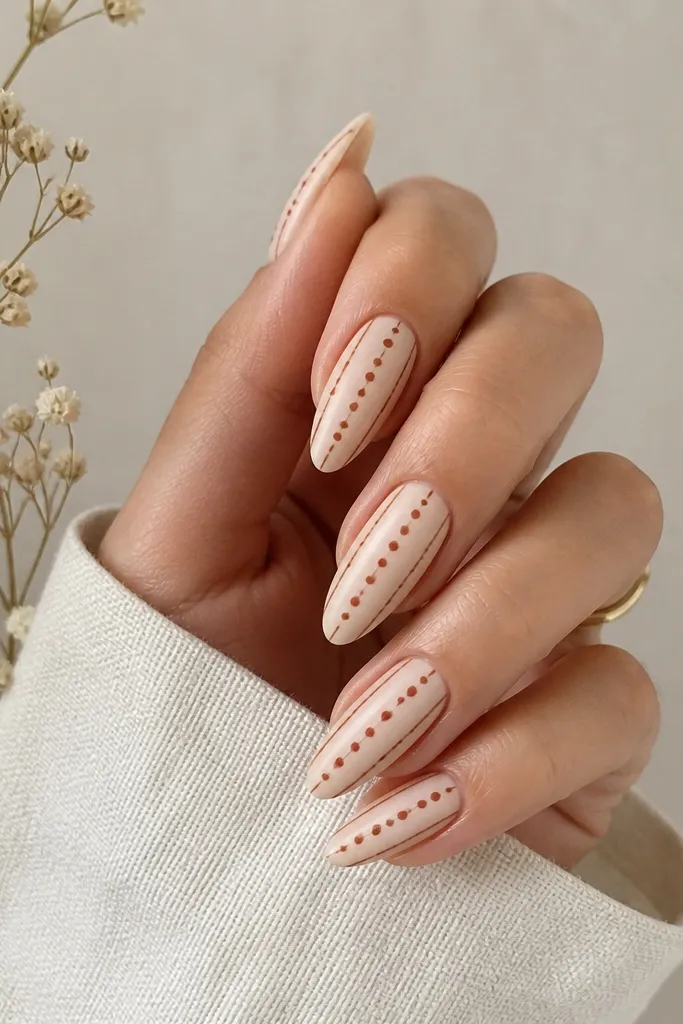
This gives polka dots a structure without turning into full nail art. Terracotta-brown is warmer than chocolate, so it pairs beautifully with nude stripes. The stripes act like rails; the dots land where your eye expects them. It looks neat even when you're not doing perfect symmetry.
Start with a creamy nude base. Use striping tape to create two or three vertical nude bands by painting over tape with a light brown sheer, then removing tape so stripes stay nude. Add dots around the bands using a dot tool, placing them in two staggered rows.
Editor's notePress tape down for 10 seconds per nail so polish doesn't bleed under it.
Watch outAvoid wide stripes - anything thicker than 1.5 mm makes the pattern feel off-balance.
10. Matte Nude Base with Glossy Brown Dot Highlights
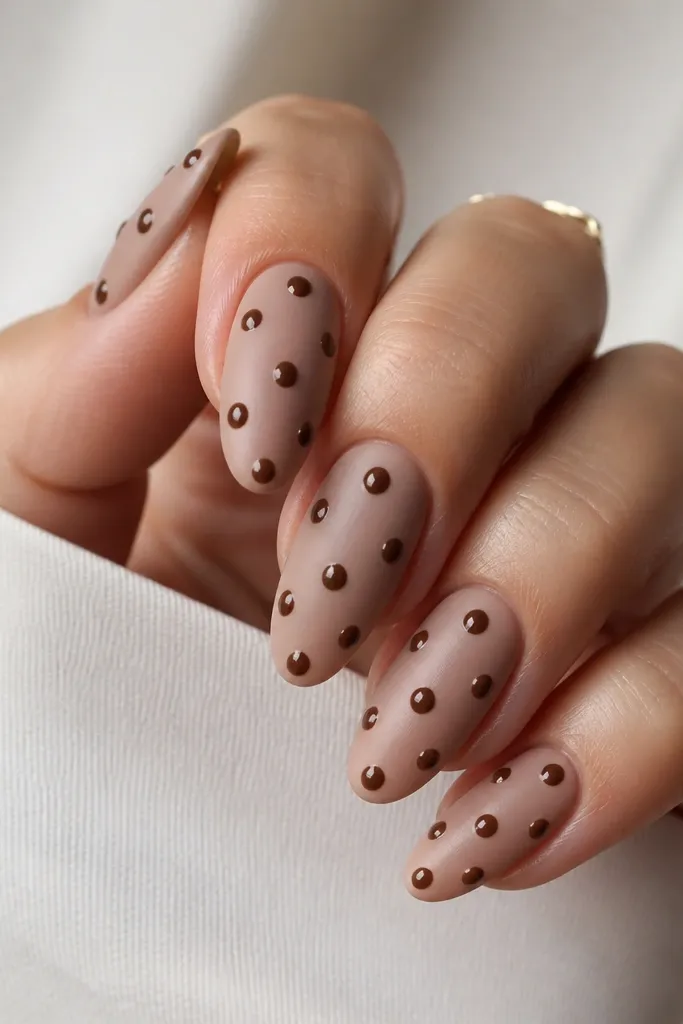
This is the contrast look: matte background, shiny dots. Matte makes the dots look more sculpted, and glossy dots catch light when you move your hands. Brown still stays soft because the matte base tones it down. It's a great option if you want polka dots that look more "designed" than cute.
Apply nude base and let it dry. Seal with a matte top coat. Then dot with brown polish or gel color and finish with a glossy top coat on top of the dots only, using a small brush to keep the matte background intact.
Editor's noteUse a small brush to apply glossy top coat directly over dots so you don't turn the whole nail glossy.
Watch outDon't dot on a wet matte top coat - it smears and loses the dome look.
11. Brown Polka Dots with One Accent Nail Stripe
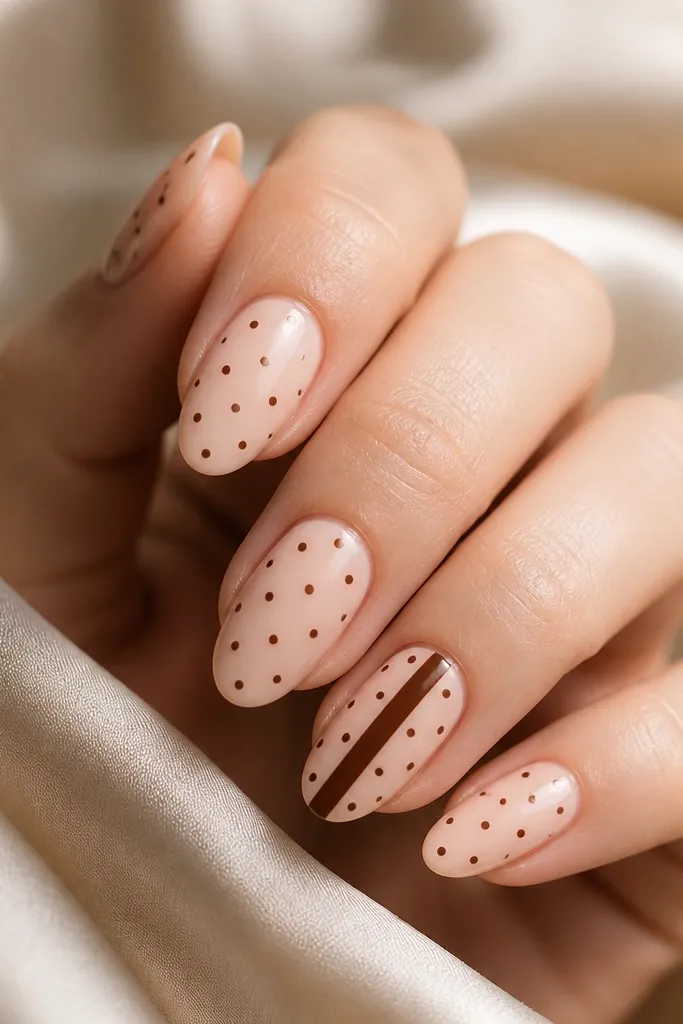
Accent nails make the set look intentional without extra work. The stripe gives a focal point, and the dots keep it playful. This works well if you want a manicure that looks good in a mirror and in photos. Brown-on-nude stays classy and doesn't clash with rings.
Pick a dot size small to medium and repeat it across four nails in a simple pattern (like a vertical cluster). On the accent nail, paint a thick stripe about 2 mm wide, then place 8-12 dots around the stripe - mostly on one side.
Editor's noteKeep the accent stripe centered so the dots read as part of one design.
Watch outDon't add extra patterns on the accent nail - stripe plus dots already fills the space.
12. Wide Brown Polka Dot Band Across the Middle
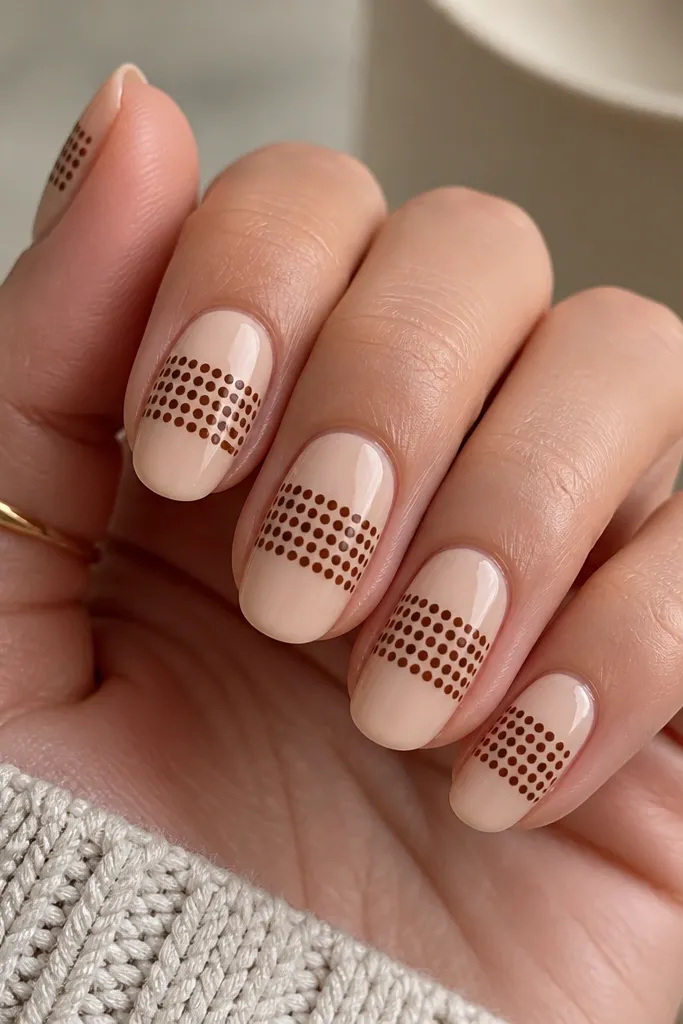
Bands look clean because your eye reads a single shape first. Packing dots into a band gives the manicure impact without covering the entire nail. Negative space above and below makes it feel modern instead of busy. Brown dots in a dense band also look better on nails with slight texture because the band hides it.
Paint nude base. Choose band height - about 1/3 of the nail. Use a dot tool to place dots from edge to edge within the band, keeping spacing consistent. Finish with a glossy top coat to smooth the dot texture.
Editor's noteLet the dot band dry longer than you think before top coat so the band doesn't smear.
Watch outAvoid a crooked band - if the band slopes, the whole manicure looks rushed.
13. Tiny Dots on Nude with One Espresso Star Dot
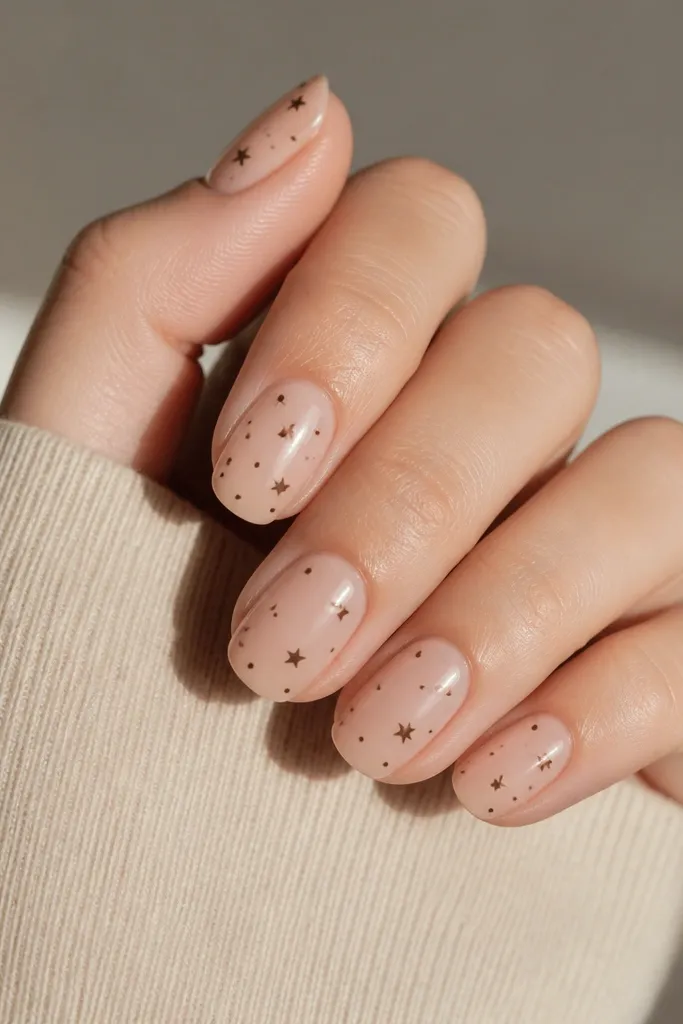
It's the same polka dot vibe with a little twist. Tiny dots keep it easy, and the one star mark gives you a focal point that feels custom. Espresso brown for the star makes it stand out without changing the whole palette. This design is great for people who find plain polka dots too repetitive.
Paint nude base. Dot lightly with a dot tool using brown. Add a tiny star using a nail art brush and a dot of thicker polish, then cap with top coat. Keep the star small - around the size of a medium dot.
Editor's noteIf you don't want to freehand a star, use a nail stamping plate for the star and place it once.
Watch outDon't make the star bigger than your medium dots - it turns into a different nail art style.
14. Two-Tone Brown Dots with a Small Check Pattern
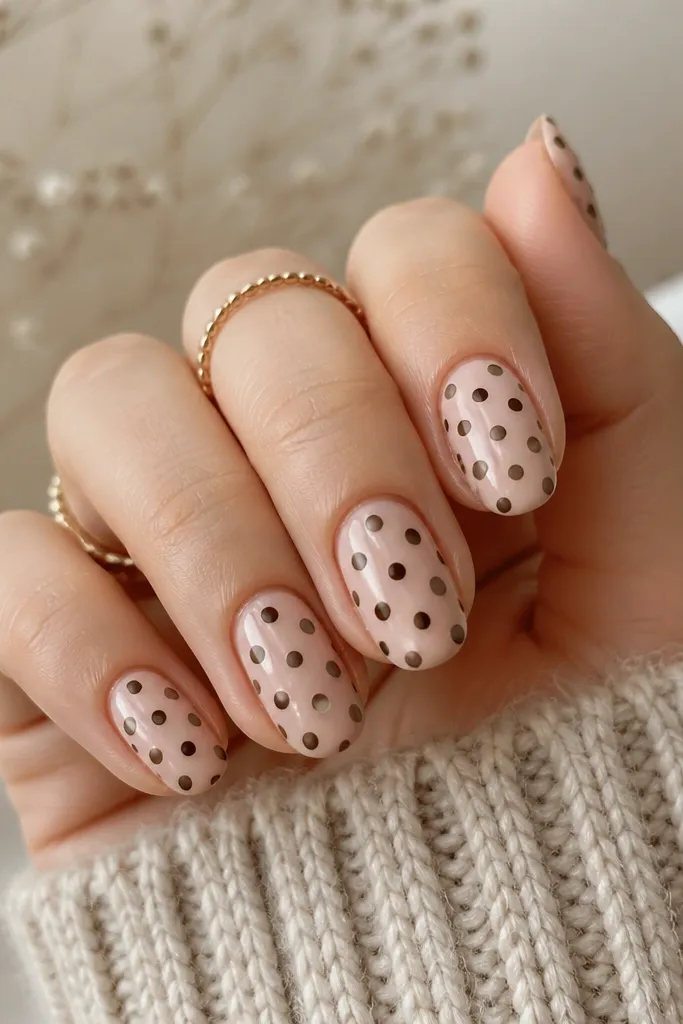
Two-tone dots make brown polka dots look more complex while staying easy. Light taupe and dark chocolate create contrast that doesn't need extra colors. A check-like spacing makes the pattern feel orderly. It's the closest you'll get to "grid nail art" without drawing lines.
Apply nude base. Use a dot tool loaded with either taupe or chocolate and alternate placement so each dot sits between the opposite color dots. Work row by row, keeping dot spacing the same as you switch colors.
Editor's noteUse a paper guide under your hand so you can match spacing from row to row.
Watch outAvoid mixing too many dot sizes - two sizes max keeps the checker effect clean.
15. Brown Polka Dots with a Thin Gold Dot Border
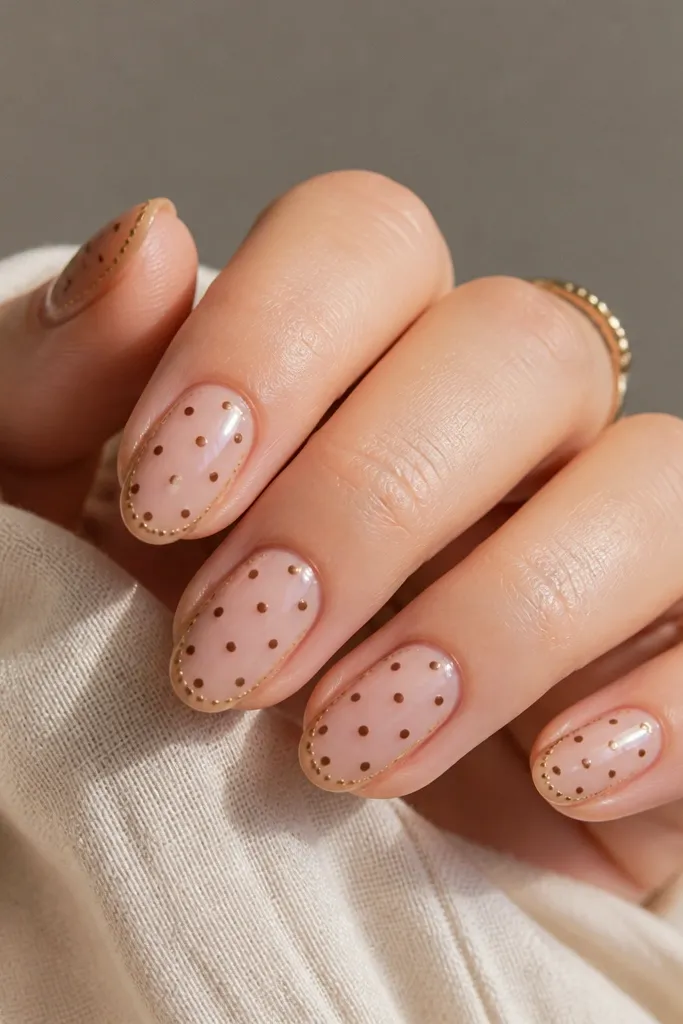
Gold dots frame the design so it looks finished, even with simple brown polka dots. The border guides the eye and makes your dots feel intentional. This works especially well if you wear gold rings because the tones match. The look stays soft since the gold is small and sparse.
Paint nude base. Add tiny gold dots along each side edge and tip outline, staying about 1 mm away from the nail edge. Then place brown dots inside, mostly toward the center third. Finish with glossy top coat.
Editor's noteUse gold polish that's opaque in one coat; translucent gold makes the border look patchy.
Watch outDon't put gold dots too large - big gold dots overpower the brown.
16. Speckled Brown Base with Clean Polka Overlay
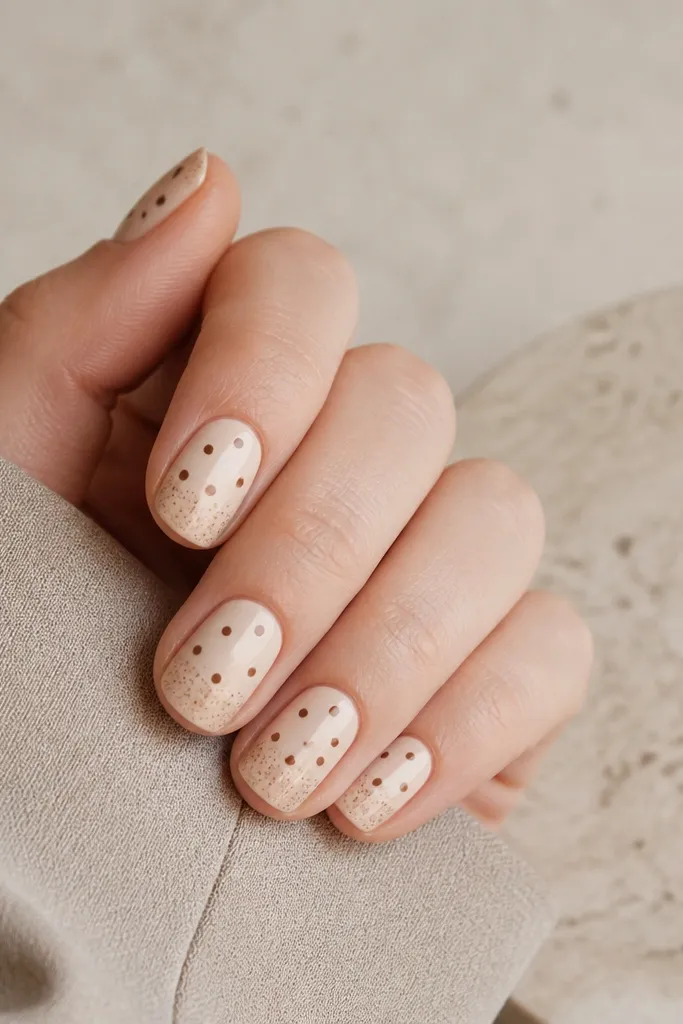
This is a layered look that adds depth without heavy painting. The speckled lower half feels like texture, while the crisp dots on top feel graphic. Beige keeps it bright, and the two textures separate the nail into zones. It's surprisingly flattering on short nails because the top section still looks neat.
Use a light beige base. Create a faint speckle at the bottom third using a toothbrush or small dot tool with diluted brown. Over the top two-thirds, place clean polka dots in a simple grid or diagonal. Seal everything with glossy top coat.
Editor's noteFor speckle, test on a paper scrap first so you control how fine the dots land.
Watch outDon't blend speckle into the polka area - keep a visible boundary.
17. Chocolate Dots on Nude with Cuticle Line
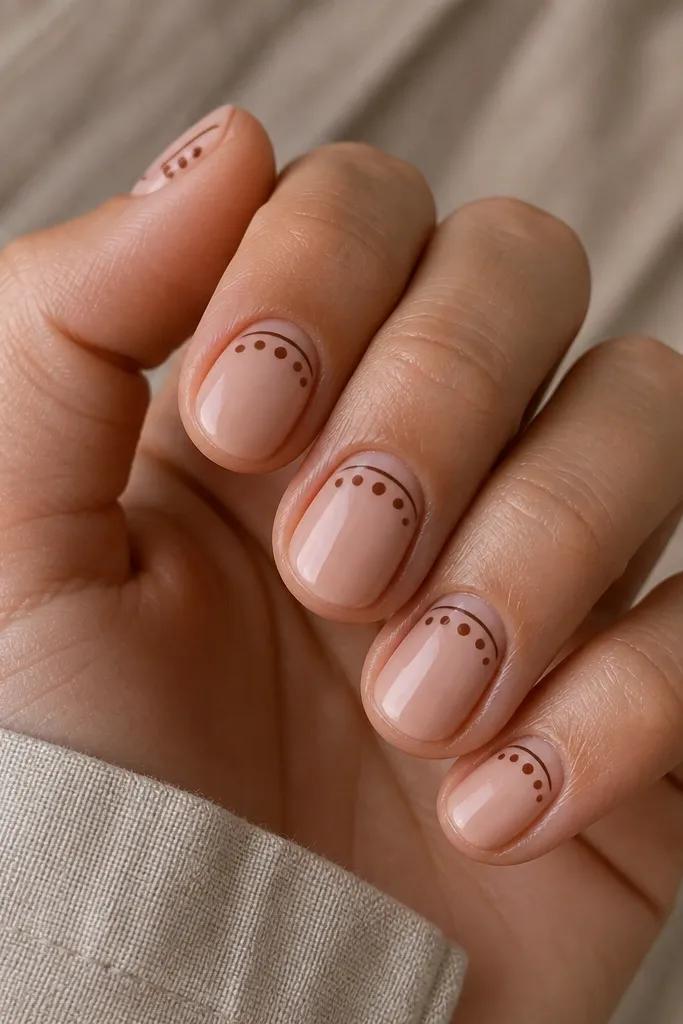
The cuticle line gives the dots a landing spot, so the whole manicure looks composed. Chocolate keeps it crisp, and the dots below the line look like they're following the nail's natural curve. This is a great option if you want dots but hate filling the whole nail. It also works well for people with shorter nail beds.
Paint nude base. Use a fine brush to draw a thin curved line above the cuticle. Then dot just below that line in two small clusters, one on each side of center. Keep dots small so the clusters look delicate.
Editor's noteClean up the cuticle edge with a brush dipped in acetone before top coat.
Watch outAvoid thick cuticle lines - they make the design look heavy and messy.
18. Brown Polka Dots on Deep Mocha Jelly
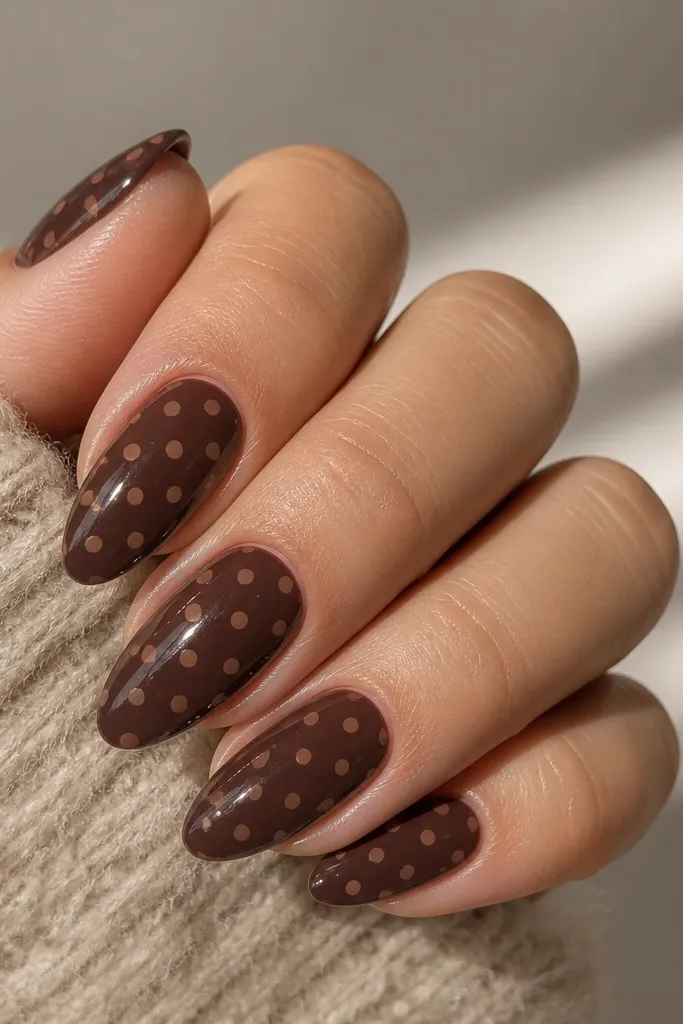
Mocha jelly gives you a built-in glow and makes the dots look raised even when they're flat. Using a slightly lighter brown for the dots keeps them readable against the deep base. The jelly depth makes the manicure feel richer without adding extra colors. It's perfect for fall outfits and evening wear.
Apply deep mocha jelly polish in two coats until it looks even but still glossy. Use a lighter brown (cappuccino/tan-chocolate) for dots. Scatter dots across the nail center and leave the sides lighter so it doesn't look crowded.
Editor's noteIf your jelly base is too thick, thin it with a drop of polish thinner so dots don't sink in.
Watch outDon't use the same shade for base and dots - the pattern disappears.
19. Polka Dots with a Single Brown Outline Dot
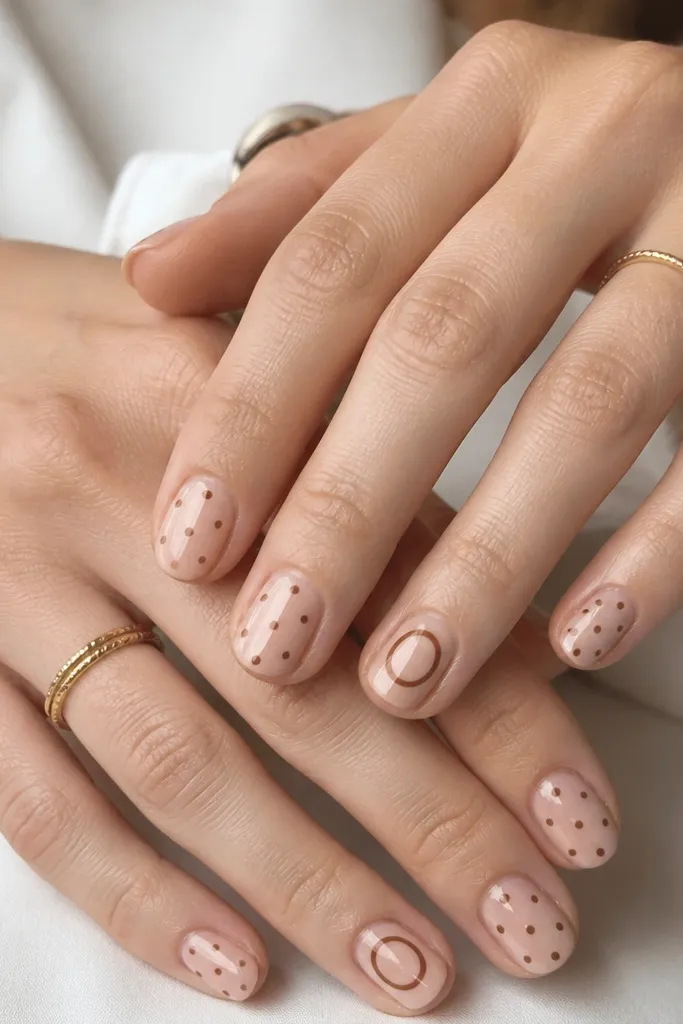
The outlined ring adds a graphic moment that still feels like polka dots. Keeping most nails simple keeps the set cohesive. The ring shape makes your manicure look intentional even if your dots aren't perfectly identical. Brown stays soft against nude, and the ring gives you that "designer" look.
Do standard tiny to medium dots on most nails. On the accent nail, place one large dot in the center, let it dry, then add a ring by dotting around it and dragging lightly with the brush tip. Seal with glossy top coat.
Editor's noteLet the center dot dry 2-3 minutes before outlining so the ring stays crisp.
Watch outDon't outline while wet - it turns into a filled blob.
20. Tan Polka Dots on Clear Pink Base
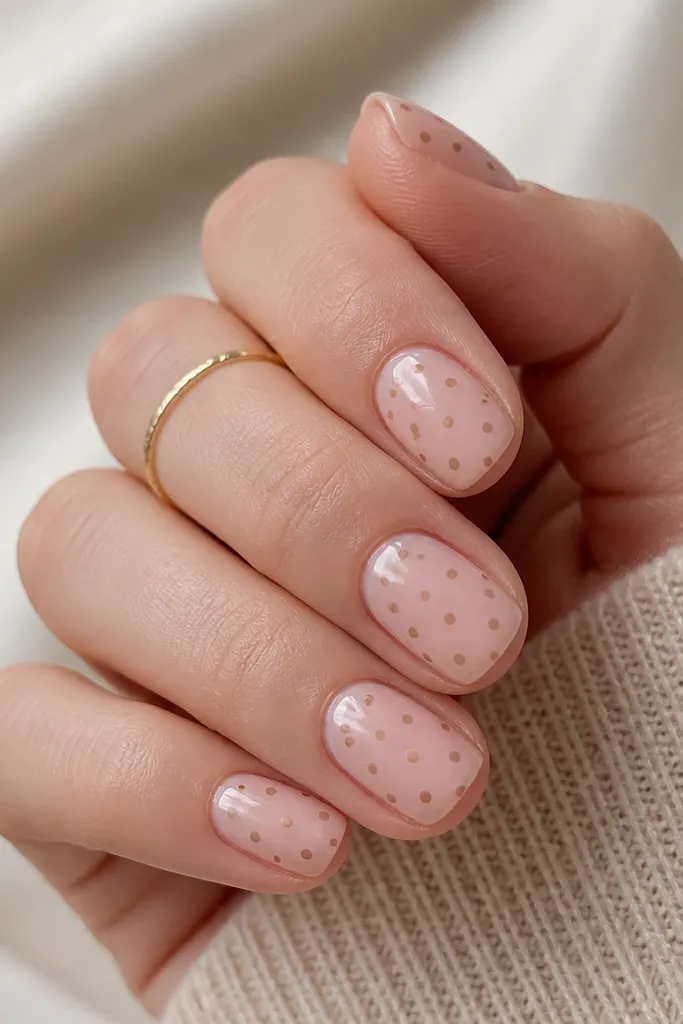
This is the "cute but clean" version. Clear pink makes it look fresh, and tan dots keep the brown feeling light. Even spacing creates a calm, wearable pattern. It's also the easiest brown polka dot design to match with any outfit because the base is so sheer.
Use a sheer blush pink polish. Build it to a smooth layer, not opaque. Dot evenly in rows from cuticle down, keeping dots small so the nail still looks airy.
Editor's noteWhen you top coat, apply a thin layer and then a second thin layer. Thick top coat can smear tan dots.
Watch outAvoid fully opaque brown bases here - the whole charm comes from the sheer pink.
21. Diagonal French with Brown Polka Corner
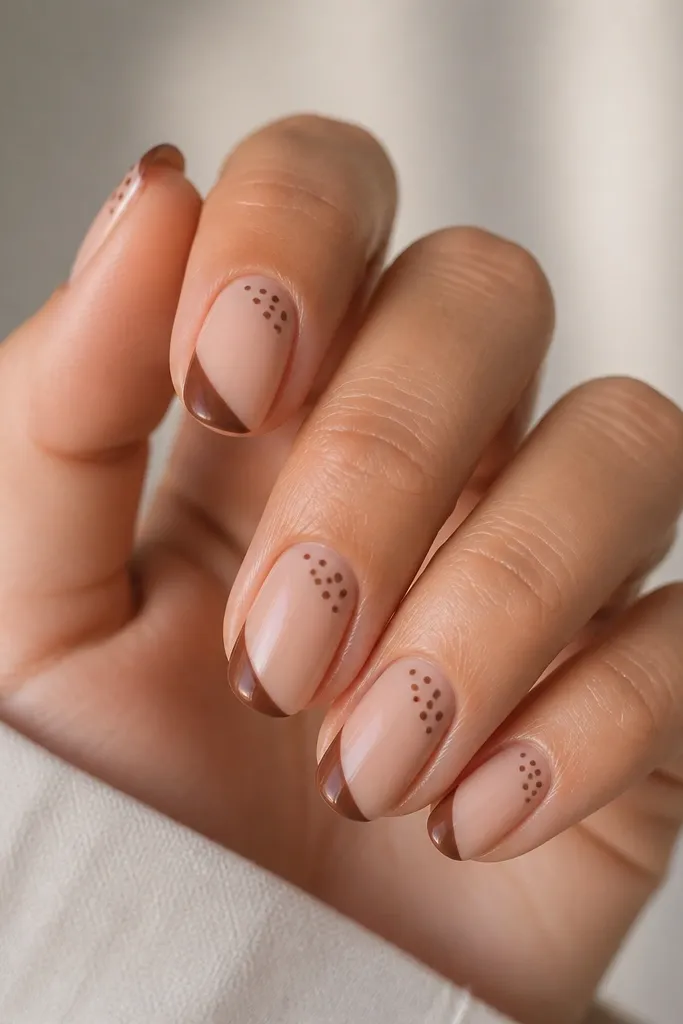
This design mixes two shapes: diagonal French structure and polka dot texture. The dots are confined to one corner, so it looks playful without covering the whole nail. It's also forgiving if your diagonal tip line isn't perfect because the corner cluster balances the eye. Brown stays consistent, so it looks cohesive.
Paint nude base. Create a diagonal tip using tape as a guide. Then add a small cluster of dots inside the diagonal tip area - 10-14 dots total. Keep dots small so they don't overwhelm the diagonal shape.
Editor's noteUse a strip of tape for both diagonals if you want the tips to match nail to nail.
Watch outDon't extend the dot cluster down the center - keep it in the corner.
22. Brown Polka Dots with Micro Leopard Spots Accent
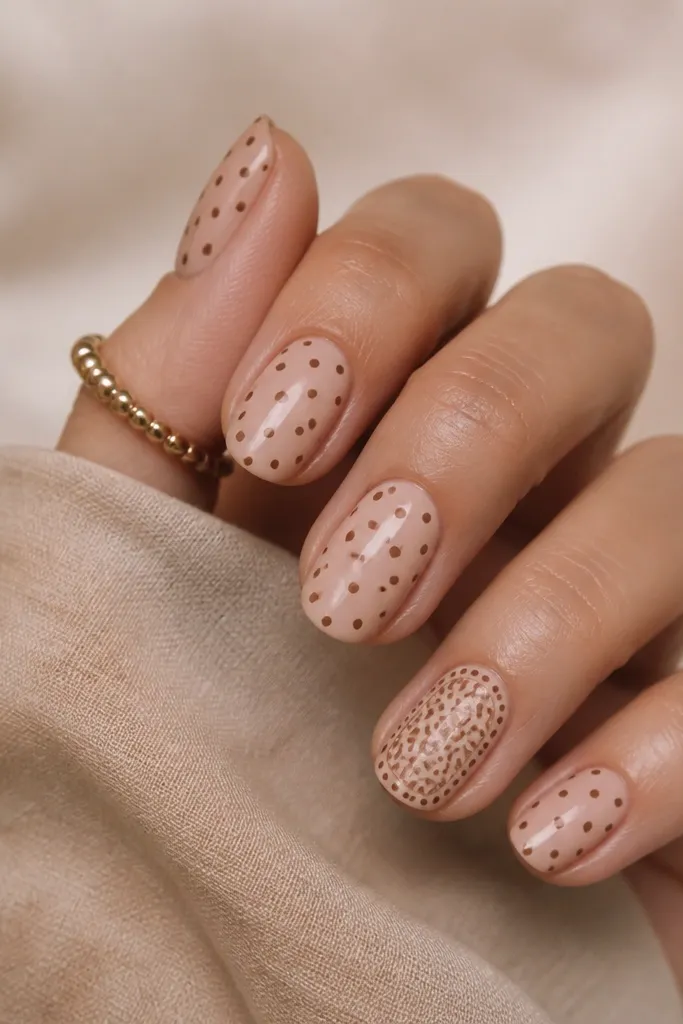
You get variety without changing the color story. Polka dots keep the set cohesive, and the micro leopard accent adds interest. The key is scale: tiny leopard spots and small dots so everything stays in the same visual family. Brown + tan looks especially good on short nails because it reads neat, not chaotic.
Do small polka dots on four nails with consistent spacing. On the accent nail, paint a very light tan base, then add micro leopard spots using a dot tool (light tan centers with brown edges). Add a few polka dots near the cuticle or side to connect it back to the theme.
Editor's noteIf leopard feels hard, place the spots first, then add a thin brown edge with a toothpick.
Watch outDon't use big leopard spots - they fight with the polka dots.
23. Two-Layer Dots with a Lighter Brown Shadow Dot
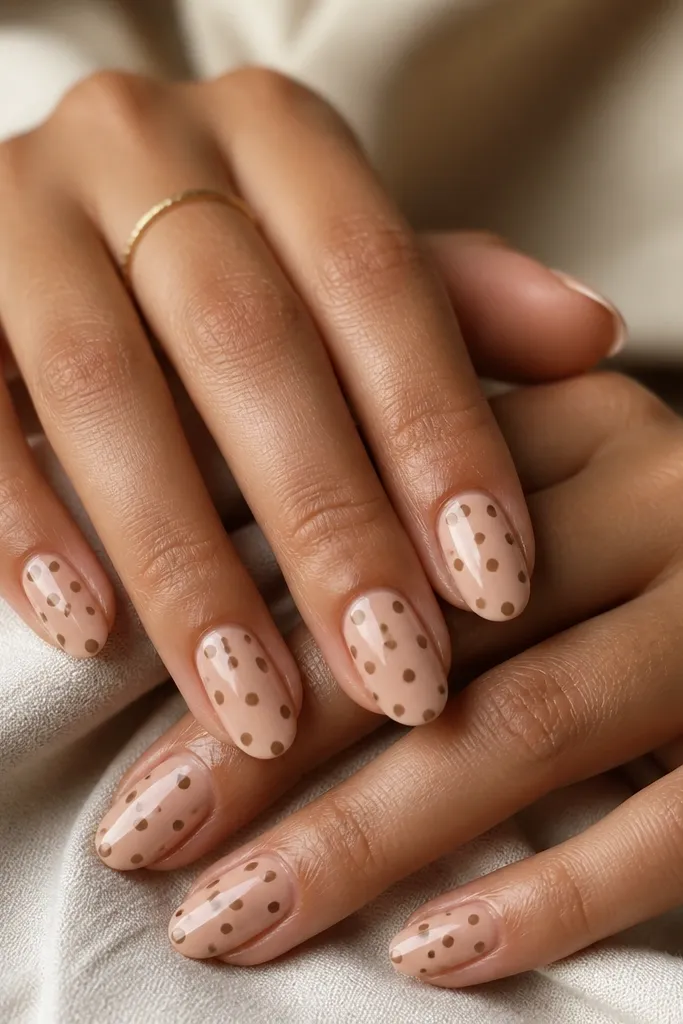
The halo effect makes the dots look dimensional without 3D gel. The lighter brown shadow creates depth so the manicure looks more "finished" even though you're still making dots. This is one of the few dot designs that looks good even when your dot edges aren't razor perfect. It reads like intentional layering, not wobble.
Paint nude base. Place medium brown dots first. After they dry, add a slightly smaller lighter brown dot offset a tiny bit (like 0.5 mm) so it looks like a shadow behind each main dot. Seal with glossy top coat.
Editor's noteUse two brushes or dot tools if you can so you don't mix shades on the tip of your tool.
Watch outDon't offset too far - if the halo is large, it stops looking like a shadow.
24. Polka Dots over Nude with Brown Side Triangles
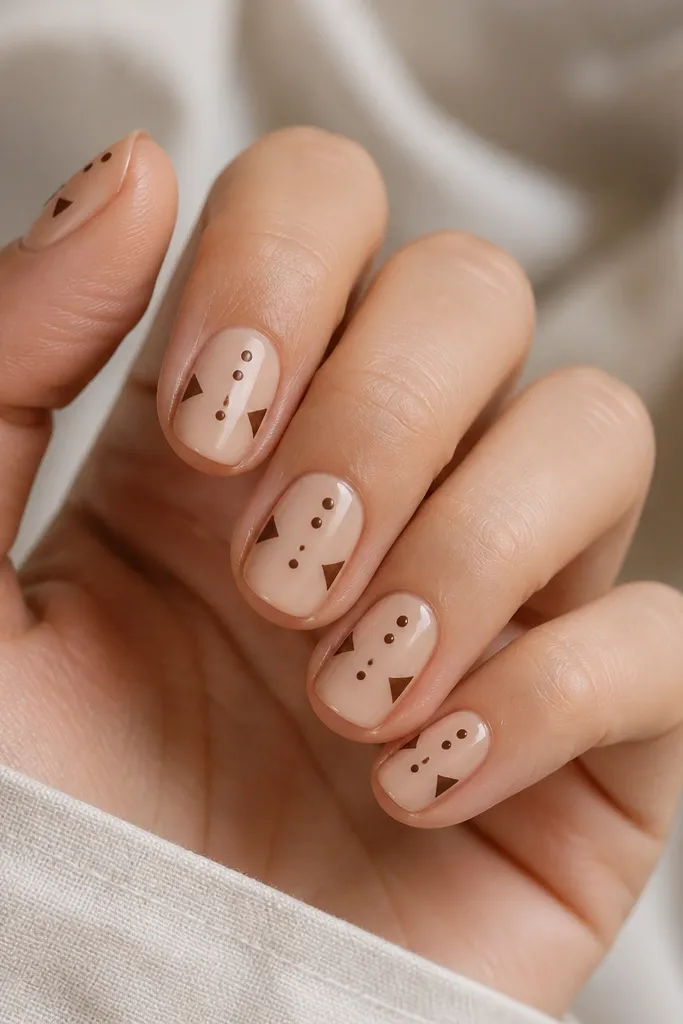
This is a geometric take that still counts as easy polka dots. The side triangles frame the center, and the dots fill the negative space between them. Brown triangles keep it grounded, and the center dot cluster reads like one cohesive pattern. It looks great with rings because the geometry catches light differently than circles.
Paint nude base. Use tape to form small triangles on each side (about 2-3 mm wide at the base) and fill with brown. Then place polka dots in the center gap - keep them medium small and evenly spaced. Top coat after everything is dry.
Editor's noteIf triangles look uneven, fix it by matching dot placement to the triangle edges so the design looks balanced.
Watch outDon't make triangles too tall - if they reach the cuticle, the center gap disappears.
25. Brown Polka Dot Half-Nail on One Side
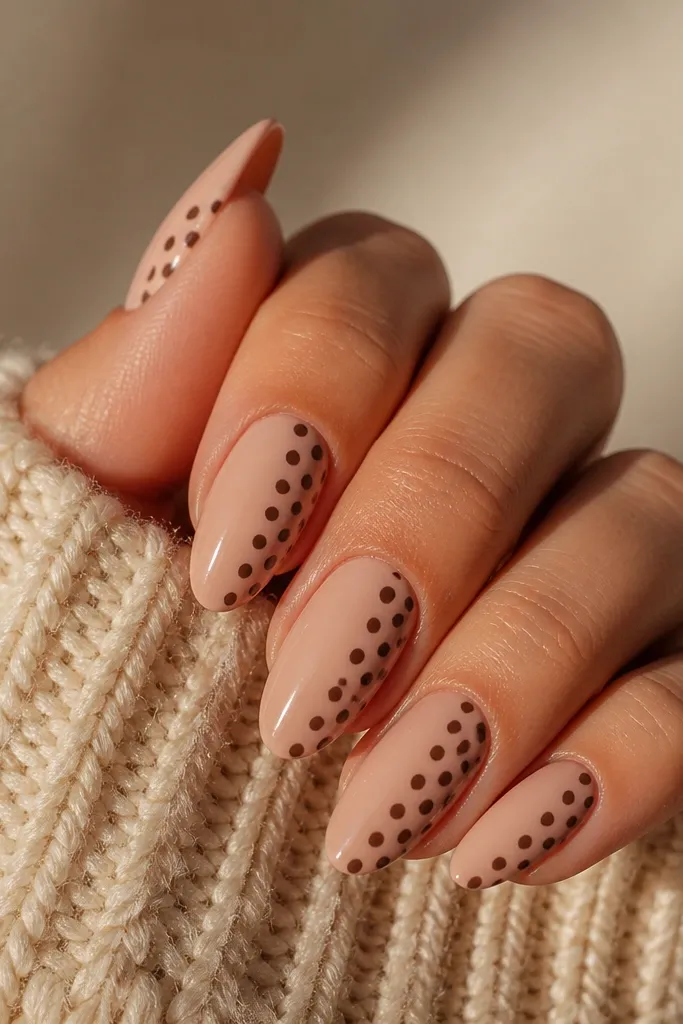
Half-nail dot placement is the fastest way to make dots look modern. It also makes cleanup easier because you're only working on one side. Brown dots on one half create a strong visual line that flatters hand angles. The clean side keeps the design from looking busy.
Paint nude base. Use striping tape to mask the right half, then dot only the exposed left half. Keep dot spacing consistent and use small to medium dots. Remove tape carefully after the dots are fully dry to avoid pulling polish.
Editor's notePress tape down firmly at the edge so brown doesn't seep under and blur the border.
Watch outAvoid dotting right up to the tape edge - leave a 1 mm gap for a crisp line.