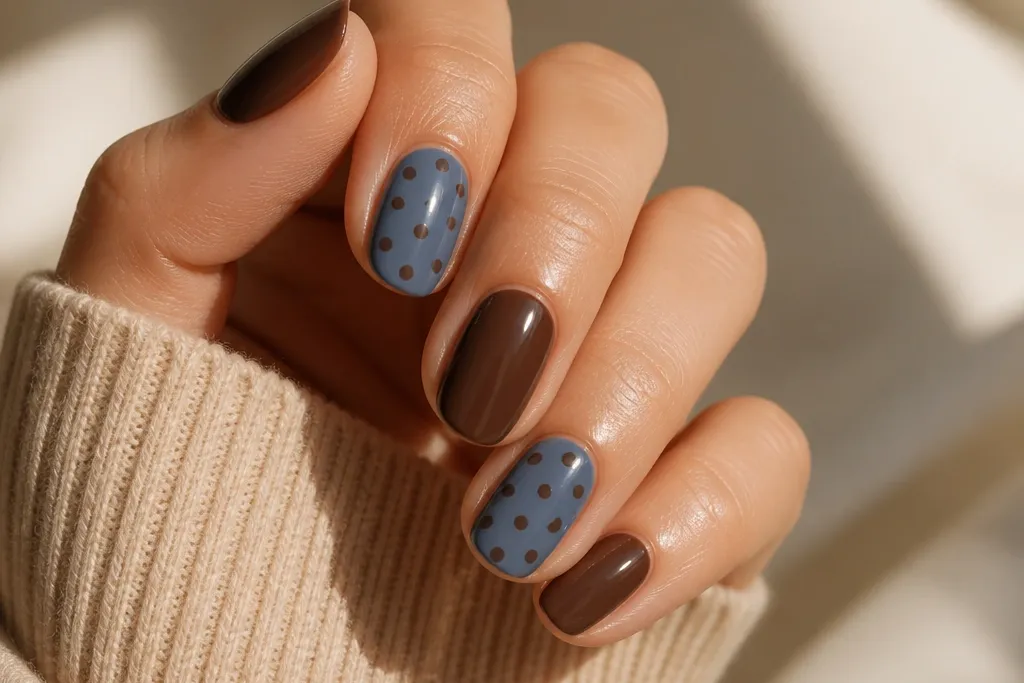
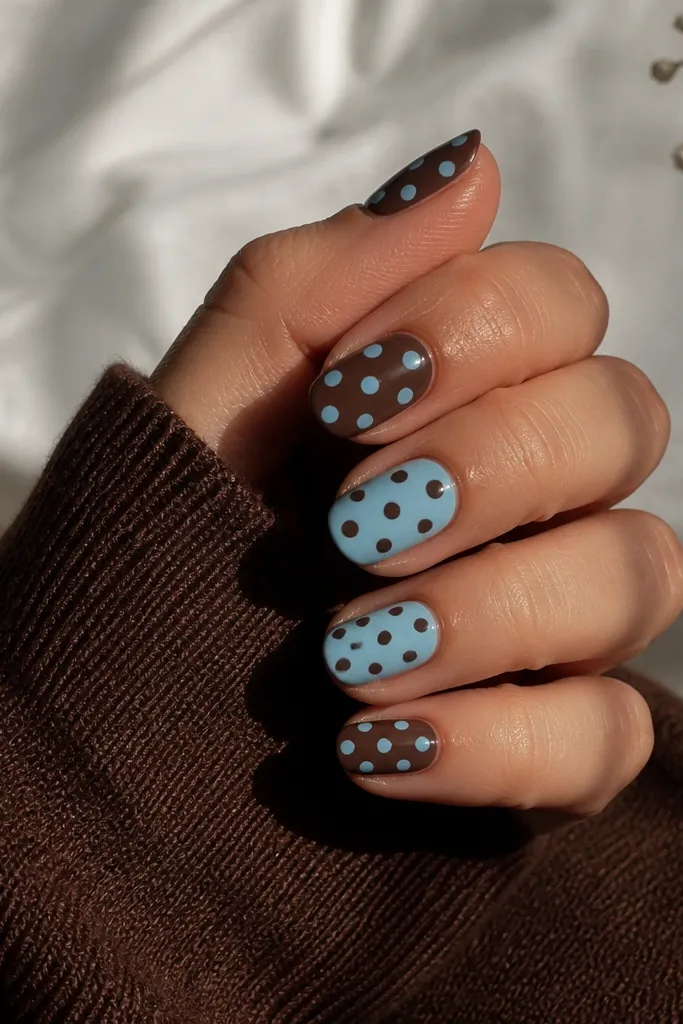
1. Chocolate Base With Navy Dot Cluster
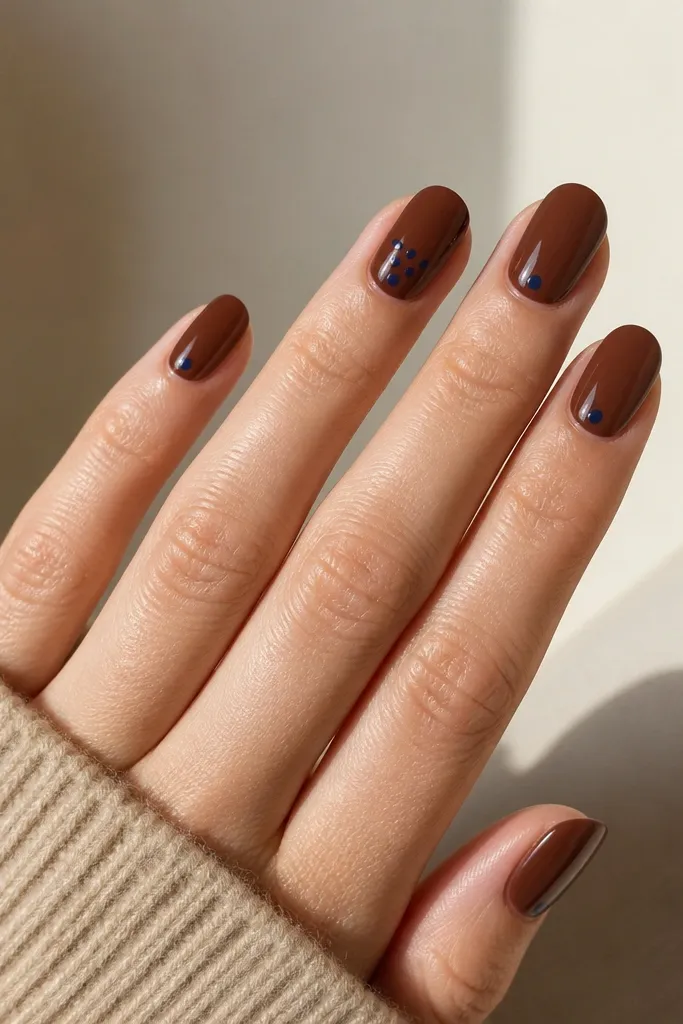
I use a warm chocolate brown because it makes navy look richer, not harsh. The dot cluster on the ring finger gives you a focal point without covering the whole nail. I keep the dots slightly varied in size so it doesn't look like a perfect sticker sheet.
Paint two thin coats of chocolate brown. On the ring finger, place dots in a triangle starting 1 mm from the cuticle and 2 mm from the sidewall. On the other nails, add one dot centered under the cuticle line.
Editor's noteAfter dotting, wait 60-90 seconds before top coat so the dots don't smear. Finish with a glossy top coat for a glassy look.
Watch outDon't drag the dot tool across the nail - that's what creates smeary edges.
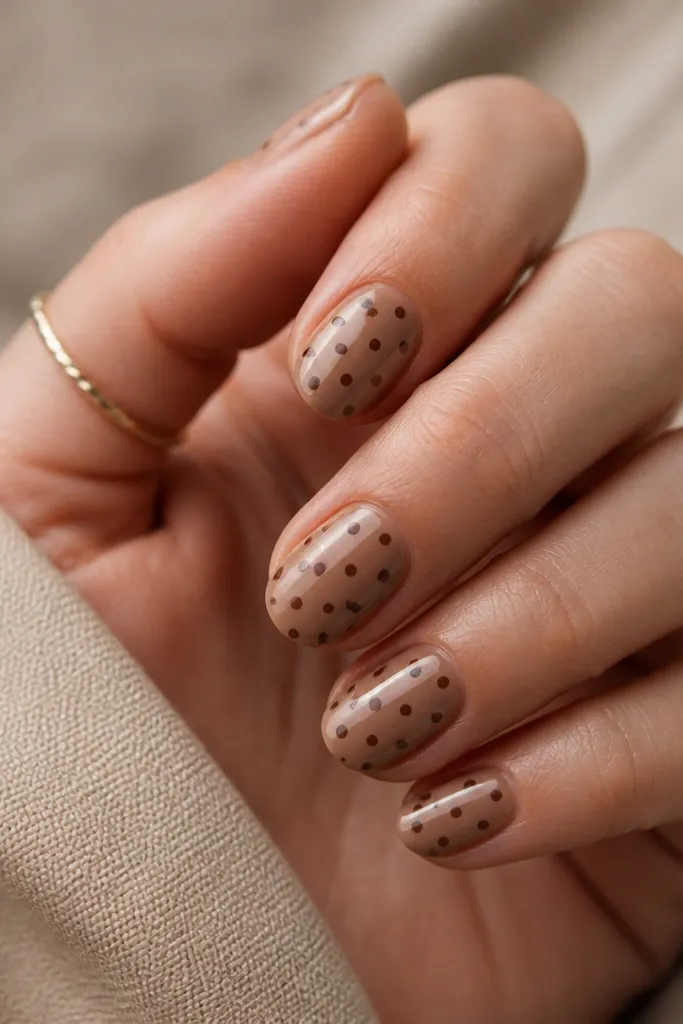
2. Denim Blue Tips With Brown Micro Dots
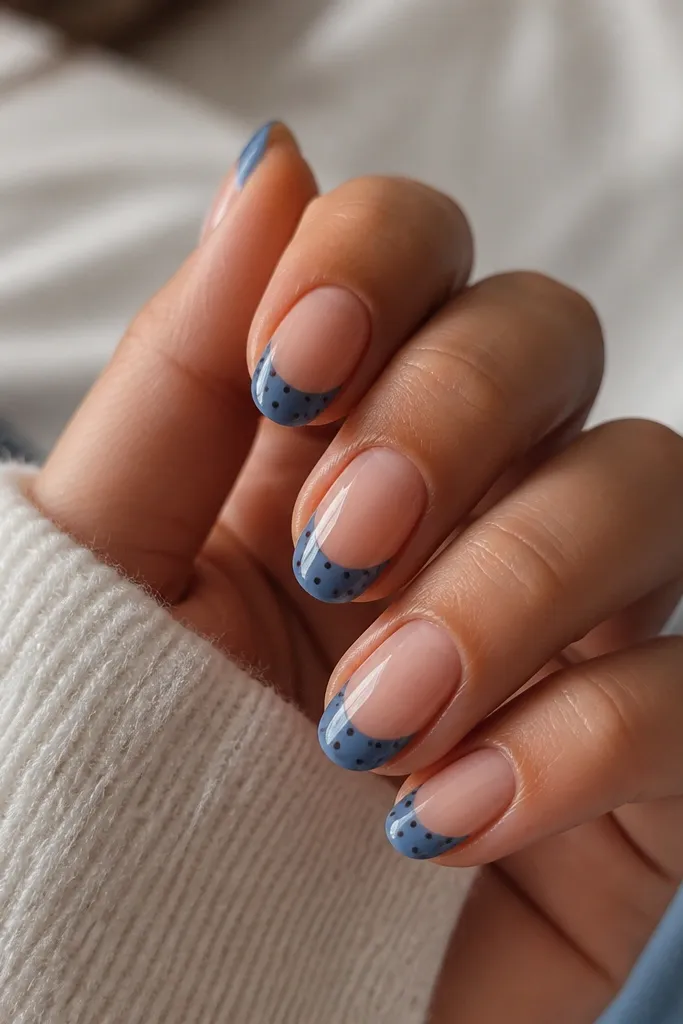
This one reads fun and neat because the polka dots stay inside the blue tip boundary. Micro dots look more polished than big circles when your nails are short. The denim blue tip also makes the brown dots pop.
Start with a nude-tan base. Tape a thin line just above the tip curve, paint denim blue, then remove the tape while the polish is still tacky. Use a dotting tool with chocolate polish to add small dots spaced evenly.
Editor's noteUse a toothpick for micro dots - the tip holds less polish than a big dotting head.
Watch outDon't put dots on the nude area - it tends to look crowded and messy.
3. Half-Moon Cuticle Dots In Brown And Blue
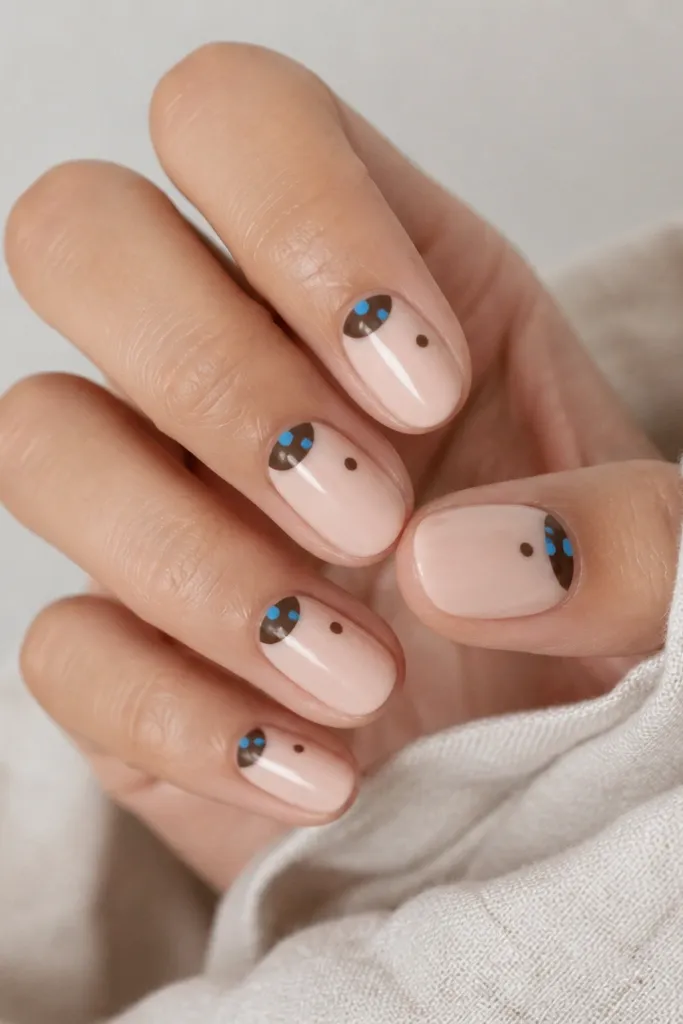
Half-moons make the design look intentional, and the dots inside them add that polka dot charm. The brown half-moon grounds the blue dots so the cuticle area doesn't look flat. I like this for people who want polka dots without covering the whole nail.
Use nude polish as the base. With a detail brush, paint a half-moon at the cuticle in chocolate brown. Dot three navy circles inside the half-moon. Add one small brown dot on each nail about halfway between cuticle and tip, slightly off-center.
Editor's noteSeal the half-moon edges with a thin top coat before dotting so you don't smear the border.
Watch outDon't make the half-moon too wide - if it reaches the middle of the nail, it looks heavy.
4. Matte Taupe Base With Glossy Navy Dots
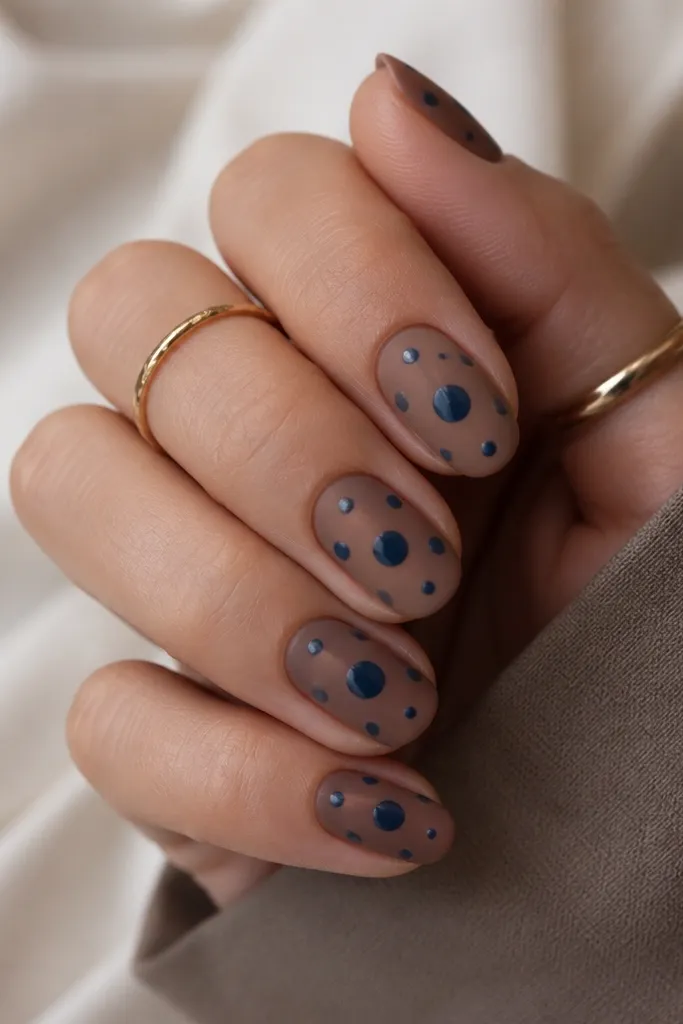
Matte base + glossy dots is the combo that makes budget nails look styled. The matte taupe hides minor imperfections in your base coat. Then the navy dots catch light and look like they're raised.
Paint two thin coats of taupe-brown. Let it dry fully, then apply matte top coat over the whole nail. Add navy dots with a slightly thicker polish, then finish with a glossy top coat only over the dots (or a full glossy top coat if you want the whole nail shiny).
Editor's noteIf you only want dots glossy, use a dot of glossy top coat on the dots with the dotting tool.
Watch outDon't rush matte top coat right after base - it can streak.
5. Blue Base With Brown Dots On A Diagonal
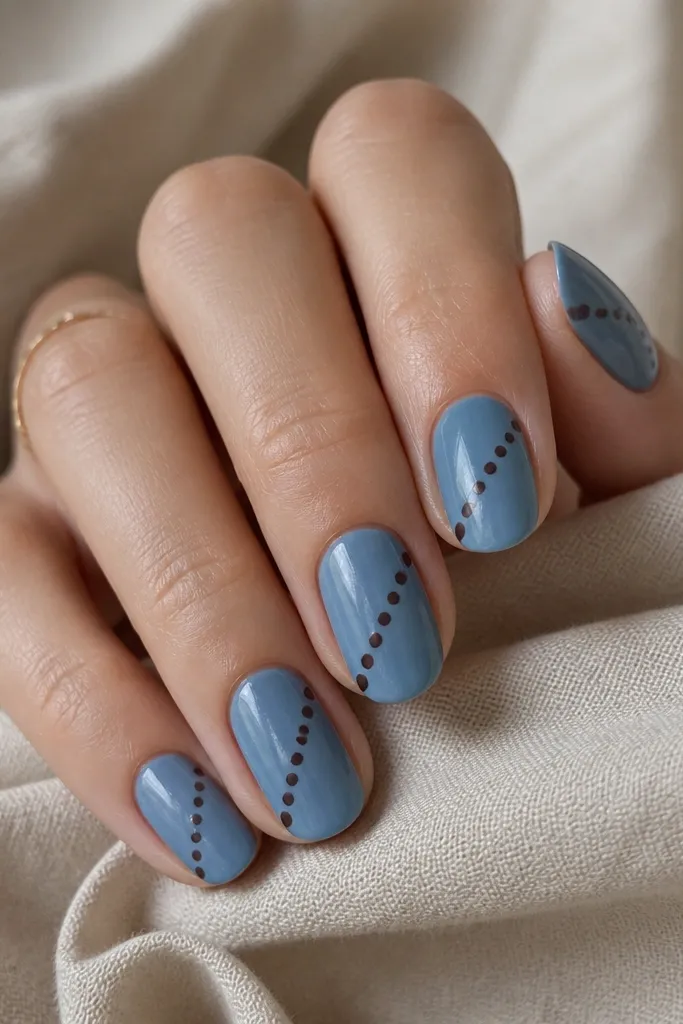
A diagonal dot line looks clean and graphic, like nail art you'd see at a salon. The blue base keeps the look bold, and the brown dots add contrast without needing extra shapes. It's also easier to place than full polka dot coverage.
Paint two coats of denim blue. Mark a diagonal guideline with a tiny strip of tape or just eyeball a line starting 2 mm from the sidewall near the cuticle and ending 2 mm from the tip. Place brown dots along that diagonal in three to five evenly spaced points.
Editor's noteTap the dot tool straight down and lift - don't rotate while touching the nail.
Watch outDon't make the diagonal too steep or too shallow - it should feel like it climbs the nail.
6. Brown And Blue Polka Dot Accent With Nude Frame
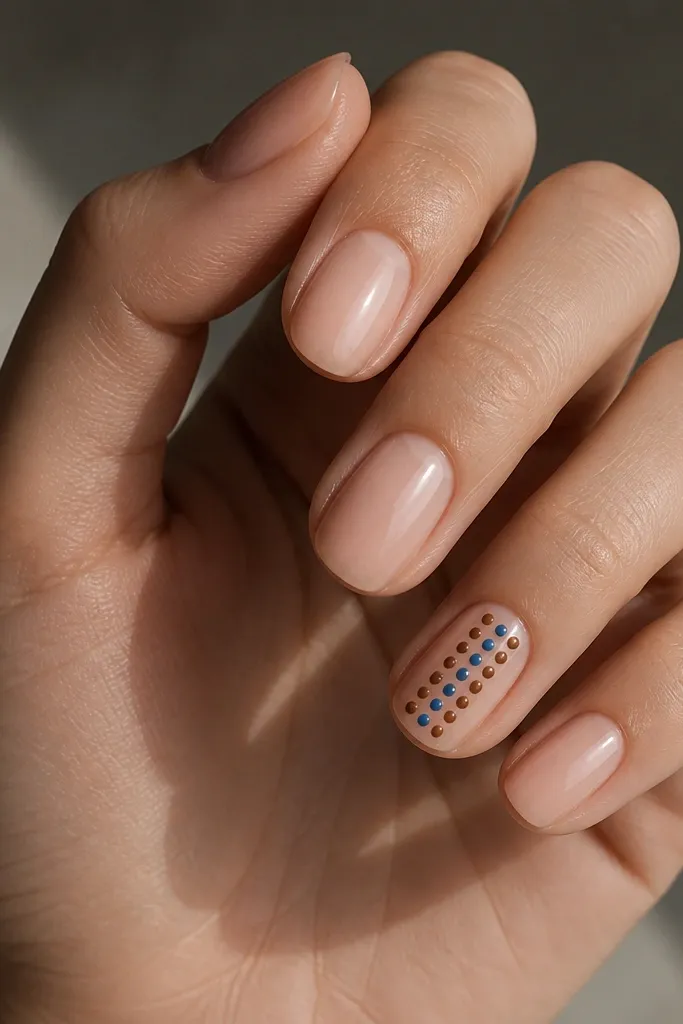
This design looks "designed" because there's a clear frame. Alternating brown and blue dots keeps it playful but still organized. I like the rectangle shape because it hides small placement errors - your eye reads the block.
Paint nude base and let it dry. On accent nails, use tape to create a rectangle window, then dot inside with alternating colors. Remove tape carefully while the polish is slightly tacky so the edges don't peel. Keep the frame 1-2 mm away from the cuticle and side edges.
Editor's noteUse two dot sizes: one small for spacing gaps, one medium for the main dots.
Watch outDon't overfill the rectangle - leave breathing room so each dot stays round.
7. Tiny Dots All Over In Navy Over Brown Ombre
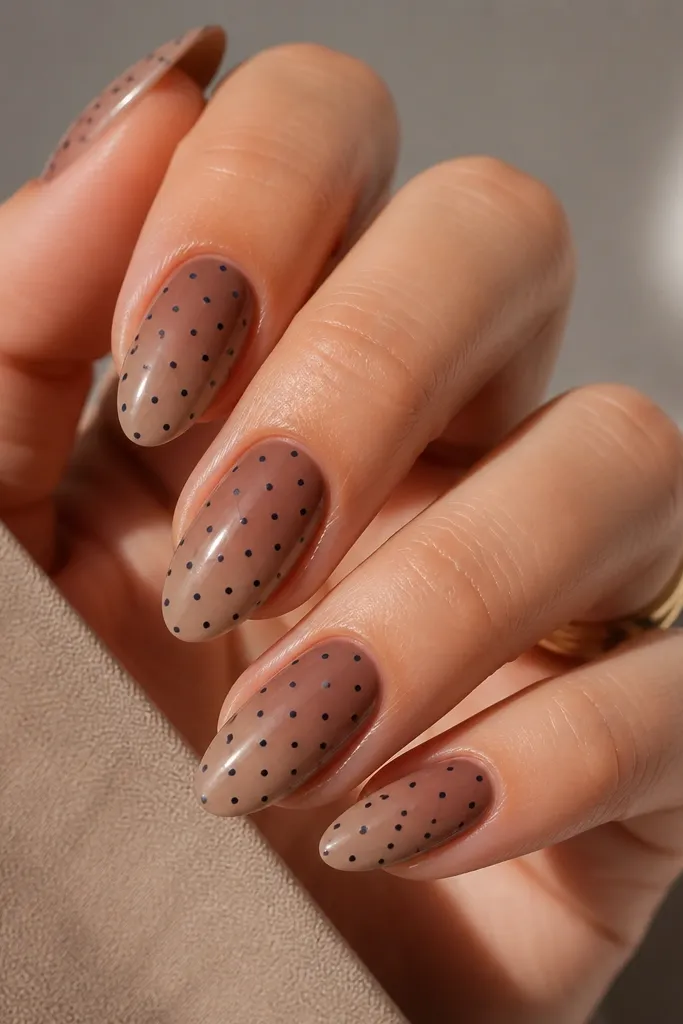
Ombre gives a smooth background, and the tiny dots make it look like confetti. I keep the navy dots small so they don't fight with the gradient. This is the look I wear when I want polka dots but still want my nails to feel light.
Blend warm brown into taupe at the tip using a makeup sponge (tap lightly, don't swipe). Seal with a glossy base coat. Add tiny navy dots across the nail with a dotting tool, then top coat.
Editor's noteIf your dots start to look uneven, add one extra dot row across the center to balance the spacing.
Watch outDon't use too much polish on the sponge - thick ombre looks chalky under dots.
8. Brown Base With Two Blue Dot Rows
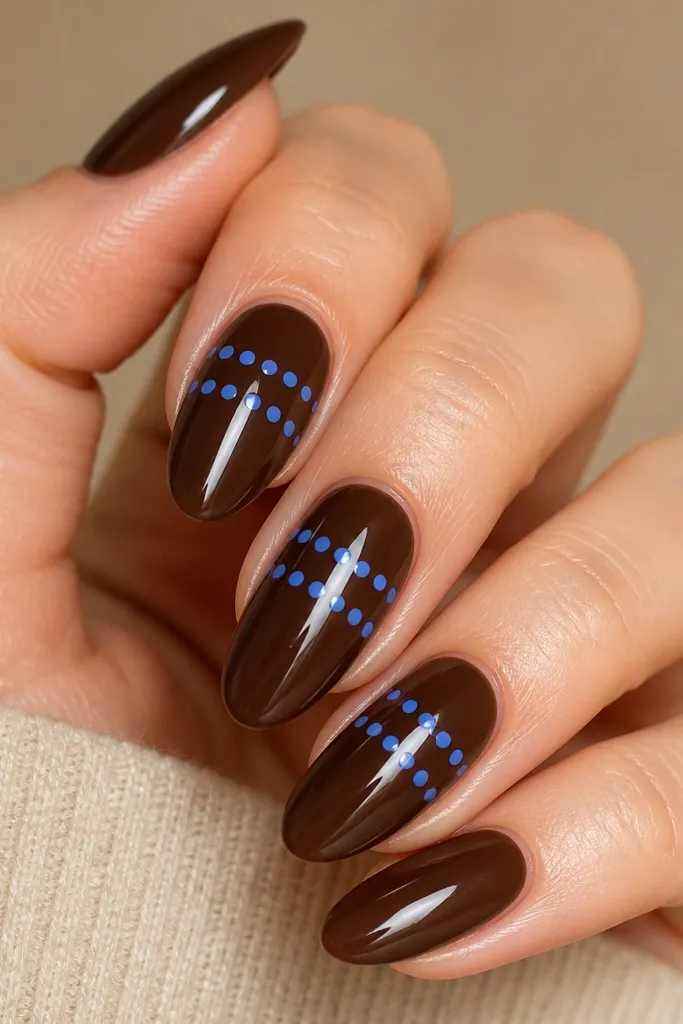
Two rows look modern and tidy. The straight alignment makes it look intentional even if you're doing it at home. Brown keeps everything grounded, and the navy rows give you that classic polka dot vibe.
Paint two coats of chocolate brown. Place the first row about halfway between cuticle and tip, then the second row about 2-3 mm from the tip edge. Use a dotting tool and a straightedge guide under the nail to keep the rows level.
Editor's noteCount your dots per row (like 5 per nail) so the pattern looks consistent.
Watch outDon't vary dot size too much - the rows should look evenly styled.
9. Blue French With Brown Dots And A Thin White Pinstripe
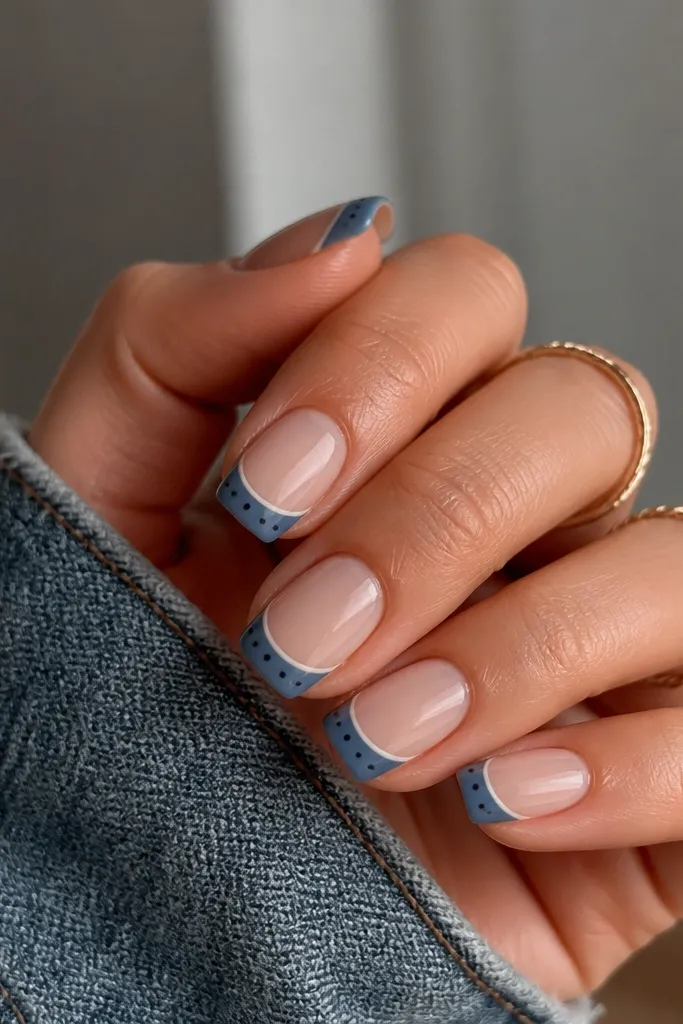
That thin white line makes the design look sharper, like a "real" manicure instead of a quick dot job. The brown dots on the blue tip keep it nostalgic. This one also photographs well because the pinstripe gives contrast at the boundary.
Apply nude base, then tape for the French tip. Paint denim blue, then add a thin white strip right under the blue line. Dot brown circles on the blue tip, leaving the corners lighter so it doesn't feel crowded.
Editor's noteUse a striper brush for the white line, not a dotting tool.
Watch outDon't let the tape pull up the base coat - patchy edges ruin the clean French look.
10. Polka Dot Skittle: One Color Per Nail
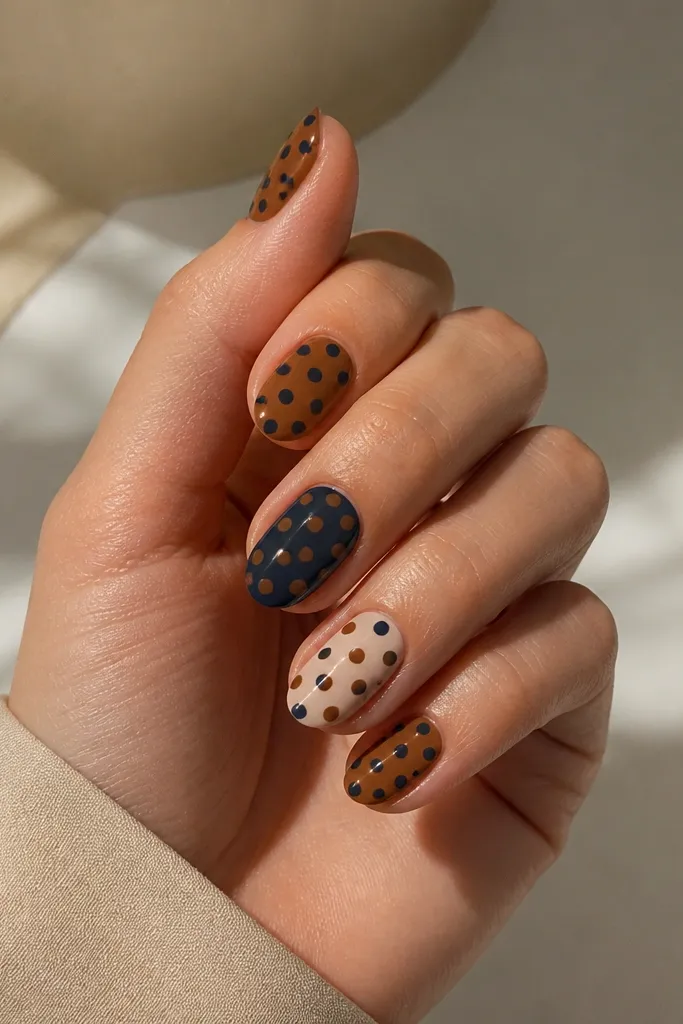
Skittle nails make the set feel playful without needing complex patterns on every finger. Alternating which color is the base keeps it from looking repetitive. The nude nail with both colors ties the look together.
Pick five bases: brown, navy, and nude. On brown-base nails, add navy dots; on navy-base nails, add brown dots. On the nude nail, alternate small brown and blue dots in a scattered pattern.
Editor's noteKeep dot size the same across all nails so the variety looks intentional.
Watch outDon't mix three colors on one nail - it starts looking chaotic fast.
11. Brown Marble Look With Blue Polka Spot Accent
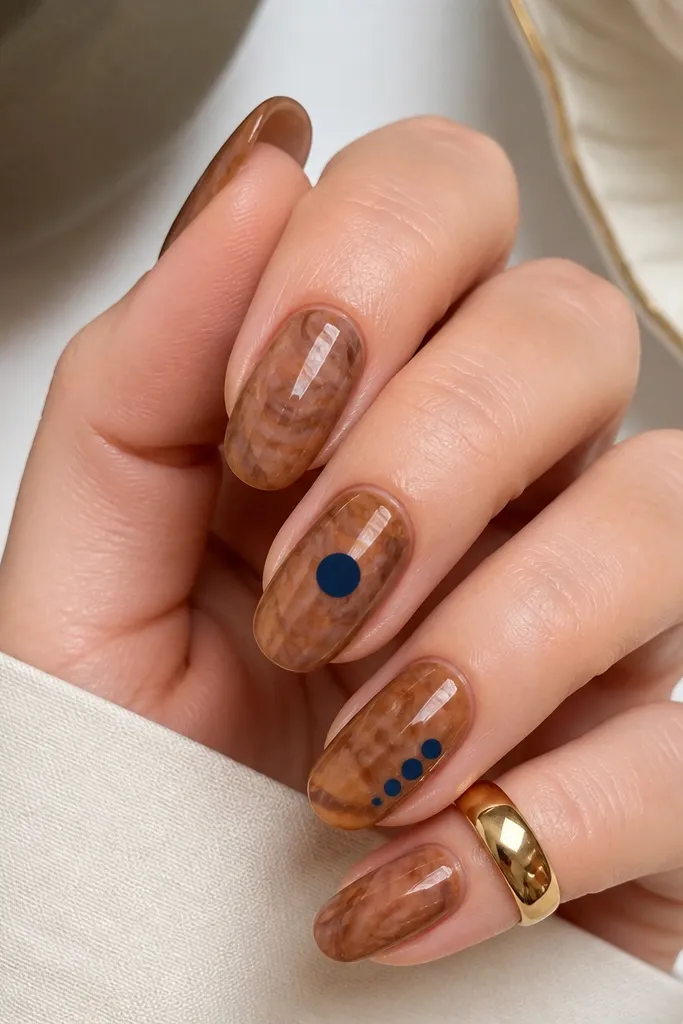
Marble makes brown feel richer even on a budget. Then the blue polka dots act like punctuation - one big dot reads bold, multiple small dots read cute. This mix keeps the manicure interesting without filling every space.
Create quick marble by swirling two shades of brown with a thin brush or using a sponge for soft streaks, then seal with gloss. Add one large navy dot on the center of the ring finger and three smaller navy dots on the middle finger near the side.
Editor's noteLet your marble base dry fully before dotting so dots don't sink into wet streaks.
Watch outDon't do dots over a still-wet marble - they blur.
12. Reverse French: Brown Base With Blue Dots Near Tip Edge
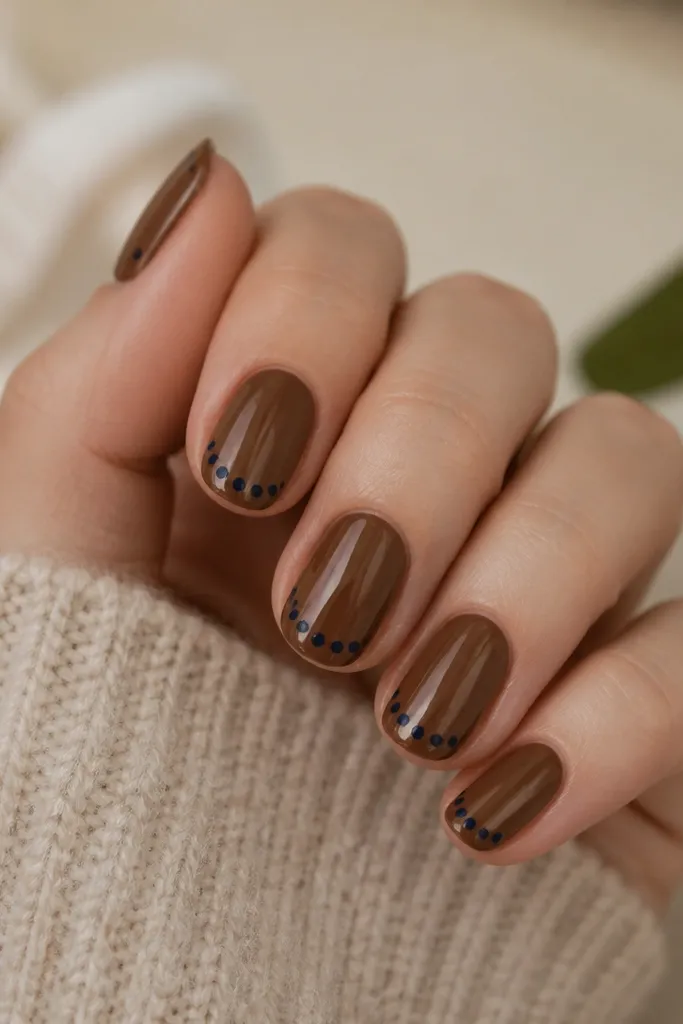
Reverse French dot bands look classy because the pattern follows the nail shape. The dots near the tip also hide small tip chips - you'll see them less. Brown base keeps it warm and wearable.
Paint glossy brown. Place navy dots in a curved line about 2 mm from the tip, then add a second curved row above it. Keep the dot band narrow so it still feels like a French variation.
Editor's noteUse a small dot tool for the upper row and a slightly bigger one for the lower row.
Watch outDon't extend the dot band down too far - it turns into full coverage polka dots.
13. Navy Base With Brown Polka Dots And One Glitter Dot
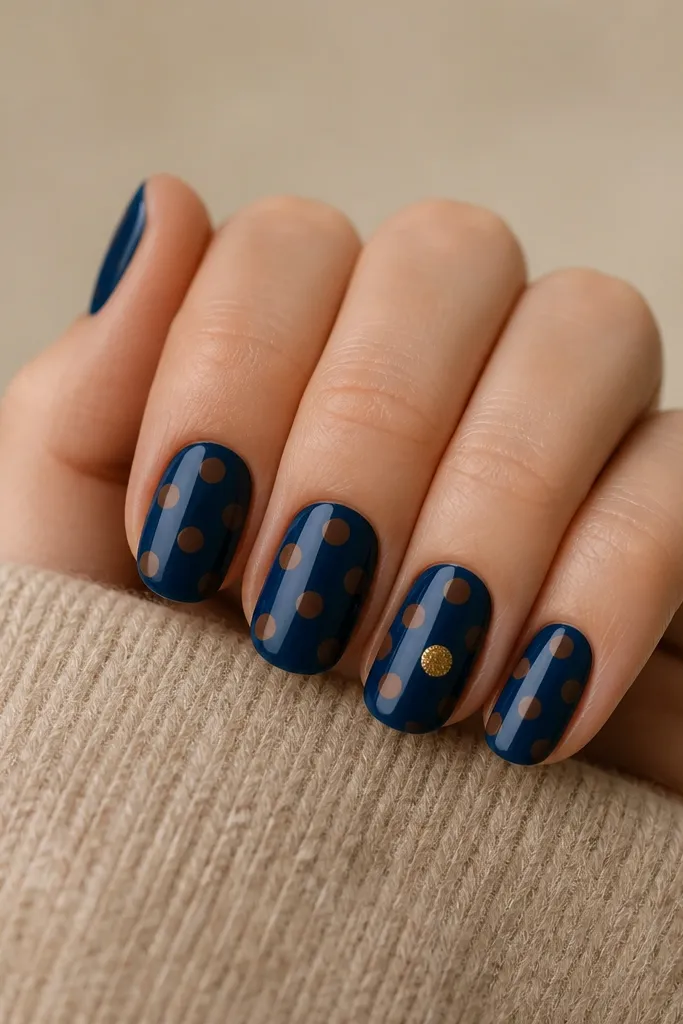
This is my "going out" version that still feels budget. The gold glitter dot adds sparkle without needing rhinestones. Brown dots on navy look high contrast, and the single glitter dot keeps it from looking overdone.
Paint navy base in two coats. Add brown dots spaced evenly. On the ring finger, swap one brown dot for a dot of gold glitter polish (use a tiny amount so it stays a perfect circle).
Editor's noteSeal glitter dots with two top coat layers to prevent rough texture.
Watch outDon't use chunky glitter - it catches on hair and fabric.
14. Taupe Base With Navy And Brown Mixed Dot Confetti
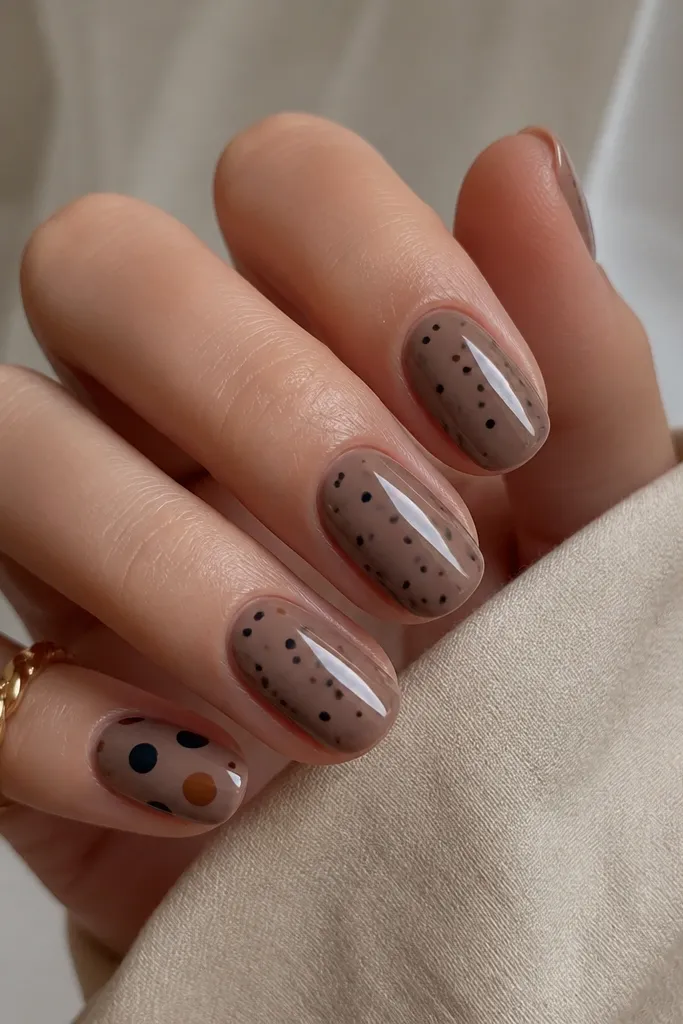
Confetti dots look natural when the base is neutral. Mixing navy and brown keeps it cohesive because both colors already belong together. I keep the dots mostly small so the nails don't look busy.
Use taupe-brown as the base, then apply glossy top coat. Add random dots with two polishes: navy and chocolate brown. On one accent nail, use 3-4 slightly larger dots for focus.
Editor's noteLeave at least 1 mm between dots - that spacing keeps the pattern clean.
Watch outDon't cover the entire nail edge-to-edge - it looks like a sticker sheet.
15. Brown Half Nail With Blue Dots And Nude Side
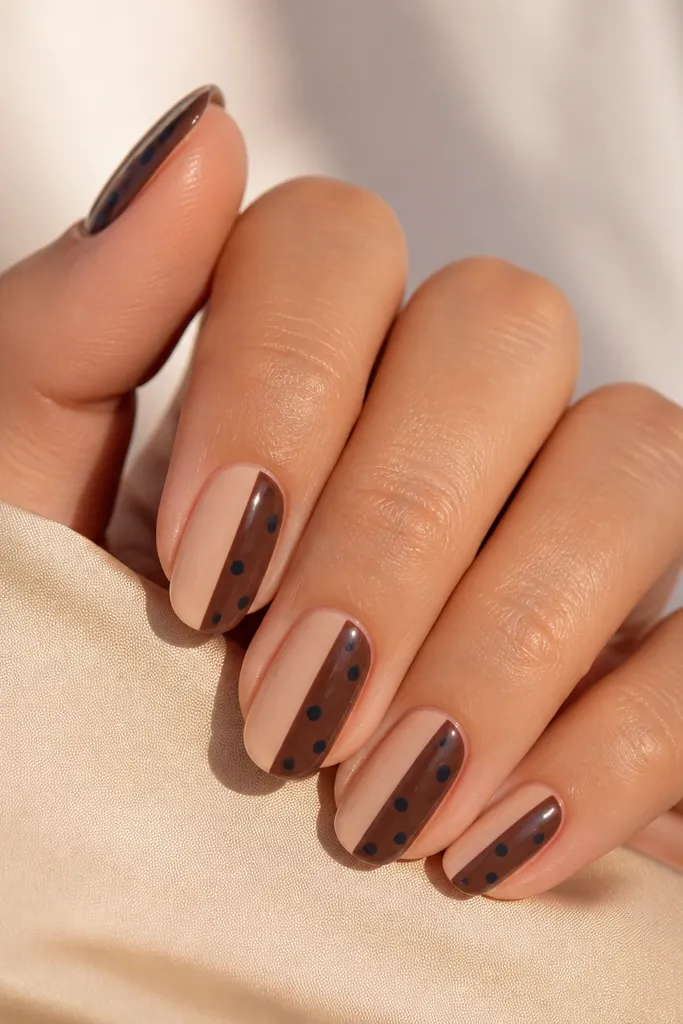
Vertical split designs look neat on short nails because they don't crowd the tip. The nude side gives your eyes a break, which is why this reads clean instead of messy. Blue dots stay confined, so they look crisp and intentional.
Paint nude on half the nail using striping tape for a straight line. Paint chocolate brown on the other half. Remove tape once the brown is tacky. Add navy dots only on the brown half, keeping them in two to four rows.
Editor's notePress tape down firmly at the edges to prevent polish bleed.
Watch outDon't freehand the split line if you're new - taping is the difference between salon and streaky.
16. Blue Ombre With Brown Polka Dot Fade
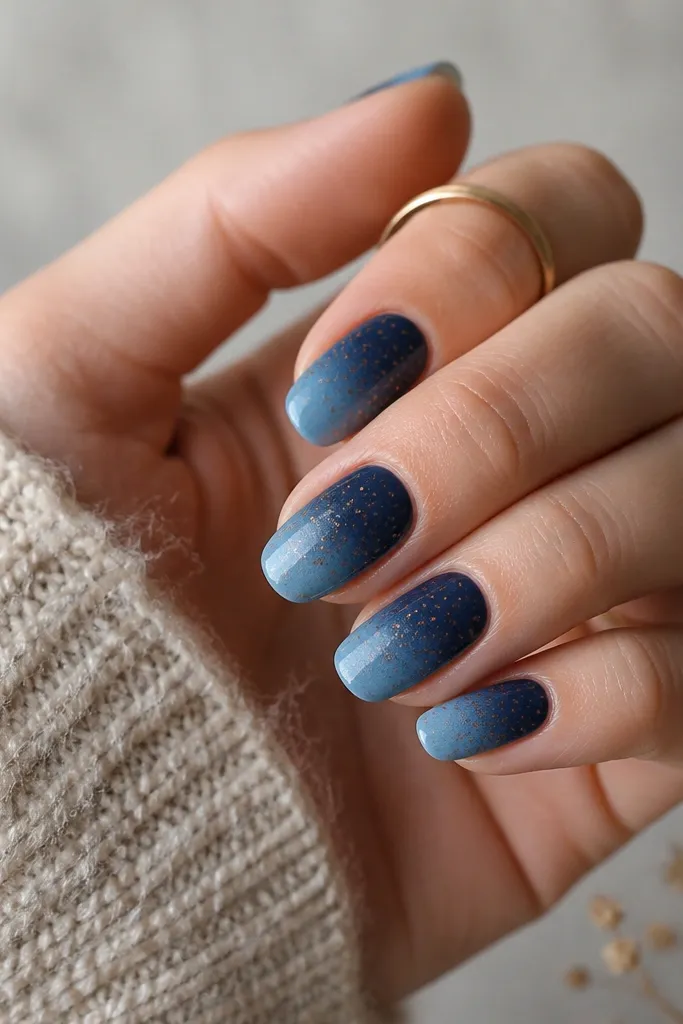
The fade placement makes it look artistic instead of repetitive. Brown dots near the cuticle look like they're emerging from the ombre. This is a great choice if you want polka dots but hate the idea of covering the whole nail.
Blend navy into denim using a sponge, then seal with base coat. Add brown dots starting close to the cuticle with higher density, then space them out more toward the tip. Keep dot size smaller at the top for a softer gradient feel.
Editor's noteUse a makeup sponge for the ombre, then let it dry completely before dotting.
Watch outDon't add too many dots - the fade only works when there's a clear difference in density.
17. Navy Dots On Brown With Micro Stars Accent
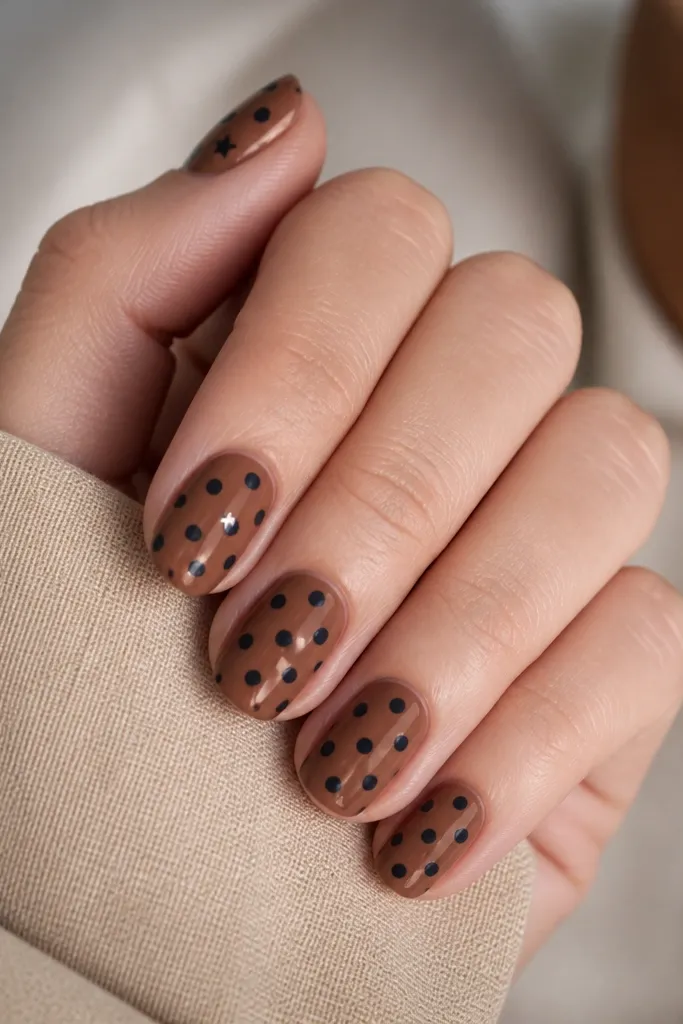
Polka dots plus one tiny star accent keeps the set from feeling like a one-note pattern. The star shapes are small enough to stay cute, not theme-y. Brown base keeps the design warm, and navy dots keep it cohesive.
Paint chocolate brown and let it dry fully. Add navy dots all over, leaving some negative space. On one accent nail, use a toothpick to draw tiny star points in navy, replacing 2-3 dots.
Editor's notePractice the star shape on a paper towel once - you'll get consistent points quickly.
Watch outDon't make stars bigger than the dots - scale mismatch looks off.
18. Brown Dots Over Blue Glossy Stripe
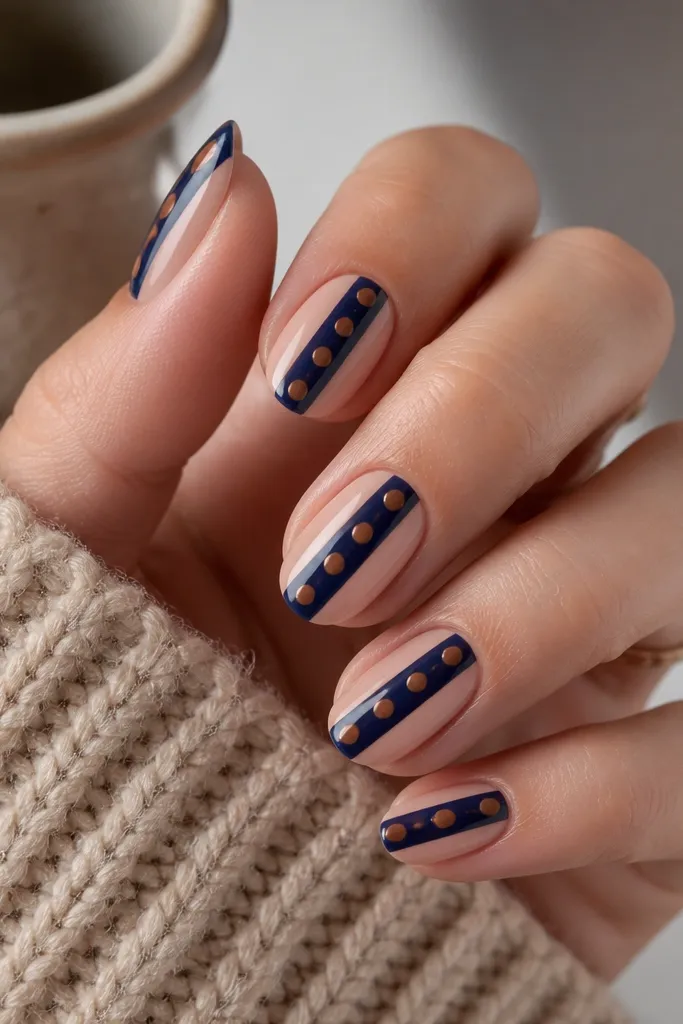
A single vertical stripe is the secret to making dots look intentional and modern. The navy stripe gives a smooth line, and the brown dots sit on top like decoration. Nude base keeps it light and office-friendly.
Paint nude base. Tape a narrow strip down the center and paint it navy, then remove tape. Dot brown circles directly onto the navy stripe only, keeping them evenly spaced from cuticle to tip.
Editor's noteUse two coats of navy on the stripe so the surface is smooth for dotting.
Watch outDon't put dots on the nude around the stripe - it breaks the clean vertical focus.
19. Blue And Brown Checker Dot Blend
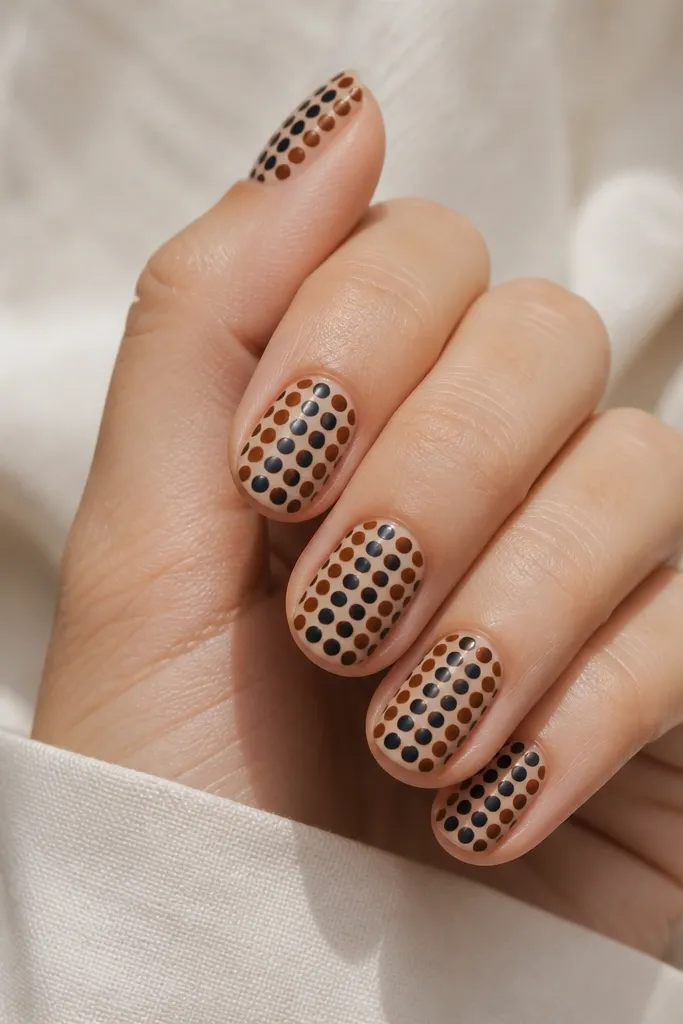
Checker dot grids look like you planned them with a template, even when you're doing them at home. The tight spacing makes each dot look like part of a set. This is bold, but it still feels wearable because the background stays nude.
Use nude base. Place dots in a grid pattern: navy, then brown, alternating across rows. Keep your dot spacing consistent by using the same dot size and counting columns (like 4 across on short nails). Finish with glossy top coat to level the dots.
Editor's noteIf you lose your place, stop and check alignment under a bright light before adding more dots.
Watch outDon't use two different dot sizes for the same color - it makes the grid look uneven.