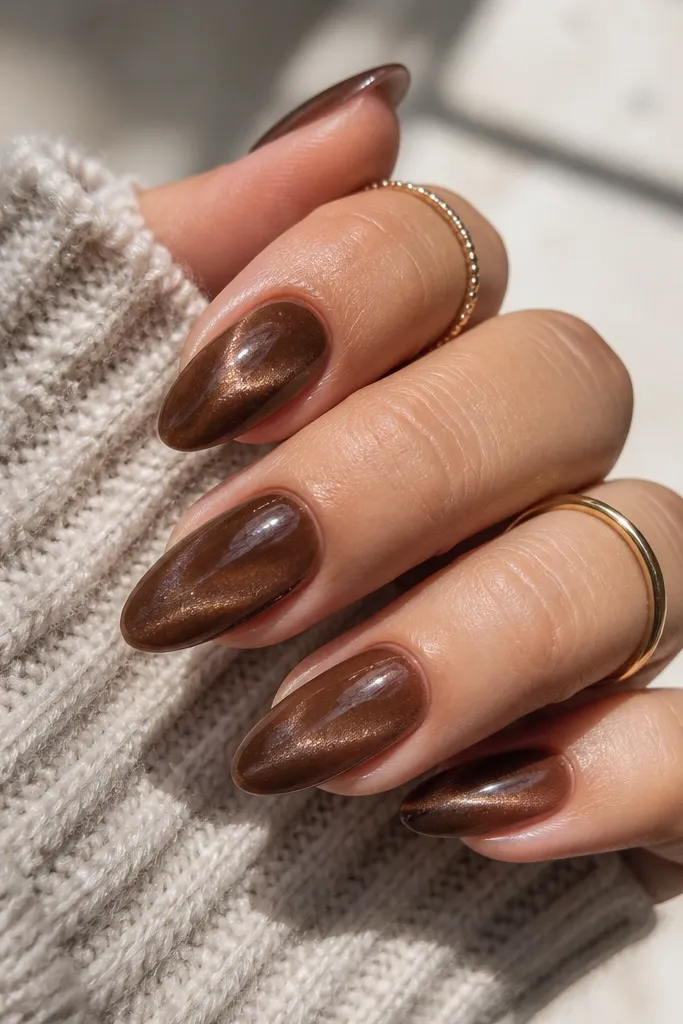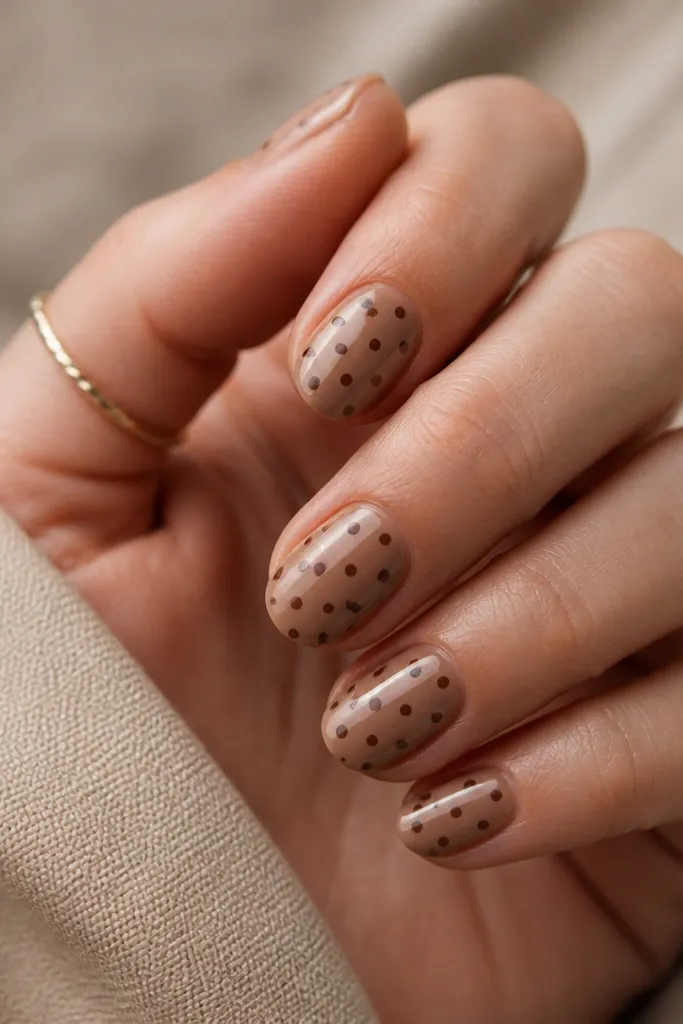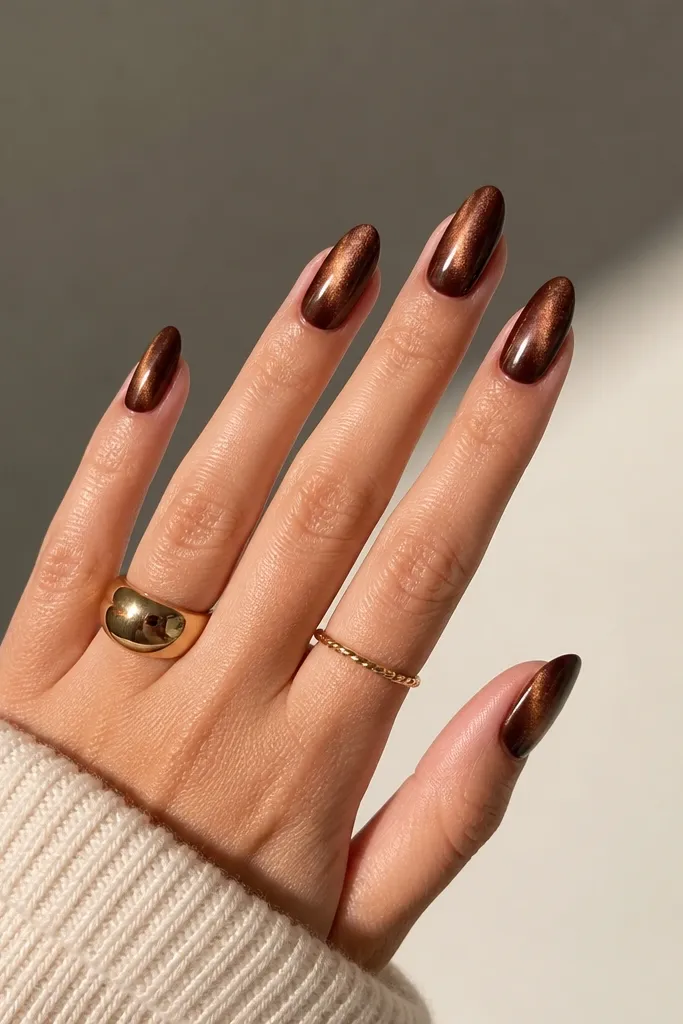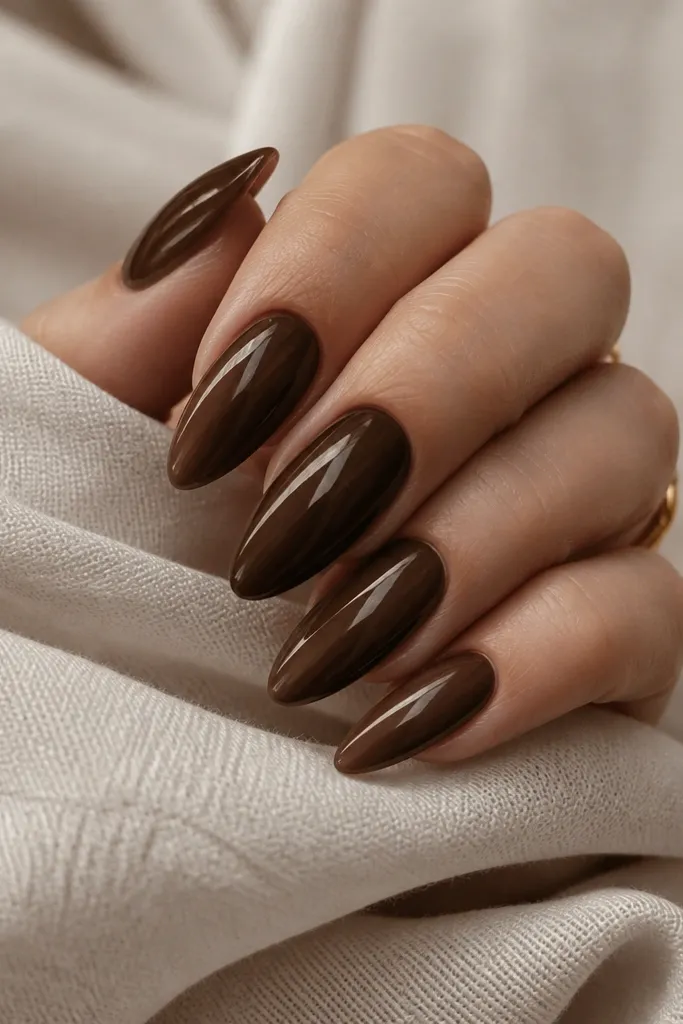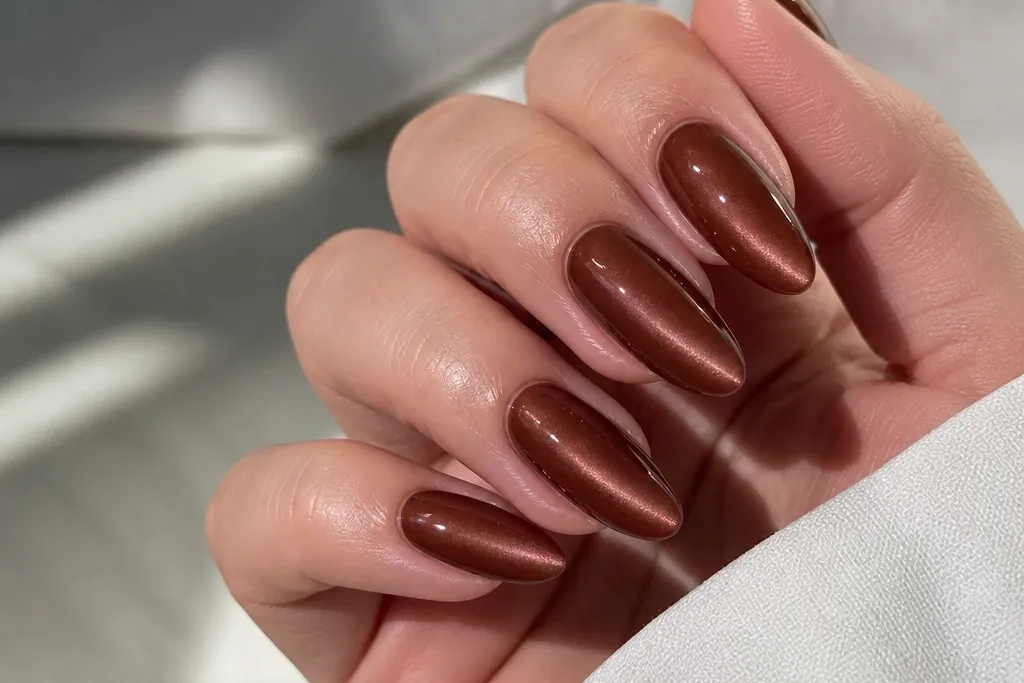
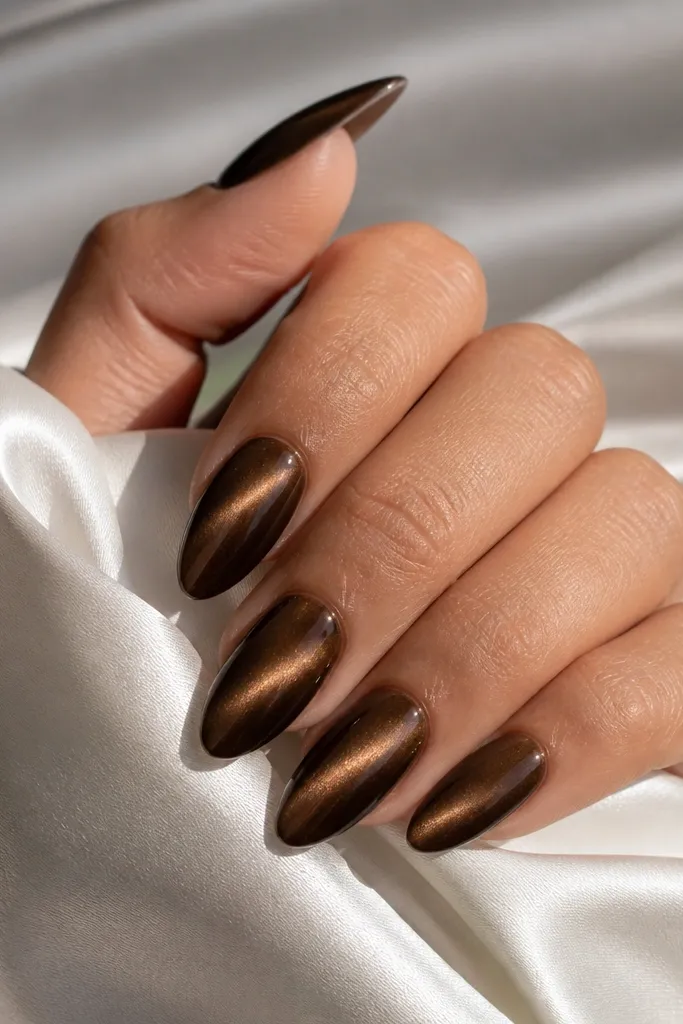
1. Mocha Center Stripe with Micro Glitter Fog
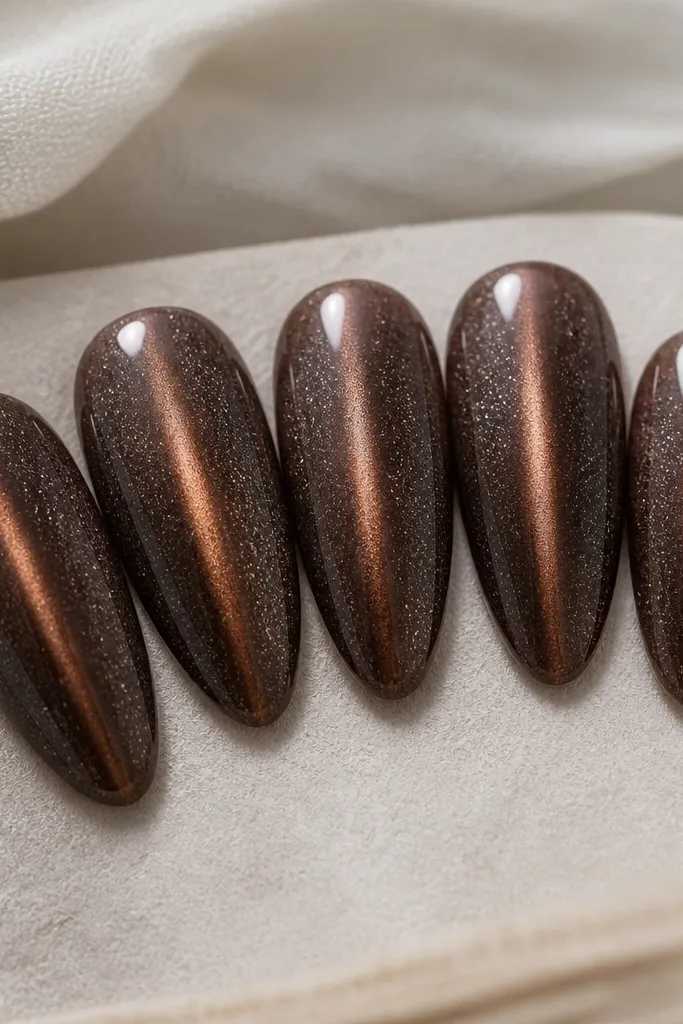
Start with a warm mocha cat eye polish so the reflective line looks golden-brown, not gray. The "fog" effect comes from a very light dusting of silver micro-glitter only over the upper half, so it doesn't cover the magnet stripe. I like this layout because it reads soft and wearable while still catching light when you move. The shimmer shift makes the stripe look thicker than it actually is.
Use 2 very thin coats of the mocha cat eye gel, magnetizing each cure with the magnet held flat near the nail. After the second coat and cure, add a thin layer of clear gel mixed with micro silver glitter just from the middle to the tip. Top coat glossy over everything.
Editor's noteWhen applying the glitter fog, wipe excess off the brush first so it falls only in a thin veil. Cure in short bursts so it doesn't pool near the stripe.
Watch outDon't put chunky glitter over the stripe or the line disappears and the set looks cheap.
2. Espresso Cat Eye with One Gold Leaf Cuticle Accent
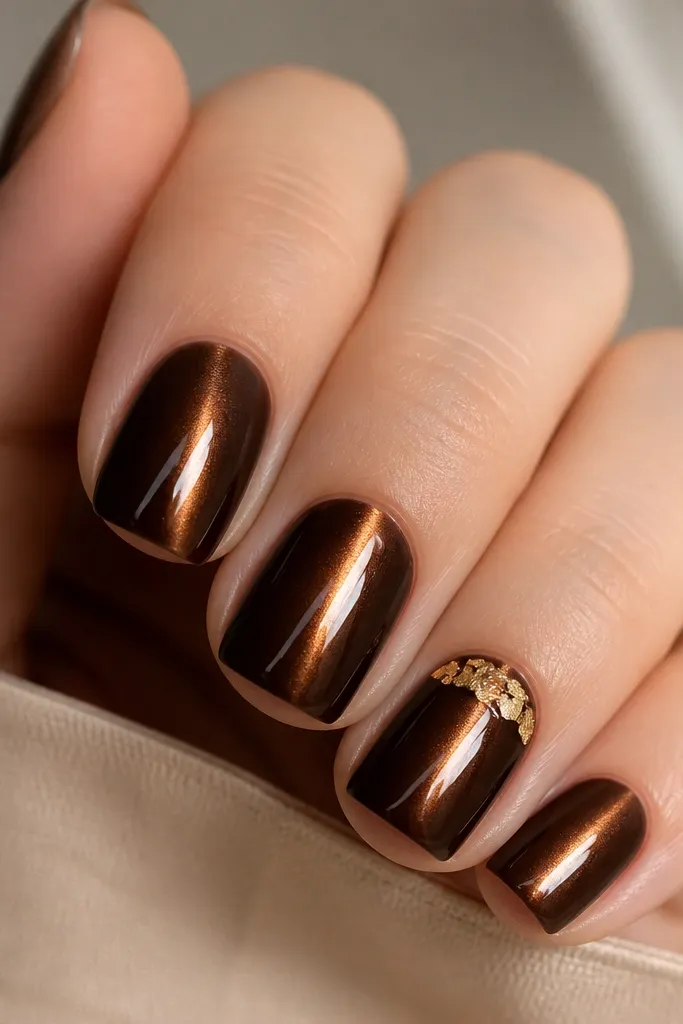
This design looks high-end because the espresso brown is deep enough that the stripe stays crisp. The gold leaf near the cuticle gives a jewelry feel without painting full art. I wear this when I want brown nails that still look dressed up. The leaf texture catches light differently than the cat eye, so you get two kinds of sparkle.
Apply espresso cat eye gel in 2 thin coats and magnetize after the final coat for a bright stripe. On the accent nail, place a small amount of gold leaf on the cured base using a thin tacky layer of clear gel at the cuticle area only. Seal with a thick glossy top coat to smooth the leaf.
Editor's notePress the leaf gently with a silicone tool so it grips the gel, then add top coat right away. If leaf edges lift, the set will snag.
Watch outSkip full-hand gold foil - too much makes brown look muddy and busy.
3. Caramel Cat Eye with Stacked Half-Moon French Tips
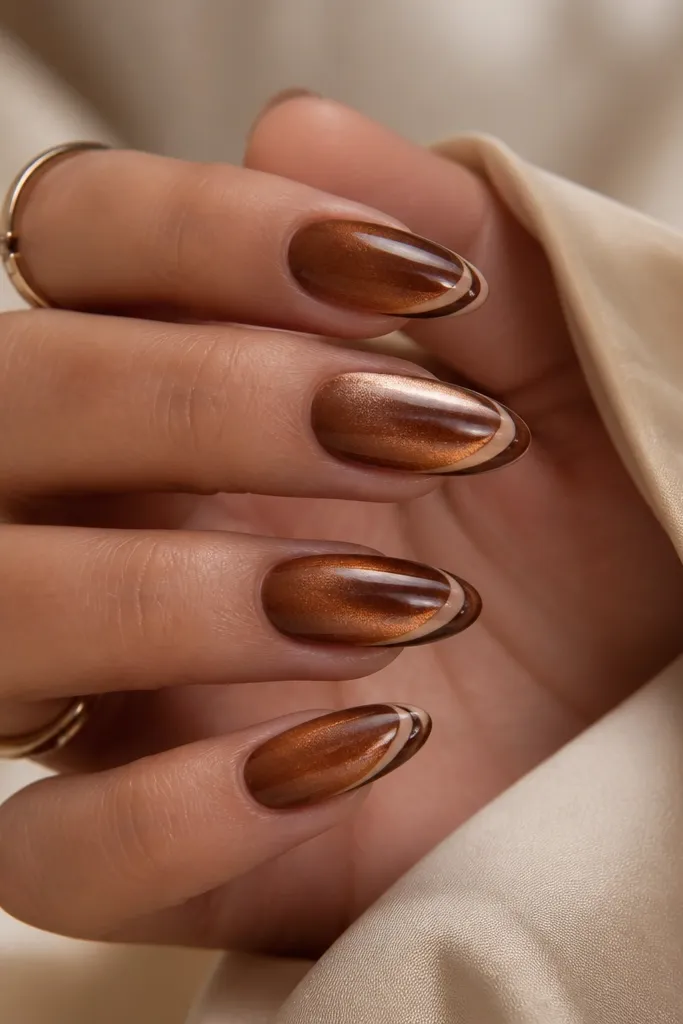
Caramel is flattering because it turns the cat eye stripe into a warm highlight. The stacked half-moons mimic a French tip but keep it soft and modern. This layout makes your nails look longer because the arcs frame the tip. When the stripe hits the arcs, it looks like a continuous light band from cuticle to tip.
Build the base with caramel cat eye gel in 2 thin coats, magnetize on the final coat. For the tips, use a striping brush to paint a light caramel nude half-moon at the free edge, then add a thinner darker brown half-moon just inside it. Cure each color, then top coat glossy.
Editor's noteUse a nail stencil for half-moons if your hands shake. Keep the inner arc about 1/3 the width of the outer arc.
Watch outDon't make the tip too thick or the arcs look like paint blobs.
4. Chocolate Cat Eye with Nude Side Bars
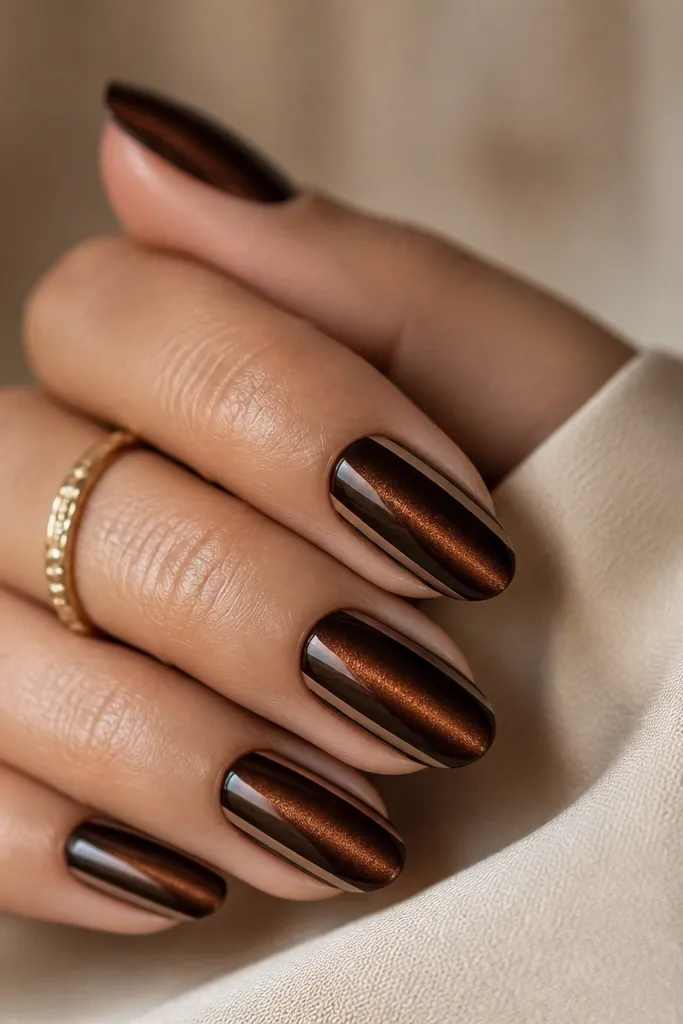
The nude side bars make the stripe look sharper and more intentional. Chocolate brown gives you a bold base; the nude rails keep it from feeling heavy. This design reads clean even on short nails because it adds shape without covering the magnet line. I like it for everyday because it looks styled with minimal effort.
Paint 2 thin coats of chocolate cat eye gel and magnetize the final coat for a bright center line. After curing, use a nude gel polish and a liner brush to place two thin bars that start around mid-nail and taper slightly toward the tip. Seal with glossy top coat.
Editor's noteKeep the bars about a brush-width away from the center stripe so the shimmer stays the hero.
Watch outAvoid covering the stripe with nude - if it overlaps, it looks like an accident.
5. Espresso Brown Cat Eye with Rose Quartz Accent Swirl
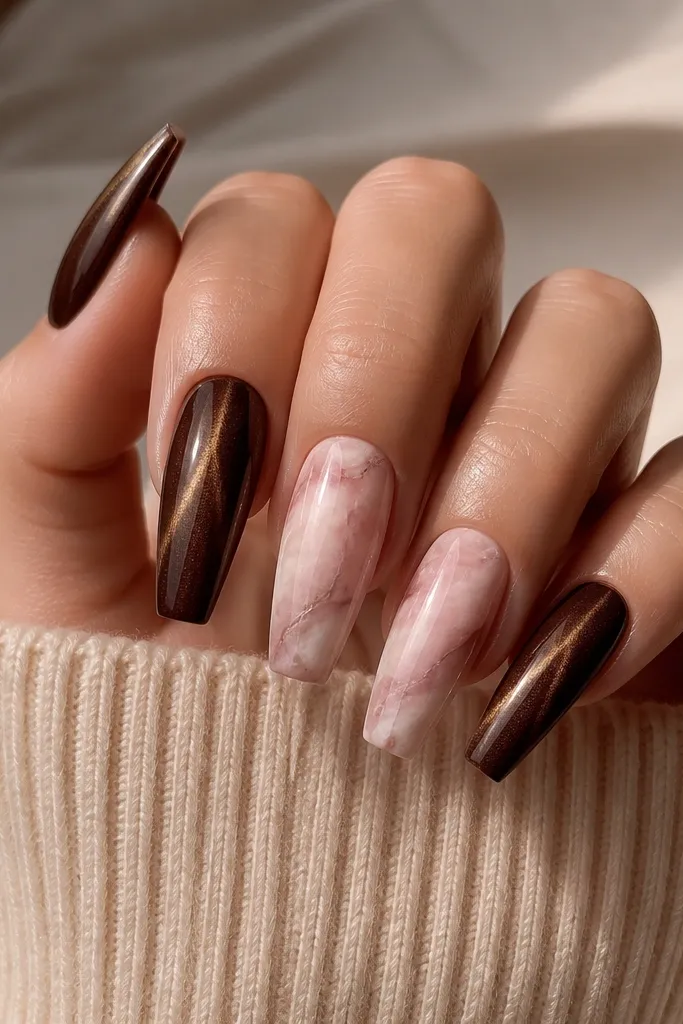
Espresso gives you that dramatic brown depth, and the rose quartz swirl adds softness without turning the set into full pink nails. I do the swirl only on one or two nails so it looks like intentional art. The cloudy marbling texture sits on top of the shimmer and makes the stripe look like it's glowing behind it. It's a great "date night brown" set.
Base: espresso cat eye gel in 2 thin coats, magnetize on the final coat. Accent nails: after the base cure, add a thin layer of milky white gel, then drag pale pink gel through it with a dotting tool for a cloudy swirl. Keep the swirl narrow so the center stripe still shows. Top coat glossy.
Editor's noteUse a silicone-tipped dotting tool for the swirl lines. It spreads pigment just enough for that quartz haze.
Watch outDon't paint thick swirls - chunky marbling hides the cat eye line.
6. Caramel Latte Cat Eye with Tiny Brown Rhinestone Road
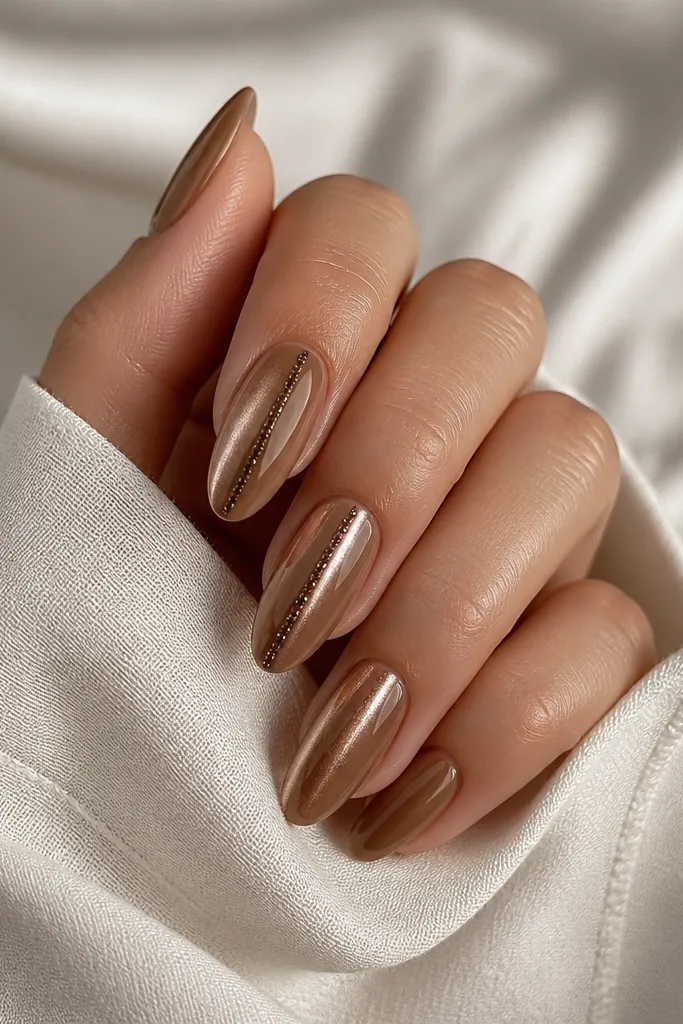
A rhinestone row makes brown cat eye feel like jewelry. The key is using tiny stones in a warm brown tone so they blend with the base instead of looking like silver confetti. I place them only along the stripe so the cat eye stays the main light source. This looks great on hands with rings because the stones mirror the sparkle.
Do caramel latte cat eye in 2 thin coats, magnetize on the final coat. Add rhinestones using a small amount of clear builder gel on the stripe line, then press each stone lightly with tweezers. Stop the row about 2 mm from the tip so it doesn't snag. Seal with a glossy top coat.
Editor's noteChoose stones that are flat-backed and small (think SS3 to SS5). Big stones over a cat eye stripe look heavy.
Watch outSkip a thick gel bed under stones - it makes them lift and catch on fabric.
7. Mocha Cat Eye with Matte Nude Half-Caps
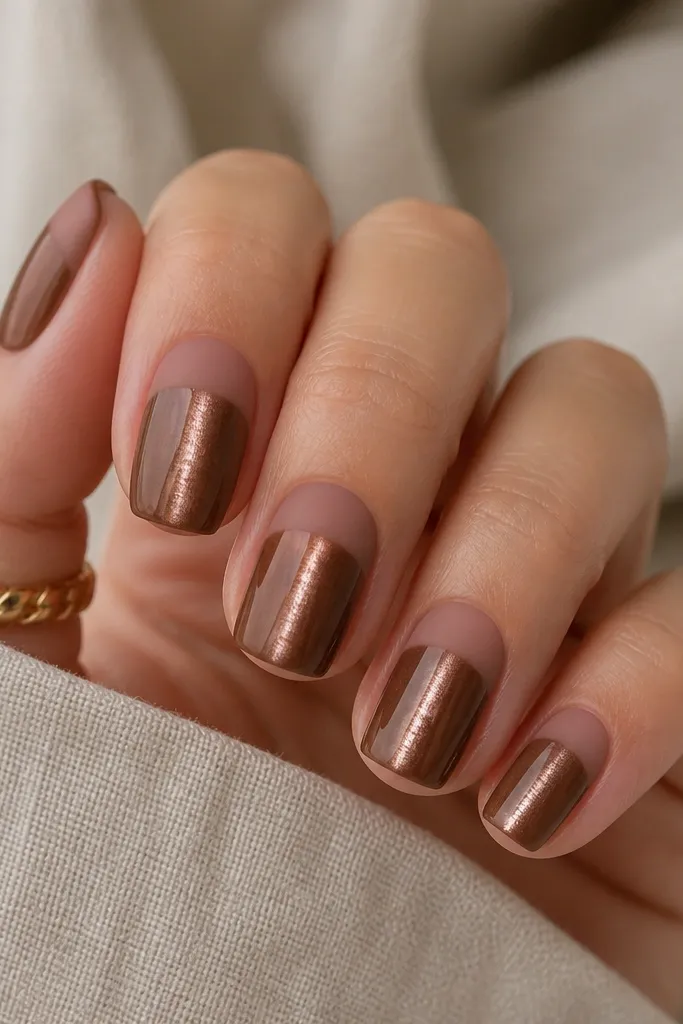
This mix of glossy stripe and matte nude tips looks expensive because it adds contrast. Matte half-caps also hide small tip imperfections from filing. The nude shade keeps it wearable and the brown stripe still does the "cat eye" job. I wear this when I want brown nails that don't look too shiny for daytime.
Base: mocha cat eye gel in 2 thin coats, magnetize on the final coat and cure. Paint a nude gel half-cap at the tip with a striping brush, cure. Finish with matte top coat only on the nude half-caps; keep the rest glossy with regular top coat.
Editor's noteLayer matte top coat thin. Thick matte can look dusty and uneven on curved tips.
Watch outDon't matte the whole nail - it kills the cat eye shimmer.
8. Espresso Cat Eye with Fine Gold Line Frame
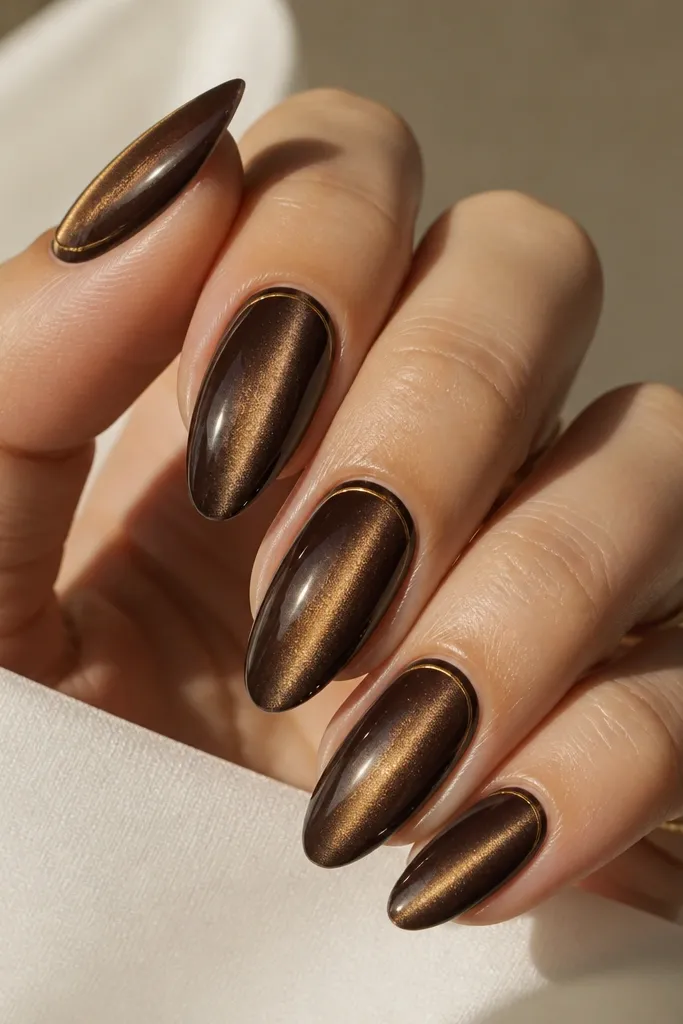
A fine gold frame makes the stripe look more centered and symmetrical. I like gold gel for this because it stays smooth and doesn't snag. The frame is minimal - just enough to guide the eye - so the set still reads "cheap but looks salon." This is a good option for work because it doesn't scream glitter.
Apply espresso cat eye gel in 2 thin coats, magnetize on the final coat. Cure. With a liner brush and gold gel, draw a thin line along each sidewall starting 1-2 mm away from the cuticle, then add a micro curve across the cuticle area. Cure and top coat glossy.
Editor's noteUse a striping brush that's slightly stiff. If the brush is too soft, the gold line wobbles.
Watch outDon't draw thick outlines - they look like costume jewelry on nails.
9. Caramel Cat Eye with Brown-to-Nude Gradient Tip
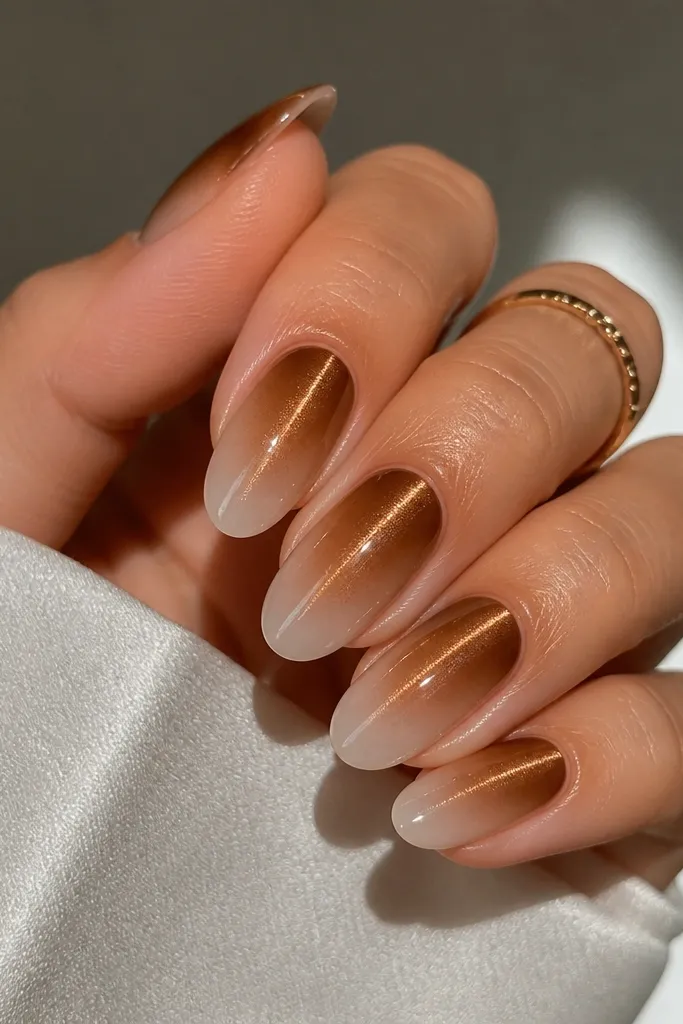
A gradient tip makes brown cat eye look more dimensional than it is. The nude fade softens the edge and makes the stripe look like it's melting into the light. I do this when I want a "pretty but not busy" set. It also makes regrowth less obvious because the nude transition reads airy.
Base: caramel cat eye gel in 2 thin coats, magnetize on final coat. For the gradient, sponge a milky nude gel at the tip, then lightly sponge a touch of caramel brown gel at the very edge. Avoid the center stripe area until the last light sponge pass so the cat eye stays visible. Top coat glossy.
Editor's noteWipe your sponge on a paper towel before touching the nail. That controls the fade so it stays smooth.
Watch outDon't sponge over the stripe repeatedly - too many passes dull the magnet line.
10. Chocolate Cat Eye with Tiny Star Confetti
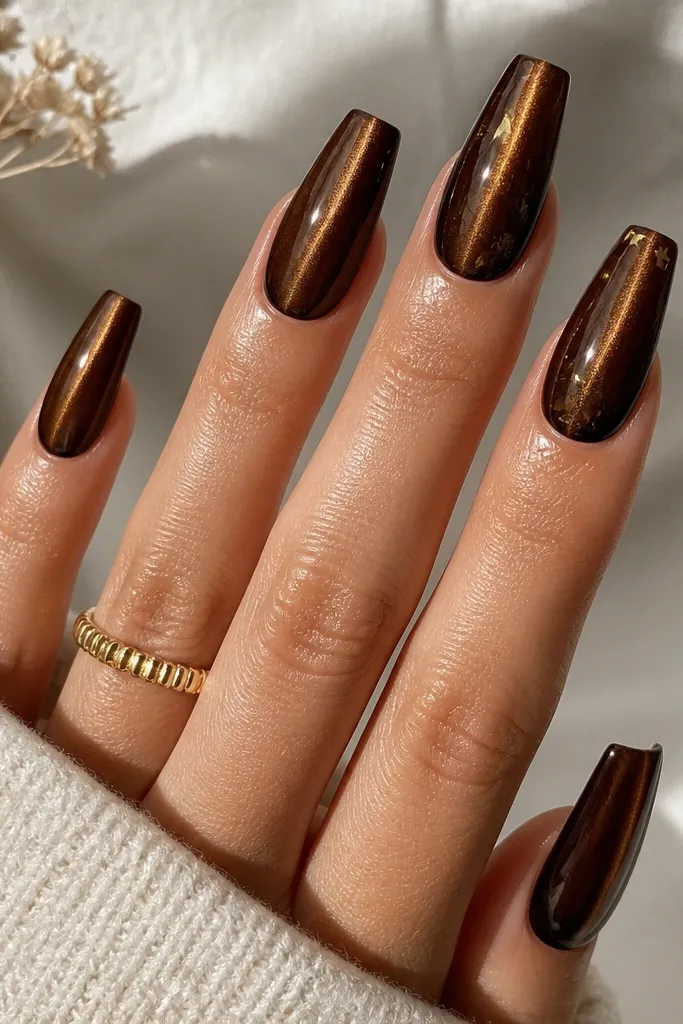
Tiny star confetti adds sparkle without feeling like holiday nails. Chocolate brown makes the gold stars look warm instead of yellow. I keep confetti sparse so the cat eye stripe still looks like a clean beam. When the light hits, you get a double effect - stripe shift plus star flashes.
Do chocolate cat eye gel in 2 thin coats, magnetize on final coat. On the accent nail only, press tiny star confetti into a tacky top coat layer near the tip (leave the center stripe clear). Seal under a thick glossy top coat to lock it down.
Editor's noteUse tweezers to place stars one at a time. Random piles look messy fast.
Watch outAvoid covering more than half the nail with confetti - it turns into glitter overload.
11. Espresso Cat Eye with Side Cuticle Halo
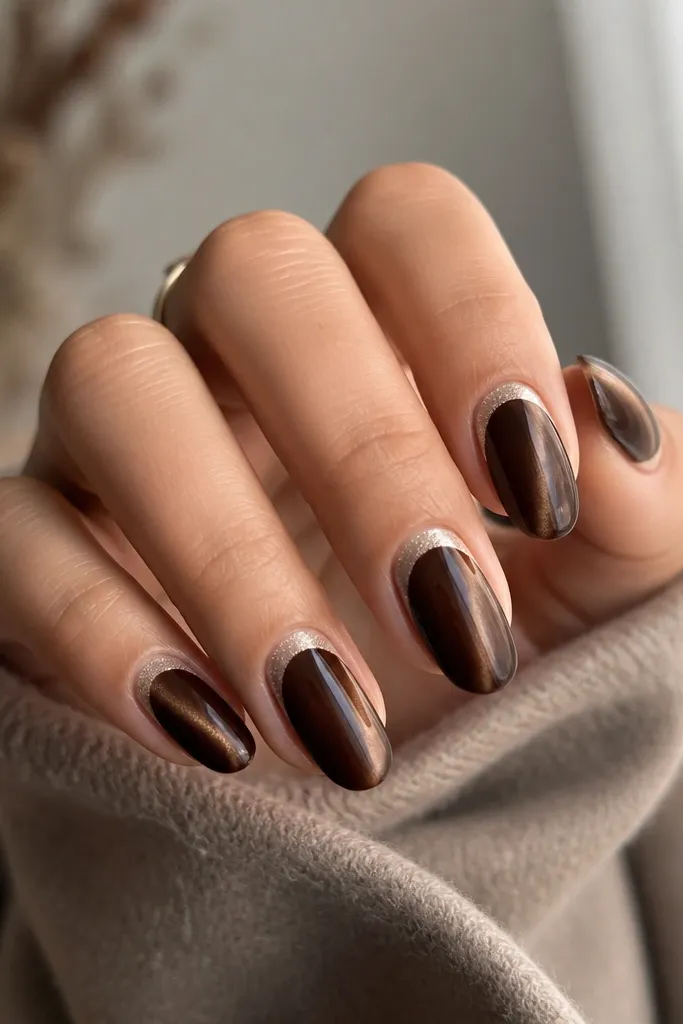
The side cuticle halo frames the stripe and makes the nail look lifted. Silver shimmer around the cuticle is a trick I use when brown feels too dark - it brightens the base without turning the whole set gold. The halo is subtle, so it still looks wearable. This also looks good on shorter nails because it creates a visual "arch."
Base: espresso cat eye gel, 2 thin coats, magnetize on final coat. After cure, draw two tiny crescents on the left and right sides near the cuticle using a silver shimmer gel. Keep them thin and symmetrical. Top coat glossy.
Editor's notePlace the crescents about 1 mm away from the cuticle edge so they don't smear.
Watch outDon't make the crescents large - big moons overpower the cat eye line.
12. Mocha Cat Eye with Clear Jelly Overlay
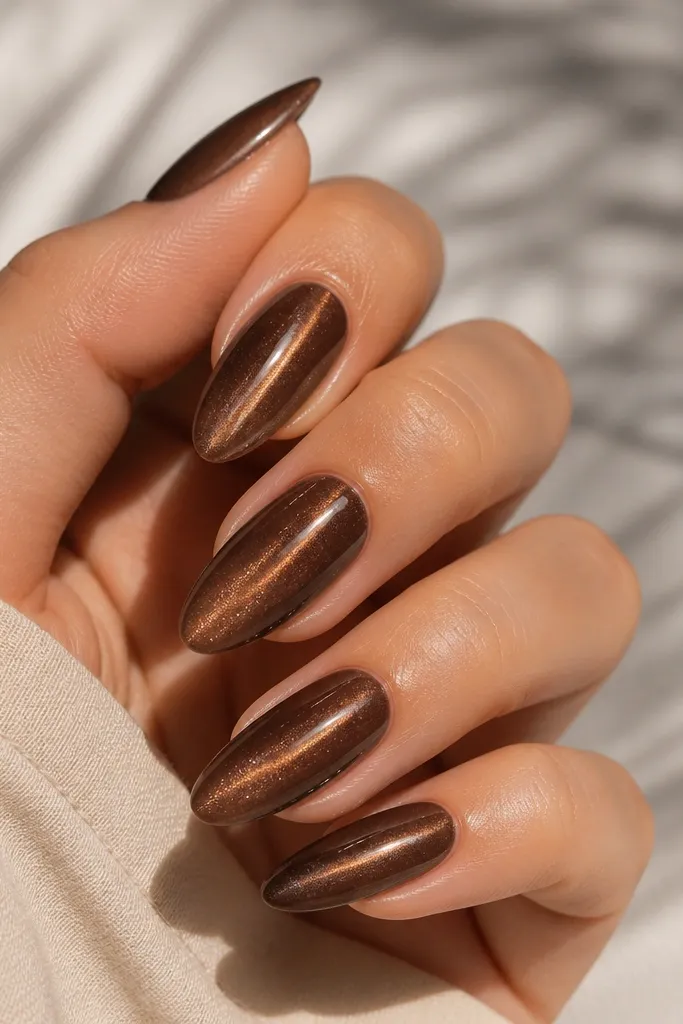
A clear jelly overlay makes the stripe look suspended under glass. This is where cheap cat eye can look expensive because the dome catches light and makes the shimmer appear deeper. I do this with a clear builder gel layer over the finished cat eye so the nail looks thicker and more polished. It also hides tiny brush marks.
Paint mocha cat eye in 2 thin coats, magnetize on final coat. Cure fully. Then apply a clear builder gel layer over the entire nail, shaping it into a soft dome. Cure, then finish with a glossy top coat.
Editor's noteThin the jelly layer at the sides so it doesn't flood the cuticle. A clean cuticle line makes a huge difference.
Watch outSkip a jelly overlay if your base is too thick already - it can make the nail bulky.
13. Caramel Cat Eye with Espresso Micro Tips
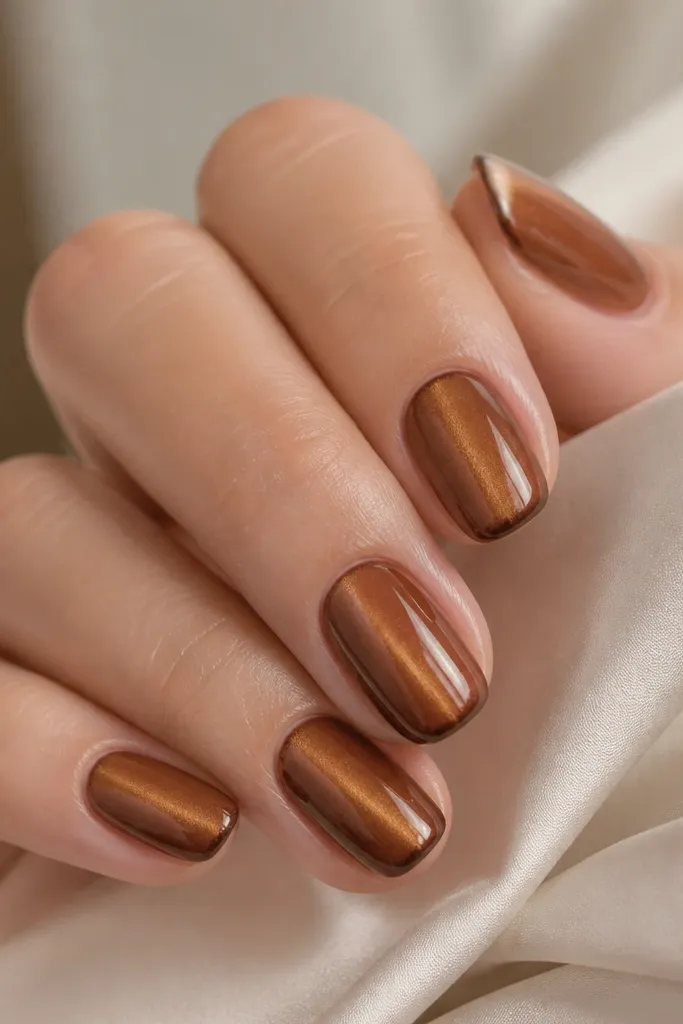
Micro tips keep the look sharp without making it feel like full nail art. Caramel as the main color makes the stripe warm, while espresso at the tip adds definition. I like this on short rounds because it makes the nail shape look intentional. The magnet stripe still stays the focus because the tip is tiny.
Apply caramel cat eye in 2 thin coats, magnetize on final coat. After cure, use a fine liner brush to paint a thin espresso line at the tip edge. Cure and top coat glossy.
Editor's noteMake the micro tip slightly thicker at the center and thinner near the corners. It flatters the curve of a round nail.
Watch outDon't paint a wide French tip - it turns brown cat eye into a costume look.
14. Dark Brown Cat Eye with Copper Foil Specks
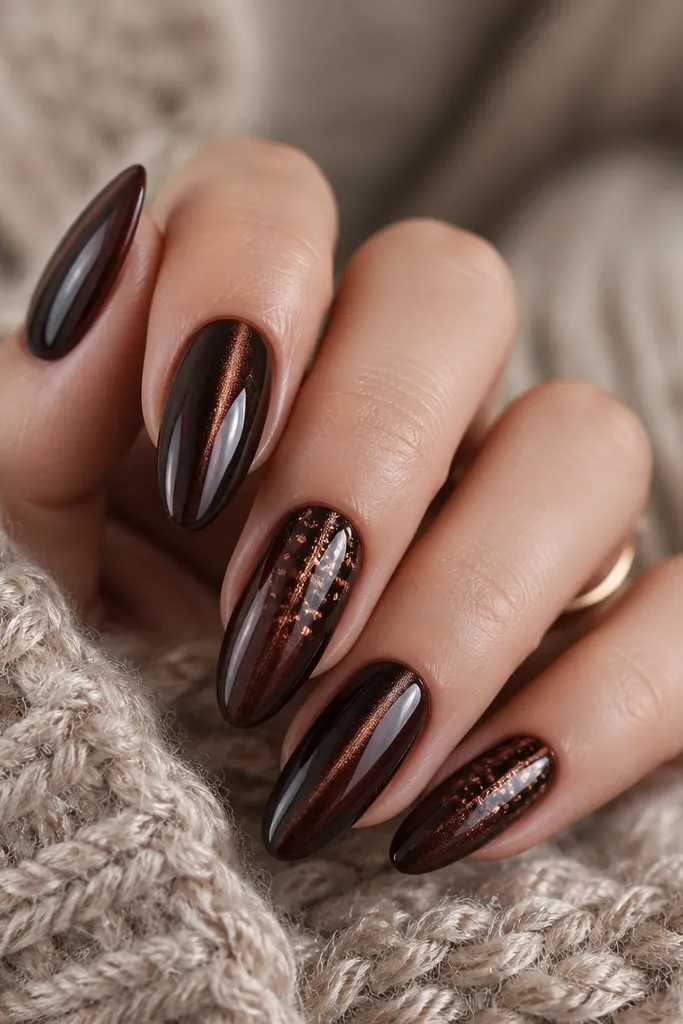
Copper specks look like "light leaks" over a dark brown base. The cat eye stripe stays the main beam, while foil adds extra flash when you move. I like copper instead of gold here because it reads warmer against deep espresso. This set is great for evenings and photos because the foil catches camera light.
Base: dark espresso cat eye gel in 2 thin coats, magnetize on final coat. Add copper foil specks on accent nails by pressing small pieces onto a tacky layer near the cuticle to mid-nail. Seal with a thick glossy top coat to flatten the foil texture.
Editor's noteUse fewer pieces than you think. Cat eye already has movement; foil only needs a light sprinkle.
Watch outAvoid clear gel flooding around foil - it can create cloudy patches that look messy.
15. Warm Toffee Cat Eye with Chocolate Half-Stamp Accent
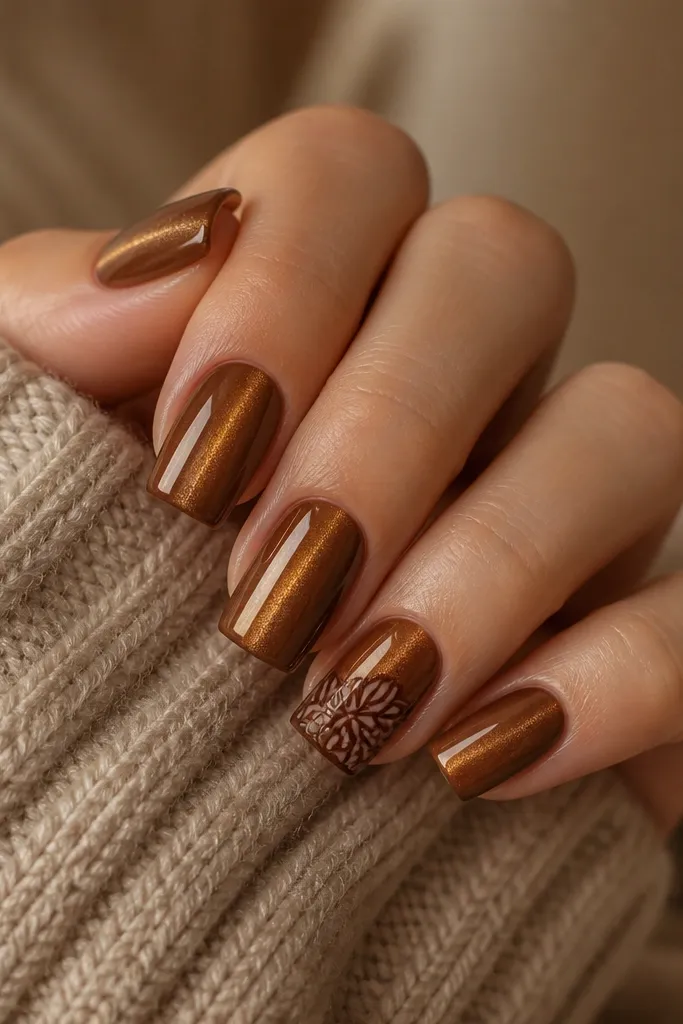
A half-stamp makes cat eye feel like it has texture without hand-painting. Toffee is bright enough that the stamped chocolate pattern looks crisp instead of dull. I keep the stamp only on the top half so the stripe still reads clearly. It's a good compromise when you want "design" but you're not trying to paint full art.
Base: warm toffee cat eye gel, 2 thin coats, magnetize on final coat. Accent nail: apply the base first, cure, then use a stamping plate with a chocolate-brown stamping polish to stamp the tip half only. Clean edges with a thin brush dipped in remover, then top coat glossy.
Editor's notePress the stamp firmly for 2-3 seconds, then lift straight up. If you drag, the pattern smears and looks cheap.
Watch outDon't stamp over a wet tack layer - patterns slide and blur.
16. Caramel Cat Eye with Single Brown Beadline
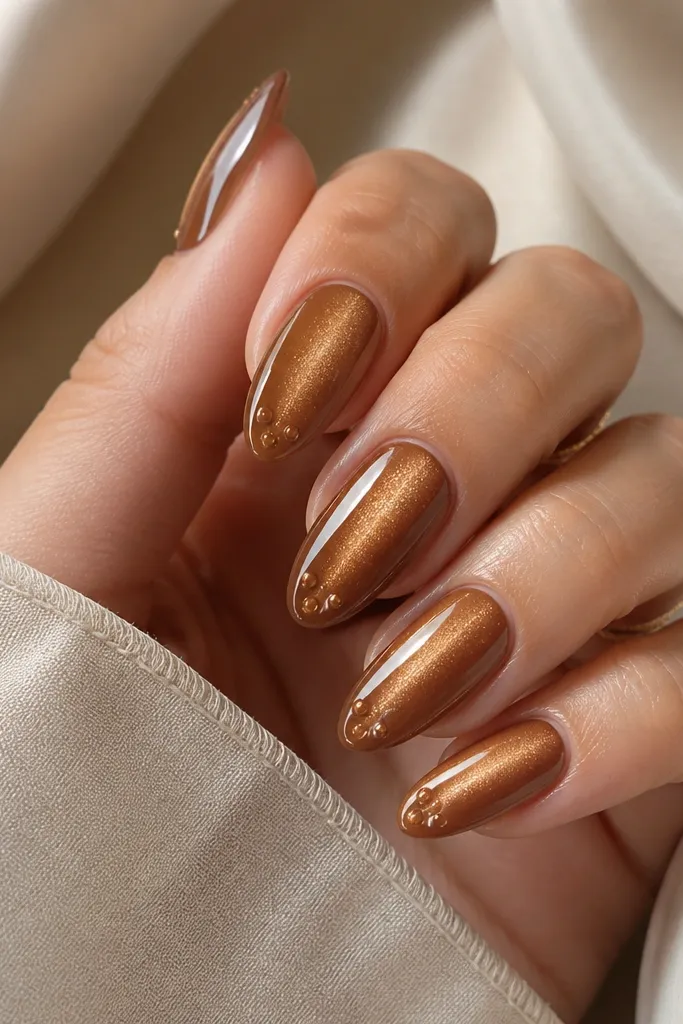
One raised beadline gives you a 3D look without rhinestones. The beads catch light differently than the flat stripe, so the set reads more "designed" even when the base is cheap. Caramel keeps it warm and soft, and the beadline adds a tactile feel. I do this for birthdays and nights out when I want something playful but still brown.
Base: caramel cat eye gel, 2 thin coats, magnetize on final coat. For the beadline, use a dotting tool and thick brown builder gel to place 3-4 small beads spaced evenly along an arc that starts slightly above the mid-nail and ends before the tip. Cure, then top coat carefully so it seals without flattening the beads.
Editor's noteUse thinner beads than you think. Thick beads look like lumps once top coat is added.
Watch outAvoid placing beads right at the tip edge - they snag on hair and fabric.
17. Espresso Cat Eye with Taupe Diagonal Ribbon
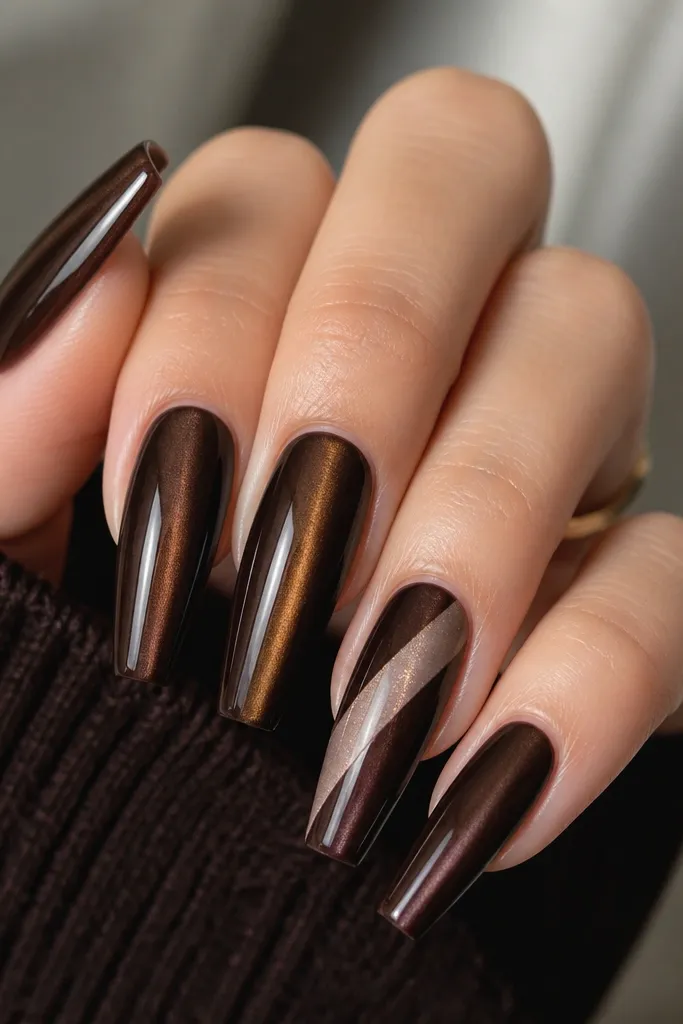
A diagonal ribbon makes the cat eye stripe feel more graphic and modern. Taupe is the secret here - it's neutral enough to blend with brown, but light enough to keep the set bright. The ribbon edges look clean if you use gel and a steady hand, and the metallic finish helps it catch light with the cat eye stripe. This is one of my go-tos when I want a "styled" look without full nail painting.
Do espresso cat eye gel on all nails in 2 thin coats, magnetize on final coat. On the accent nail, after base cure, paint a diagonal ribbon with taupe metallic gel using a striping brush. Keep the ribbon width around 2-3 mm and leave a small gap on both sides so the stripe still shows. Cure and top coat glossy.
Editor's noteMap the diagonal with a dot at each end first. Then connect the dots with gel for straight lines.
Watch outDon't use a watery gel for the ribbon - it bleeds and ruins the crisp edge.
18. Mocha Cat Eye with Nude Cuticle V-Shape
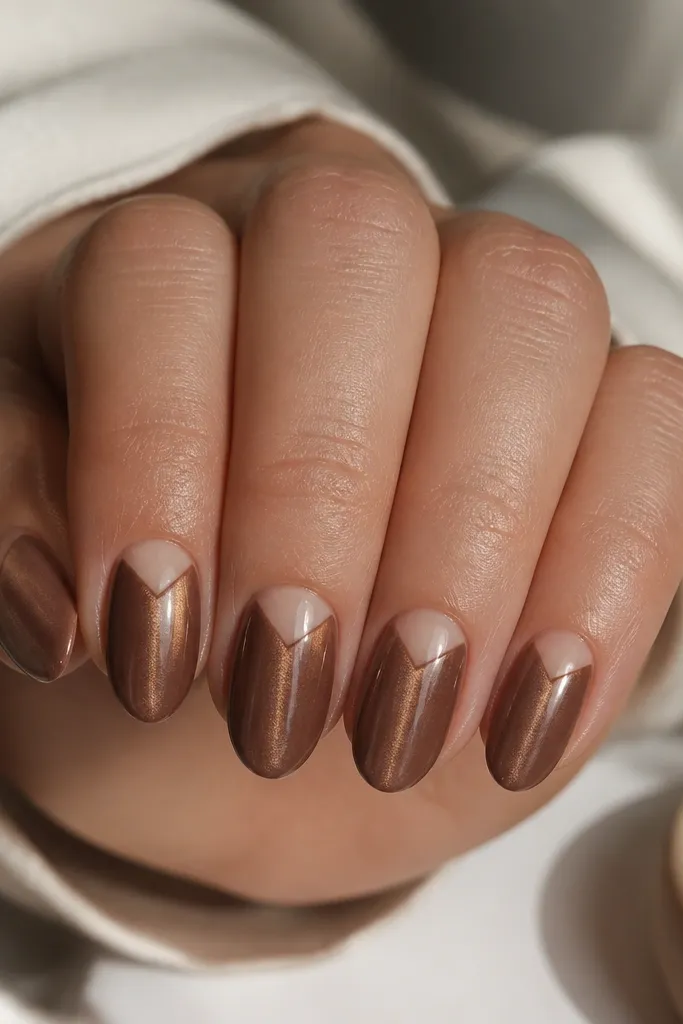
The nude V at the cuticle makes the nail look more lifted and gives a neat frame to the cat eye stripe. It's flattering on hands because it visually narrows the nail and draws attention to the center beam. I like mocha for this because the warm brown makes nude look creamy, not washed out. This design also hides small cuticle filing marks.
Base: mocha cat eye gel, 2 thin coats, magnetize on final coat. After cure, use a nude gel polish and a fine liner brush to paint a V from each side of the cuticle toward the center, stopping about 1 mm above the stripe's mid point. Cure and top coat glossy.
Editor's noteKeep the V point centered and symmetrical. If it's off by a hair, the whole nail looks tilted.
Watch outAvoid dragging nude gel too far down the nail - it turns into a thick arc instead of a V.
19. Chocolate Cat Eye with Clear Negative Space Star
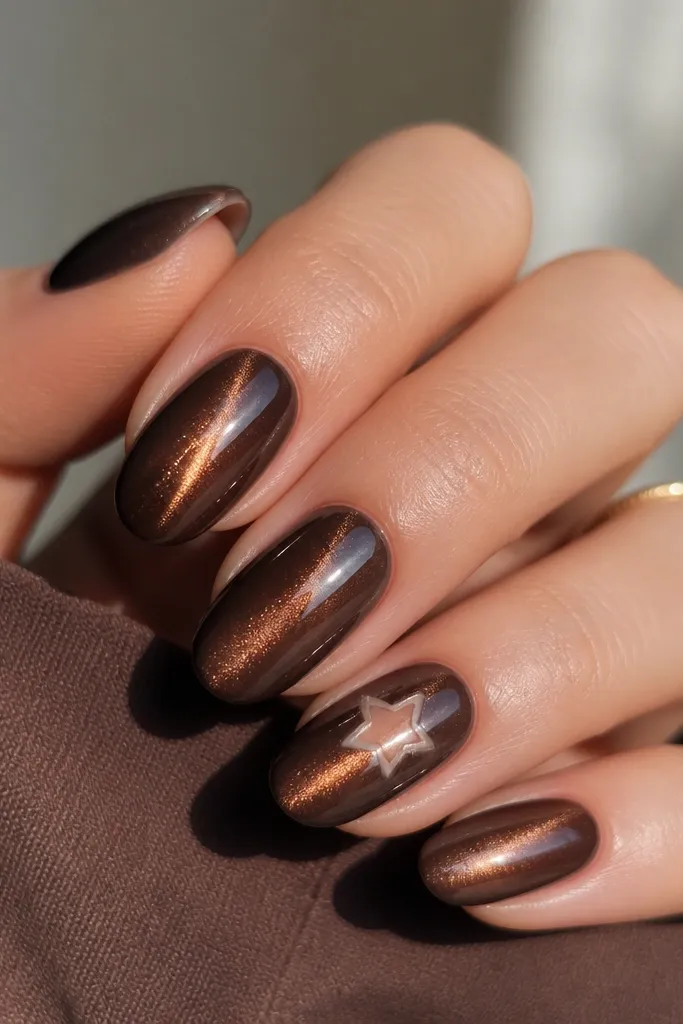
Negative space looks clean and expensive when the shape is small and the edges are sharp. The clear star lets the cat eye stripe stay visible through the design, so you get both shimmer and a graphic element. I do this with a clear gel resist so it stays crisp. Chocolate brown helps because the contrast makes the negative space obvious.
Base all nails with chocolate cat eye gel in 2 thin coats, magnetize on final coat. On the accent nail, place a tiny star-shaped vinyl stencil or use a star dotting guide with a gel resist to block the area where you want negative space. Cure, then paint over the star area with brown cat eye gel, cure, and remove the resist carefully. Top coat glossy.
Editor's noteUse a small star stencil with sharp corners. Soft-edge stencils look like blobs on nails.
Watch outDon't overfill the stencil area or you'll lose the sharp negative space.
20. Caramel Cat Eye with Espresso Outline Dot Cluster
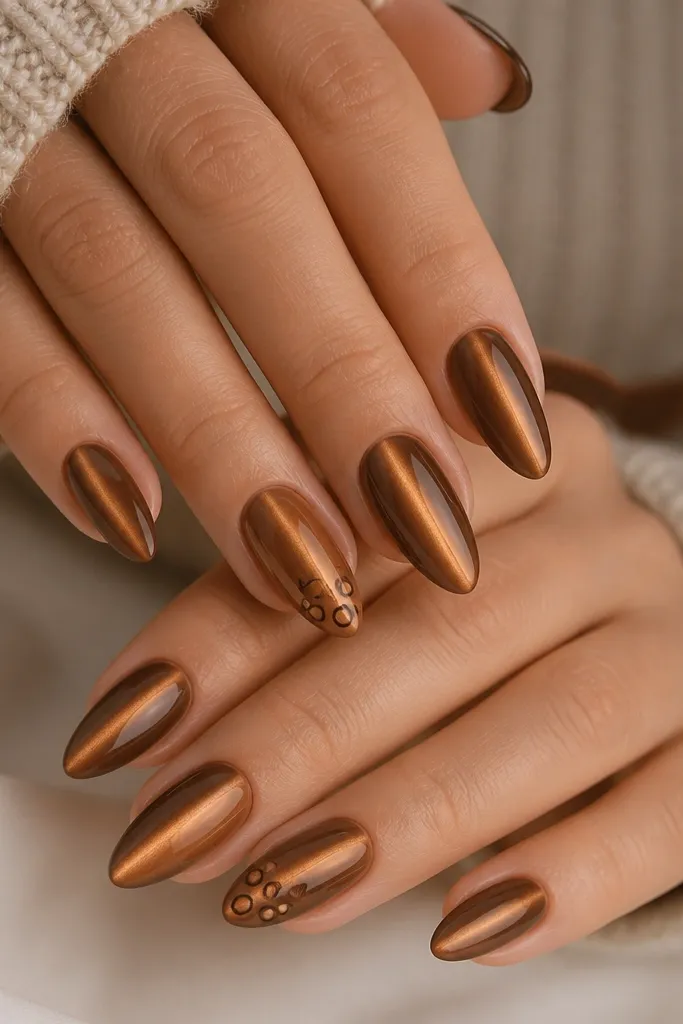
Outlined dots keep the design light and graphic. Caramel interiors blend with the base, while espresso outlines create definition so it doesn't look like random dots. The cat eye stripe stays visible and the dots add sparkle without stealing attention. I wear this when I want brown nails that still feel fun.
Base: caramel cat eye gel, 2 thin coats, magnetize on final coat. For the dot cluster, use a dotting tool to place 4-6 caramel-filled dots near the tip on accent nails. Cure, then trace around each dot with espresso gel using a liner brush. Top coat glossy.
Editor's noteMake dots slightly different sizes. A perfect same-size cluster looks stamped and less natural.
Watch outAvoid thick outline gel - it spreads and makes dots look like circles of paint.