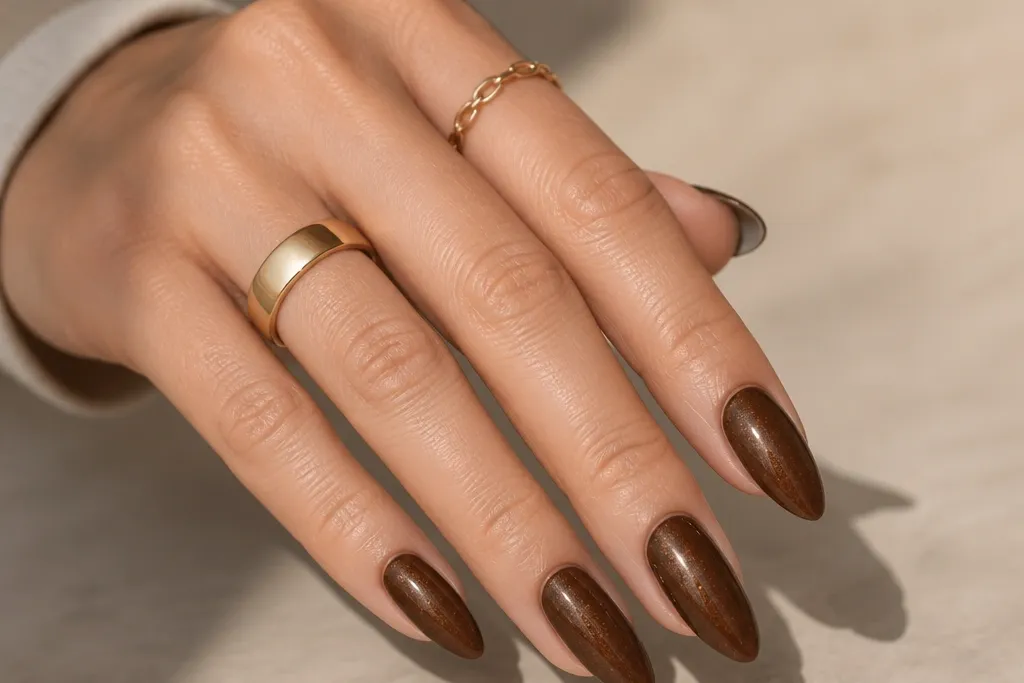
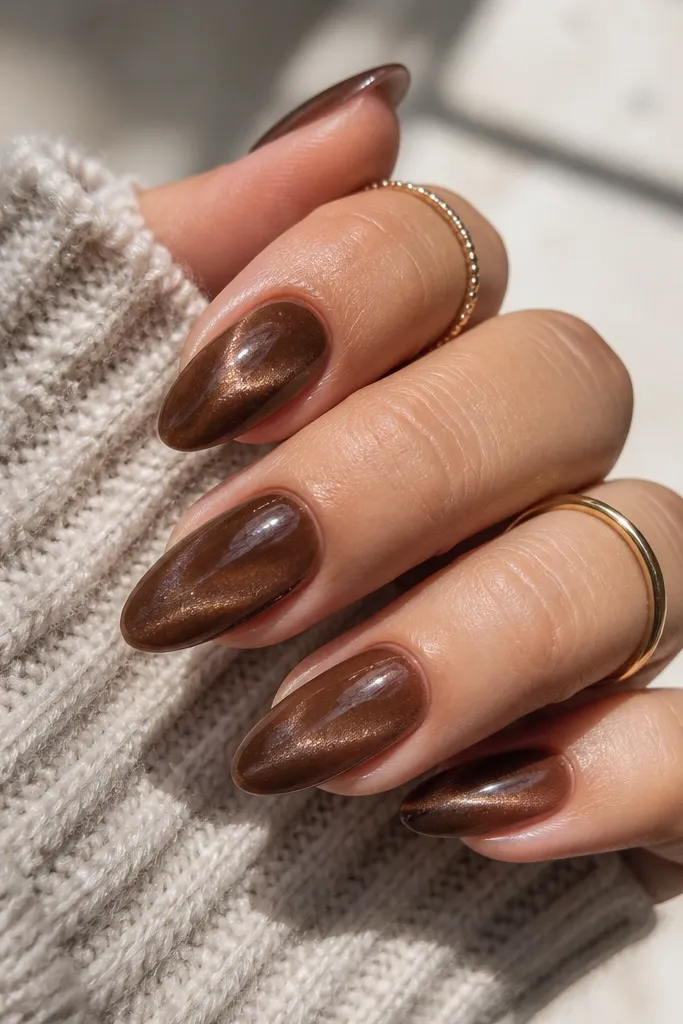
1. Milk Chocolate Center Streak
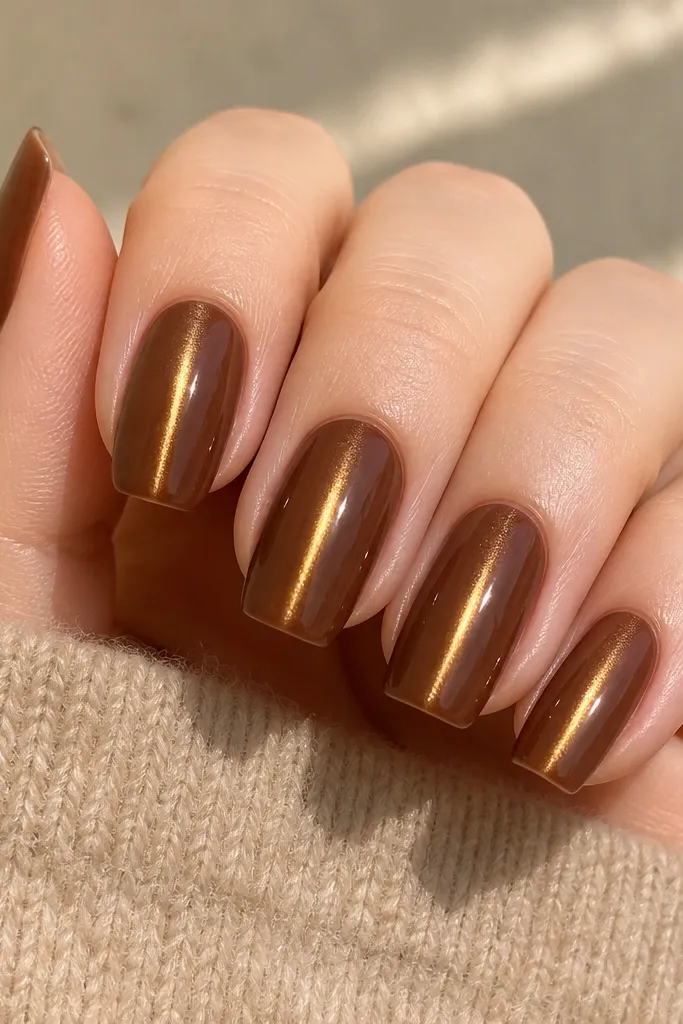
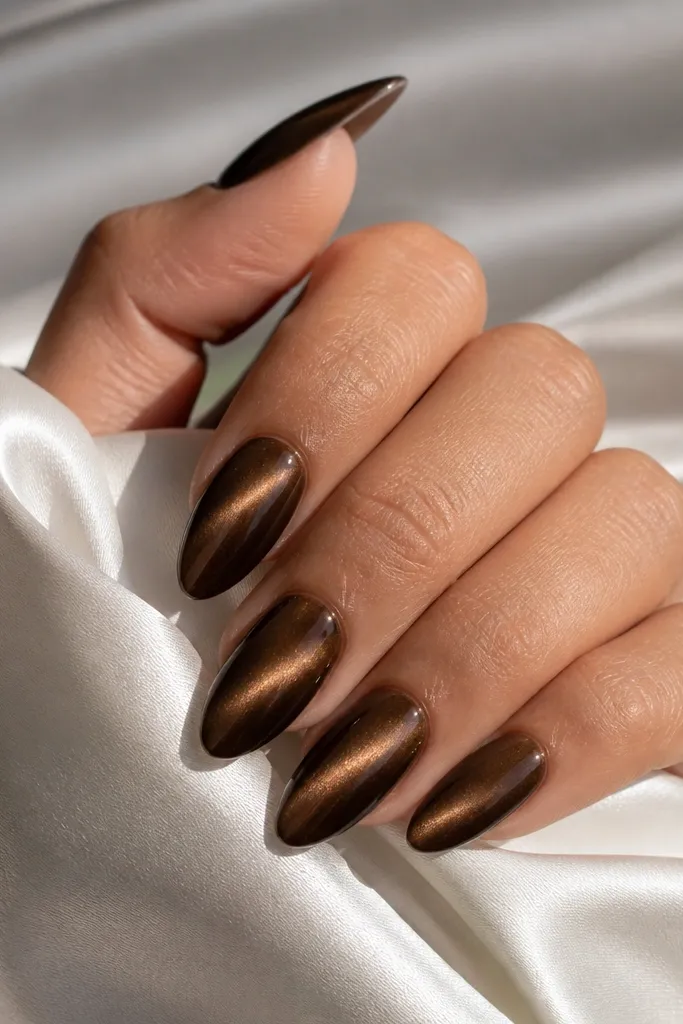
This one is my everyday default because the brown is warm and the cat-eye line reads instantly. I use a brown cat-eye gel that leans caramel-brown, then magnetize straight down to keep the streak centered. The gold shift stays bright against the chocolate base, so it looks like "depth" instead of glitter. It's clean enough for work and still looks fancy in photos.
Apply two thin coats of the chocolate cat-eye gel, curing the first coat fully. For the second coat, cure 10 to 20 seconds, magnetize with an oval strip magnet for 10 seconds, then cure the rest. Keep your magnet aligned with the center of the nail - I mark the center with a dot using a gel liner brush first.
Editor's noteIf your streak drifts, rotate your nail 5 to 10 degrees before magnetizing so the particles pull where you want.
Watch outDon't flood the cuticle with gel - overflow gets magnet haze and looks messy.
2. Espresso With Amber Cat-Eye Fade
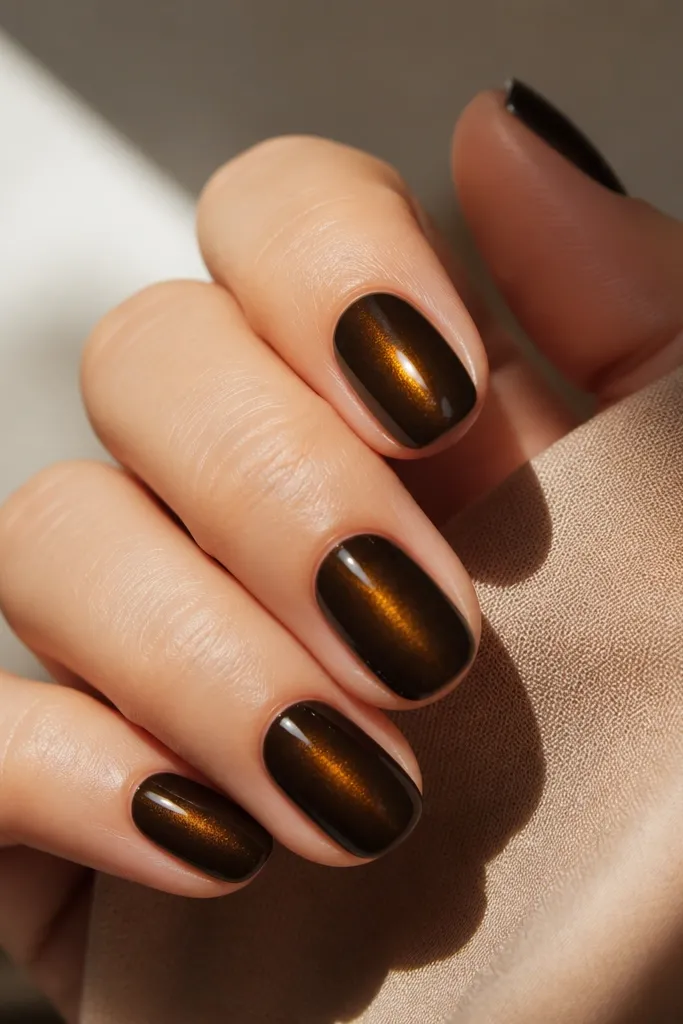
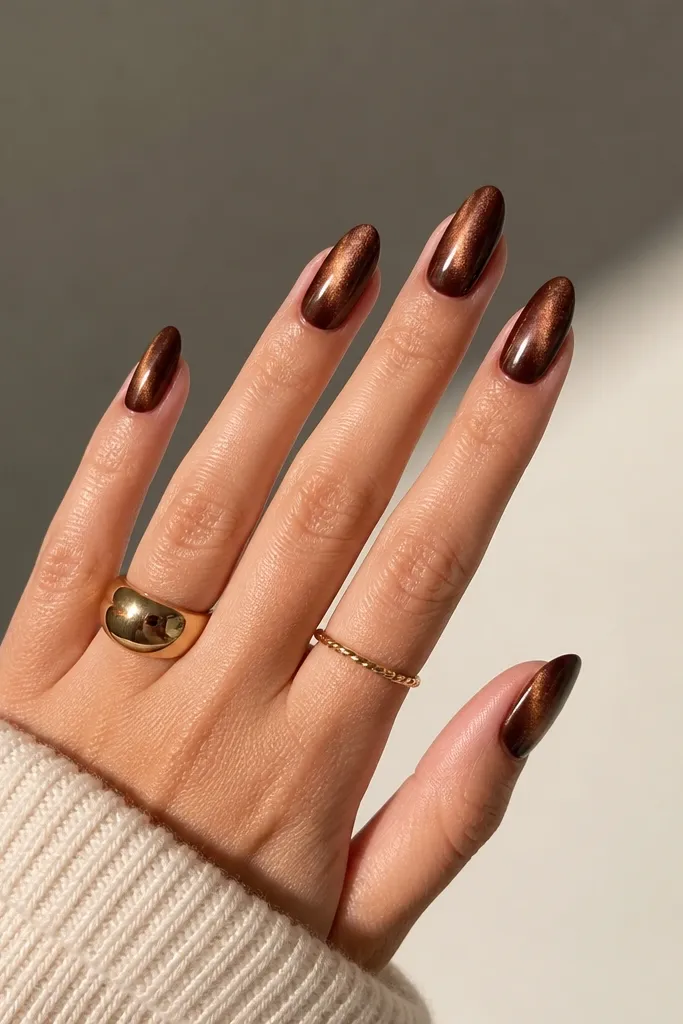
This set looks expensive because the base is nearly black-brown, and the cat-eye line glows warm. I like it when I'm between seasons and want something darker but still soft. The amber shift gives warmth that doesn't fight with brown outfits. It also hides chips better than lighter browns.
Use an espresso brown cat-eye gel as your base color. Apply a single thicker coat instead of two, cure 15 seconds, magnetize for 12 seconds with a straight-line magnet, then fully cure. If the fade doesn't happen naturally, add a micro-thin second coat only at the center before magnetizing.
Editor's noteFor a stronger glow, use a thicker gel layer at the center of the nail - not at the sides.
Watch outAvoid thin, watery coats - they make the line look gray and patchy.
3. Warm Taupe With Gold Spotlight
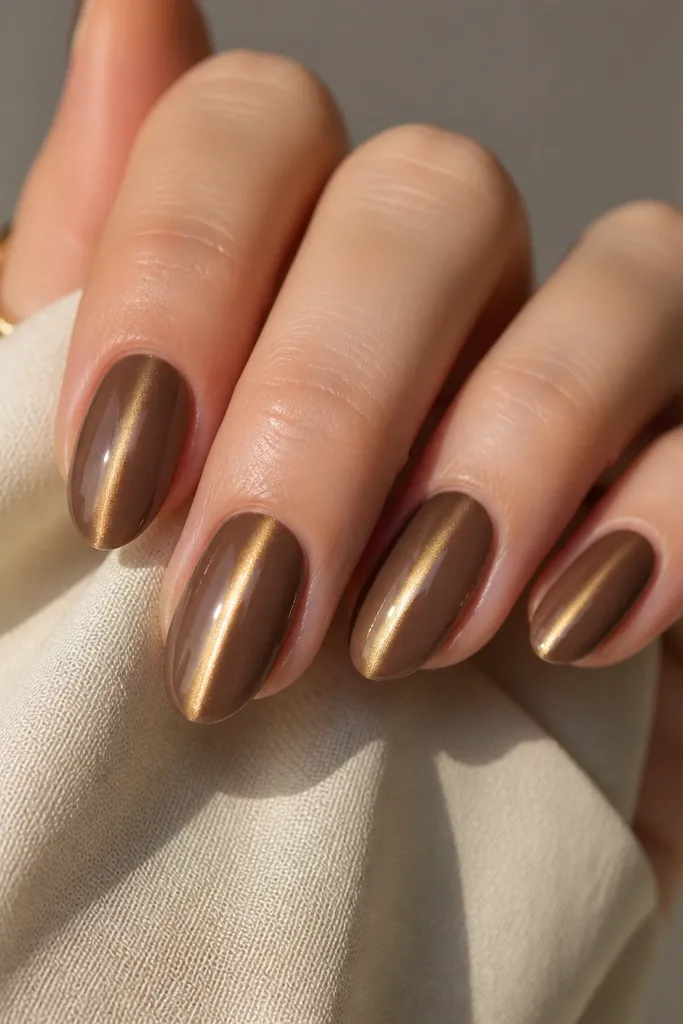
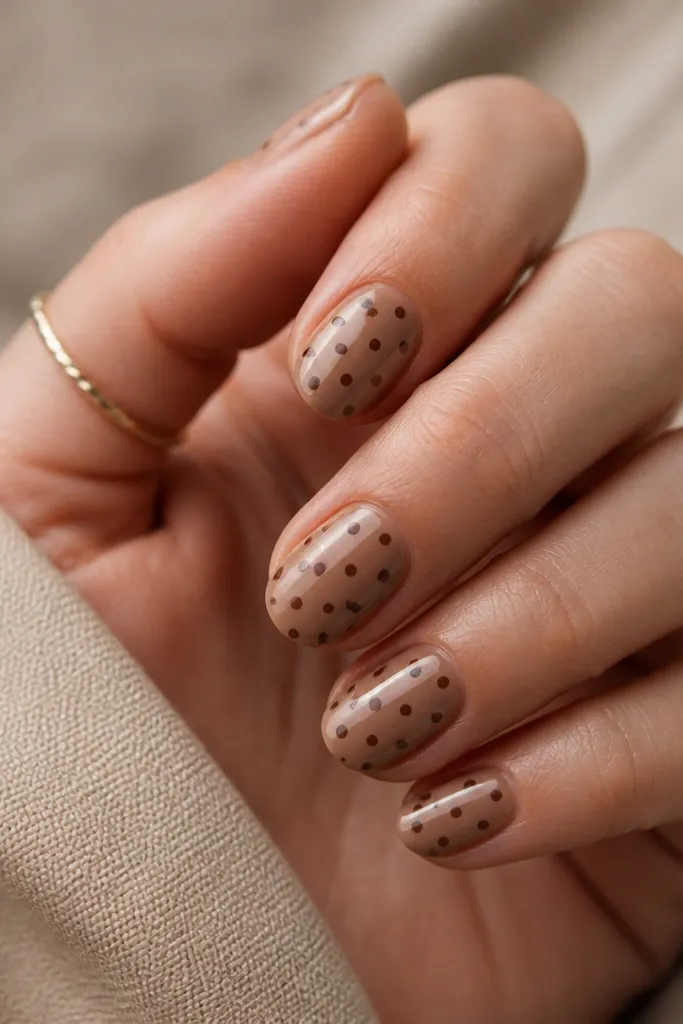
Warm taupe makes the gold shimmer look crisp instead of muddy. I do this when I want the cat-eye to feel light and flattering, not heavy. The streak stays narrow, so it reads sleek even on shorter nails. It also pairs well with gold rings and warm-toned makeup.
Start with a taupe brown cat-eye gel that's not too gray. After curing the first coat, apply the second coat, partial cure 10 seconds, then magnetize with a fine-line strip magnet. Keep the magnet centered and hold it steady for 10 seconds before finishing the cure.
Editor's noteIf the streak is too wide, use less product and magnetize after 8 to 10 seconds of partial cure.
Watch outSkip silver-toned magnet gels - the gold line turns dull on taupe.
4. Caramel Brown With Two-Stage Magnet
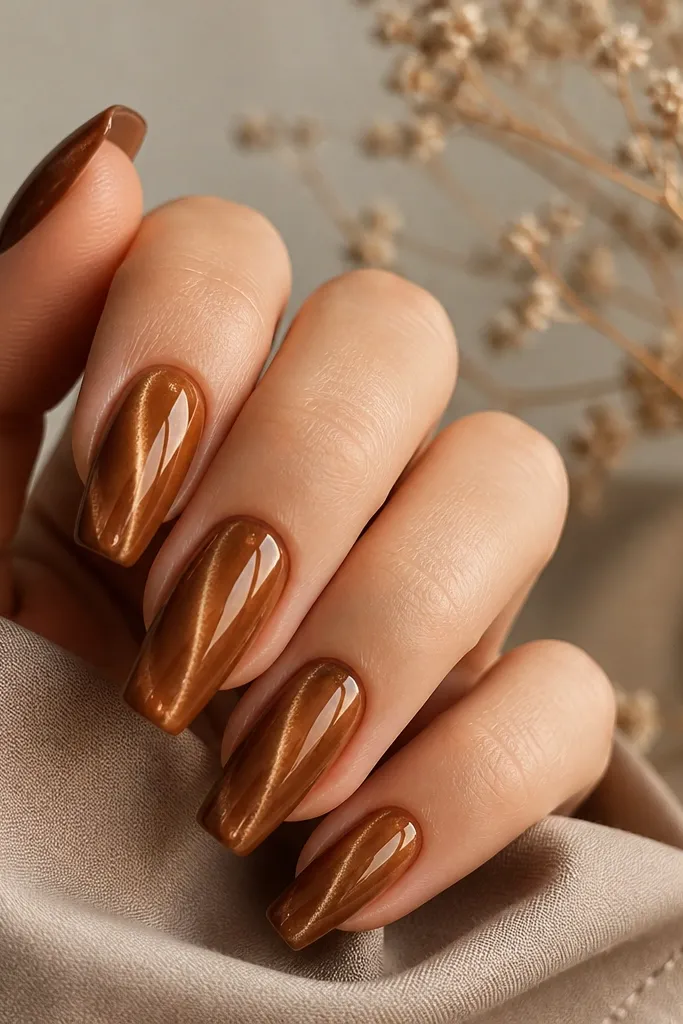
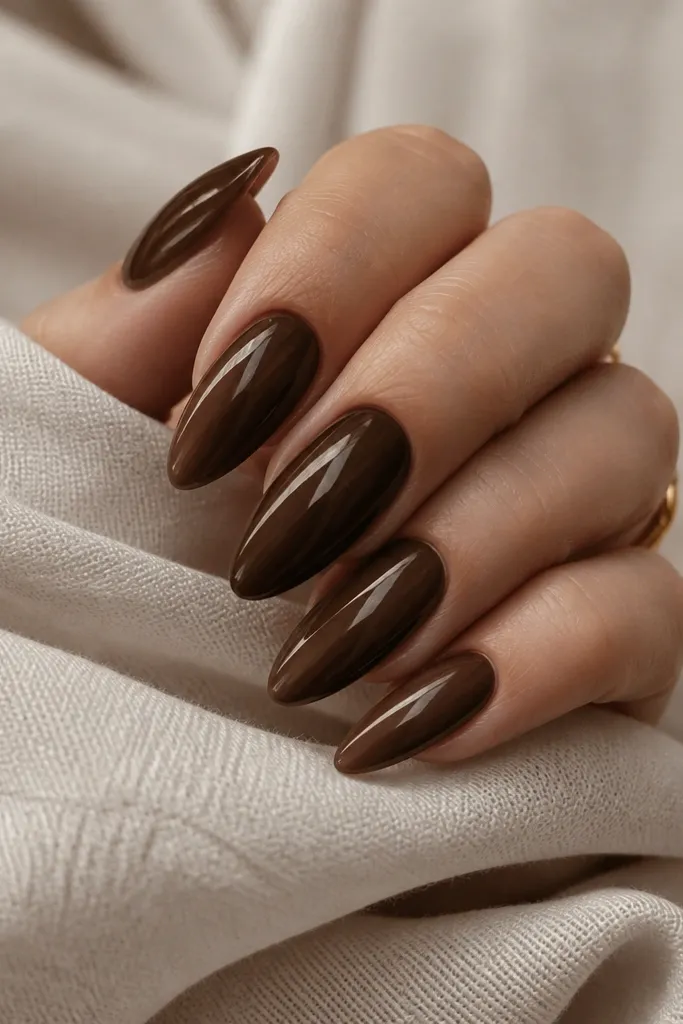
This is the one I do when I want the cat-eye look to feel dimensional without adding decals. The doubled effect comes from magnetizing twice with slightly different timing. The center line stays sharp while the side haze gives the nail a soft 3D glow. It looks like you paid for a custom polish blend.
Apply caramel brown cat-eye gel and cure the first coat. For the second coat, partial cure 12 seconds, magnetize for 8 seconds, cure 10 seconds, then magnetize again for 6 seconds. Finish curing fully. Use a strip magnet for the first pull and keep the second pull perfectly aligned.
Editor's noteWipe the magnet after each nail with a lint-free wipe so you don't transfer dust that softens the line.
Watch outDon't rush the second magnet pull - if you wait too long after curing, the line won't form.
5. Chocolate Brown Half-Moon Cat-Eye
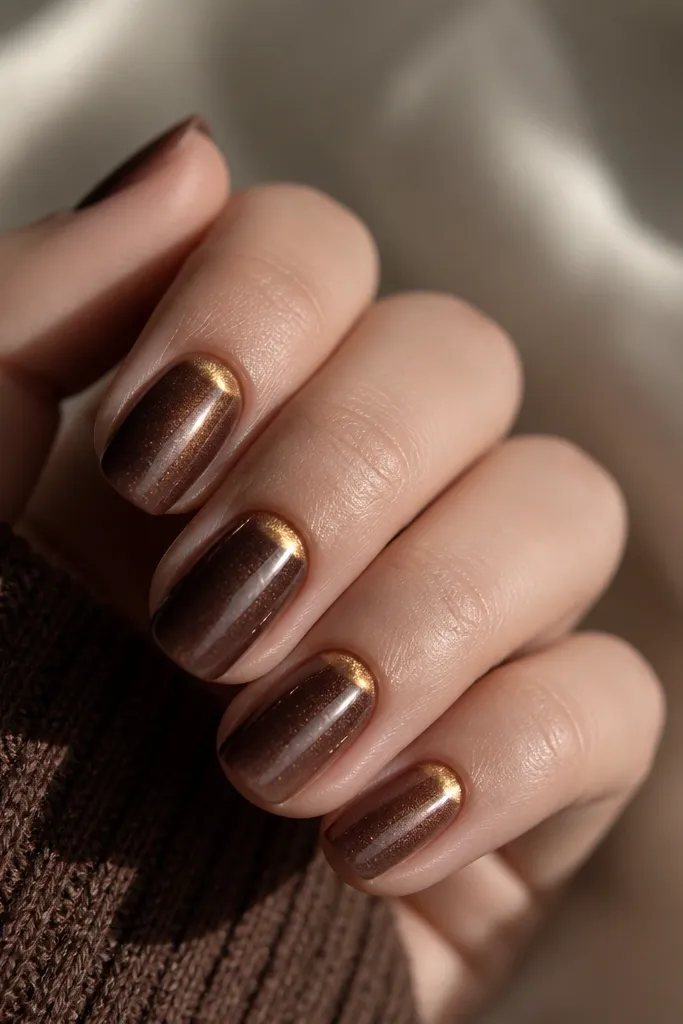
Instead of a full-length streak, this creates a cuticle "glow" that looks flattering on hands. I love it for shorter nails because it visually lifts the cuticle area. The gold crescent feels cleaner than tiny rhinestones and still gives that cat-eye effect. It's also easier than full nail nail art.
Use a dark chocolate brown cat-eye gel as your base and cure fully. On the second coat, apply the gel closer to the cuticle and stop about 2 mm from the free edge. Partial cure 15 seconds, then magnetize with a curved or half-moon style magnet held over the cuticle area. Finish curing and seal.
Editor's noteUse a small silicone nail art tool to place the gel in a smooth arc so the crescent edge stays crisp.
Watch outDon't magnetize the entire nail if you only want the crescent - you'll lose the half-moon shape.
6. Cocoa Brown Cat-Eye With Micro-Glitter Edge
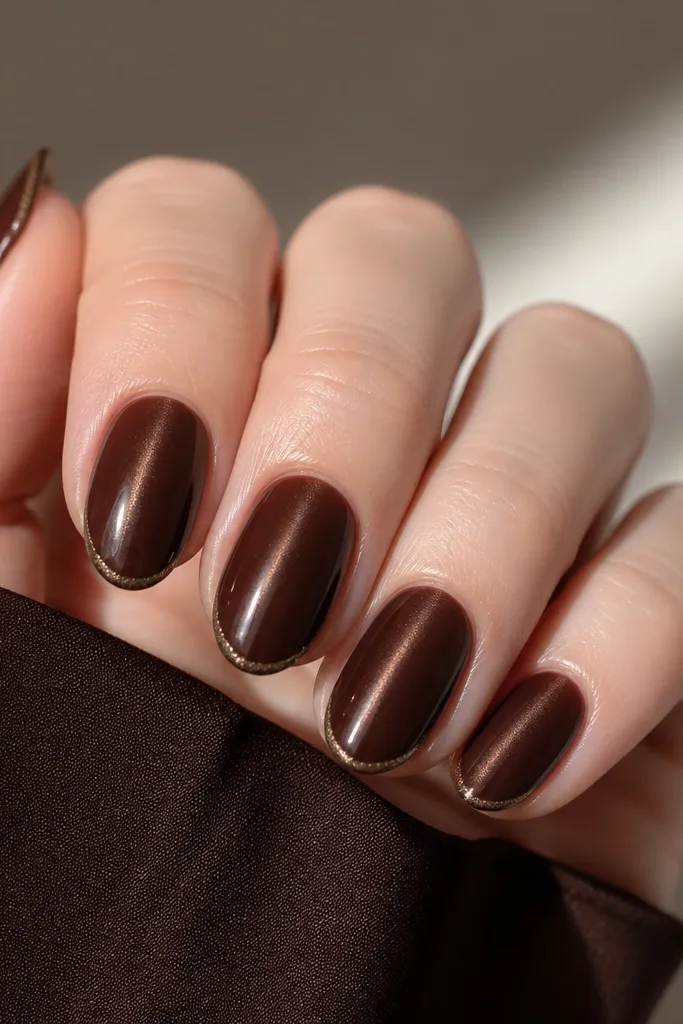
This is my "date night workday" set. The cat-eye does the main work, and the micro-glitter tip adds sparkle without looking like craft glitter. I keep the glitter line thin so it doesn't compete with the magnetic line. The combo reads warm and expensive on camera.
Start with cocoa brown cat-eye gel and magnetize a centered streak. After full cure, paint a micro-thin strip of fine brown-gold glitter gel along the free edge only. Cure that layer, then top coat over the whole nail to smooth the glitter.
Editor's noteUse a liner brush to place the glitter; wipe the brush on a paper towel so you get a controlled, hairline edge.
Watch outAvoid chunky glitter - it dulls the cat-eye and makes the tip look raised.
7. Espresso Cat-Eye With Nude Nude Base Fade
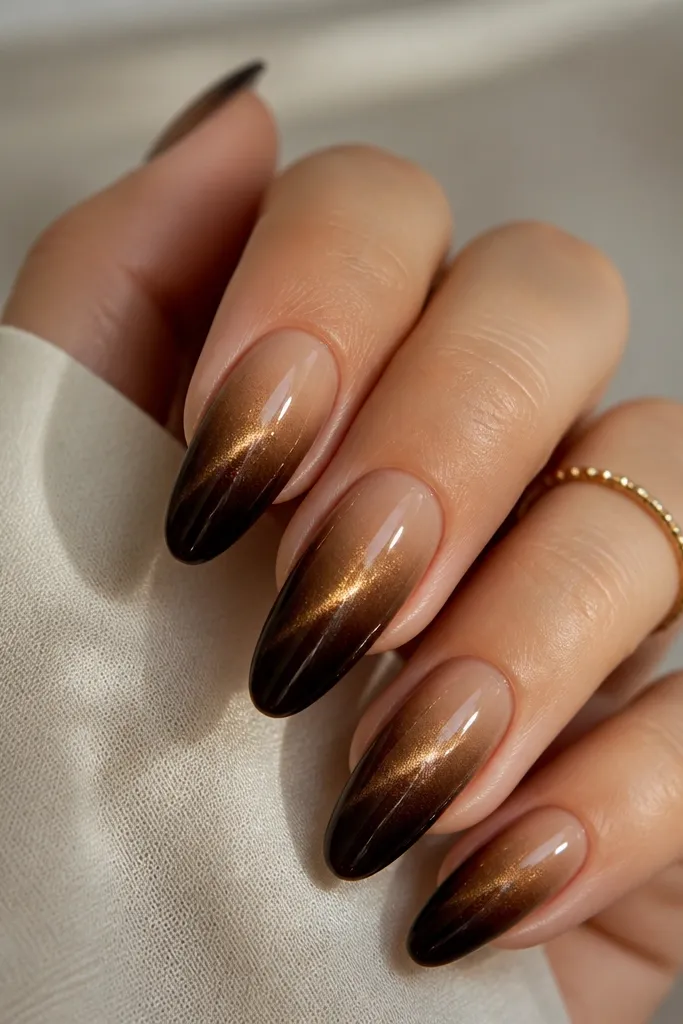
Ombre makes brown cat-eye look softer, like it has a filter. The nude base keeps your cuticle area clean, while the espresso bottom makes the cat-eye line pop. I do this when I want the set to match everyday outfits without feeling too heavy. The streak looks like it's suspended in the dark part.
Use a nude-beige gel near the cuticle, cure fully. Add espresso brown cat-eye gel starting at mid-nail, then partial cure. Magnetize straight down so the strongest streak forms where the espresso is thickest. Finish with top coat, and cap the free edge.
Editor's noteBlend the ombre with a sponge lightly - two dabs max - so the magnet line stays smooth.
Watch outDon't overblend into the cuticle; the nude area can dilute the magnetic effect.
8. Mocha Brown Cat-Eye With Side Sweep
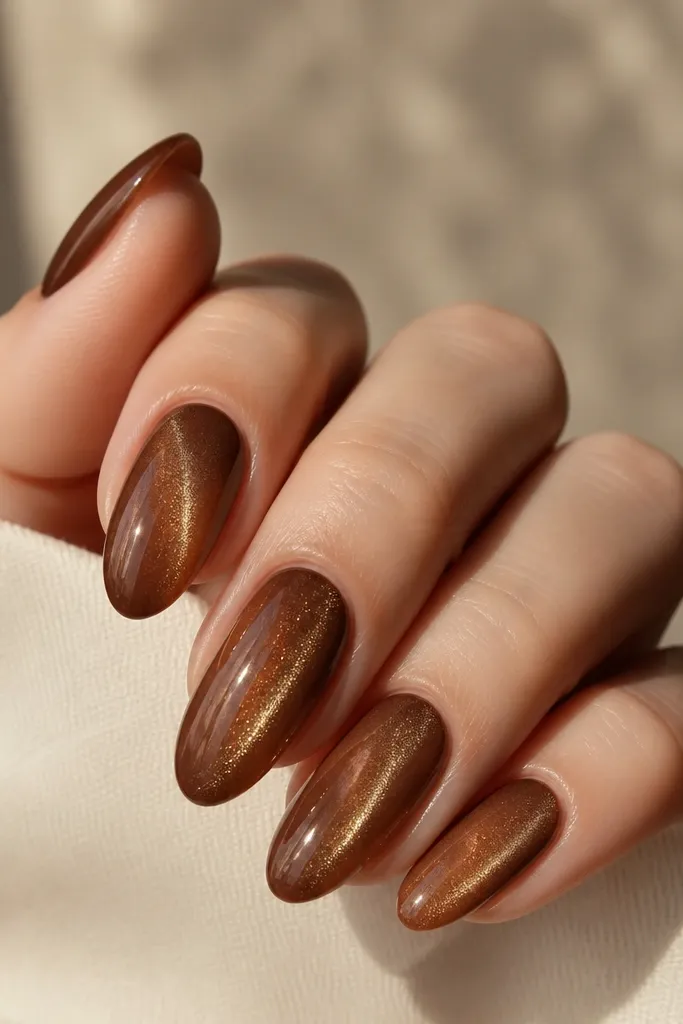
This one looks artsy but still wearable. A side-swept cat-eye makes the nail look longer and more sculpted, especially on almond shapes. The shimmer catches light when you tilt your hand, so it feels alive. I love it when I don't want a perfectly symmetrical look.
Apply mocha brown cat-eye gel and cure the first coat. For the second coat, partial cure 12 seconds, then magnetize while shifting the magnet slightly toward the outer side of the nail. Hold for 10 seconds, cure fully. Keep the streak narrow by using less gel near the sidewalls.
Editor's noteMark the nail center with a dot, then decide how far off-center you want the beam - I go about 1 mm toward the pinky side.
Watch outAvoid moving your hand during magnet time - it turns the streak into a curve.
9. Caramel Brown Cat-Eye With Thin Diagonal Beam
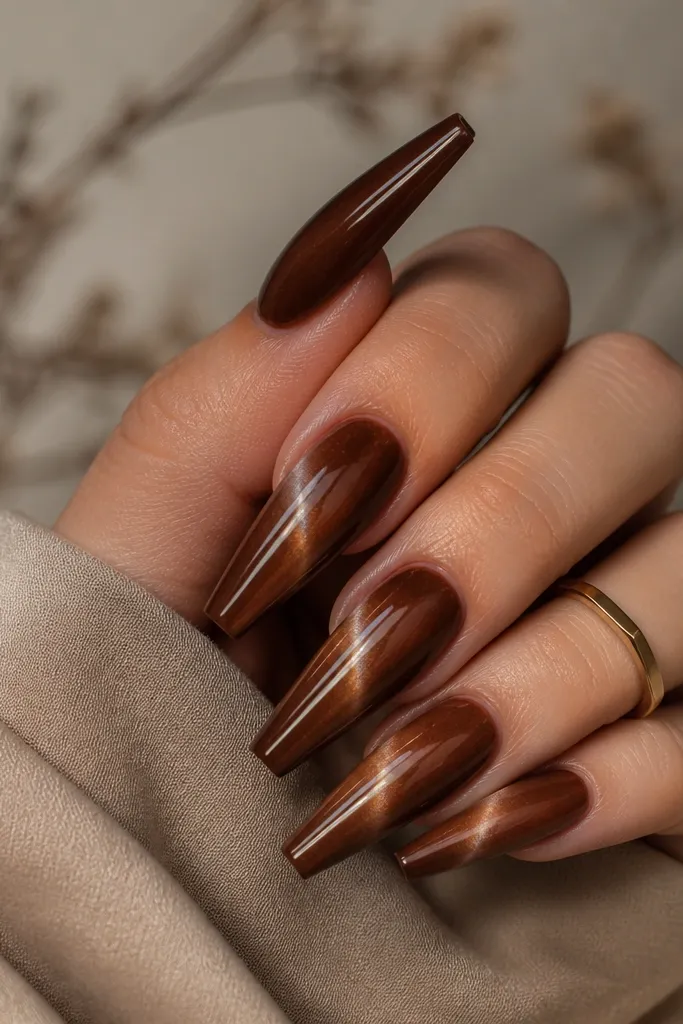
Diagonal cat-eye looks like a fashion nail, not a basic polish. It works because the magnet pulls particles along its field direction. When the line is thin, it looks like a reflective stripe. I wear this with simple rings because the nails do the talking.
Use caramel brown cat-eye gel and cure the first coat. Apply the second coat and partial cure 10 seconds. Tilt your strip magnet so the field points diagonally, then magnetize for 10 seconds. Finish curing and top coat.
Editor's notePlace a tiny dot where the beam should start, then align the magnet tip to that dot before curing.
Watch outDon't use a wide magnet if you want a thin diagonal - it creates a thick stripe.
10. Dark Brown Cat-Eye With Soft Hollow Center
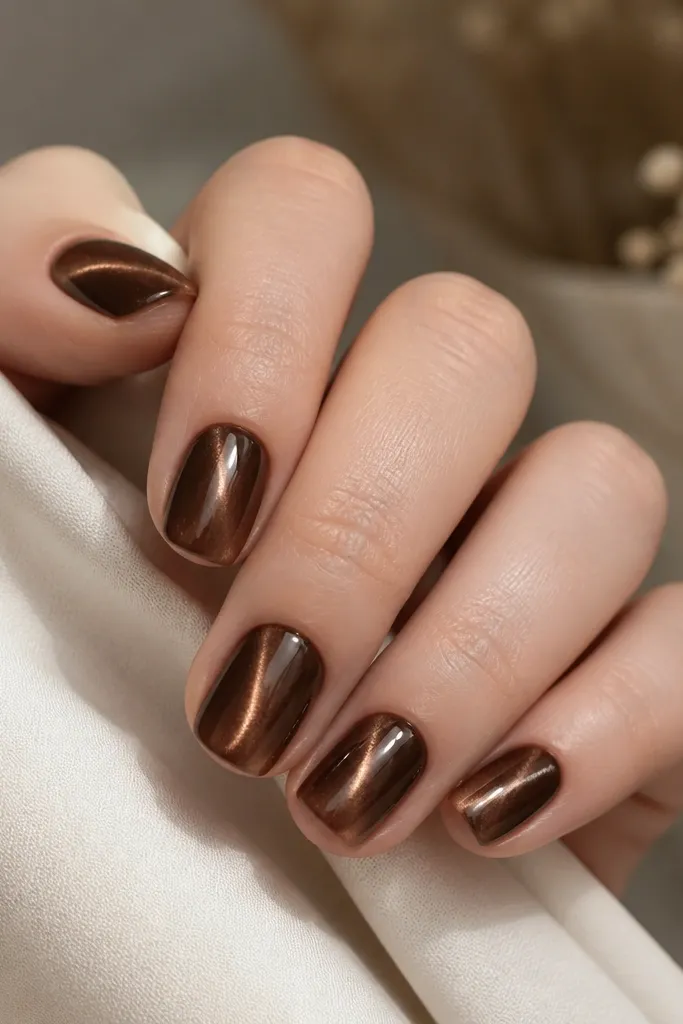
This effect looks like the light is trapped in a channel. I get it by controlling thickness and magnet time so the particles gather tightly in the center. It's subtle in person but really pops when you move your hand. If you like cat-eye but hate when it looks too thick, this is your style.
Apply dark brown cat-eye gel with a slightly thinner layer at the center than the sides. Partial cure 15 seconds, magnetize 8 seconds, then immediately cure fully. The short magnet time keeps the line tight and prevents a wide band.
Editor's noteKeep your nail flat under the lamp - tilting makes the "hollow" drift.
Watch outAvoid long magnet holds; more time makes the line fat and dull.
11. Chestnut Brown Cat-Eye With Copper Shift
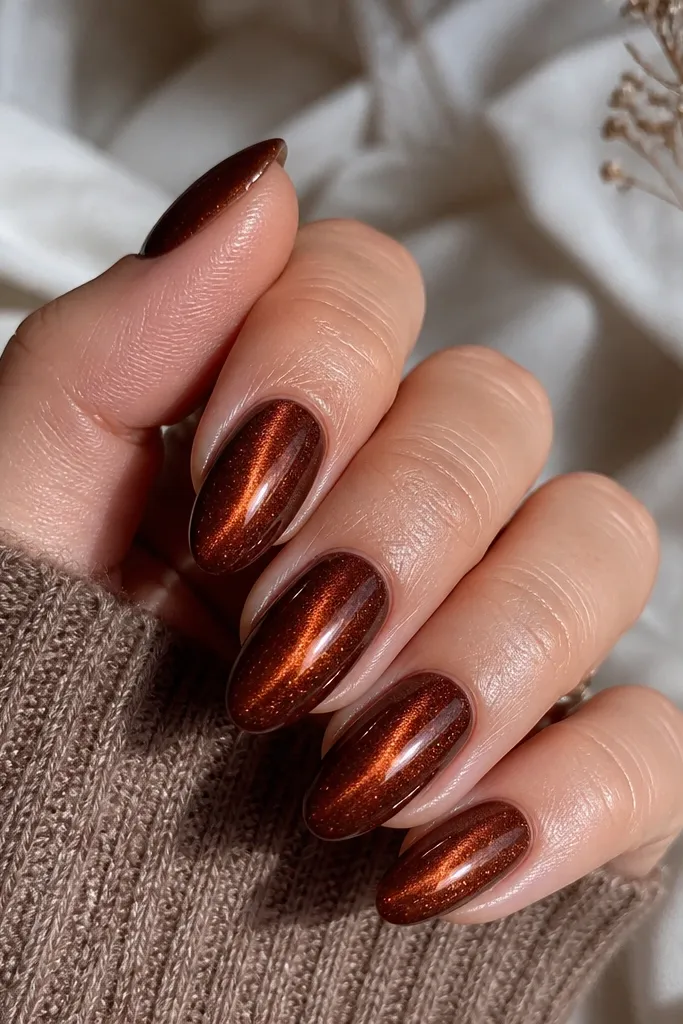
Copper shift looks warmer and more autumnal than gold. Chestnut brown gives you that "burnt" look that matches sweaters, boots, and bronze makeup. The cat-eye stays crisp because copper particles reflect differently than yellow-gold. It's stunning in daylight.
Pick a chestnut brown cat-eye gel that clearly looks copper in the bottle. Cure first coat fully, then apply second coat and partial cure 10-15 seconds. Magnetize straight down with an oval magnet for 10 seconds. Seal with a glossy top coat that doesn't add cloudiness.
Editor's noteIf your copper looks too red, reduce gel thickness - thinner layers show a cleaner copper line.
Watch outSkip milky browns; copper cat-eye needs contrast to look sharp.
12. Black-Brown Cat-Eye With Reverse Magnet Halo
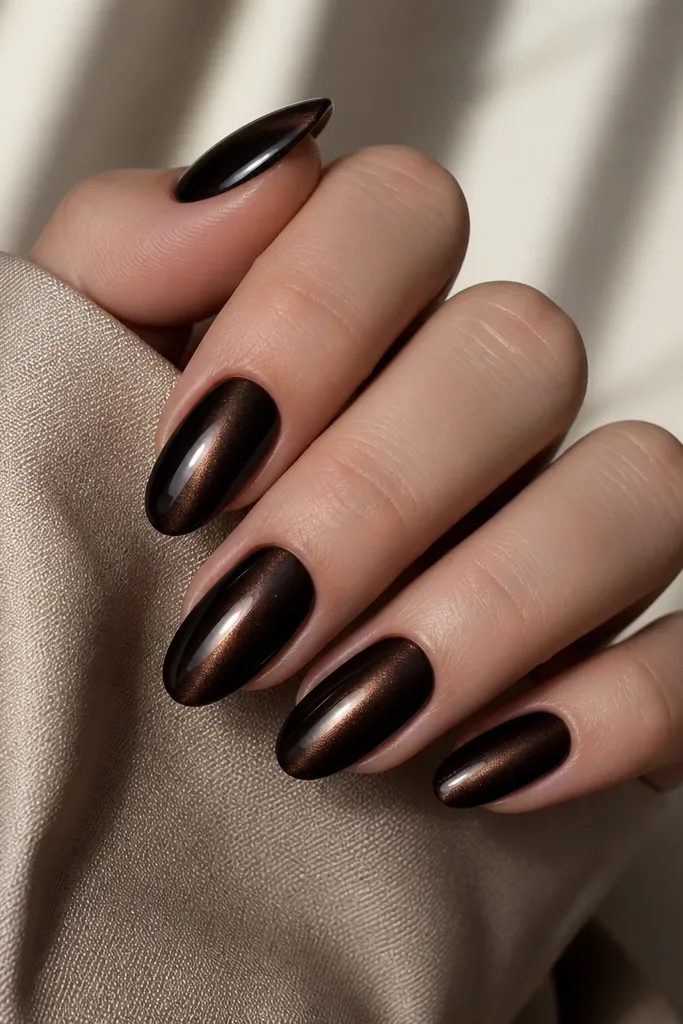
This is the "moodier" cat-eye look. The reverse halo comes from magnetizing slightly off-axis so particles gather in the center but also spread. I like it for evenings because it looks dramatic without adding art. The black-brown base also covers small imperfections better than lighter browns.
Apply a black-brown cat-eye gel and cure first coat fully. On the second coat, partial cure 15 seconds. Magnetize with an oval magnet but shift it 1 mm off-center, hold 10 seconds, then cure fully. Finish with top coat to smooth the halo edges.
Editor's notePractice once on a spare nail tip: off-axis magnetizing is easier when you can see the halo before you commit to your nails.
Watch outDon't overdo the off-axis shift or you'll lose the cat-eye and get a smudge.
13. Caramel Brown Cat-Eye With Matte Top
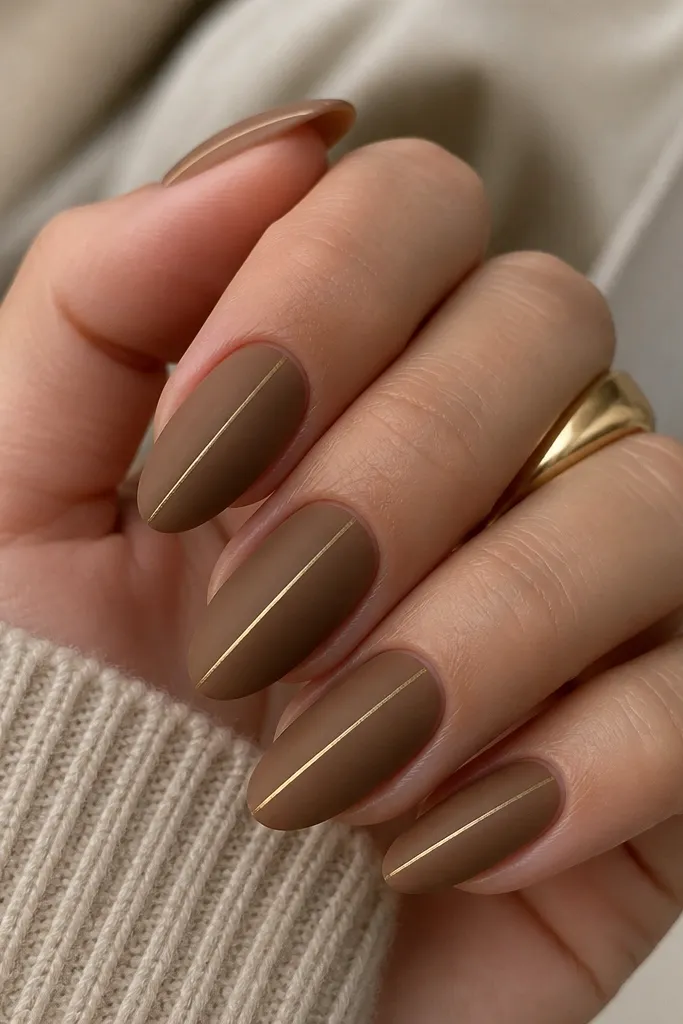
Matte top makes the cat-eye line look like metal paint instead of glass. I do this when I want the set to feel modern and less flashy. The gold streak still shows because cat-eye pigments reflect light even under matte. It also hides minor ridges better than glossy top.
Make the cat-eye first with a normal glossy top coat base - magnetize as usual. After full cure, apply a matte top coat over the entire nail and cure fully. If your matte is too chalky, add a thin glossy top only on the streak area using a tiny brush.
Editor's noteSeal the edges with matte top last, then run the brush along the sidewalls to prevent lifting.
Watch outDon't wipe matte top with alcohol after curing - it turns patchy.
14. Mocha Brown French Tip Cat-Eye
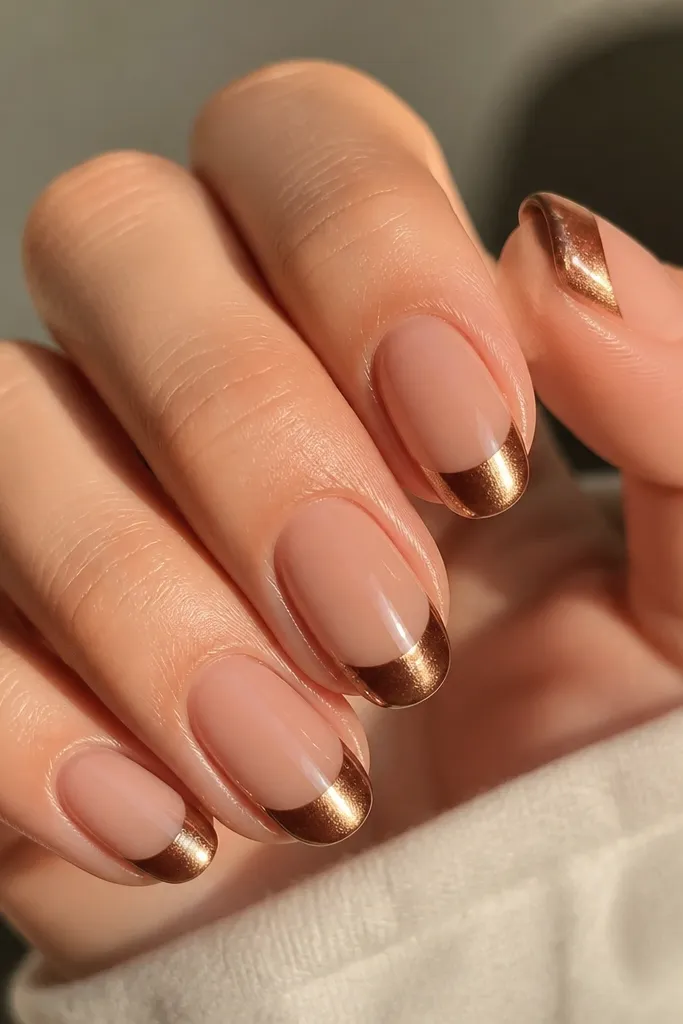
This is the cleanest way I've found to wear cat-eye without making the whole nail dark. The nude base keeps it fresh, and the cat-eye concentrates the shimmer where your nail naturally draws attention. It looks like a salon French but with a magnetic twist. Perfect for events and work where full dark nails feel too much.
Start with a nude-beige base and cure fully. Apply mocha brown cat-eye gel only on the tip zone (about 2/3 of the nail width, leaving cuticle clear). Partial cure, magnetize straight down, cure fully. Top coat seals everything.
Editor's noteUse a striping tape to draw the French line, then remove it right after you place the gel so edges stay sharp.
Watch outAvoid thick French gel - it creates a step you'll feel when typing.
15. Chocolate Brown Cat-Eye With Tiny Rhinestone Pin
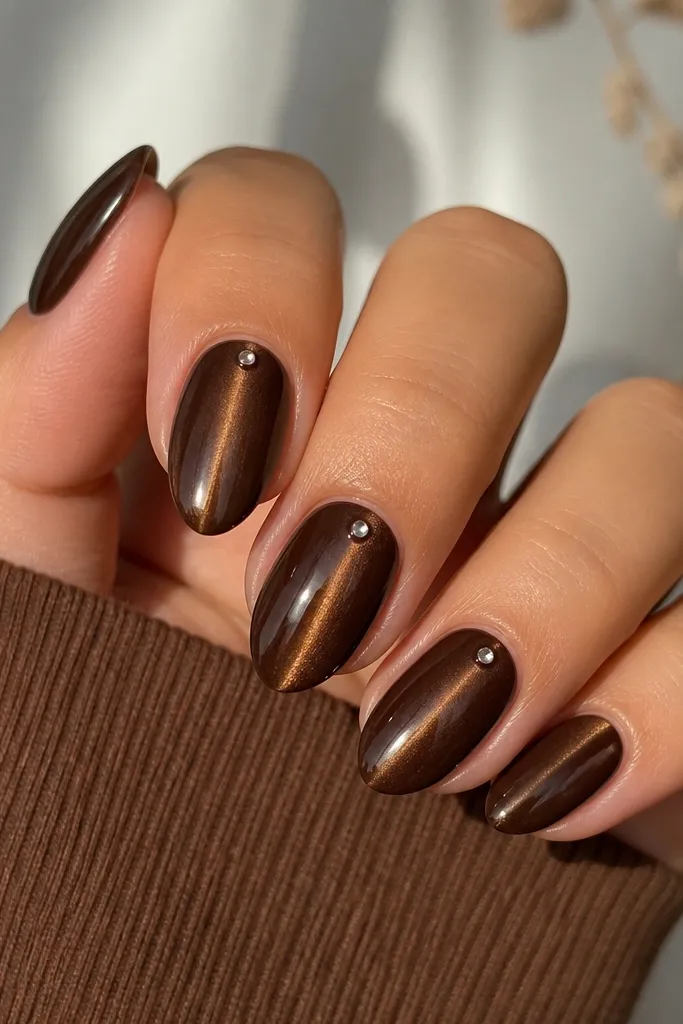
One rhinestone makes the cat-eye look intentional, not random. The key is placement: keep it on the streak so the light lines up with the gem. I use a tiny 1.5 to 2 mm stone, not a big one, because big stones fight the magnetic line. This set reads soft and glowy.
Do your cat-eye first and fully cure. Apply a small dot of gel near the cuticle on the streak line, place the rhinestone, then cure. Cap around the stone with a thin top coat so it doesn't snag.
Editor's noteIf the stone tilts, press it with a silicone picker for 5 seconds before curing.
Watch outDon't place the stone off to the side - it makes the cat-eye look crooked.
16. Espresso Cat-Eye With Starburst Spark
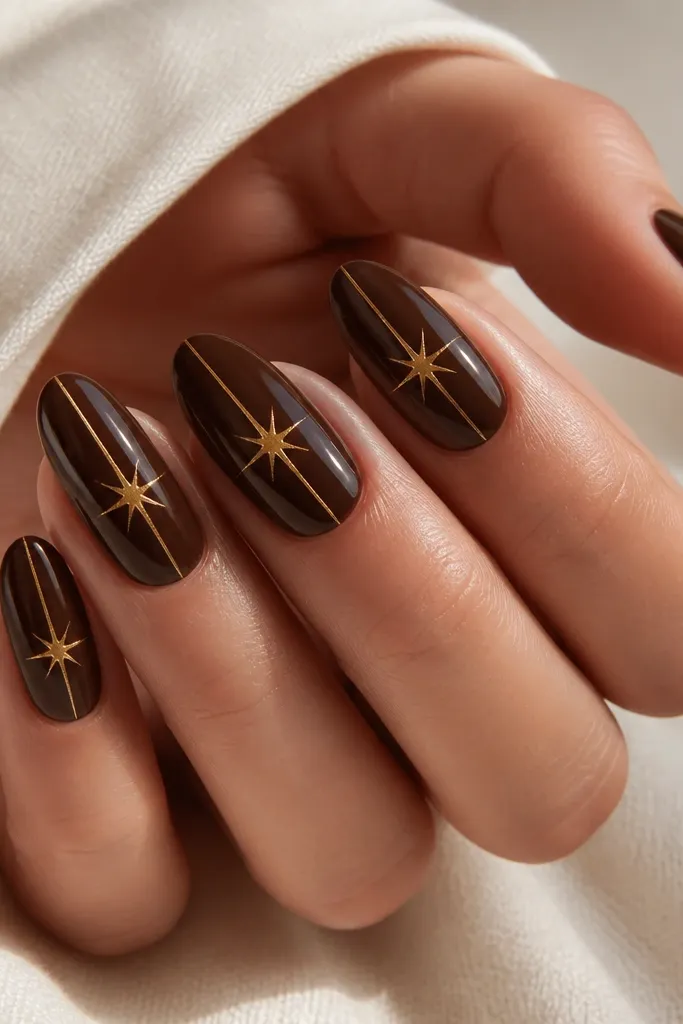
Starburst cat-eye looks like a tiny sun in the center of your nail. I use it when I want something different from the standard stripe but still in the brown family. The magnet shape controls the burst, and the dark base makes the spikes look crisp. It's a fun set for weekends and photos.
Use espresso brown cat-eye gel and cure the first coat. Apply the second coat, partial cure 15 seconds. Use a starburst magnet (or a multi-point magnet) and place it directly over the center for 10 seconds. Fully cure and top coat.
Editor's noteKeep your lamp time consistent - starburst effects get weaker if the gel is under-cured.
Watch outAvoid moving your nail while magnetizing; starbursts smear fast.
17. Warm Brown Cat-Eye With Checkerboard Magnet Texture
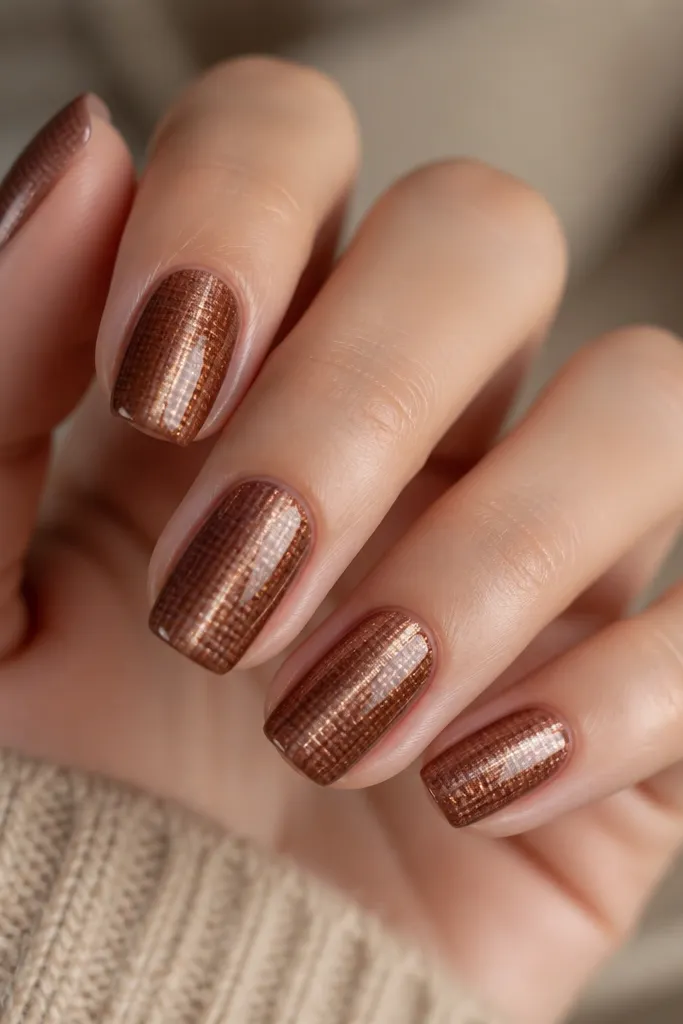
Checker magnets give you texture, so even the same brown shade looks new. The pattern turns the cat-eye into a sparkling grid that looks great in motion. It also makes the nail look more detailed without adding any drawn lines. I like it for fingers and thumbs because the pattern shows best.
Pick a warm brown cat-eye gel that shifts gold. After first coat cure, apply second coat and partial cure 12 seconds. Use a checkerboard magnet and hold it above the nail for 10 seconds, keeping it level. Finish curing and top coat.
Editor's noteIf the grid looks too strong, reduce gel thickness slightly before magnetizing.
Watch outDon't use a matte top for this one - it kills the checker sparkle.
18. Cocoa Brown Cat-Eye With Two Tone Base
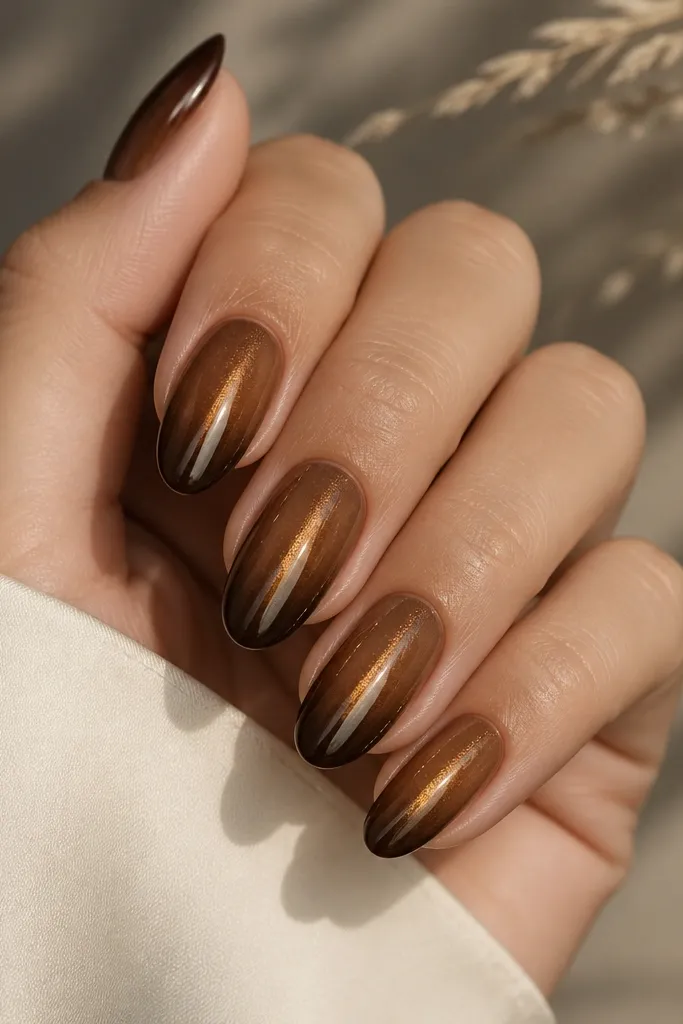
Two-tone base gives you a built-in gradient, so the cat-eye looks deeper. The gold line stays visible because there's contrast at both ends of the nail. I wear this when I want cat-eye nails that look "custom" even though the technique stays simple. It also looks good on short almond and squoval shapes.
Paint a lighter cocoa near the cuticle and cure. Then blend in espresso at the tip area only, cure fully. Apply cat-eye gel over the gradient, partial cure, magnetize straight down, and cure. Top coat seals it all.
Editor's noteBlend the transition with a sponge only at the center line so the streak stays clean.
Watch outAvoid full ombre coverage - it makes the cat-eye line harder to see.