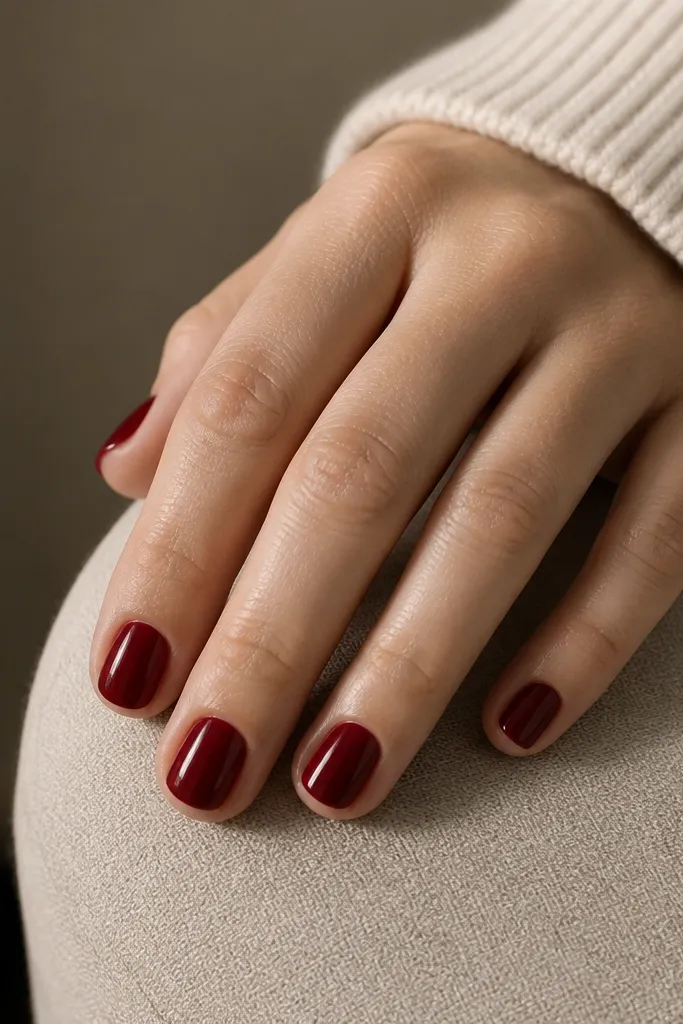
1. Soft Square Cherry Gloss
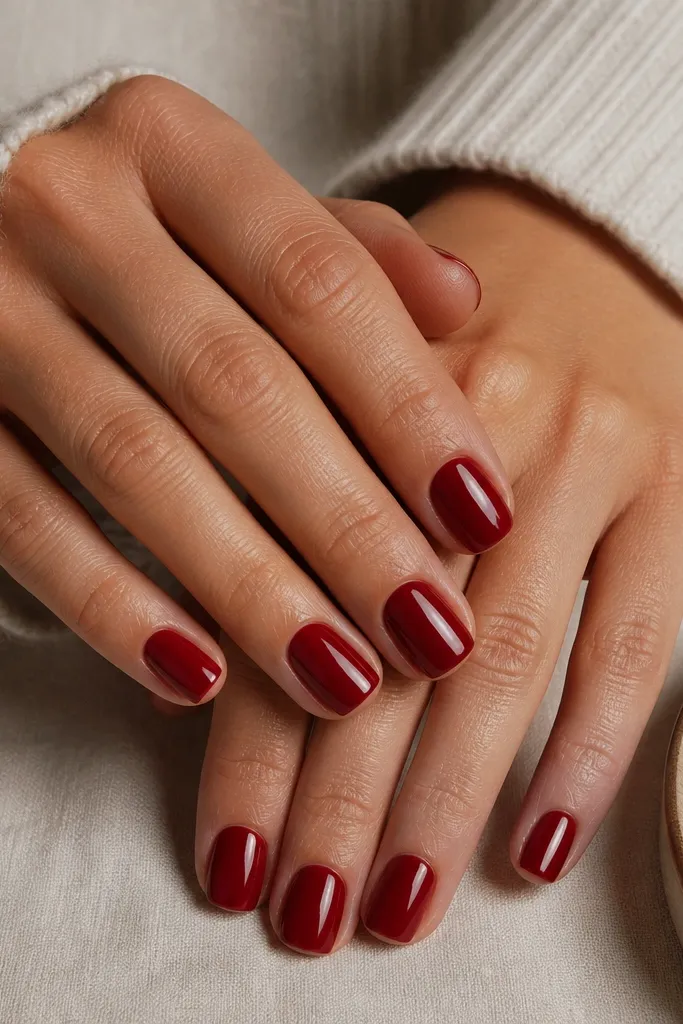
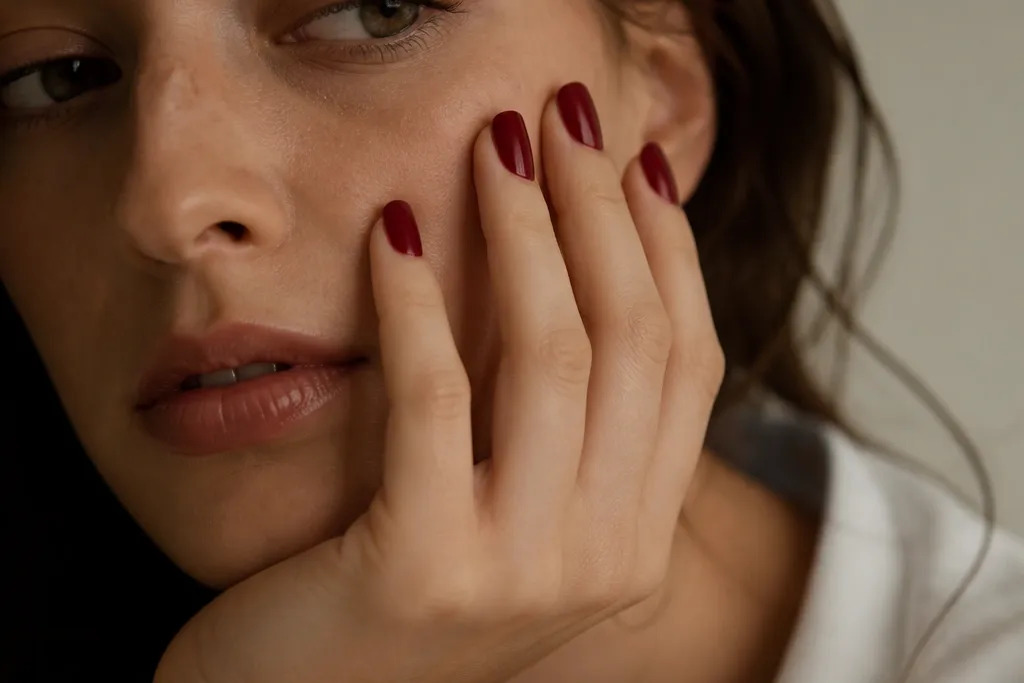
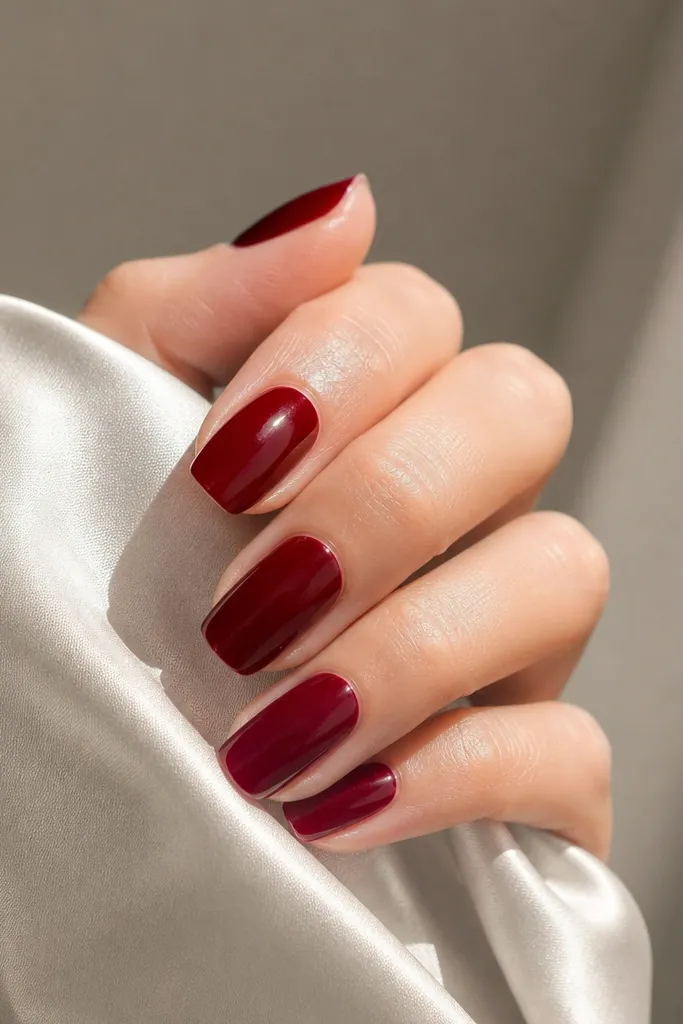
This is my "walk out the door" deep cherry red nails budget look because it shows off the undertone without distractions. The soft square shape keeps the edges from catching and makes the red look even across the nail plate. I use a true deep cherry shade with a creamy finish, then top coat until it looks like a wet layer. Under warm indoor light, the red still reads cool and dark.
File to soft square at about 1.5-2 mm past the fingertip. Paint two thin coats, waiting 60-90 seconds between coats so it levels. Finish with a thick, glossy top coat and cap the free edge on every nail.
Editor's noteAfter the second coat, check for streaks by tilting your hand toward a lamp - fix any thin spots before top coat.
Watch outAvoid thick first coats; they create ridges that make cherry red look patchy.
2. Short Almond Cherry Jelly Over Wine Base
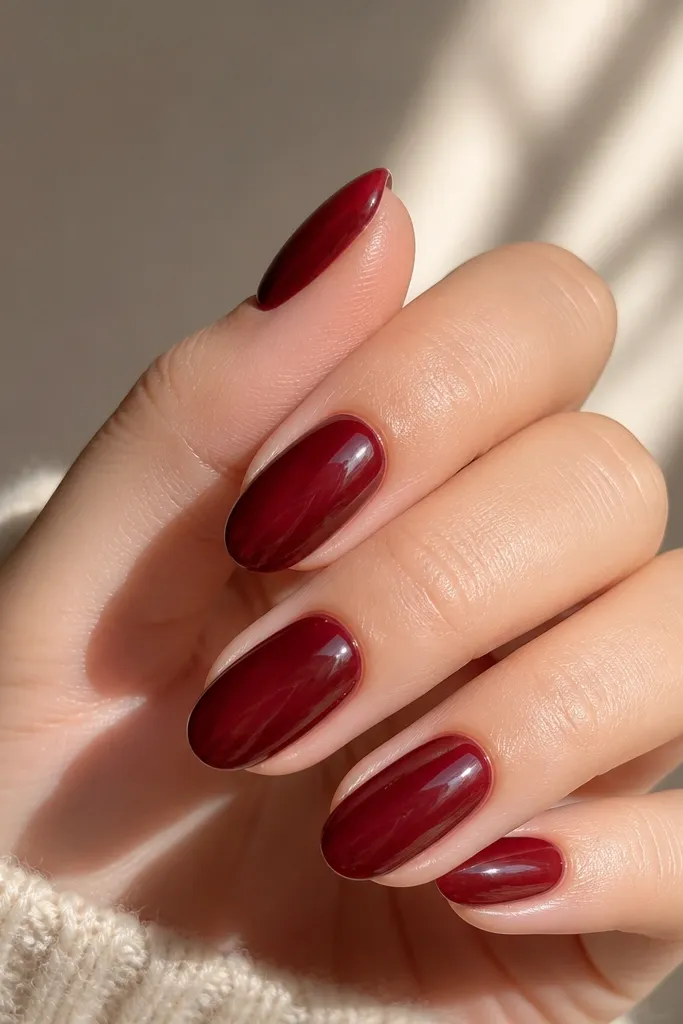
Jelly layering makes deep cherry red look expensive because you get depth without a heavy polish. The wine base darkens the color from underneath, while the cherry jelly adds that juicy, glassy tint. This combo also hides minor staining because the jelly layer is semi-sheer. The almond shape makes the jelly look smoother and more dimensional.
Start with a dark wine polish as the base and let it dry fully. Apply one medium-thin jelly coat, then a second thinner jelly coat only where you need more coverage. Keep the jelly slightly more concentrated at the center for a soft glow effect.
Editor's noteUse a slightly smaller brush load for the jelly so it doesn't flood the cuticle line.
Watch outDon't go opaque with the jelly - if it's fully solid after one coat, you lose the depth effect.
3. Squoval Cherry Micro-French Edge
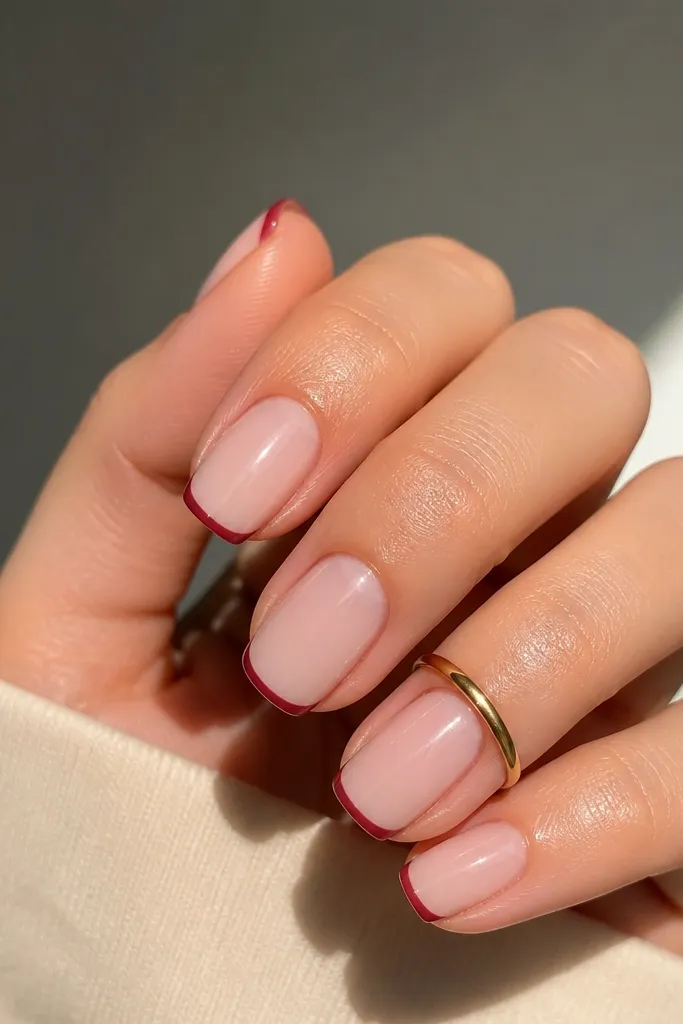
A micro-French edge makes red nails look "designer" while staying budget-simple. I keep the line thin so it reads like light catching the nail, not a stripe. Using a lighter cherry-pink (not white) keeps it flattering and avoids the harsh contrast that can look costume-y. Squoval shape smooths the line so it doesn't look jagged.
File squoval with rounded corners, length about 2-3 mm. Paint two coats of deep cherry red. Then use a striping brush to draw a 0.5-1 mm edge line in lighter cherry-pink, staying parallel to the smile line.
Editor's noteIf your line wobbles, clean the edge with a thin brush dipped in acetone before top coat dries.
Watch outAvoid full French tips; the line will overpower the cherry and make it look older.
4. Cherry Red Half-Moon Cutout
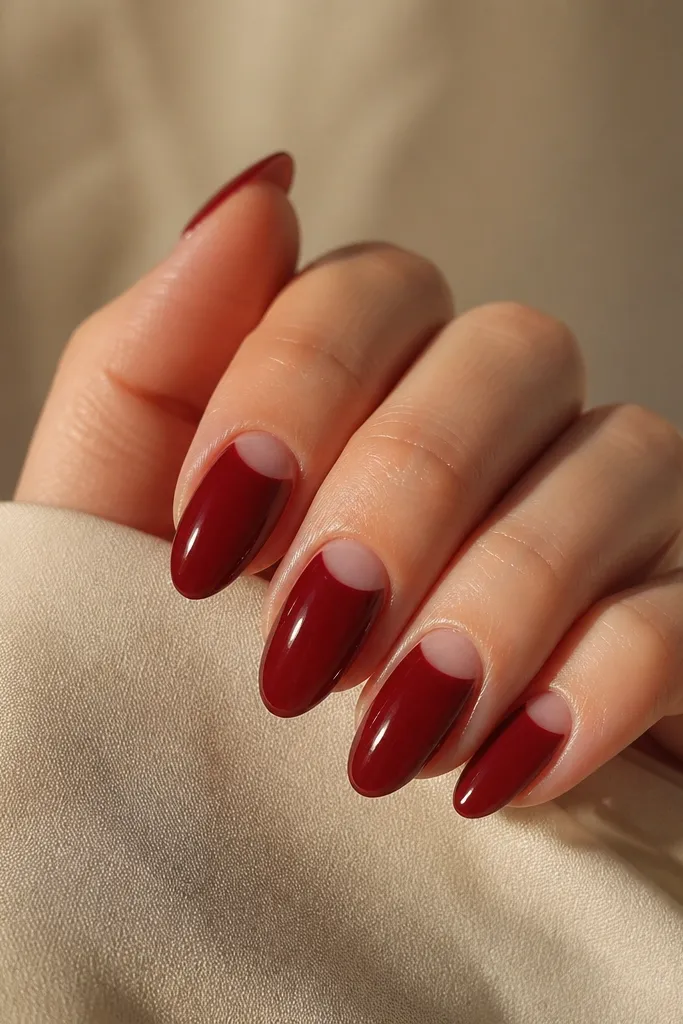
Negative space around the cuticle makes your nails look longer without adding length. The half-moon shape frames the nail bed and keeps the red from feeling heavy. I like doing it on two nails per hand so it looks intentional, not fussy. This is a low-cost way to get that "fresh manicure" look between full sets.
Paint solid deep cherry red on all nails first. On accent nails, place a half-moon guide (or use tape cut into a curve) at the cuticle line before the second coat. Fill only the remaining area with red, then remove the guide while the polish is still slightly tacky.
Editor's noteUse a cotton swab wrapped with lint-free tissue to clean the half-moon edge - it sharpens instantly.
Watch outSkip thick base layers under the half-moon; they blur the cutout line.
5. Cherry Red Chrome Dot Accent
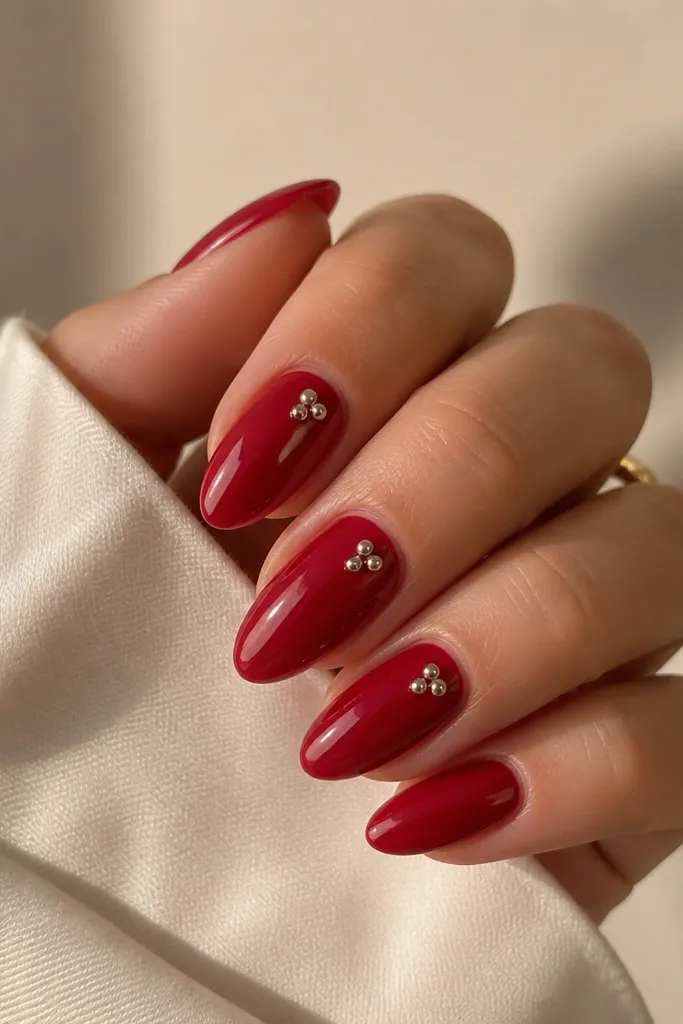
A single chrome dot turns a plain deep cherry red manicure into something photo-ready. The silver doesn't compete with the cherry - it just adds a cold light reflection. I place it near the center of the nail so it looks like a highlight, not a sticker. This is one of my favorite deep cherry red nails budget upgrades because it uses almost no product.
Paint two coats of deep cherry red and top coat lightly. Dot chrome powder or a chrome gel dot near the center, then seal with a thicker top coat. Keep the dot small - about the size of a grain of rice.
Editor's noteIf you don't have chrome powder, use a tiny amount of silver gel liner instead.
Watch outDon't add multiple dots; more than one makes it look like accidental glitter.
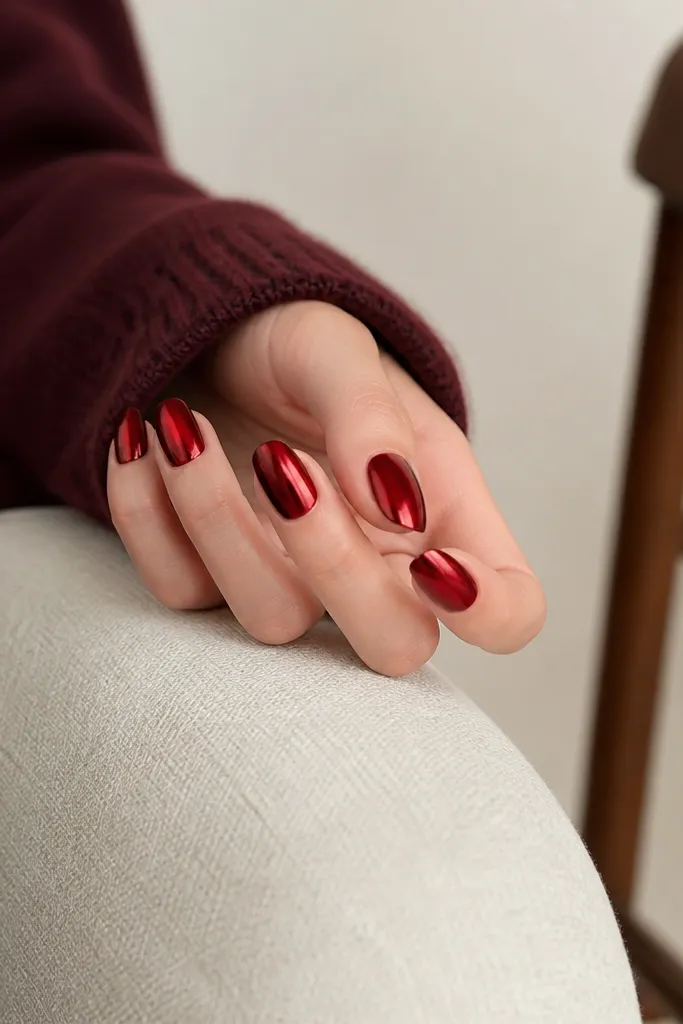
6. Deep Cherry Red Cat-Eye Glow
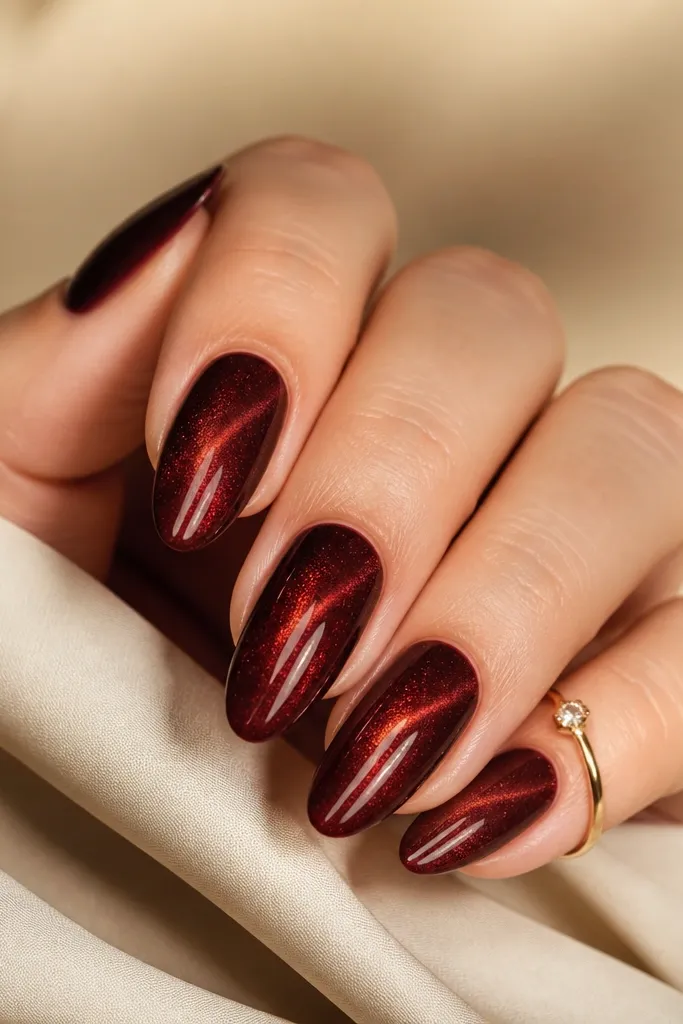
Cat-eye polish makes deep cherry red look like it has a hidden light source. That vertical stripe adds dimension and makes short nails look longer. I like the deep cherry version because the glow reads red-magenta instead of green. The stripe also hides tiny application streaks since your eye follows the highlight.
Use the cat-eye polish in two thin coats, magnetizing each coat briefly (follow your polish's magnet distance). Keep the stripe centered and straight. Seal with a glossy top coat that's compatible with cat-eye formulas.
Editor's noteMagnetize after the coat levels for 10-20 seconds, not immediately after brushing.
Watch outAvoid moving the magnet during magnetization; it bends the stripe.
7. Cherry Red Velvet Matte Short Set
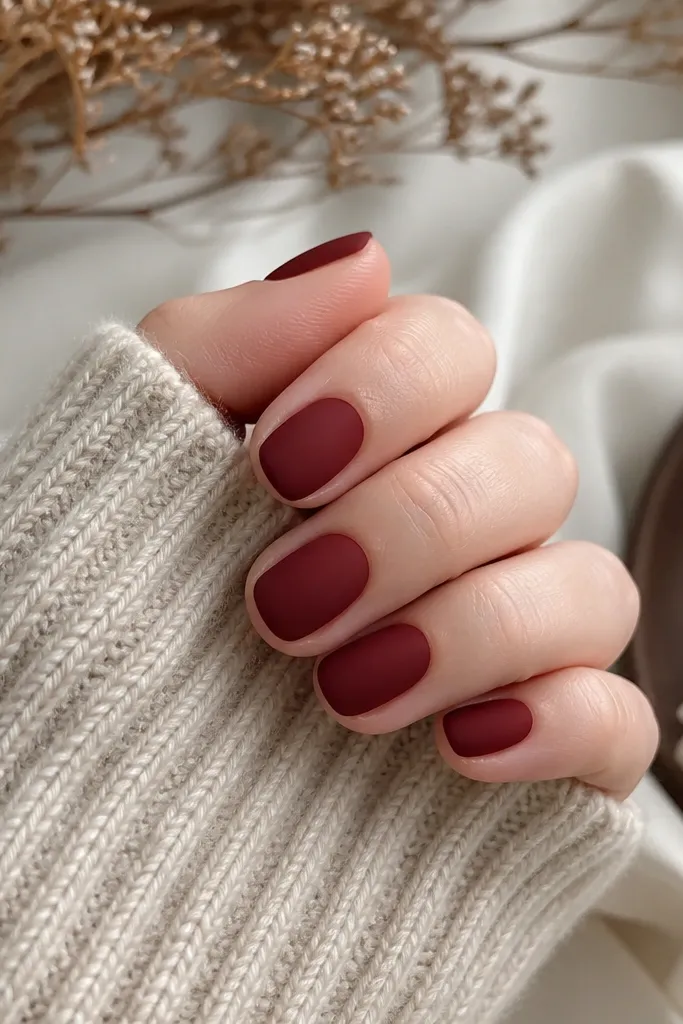
Matte deep cherry red looks soft and expensive when the shape is clean. The trick is using a matte top coat that actually kills the shine - not a dusty matte that looks patchy. Velvet matte also makes the color look more "fabric-like," which flatters cooler undertones. This look is great when you don't want glossy chips showing.
Start with glossy deep cherry red polish, two thin coats. Add one even layer of matte top coat across the whole nail, then avoid touching it for the full cure time. Keep nails short and rounded for the cleanest matte edge.
Editor's noteIf your matte looks streaky, it usually means the base polish wasn't fully leveled before the matte top coat.
Watch outAvoid matte over a thick coat; it shows ridges as dry-looking lines.
8. Glossy Cherry Red With Micro Rhinestone Line
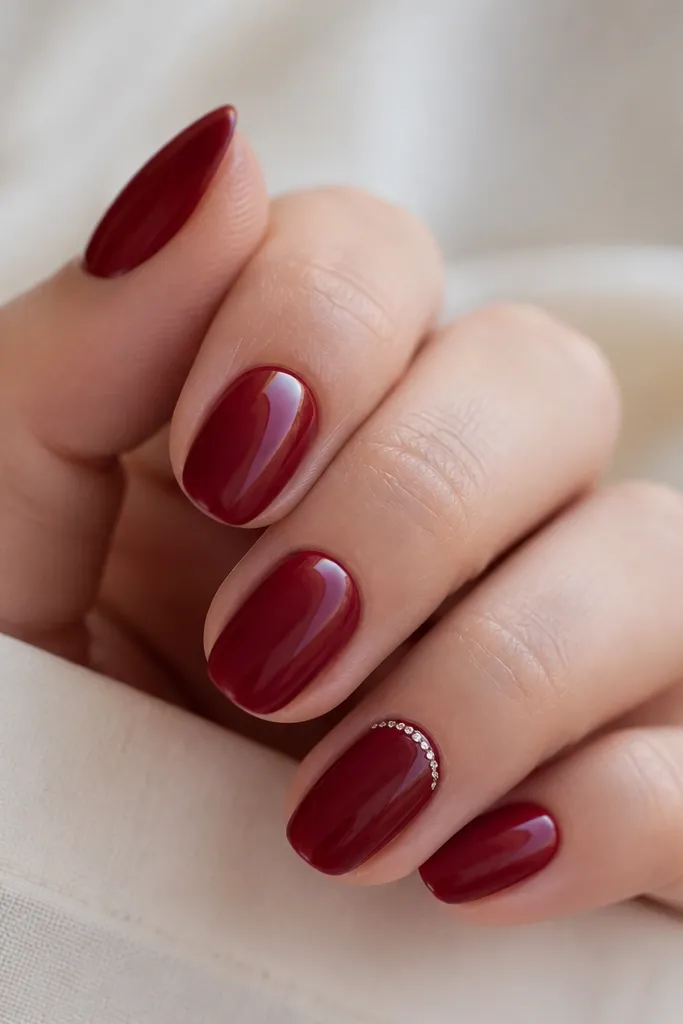
A micro rhinestone line gives you the "night out" look without the heavy bling. I use tiny stones so they read like sparkle dust, not a chunky border. The clear rhinestones reflect light differently than silver chrome, so they keep the cherry red from looking too dark. This is also easy to remove and redo if you change your mind.
Paint two coats of deep cherry red. On the accent nail, place stones on a straight line about 1-2 mm below the cuticle. Use rhinestone gel or a dab of top coat, then cure, then seal with top coat.
Editor's notePress each stone with a dotting tool so it sits flat - uneven stones feel rough fast.
Watch outSkip big stones; they snag on sleeves and make the manicure feel cheap.
9. Cherry Red Ombré Fade at the Tips
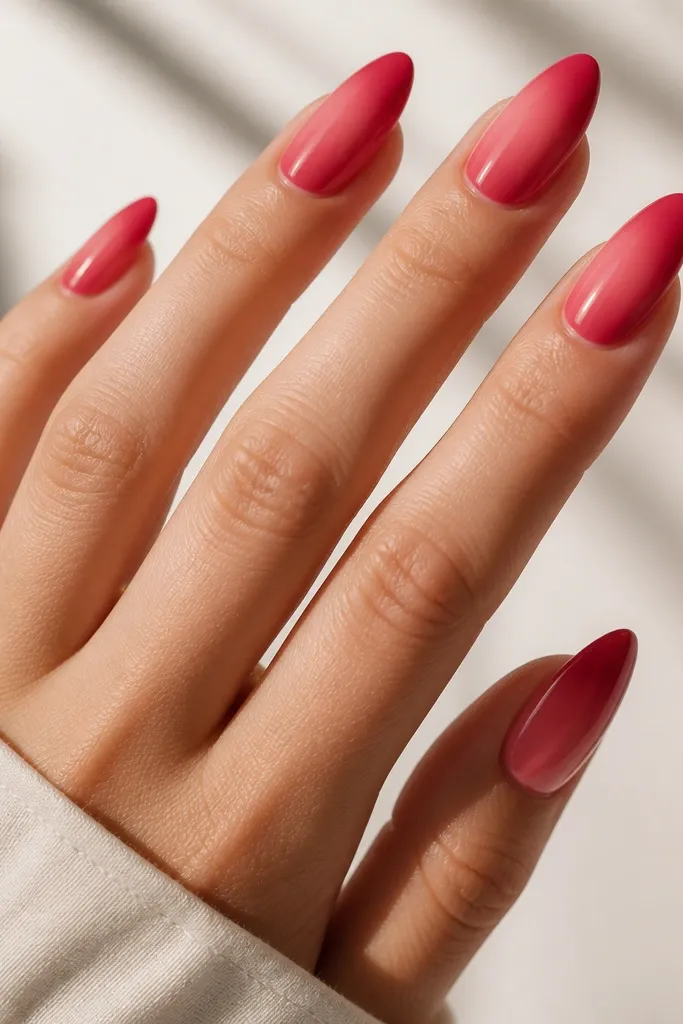
Ombré makes deep cherry red look fresh because it adds a second shade without turning it into nail art. I do a soft fade from cherry-pink to deep cherry, so it reads like stained nails after a berry smoothie. The glossy top coat makes the transition look smooth instead of chalky. Almond shape makes the fade look longer and more flattering.
Start with a base of cherry-pink. Sponge deep cherry red lightly at the tips, then blend upward with a clean sponge edge. Build the depth slowly - one heavy swipe makes the gradient blotchy.
Editor's noteUse makeup sponges cut in half; the smaller surface gives you more control.
Watch outDon't skip a blending step; straight sponge edges look like a hard block.
10. Cherry Red Striped Tape Lines
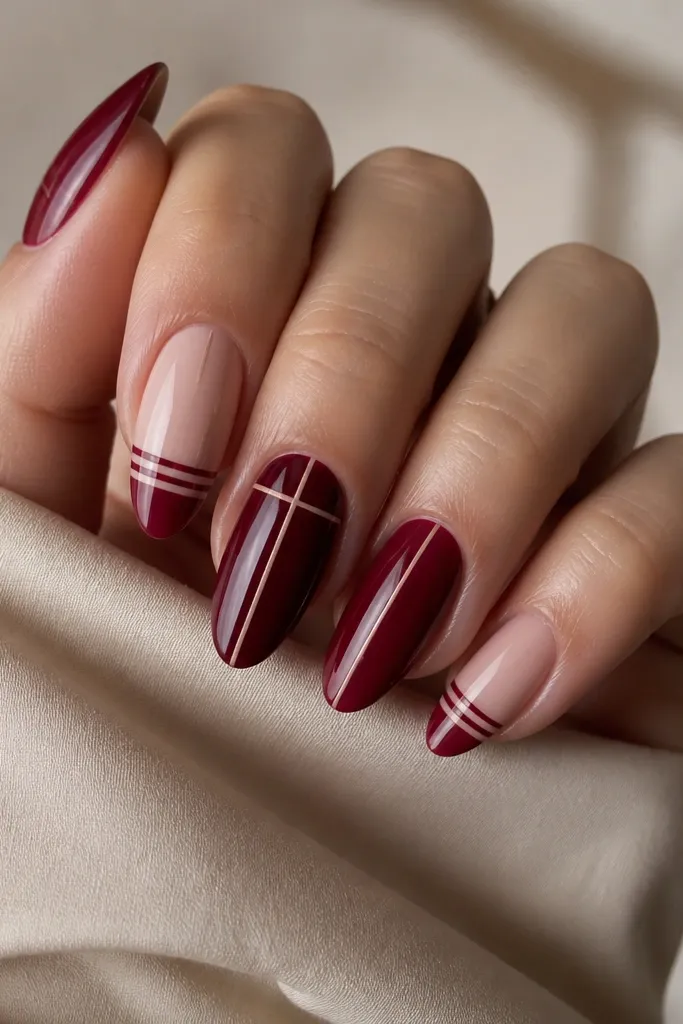
Tape lines are the fastest "art" you can do with a deep cherry red base. The silver lines look like jewelry and they guide the eye, so the nail looks sharper. I keep the angles consistent across the accent nails so it looks styled, not random. This stays budget-friendly because tape and top coat are cheap.
Paint two coats of deep cherry red. Once dry, apply thin nail striping tape at a diagonal and press hard along the edge. Paint over with silver polish or chrome gel, cure/dry, then remove tape immediately.
Editor's noteWipe your brush with remover before you paint over tape; it prevents seepage under the edges.
Watch outAvoid using wide tape; thick lines make the manicure look like a craft project.
11. Cherry Red Marble Veins
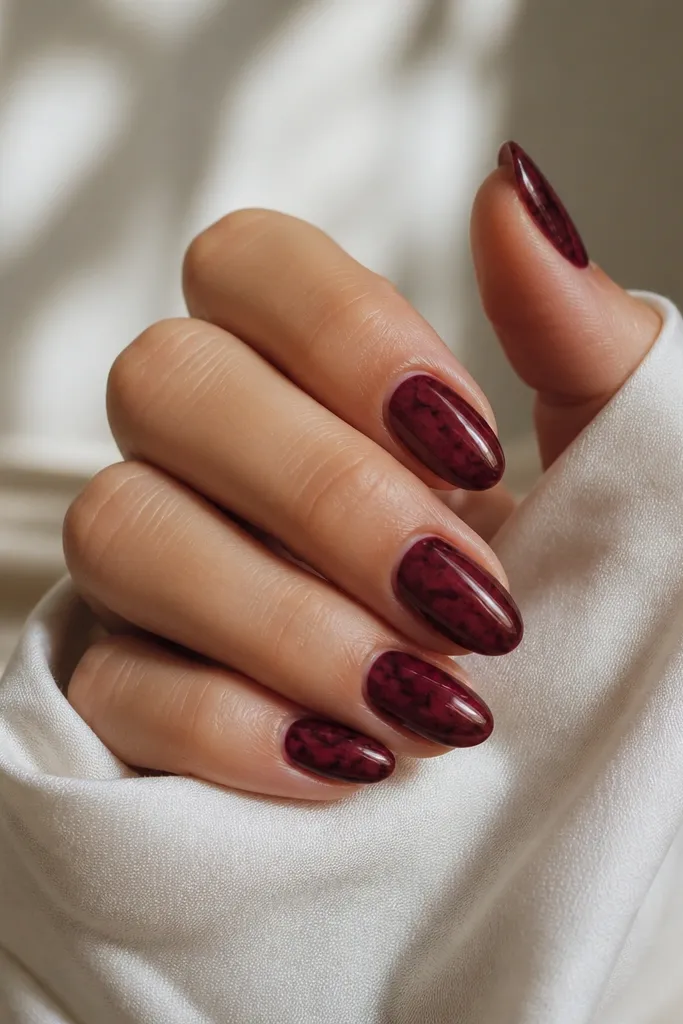
Marble veins look amazing in deep cherry red because you can keep the palette tight: one base and two vein shades. I do thin, irregular lines so it looks like real stone, not a sticker pattern. Glossy top coat makes the veins look like they sit under glass. This look also hides small chips since the pattern breaks up imperfections.
Paint two coats of deep cherry red. Add a few thin lines with a striping brush using darker burgundy, then drag a tiny amount of near-black through the lines for contrast. Seal with a glossy top coat in two layers if you want extra depth.
Editor's notePractice vein placement on a spare nail tip first; your spacing is what makes it look natural.
Watch outDon't flood the nail with marble polish; thick veins look raised and cheap.
12. Cherry Red Negative-Space V Tips
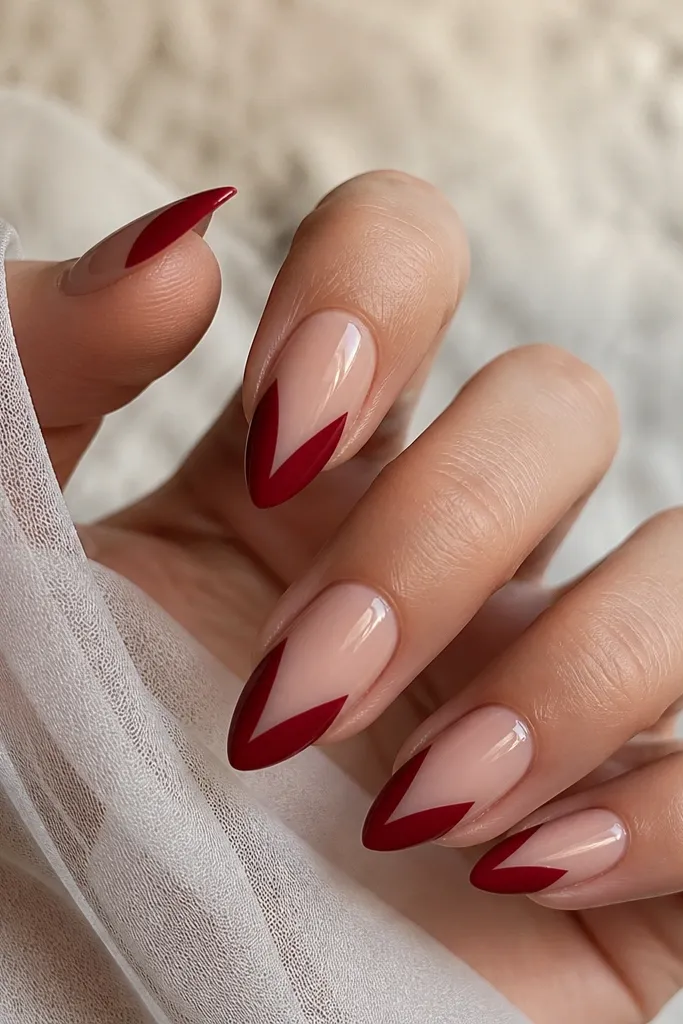
This V-tip negative space makes deep cherry red look lighter and more modern. The V shape elongates the nail because it creates a visual line from the sides to the center. I use a sheer nude base so skin tone shows through and the red stays classy. It's also beginner-friendly because the V shape is forgiving.
Start with a sheer nude or pink base coat, then paint deep cherry red only inside a V guide at the tips. Use a small brush to fill the V edges cleanly. Top coat everything and cap the V tip edges.
Editor's noteIf you don't have nail guides, use painter's tape cut into a V and press it flat for crisp edges.
Watch outAvoid a fully opaque nude base; it kills the airy effect.
13. Deep Cherry Red Gloss With Cuticle Blush Fade
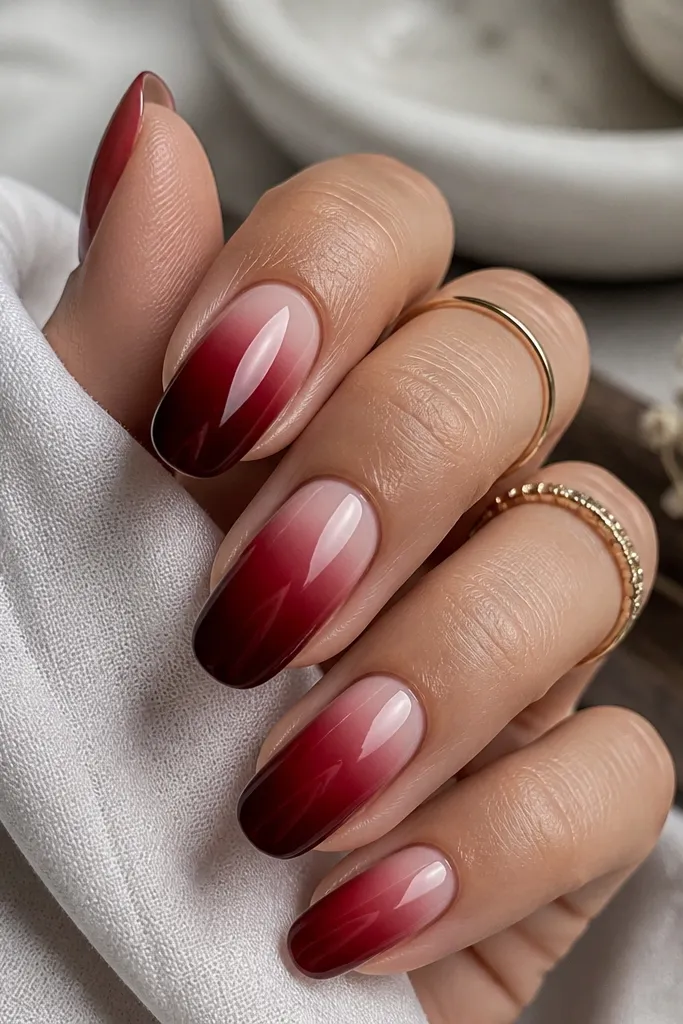
The blush fade keeps deep cherry red from looking too heavy on shorter nails. It also makes your cuticles look cleaner because the transition starts right at the nail bed line. I prefer a pink that matches my skin undertone so it looks natural, not like a different color. Glossy top coat makes the fade look smooth.
Paint a deep cherry red base layer, but keep it thin. Sponge a blush-pink lightly at the cuticle area and blend upward with a flat brush. Add a second thin cherry coat only over the areas that need coverage, then top coat.
Editor's noteUse a tiny amount of blush polish on a sponge - you can build it, but you can't take it back easily.
Watch outAvoid harsh blending; a streaky cuticle fade makes the whole set look messy.
14. Cherry Red Micro Glitter Fade
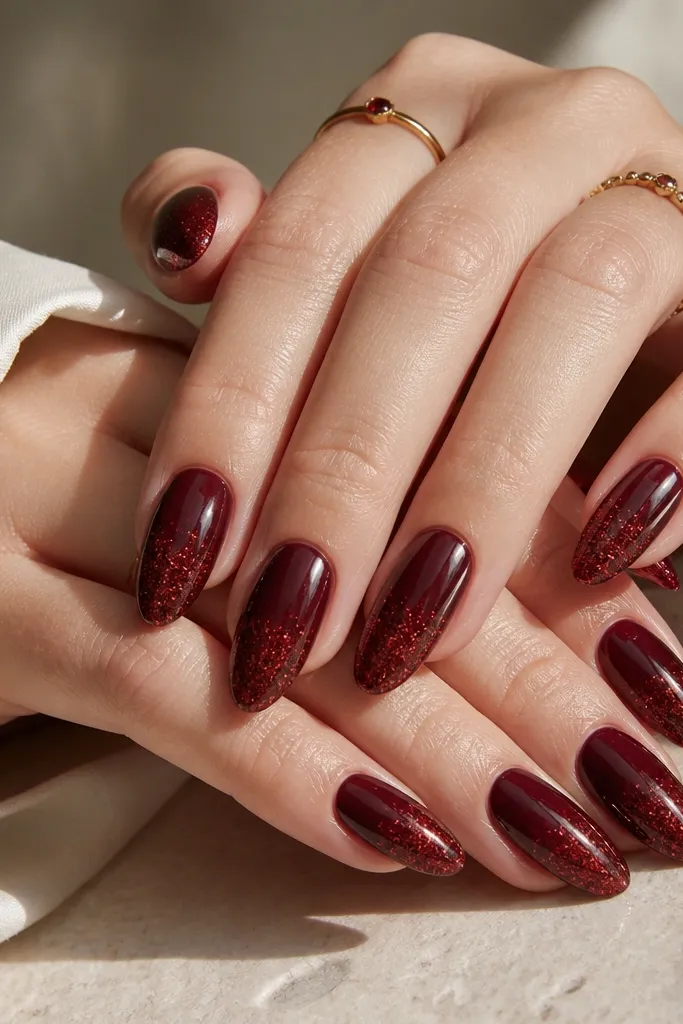
Micro glitter gives you sparkle without turning the manicure into a glitter bomb. Concentrating it at the tips makes the nails look like they have a soft halo. I like red micro glitter over clear glitter because it stays in the same family and looks cohesive with deep cherry red. The glossy top coat keeps it looking smooth, not gritty.
Paint two coats of deep cherry red. Use a glitter polish or loose micro glitter with a glitter gel, then dab only at the tips. Blend upward with a clean brush, then seal with two top coat layers to lock the glitter down.
Editor's noteTap your brush off on paper towel before placing glitter so the fade stays controlled.
Watch outAvoid skipping the second top coat; glitter edges feel rough and catch on fabric.
15. Cherry Red Scallop Accent One Nail
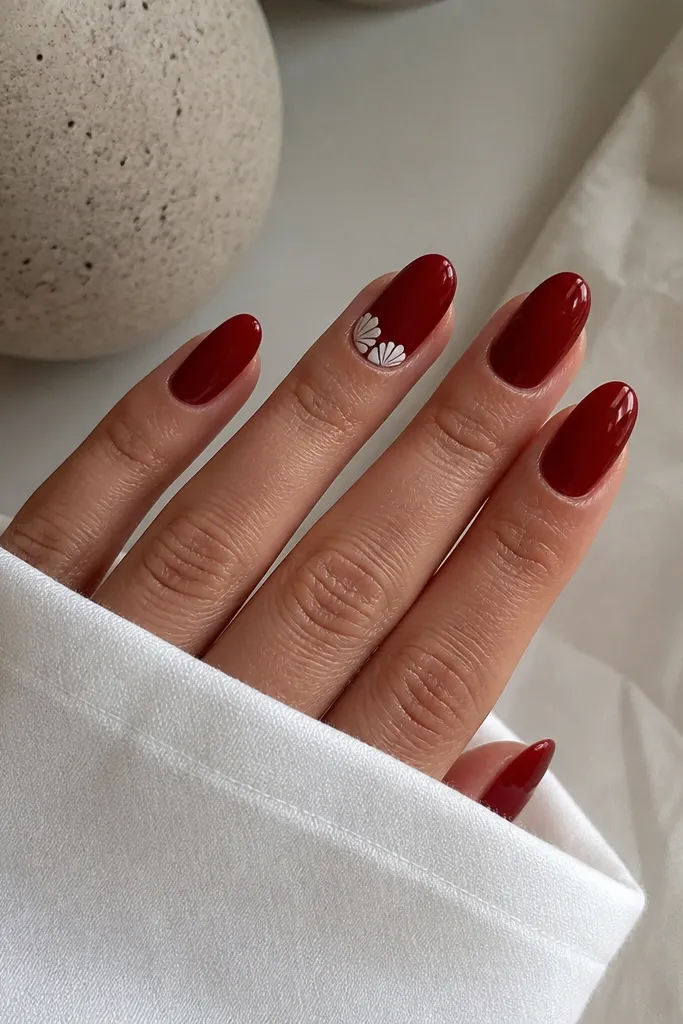
Scallops look sweet on deep cherry red when you keep the accent small. I stick the scallops near the cuticle, not across the whole nail, so it stays wearable. White scallops give contrast, but using slightly off-white keeps it from looking harsh. This is a budget art trick because you only need one nail to pull it off.
Paint all nails deep cherry red and top coat. On the accent nail, use an off-white gel and a dotting tool to place tiny half-moons in a row near the cuticle. Add a second pass only where gaps exist, then seal with top coat.
Editor's noteLet each row set for 20-30 seconds before adding the next so the dots don't smear.
Watch outAvoid big scallops; large shapes make the set look childish instead of cute.
16. Deep Cherry Red Side Swipe Detail
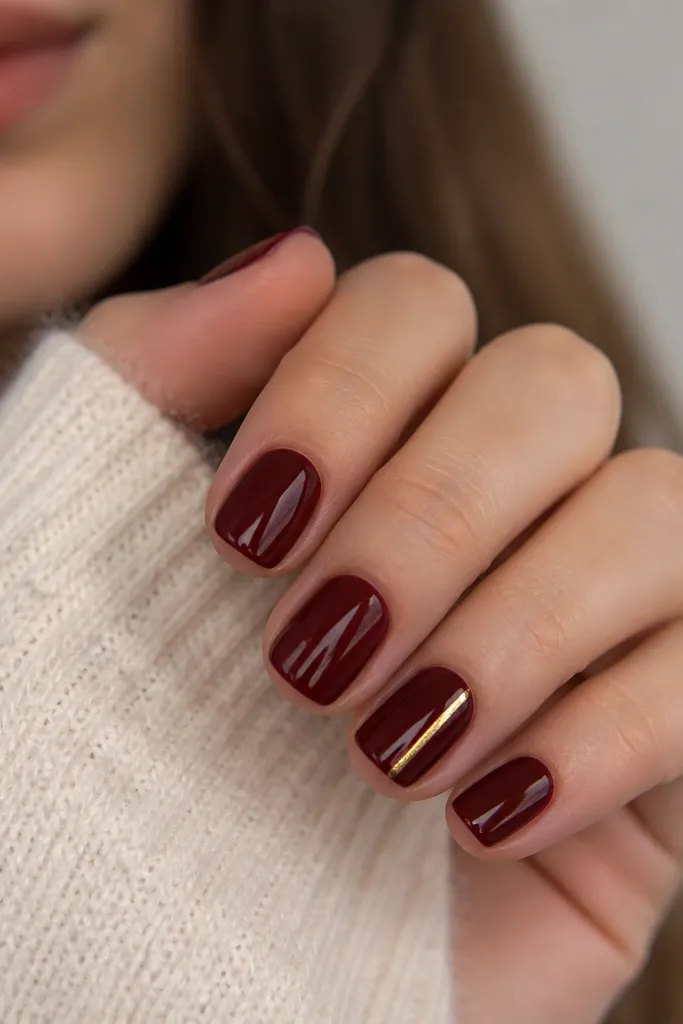
A side swipe is my favorite way to add "jewelry" to deep cherry red without full nail art. The gold line makes the red look warmer and more dimensional, especially under sunlight. I keep it close to the sidewall so it looks like a ring detail. This one also works on budget because you're using a single line of polish.
Paint two coats of deep cherry red. On the accent nail, draw a thin vertical line with gold polish or gold gel liner along the outer side, leaving a tiny gap from the edges. Top coat carefully so the line stays crisp.
Editor's noteUse a striper brush with a pointed tip; it makes one clean stroke instead of multiple passes.
Watch outAvoid placing the line too centered; it can make nails look narrow.
17. Cherry Red Half-Wrap Glossy Accent
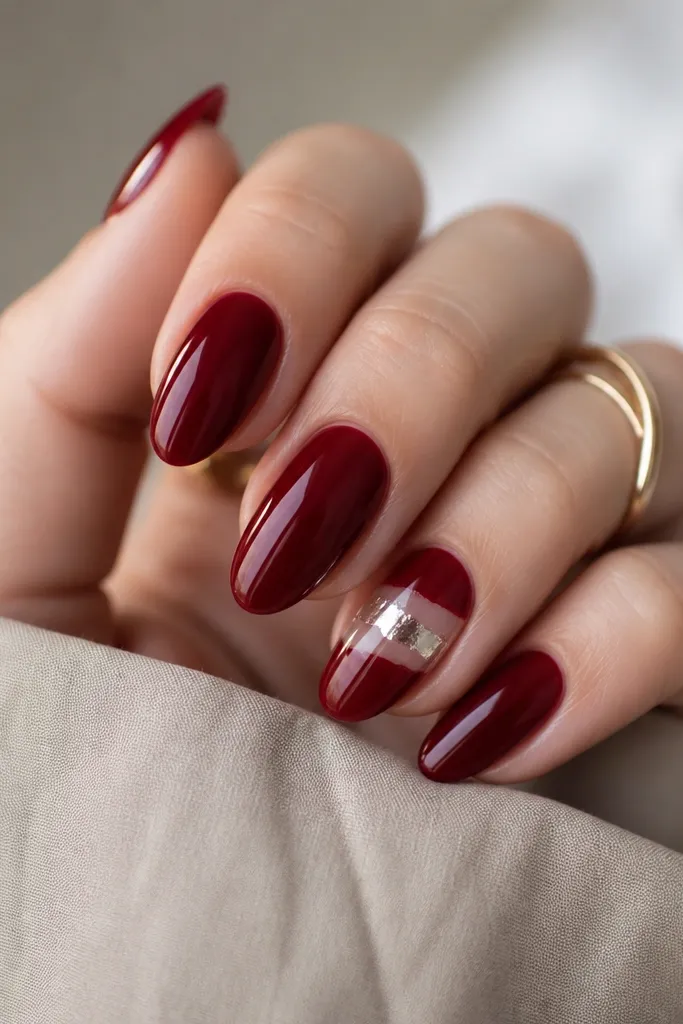
A half-wrap foil effect adds movement to deep cherry red. The reflective band catches light as you move your hand, which makes the manicure look more expensive than it is. I like placing it mid-nail because it flatters the nail bed and avoids cuticle clutter. Keep the foil transparent so the base cherry red still shows through.
Paint deep cherry red as the base and let it dry. Apply clear gel or a tacky base band around the middle of the accent nail, then press a small piece of foil so it only covers that band. Seal with top coat so the foil doesn't lift at the edges.
Editor's noteTrim foil with small scissors before applying; oversized foil wrinkles fast.
Watch outAvoid covering the whole nail with foil; it turns cherry red into a flat metallic.
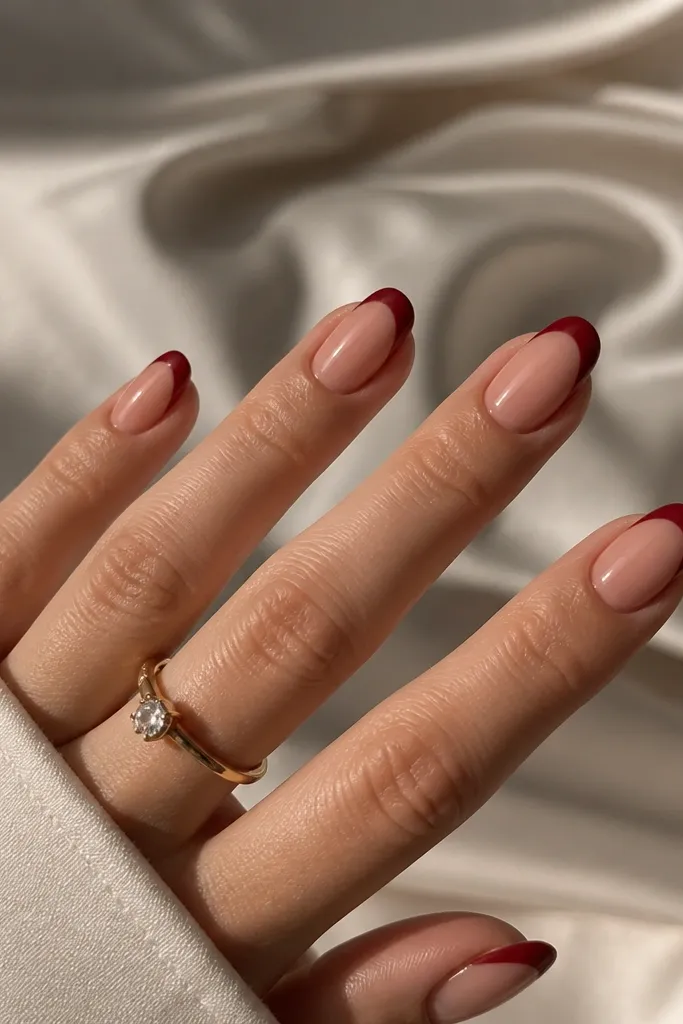
18. Deep Cherry Red Reverse French With Sheer Center
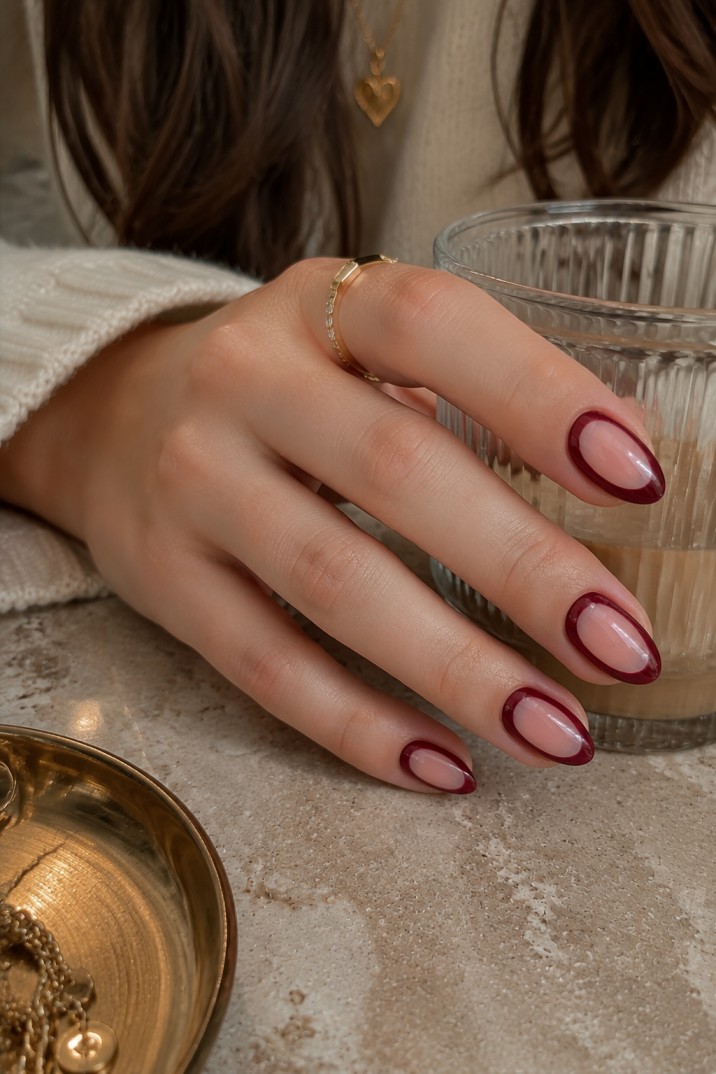
Reverse French makes deep cherry red look clean and intentional even with short nails. The sheer center keeps it from getting heavy, while the red framing makes the nail bed look more defined. I use a sheer nude that matches my skin so it disappears. This is one of the few styles where you can get away with slightly uneven edges because the framing hides them.
Start with a sheer nude base. Use a thin brush to paint deep cherry red along the cuticle curve and down the sidewalls, leaving the center clear. Clean up edges with a brush dipped in remover, then top coat fully.
Editor's noteWork one nail at a time and don't rush cleanup; once it sets, cleanup takes longer.
Watch outAvoid painting the center; keep it sheer so the reverse frame effect stays visible.
19. Cherry Red Glassy Top Coat Only (No Art)
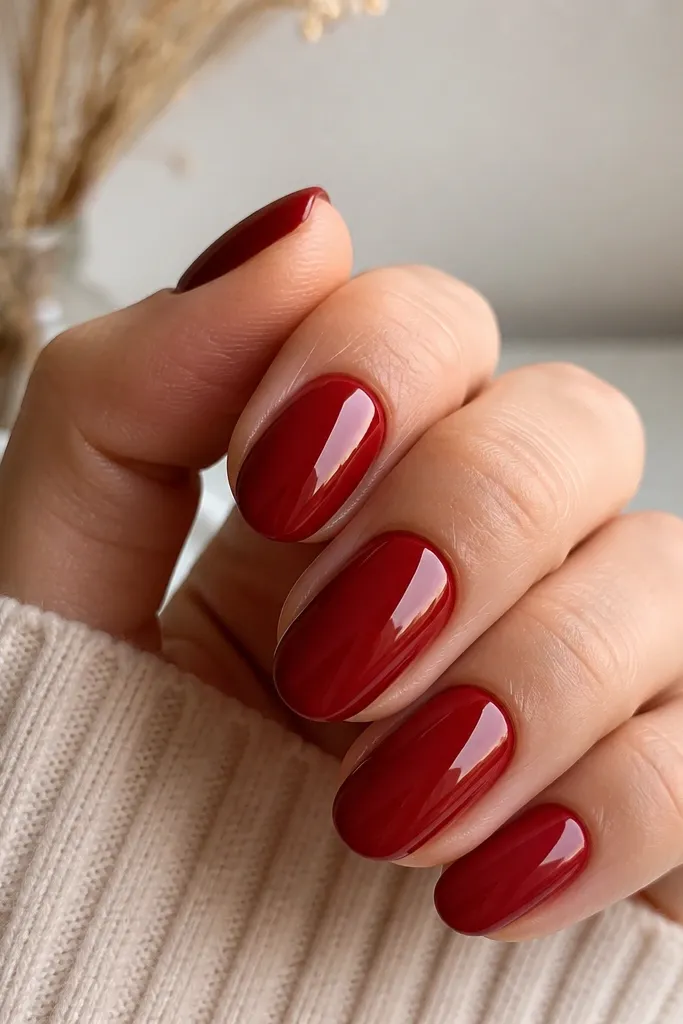
This look is the whole point of why deep cherry red nails budget works: the color plus a really good top coat. When you build a glassy finish, the red looks deeper and smoother, even if you're using a basic polish. I do this when my hands look dry or my cuticles need a break from art. It also photographs well because the highlights are crisp.
Paint two thin coats of deep cherry red and make sure they level before you top coat. Apply a thicker top coat layer, then after 2-3 minutes add a second thin top coat just to even the surface. Cap the free edge and avoid flooding the cuticles.
Editor's noteIf your top coat floods the sides, wipe the brush on the bottle rim and pull it through the center of the nail only.
Watch outAvoid skipping a second top coat; one layer often looks flat on deep reds.