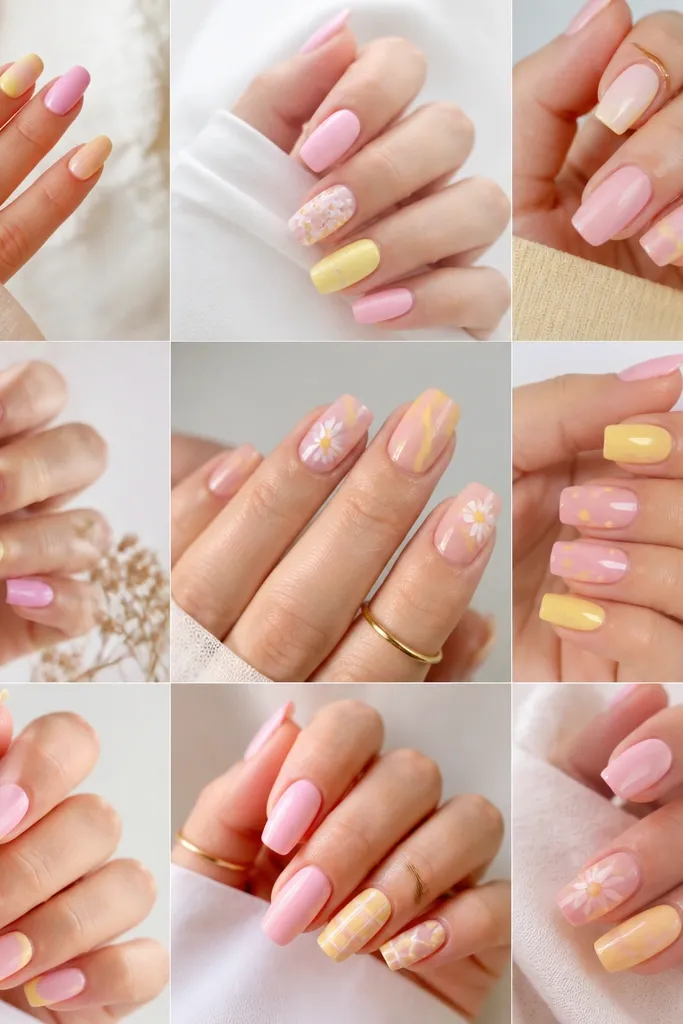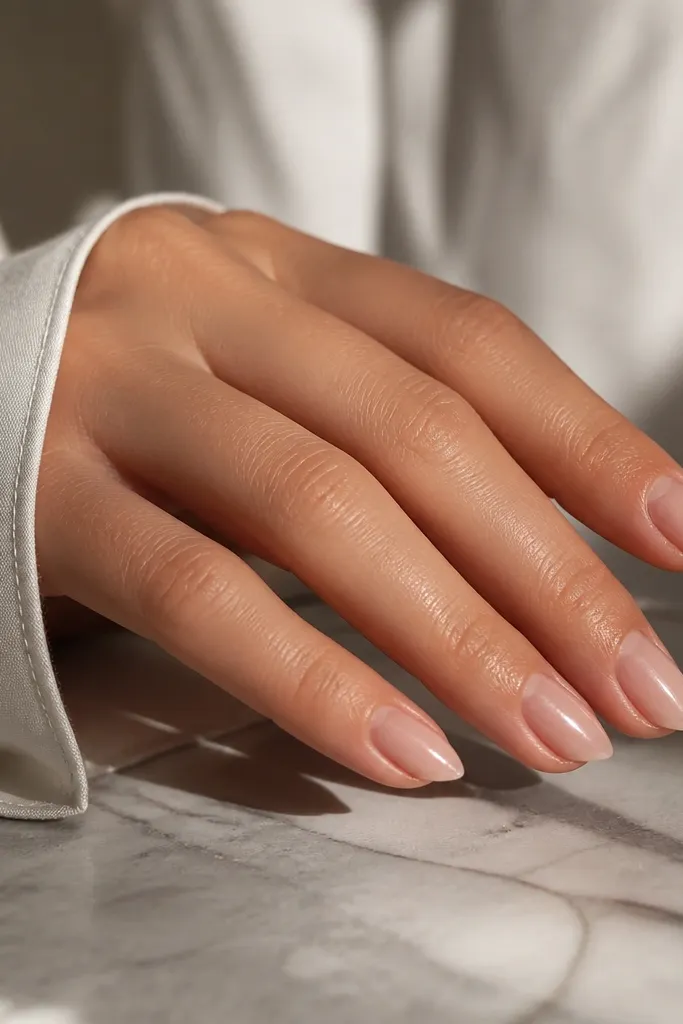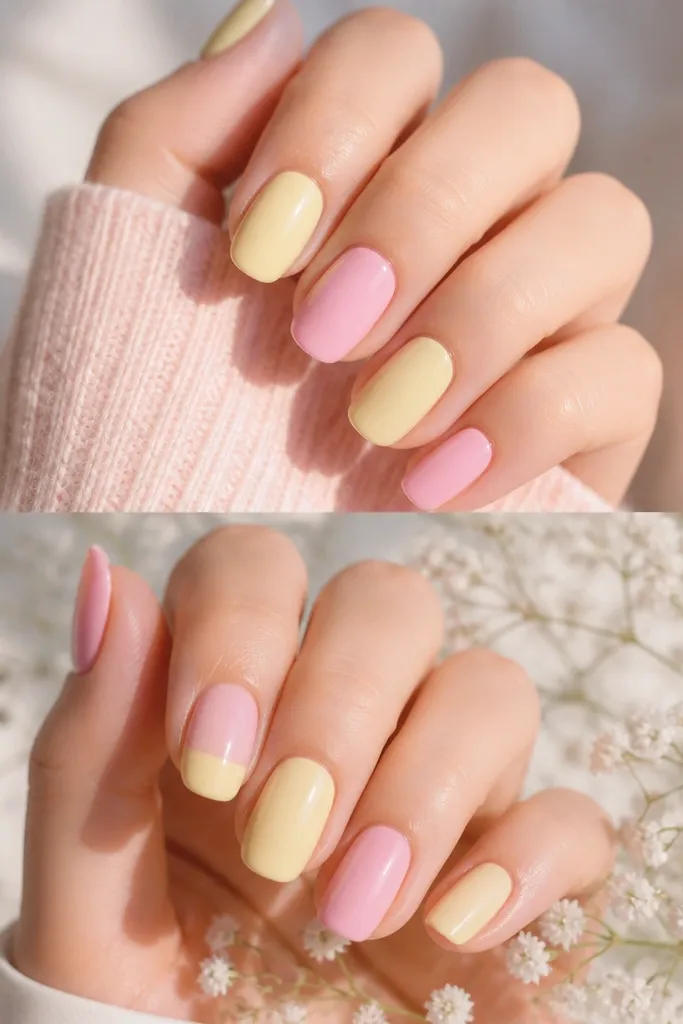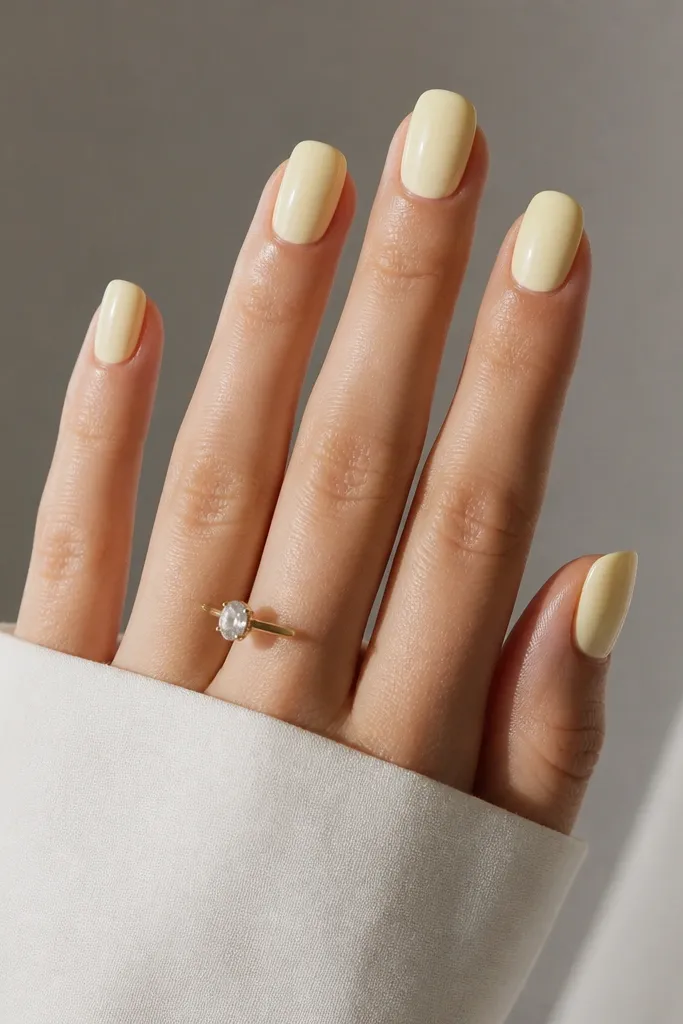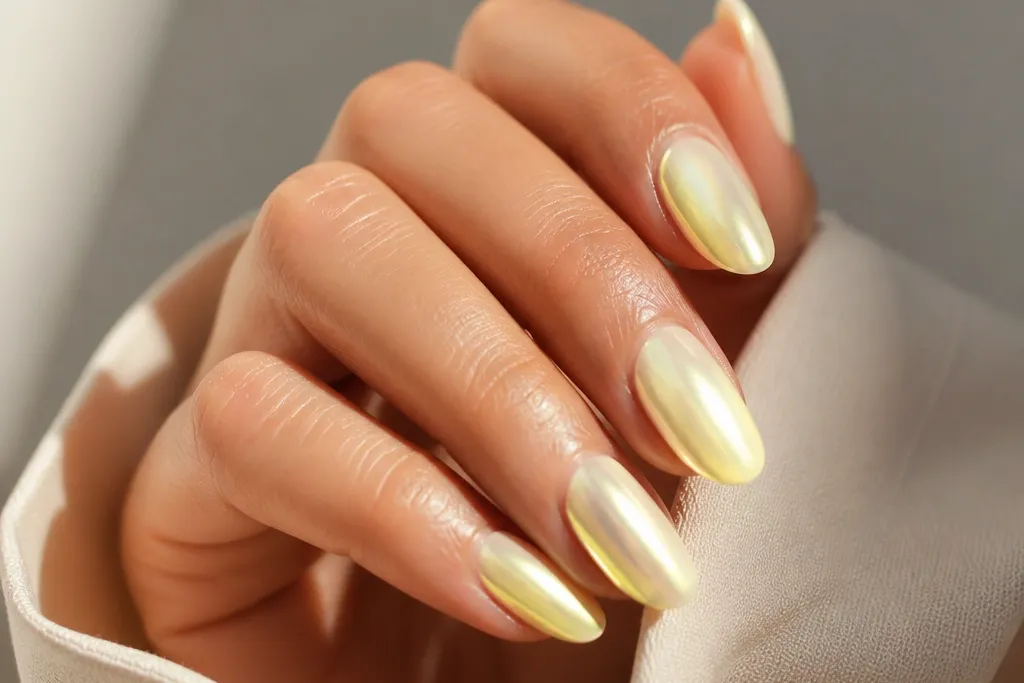
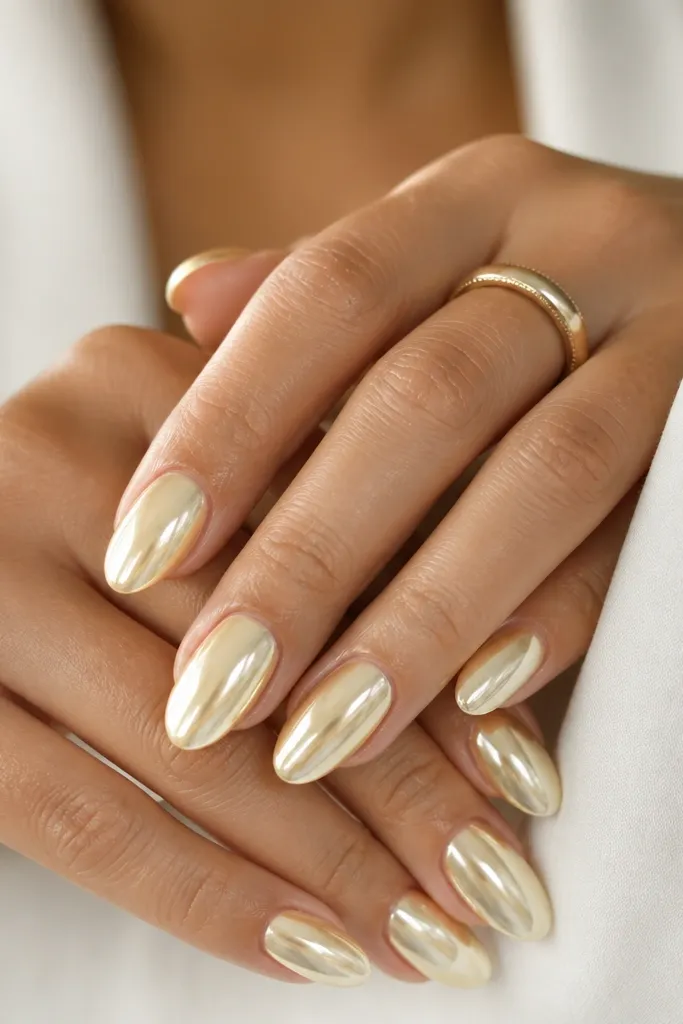
1. Milky Lemon Mirror on Soft Almond
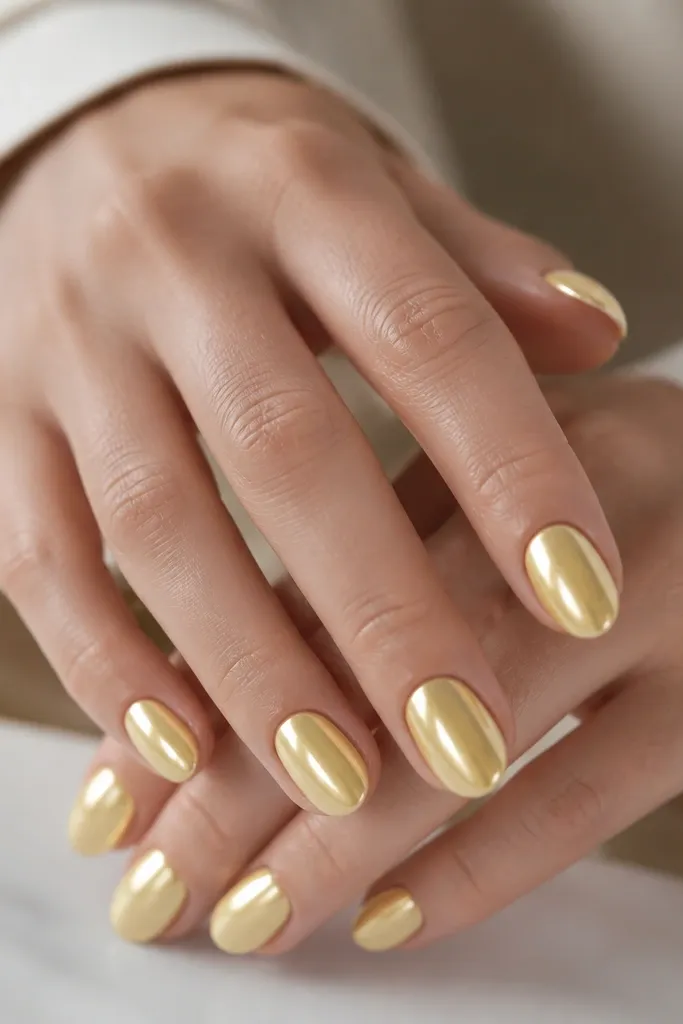
This is my "default repeat" look. The milky lemon base keeps the yellow light and clean, and the mirror chrome makes it look freshly polished even after a week. Full coverage keeps the color consistent, so your nails read as one bright set instead of patchy yellow spots.
File to soft almond with a gentle sidewall curve, keeping length around 3-4 mm past the fingertip. Apply the milky pale yellow gel base in one smooth coat, cure fully, then apply mirror chrome powder with a sticky gel layer. Buff off excess powder lightly so the surface stays mirror-smooth.
Editor's noteAfter sealing, swipe a thin top coat over the free edge and cure with extra attention - it helps prevent chrome wear at the tips.
Watch outDon't use a transparent butter-yellow base - it makes the chrome look uneven and patchy.
2. Butter Yellow Chrome French Tips
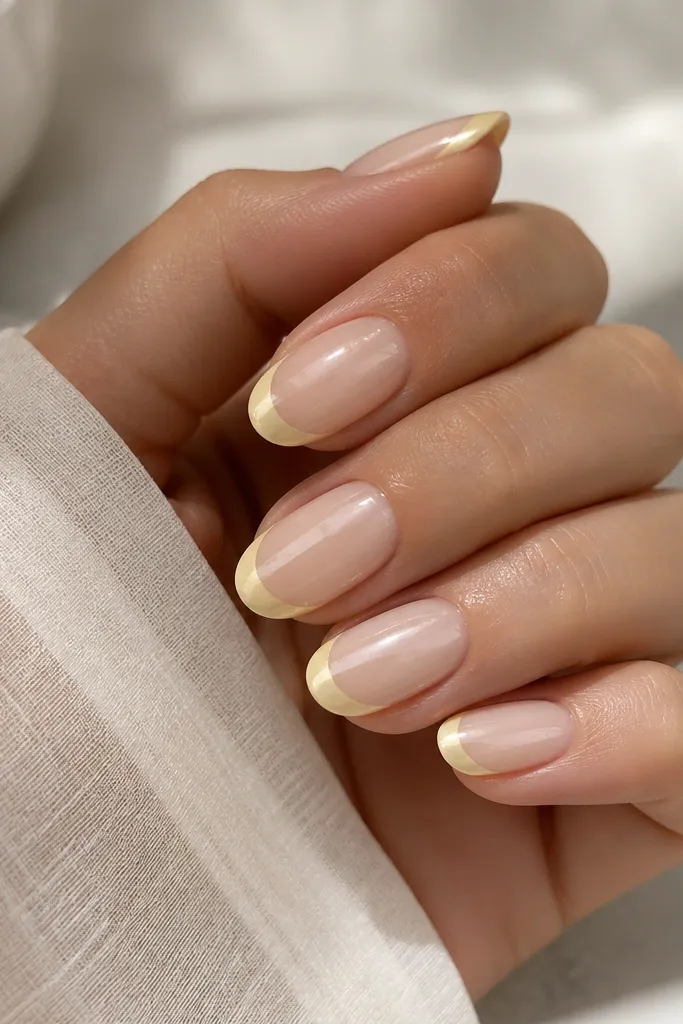
The French layout keeps the look wearable even if you're not ready for all-over color. Light yellow chrome on just the tip reads like a highlight, and the sheer base keeps it airy. The contrast makes the chrome pop without overpowering your whole hand.
Start with a sheer milky nude or milky white base. Paint French tips with a warm butter-yellow gel, cure, then apply mirror chrome on the painted tip only. Keep the smile line thin - about 1/8 of the nail width - for a clean edge.
Editor's noteUse a guide strip or a French liner brush so the chrome tip stays even across all nails.
Watch outDon't make the French tip too thick - wide chrome tips turn into a blocky look quickly.
3. Sunbeam Chrome Half-Moons
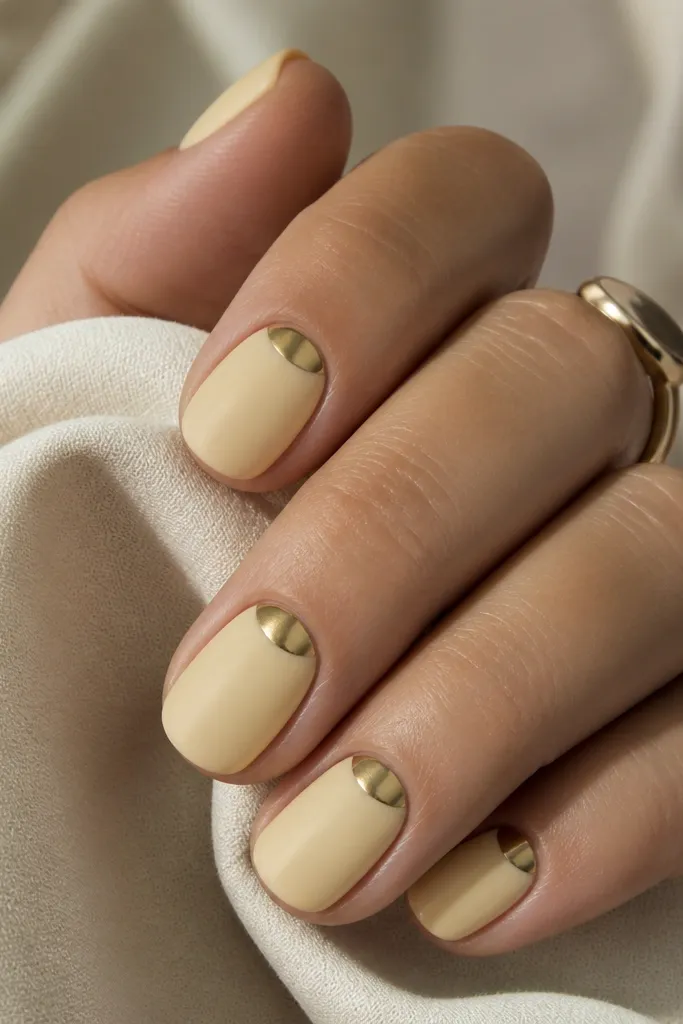
Half-moons give you that "jewel detail" without covering the whole nail. I like leaving the rest satin because it makes the chrome half-moon feel intentional instead of loud. The cuticle area catches light first, so your hands look bright when you move.
Use a milky pale yellow base, cure, then top it with a satin finish (or apply a satin top coat). With a fine brush, stamp or paint a half-moon shape in deeper warm yellow gel at the cuticle. Apply mirror chrome powder only on the half-moon and seal carefully with a thin coat around the edges.
Editor's noteKeep the half-moon a little higher on the sides so it matches your natural nail curve.
Watch outDon't chrome right up to the skin - leave a hairline gap so it won't lift.
4. Light Yellow Chrome Ombré Glow
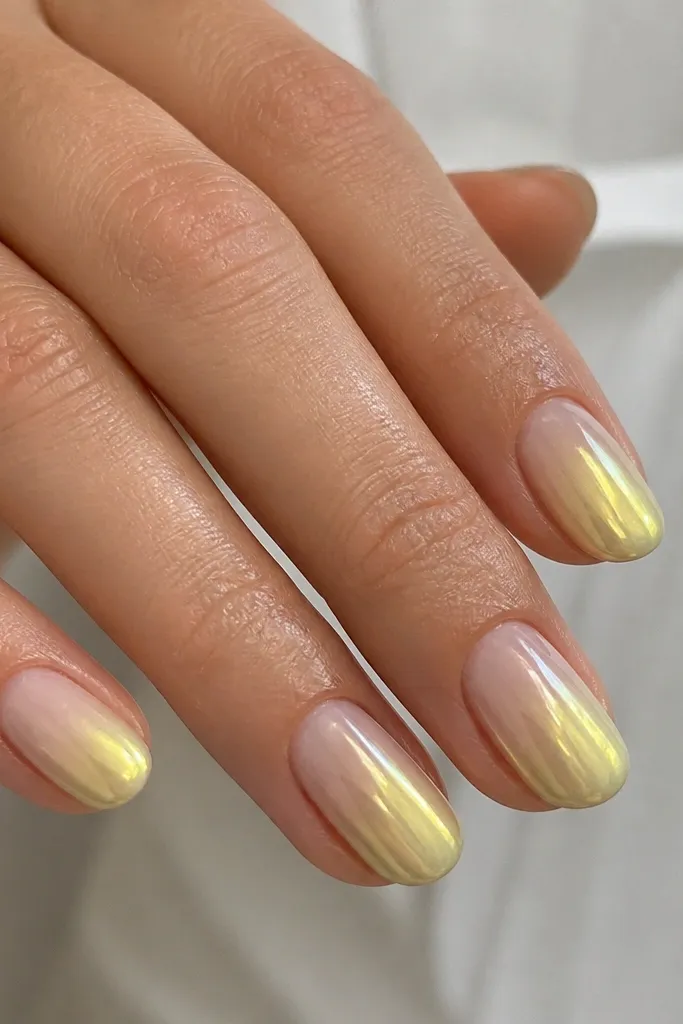
An ombré makes chrome feel softer and more expensive. The light yellow intensity ramps up where your hand naturally shows the most movement - near the tips. It also hides minor imperfections because the fade blends out any uneven base.
Paint a sheer milky base first. Sponge a warm pale yellow gel from mid-nail to tip, then cure. Apply chrome only on the yellow portion (mid to tip) with a sticky layer, and buff off excess so the fade stays smooth.
Editor's noteUse a makeup sponge and tap lightly 5-6 times - dragging the sponge creates hard lines.
Watch outDon't chrome the entire nail - full coverage turns ombré into a flat block.
5. Chrome Dot Confetti on Pale Yellow
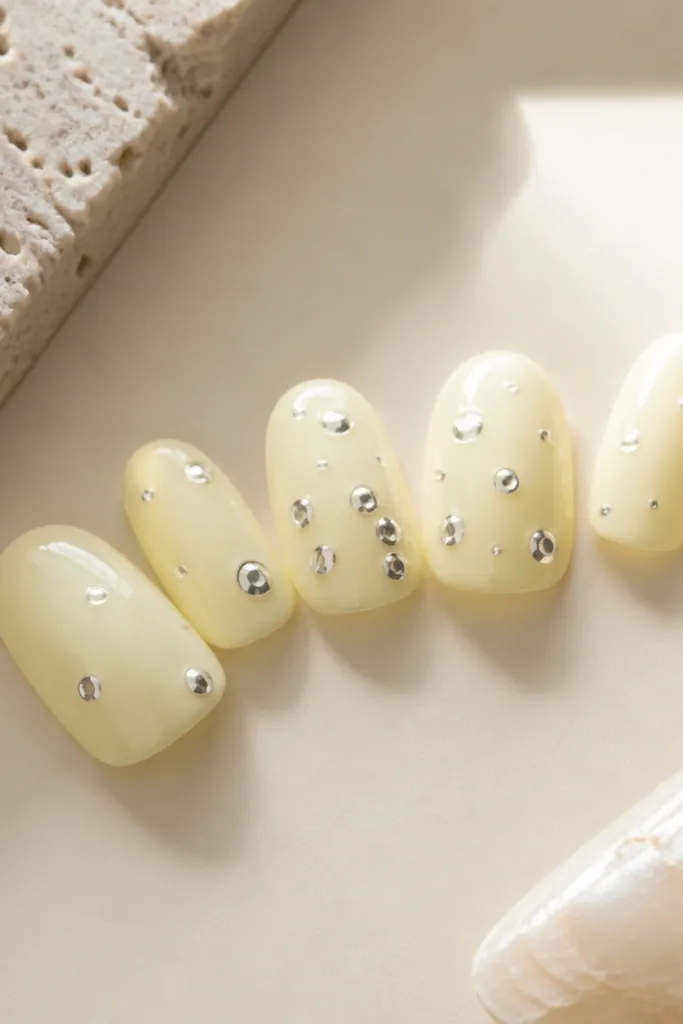
This one is for days you want chrome but not full coverage. The tiny reflective dots look like light catching on jewelry beads. I keep the base milky so the dots stay crisp and don't sink into a streaky yellow.
Start with the milky pale yellow base and cure. Apply a thin sticky gel layer only where dots will land (use a small brush or stamping plate). Dab mirror chrome powder onto each dot area, then seal with a thin top coat that won't blur the dots.
Editor's noteMake dot sizes different on purpose - 3 tiny dots, 2 medium, 1 larger per nail looks natural.
Watch outDon't use the same dot spacing on every nail - it looks too manufactured.
6. Citrus Chrome Aura Around the Cuticle
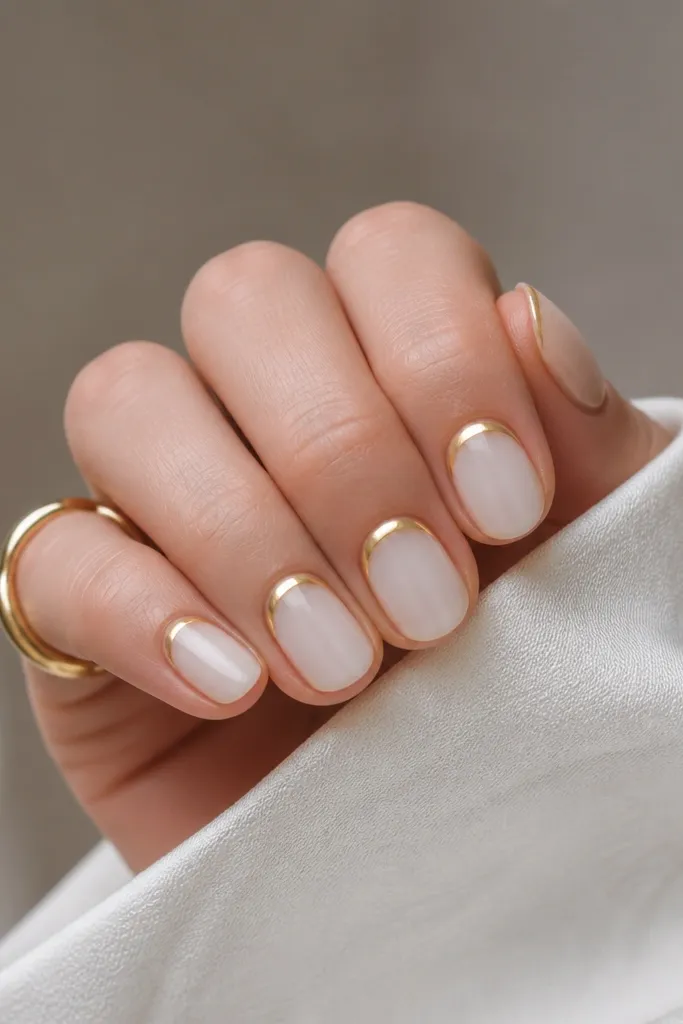
Aura nails create a glow effect without stripes. The chrome ring gives you a "halo" that looks flattering on short nails because it frames the nail bed. The satin rest keeps it clean and modern.
Use a sheer milky base and cure. Sponge a warm light yellow gel around the cuticle in a soft circle, cure, then add sticky gel only within the aura ring. Apply mirror chrome powder on the aura ring and leave everything else satin or apply a satin top coat after chrome is secured.
Editor's noteUse a small sponge tip for the aura so the ring stays round, not oval.
Watch outDon't over-thicken the aura gel - it makes the chrome ring look raised.
7. Light Yellow Chrome Marble Veins
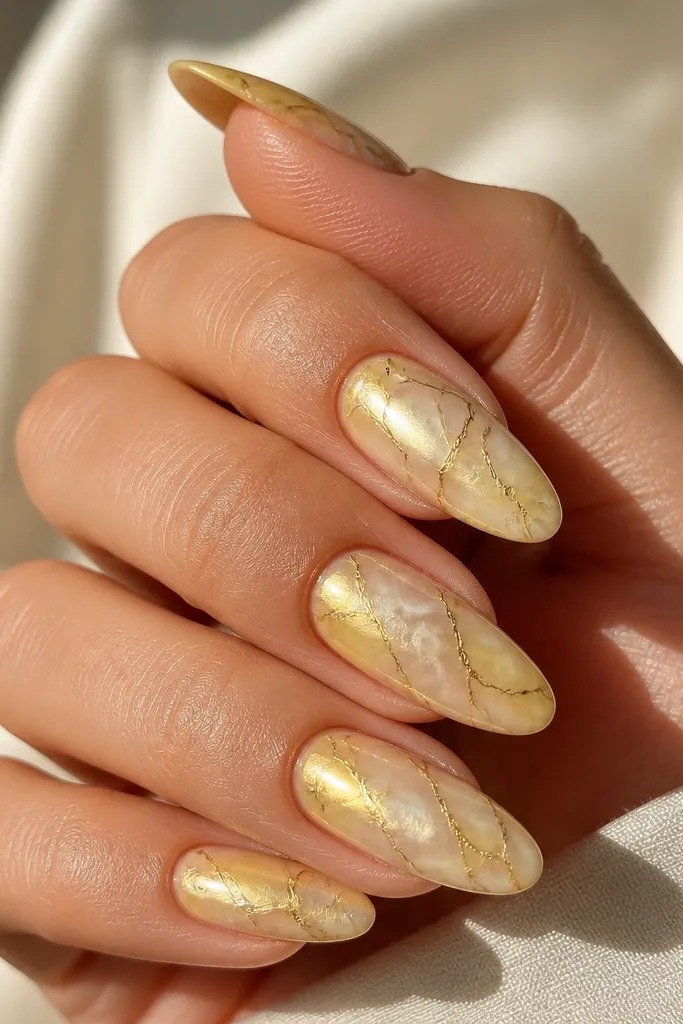
Marble veins give motion, and chrome on the veins makes it look like the lines are lit from within. I keep the base milky so the marble stays soft instead of muddy. The chrome only on the lines keeps the design airy and not busy.
Base: milky pale yellow gel. Veins: thin diagonal lines in white gel mixed with a tiny bit of yellow, cured after each thin layer. Add sticky gel only on the vein lines, apply mirror chrome powder, then seal with a careful thin top coat to avoid smearing.
Editor's noteDrag your brush through the vein once and stop - repeated strokes widen lines fast.
Watch outDon't chrome the whole marble - it turns into a dull yellow fog.
8. Sunrise Outline Chrome on Matte Yellow
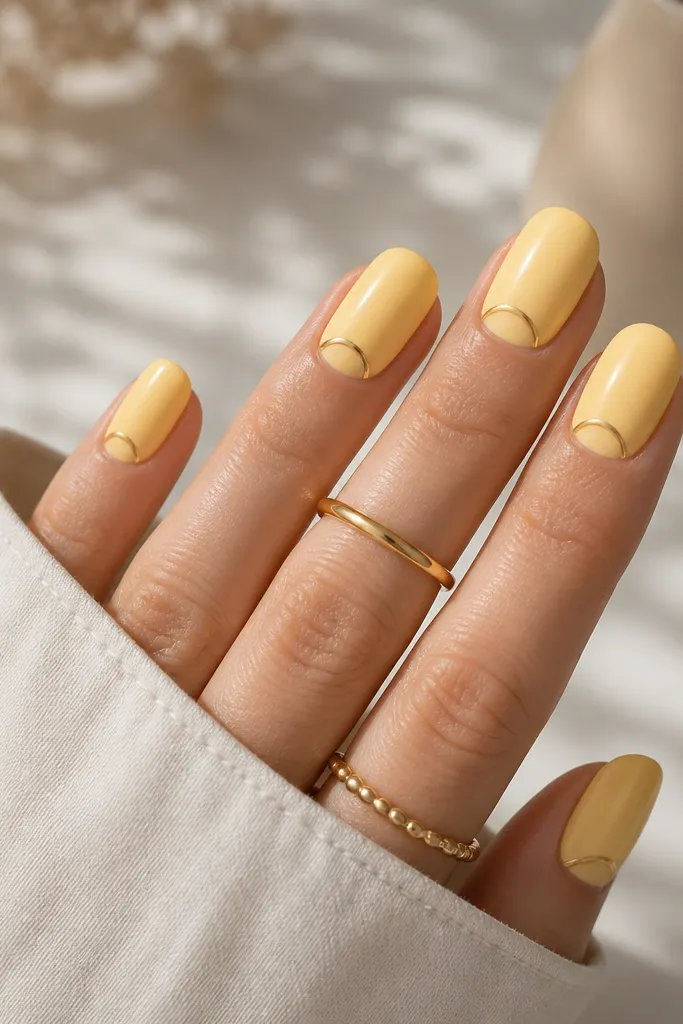
Outline chrome looks crisp and clean because chrome stays only where the eye expects it. Matte yellow underneath gives a soft, chalky color that makes the chrome arc feel like a line drawing. It's also easier to redo if you chip - the outline is separate.
Paint matte warm light yellow and cure. Add a thin arc near the tip using a gel liner brush, cure, then apply chrome only on that line. Seal with a matte top coat over everything except the chrome line area, then use a glossy top coat just on the outline if you want maximum shine.
Editor's noteKeep the arc about 1/6 of the nail length from the tip - too close looks like a stripe.
Watch outDon't use a thick paint line - thick chrome outlines look heavy and cheap.
9. Chrome Stained Glass Squares
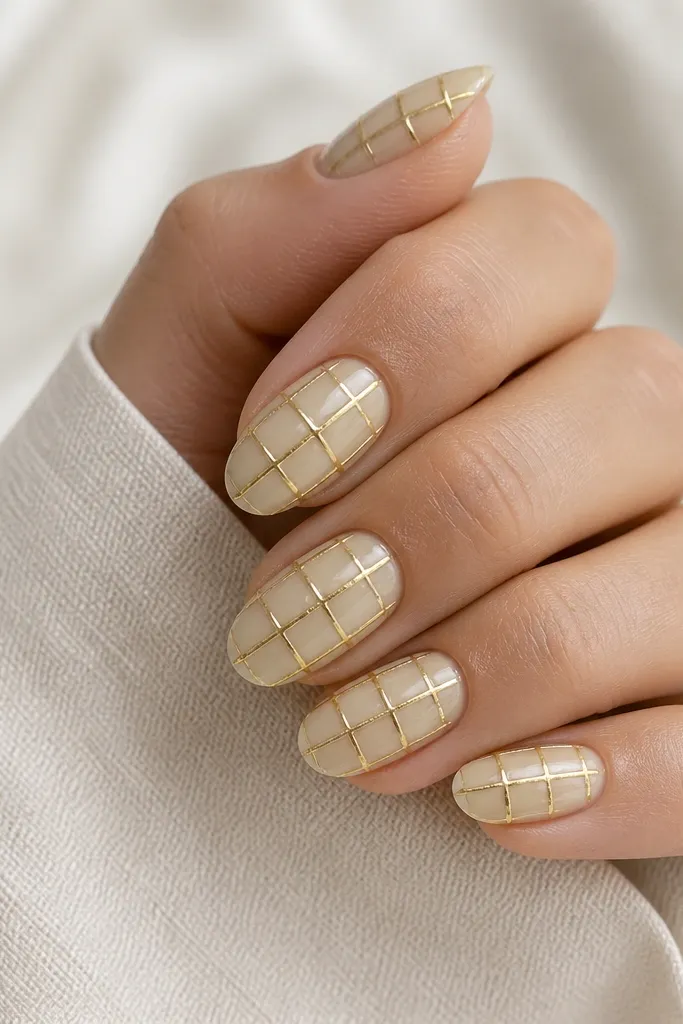
Stained glass nails look complex but they're just controlled lines. The translucent base lets light pass, and the chrome on the grid edges makes each panel glow. It reads "art" without needing big shapes.
Use a translucent milky pale yellow gel base, cure. Draw grid lines with a clear or slightly tinted gel and cure. Apply sticky gel along the grid lines only, then press mirror chrome powder onto the edges. Seal with a smooth top coat so the surface feels glassy.
Editor's noteMake the grid wider toward the center of the nail - it keeps short nails from looking cramped.
Watch outDon't draw the grid too close to the cuticle - it lifts faster there.
10. Light Yellow Chrome Skittles on One Hand
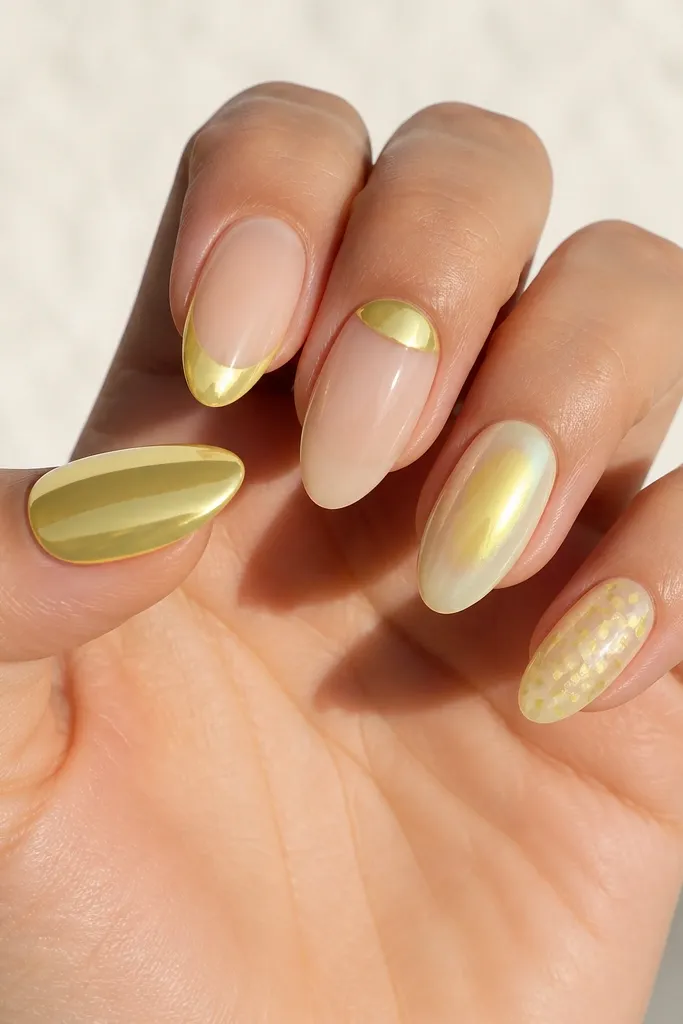
This is the repeat strategy I use when I'm bored of one style but I still want the same color story. Keeping every nail in the same warm light yellow family makes it look intentional even when the layouts change. It also helps you figure out which layout you wear the most.
Pick one base: milky pale yellow. Then apply five different chrome placements using mirror chrome powder and sticky gel. Keep shapes consistent across nails - same length and rounded or soft almond - so the differences read as design, not mismatch.
Editor's noteMatch the chrome finish (mirror) across all nails so the hand looks cohesive in photos.
Watch outDon't mix cool yellow and warm yellow - the set starts looking off.
11. Pearl Chrome Lemon Shift
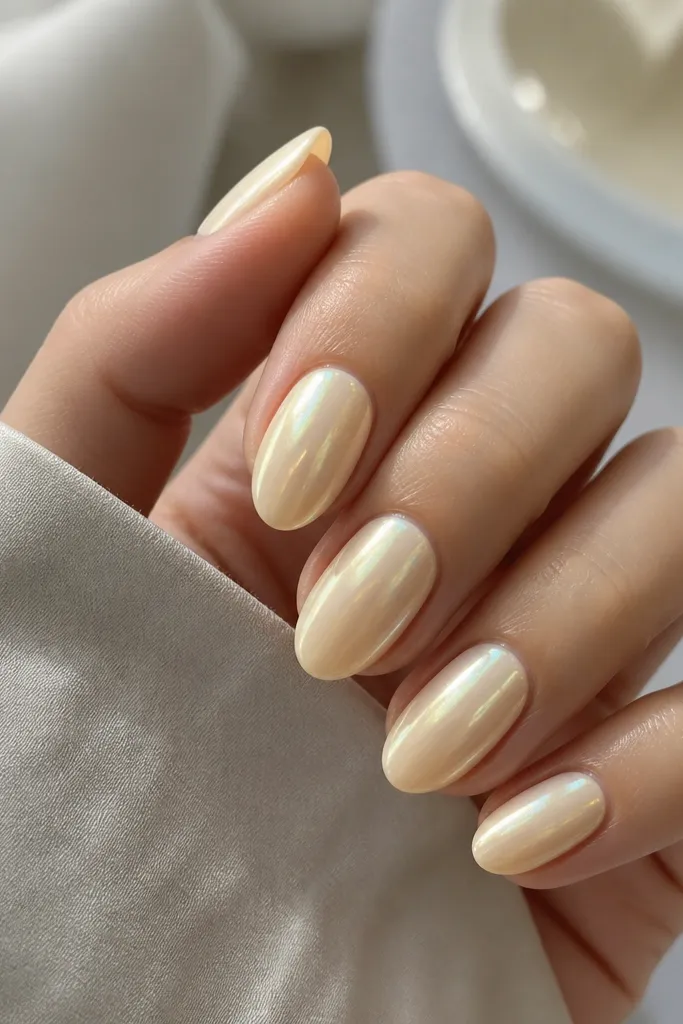
Pearl chrome is my choice when I want light yellow nails that look expensive but not loud. Mirror chrome can look too intense in office lighting; pearl chrome stays subtle and still photographs well. The glow makes your nails look smooth even if your base isn't perfectly even.
Use a milky pale yellow base and cure. Apply pearl chrome powder with a sticky gel layer, then buff lightly to remove excess. Finish with a thin top coat that keeps the pearl effect - too thick and it dulls quickly.
Editor's noteTilt your hand under indoor lights before sealing. If it looks too flat, add a second thin chrome layer only on the center.
Watch outDon't use a super white base with pearl chrome - it makes the yellow read washed out.
12. Chrome Nail Line Center Stripe
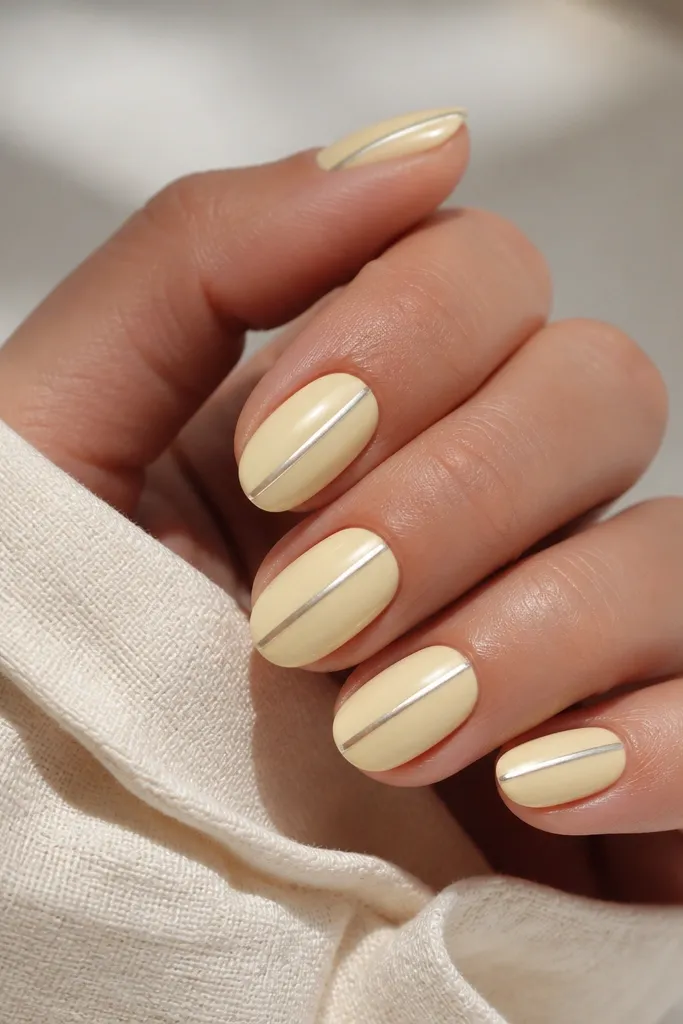
A center stripe makes nails look longer and cleaner, especially on short lengths. The chrome line catches light every time your hand moves, so the design feels lively without adding clutter. I like keeping the rest of the nail satin or soft gloss so the stripe is the focus.
Base: milky pale yellow in one smooth coat. Add a thin vertical stripe with a gel liner brush, cure, then apply sticky gel on just the stripe and press mirror chrome powder onto it. Seal with a top coat that doesn't flood the stripe edges.
Editor's noteUse nail guides or a steady finger rest when painting the stripe. A slightly off-center stripe shows immediately.
Watch outDon't make the stripe wider than 1/10 of the nail width - it turns into a block.
13. Light Yellow Chrome Halo Glitter Fade
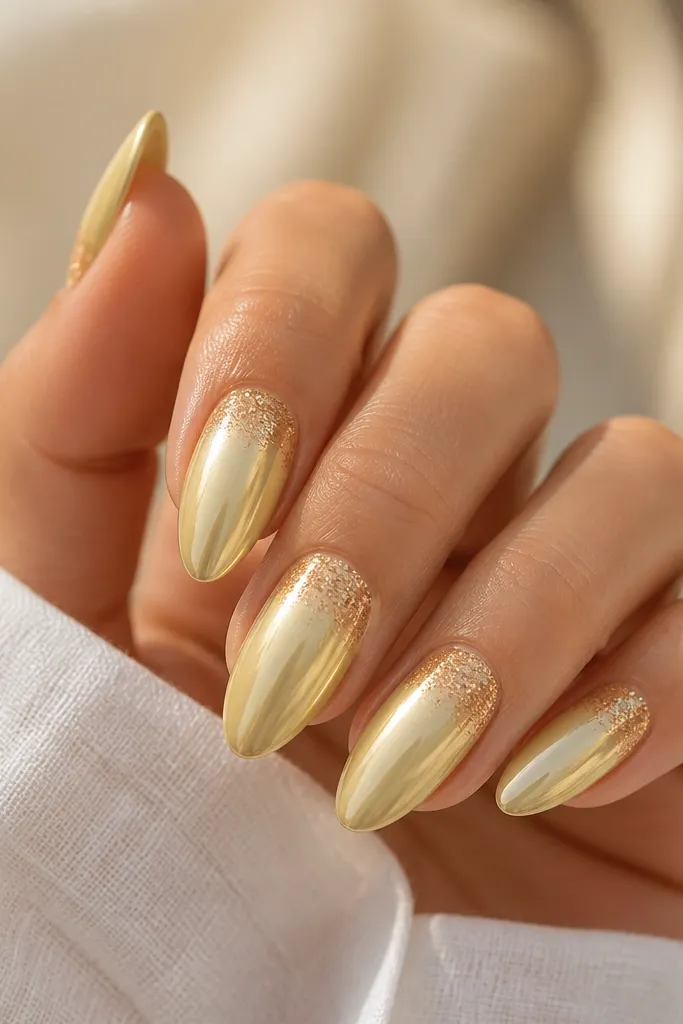
This blends sparkle and shine in a way that still looks neat. The halo glitter looks like a dusting of light around your nail bed, while the mirror chrome at the tip gives that punch. The smooth center keeps it from looking chaotic.
Base: milky pale yellow. Apply a thin gel around the cuticle and add fine pale yellow glitter, cure. Then apply a sticky layer from mid to tip and press mirror chrome powder there. Seal with a top coat that covers the glitter and keeps the chrome intact.
Editor's noteUse ultra-fine glitter (the kind that looks like sugar) so it doesn't texture your top coat.
Watch outDon't pile glitter too thick at the cuticle - it catches on everything.
14. Chrome Cuticle Cuff with Clear Base
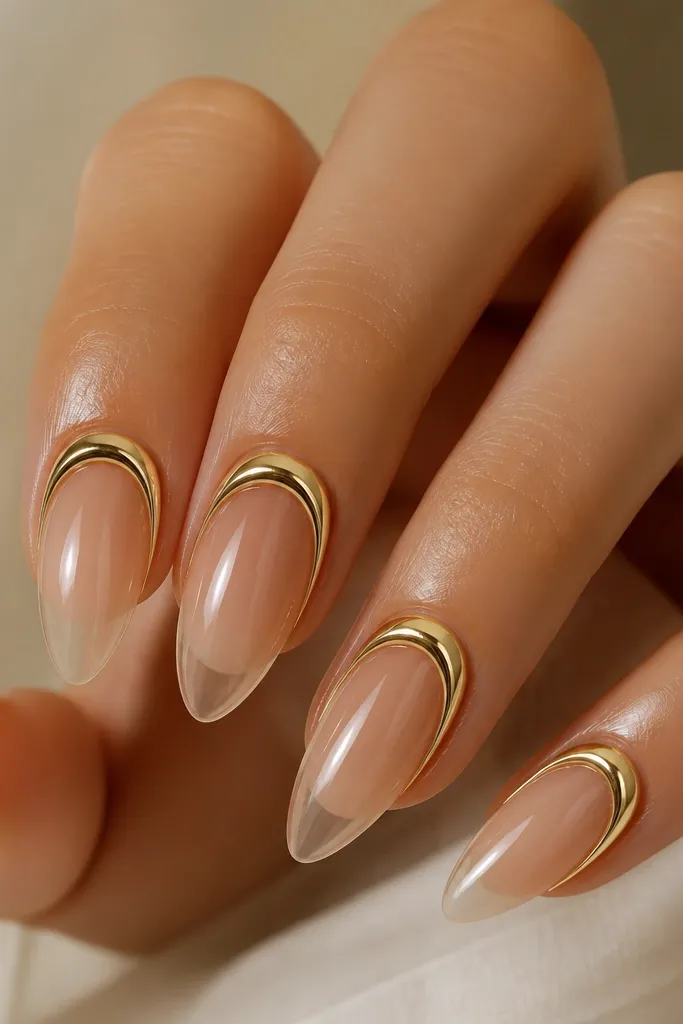
This look is clean and slightly edgy because it frames your nail bed instead of filling the whole nail. The chrome cuff makes your cuticle area look intentional and bright, and the sheer base keeps it airy. Light yellow chrome works well here because it doesn't look harsh like silver.
Start with a sheer nude or clear gel base. Paint a thin curved band at the cuticle with warm light yellow gel, cure, then apply mirror chrome powder only on that band. Seal and keep the top coat thin so the cuff stays sharp.
Editor's noteLeave a tiny gap between cuff and skin line. It helps lifting stay slower.
Watch outDon't extend the cuff down the sides too far - it makes the nail look wider than it is.
15. Matte Pale Yellow with Chrome Tip Cap
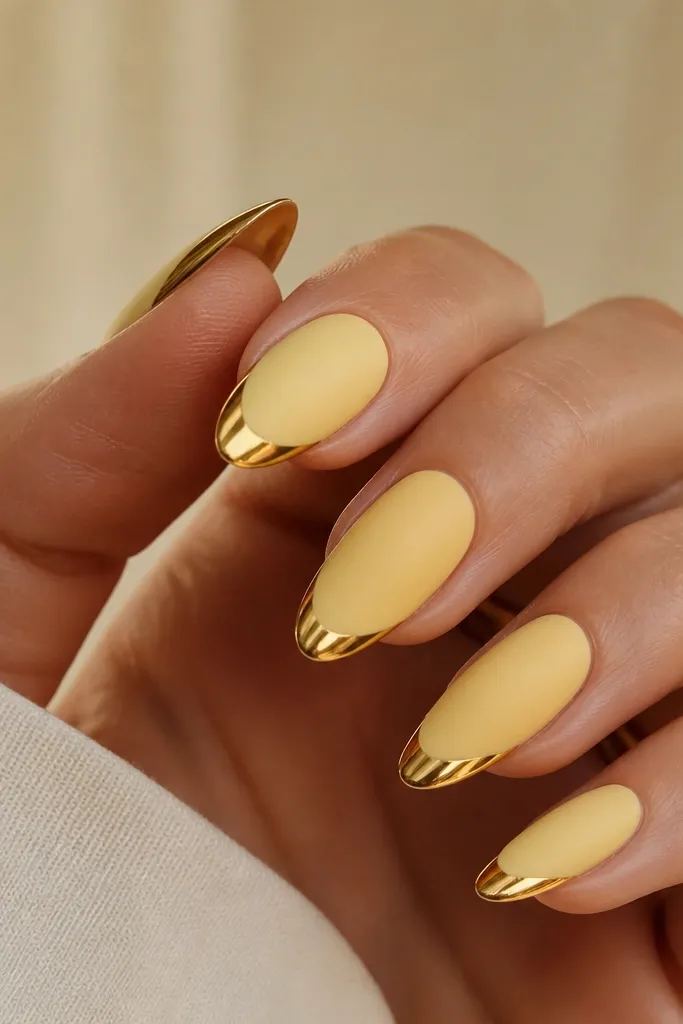
A chrome cap makes the nail feel like a manicure detail, not a full color job. Matte keeps the yellow soft and flattering, and the chrome cap adds a bright finish where your fingers catch light. It also hides minor tip wear because the cap is at the very edge.
Paint pale warm light yellow and cure. Apply a matte top coat over the whole nail. Then paint a small area at the very tip with sticky gel and press mirror chrome powder on just that area. Seal with a glossy top coat only on the chrome cap so it stays reflective.
Editor's noteKeep the cap smaller than you think. About 2 mm from the tip edge looks best on medium lengths.
Watch outDon't chrome over matte top coat - it can look cloudy and peel.
16. Light Yellow Chrome Swirl Accent
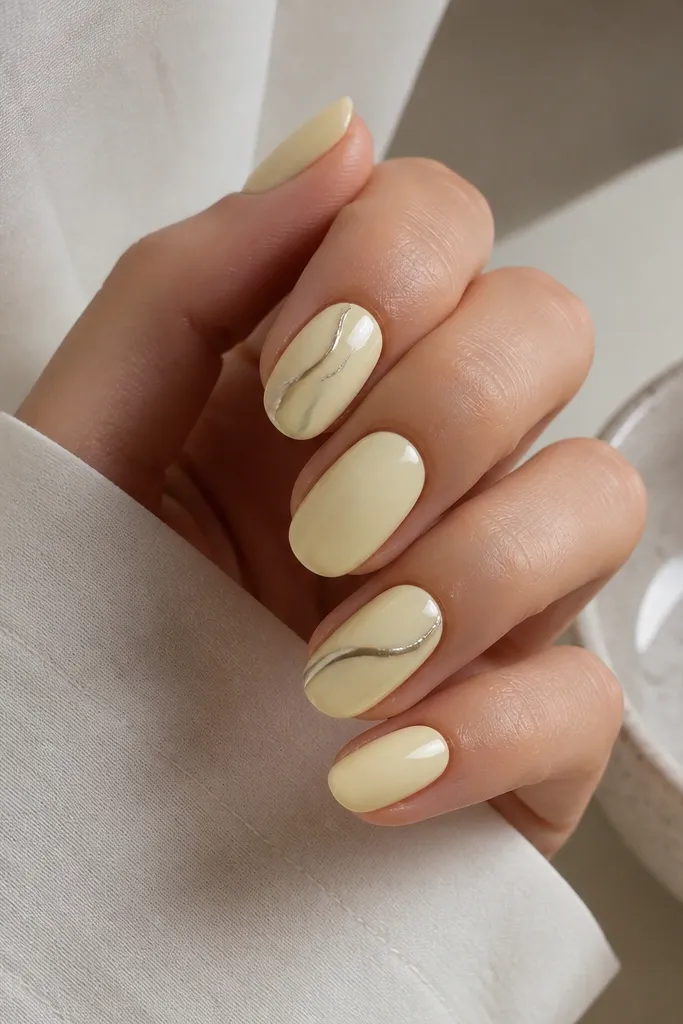
A single swirl gives you art without making the whole hand feel busy. The ribbon-like motion looks great on light yellow because the chrome line reads as sunlight. I pair it with plain nails so the accent stands out and looks intentional.
Base: milky pale yellow, glossy or satin. For the accent nail, draw a thin diagonal swirl using a gel liner brush and cure. Apply sticky gel only on the swirl path, press mirror chrome powder, and seal carefully so the swirl stays crisp.
Editor's noteMake the swirl start close to the center, not the cuticle. It looks more balanced on shorter nails.
Watch outDon't add multiple swirls on every nail - the set stops reading clean.
17. Chrome Confetti Micro-Foil on Pale Yellow
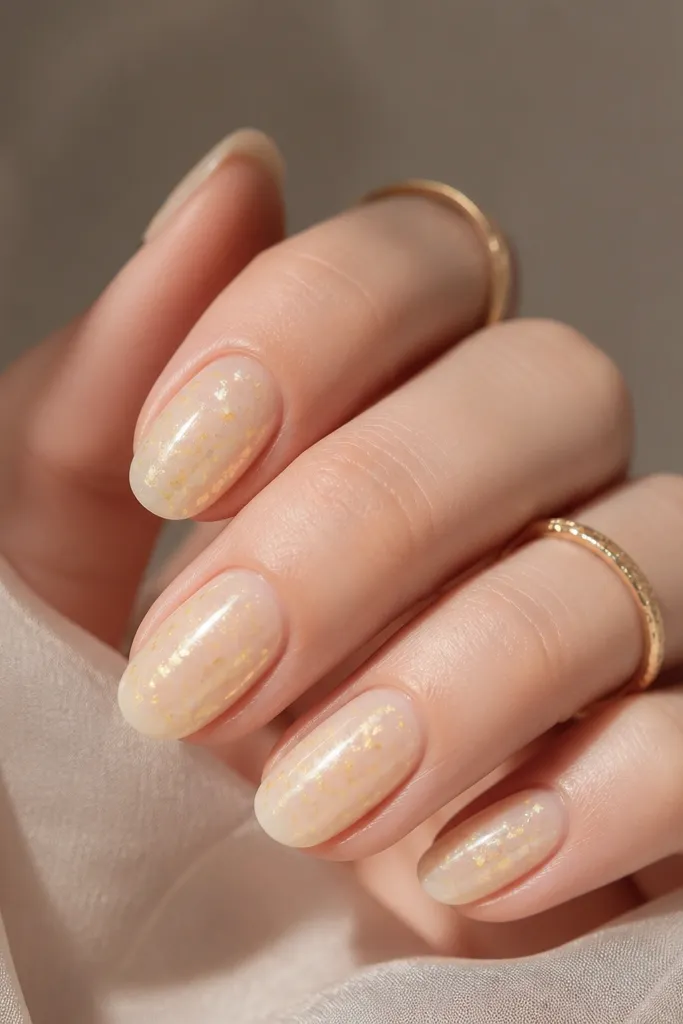
Micro-foil gives that "chrome but textured" look that still feels cute. It's forgiving if your base has slight imperfections because the foil catches attention. Light yellow foil reads warmer than silver, so it looks friendly instead of icy.
Base: milky pale yellow gel, cured. Apply a clear sticky layer in small patches, add micro-foil pieces, then press them down with a silicone tool. Seal with a top coat that has enough slip to smooth the surface without burying all the foil.
Editor's noteUse small foil pieces, not big chunks. Big chunks make the manicure feel bulky.
Watch outDon't seal too thick over foil - it dulls the shine fast.
18. Light Yellow Chrome Galaxy Speckle
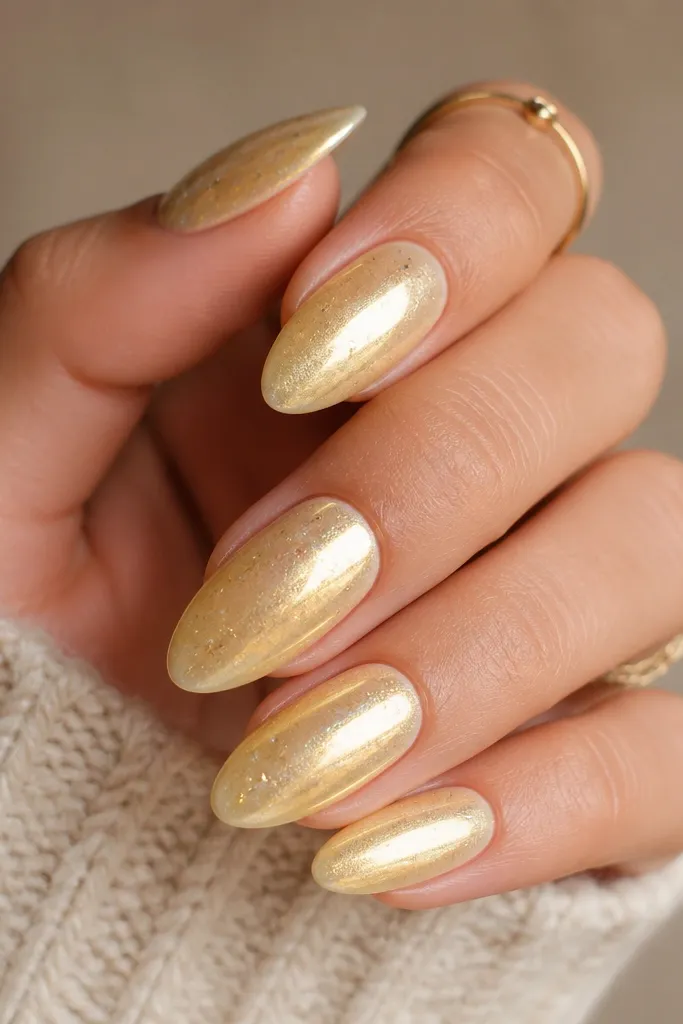
This is my "night-out but still soft" version. The speckles look like stardust, and because the base is light yellow, it stays warm and flattering. Chrome speckle also hides small chips because the sparkle breaks up the eye's focus.
Base: milky pale yellow gel. Apply sticky layer at the tip area and use a dotting tool or small brush to add chrome speckles. For best control, do two thin passes instead of one heavy pass. Seal with a thin top coat, focusing on the edges.
Editor's noteKeep speckles smaller than a grain of rice. If they're too big, it turns into chunky glitter.
Watch outDon't cover the entire nail with speckles - it becomes flat and loses the galaxy effect.
19. Chrome Glazed Donut on Light Yellow
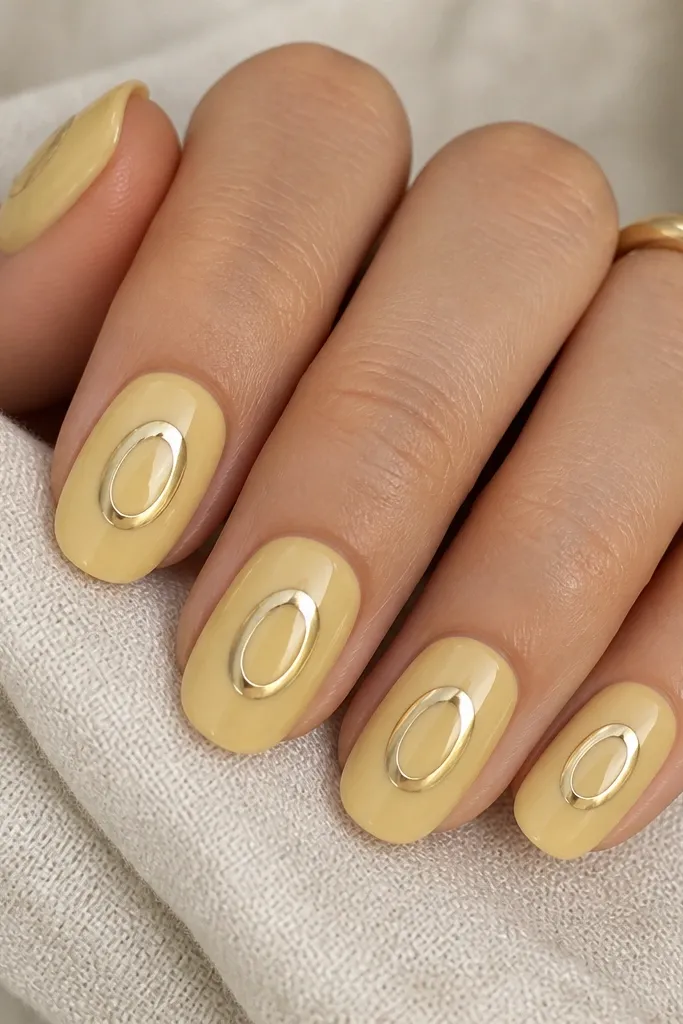
A donut ring is weird in the best way. It looks graphic, but the chrome loop still feels delicate because it's thin and reflective. Light yellow works here because the ring reads like a glowing outline rather than a harsh neon sticker.
Base: glossy milky pale yellow gel, cured. Draw a thin curved ring in warm yellow gel or directly in sticky gel, cure, then apply mirror chrome powder to the ring only. Keep the ring centered and leave a little space between the ring and the cuticle.
Editor's noteUse a small strip of tape as a guide for the curve. Remove it before curing the ring.
Watch outDon't make the ring too thick - thick rings look like stickers, not nail art.
20. Light Yellow Chrome Half-Split Diagonal
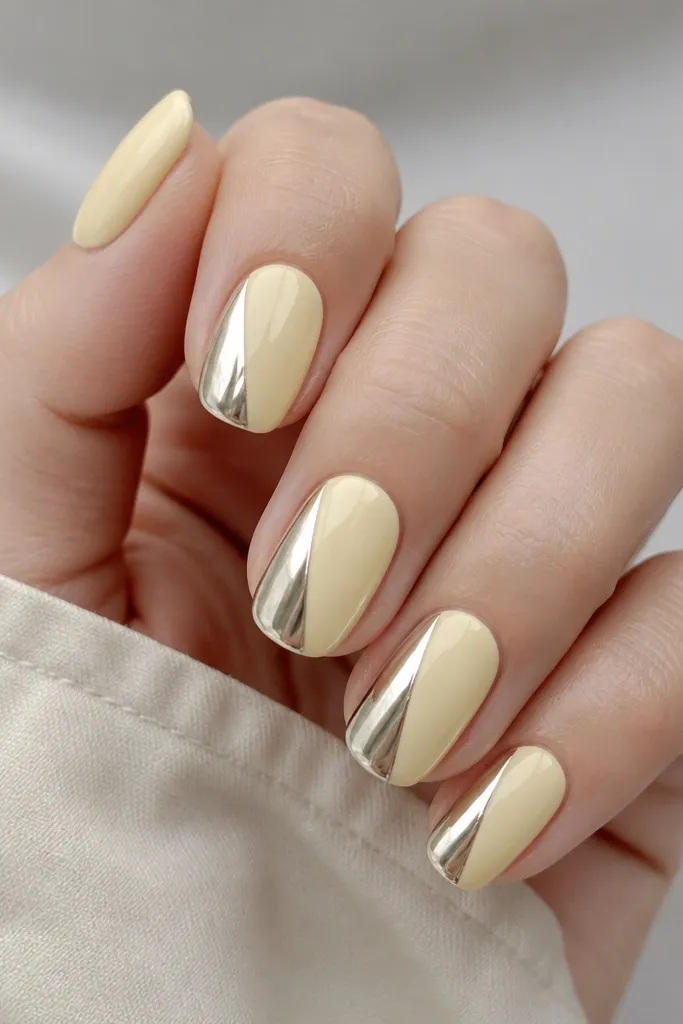
This diagonal split makes the manicure look sharp and modern without needing extra colors. The chrome side reflects hard light, while the glossy pale yellow side keeps it clean. I wear this when I want chrome to feel graphic instead of "all over."
Base: milky pale yellow glossy. Paint a diagonal line and block off one side with a thin gel layer, cure. Apply sticky gel on the chrome side only, then press mirror chrome powder onto that section. Seal with a thin top coat, avoiding smearing onto the non-chrome side.
Editor's noteKeep the diagonal line slightly thicker near the center - it looks intentional instead of shaky.
Watch outDon't rush the diagonal edge. Rough edges make the split look messy.