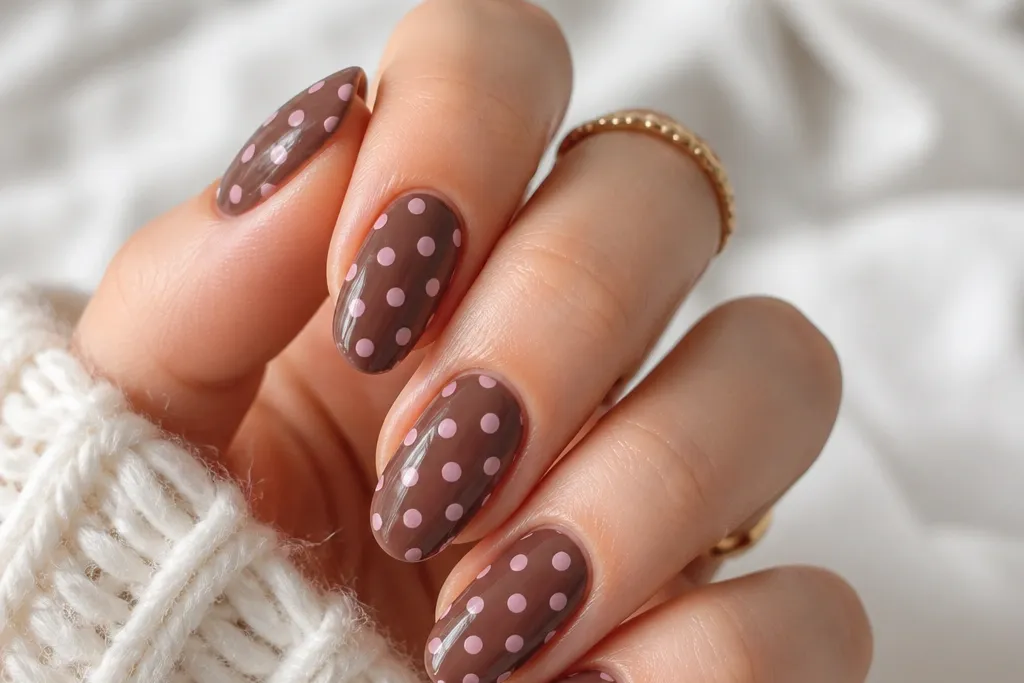
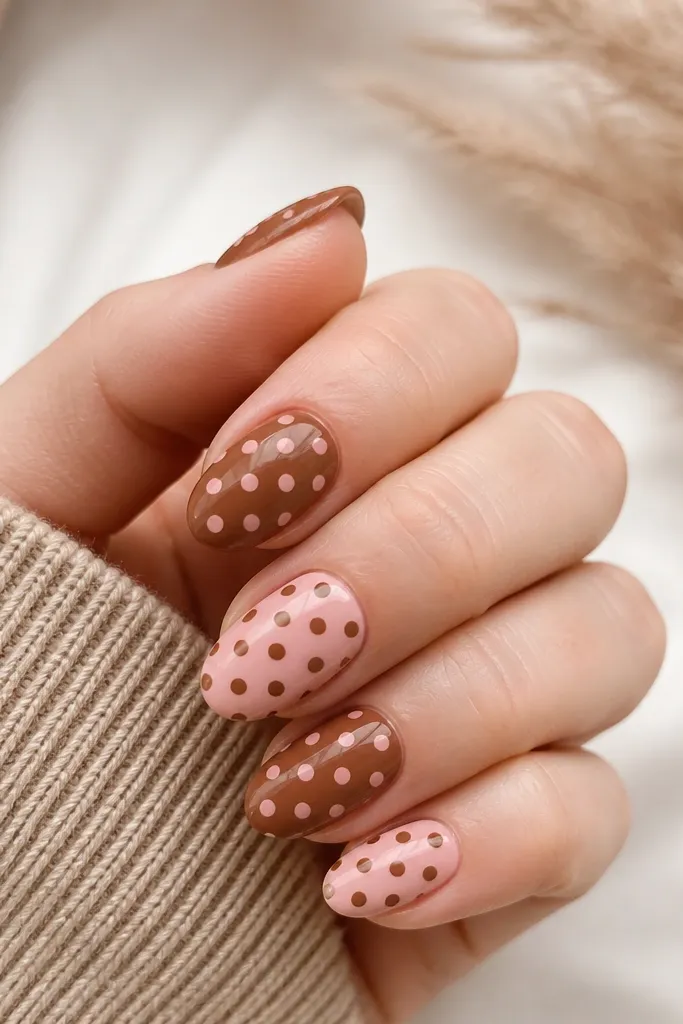
1. 3-dot blush cluster on a chocolate base
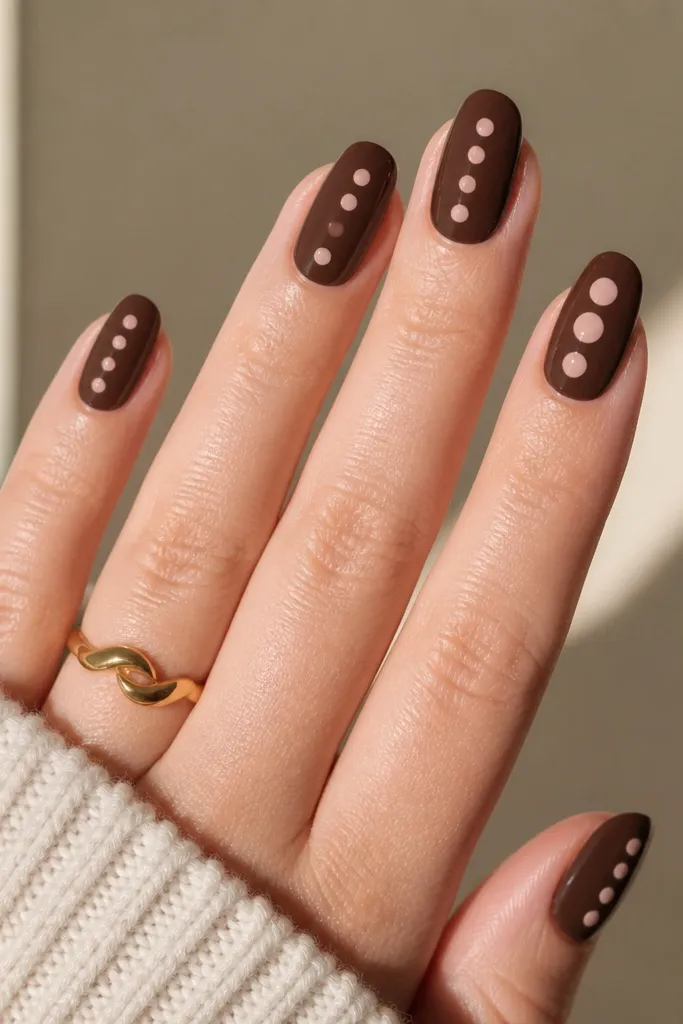
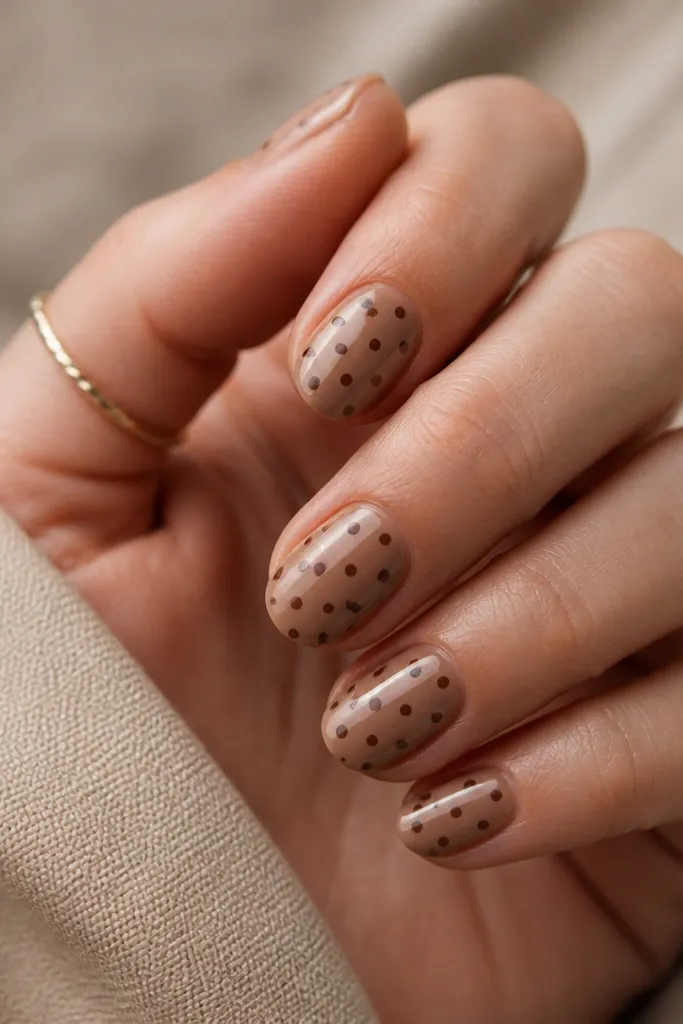
This is the easiest way to make polka dots look intentional. The brown gives warmth and depth, while the blush dots stay soft and wearable. Three dots per nail keeps your hand from getting cramped and makes placement forgiving. It looks good with short or medium nails because the pattern stays centered.
Use a small dotting tool tip for the first dot near the cuticle, then repeat at mid and near the tip. Keep the center line straight - I line it up visually with the nail's natural center ridge. On the accent nail, bump dot size just one step larger so it reads different without adding clutter.
Editor's noteIf your dots spread, your polish is too thin. Mix gel polish with itself (not thinner) or add a second brown coat so the surface is less tacky.
Watch outDon't drag the tool - dragging turns round dots into ovals that look messy.
2. Half-matte brown with glossy pink polka dots
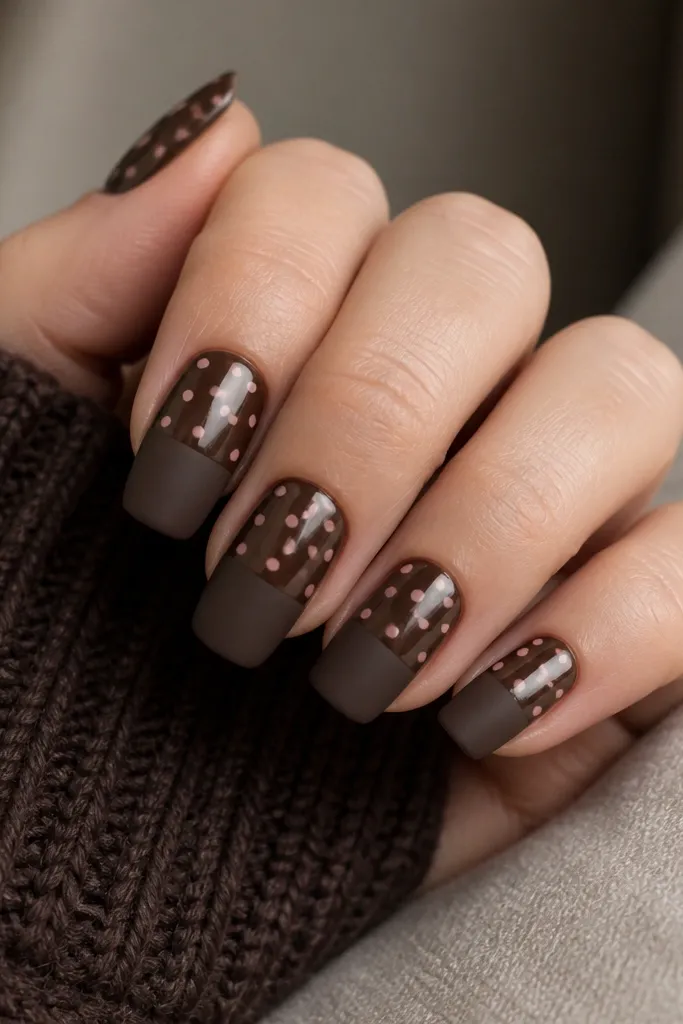
The texture contrast makes the dots look sharper without extra effort. Matte brown absorbs light, so the glossy pink dots pop more than they would on a fully glossy base. This design looks grown-up and still cute, especially for fall and winter outfits. It's also fast because you dot only the top section.
After your 2 coats of brown, apply matte top coat to the lower half by using a makeup sponge to press the matte area. Cure or let it set, then dot blush pink across the glossy portion only. Seal with glossy top coat over the dots only, leaving the rest matte.
Editor's noteUse painter's tape as a guide for the matte line if you want it perfectly straight.
Watch outDon't put matte top coat over the whole nail - it dulls the dots and makes them look flat.
3. Pink dots fade from cuticle to tip
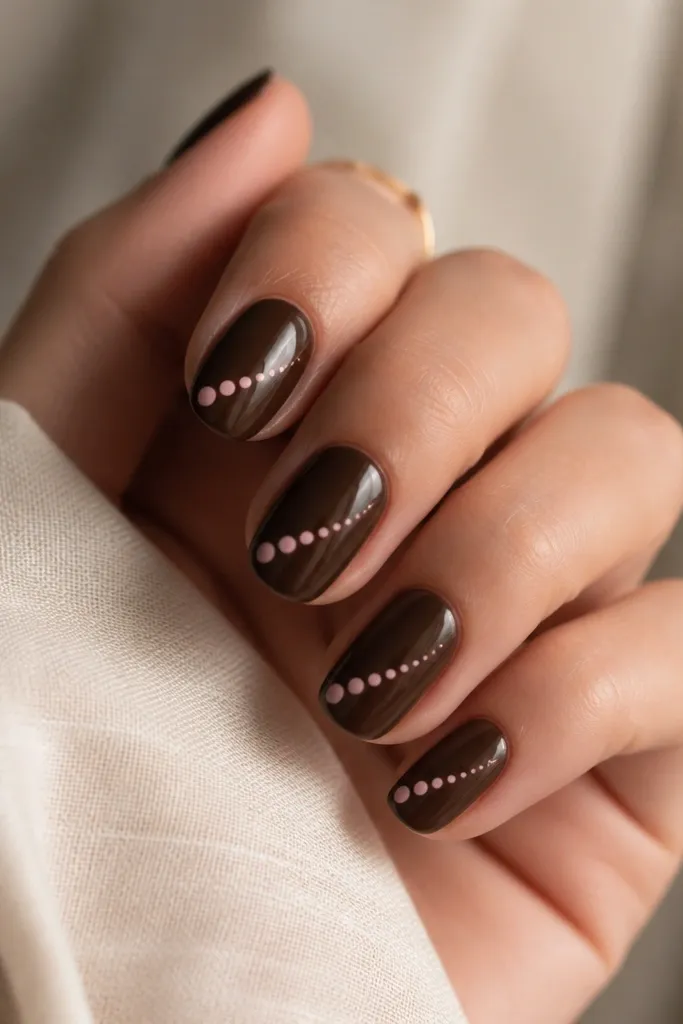
This gives you motion without needing stripes or complicated art. Larger dots near the cuticle frame your nail bed, and smaller dots near the tip look like a natural taper. The brown base keeps the fade from looking childish. It's a clean, modern version of polka dots.
Start with the biggest dot near the cuticle. Use a smaller dot size for the next dot, then step down again near the tip. Keep them in one diagonal line per nail so the fade reads smooth.
Editor's noteIf you only have one dotting tip, use a toothpick for the smallest dots and reload often.
Watch outDon't put equal-size dots from start to finish - that turns the design into random clutter.
4. Diagonal stripe with dotted cross accents
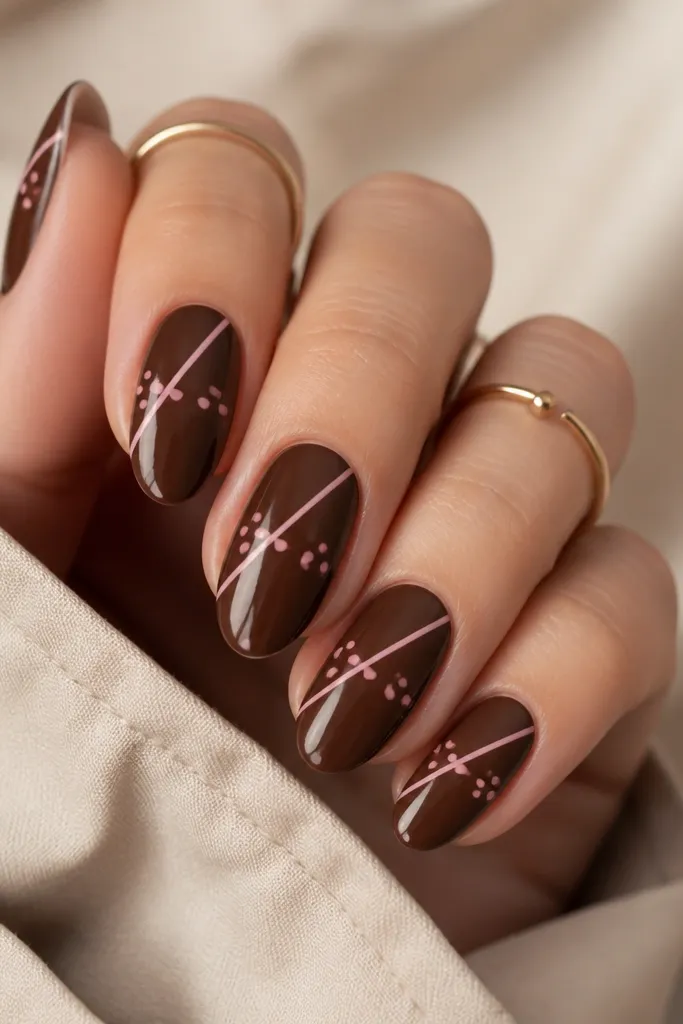
This one looks like you planned it, but it's still easy. The diagonal stripe gives structure, and the dots act like decoration around it. It's great when you want polka dots but your brain wants a "design anchor." Brown + blush stays soft and flattering.
Paint a diagonal blush stripe with a thin striping brush. Let it set, then place 3 tiny dots where the stripe passes the center. Add one extra dot near the sidewall so the pattern feels balanced.
Editor's noteWipe your striping brush on a lint-free pad before painting stripes - it prevents thick edges.
Watch outDon't overdo dots across the whole nail once you add the stripe.
5. Tiny white dots inside blush polka dots
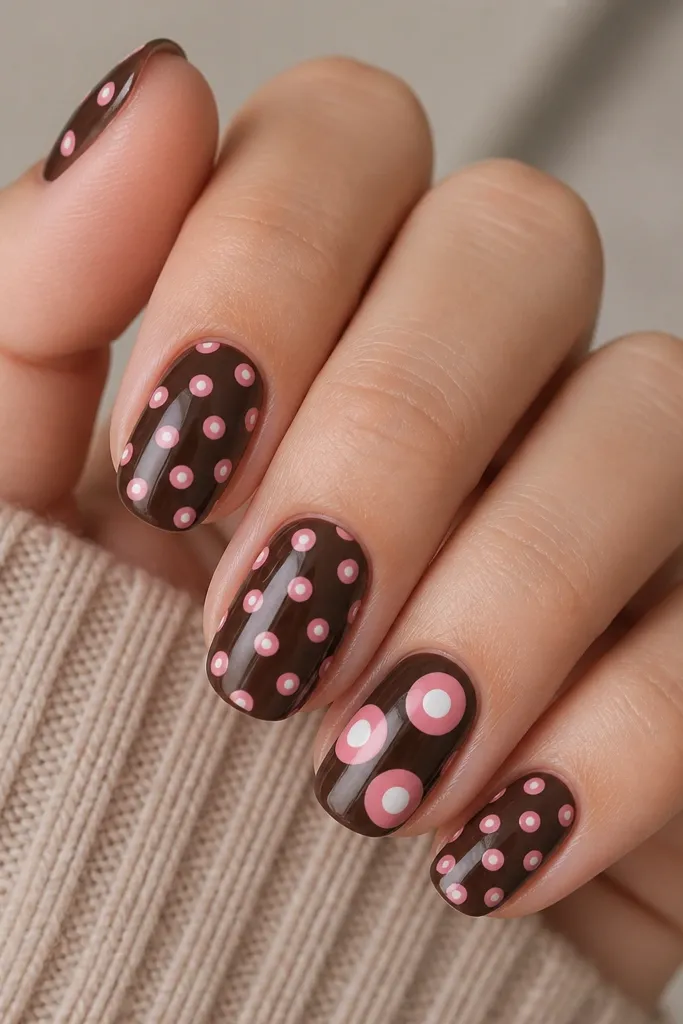
This makes the dots look dimensional and "clean," like candy-coated spots. The white center gives separation so the pink doesn't blur into the brown. It's the easiest way to add detail without painting hearts or flowers. It also photographs well because the center point catches light.
Let your blush dots fully set first. Then use the smallest dotting tip to tap a tiny white dot in the middle of 3-5 pink dots per nail. Keep the white centers small, about one-third the diameter of the pink dot.
Editor's noteIf the white bleeds, wait longer between layers. I usually give it 3-5 minutes before adding the white.
Watch outDon't mix white with too much pressure - it smears and turns bullseye dots into blobs.
6. Polka dot French tips with brown base
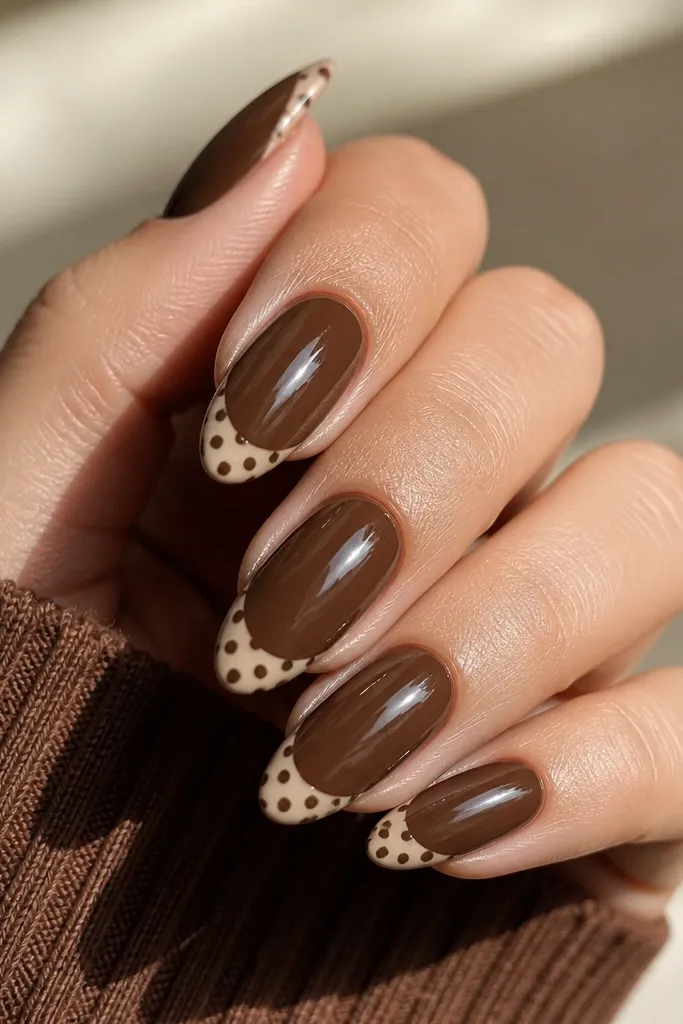
French tips feel classy, and polka dots make them playful. By putting the dots only at the tip, you avoid the "busy" look that happens when you dot the whole nail. Brown as the base keeps it grounded, and blush stays light enough for everyday wear.
Paint a thin blush line where your French tip would start. Then add 4-6 tiny dots along the tip edge. Keep dots closer together at the center and slightly farther apart near the sides.
Editor's noteUse a nail art guide strip or a steady hand against the sidewall to keep the French line straight.
Watch outDon't make the French line too thick - thick lines hide the nail shape.
7. One accent nail with full polka dot scatter
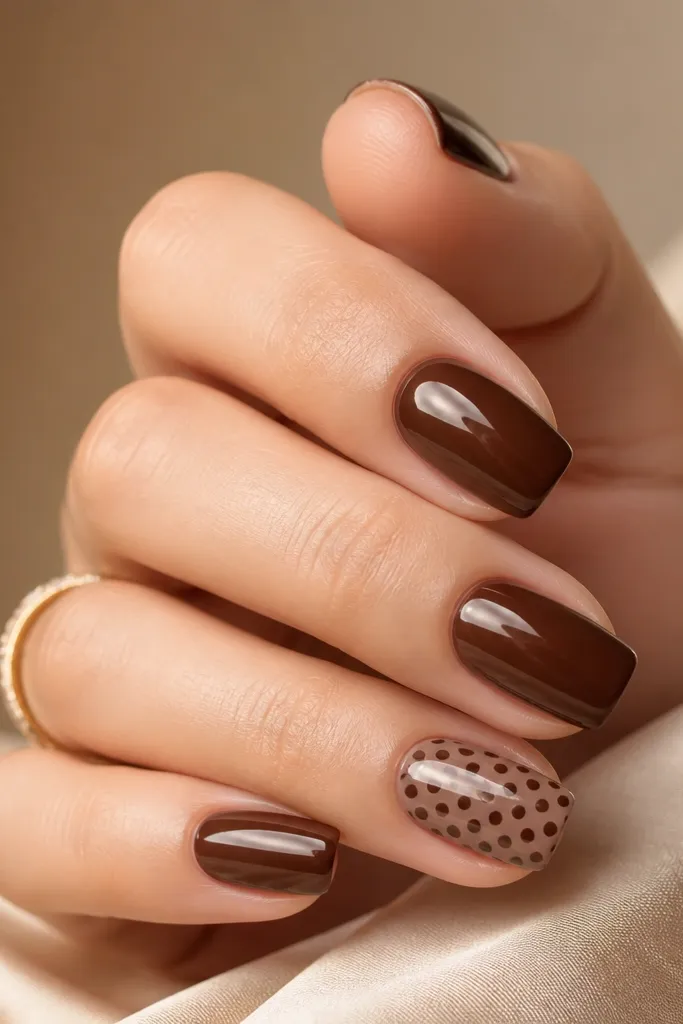
This is my go-to when I want fun nails without spending time on every nail. The plain nails keep the look balanced, and the scatter accent looks intentional instead of random. Two dot sizes add visual rhythm. Brown makes the scatter feel cute, not childish.
Do the three-dot vertical row on all non-accent nails. On the accent nail, place a few larger dots first, then fill gaps with smaller dots. Leave the cuticle area mostly clear so it doesn't look crowded.
Editor's noteIf your dots look too dense, remove a dot with a cleanup brush and a tiny bit of acetone before top coat.
Watch outDon't cover the whole accent nail with identical dot sizes - it looks like a printout.
8. Polka dots over a half-sheer pink base
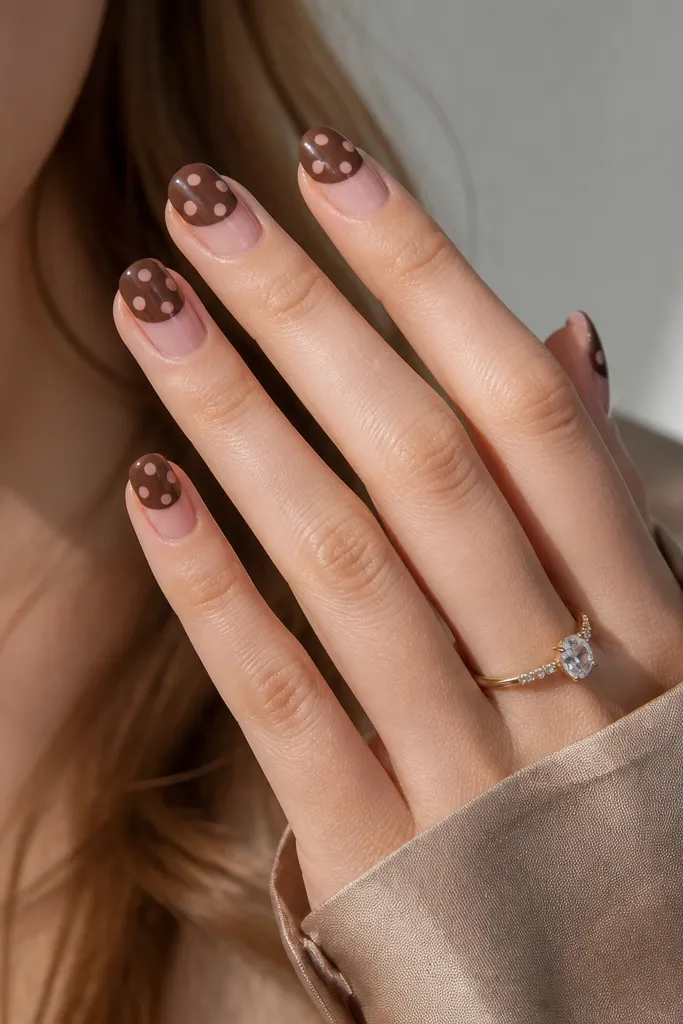
This gives a soft, airy look while still using the same brown + pink combo. The contrast between the sheer blush and the chocolate brown makes the dots feel layered. It looks good on short nails because the sheer base visually extends your nail bed. You also get a smoother look because the dots sit on a darker surface.
Paint chocolate brown on the top half with a clean horizontal boundary. Apply a sheer blush layer to the bottom half. Once it's dry, dot blush pink only on the brown section, using a slightly darker blush if possible.
Editor's noteUse a sponge to blend the boundary line if you want it softer instead of perfectly straight.
Watch outDon't use fully opaque pink for the dots on the sheer section - it kills the layered effect.
9. Polka dots with a single tiny heart per ring finger
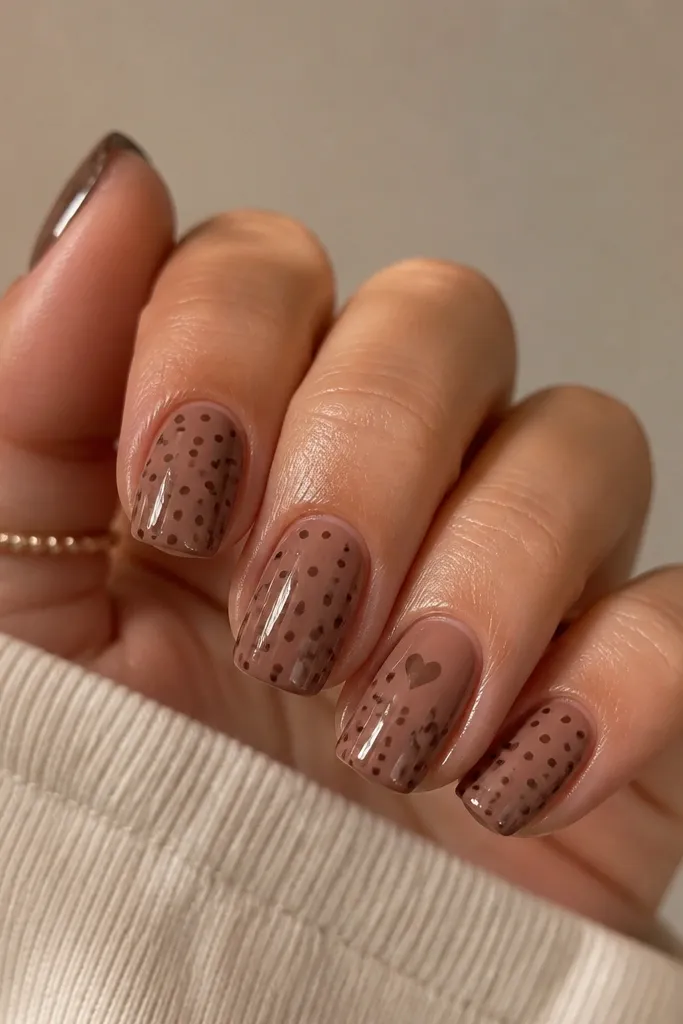
A single heart makes the whole set feel personal without turning it into a cartoon. White on brown looks crisp, and the heart sits nicely above the dot cluster. This is a good option if you want romantic nails for date night but still want the polka dot theme. It's also quick because you only do one tiny detail.
Start with small dots in a loose grid on every nail. On the ring finger, place three dots near the cuticle, then add a tiny heart using the striping brush or the tip of a toothpick. Seal with glossy top coat so the heart looks clean.
Editor's noteIf hearts are hard, draw only half the heart with a dotting tool, then mirror it with a second dot.
Watch outDon't draw heart outlines - filled hearts look cleaner and take less time.
10. Brown-and-pink polka dots with a thin gold line
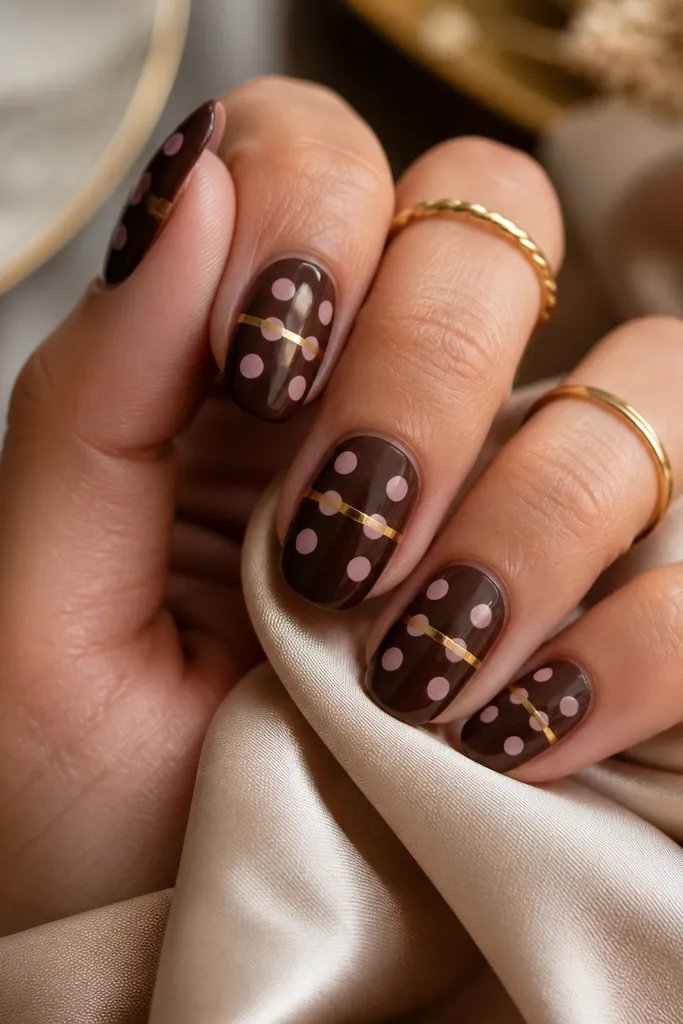
Gold turns the set from casual to "going out" fast. Cutting through the dots makes the design look designed, not random. Brown + blush + gold looks expensive even when the dots are simple. It's also a nice choice if you have gold jewelry and want your nails to match.
Paint brown base and blush dots first. After the dots set, draw a thin gold stripe across the center using a fine liner brush. Press the gold line gently so it doesn't flood and smear the dots.
Editor's noteUse gel gold liner if you have it - it stays crisp and needs less clean-up.
Watch outDon't make the gold line wide - wide lines hide the dot pattern.