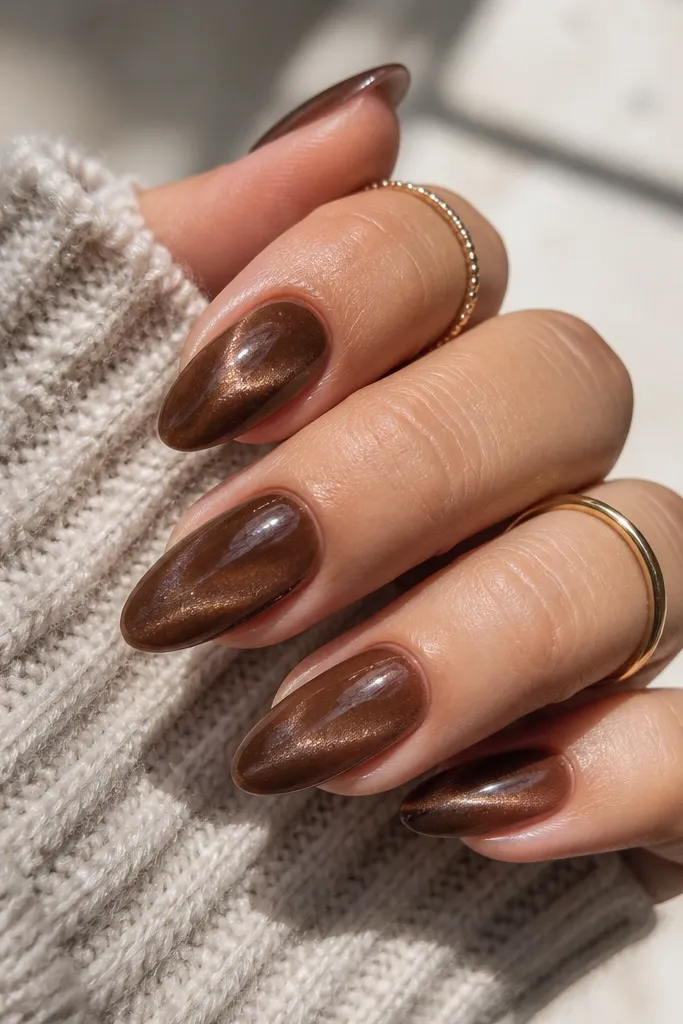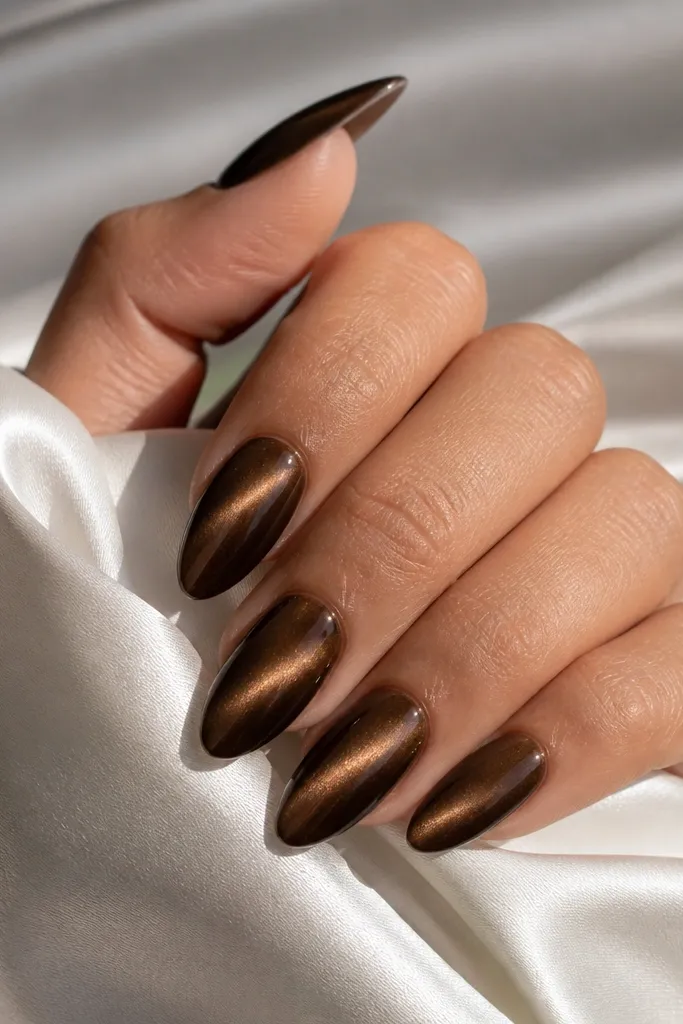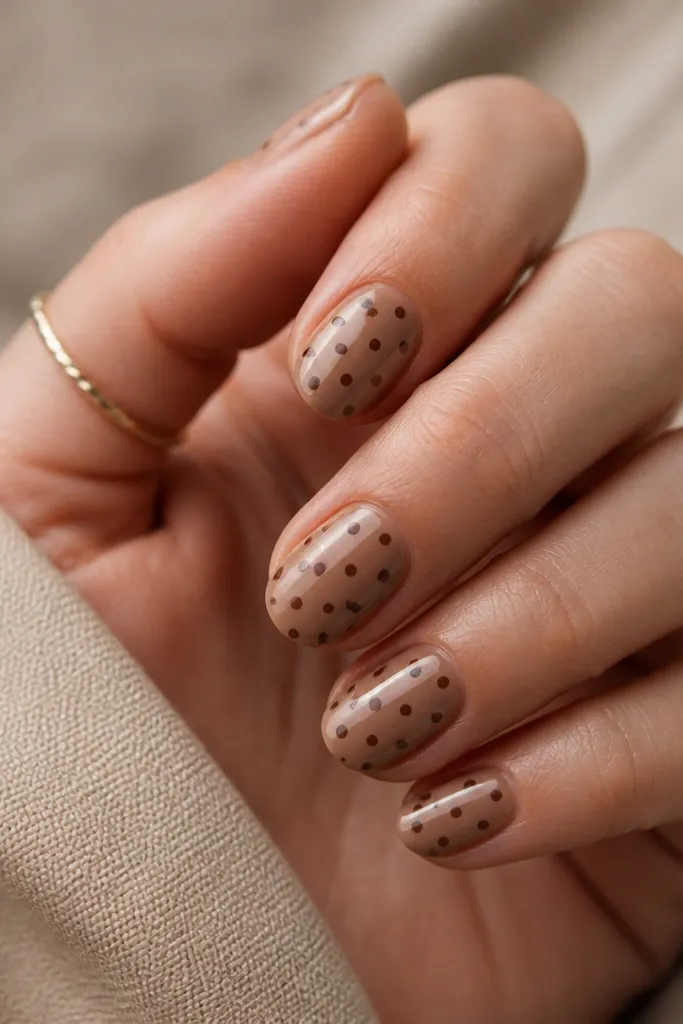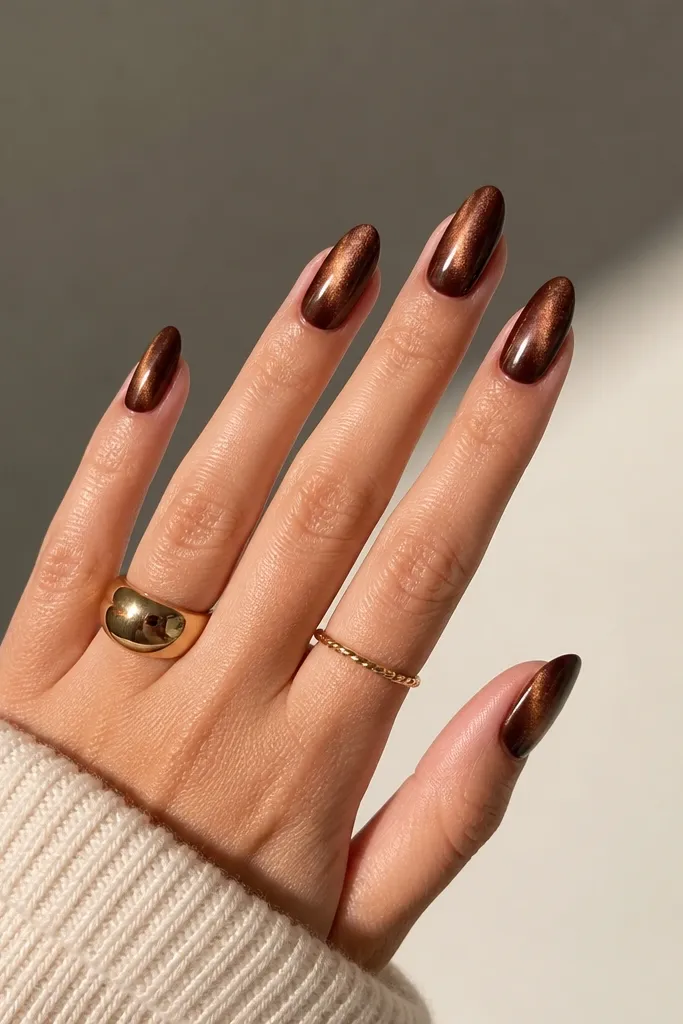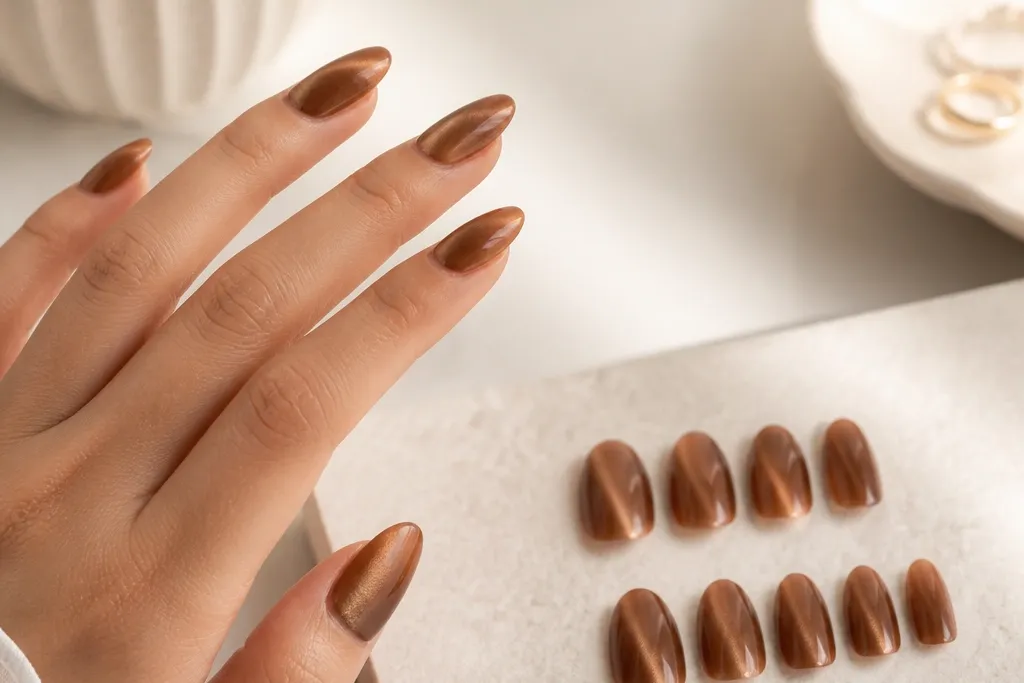
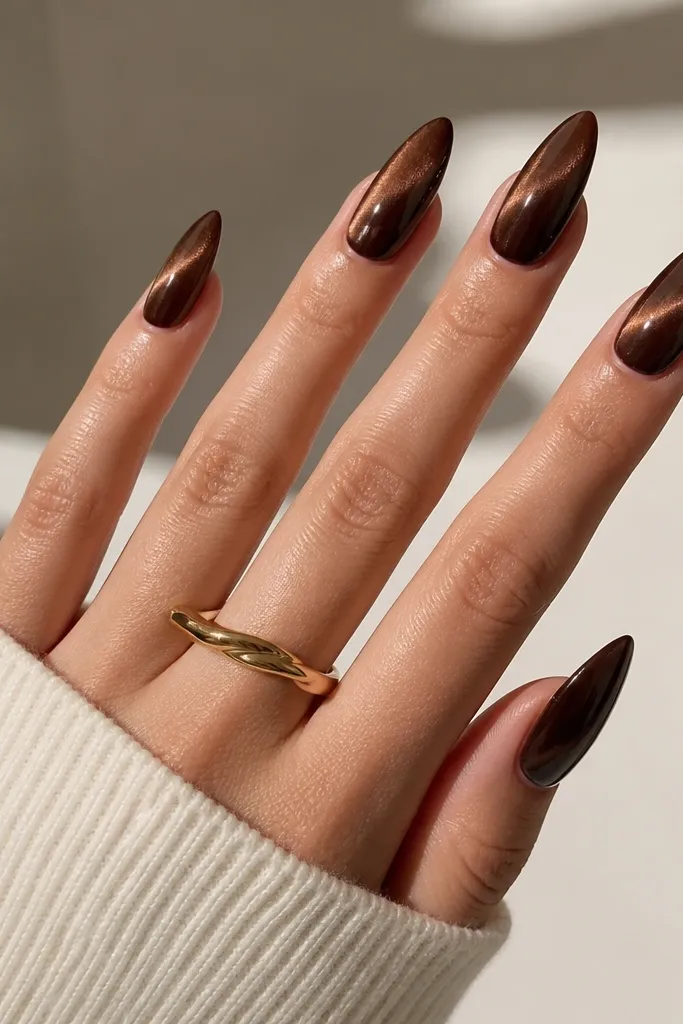
1. Espresso Beam French Tip on Milky Taupe
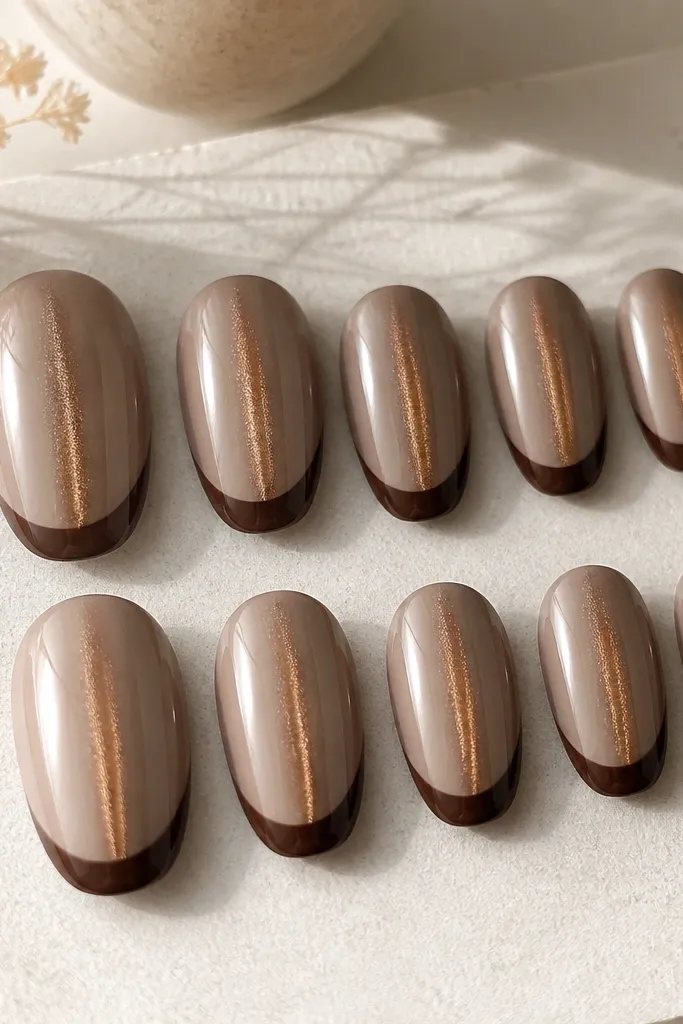
This one is my go-to for "office pretty." The milky taupe base makes the brown beam readable, and the espresso French tip gives a crisp frame. The magnet effect looks like a highlight on a coffee swirl - warm but controlled. Gloss finish keeps the beam bright instead of dull.
Choose a press-on set labeled "cat eye" in espresso brown, and make sure the tip area has enough thickness to paint over if needed. Keep the French tip width about 1.5-2 mm from the free edge. The beam should sit in the center of the nail, so align the nail so the beam line lands where your center ridge is.
Editor's noteAfter applying, press the side edges for 10 seconds each hand to prevent lifting at the corners where cat-eye lines like to get scuffed.
Watch outSkip mixing a glossy beam with a matte base - it makes the beam look patchy and the tip edge look jagged.
2. Caramel Chrome Cat Eye French Tips
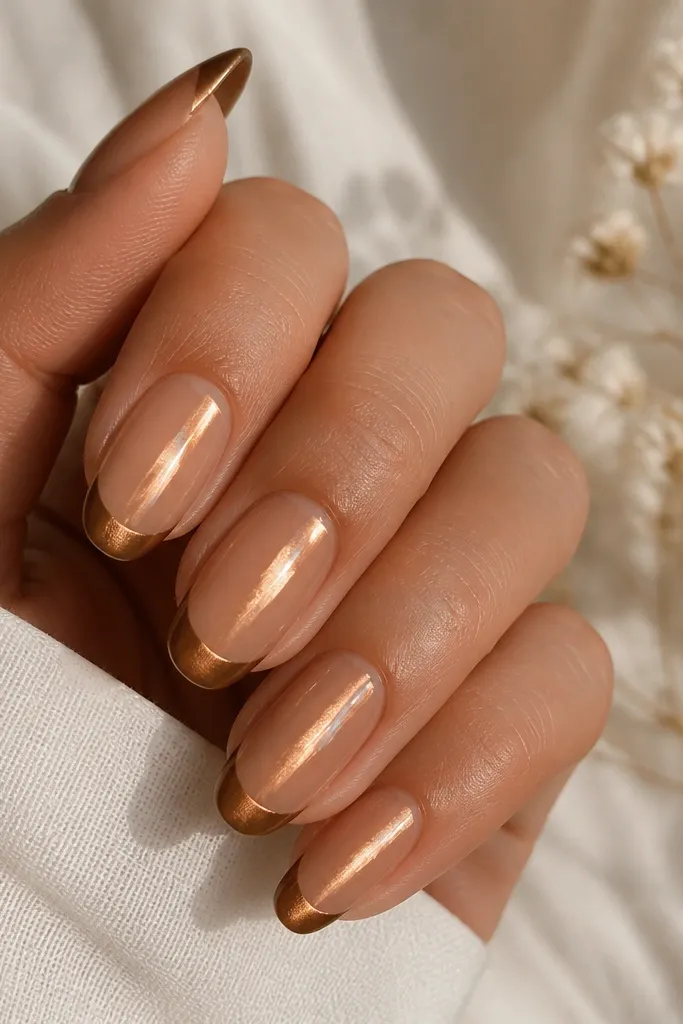
This design is for when you want that "did you get your nails done?" reaction. The chrome French tip reflects light so the cat-eye line looks doubled. Caramel tones flatter warm skin and make hands look softer. The beam stays visible because the base is not too dark.
Use a caramel cat-eye polish or press-on that has a real magnet line, then add chrome French tips over the tip area. Keep the chrome only on the free edge - about 2-3 mm - so it doesn't overpower the beam. Finish with a high-shine top coat to stop the chrome from looking grainy.
Editor's noteSwipe a thin layer of top coat over the French edge last, then cap the corners with the same coat so it resists chipping.
Watch outAvoid overly thick chrome - it lifts at the free edge and makes the French line look uneven.
3. Mocha Matte French Tip with Soft Cat Eye Beam
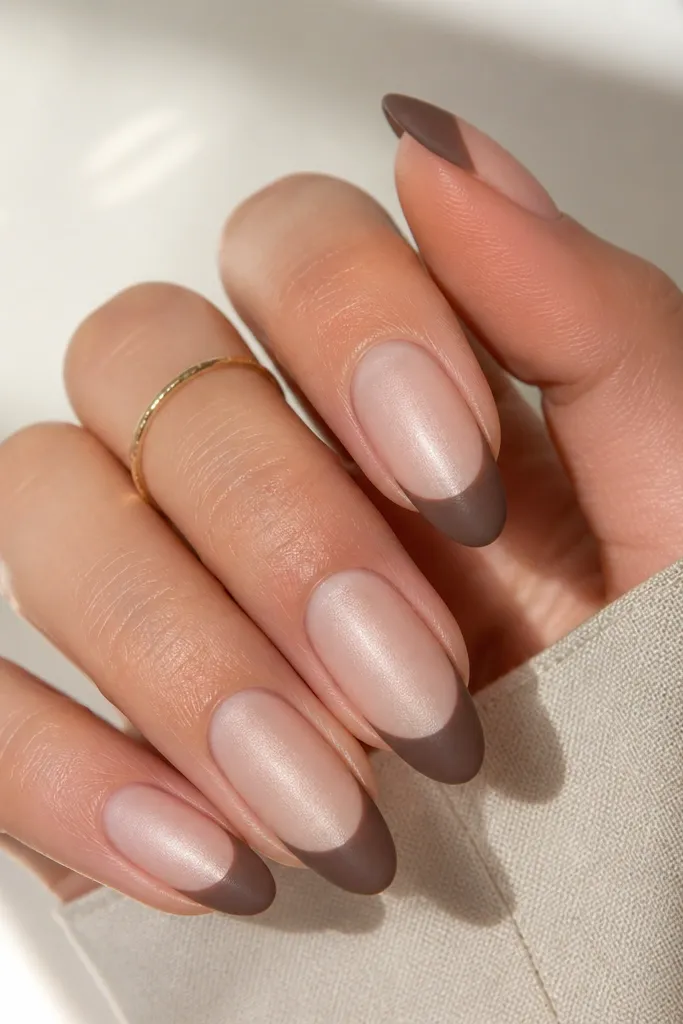
Matte makes brown cat eye feel modern instead of flashy. The trick is that the beam must still be crisp; otherwise it disappears on matte. This set uses a mocha-brown tip and a matte nude base so the beam looks like a gentle highlight. It's also great for people who hate mirror shine on their hands.
Start with a matte top coat on the base, then keep the French tips matte too. If you're using press-ons, choose a set with a matte finish or apply matte top coat after placement. Aim for a beam that's centered and slightly narrower than your previous gloss looks.
Editor's noteFor the cleanest edge, use a small striping brush to touch the French line after the magnet effect is set, then seal with matte top coat.
Watch outDon't skip sealing the magnet line - matte top coats can smear the effect if you move your hand while it's drying.
4. Chocolate Brown Micro-French with Narrow Cat Eye
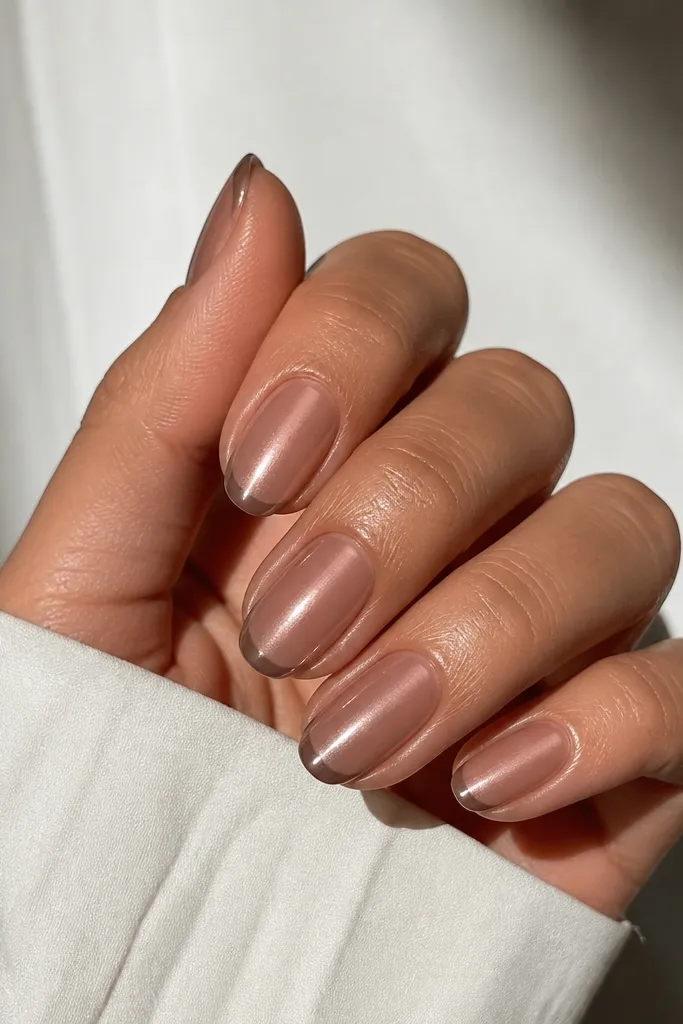
Micro-French makes the cat-eye look intentional instead of busy. The narrow brown tip doesn't hide the beam, so the magnet line stays the star. Chocolate brown is deep enough to look luxe, but the sheer base keeps it wearable. Great for short nails because the design doesn't crowd the nail bed.
If you're painting, keep the French line under 1 mm wide. For press-ons, pick short length or trim carefully - don't force long tips onto short nail beds. Align the narrow beam with the center of your nail so it doesn't drift toward the sidewalls.
Editor's noteUse a dotting tool to place the beam line start point at the center near the cuticle before you set the magnet effect.
Watch outSkip thick French tips on short nails - they make the nail look smaller and the beam looks off-center.
5. Carob Ombré French Tip with Cat Eye Fade
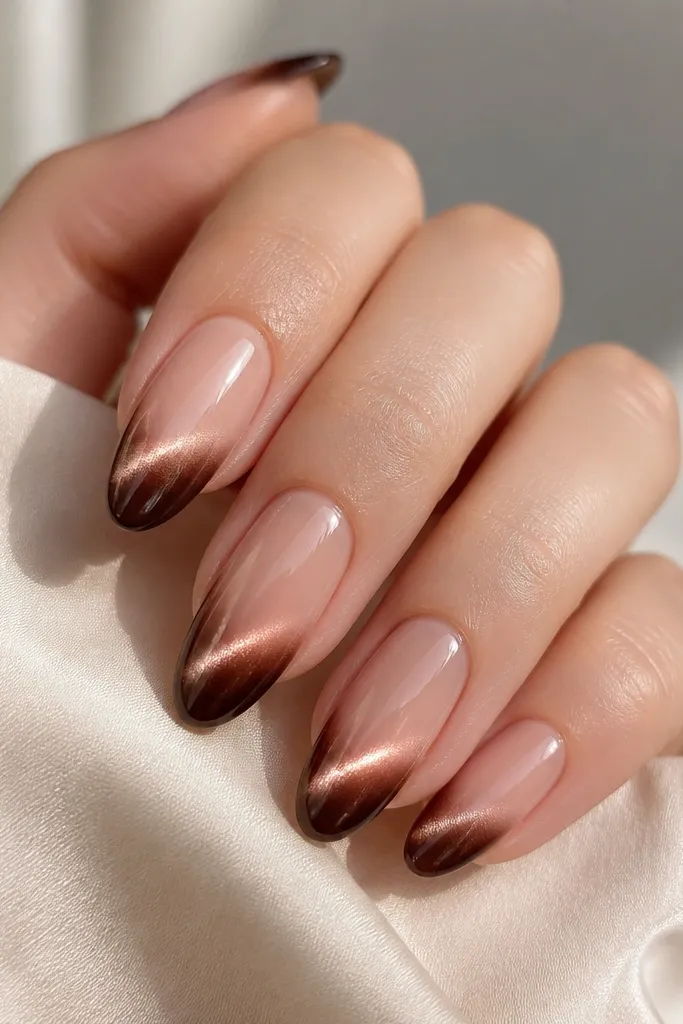
This is the most flattering option if you want the French tip to look like it naturally grows out of your nail. The cat-eye beam is strongest at the tip, so your nails look longer and more dimensional. Carob brown is softer than espresso, which makes it forgiving on different skin tones. The ombré also hides tiny application lines.
Paint the French area with a gradient: start denser at the free edge and blend back. Apply the magnetic cat-eye polish so the beam appears where the pigment is darkest - usually the last third of the nail. If using press-ons, choose an ombré set and make sure the beam is mapped into the tip region.
Editor's noteBlend with a makeup sponge using tiny taps, not swipes, so the gradient stays smooth.
Watch outAvoid harsh color stops - a hard line between nude and brown makes the beam look like it's floating.
6. Warm Nude Base with Deep Mahogany Cat Eye French
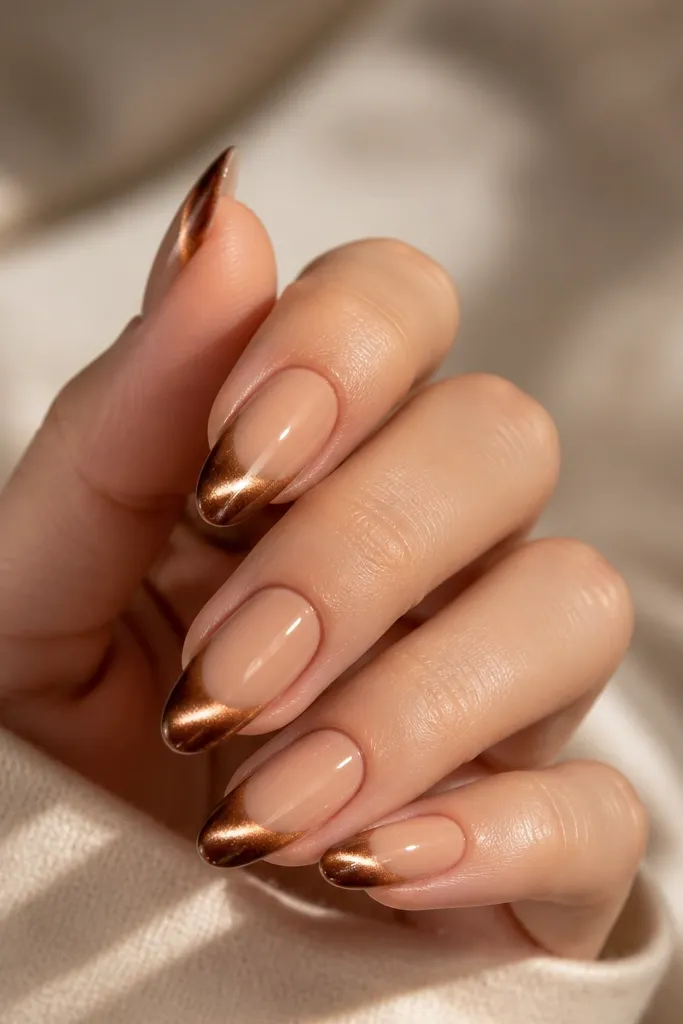
Mahogany is the brown that reads almost wine in the right light. This set gives you a "date night" look without going fully red. The cat-eye line becomes dramatic because the base is warm nude, so the beam shows up even in indoor lighting. It's the best choice if your skin looks better with red-brown tones.
Use a deep mahogany cat-eye polish or press-on where the beam leans toward red-brown, not orange. Keep the French tip clean and slightly rounded at the corners. Make sure the beam passes through the center of the French tip so it looks like one continuous effect.
Editor's noteIf the beam looks too red, tone it down by adding a thin layer of taupe nude over the base before the cat-eye layer.
Watch outSkip very orange-brown bases - they make mahogany cat eye look muddy, especially in daylight.
7. Rust-Brown French Tip with Tiny Gold Cat Eye Sparkle
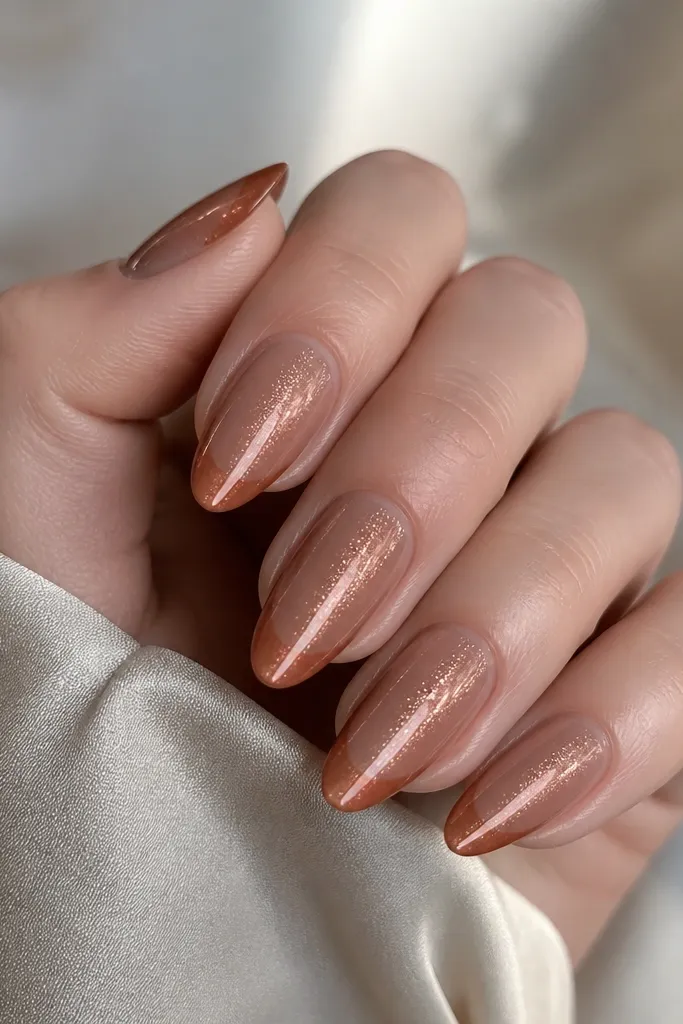
This one is subtle glam. The rust-brown tip gives warmth, while the tiny gold sparkle inside the beam makes the line look like it's catching light as you move. It's still renter-friendly because you're not relying on heavy rhinestones that pop off. The gold is fine-grain, so it doesn't look chunky.
Use a cat-eye polish that includes micro shimmer or add a gold micro-glitter layer only along the beam line area. Keep the sparkle concentrated in the center - about a 1-2 mm vertical strip - so it stays cat-eye, not full glitter. Seal with a thick enough top coat to smooth the texture.
Editor's noteDo one nail at a time so the sparkle doesn't settle before you magnet it.
Watch outDon't cover the whole nail in gold glitter - it kills the cat-eye clarity.
8. Espresso French with Negative Space Cuticle V
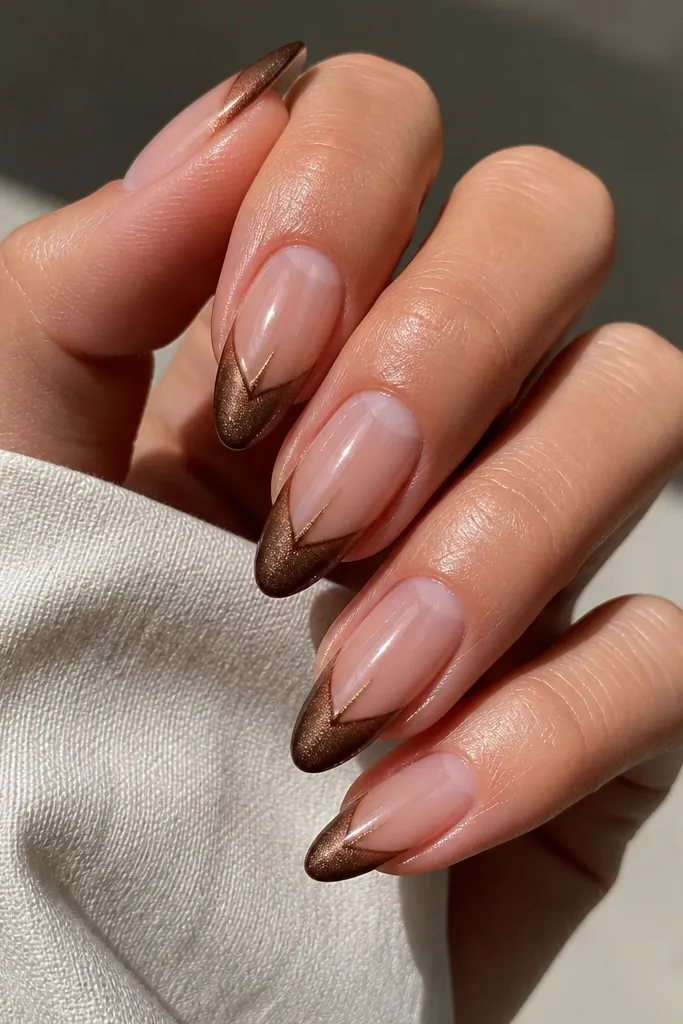
Negative space makes brown cat eye feel crisp and modern. The V shape frames the beam, so your nails look longer and sharper. This is a smart choice if you hate thick cuticle coverage from press-ons. It also hides slight gaps because the negative space is intentional.
If you're applying press-ons, pick ones with a pre-cut V or trim the cuticle edge carefully. Paint or place the cat-eye layer so the beam starts right under the V. Keep the French tip medium width so the beam has room to show.
Editor's noteUse a small piece of tape as a guide for the V gap so both hands match.
Watch outSkip a V that's too wide - it makes the nail look hollow and the French tip feels disconnected.
9. Caramel Swirl French Tip with Side Cat Eye Beam
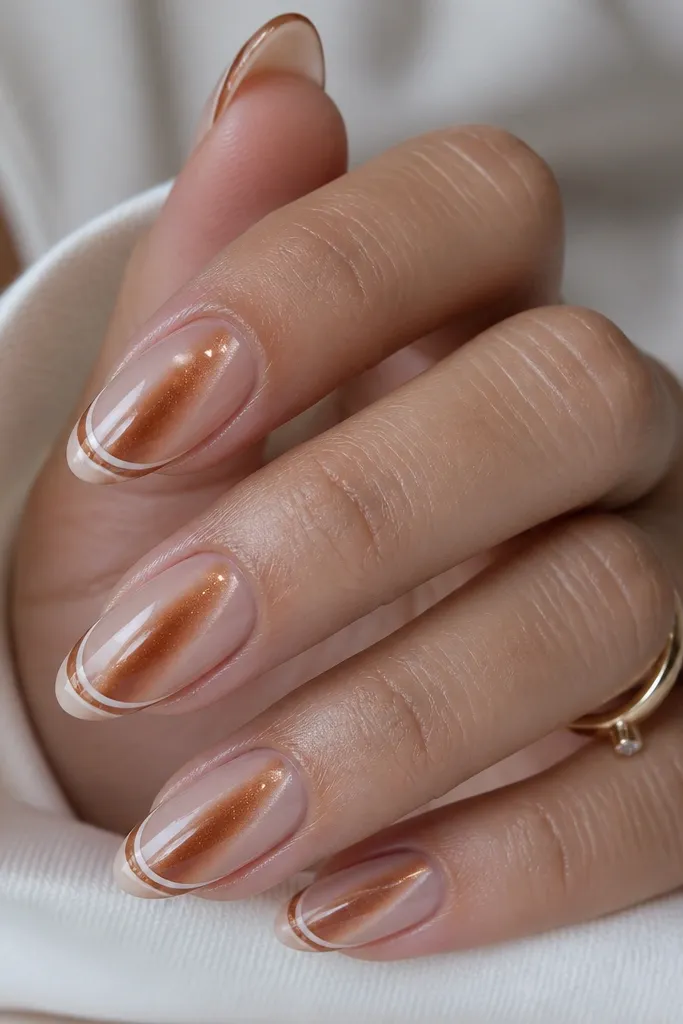
Most cat-eye designs run dead center. This one runs slightly off-center, like a light streak on a glossy coffee table. Pair that with a thin swirl French detail and you get movement without adding clutter. The swirl is drawn thin so it looks like nail art, not decoration.
If painting, place the magnet so the beam forms off-center - you'll see it while you hold the magnet over the nail. For press-ons, you need a pre-designed set; matching the beam position matters, so check the beam before you peel the backing. Keep the swirl line about the same thickness as your French edge line.
Editor's noteLet the swirl line dry fully before top coat so it doesn't smear into the beam.
Watch outAvoid heavy swirl thickness - it crowds the French tip and makes the beam look messy.
10. Deep Cocoa French Tip with Pearly Cat Eye Glow
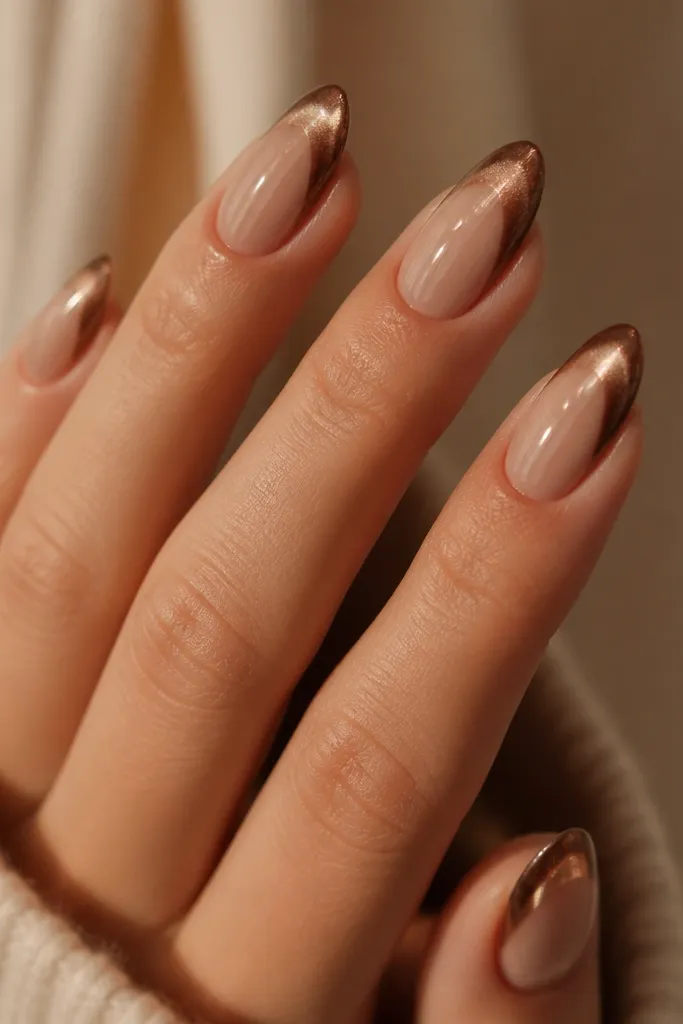
Pearly cat eye is the easiest way to make brown look refined. The beam looks like a soft highlight, not a chrome stripe. Deep cocoa French tips add contrast, while the sheer base keeps it from looking like a full dark set. This is a perfect "fall but still clean" option.
Use a cat-eye shade described as pearl or satin shimmer, not mirror metallic. Paint the French tip in deep cocoa, then magnet the cat-eye layer so the beam lands on top of the transition area toward the tip. Keep the French tip shape slightly rounded so it looks smooth on press-ons.
Editor's noteTop coat twice: first thin coat, then a second thicker coat after it self-levels.
Watch outDon't use a gritty matte top on pearly beams - it turns the pearl dull.
11. Mocha Brown French Tip with Tiny Dot Cat Eye Start
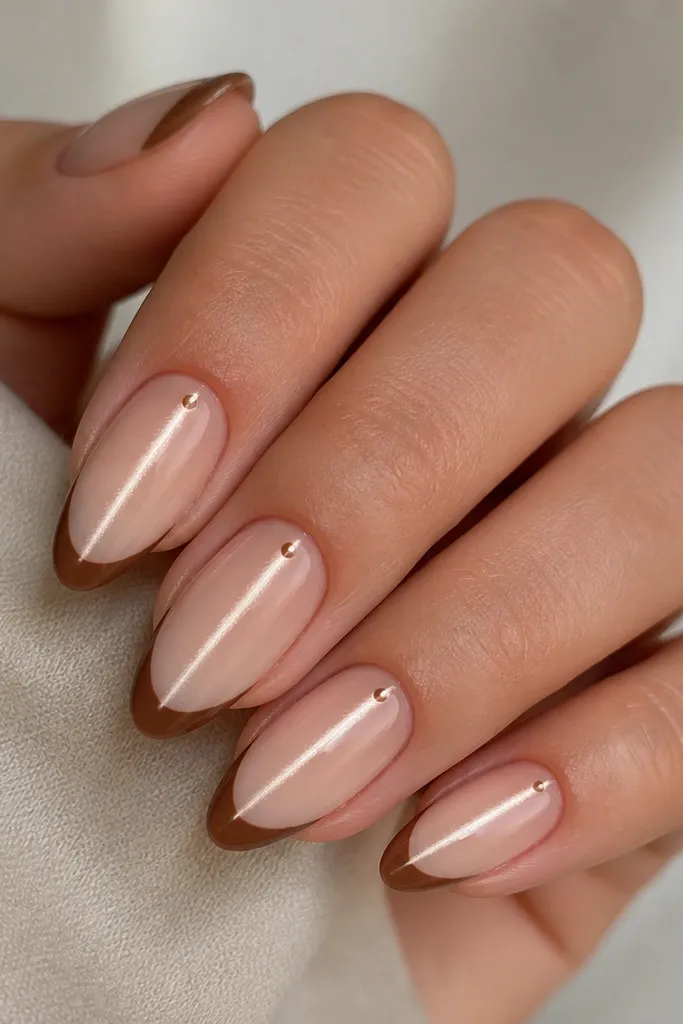
This design makes the cat eye feel like it has a "source of light." The tiny dot at the cuticle center anchors the beam visually so it looks intentional. Mocha brown stays soft, so it doesn't look harsh like black-brown. Great for short-to-medium nails because the dot draws the eye up.
Use a small dot tool to place the dot in the exact center. Then apply the cat-eye polish and magnet it so the beam passes through that dot. Keep French tips medium thickness - enough to frame the beam but not so thick it hides the dot area.
Editor's noteUse a dotting tool with a very small tip and clean it between nails so the dot stays sharp.
Watch outSkip big dots - large dots turn into random blobs that fight the French line.
12. Caramel Latte French Tip with Two-Tone Cat Eye Line
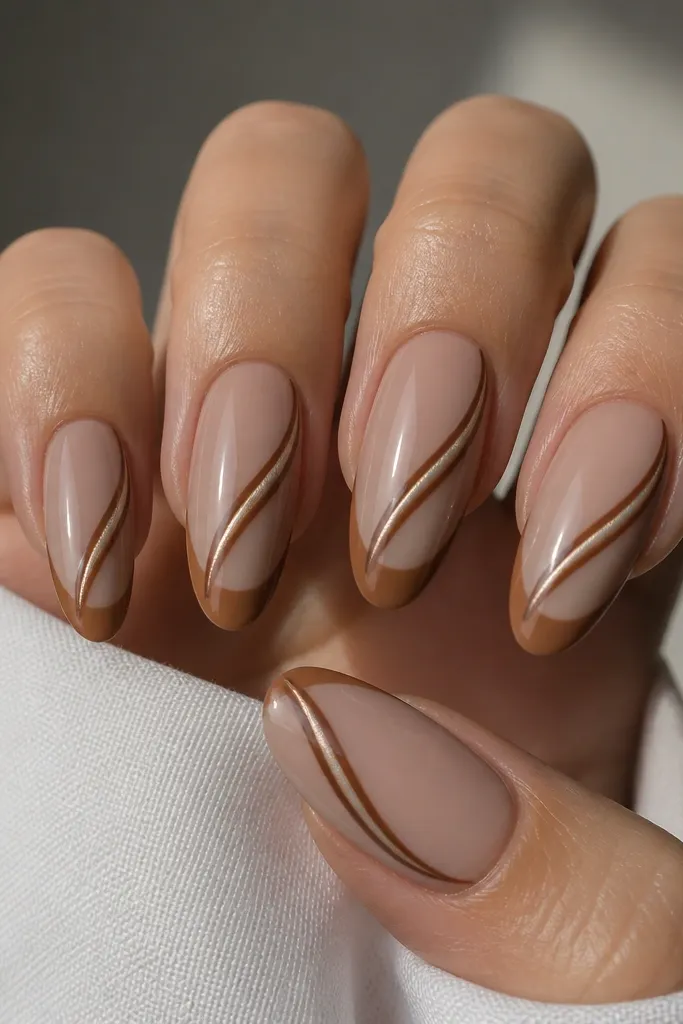
Two-tone cat eye looks like the beam is refracting through glass. The lighter caramel center makes the design pop, while the darker edge line keeps it grounded. This looks amazing on camera because the beam catches light in a second way. It's still wearable because the French tip stays brown, not neon.
You need two cat-eye shades or a layered approach. First create the darker brown beam, magnet it, then add a lighter caramel cat-eye only over the center strip and magnet again lightly. French tips should be solid caramel brown, about 2 mm wide, so the two-tone beam has a clean frame.
Editor's noteSecond magnet pass: hold the magnet slightly higher than the first so the lighter line stays thin.
Watch outAvoid magneting both layers at the same intensity - the lighter line will spread and lose the two-tone look.
13. Espresso Cat Eye French with Thin Copper Outline
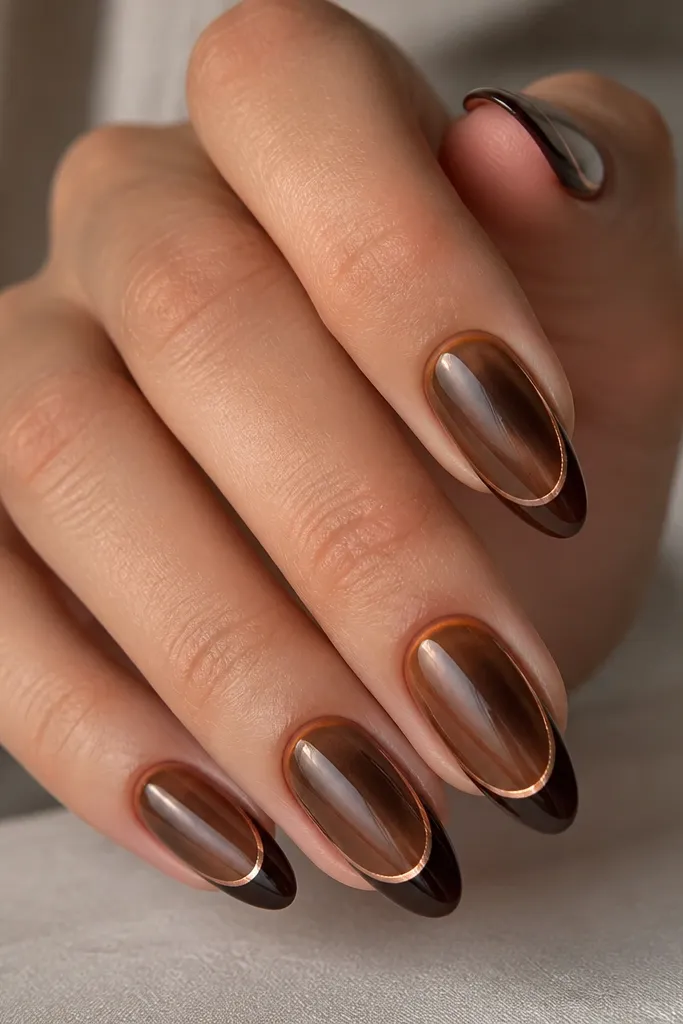
The copper outline is what makes the French tip look designer. Espresso brown gives depth, and copper adds a warm metallic border that looks hand-drawn. The cat-eye beam stays the focus because the copper line is thin. It's a good pick if you like nail art but hate big gemstones.
Paint or apply espresso French tips first, then add a copper striping polish along the smile line. Keep the copper line under 0.5 mm so it reads as an outline, not a second tip. Magnet the cat-eye layer so the beam runs straight through the center of the nail, not stopping at the French line.
Editor's noteUse a striping brush you can control with your pinky resting on the table - it makes the outline straight.
Watch outSkip thick copper borders - they look like stickers and lift at the corners.
14. Chocolate Brown French Tip with Rounded Beam Center
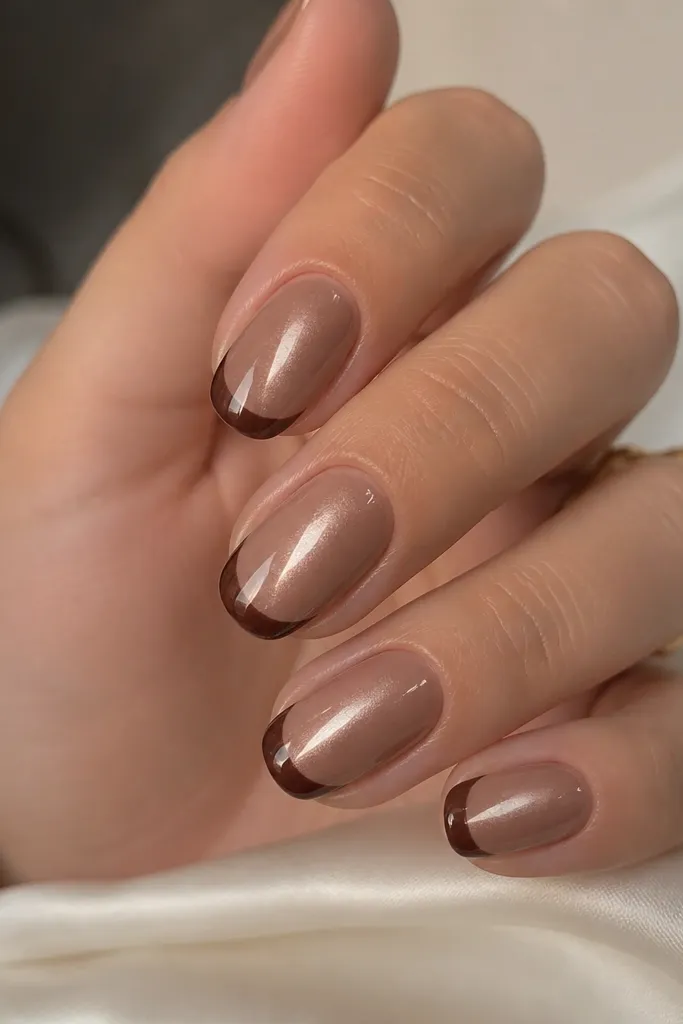
This is a softer take on cat eye that looks flattering on wider nail beds. The rounded beam start near the cuticle makes the nail look more delicate, not severe. Chocolate brown keeps it grounded, and the rounded French edge makes the whole set look tidy. It's a great choice if your nail shape is more oval and you want the design to match.
If magneting, move the magnet in a tiny arc for the first second so the beam forms a rounded head, then hold still for the rest to straighten it. For press-ons, choose a set where the beam head near the cuticle is visible and not flat. Keep the French tip corners rounded and slightly longer than the sidewall gap.
Editor's noteWhen you apply press-ons, check the beam head lines up with your cuticle center before you press the nail fully.
Watch outAvoid sharp, angular French tips on oval nails - it makes the set look mismatched.
15. Barely-There Nude with Brown Cat Eye Half-Moon French
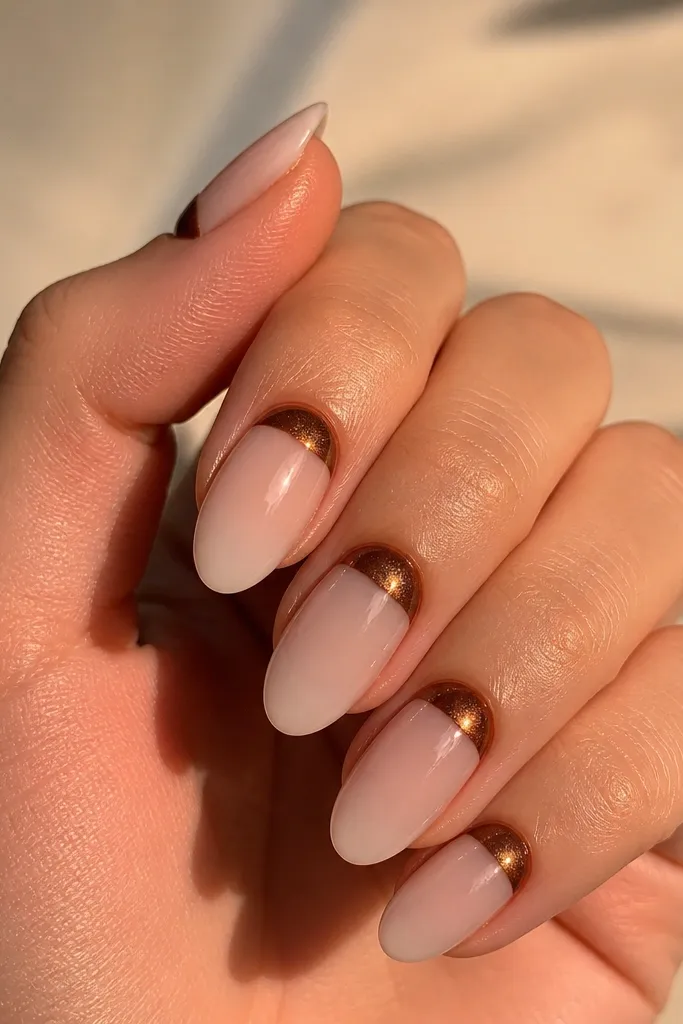
This design is minimal but still clearly cat eye. The half-moon French tip gives a soft arc that looks good on short nails and grows out nicely. The cat-eye beam through the arc keeps it from looking like plain nude press-ons. Brown stays warm, so it reads natural rather than goth.
Use press-ons with a half-moon tip, or paint a half-moon French curve with a striping brush. The curve should be about 3-4 mm from the free edge depending on your nail length. Magnet the cat-eye effect so the beam is strongest through the arc area, then keep the base sheer.
Editor's noteIf you paint it, sketch the half-moon curve with a light line first using a nude-brown, then go back with the cat-eye shade.
Watch outSkip opaque nude bases - the set can look thick and fake when the half-moon is the only detail.