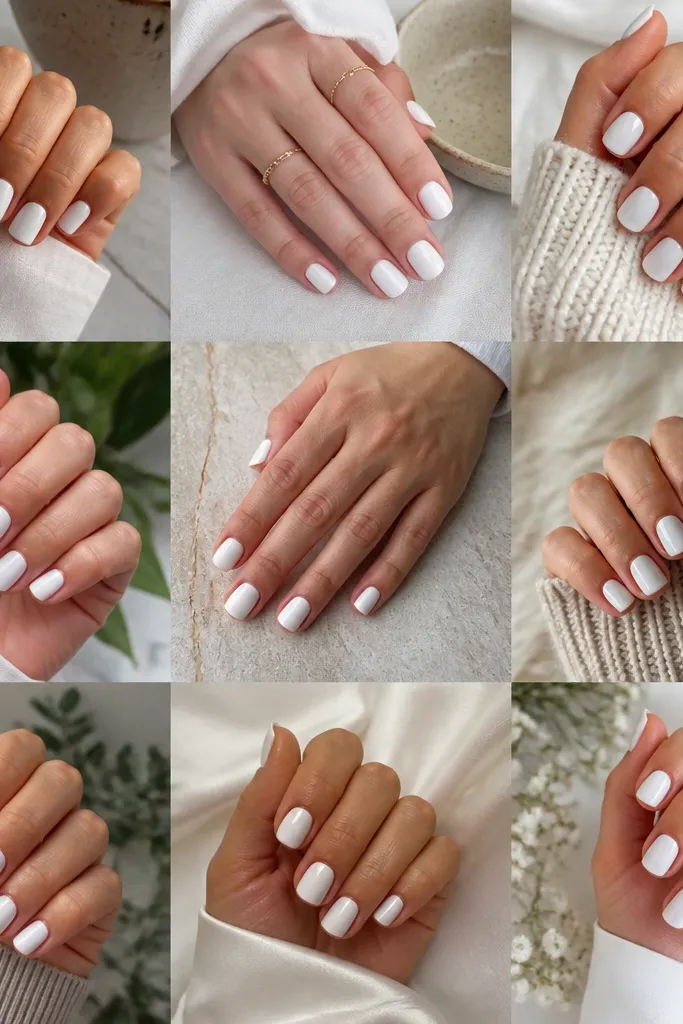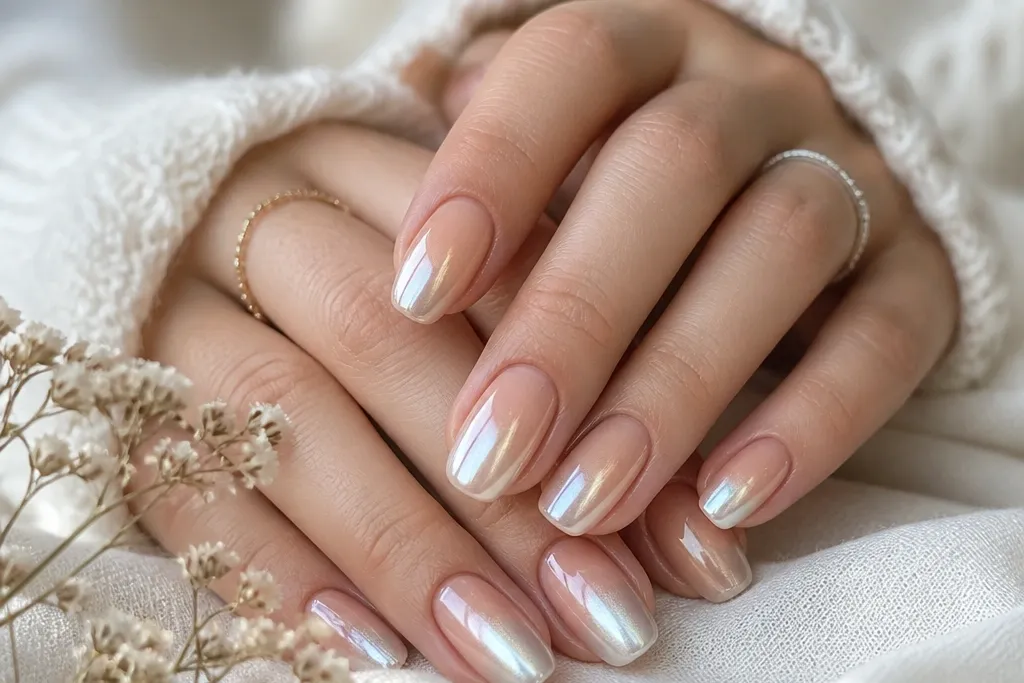
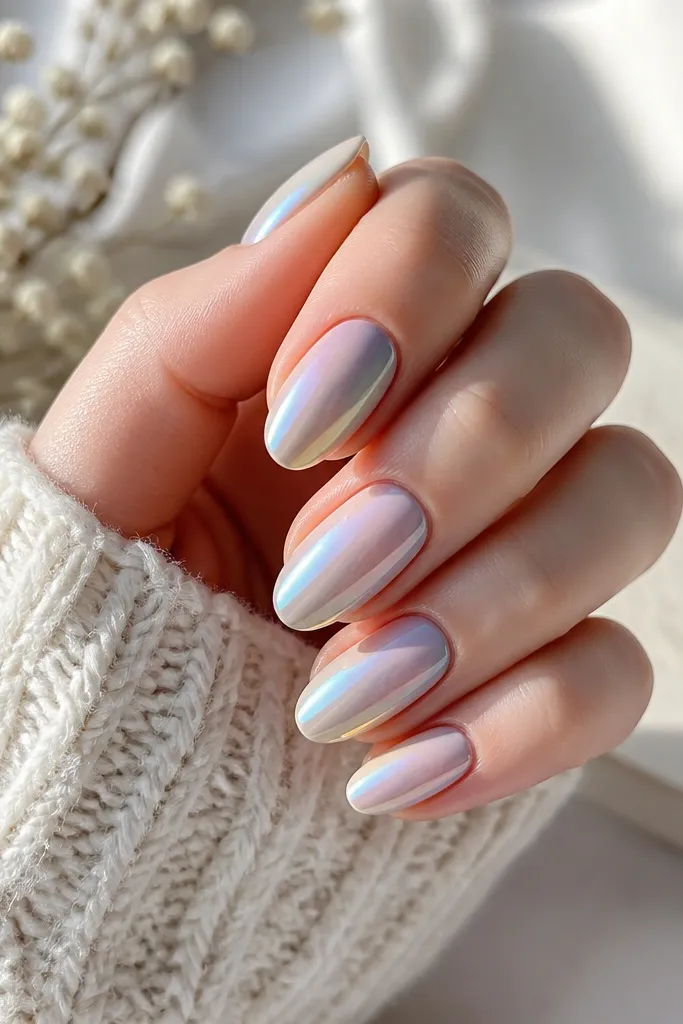
1. Milky White Cuticle Fade with Silver Tip Chrome
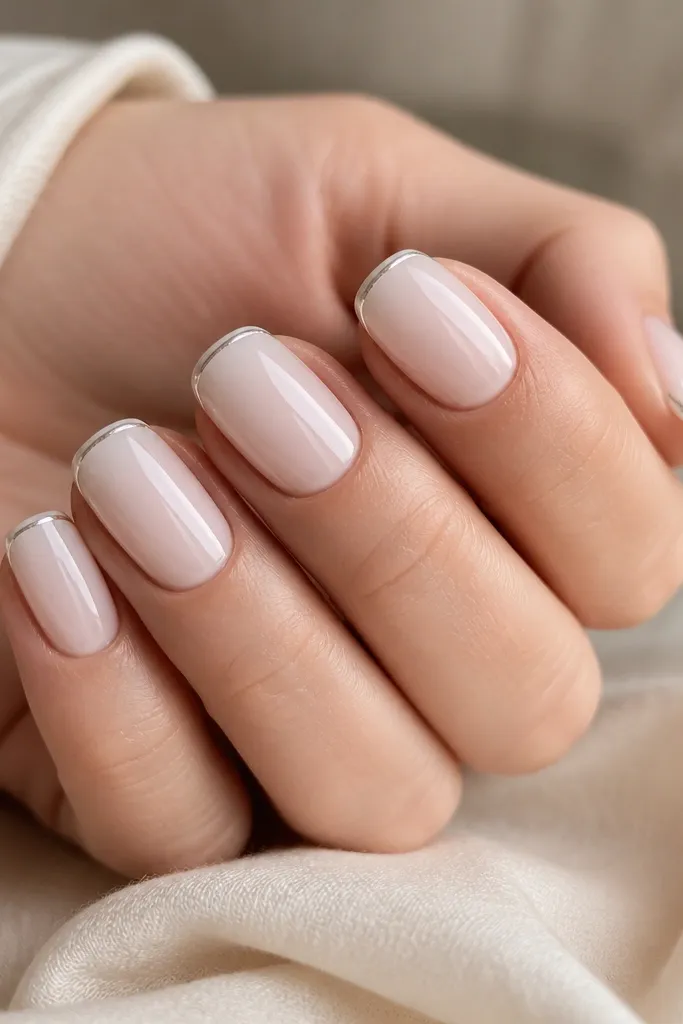
This one is my "wear it anywhere" cozy ombre chrome nails version. The milky white fades gently so your nail bed looks fuller, and the silver chrome tip band adds sparkle without turning the set into a holiday disco. It flatters most skin tones, especially warm undertones, because the white stays creamy instead of stark. If your nails are short, this design makes them look a touch longer because the chrome sits at the far edge. For everyday office days, it reads polished but still soft.
Start by applying a rubber base and curing. Then sponge-dab a milky white gel from the cuticle upward only lightly, curing after each of two thin coats so the fade stays smooth. Clean up the edges with a brush dipped in gel cleanser, then add a thin strip of silver chrome gel at the top third of the nail and cure. Rub chrome powder over the gel strip, press it in, and remove excess. Finish with a glossy topcoat in two thin layers, curing each time.
Editor's noteUse a makeup sponge that is slightly damp, not wet, so the gradient melts instead of looking speckled.
Watch outSkip thick white layers - they create a chalky blob at the cuticle.
2. Soft Pearl Ombre with Champagne Chrome Haze
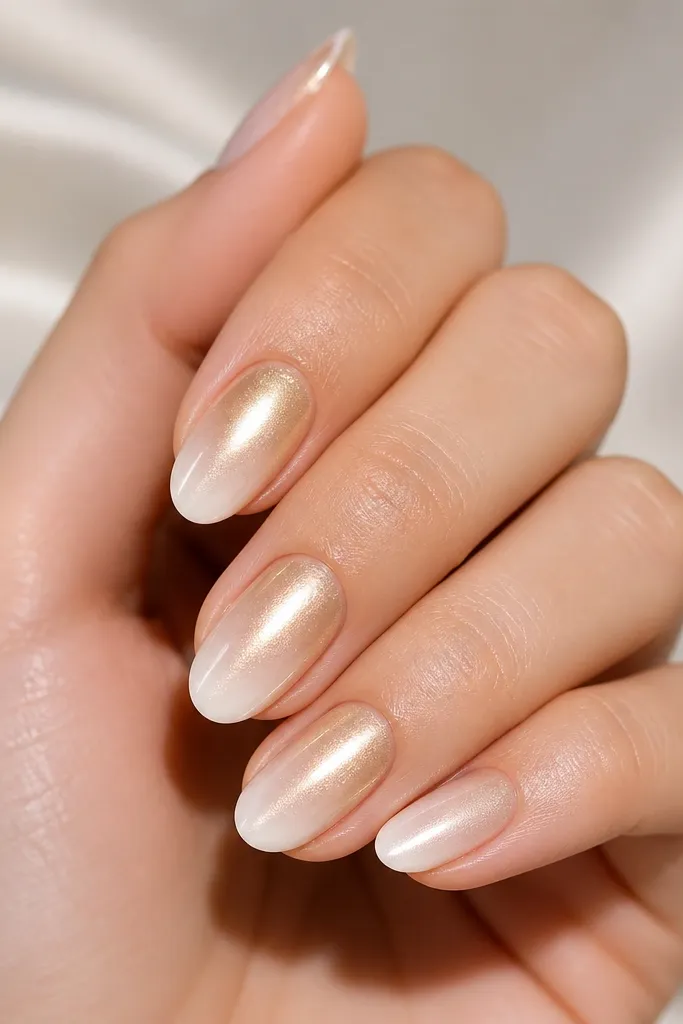
Champagne chrome makes white ombre feel cozy instead of icy. The pearl ombre gives a gentle glow that works on fair to medium skin tones, and it looks especially good on hands with visible veins because the warmth balances the coolness. I like this for winter evenings and early spring brunches because it looks like candlelight on nails. The chrome haze is spread thin, so it doesn't look like a sticker. You get shine, but it still feels soft.
Apply a sheer nude base or rubber base, then cure. Brush on a soft pearl white gel starting at the cuticle and fade it out with light strokes toward the tip, curing after two thin layers. Add a champagne chrome gel in a light patch over the top half - not a line, more like a fog. Cure, then rub champagne chrome powder over the gel and buff off excess with a dry lint-free wipe. Seal with a glossy topcoat and cure fully.
Editor's noteKeep the chrome haze patch smaller than you think; a little glow goes farther than full coverage.
Watch outDon't cure chrome gel too long before powder - it can turn powdery and patchy.
3. White-to-Clear Ombre with Micro-Frost Chrome Tips
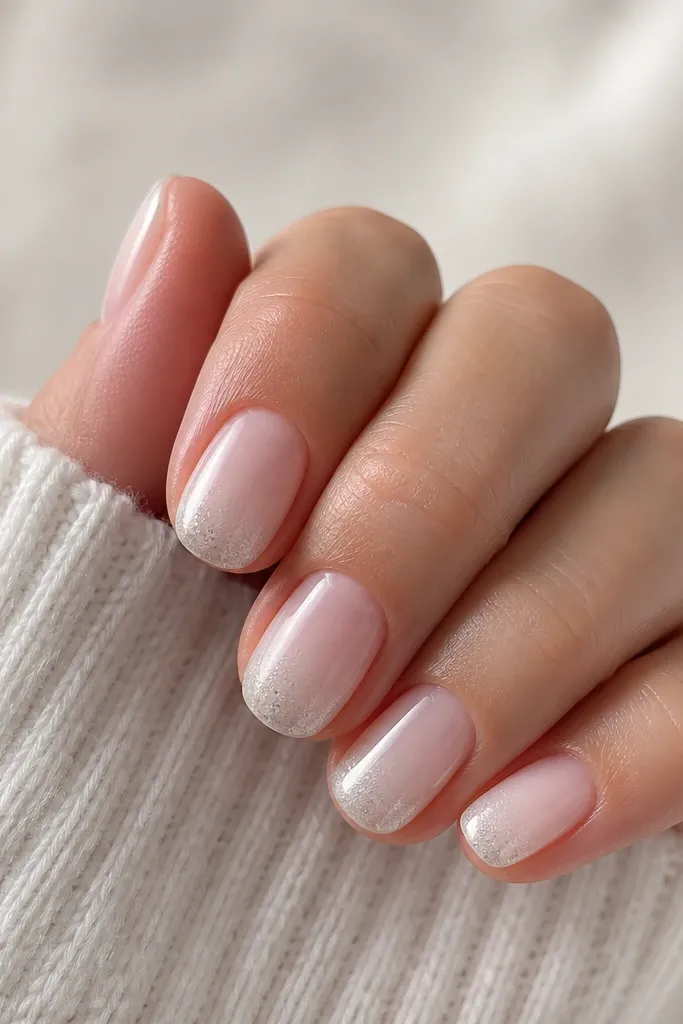
This set looks like cozy ombre chrome nails you'd wear on a lazy Sunday - clean, airy, and not overdone. The ombre goes from milky white at the cuticle into a clear fade, which makes nails look neat and healthy even if they're growing out. Micro-frost chrome on just the tip adds a sparkle that catches when you move your hands. It flatters shorter nails and works well if your skin tone is cool or neutral because the white stays balanced. For casual wear, it's the one that gets compliments from people who don't usually notice nails.
Start with a clear base and cure, then apply milky white gel only on the lower third near the cuticle. Sponge the white slightly upward, then blend down toward the tip with a clean sponge so the center stays translucent. Cure and repeat once more with a thinner layer for a smoother melt. Add a thin gel layer at the very edge of the tip, cure, and press micro-frost chrome powder over it. Seal with glossy topcoat, focusing extra on the tip edge so it doesn't catch.
Editor's noteWipe the chrome area with a dry lint-free wipe before topcoat so it doesn't look grainy.
Watch outAvoid a solid white tip - it removes the airy, cozy effect.
4. Icy White Ombré with Rose Gold Chrome Fade
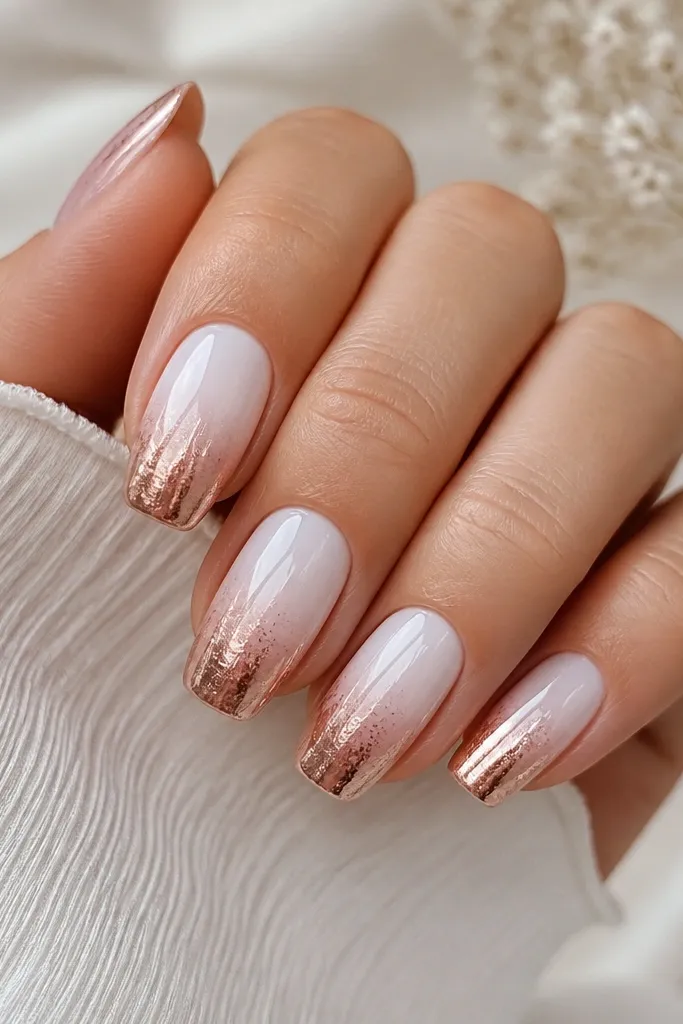
Rose gold chrome on an ombre white base looks warm and flattering instead of harsh. Icy white at the cuticle gives that winter brightness, but the rose gold chrome haze adds softness that feels like blush under a coat sleeve. This design looks great on medium nails because the diagonal chrome fade has space to breathe. It's especially flattering on olive and warm tan skin tones - the rose gold makes the skin look even warmer. For date nights or dinners, it reads "put together" without feeling too formal.
Apply a sheer pink base and cure. Brush icy white gel at the cuticle and fade it out with a soft ombre brush toward the tip in two thin cured coats. Place rose gold chrome gel diagonally from the upper sidewall near mid-nail to the tip, keeping it thin. Cure, rub rose gold chrome powder over the gel, then soften the transition by gently buffing at the edges with a clean brush. Finish with glossy topcoat, keeping the diagonal chrome area sealed and smooth.
Editor's noteUse a small ombre brush and keep the diagonal stroke one continuous motion for a cleaner fade.
Watch outSkip heavy chrome gel - it puddles and makes the diagonal look muddy.
5. White Ombre with Silver Chrome Half-Moon
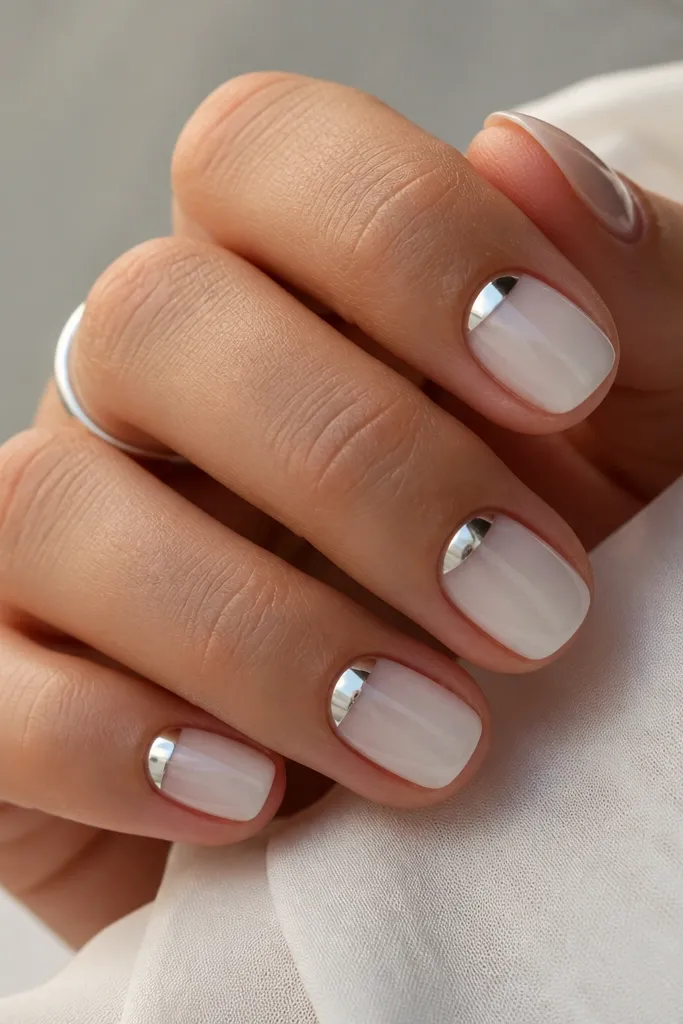
This one is cozy but structured. The half-moon chrome near the cuticle frames your nail bed and makes the ombre look intentional instead of random. Silver chrome can feel cold, but because it sits at the cuticle and the rest fades into white, it stays wearable. It flatters hands with smaller nail beds because the half-moon visually widens the base. I wear this when I want something wintery but still clean for work.
Start with a nude-pink rubber base and cure. Create the ombre by dabbing milky white from the cuticle to the middle, then blending with a sponge so the tip stays lighter. Cure and repeat with one thinner coat for smoothness. Use a fine detail brush to paint a half-moon gel at the cuticle (about 1/8 inch tall), cure, then rub silver chrome powder over it. Remove excess and seal with glossy topcoat.
Editor's noteKeep the half-moon slightly shorter than your cuticle curve so it doesn't look like a sticker.
Watch outDon't drag chrome gel into the ombre area - it ruins the soft fade.
6. Cloud White Ombre with Frosted Chrome Topline
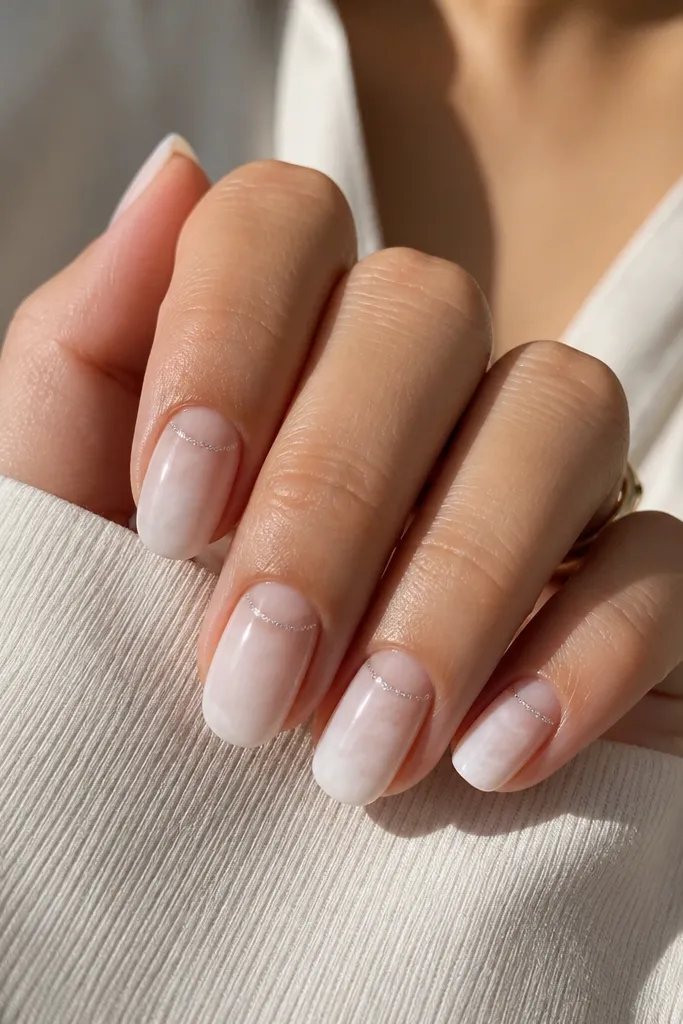
Cloud white ombre reads soft, and the frosted chrome topline adds just a whisper of shine. It's a great option if you're picky about chrome density because you only put chrome where the eye expects it - near the upper edge. This flatters medium nail shapes like squoval and almond, and it looks especially good on fair skin because the white stays bright without turning blue. For spring, it feels airy, like clouds on a pale sky. For winter, it looks clean even when your outfit is dark.
Apply a sheer base and cure. Sponge-dab cloud white gel from the cuticle downward, then blend the edges lightly so the white looks like a fog. Cure two thin layers. Paint a thin chrome gel line across the upper third - follow the natural curve of the nail, not a straight line. Cure, apply frosted chrome powder over the gel line, then brush off excess. Finish with glossy topcoat.
Editor's noteUse a striping brush with a tiny amount of gel so the chrome line stays crisp.
Watch outAvoid a thick topline - it turns into a chunky bar.
7. White Ombre with Iridescent Chrome Confetti
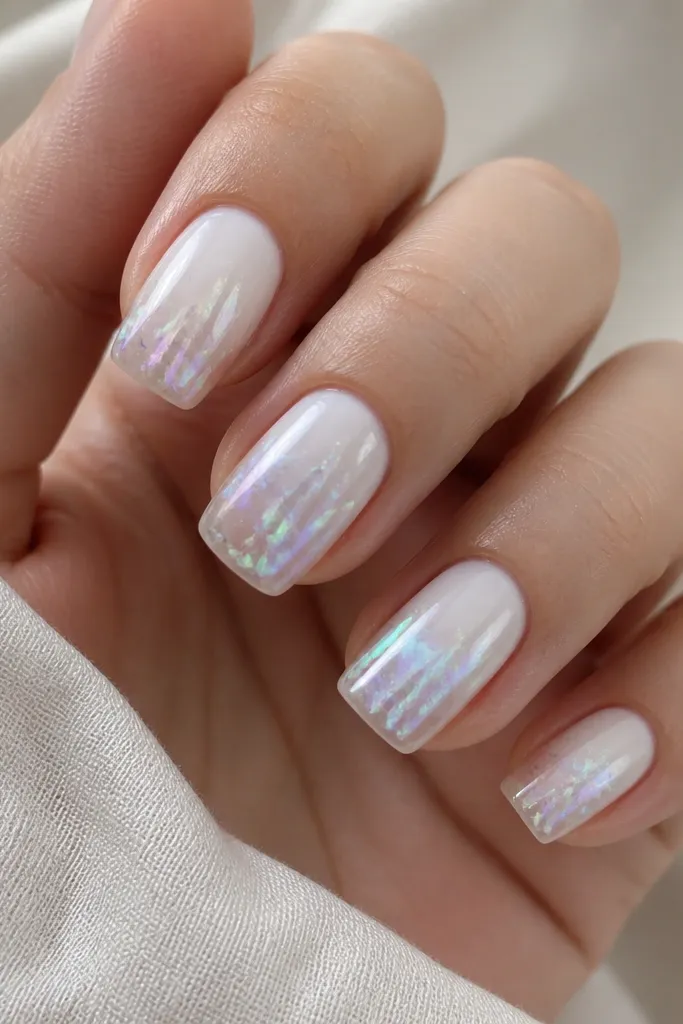
Confetti chrome is the cozy version of "party nails." The white ombre keeps everything grounded, and the iridescent specks add sparkle without covering the whole nail in reflective chrome. This is flattering on all skin tones because iridescence shifts with your lighting. I love it when your wardrobe is neutral and you want a little movement on your hands. It also hides small imperfections because the specks distract from micro ridges.
Start with a clear or sheer nude base and cure. Sponge milky white at the cuticle and fade it toward the tip in a translucent gradient with two thin cured coats. Apply iridescent chrome gel in tiny dots near the center and lightly toward the tip, then cure. Press chrome powder onto each dot and tap off excess. Seal with glossy topcoat, using a gentle brush stroke so the confetti doesn't smear.
Editor's noteMix one darker iridescent powder with one lighter one so the confetti has depth instead of looking flat.
Watch outDon't cover the whole nail in gel - it kills the confetti effect.
8. Pearl White Ombre with Silver Chrome Stipple
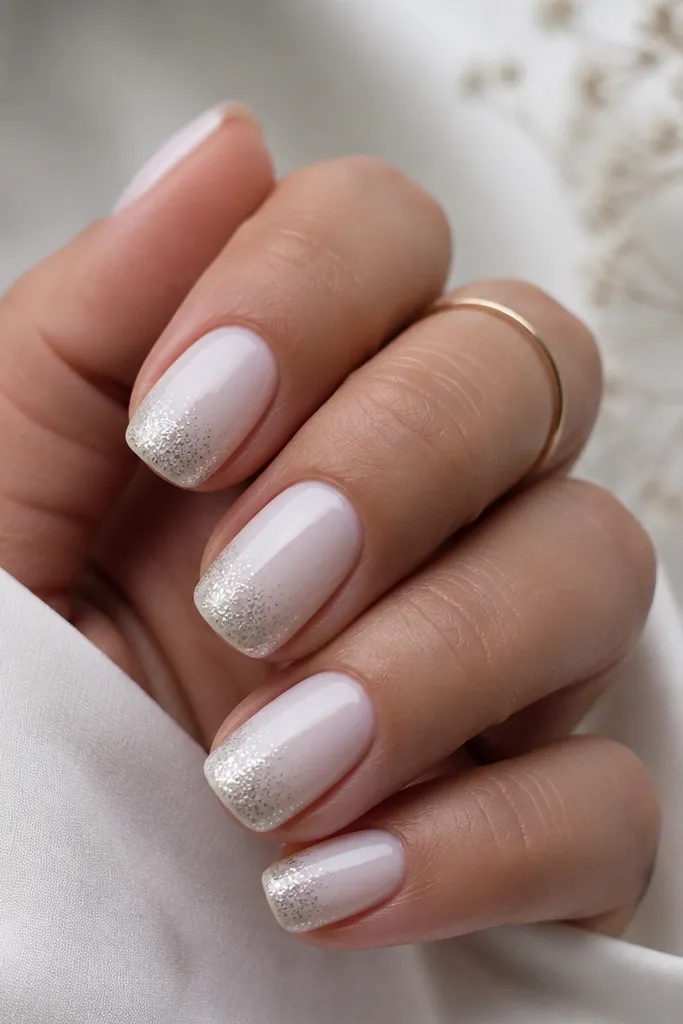
Stipple chrome looks like jewelry dust and it feels cozy because it's not a heavy chrome block. The pearly white base adds softness, and the silver stipple only at the tip keeps the glow focused. It flatters short nails because stipple makes the tip look textured and slightly longer. For people who hate mirror chrome, this is the compromise: you get shine but not full reflection. It also pairs well with knit sleeves and cozy outfits.
Use a sheer base and cure. Apply pearl white gel at the cuticle and blend with a sponge so it fades toward the tip, curing in two thin coats. Add stipple chrome gel only on the upper free edge area, about a third of the nail from the tip. Cure, then dab silver chrome powder with a small sponge or fingertip wrapped in tape to control the dots. Brush away excess and topcoat with glossy gel in two thin layers.
Editor's notePractice on one nail first - stipple density is easier to control than you think.
Watch outAvoid large chrome clumps - they catch on sleeves and look messy.
9. White Ombre with Soft Gray Shadow and Chrome Edge
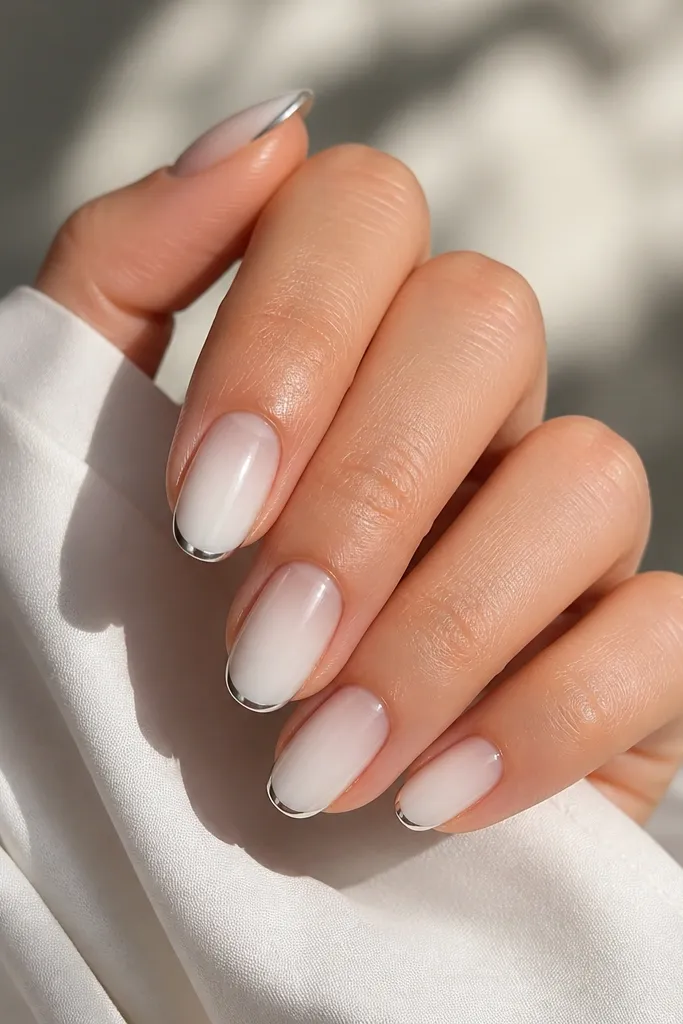
This design is for when you want cozy but you don't want it to look too bright. The faint gray shadow around the ombre fade makes the white look dimensional, like fabric folds under light. Then the narrow chrome edge gives a clean finish at the tip - it frames the nail without stealing attention. It works best on medium and almond shapes because the shadow needs space to show. I like it on neutral or cool skin tones because the gray keeps everything balanced.
Apply a sheer base and cure. Sponge milky white from cuticle to tip in two thin cured layers. Mix a tiny amount of soft gray gel with a clear gel to make it translucent, then apply it very lightly where you want depth - usually around the sidewalls near the middle and fade out. Cure. Paint a thin chrome gel line at the free edge, cure, apply silver or steel-gray chrome powder, then seal with glossy topcoat.
Editor's noteUse a translucent gray mix; if it looks opaque in the bottle, it will look muddy on the nail.
Watch outSkip heavy gray - it turns the cozy look into "dirty".
10. Winter White Ombre with Frosted Chrome Half Tips
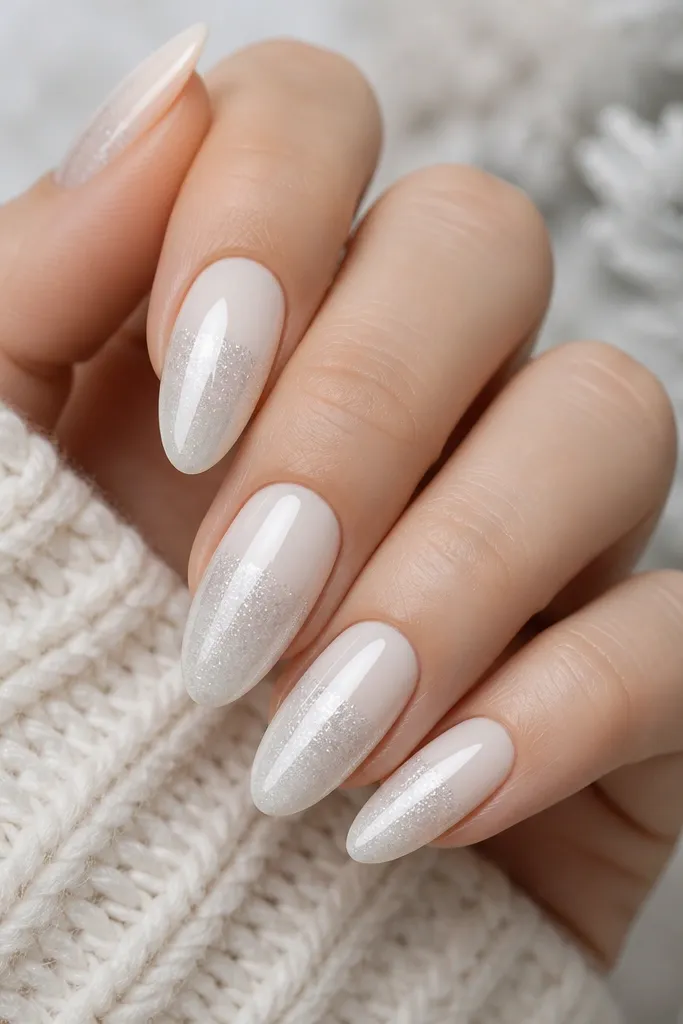
Half-tip chrome is the sweet spot between subtle and bold. The ombre gives softness, and the frosted chrome half tips add that winter sparkle when you're walking outside. This looks great on almond nails because the half-tip follows the nail curve and makes the shape look intentional. It's especially flattering if your nail beds are a little short because the chrome portion visually extends the tip. For winter to early spring, it looks like "snow-globe nails" without being clownish.
Start with a sheer base and cure. Apply winter white gel at the cuticle and blend down toward the tip with a sponge, curing in two thin coats. Decide where the half-tip starts - for almond, I place it around the lower 45% of the nail. Paint frosted chrome gel across that lower area, cure, rub frosted chrome powder, and press it in. Seal with glossy topcoat and wipe any chrome texture with a clean brush after curing.
Editor's noteMeasure the half-tip start by comparing it to your nail length - aim for 40-50% coverage for a balanced look.
Watch outDon't blur the half-tip boundary too much - it should look intentional, not accidental.
11. White Ombre with Pearl Chrome Center Stripe
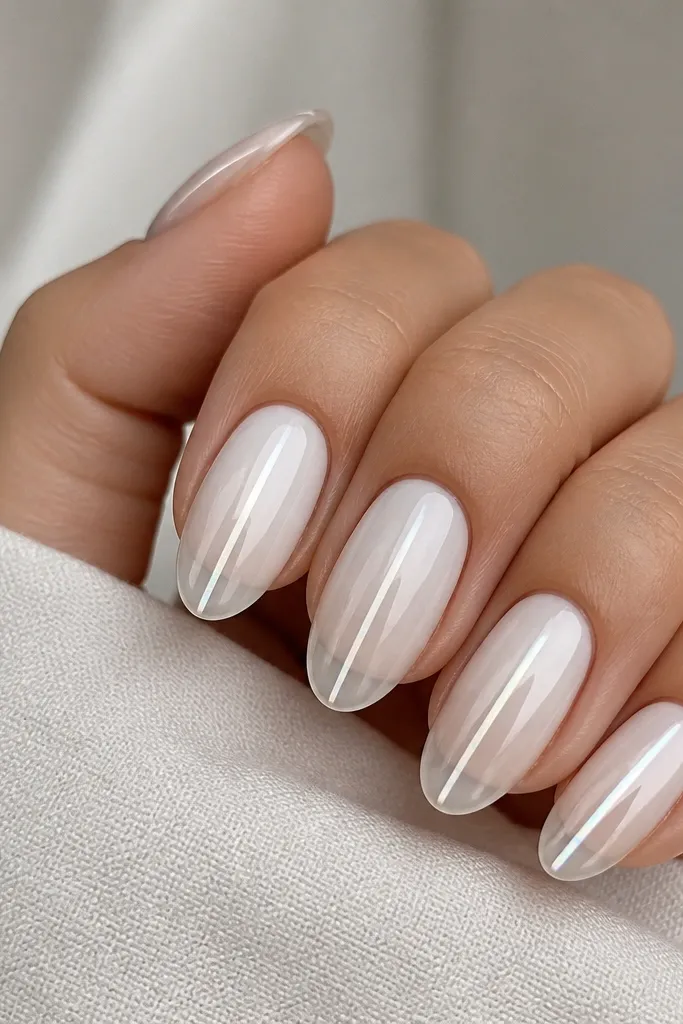
A center stripe makes the nail look longer and cleaner. Pearl chrome is softer than mirror chrome, so it supports the cozy ombre instead of overpowering it. I love this on square-to-squoval nails because the stripe adds a vertical line that balances the shape. It flatters most skin tones, and it looks great with minimal jewelry because the nail does the talking. For spring, it feels fresh because the chrome stripe is narrow and light-catching.
Apply base and cure. Sponge milky white at the cuticle and blend toward the tip, keeping the tip mostly translucent, with two thin cured layers. Use a striping brush to paint a narrow center line of pearl chrome gel from mid-nail to the tip, cure. Apply pearl chrome powder, press, then remove excess carefully so the stripe stays crisp. Topcoat with glossy gel, using a straight brush stroke from cuticle to tip to keep the stripe smooth.
Editor's noteKeep the stripe width around the thickness of a single thin strip of tape - too wide makes it look like a sticker.
Watch outAvoid flooding the stripe with topcoat - thick layers dull chrome.
12. Creamy White Ombre with Silver Chrome Side Glints
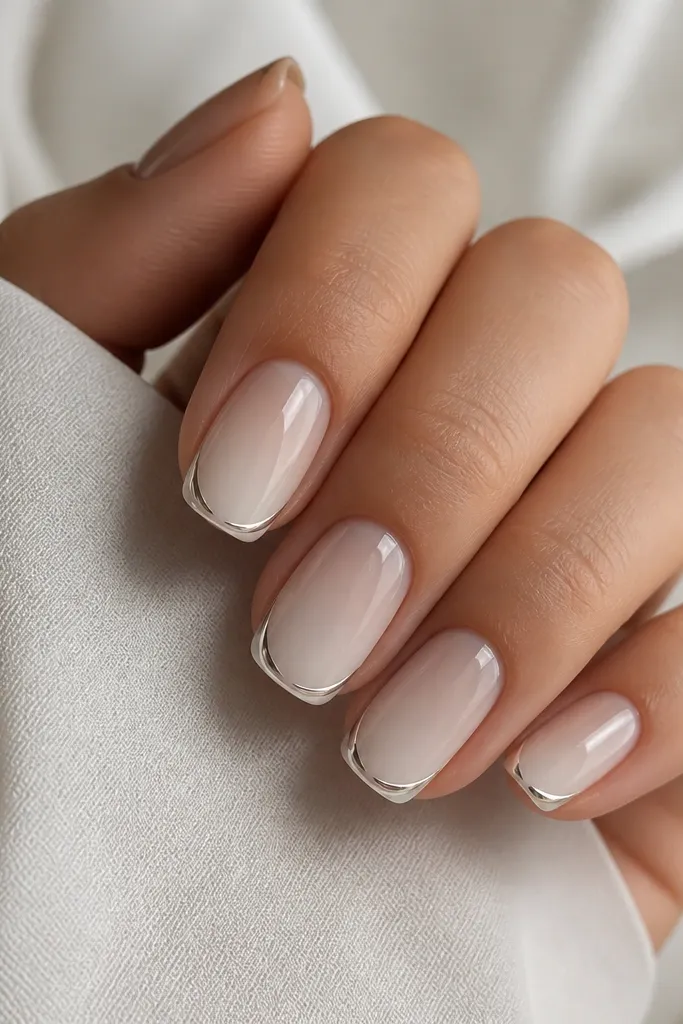
Side glints are the kind of cozy ombre chrome nails that look fancy up close but calm from a distance. The creamy ombre gives softness, and the two side glints frame the nail tip without adding a heavy band. This flatters nails that are slightly wider because the chrome sits along the edges and creates a narrower visual line. It looks great on warm and neutral skin tones. I wear it when I want sparkle that doesn't look like a full chrome set.
Start with a sheer base, cure, then sponge creamy white from the cuticle downward in a soft fade. Cure in two thin coats. With a fine brush, paint two tiny chrome gel crescents on each side of the tip area, about 1-2 mm away from the center. Cure, rub silver chrome powder onto the gel, and tap off excess. Seal with glossy topcoat, making sure the topcoat covers the glints so they don't catch on fabric.
Editor's noteUse a tiny amount of gel on the brush - side glints look best when they're crisp and narrow.
Watch outSkip chrome right at the edge of the nail - it chips faster there.
13. White Ombre with Pearl Chrome Bow Tie Accent
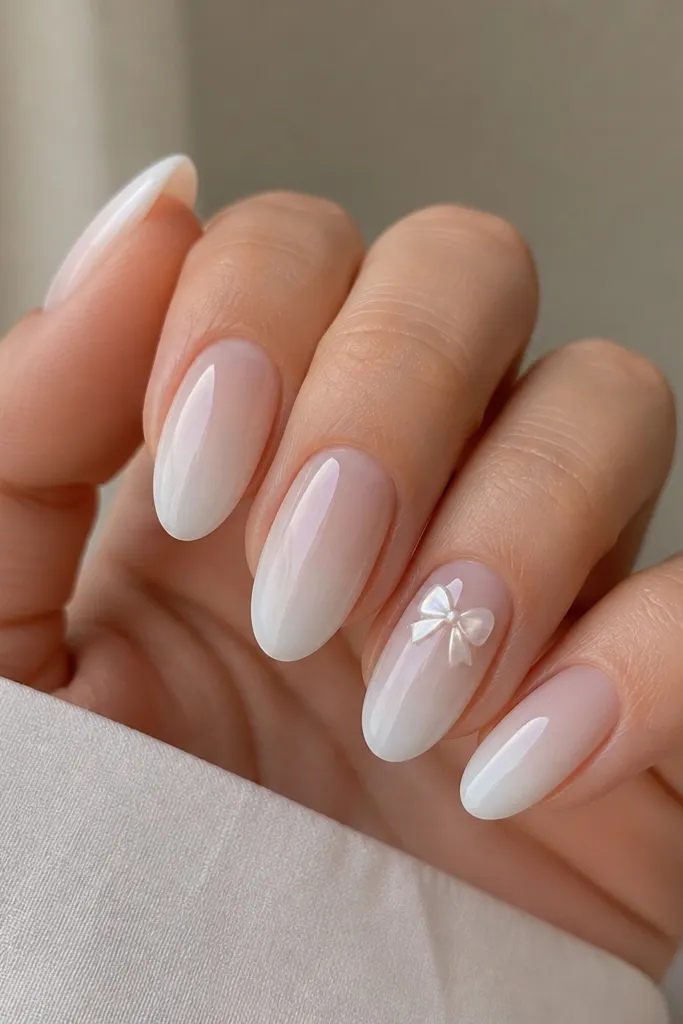
A bow tie accent turns cozy ombre chrome nails into something you can wear for birthdays or date nights without going full rhinestone. The bow sits near the cuticle, so it looks cute and intentional rather than random. Pearl chrome keeps it soft and wearable, which matters because bow accents can look too "hard" with mirror chrome. This flatters short-to-medium nails because the accent doesn't need lots of space. It also looks great with cozy knits and dresses because it reads like a little accessory.
Do a milky white ombre on all nails: sheer base, cure, then sponge white from cuticle down with two thin cured layers. Pick one accent nail and paint a small bow tie outline with pearl chrome gel near the cuticle center, cure. Add pearl chrome powder onto the gel, press, and remove excess. Use a glossy topcoat over the accent nail in two thin layers, then apply a standard glossy topcoat on the rest. Keep the bow size small - about the width of your pinky nail's cuticle curve.
Editor's noteIf your bow outline looks shaky, use chrome gel only for the outline and fill with a tiny brush after curing.
Watch outDon't make the bow too large - it overwhelms the ombre.
14. Soft White Ombre with Silver Chrome Scallop Tips
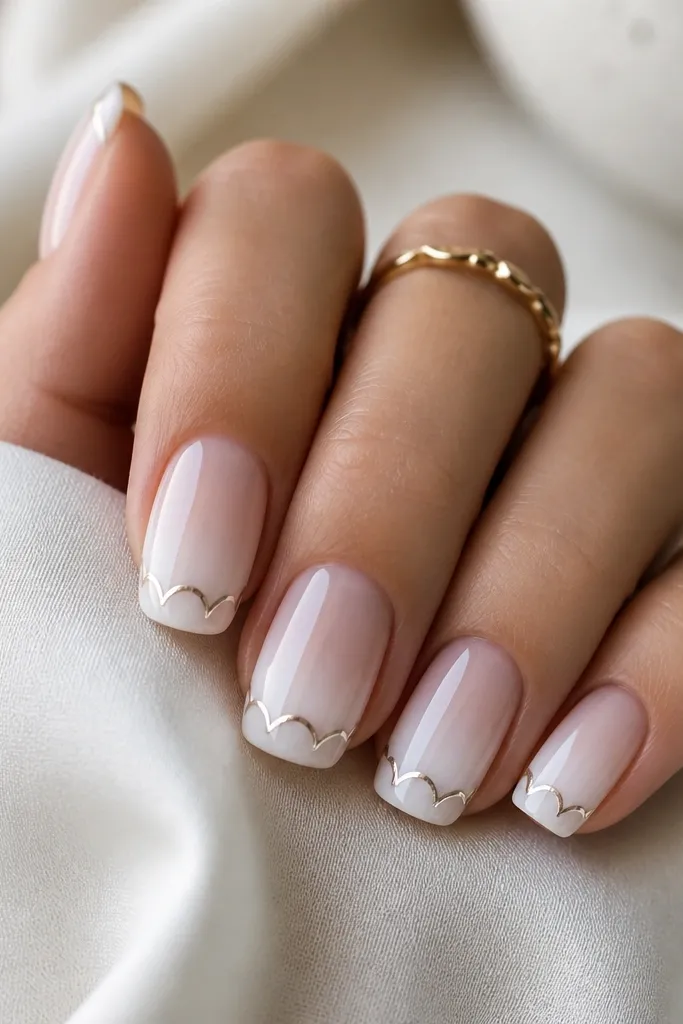
Scallop tips look playful, but the chrome makes them feel polished. The soft white ombre keeps the base cozy, and the scallops add texture that looks good in motion. This design flatters squoval nails because the scallops follow the rounded corners. It also works on medium lengths where the tip has room for the pattern. If you want something winter-to-spring that still feels fun, this is the one that gets the most "where did you get your nails done?" comments.
Apply sheer base and cure. Create the ombre with milky white sponge blending, keeping the tip translucent, curing two thin layers. Paint a thin chrome gel layer along the free edge, then use a dotting tool to create scallop arcs by lifting and re-placing the gel slightly, cure. Rub silver chrome powder over the scallops and tap off excess. Seal with glossy topcoat, and be extra gentle around scallops so they don't blur.
Editor's noteUse a dotting tool with a smaller tip than you think - big dots make scallops look chunky.
Watch outAvoid thick chrome gel at the edge - it smears when you powder.
15. White Ombre with Iridescent Chrome Aura Near Cuticle
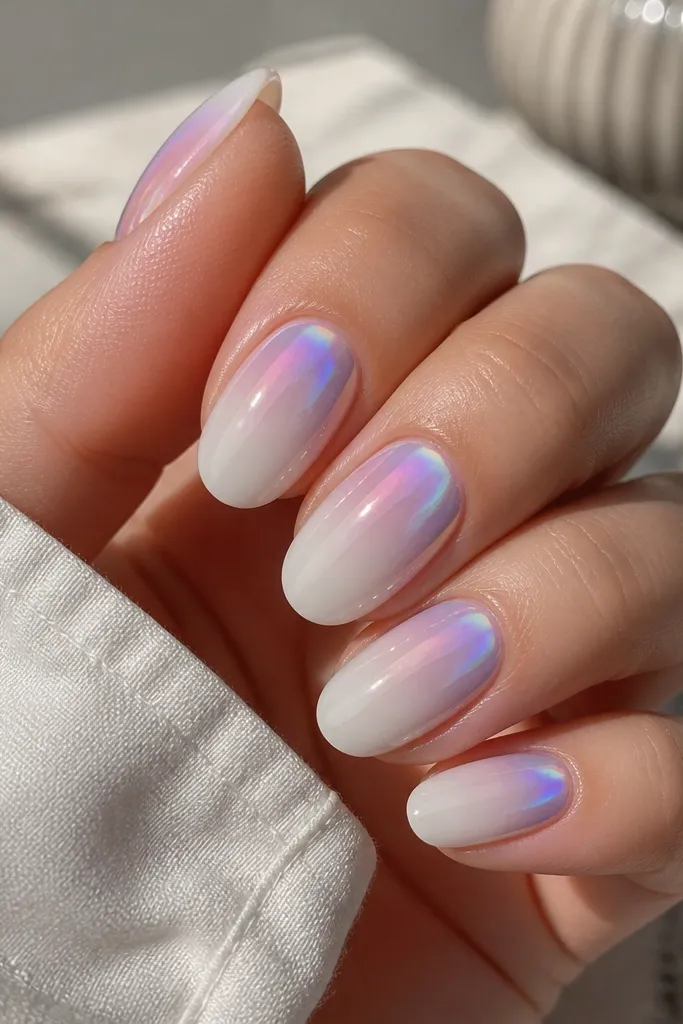
An aura near the cuticle makes the nails look freshly done even as they grow. The milky white fade gives a cozy base, and the iridescent chrome halo adds that "glow from within" effect without covering the whole nail. It flatters fair to medium skin tones because the shifting colors brighten the nail bed. I like it for winter when everything feels muted - the aura brings color without looking loud. It's also forgiving on uneven cuticles because the aura draws attention to the center.
Start with a sheer base and cure. Sponge milky white from the cuticle down to about the middle of the nail, leaving the tip lighter, with two thin cured coats. Apply iridescent chrome gel in a small ring or halo around the cuticle area, cure. Rub iridescent chrome powder over the gel and buff gently with a soft brush so the edges fade. Seal with glossy topcoat, keeping the topcoat thin near the aura so it stays reflective.
Editor's noteIf your aura looks too sharp, lightly buff the edges before topcoat with a soft, dry brush.
Watch outDon't put aura gel too far down - it turns into full coverage and stops looking cozy.
16. Creamy White Ombre with Pearl Chrome French Fade
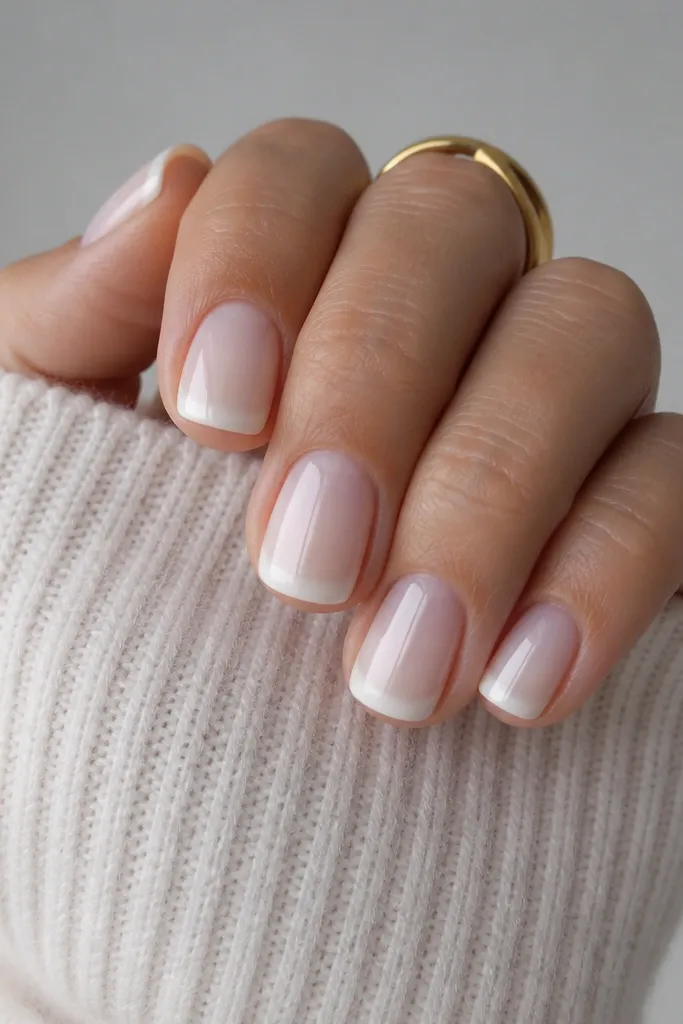
A French fade feels traditional but still modern when it's paired with chrome and an ombre base. The pearl chrome is soft, so it keeps the cozy vibe and doesn't look like harsh winter ice. This design flatters short nails because a French edge usually helps them look longer, and the fade prevents the tip from looking too heavy. It works well on both warm and cool undertones because the pearl chrome reflects neutral tones. It's also a good choice if you're new to gradients and want a clear guide for placement.
Apply base and cure. Sponge creamy white from cuticle down, leaving a translucent tip, then cure in two thin coats. Create the French fade by painting a very thin pearl chrome gel at the tip - start in the center and feather it out toward the sides with a brush. Cure, rub pearl chrome powder over the gel, then remove excess. Topcoat with glossy gel in two thin layers so the French fade looks smooth, not textured.
Editor's noteUse painter's tape as a temporary guide to keep the tip placement even across nails.
Watch outSkip mirror chrome for this - it makes French fades look too sharp.
17. White Ombre with Silver Chrome Jelly Tip
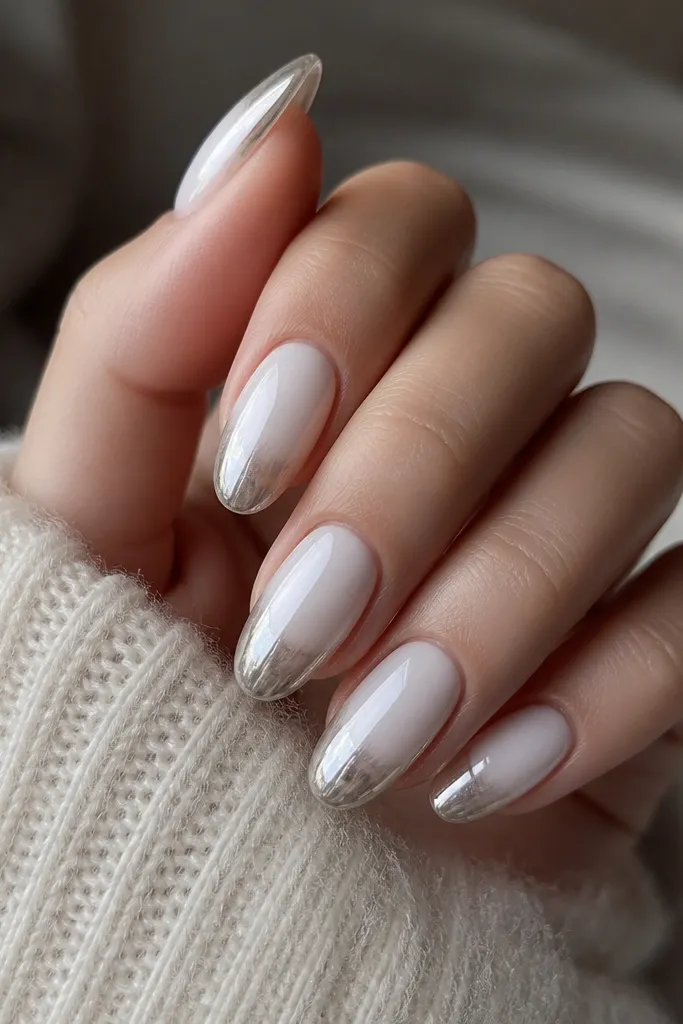
Jelly tips feel cozy because they look soft and dimensional. The white ombre fades into a translucent jelly zone, so your nail doesn't end in a hard line. Then the silver chrome jelly tip catches light like glass ornaments. This is flattering on medium nails where the jelly layer can show depth. It also looks great if you like shine but hate the look of thick chrome. For winter to spring, it reads gentle and clean.
Start with a sheer base and cure. Sponge milky white at the cuticle and blend down, curing two thin coats. Add a translucent jelly white gel near the tip, about the last third of the nail, and cure. Over that jelly zone, paint silver chrome gel, cure, then rub silver chrome powder lightly so it stays see-through. Seal with glossy topcoat, and avoid overbuilding the chrome layer so it stays glassy.
Editor's noteIf the chrome looks too opaque, use less chrome powder and press lightly - jelly needs air to look soft.
Watch outDon't cap the chrome too thick - it makes the jelly effect disappear.
18. White Ombre with Rose Gold Chrome Tip Drip (Softened)
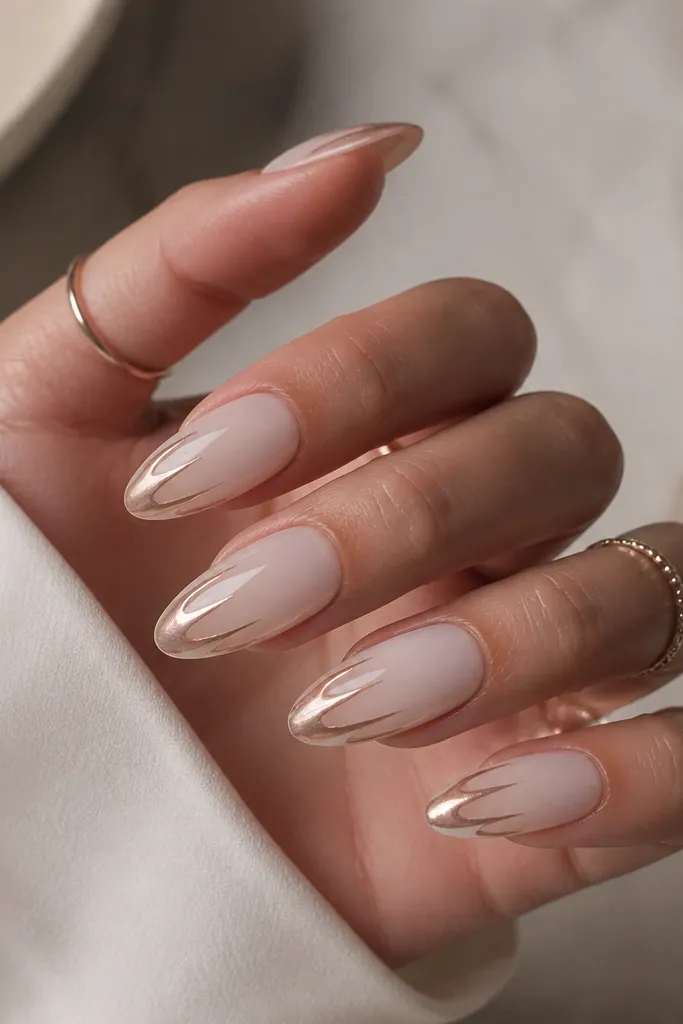
A softened drip is the only drip I like for cozy ombre chrome nails. The milky fade keeps it gentle, and the rose gold chrome adds warmth so the drip doesn't look like a Halloween nail. This looks best on almond nails because the tip curve makes the drip look natural rather than random. It flatters fair, warm, and even deeper skin tones because rose gold reflects across different undertones. I wear this when I want something artsy but still wearable in daylight.
Apply base and cure. Sponge milky white from cuticle down to mid-nail, leaving the tip translucent, curing two thin layers. Use a fine brush to draw a small amount of rose gold chrome gel on the tip center and pull downward slightly, making three tiny streaks. Cure. Rub rose gold chrome powder over the gel and press lightly, then use a clean brush to soften any sharp edges between streaks and ombre. Finish with glossy topcoat in two thin layers.
Editor's noteKeep the drip streaks short - about 1-2 mm - so it looks melted, not messy.
Watch outAvoid full drip lines - they look cheap fast and snag on sleeves.
19. White Ombre with Silver Chrome Waterline
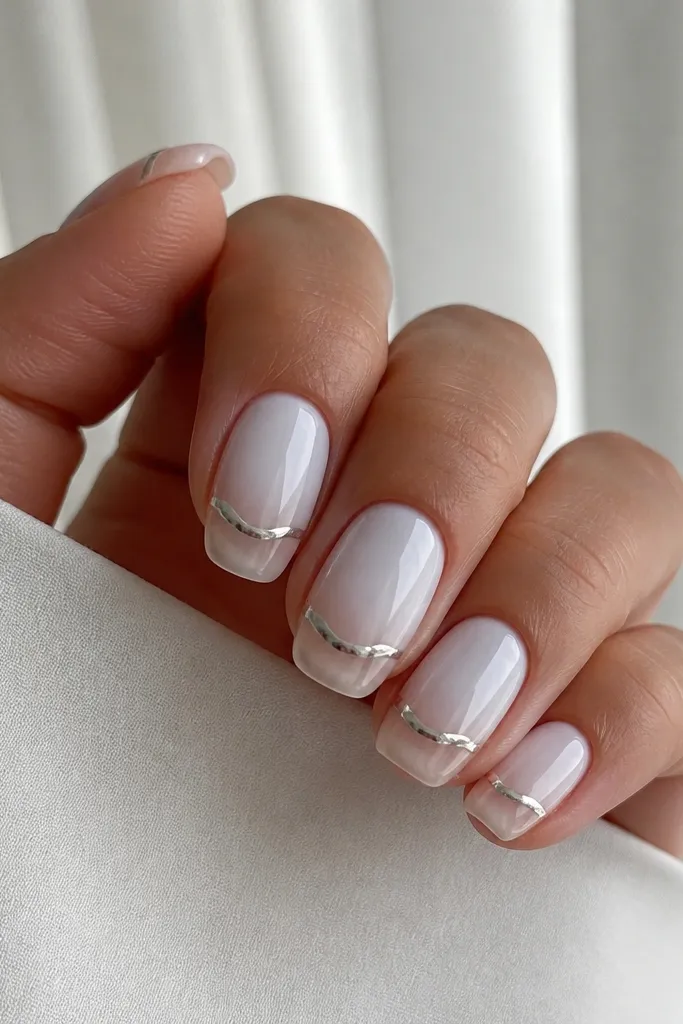
Waterline chrome looks calm and a little ocean-sky, which is why it works from winter into spring. The white ombre makes the nail soft, and the single horizontal chrome line adds a crisp detail without looking busy. I like it on medium nails because the line placement has room to sit neatly. It flatters most skin tones because silver reflects evenly. If your nails are prone to looking uneven, the waterline detail distracts from tiny growth variations.
Start with a sheer base and cure. Apply milky white gel at the cuticle and blend down using a sponge, curing two thin coats. Clean around the sidewalls so the ombre edges are neat. Paint a thin silver chrome gel waterline across the nail at about the lower third, cure. Apply silver chrome powder over the line, press, and remove excess. Seal with glossy topcoat, using a careful brush stroke to keep the line crisp.
Editor's noteUse a striping brush and rest it lightly on the nail edge to keep the waterline level.
Watch outDon't place the line too close to the very tip - it chips first.
20. White Ombre with Frosted Pearl Chrome Sprinkle
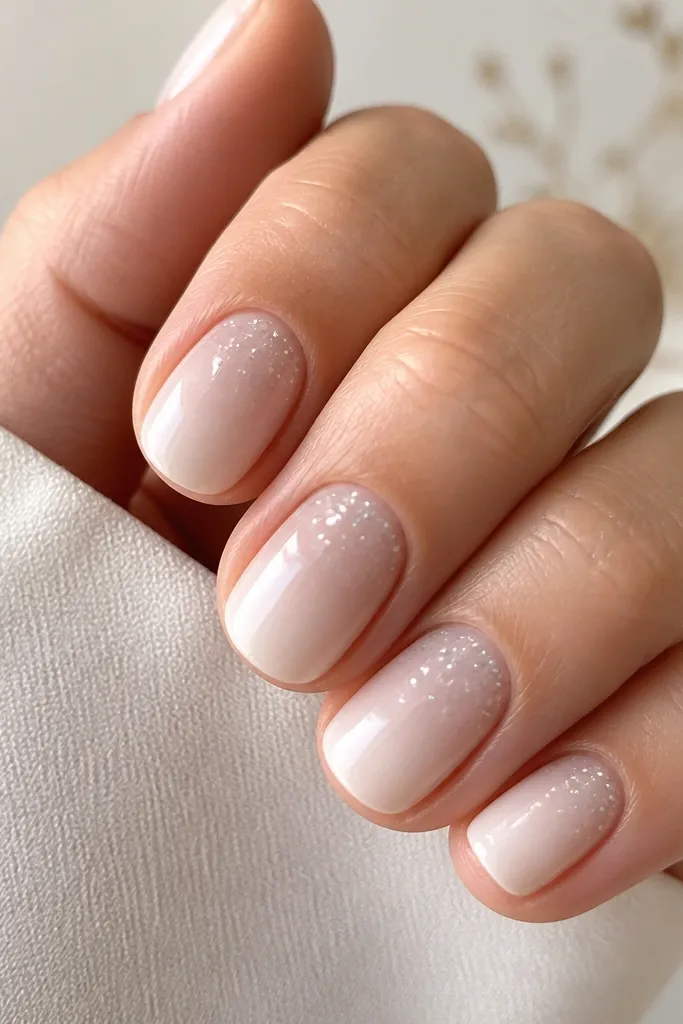
Sprinkle chrome is cozy because it looks like soft snowfall, not a heavy reflective coating. The milky ombre gives your nail a clean base, and the frosted pearl specks add texture and glow. This flatters short nails because the specks are distributed across the upper nail bed, which makes the whole nail look brighter. It's also great for people who want something wintery that still works in spring - the specks feel light, not themed. I like it for everyday because it hides minor wear.
Apply base and cure. Sponge milky white from cuticle down to the middle, then blend toward the tip so it stays translucent, curing two thin coats. Add frosted pearl chrome gel only on the top half area, cure. Sprinkle frosted pearl chrome powder over the gel, press lightly, and tap off excess. Seal with glossy topcoat, applying carefully so the specks don't smear.
Editor's noteIf specks clump, buff lightly after powder with a soft brush before topcoat.
Watch outSkip too much gel - it makes sprinkle chrome look like patches.