1. Micro French tip with a clean nude base
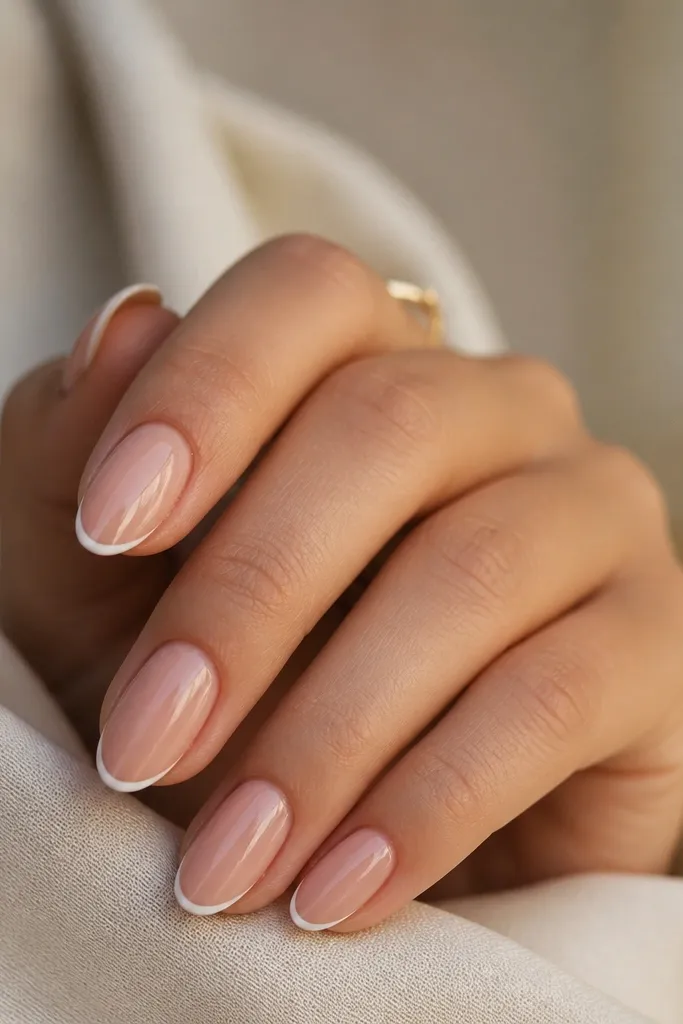
This is the fastest way to make short nails look put-together without widening the nail. The white is only a thin band, so the nail still looks long. I like a sheer pink base because it makes the white look brighter instead of stark.
Paint the nude base in two thin coats. For the white, use a liner brush and fill just the tip band - no need to go thick. Keep the arc small so the tip reads as a line, not a block.
Editor's noteIf your white floods the sides, wipe your brush on a paper towel first and use lighter pressure for each pass.
Watch outAvoid covering too much of the nail - thick white tips make short nails look even shorter.
2. One-line smile French (the "tiny grin" tip)
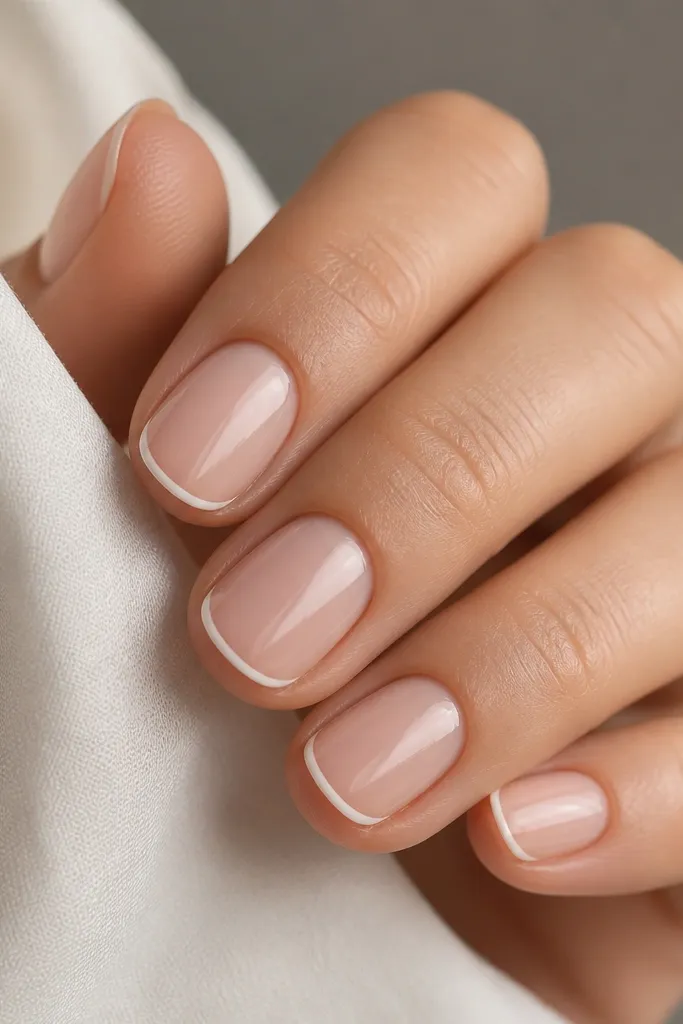
Instead of filling a tip, you draw a single "smile" line. It's super forgiving because uneven coverage doesn't matter - the line is what your eye reads. This design looks neat even if your brush isn't perfectly steady.
Use a liner brush to draw a shallow arc across the free edge. Let the line sit about 1-2 mm above the edge so it doesn't smear. Add a top coat over the line to smooth it out.
Editor's notePractice on one nail first - once the smile curve clicks, repeat on the rest.
Watch outDon't make the line too high up the nail or it turns into a harsh stripe.
3. Half-moon cuticle in white (reverse accent)
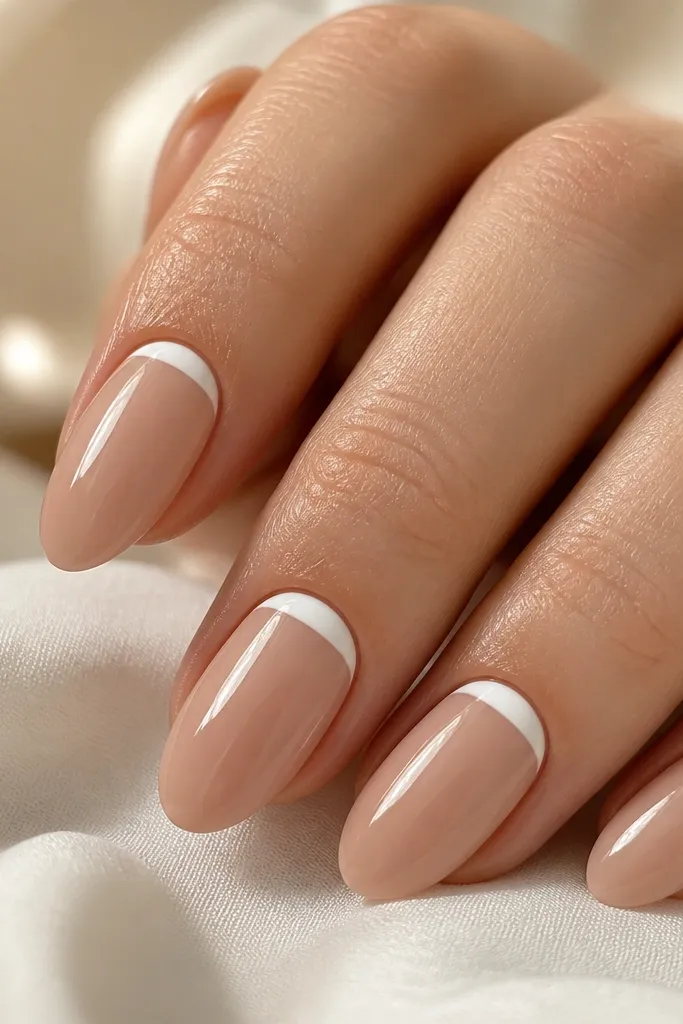
A white half-moon adds contrast where the eye naturally starts. Because it's near the cuticle and not the free edge, it doesn't shorten the nail visually. The shape also hides small cuticle imperfections.
Paint your nude base first. Use a dotting tool or the edge of a small brush to place a curved white arc at the cuticle, leaving about 1 mm gap from the sides. Clean the arc with a remover brush, then top coat.
Editor's noteIf you want it extra crisp, use a tiny piece of tape as a guide for the arc, then remove right after painting.
Watch outAvoid letting white touch the skin - clean up immediately or it will smear as it dries.
4. White dot cluster on a nude base
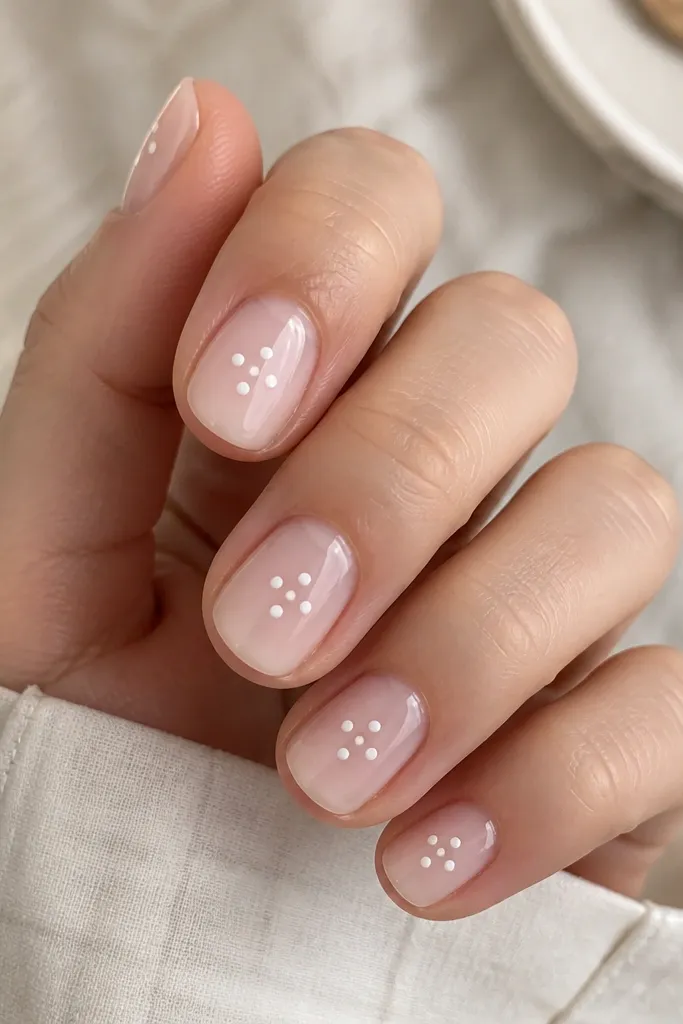
Dots are the easiest way to make white look intentional without filling areas. Small dot clusters add dimension and draw attention to the center of the nail. It's also forgiving if your dots aren't perfectly round - the cluster makes them look designed.
Dip a dotting tool in white polish and tap onto the nail. Start with one center dot, then add two side dots and one small dot below for a subtle triangle. Keep the whole cluster within the middle third of the nail.
Editor's noteUse the smallest end of your dotting tool and wipe the tool between nails to keep dot size consistent.
Watch outDon't spread dots across the whole nail - that makes short nails look busy and messy.
5. White V-tip (like a sharp chevron)
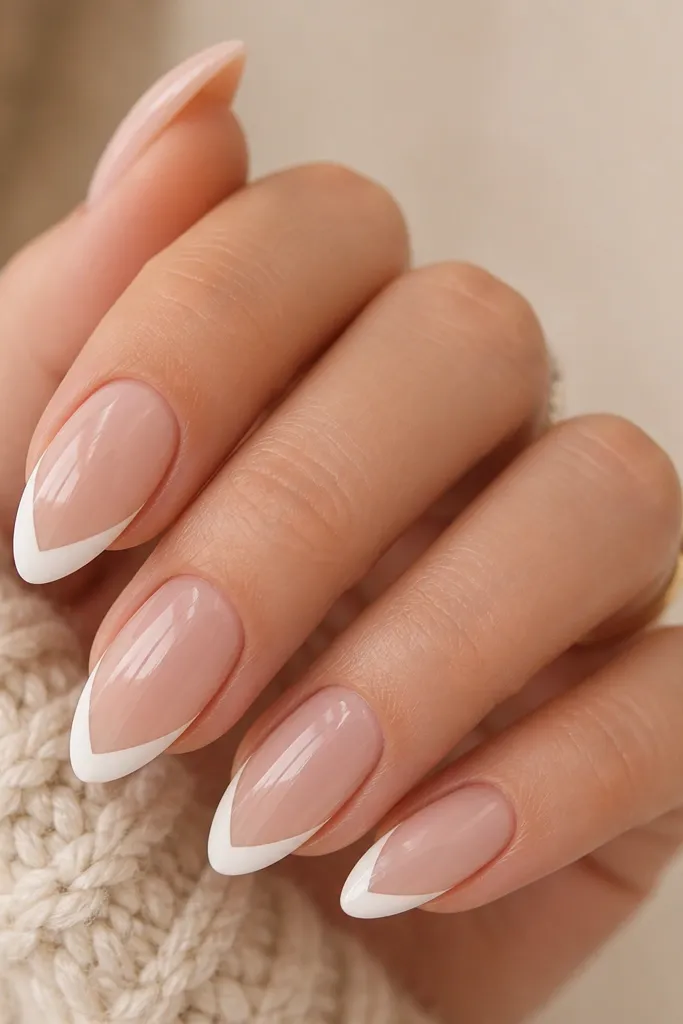
A V-tip creates a long, pointed shape that visually stretches short nails. It also looks crisp because the design is line-based, not filled. I like it in opaque white because it shows up clearly on a nude background.
Draw the two sides of the V first with the liner brush, then connect at the tip. Keep the V point centered and don't widen it too much - aim for a narrow V that fits inside the nail's natural outline.
Editor's noteIf your V looks crooked, correct it by adding a thin second pass only along the shorter side.
Watch outAvoid thick filling - a filled V turns into a block.
6. Classic white outline tip (no fill)
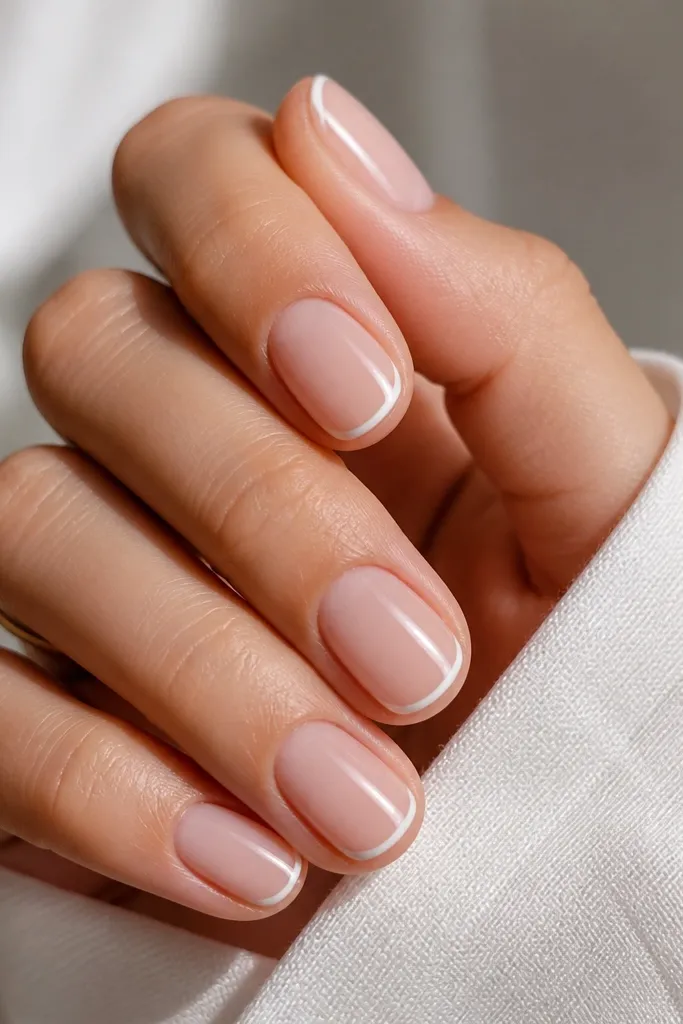
Outline tips look clean because they don't rely on full coverage. The negative space inside keeps nails from looking bulky. It's also easier to do evenly on short nails because you're tracing edges, not painting a whole area.
After nude base, use the liner brush to draw the outer arc of the tip and then a line down each side. Leave the inside unpainted. Finish with top coat to seal the lines.
Editor's noteUse slow strokes and let the brush touch down at the start of each side line to reduce wobble.
Watch outDon't overpaint the outline until it becomes a filled tip.
7. White diagonal stripe across the tip
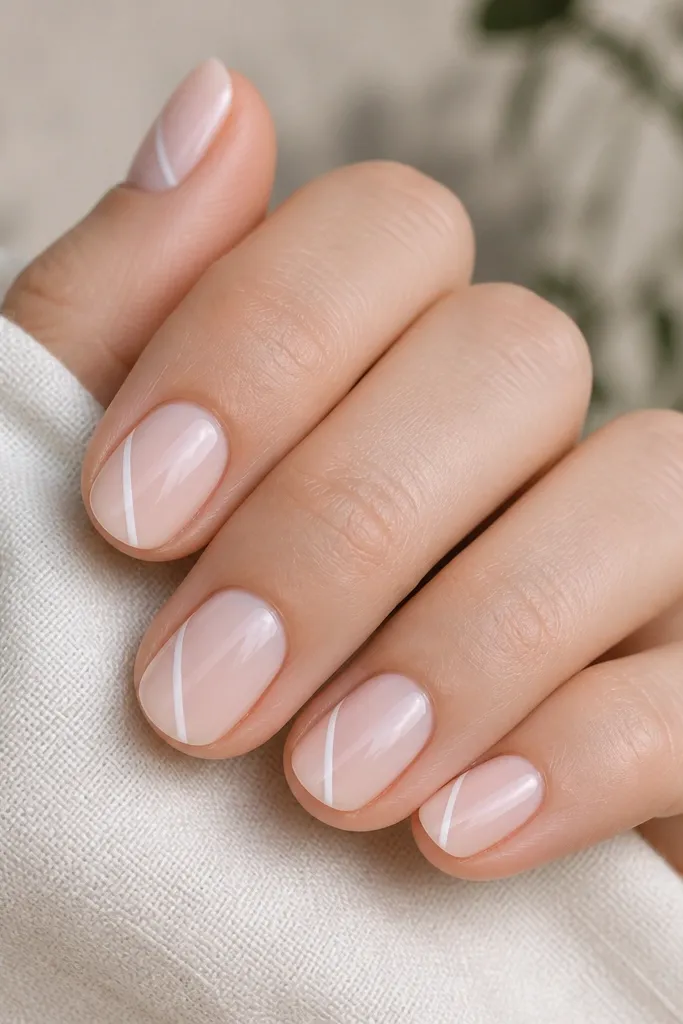
A diagonal stripe guides the eye up and across, which makes short nails look more dynamic. It's also a great design when you're low on time because you only paint one line per nail. Keep it narrow for a sleek look.
Paint the nude base. Place the stripe starting about 2-3 mm from the free edge and angled slightly toward the center. If you want perfect edges, use thin tape for the stripe, paint white, then remove tape immediately.
Editor's notePress the tape with a cotton swab so the stripe edge stays crisp.
Watch outAvoid a thick stripe - it can look like nail damage coverage.
8. White marble swipe (quick and controlled)
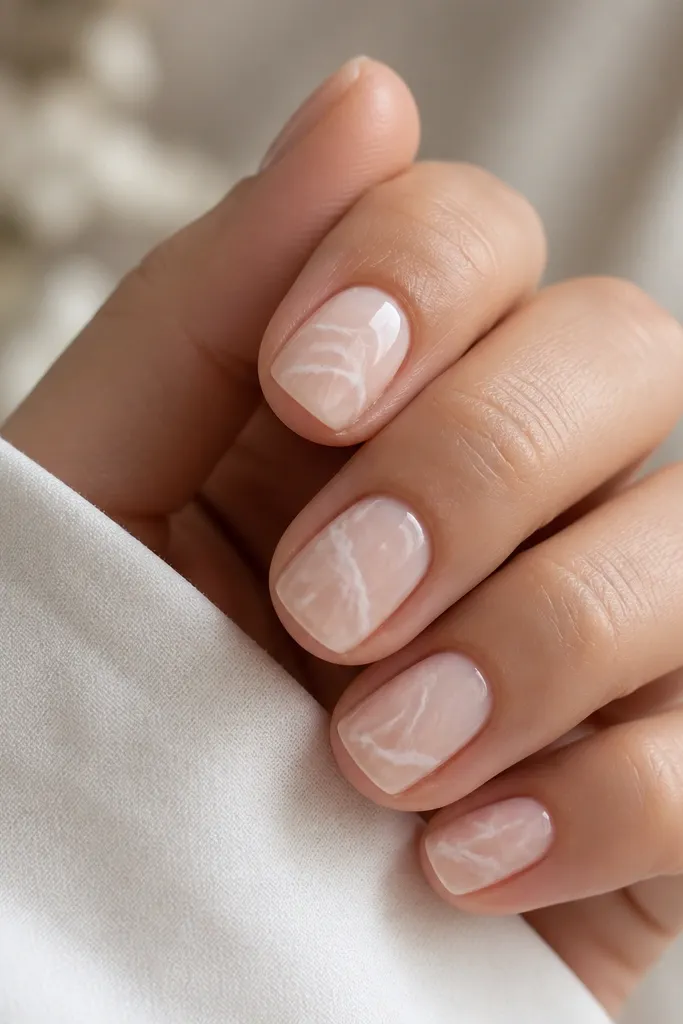
Marble swipes use thin, irregular lines instead of full coverage, so they fit short nails perfectly. The milky nude base keeps it soft and wearable. This design also hides tiny brush streaks because marble is supposed to look imperfect.
Apply nude base, cure if gel. Add a few white swipes with the liner brush, then pull a couple of wispy lines through them with the brush tip. Keep the swipes to the top half of the nail so the nail doesn't feel crowded.
Editor's noteUse a nearly dry brush for the wisps - wet lines bleed and turn into blobs.
Watch outAvoid painting big white patches - they read as chips.
9. White bow accent on one nail (mini sticker effect)
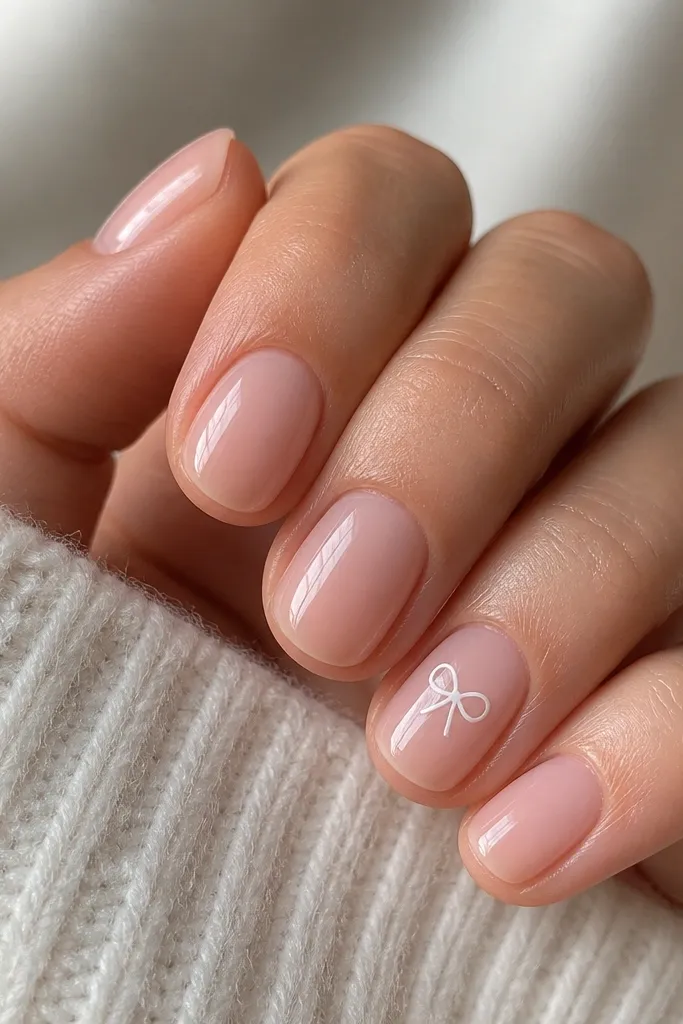
A small bow gives you that cute look without covering the whole nail in white. I place it on one accent nail because it keeps the manicure from looking childish on short fingers. The clean white lines make it look like a sticker.
Do the base on all nails. On the accent nail, draw two small curved loops, then add a tiny rectangle or dot for the center knot. Outline the bow with a thin second pass so it stays crisp after top coat.
Editor's noteIf your bow looks lopsided, fix it by thickening only the thinner loop by one extra stroke.
Watch outAvoid putting bows on every nail - short nails need breathing room.
10. White diagonal half-tip (filled triangle corner)
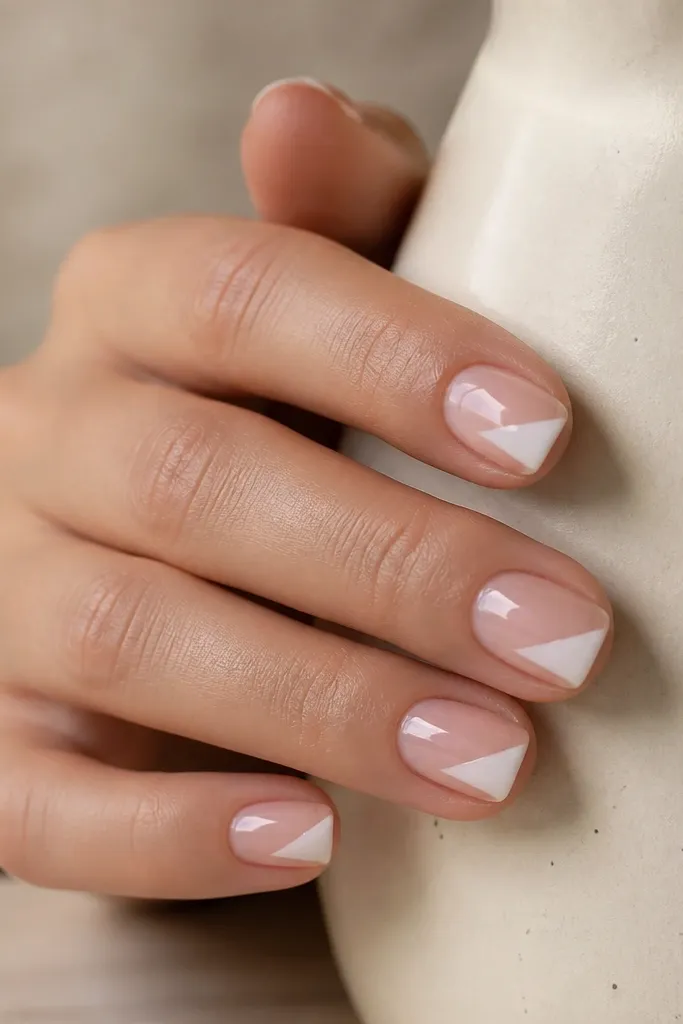
Half-tip blocks look modern when they're small. This one uses a triangle corner so your eye reads length instead of width. The nude base stays visible, which keeps the white from looking heavy.
Paint nude base first. Use tape to mask a diagonal line at the free edge, then fill the triangle with opaque white. Remove tape while the polish is still workable, then clean edges with a remover brush.
Editor's noteKeep the triangle under 3 mm wide at its widest point for short nails.
Watch outAvoid a big filled corner - it turns into a thick chip look.
11. White flower center with tiny petals
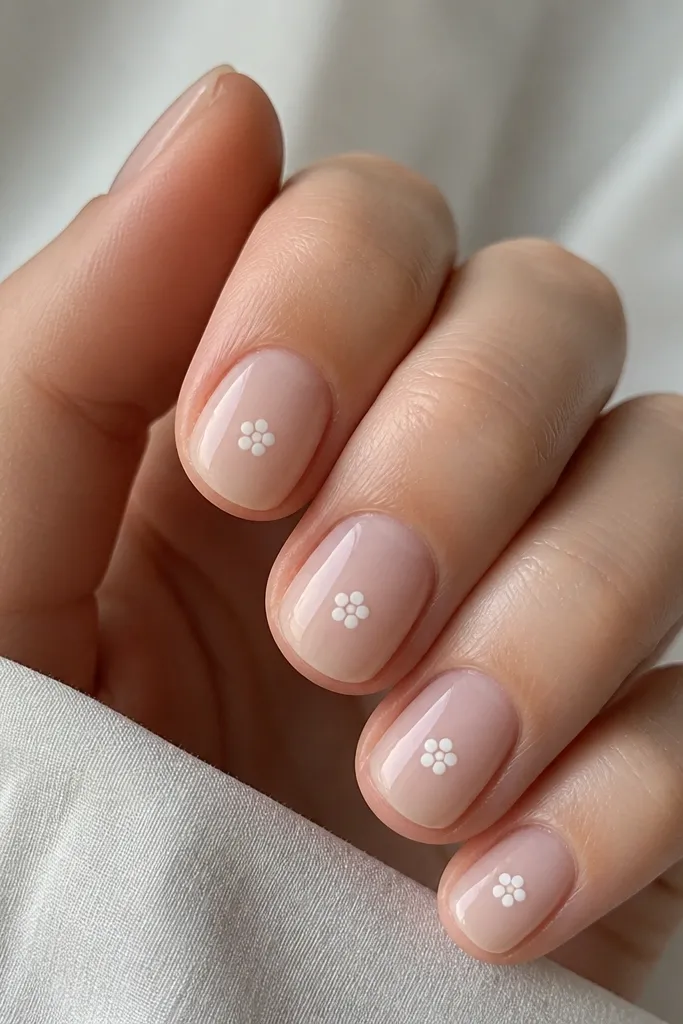
A mini flower is cute, but it also gives structure to short nails because everything stays centered. The white dot center pops, while the petal dots stay light. It looks like nail art you can actually finish in one sitting.
Dot the center first. Then place 4-6 petal dots around it like a clock face. Keep the full flower diameter about the width of a pencil eraser head on your nail.
Editor's noteUse a toothpick for petal dots if your dotting tool is too big.
Watch outAvoid large flowers - big petals eat the nail space on short lengths.
12. White "halo" border around the tip edge
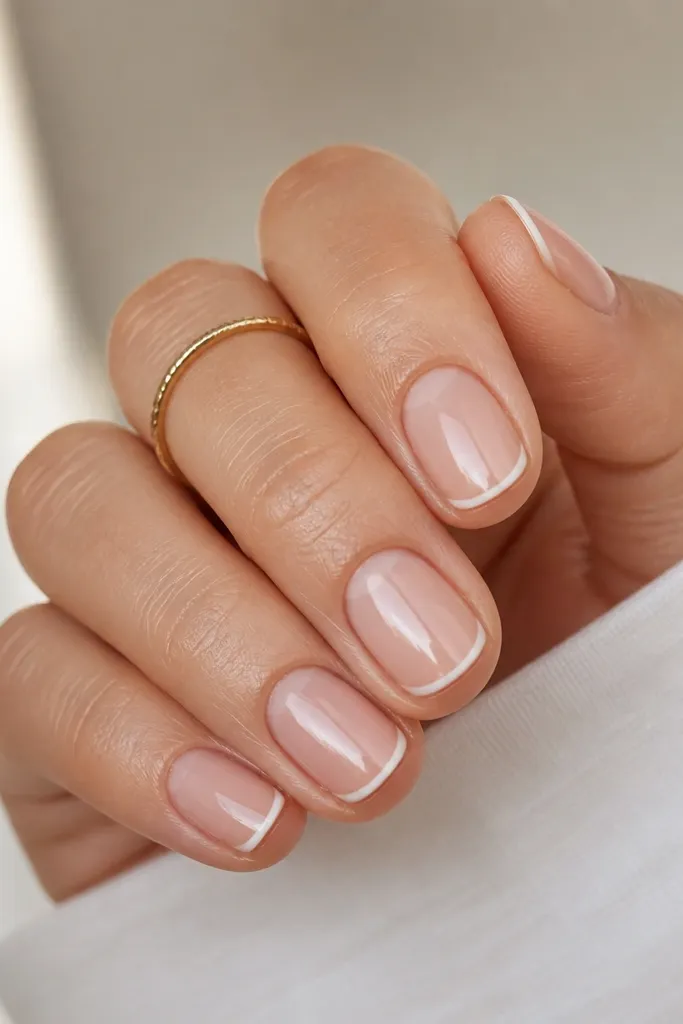
This one looks like a clean frame. The halo border makes the free edge look intentional and tidy, especially when your tips are naturally uneven. It's also a great design for nails that have small ridges - the line draws attention away from texture.
After nude base, trace around the tip edge with the liner brush. Keep the border thin and consistent. Add a second pass only if the line is patchy, then top coat.
Editor's noteIf your brush drags, use a small amount of top coat to help the line glide, then seal after painting.
Watch outAvoid double-thick borders - they look like sticker edges.
13. White negative-space frame (outline rectangle)
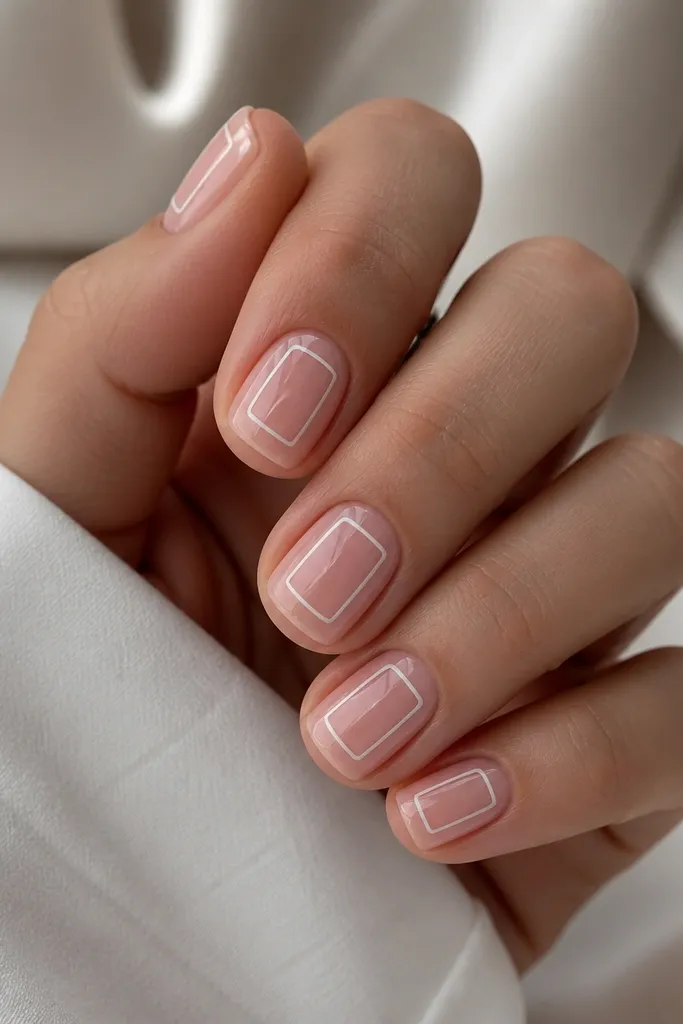
Negative space frames look crisp on short nails because they create a shape without covering the whole surface. The white outline draws focus, and the interior stays nude. It also hides any unevenness because you're guiding the eye with lines.
Use the liner brush to draw a small rectangle centered on the nail. Leave gaps to the sides so it doesn't touch the cuticle or sidewalls. Finish with top coat and check corners - seal the lines so they don't catch on fabric.
Editor's noteMake the rectangle slightly taller than wide so it doesn't look like a square sticker.
Watch outAvoid placing the frame too close to the cuticle - it can look crowded.
14. White tiny stars on a nude base
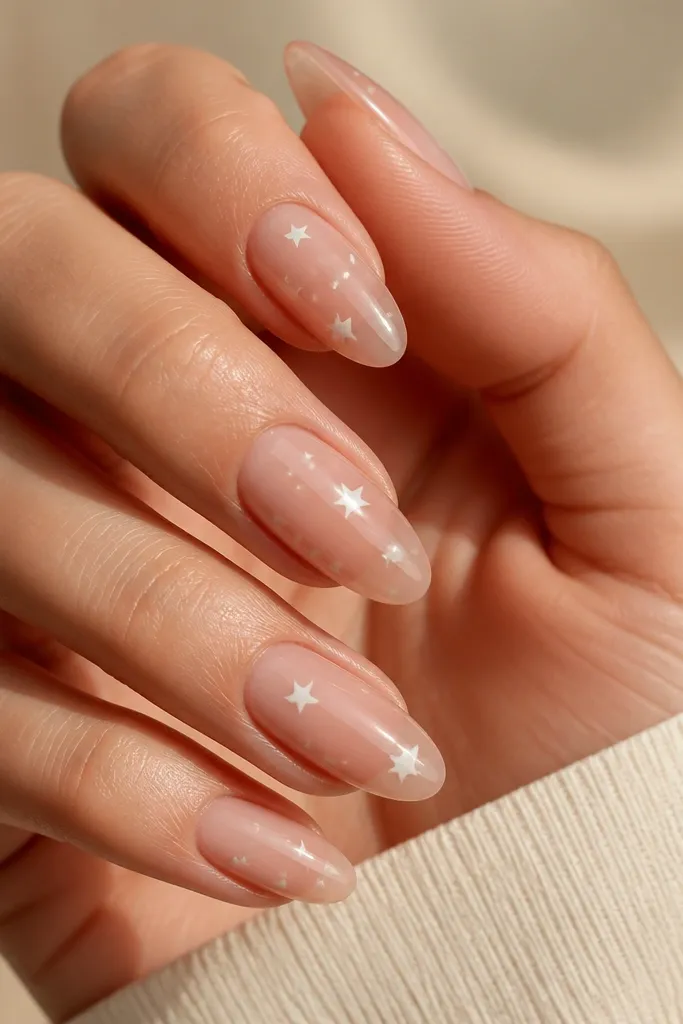
Stars add a fun twist while still staying minimal. When the stars are small and spaced, they don't overpower short nails. I like using a nail art star stamp if you have one, but a liner brush works too.
Draw a five-point star with the liner brush: one point up, then four points around. Place each star near the free edge but leave a little space from the sides. Add top coat carefully around the star points.
Editor's noteDo one star per nail first - if you want more, add a second only on the ring finger.
Watch outAvoid big stars - they turn into cartoon shapes on short nails.
15. White stripe + micro dot combo
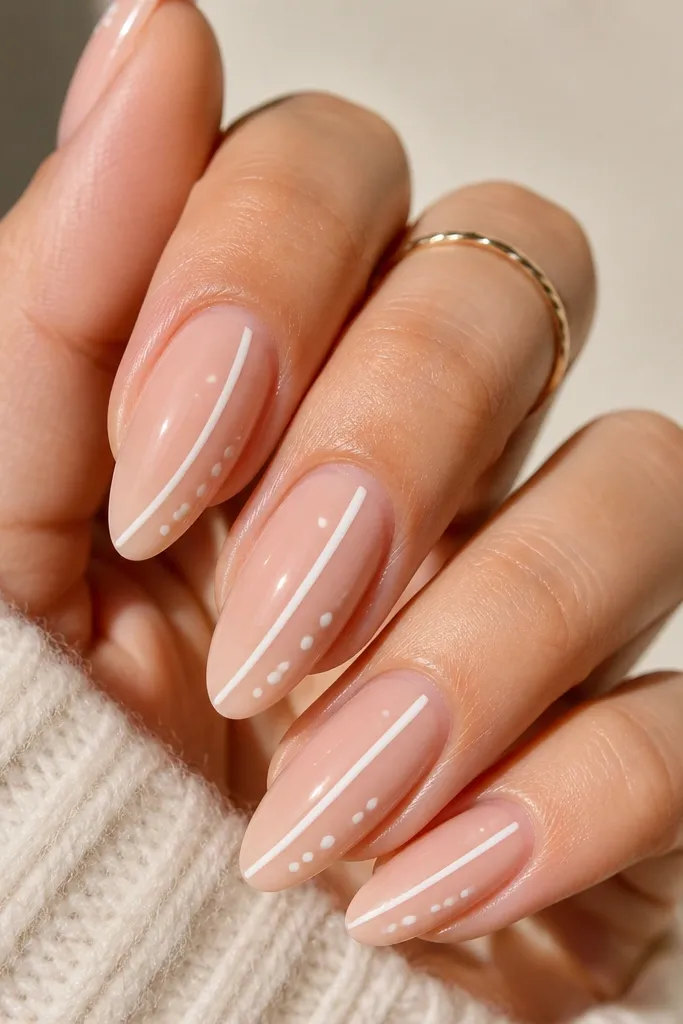
This combo is fast and looks styled because it has two elements with clean spacing. The stripe sets the direction, and the dot adds a focal point. It also works when your nail shape is uneven since the dot can mask tiny line wobbles.
Paint nude base. Add a thin white stripe using tape or steady brush. While the white is still fresh, place one micro dot near the stripe edge with a dotting tool.
Editor's noteKeep the dot smaller than the stripe width - that balance makes it look intentional.
Watch outAvoid two big dots or a thick stripe - it reads heavy on short nails.
16. White half-line across the nail (top third)
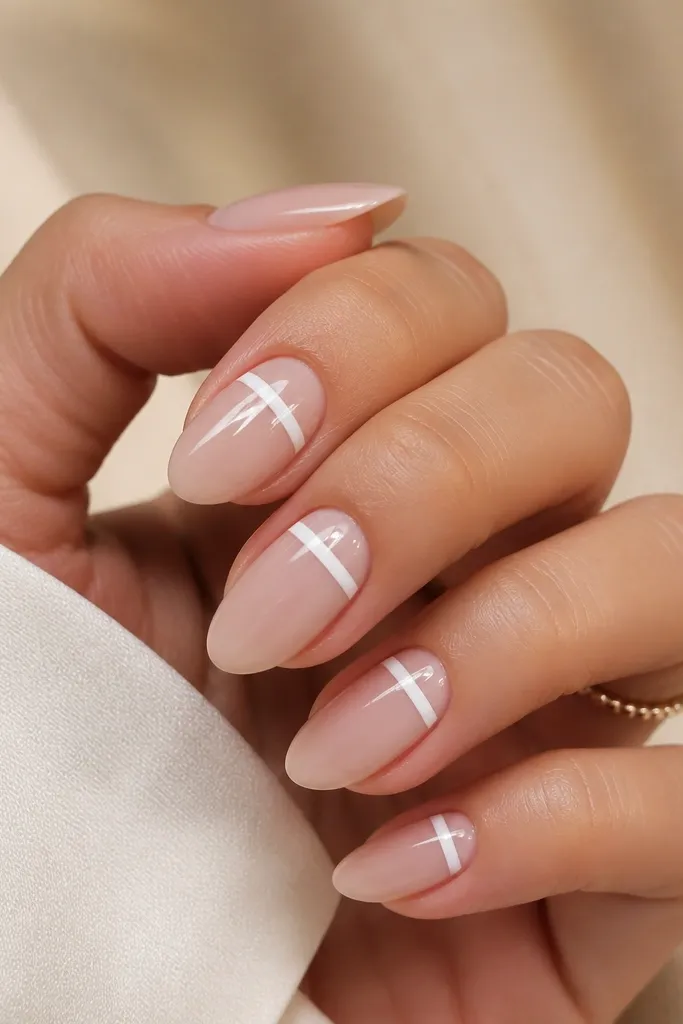
A short horizontal line makes nails look cleaner and more graphic. It's like a modern accent without full coverage. Because the line stops before the sides, it looks neat even if your nail edges aren't perfectly symmetrical.
After base coat, draw a thin horizontal white line across the nail. Stop about 1 mm from each side edge. Let it dry or cure, then top coat over the line.
Editor's noteUse a guide strip of tape for the line, then remove before it fully sets.
Watch outAvoid running the line all the way to the sidewalls - it can make fingers look wider.
17. White scallop tip edge (tiny waves)
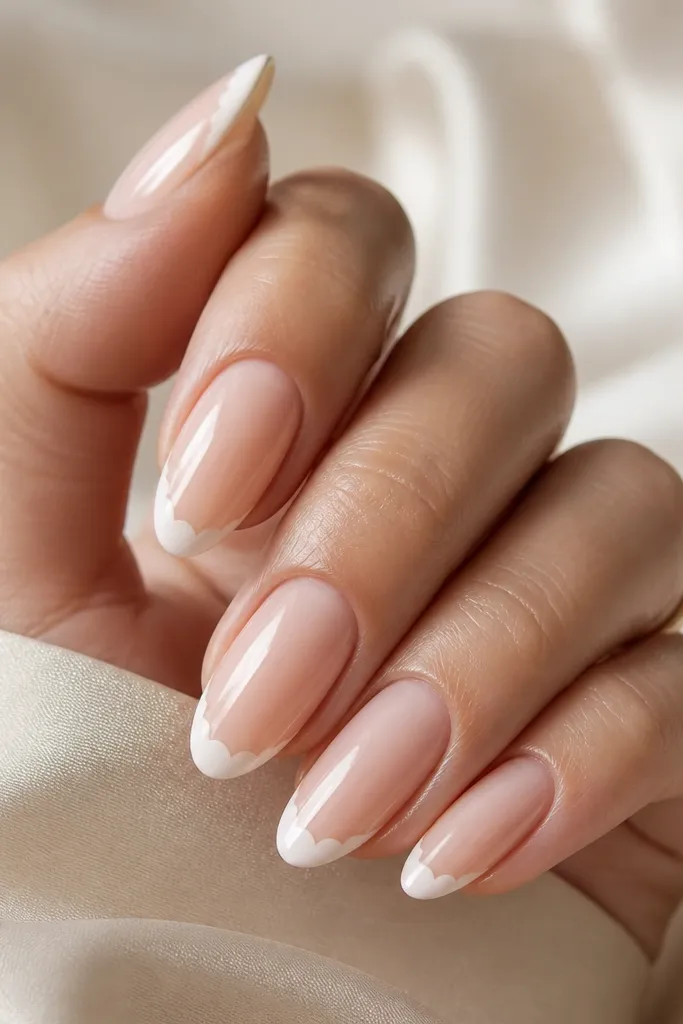
Scallops add texture and movement while still keeping the white area controlled. The wave pattern makes the tips look softer, not harsh. This design looks especially good on short nails because the scallops are tiny and sit right where the nail ends.
Paint nude base. Use a dotting tool to place tiny white half-circles along the free edge, row by row. Fill the gaps with a second tiny dot so the scallops read as a continuous edge.
Editor's noteCount your scallops as you go - aim for 5 on each nail so the pattern stays consistent.
Watch outAvoid big scallops - they swallow the nail length.
18. White "milk bath" swirl (marble-lite)
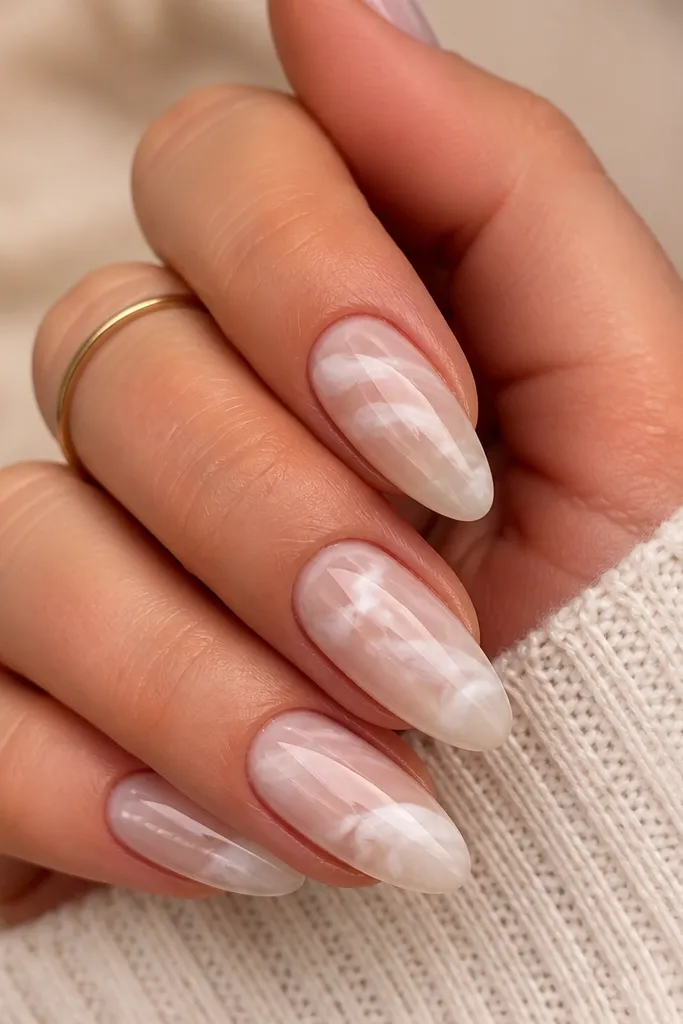
Milk bath swirls look airy and expensive because the white is thin and translucent-looking at the edges. You get motion without heavy coverage. It's also forgiving if your short nails have slight ridges - the swirl pattern breaks up the eye.
Start with milky nude. Add a few wispy white streaks with a brush that's loaded lightly. Drag the brush tip through some streaks to create swirl movement, then top coat to smooth and unify the look.
Editor's noteThin your white slightly with a drop of gel top coat if you're using gel for more fluid swirls.
Watch outAvoid thick white streaks - they look like paint blobs instead of milk bath.