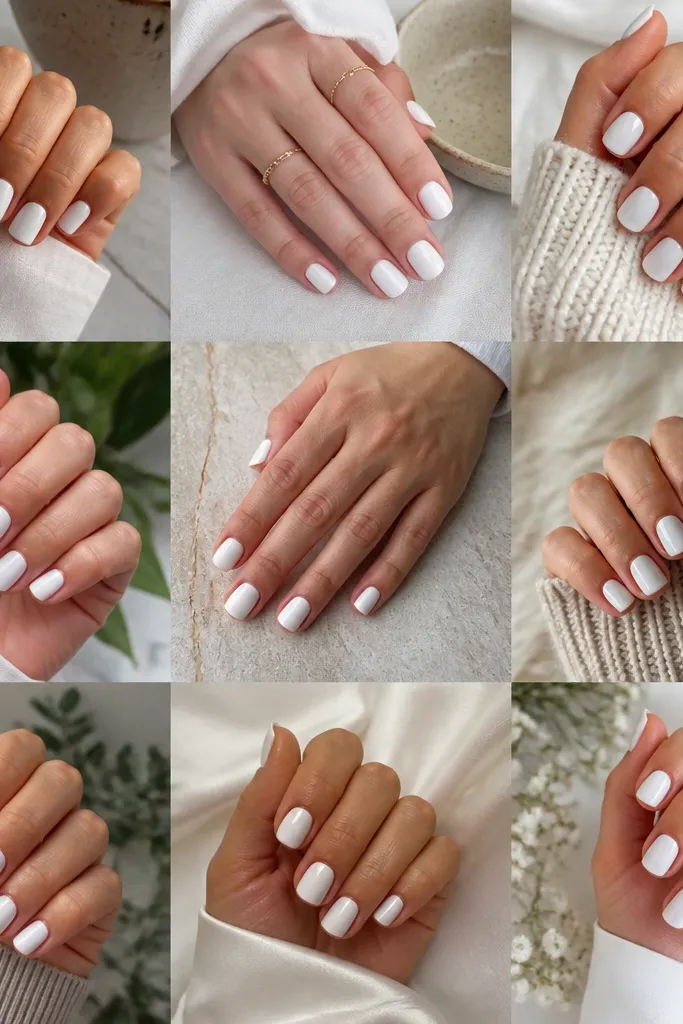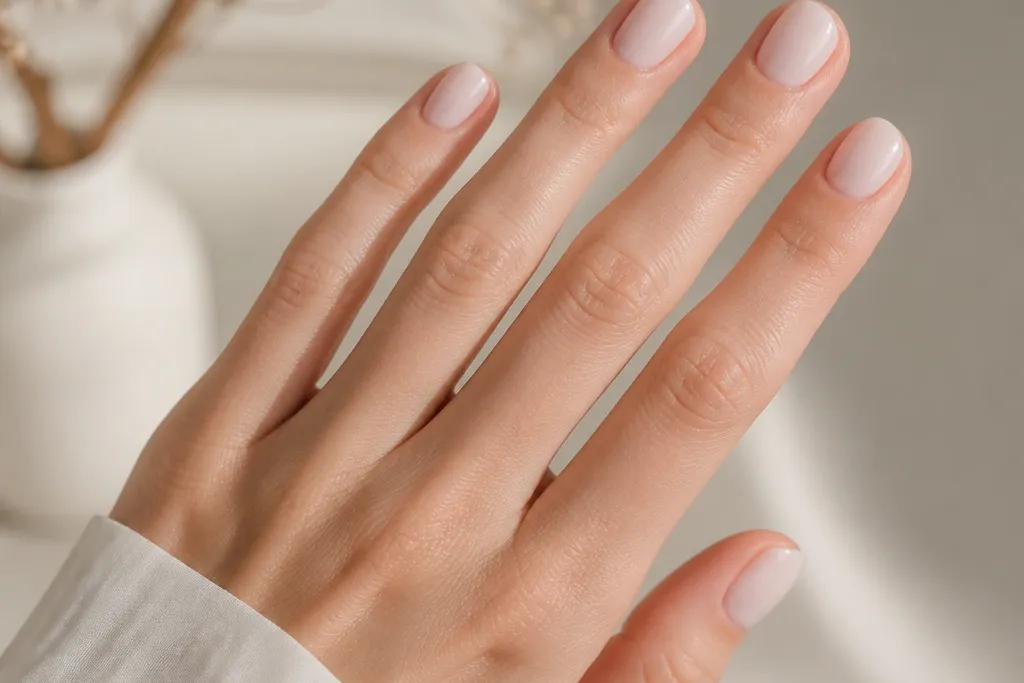
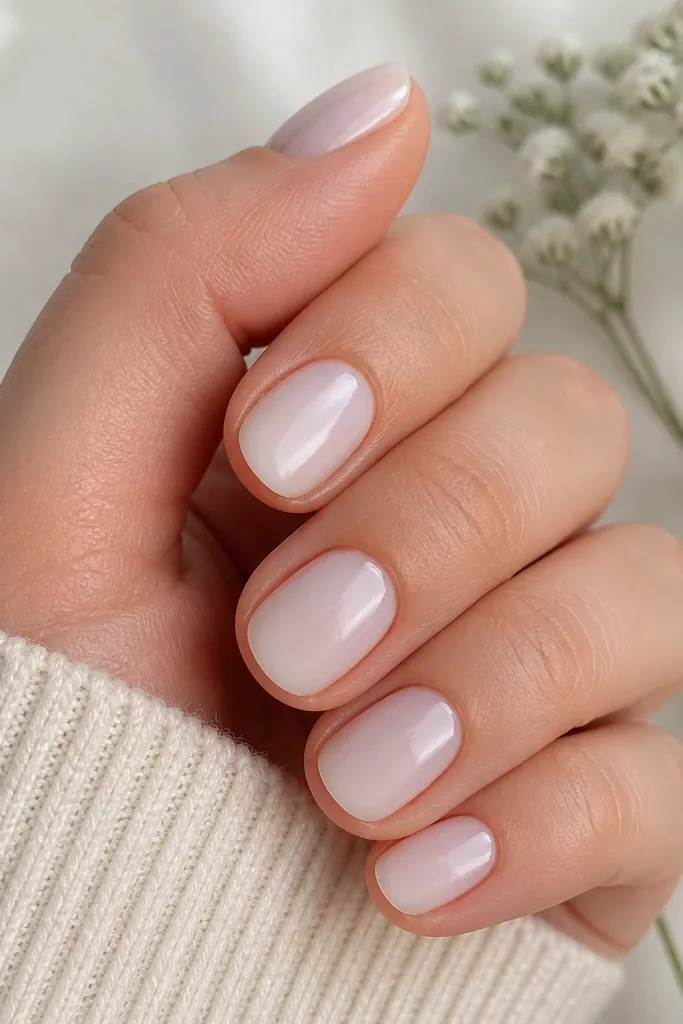
1. Classic Milk Glass Full Coverage
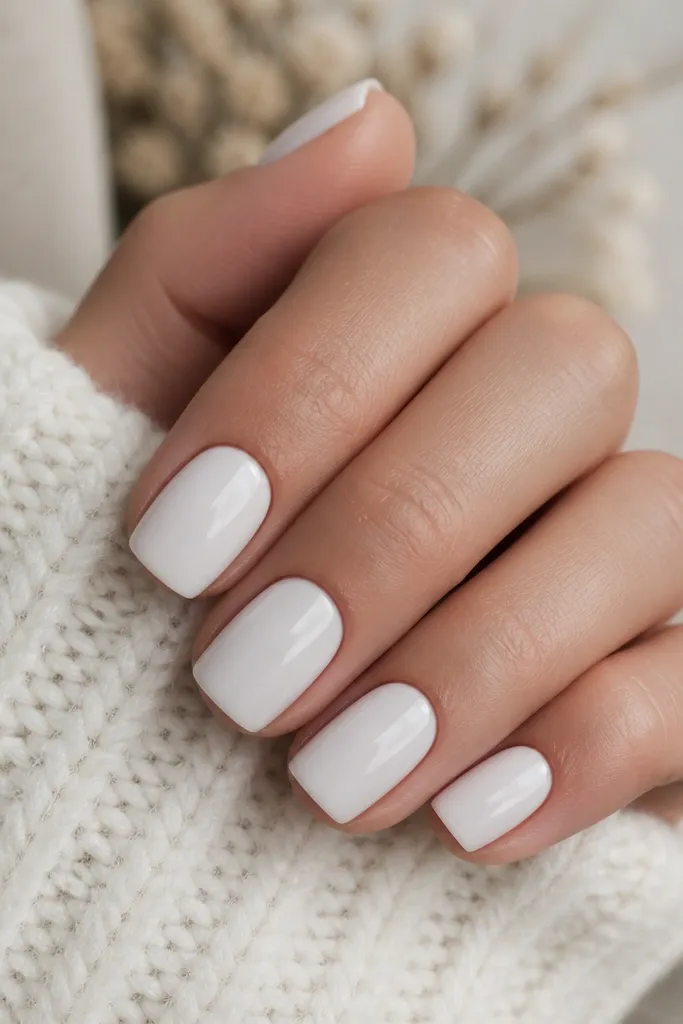
This is the baseline I use when I want milky white nails that look expensive with zero effort. The key is a milk-glass white that's semi-opaque on coat one, then becomes smooth and even by coat three. Gloss keeps it looking like it's lit from within instead of chalk. Because the color covers evenly, short nails don't show patchy nail line shadows.
Start with a thin base coat, then apply three coats of milky white gel or polish. Cure each gel coat (or let polish fully dry between coats) and keep each layer thin so the surface stays glassy. Shape is short square with slightly softened corners. Finish with a glossy top coat and cap the free edge on every nail.
Editor's noteWipe the brush on the bottle rim so the milky white doesn't flood the cuticle line.
Watch outAvoid pure bright white - it looks harsh on short nails and can make them look wider.
2. Milky White With Micro French Tip
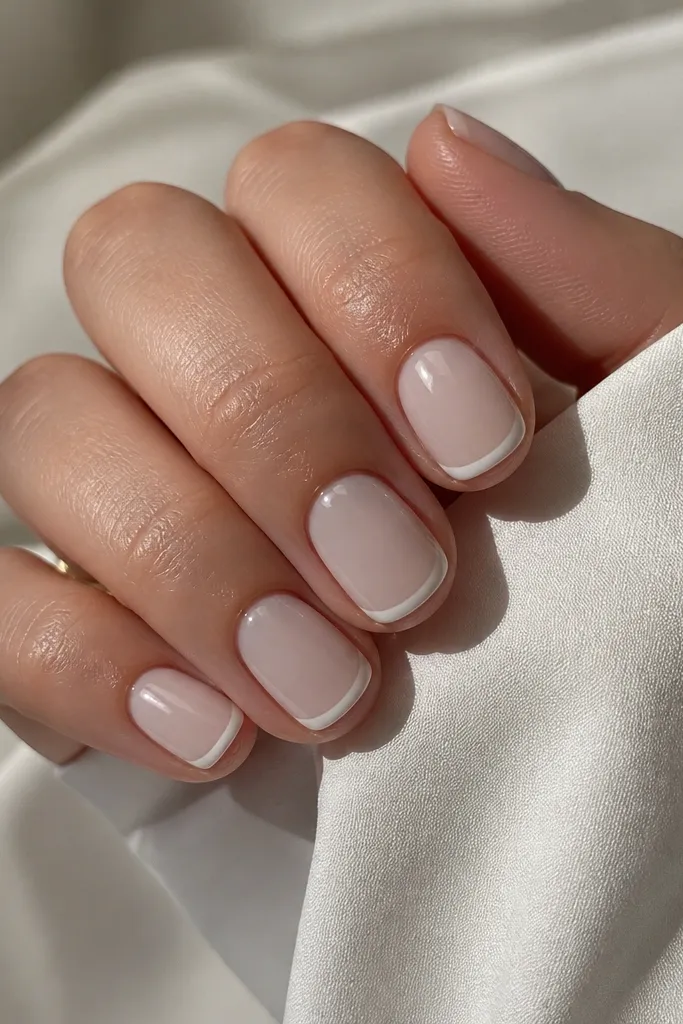
Micro French is the cleanest way to make short nails look neat without adding bulk. Milky white on the base gives you softness, and the micro tip adds a crisp edge that reads "longer" in photos. Keep the tip line narrow - it's the spacing, not the thickness, that creates length. Gloss makes the white tip look smooth, not painted.
Paint two coats of milky white as the base. Use a fine striping brush or French tip guide to draw a tip line about 1 mm wide at the free edge. The line should sit slightly inside the nail tip corners. Top coat over everything and cap the tip edge carefully.
Editor's noteLet the base cure fully before tipping; then the line won't bleed or smear.
Watch outDon't make the French tip thick - on short nails it turns into a white block.
3. Half-Moon Cuticle Glow in Milky White
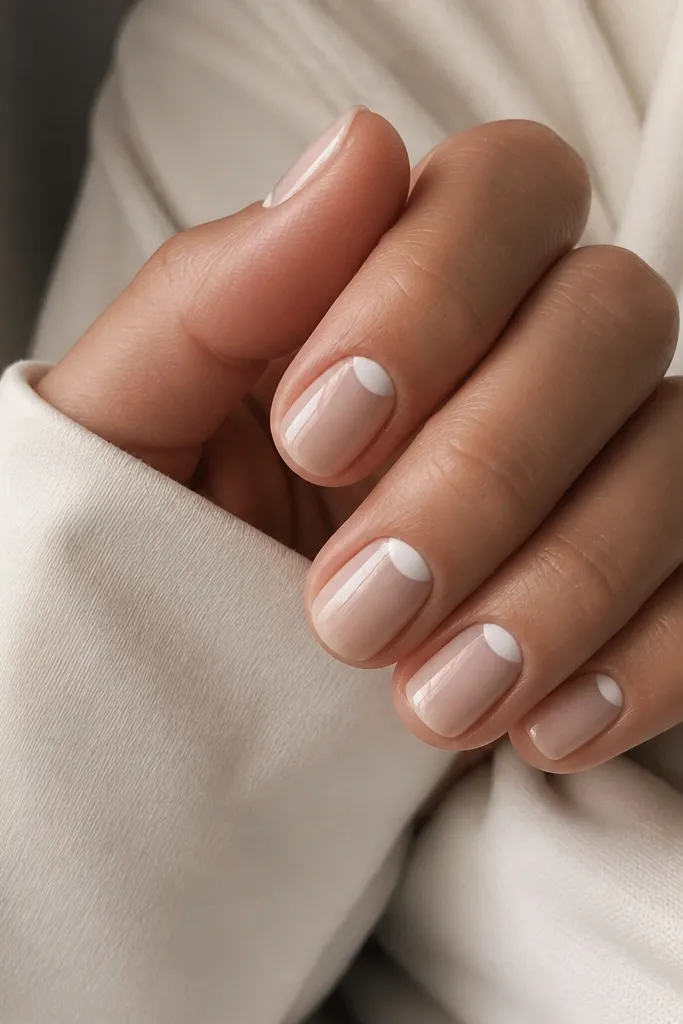
This look tricks the eye by framing the nail bed instead of covering it all. The milky white half-moon near the cuticle makes your nails look freshly manicured, and the negative space keeps short nails from looking too heavy. The contrast is subtle because the milky white is soft, not stark. A glossy finish makes the half-moon look like a clean stamp.
Use a sheer pink-beige or milky nude base (one to two coats). With a small brush, paint a half-moon at the cuticle that follows your natural cuticle curve. Keep the half-moon about 2-3 mm tall and centered. Seal with glossy top coat, then lightly clean any overflow with a cotton swab dipped in remover.
Editor's noteUse a dotting tool to place two dots where the half-moon edges should end, then connect the curve.
Watch outAvoid messy cuticle edges - rough half-moons look like a sticker instead of nail polish.
4. Milky White With One Curved Accent Line
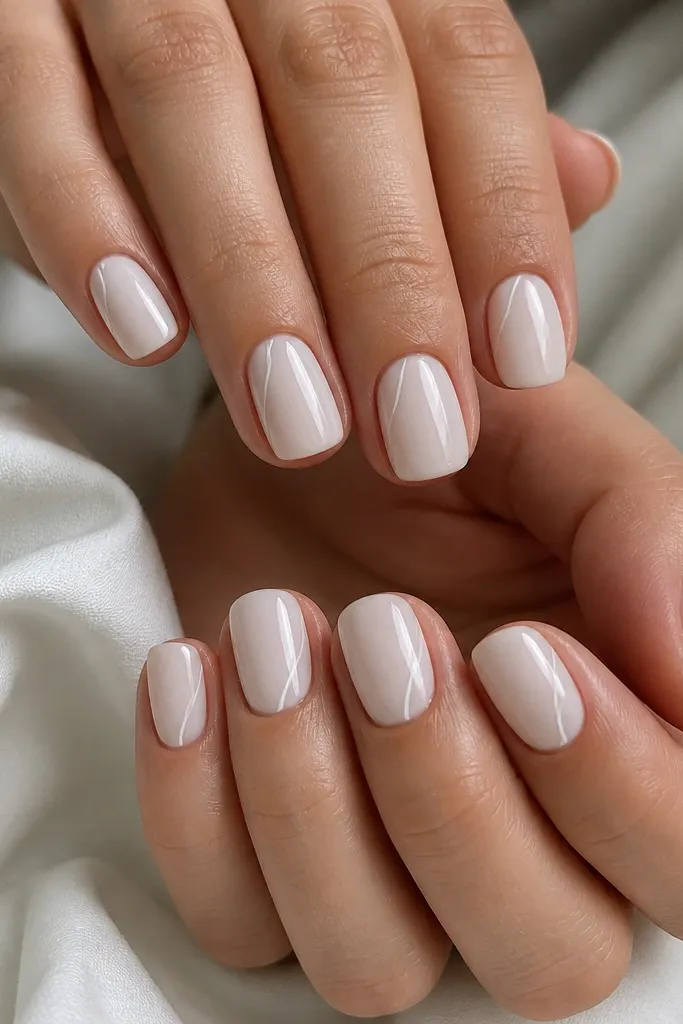
A single thin curved line adds movement and makes the nail look slimmer. Milky white is the canvas, and the line is a small detail that catches light at angles. Because it's one line, it doesn't crowd short nails. I like using a cool silver or soft gray for the line so it stays clean.
Apply milky white base in two coats. Paint a thin curved line about 1 mm thick starting 2-3 mm below the cuticle and curving toward the center, but stop before the sidewalls. Alternate direction nail to nail for a little rhythm. Top coat seals it and keeps the line from dulling.
Editor's noteUse gel striping gel for the line if you want it to stay crisp after handwashing.
Watch outDon't use chunky glitter for the line - it makes the nail feel wider.
5. Milky White Marble Swipe
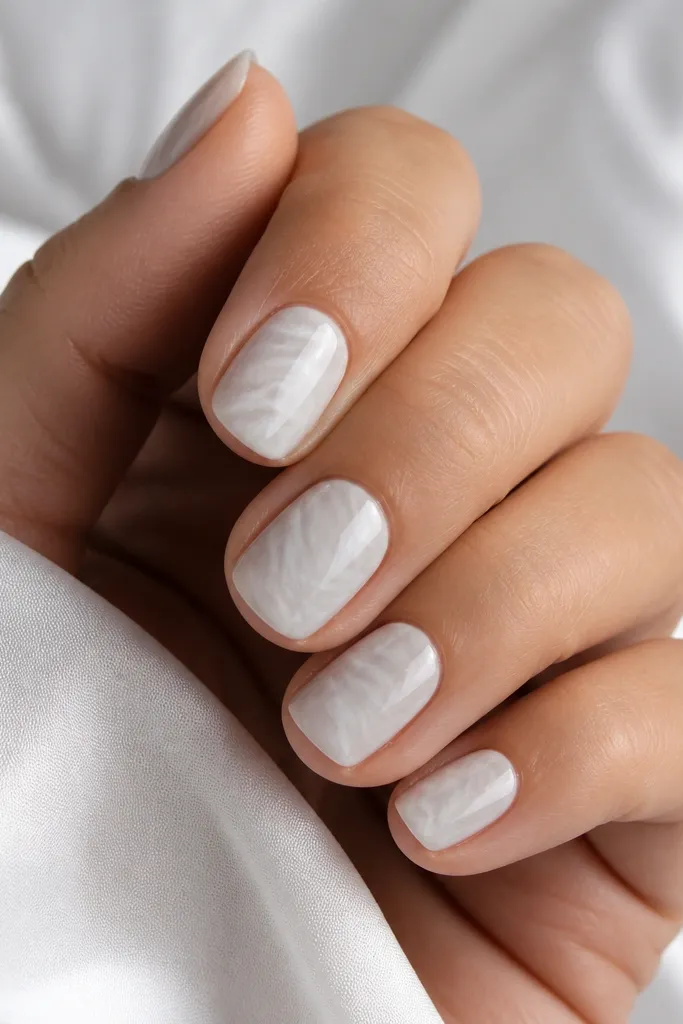
Marble looks tricky, but on short nails it's actually forgiving if you keep the veining soft. The milky base blends with light gray streaks to create depth without harsh contrast. Gloss makes the swipes look like they're under glass. This one is my pick when I want something unique but still wearable for work.
Use milky white as a full base. Add 3-5 thin gray strokes with a fine brush or a silicone stamper, then drag them lightly to form veining. Keep the strokes centered and diagonal, not stretched to the sidewalls. Seal with glossy top coat, and avoid stacking thick layers over the marble area.
Editor's noteWipe your brush on a paper towel before each gray swipe so the lines stay wispy.
Watch outAvoid heavy black marble - it turns short nails into bold blocks.
6. Milky White With Frosted Dot Cuticle
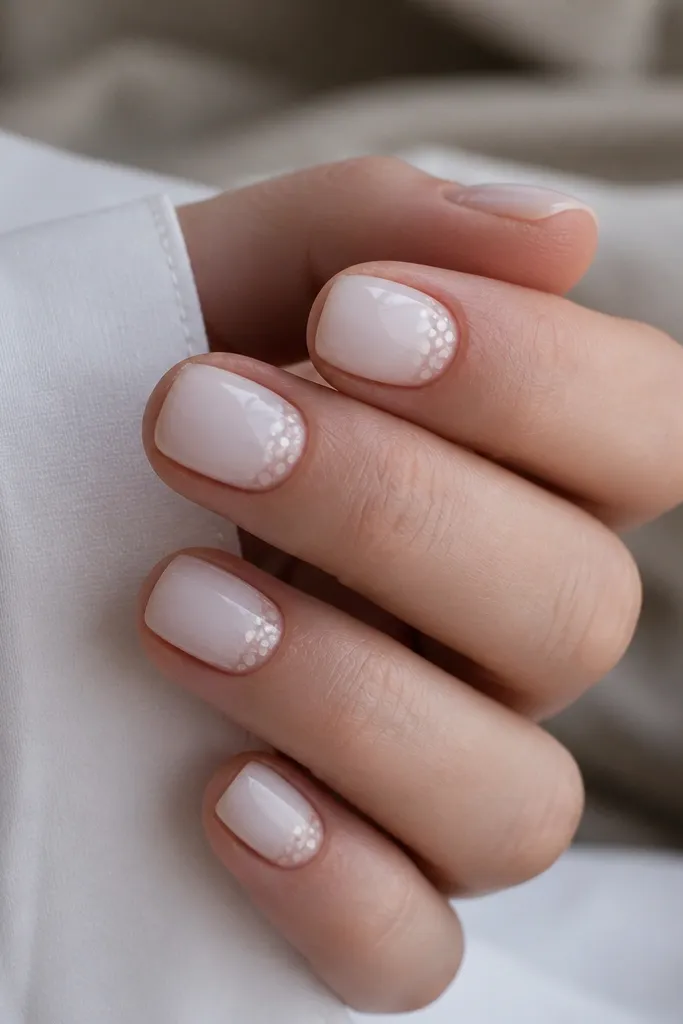
Tiny frosted dots make milky white look dimensional without needing glitter everywhere. I place the dots as a small cluster just above the cuticle line so it reads like a soft halo. The dots look best when they're slightly translucent, so the nail still has that creamy glow. This is great for short nails because the detail stays tight and controlled.
Paint milky white base in two coats. Using a dotting tool, add 3-6 tiny dots with a translucent white or clear gel mixed with a little milky white. Keep the cluster centered and about 2 mm tall. Cure each nail if using gel, then top coat glossy.
Editor's noteIf the dots look too opaque, dab your dot tool on clear gel before picking up white.
Watch outDon't make dots too big - large dots widen short nails.
7. Milky White Micro Glitter Aura
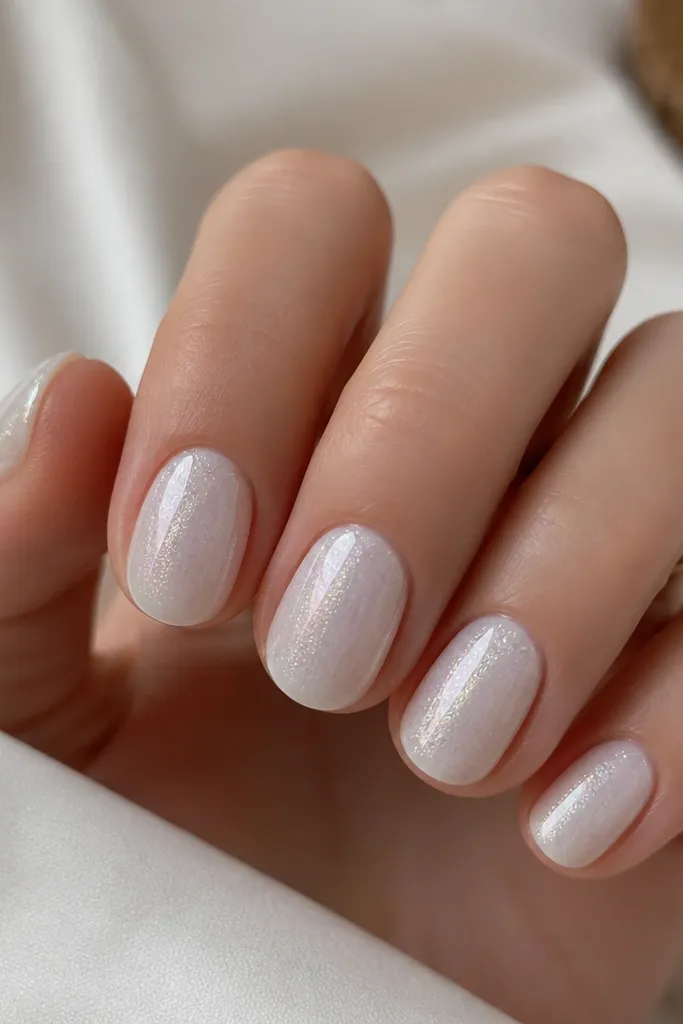
An aura effect keeps glitter from looking like a party nail. Milky white is the base, and the glitter sits in the center zone so the nail looks lighter around the edges. I use ultra-fine white-silver micro glitter so it reads as sparkle, not texture. Gloss makes it look like the glitter is suspended.
Start with milky white base. Apply a clear tacky layer (or a gel layer that's still slightly sticky) and tap micro glitter in the center, blending outward with a soft brush. Stop before the sides to keep nails from looking crowded. Seal with glossy top coat in one or two thin coats.
Editor's noteUse a makeup sponge to pat glitter - it creates a smoother gradient than a brush.
Watch outAvoid chunky glitter - it catches on fabric and chips faster on short nails.
8. Milky White With Tiny Side Stars
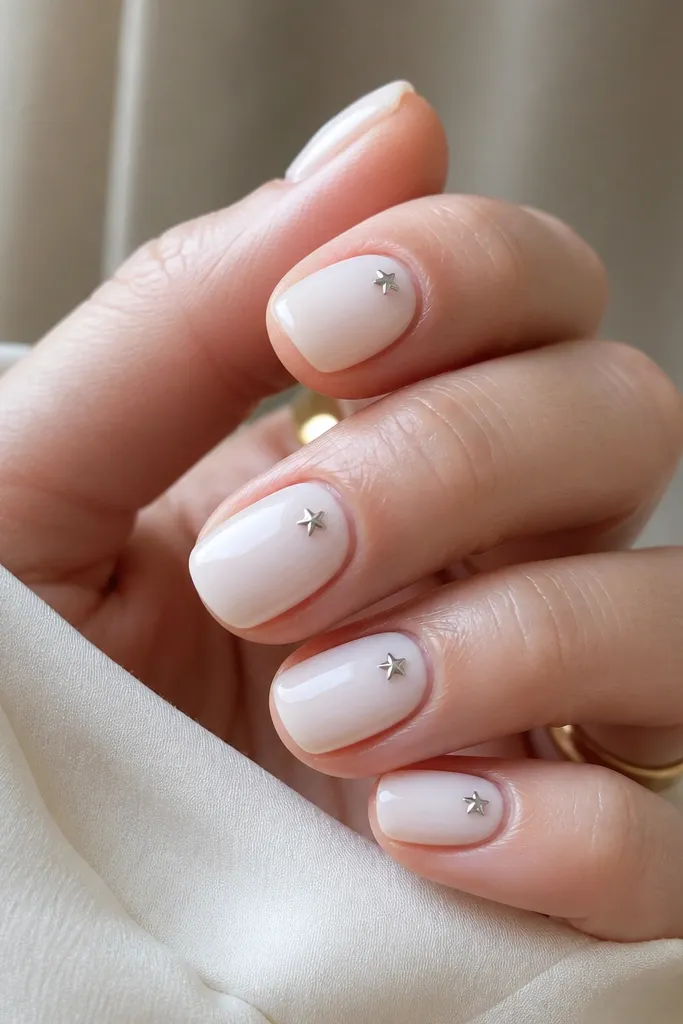
Side stars are small but they read fancy because they catch light at one angle. Milky white keeps the background soft, and the star gives you a crisp focal point. I like metallic silver or pale chrome because it stays cool and clean. On short nails, the star must be tiny and placed near the side, not dead center.
Paint milky white base and let it fully dry or cure. With a dotting tool, place a micro star decal or hand-draw stars using a thin liner brush. Keep each star about 1 mm wide and position it 1-2 mm away from the sidewall. Top coat over everything, and cap the star edges so it doesn't lift.
Editor's noteIf you're drawing stars, sketch points lightly first with the liner, then fill in.
Watch outAvoid big stars - they dominate short nails and look like costume nails.
9. Milky White and Soft Nude Ombre Tip
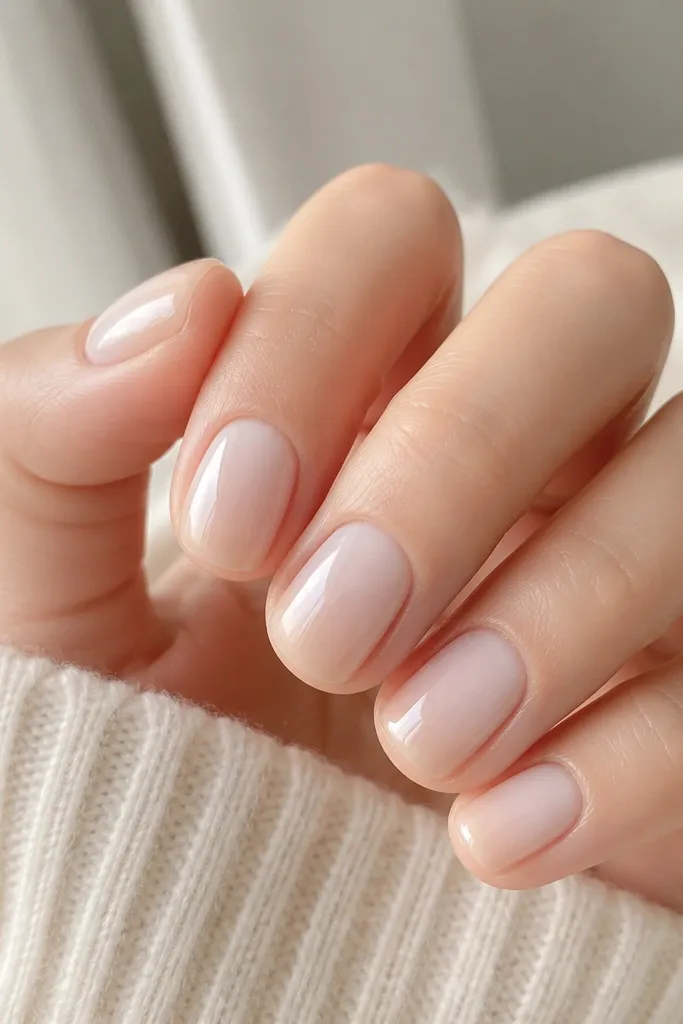
This is the milky white look that flatters every skin tone because the nude fades the edges. The ombre starts near mid-nail and melts into the tip, which makes short nails look longer and less blunt. I use a warm nude for a creamy combo or a cool nude for a softer icy vibe. Gloss keeps the gradient smooth.
Base coat with nude or a pale pink that matches your nail bed undertone. Sponge milky white onto the top half, then blend it down toward the tips using a makeup sponge with minimal product. The fade should be gentle - no hard line. Seal with glossy top coat.
Editor's noteDo the gradient in two light sponge passes instead of one heavy pass.
Watch outDon't paint ombre with a brush in one stroke - it leaves streaks on short nails.
10. Milky White With Single Thin Bow Bowstring
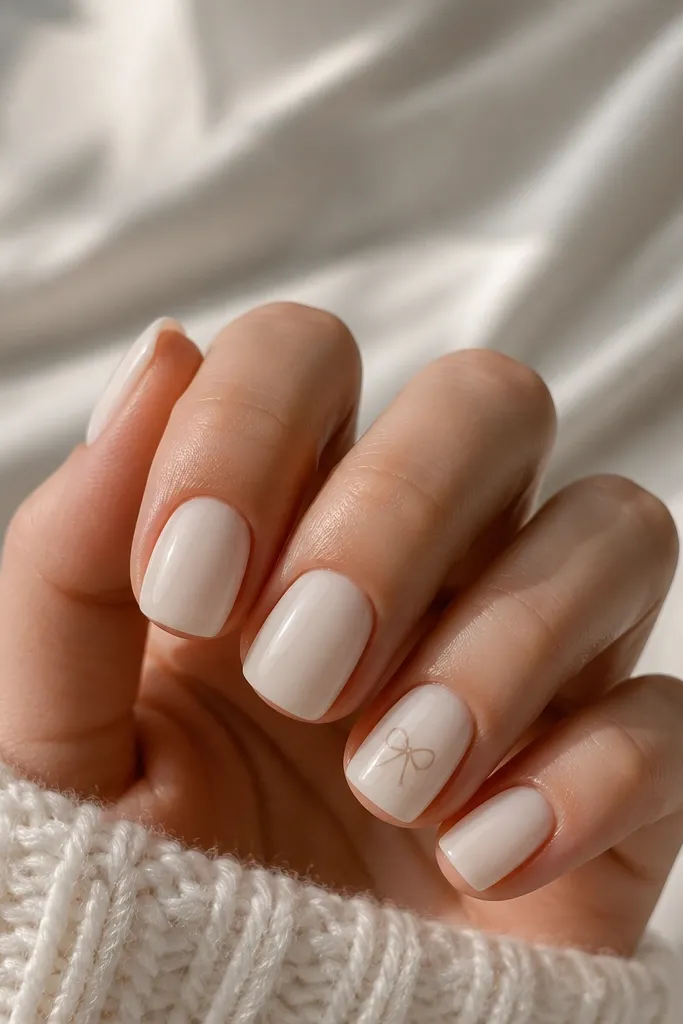
A tiny bow works when it's drawn with thin lines, not filled in like a sticker. Milky white makes the bow look like it's sitting on top of glass. I use a soft gray or pale pink for the bow lines so it stays sweet without screaming. This is a good option for bridal events when you want cute but not too much.
Pick one accent nail. Paint all nails milky white in two coats. On the accent nail, draw a simple bow with a fine liner: two loops and one small knot in the center. Keep the bow footprint about 2-3 mm wide and centered. Top coat glossy carefully so the lines don't smear.
Editor's noteUse a gel liner pen if you want the lines to stay razor thin.
Watch outAvoid thick bow outlines - they look clunky on short nails.
11. Milky White Half-Glaze With Clear Jelly Top
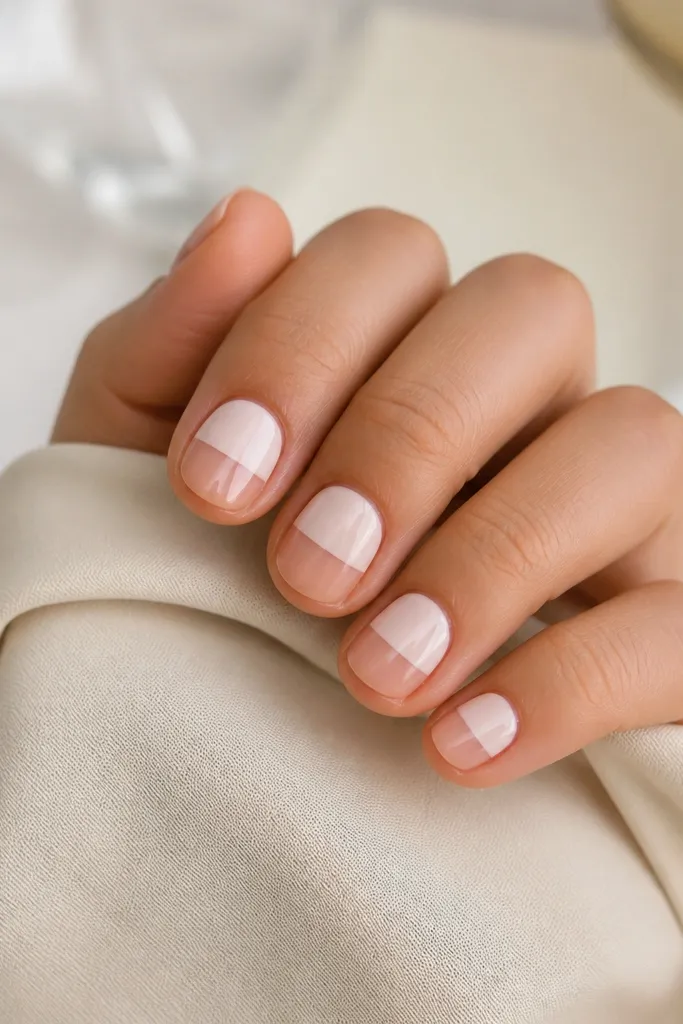
This half-glaze split looks fresh because it mixes opaque and clear. Milky white gives you the bright part, and the clear jelly section makes the nail look airy. It also hides small imperfections near the tip because the clear area reflects light. I love this for summer because it looks clean even when your nails grow out.
Paint milky white only on the upper half of the nail, stopping cleanly around the midline. Use a clear jelly gel over the lower half (or leave it bare if you're using gel with a clear base). Cure fully, then apply glossy top coat over both sections. Keep the split straight but slightly curved to match the nail contour.
Editor's noteUse a thin piece of tape as a guide for the midline, then peel before top coat.
Watch outDon't let milky white creep into the clear zone - it ruins the glaze contrast.
12. Milky White With Negative Space Outline
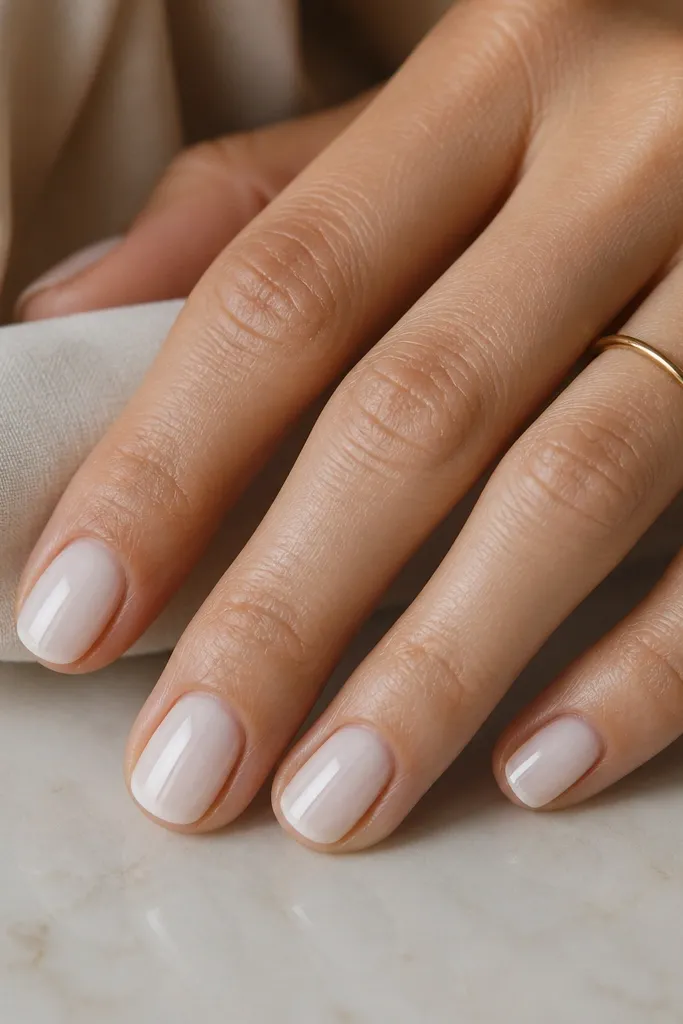
Negative space outlines make short nails look sharp and intentional. The milky white sits in a shape that mirrors your nail bed, so the sides stay lighter. I like an outline that leaves a thin gap on each sidewall, because that reads as length. Gloss keeps the milky color smooth and the negative gaps crisp.
Start with a sheer base or clear base. Draw a milky white outline around the center area, leaving thin side gaps about 0.5-1 mm. Fill only inside the outline with milky white so the edges are clean. Top coat glossy, and cap edges to keep the outline from peeling.
Editor's noteTrace your nail bed shape lightly with the liner pen first to keep symmetry.
Watch outAvoid filling all the way to the sidewalls - the design turns into a full opaque block.
13. Milky White With Tiny Chrome Crescent
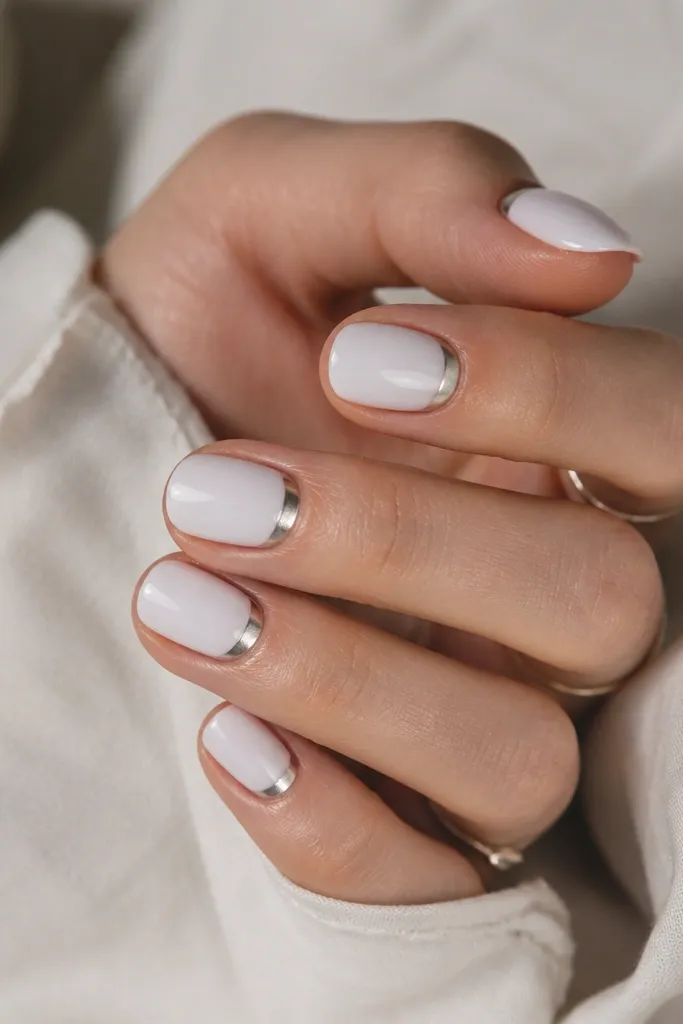
A chrome crescent adds a crisp highlight without needing a full chrome nail. The crescent sits at the cuticle and gives that "fresh manicure" look even when the nail grows. I use pale silver chrome powder or chrome gel for a clean arc. On milky white, chrome doesn't overpower - it just flashes.
Apply milky white base in two coats. At the cuticle, paint a small arc using clear chrome gel or a tiny dab of tacky gel. Apply chrome powder and buff gently once cured (or before sealing if your system needs it). Finish with glossy top coat over the chrome where your product allows.
Editor's noteKeep the crescent small - about 2 mm wide - so it stays classy on short nails.
Watch outAvoid heavy chrome all over - it scratches fast and shows wear quickly.
14. Milky White With Thin Vertical Pinstripe
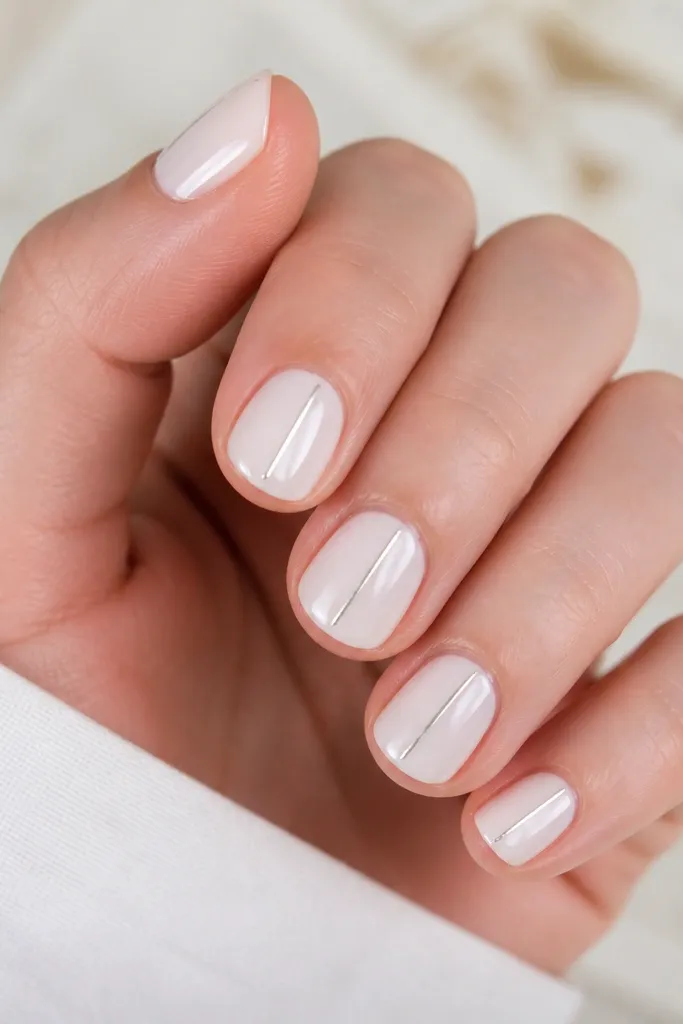
Vertical pinstripes make short nails look longer because your eye reads a line from top to bottom. Milky white keeps the background soft so the stripe feels refined. I use a pale silver stripe gel so it looks like light, not glitter. Keep it thin - thick stripes look like a sticker seam.
Milky white base in two coats. Place a thin stripe at the center of each nail using a striping brush or pinstripe tape removed right after placement. The stripe should start about 1-2 mm below the cuticle and end near the free edge without touching it. Seal with glossy top coat, and cap the stripe ends.
Editor's noteIf you're using tape, press it down lightly and pull slowly to avoid milky smears.
Watch outDon't center the stripe too far off - asymmetry makes short nails look uneven.
15. Milky White With Soft Gray Dot Grid
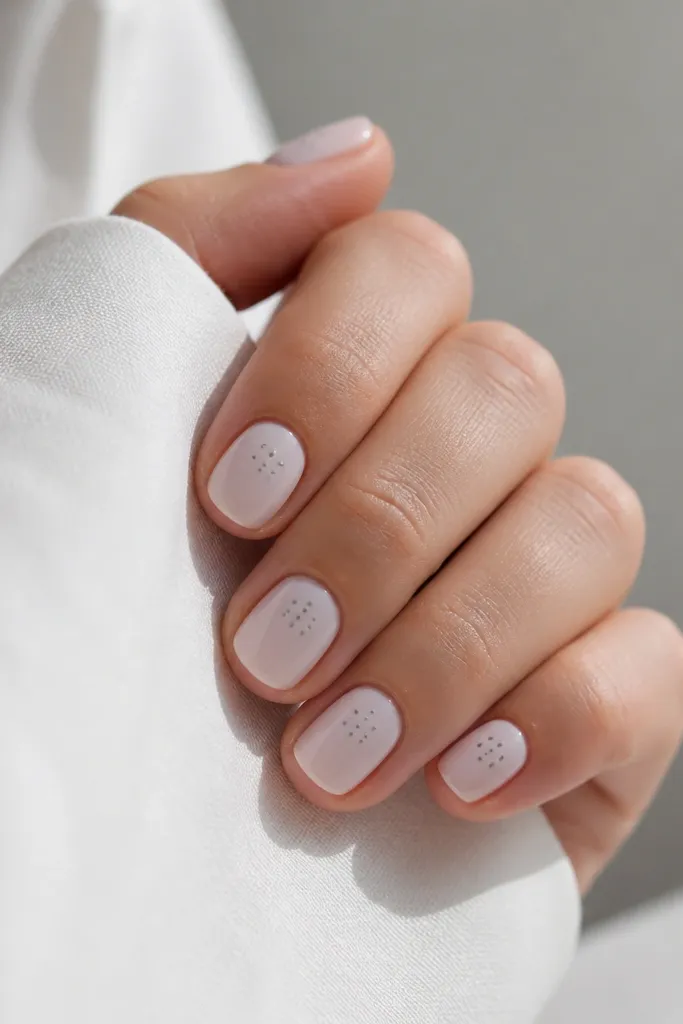
A dot grid adds texture without looking busy. The dots are small and spaced evenly so the design looks like a pattern, not random dots. Soft gray keeps it calm and modern, especially next to milky white. I like this for everyday wear because it still looks clean when nails grow out.
Paint milky white base. Using a dotting tool, create a 3x2 grid in the center: three dots across and two dots down, leaving clear space around the grid. The grid should be about 3-4 mm wide total. Cure if gel, then top coat glossy over the dots.
Editor's noteUse a larger dot for the center dot and smaller dots around it for a subtle 3D feel.
Watch outAvoid uneven dot sizes - it makes the grid look messy on short nails.
16. Milky White With Pale Pink Diagonal Check
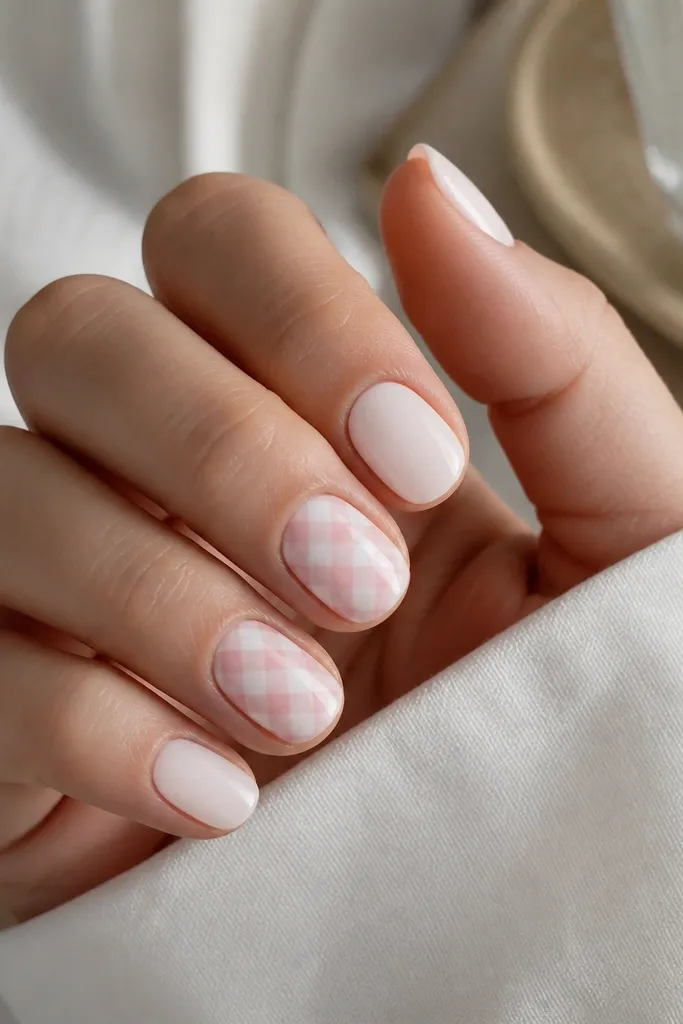
Diagonal checks look fun but still neat when the squares are tiny. Milky white keeps the base light, and pale pink adds warmth without turning the whole nail into a hot pink situation. I like putting the check on one accent nail only because short nails can get visually crowded. Gloss makes the lines look crisp and smooth.
Base coat milky white on all nails. On the accent nail, draw thin diagonal lines using a fine brush, then add short perpendicular lines to form micro squares. Keep the check area centered and about half the nail length. Top coat glossy, and cap the check edges to prevent lift.
Editor's noteSketch the diagonal guide lines first with a light hand, then fill the intersections.
Watch outAvoid big check squares - they overwhelm the nail width fast.
17. Milky White With Clear Rhinestone Corner
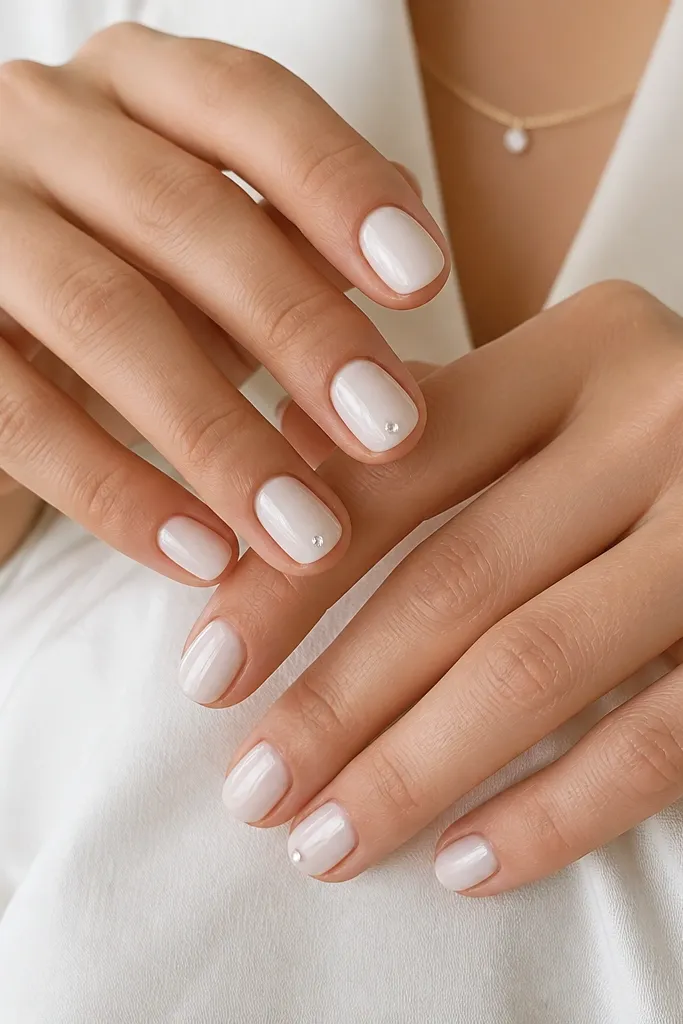
A single clear rhinestone at the corner looks like a tiny jewelry detail, not a full glam nail. Milky white makes the stone look extra bright because there's no competing color. I place it near the outer corner so it catches light when you move your hand. On short nails, one stone is plenty.
Paint milky white base in two coats. Place a small flat-back rhinestone (about 1.5-2 mm) at the outer corner near the free edge, staying a few millimeters away from the sidewall. Use rhinestone gel or strong nail glue, then cure if gel. Seal with glossy top coat, and drag a little top coat around the base of the stone.
Editor's notePress the rhinestone gently with a silicone tool so it sits flush.
Watch outAvoid placing rhinestones on every nail - it chips faster and looks heavy on short lengths.
18. Milky White With Watercolor Peach Edge
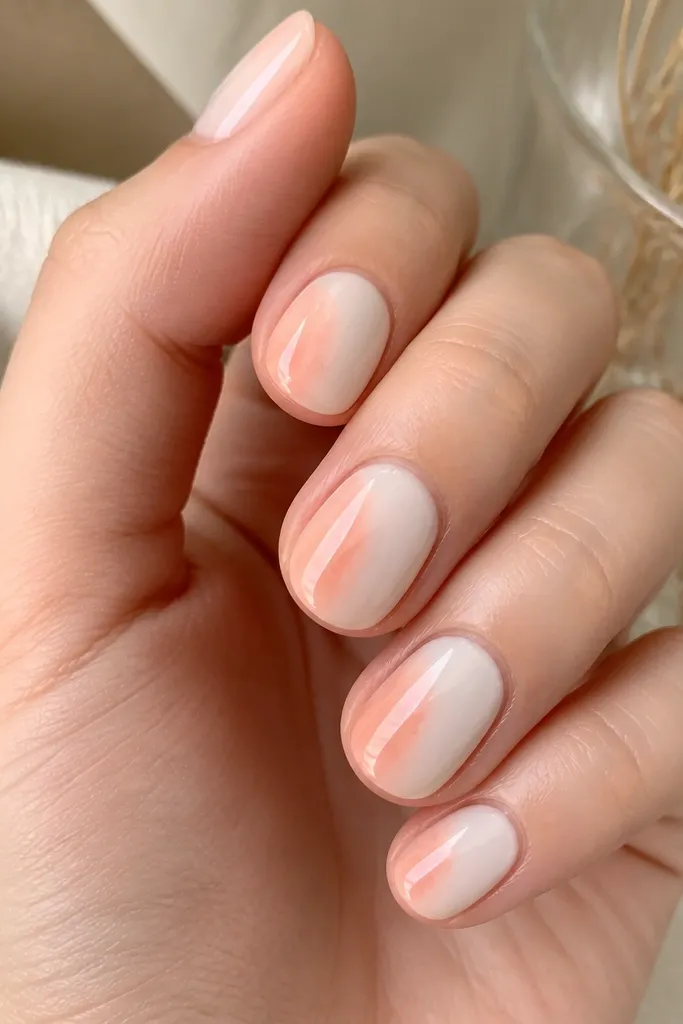
Watercolor edge color makes short nails look delicate. Milky white keeps the background bright, and a peach tint along one side creates a gentle blush effect. I use a peach that's more dusty than bright so it doesn't clash with the milky coolness. Gloss makes the watercolor look hydrated instead of dry.
Base with milky white. On an accent nail, tap a tiny amount of peach gel or polish along one side edge starting near mid-nail and fading toward the tip. Blend with a clean brush dampened with gel cleanser so the edge stays soft. Seal with glossy top coat.
Editor's noteUse very little product - peach watercolor looks best when it's almost transparent.
Watch outDon't paint a solid peach stripe - it turns into a harsh border.
19. Milky White With Tiny Silver Foil Confetti
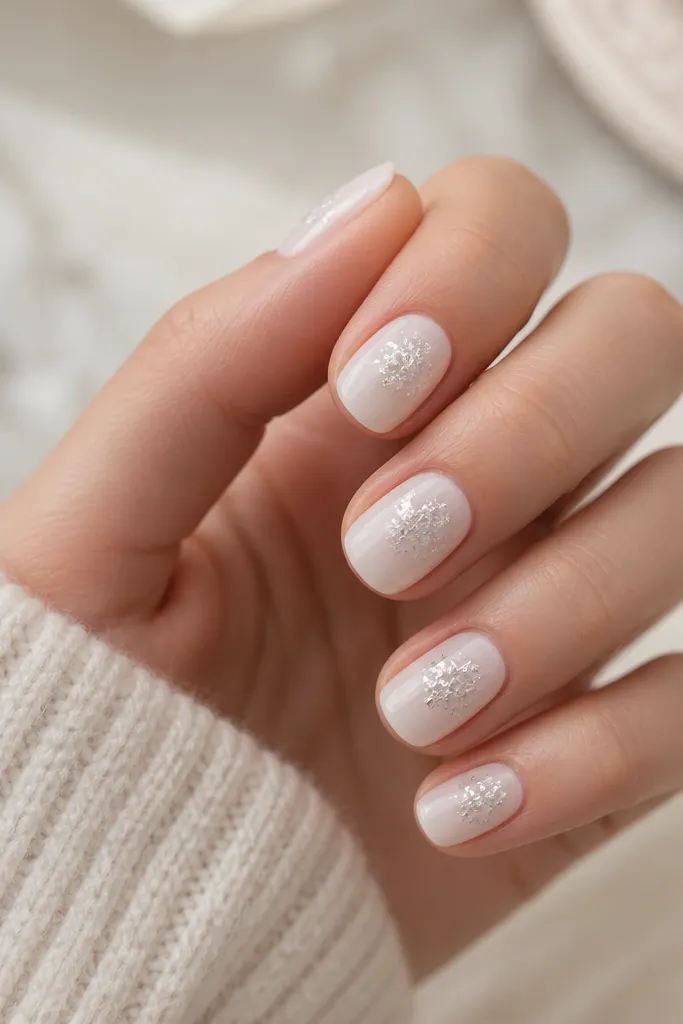
Foil confetti looks cool because it adds texture without needing a glitter gradient. On milky white, the silver flakes look like little reflections. I keep the flakes small and concentrated so the nail stays smooth instead of scratchy. Gloss seals everything and keeps it from snagging.
Apply milky white base. Add a thin layer of tacky gel in the center area, then press tiny silver foil pieces into it. Use tweezers for control and keep them from reaching the sidewalls. Cure, then apply glossy top coat in thin layers to smooth the texture.
Editor's noteIf the foil lifts, add a tiny dab of top coat directly on the lifted edge.
Watch outAvoid large foil shards - they catch on hair and clothes on short nails.
20. Milky White With Minimal Black Micro Smile Line
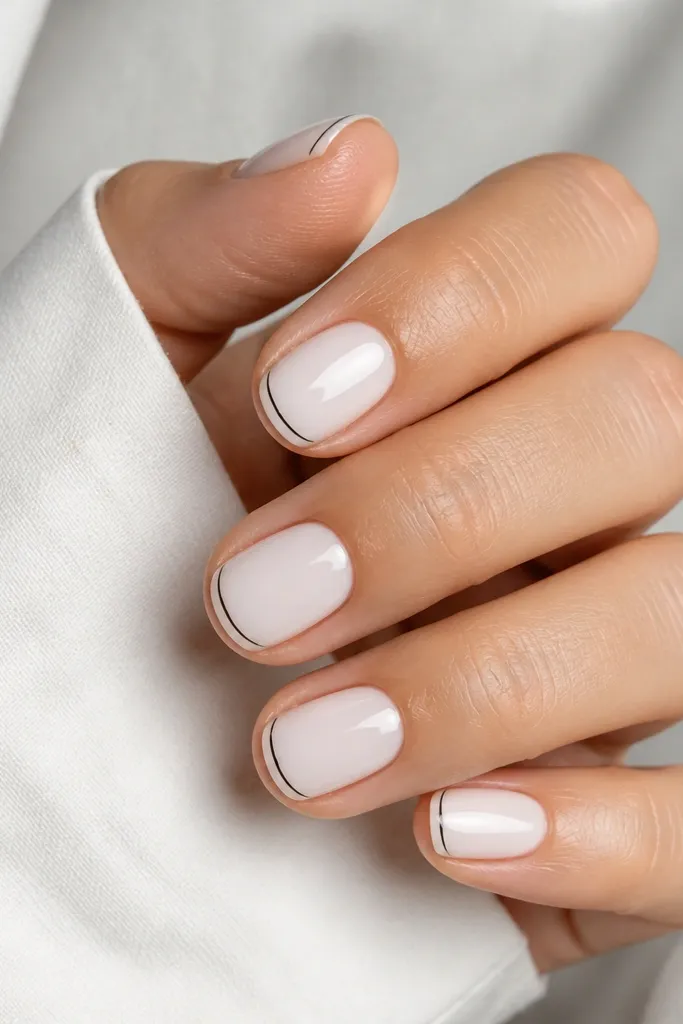
This is a modern twist that keeps milky white from feeling plain. The micro smile line reads like a graphic French, but thinner and more playful. Black is strong, so the line must be hair-thin and placed near the free edge only. Gloss makes the black look sharp and clean instead of faded.
Paint milky white base in two coats. Use a fine liner brush or a striping pen to draw a tiny curved line across the free edge, about 1 mm tall and centered. Leave a small gap from the sidewalls. Top coat glossy and cap the free edge to lock the line down.
Editor's noteDraw the smile line twice lightly instead of one heavy pass.
Watch outAvoid thick black lines - they make short nails look blunt.