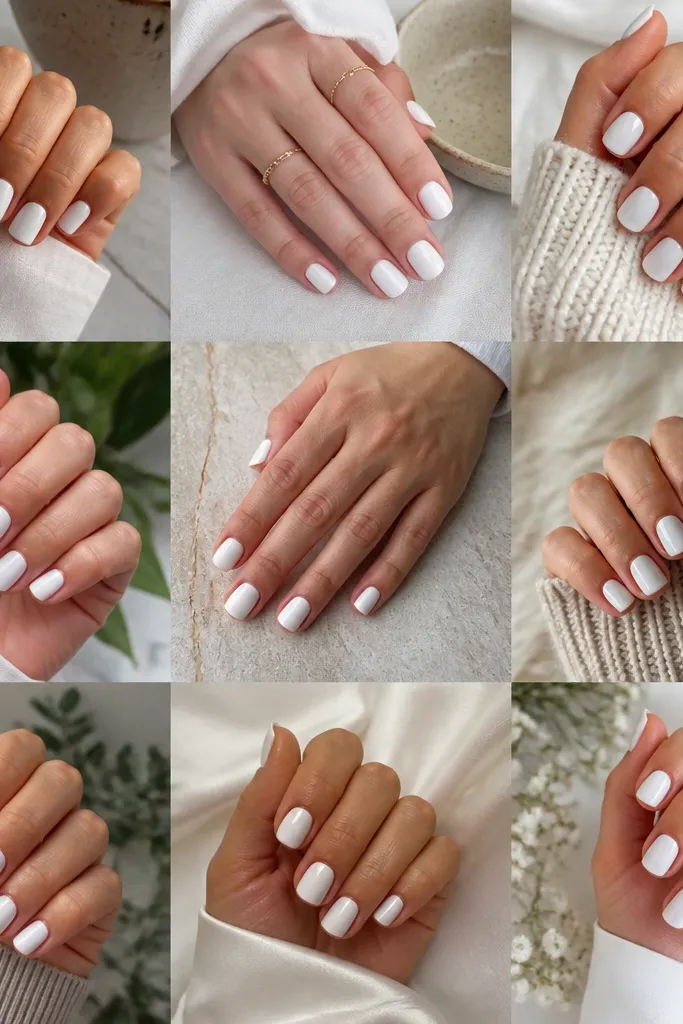
1. Creamy milky base with a single glossy tip
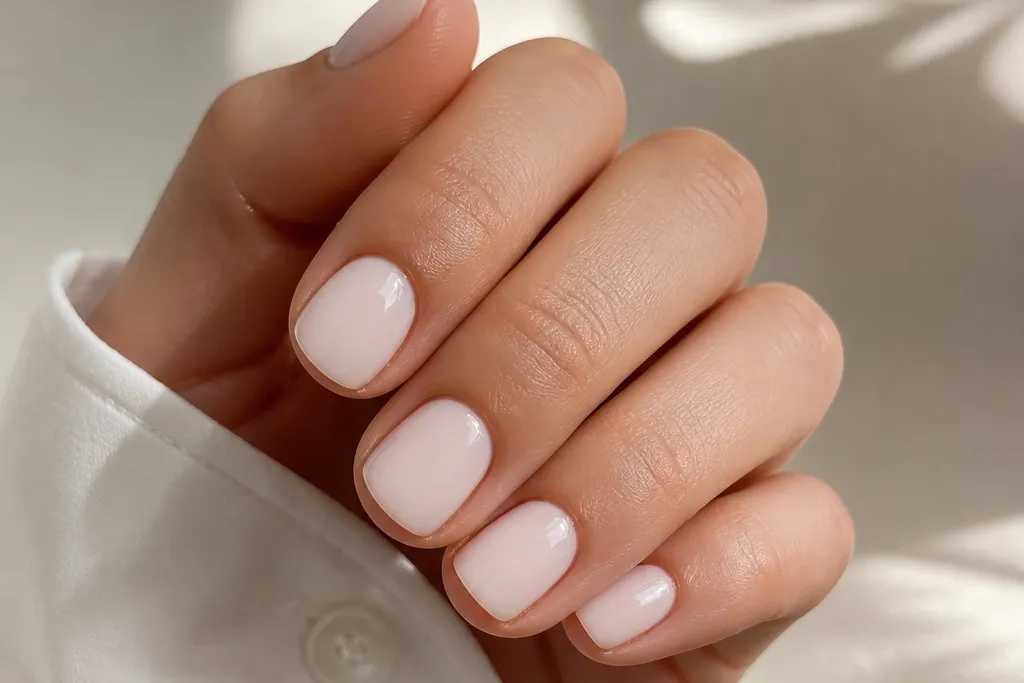
This is the cleanest version of milky white short nails simple. The base is translucent so your nail bed still shows, and the tip arc adds definition without making the nail look longer. The gloss on the tip catches light and makes the design look expensive even with minimal effort. It reads polished for work and still looks good when your nails grow out a little.
Paint one thin milky coat, cure, then repeat until the base looks even but still milky (not opaque). For the tip, use a small flat brush and paint a smooth arc across the free edge only - about 1/8 of the nail length. Finish with a full glossy top coat.
Editor's noteUse a guide card under your hand so the tip arc stays level across all nails.
Watch outDon't paint the whole nail opaque white in one go - that's what makes it look chalky and cheap.
2. Micro French with milky white and a clear edge
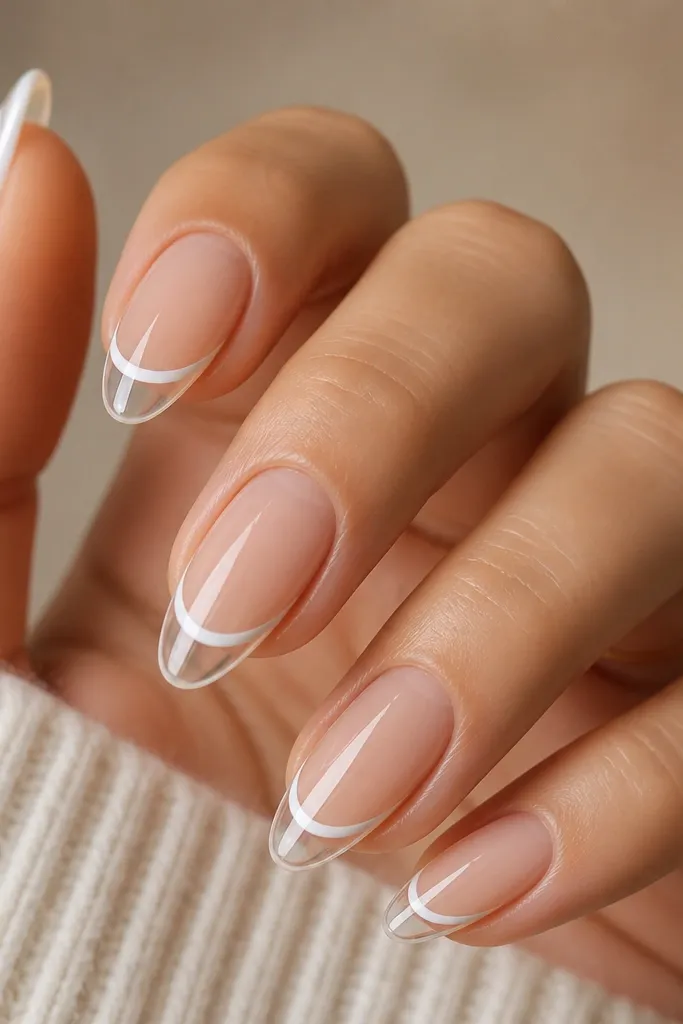
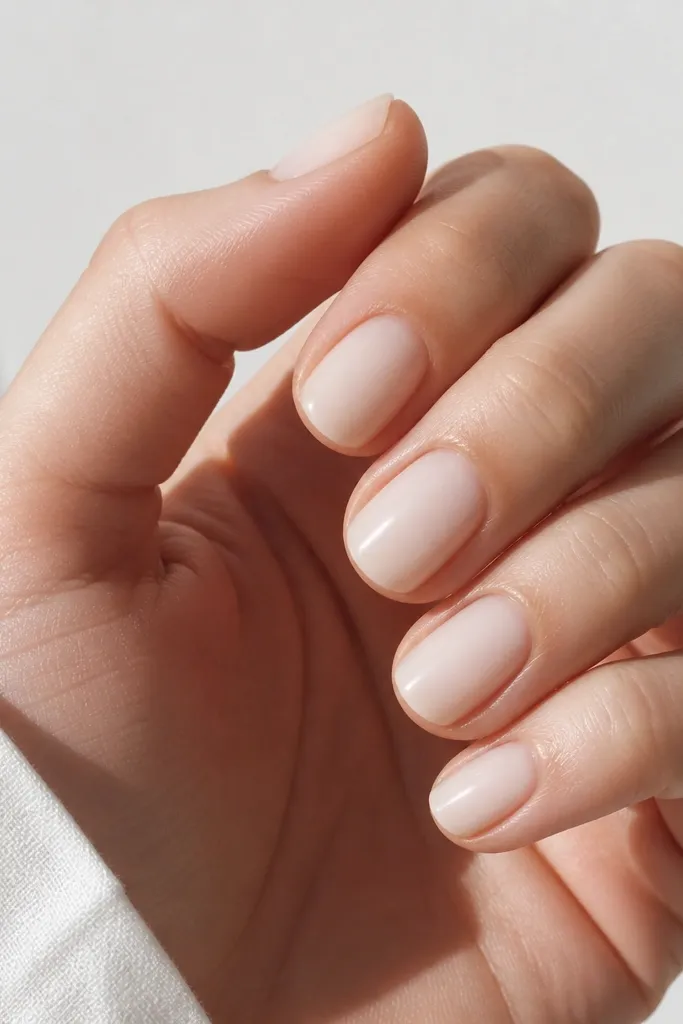
This design gives you the French look without the chunky border. The key is that thin line and the clear micro-gap - it keeps the nail airy and makes short nails look longer. Milky white stays soft and wearable because it's not a harsh opaque white. It's also a great pick if you're new to nail art.
Start with a sheer milky base (two thin coats). Then draw a micro French line using a liner brush - keep it 1-2 mm wide. Leave a small clear band at the very edge before sealing with top coat so the line looks crisp.
Editor's noteIf your line wobbles, wipe the brush on a lint-free pad and drag the correction in one smooth motion.
Watch outAvoid thick French lines - on short nails they look like paint blobs.
3. Milky white negative-space half-moon
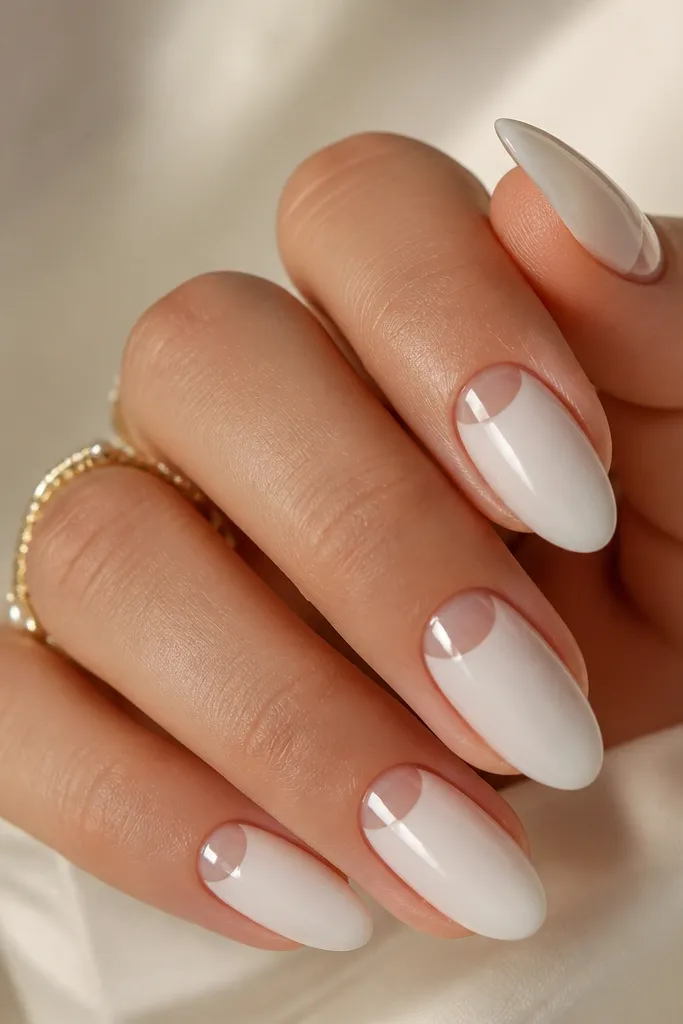
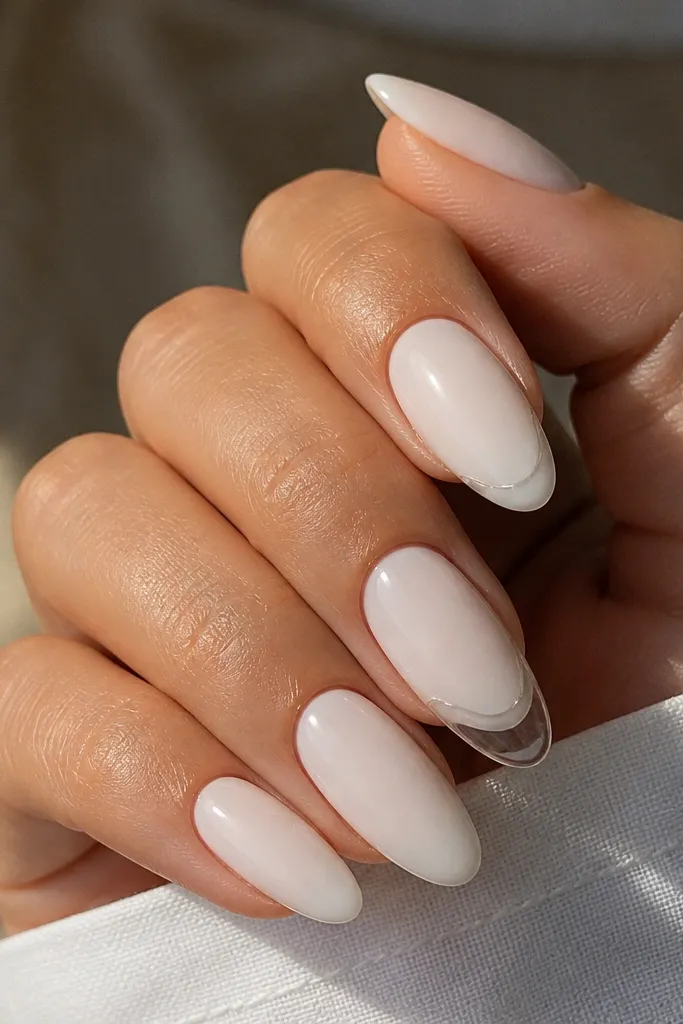
Negative space makes short nails feel bigger. The milky half-moon at the cuticle looks intentional and frames your nail bed. Because the rest stays clear, the design stays light and doesn't crowd your fingertips. It's milky white short nails simple with a little architecture.
Use a clear base gel or sheer nude for durability. Paint a half-moon shape around the cuticle using a small dome brush; keep it thin and centered. Seal with glossy top coat to smooth the edges so the half-moon doesn't catch.
Editor's noteAngle your brush so the half-moon edges taper - that's what makes it look clean, not round-sticker.
Watch outDon't cover the entire nail with milky white - you lose the airy effect.
4. Milky white gradient fade from tip to center
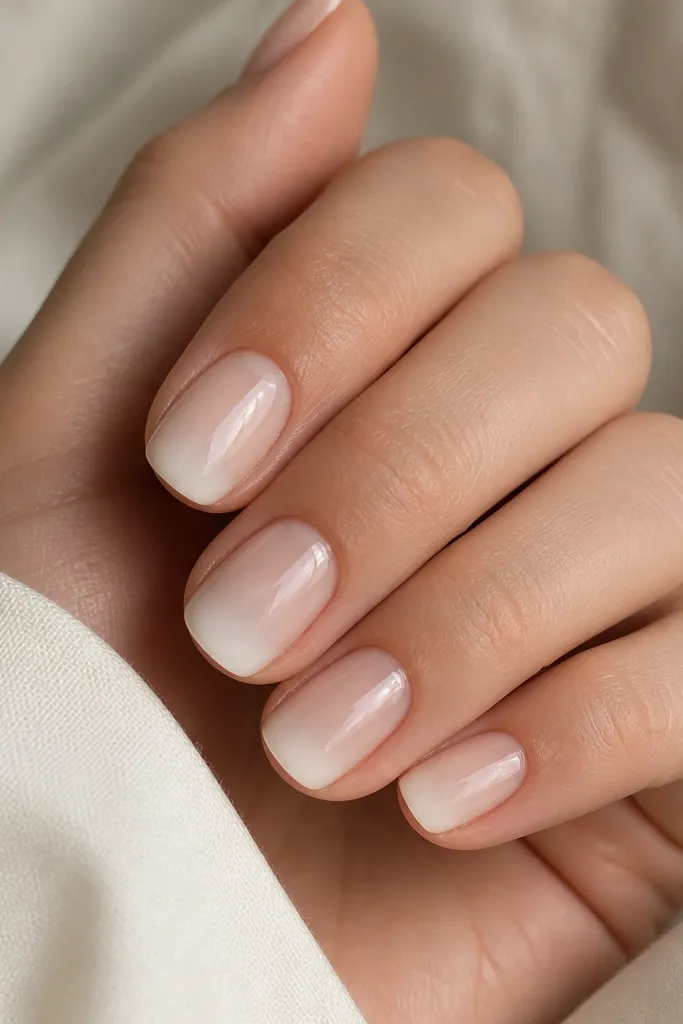
A gradient on short nails makes the nail look longer without adding length physically. The milky white is densest at the tip and softens toward the middle, so your eye reads a smooth curve. Gloss keeps the blend looking liquid, not streaky. This is also forgiving if your cuticles aren't perfectly even.
Apply a sheer base first. Sponge milky white gel on the free edge with a makeup sponge, then lightly tap toward the center until the fade disappears. Cure, then add one more thin layer only where the tip needs more opacity.
Editor's noteLet the first sponge layer cure fully before you add a second - it prevents muddy blending.
Watch outSkip thick sponge layers - they cause texture and visible edges.
5. Matte milky base with a single curved rhinestone line
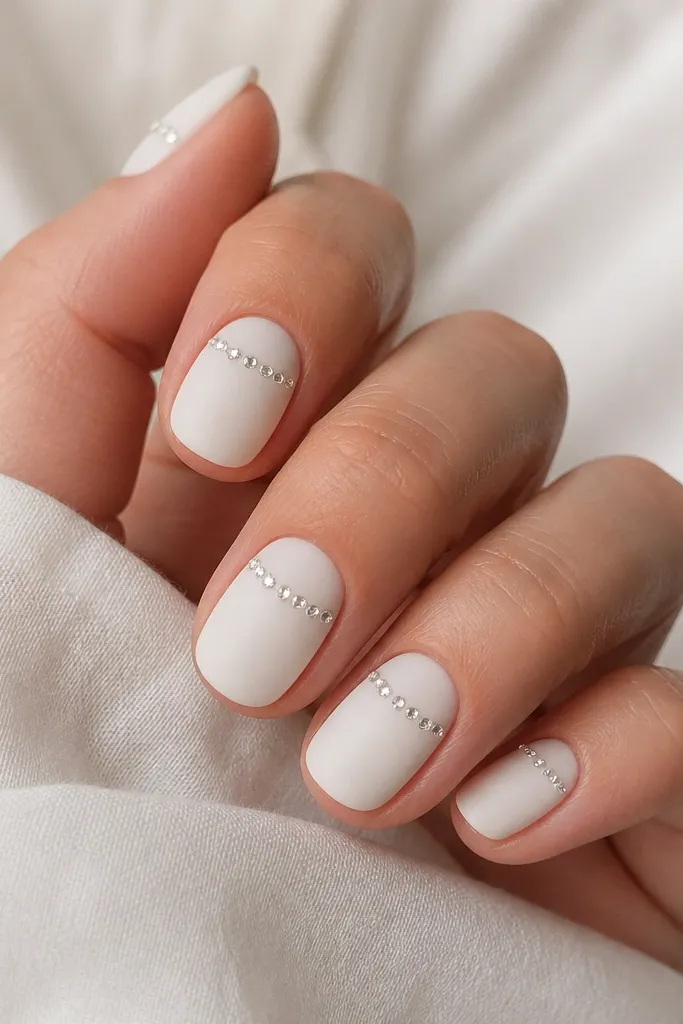
Matte makes milky white look soft and modern, and the tiny rhinestones add just enough sparkle. Keeping the rhinestone line curved (not straight) flatters the nail shape. Because the nails are short, you only need a few stones - the line reads like jewelry, not full bling. It's a great date-night option that still feels clean.
Do your milky white base, cure, then top with a matte top coat. Place 4-6 small rhinestones with clear gel or nail glue along a gentle curve about 2-3 mm above the free edge. Finish with glossy top only over the stones, not the whole nail, so the contrast stays crisp.
Editor's notePress each stone with the back of a bobby pin for 3-5 seconds so it seats flat.
Watch outDon't place stones too close to the free edge - they lift and snag first.
6. Milky white half-swoop at the sidewall
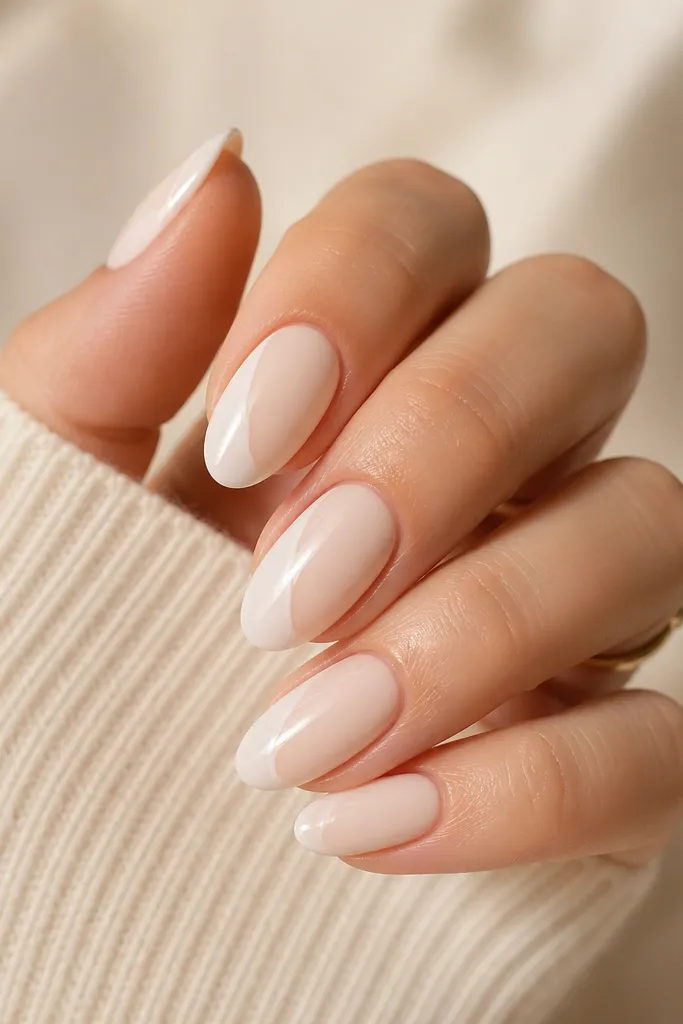
Side accents look sharp on short nails because they guide the eye up the nail. This design uses milky white on milky white, so it's subtle but still visible - especially under light. The swoop is thin, so it doesn't look heavy. It's also easy to adjust for different nail widths.
Apply a sheer milky base, cure. With a liner brush, paint a curved swoop on one sidewall starting about halfway down the nail and ending near the tip. Keep it narrow (about the width of a hairline). Add one glossy top coat to lock it in.
Editor's noteUse the side of your brush, not the tip, for a steadier swoop.
Watch outDon't draw a thick border that wraps the entire side - it makes short nails look boxed in.
7. Milky white dot cluster on the ring finger
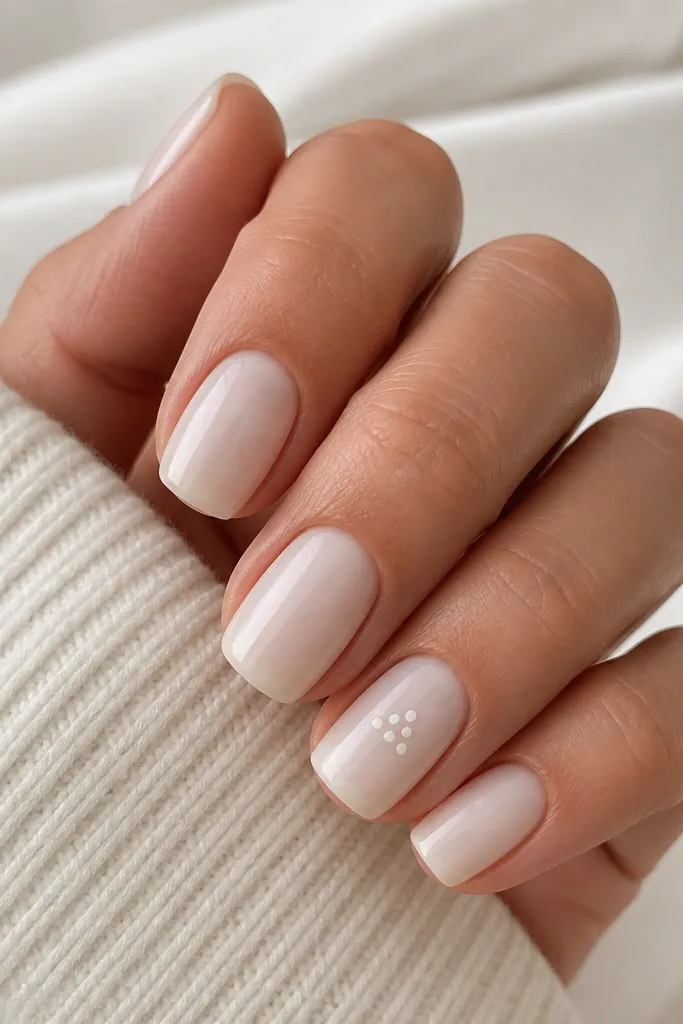
Dotted art is quick and looks intentional even when your hand isn't steady. The triangle cluster gives structure, so it doesn't look random. Keeping the dots small matters for short nails - you want "sprinkles," not polka dots. This is the best everyday way to wear milky white short nails simple with a little personality.
Paint the whole set with a sheer milky base and two thin coats for even coverage. On the ring finger only, place 1 dot near the center, 2 dots slightly lower to form a triangle using a dotting tool. Cure and seal with glossy top coat.
Editor's noteDip the dotting tool lightly; too much product makes the dots round and raised.
Watch outAvoid putting dot clusters on every nail - it turns busy fast on short length.
8. Milky white scalloped edge French
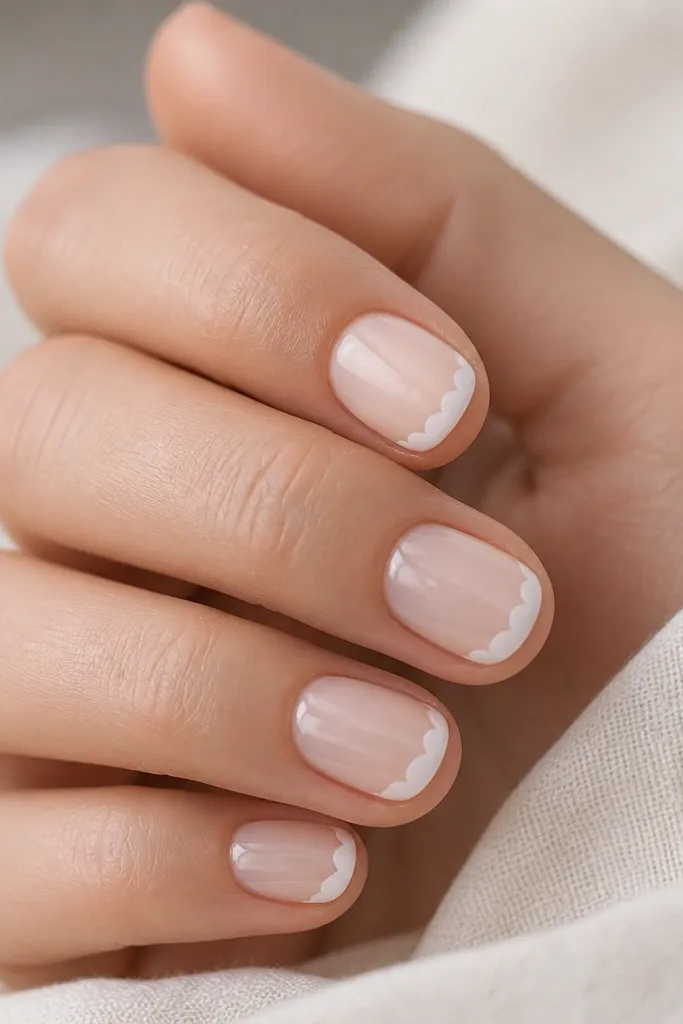
Scallops make French tips look playful without needing extra color. Because the base is translucent, the scalloped edge stays light and doesn't feel like a thick sticker. This design reads cute and clean in person, not just in photos. It's also a nice upgrade from a straight micro French.
Start with a sheer milky base. For scallops, use a thin liner brush and a small dotting technique: paint tiny U-shapes across the free edge, leaving slight gaps so it still looks airy. Make sure the scallops are uniform, about 1 mm each. Seal with glossy top coat.
Editor's noteDo scallops on a slightly cured tacky layer so the edges blend smoothly.
Watch outDon't make scallops too big - large scallops overpower short nails.
9. Milky white with thin black vertical line
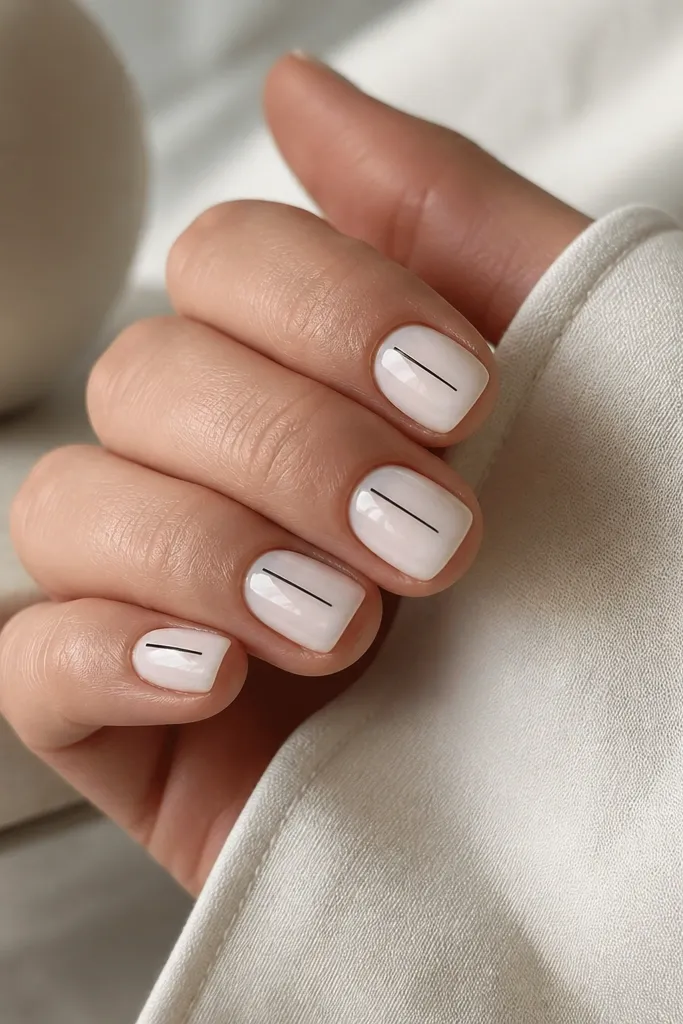
A vertical line makes short nails look longer and sharper. The black is minimal, so it keeps the milky white vibe clean. This is the one I reach for when I want milky white short nails simple but not boring. It also pairs well with any outfit color because black is neutral.
Do a sheer milky white base with two thin coats and cure. Using a striping brush, draw a line about 1 mm wide centered on each nail, leaving 2 mm from the top and 2-3 mm from the tip. Finish with glossy top coat to keep the line from looking dry.
Editor's noteIf you're nervous, mark the center with a dot using a dotting tool first.
Watch outAvoid thick lines - they make nails look shorter and blocky.
10. Milky white marble streaks in pale gray
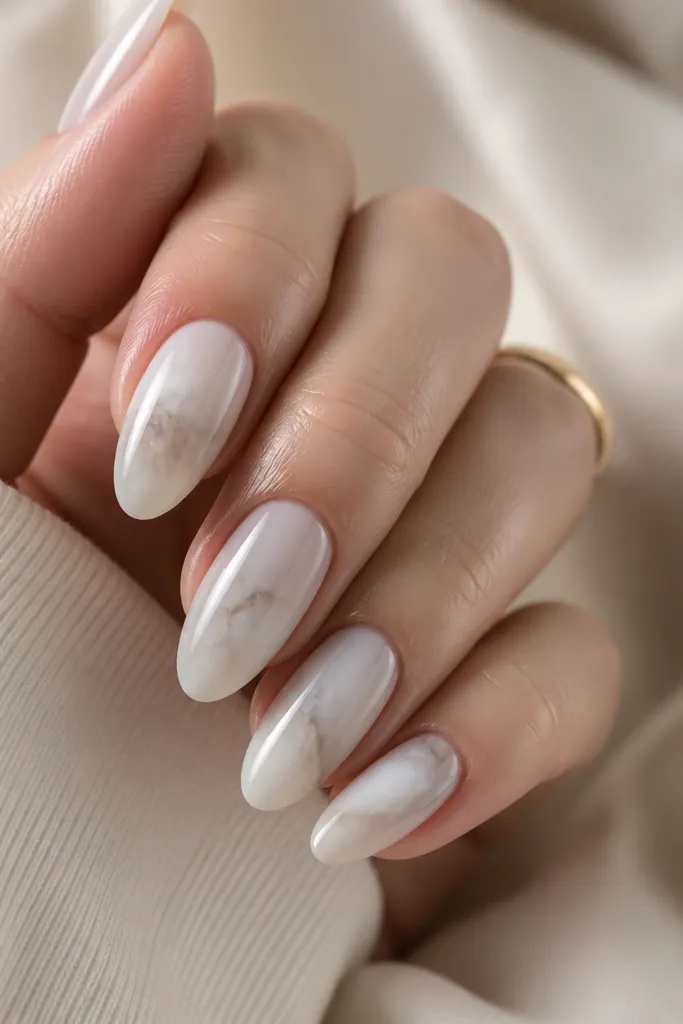
Marble streaks make milky white feel elevated without adding heavy contrast. Pale gray keeps it soft and wearable, so it still counts as milky white short nails simple. The streaks should be thin and slightly messy - marble looks real when it's not perfectly symmetrical. Gloss makes the streaks look like they're under glass.
Paint a milky white base, cure. Add a tiny amount of pale gray gel on a silicone palette, then drag a thin striping brush through it to create wispy lines. Place 2-3 streaks diagonally on each nail, varying their length. Cure and seal with glossy top coat.
Editor's noteWipe your brush on a pad between nails so the lines stay thin, not smoky.
Watch outDon't use dark gray - it turns harsh and makes the marble look like dirty white paint.
11. Milky white glossy base with micro gold flecks
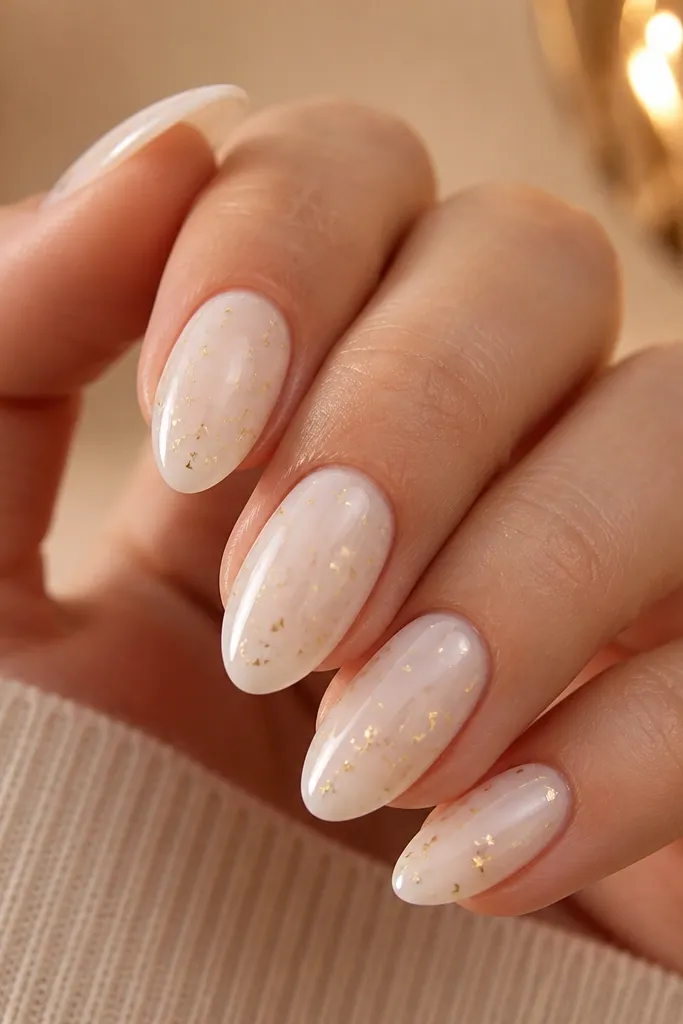
Gold flecks make milky white look like soft candlelight. The trick is placement: keep flecks concentrated near the tip so the nail still reads clean. I like using gold foil bits because they catch light in tiny flashes instead of one big shiny spot. It's subtle enough for daily wear, but it photographs beautifully.
Apply milky white glossy base with two thin coats. Add a small amount of clear tack gel near the free edge, then press gold foil bits in with tweezers. Scatter lightly - you should still see plenty of milky base between flecks. Cure and top coat once over everything.
Editor's noteUse less foil than you think; milky white shows every extra speck.
Watch outAvoid packing flecks across the entire nail - that's where it turns gritty.
12. Milky white negative cuticle line with sheer nude
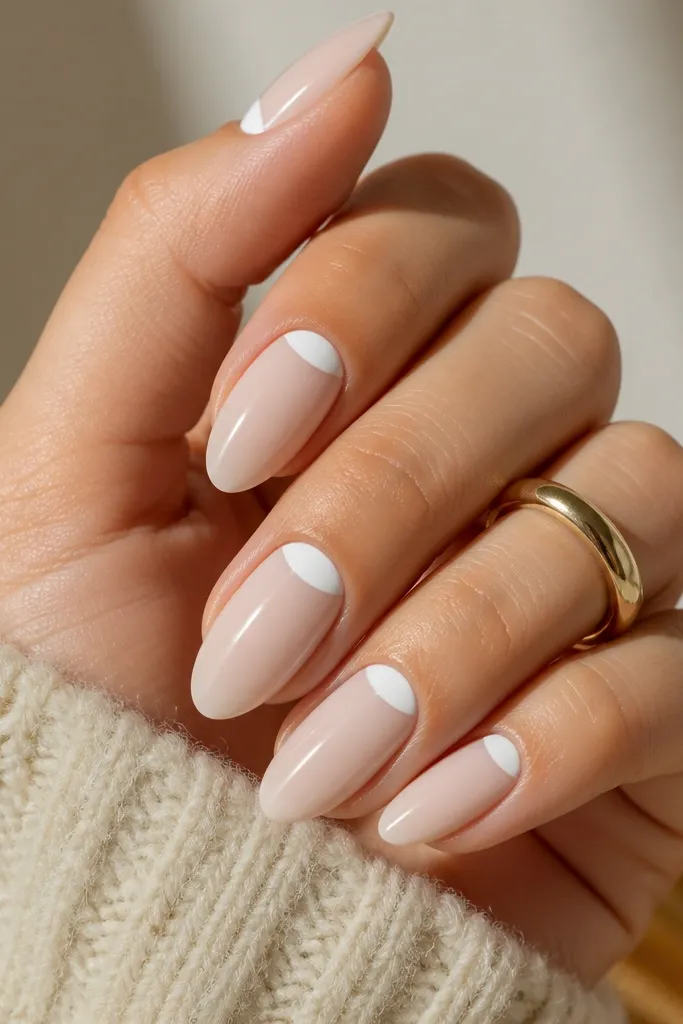
This design uses separation to make nails look neat even when the cuticle area grows out. The sheer nude base gives warmth, while the milky arc defines the nail bed. Because the milky paint is only an outline, it stays crisp and doesn't thicken the nail. It's milky white short nails simple with a grown-up finish.
Start with a sheer nude gel or polish base. Paint a thin milky white arc around the cuticle using a fine brush, leaving the center cuticle area clear or nude. Keep the arc about 1 mm thick. Seal with glossy top coat.
Editor's noteIf you get paint on the cuticle, wipe it immediately with a brush dipped in remover before curing.
Watch outDon't make the arc too thick - it looks like a border sticker.
13. Milky white glossy with one tiny side butterfly charm
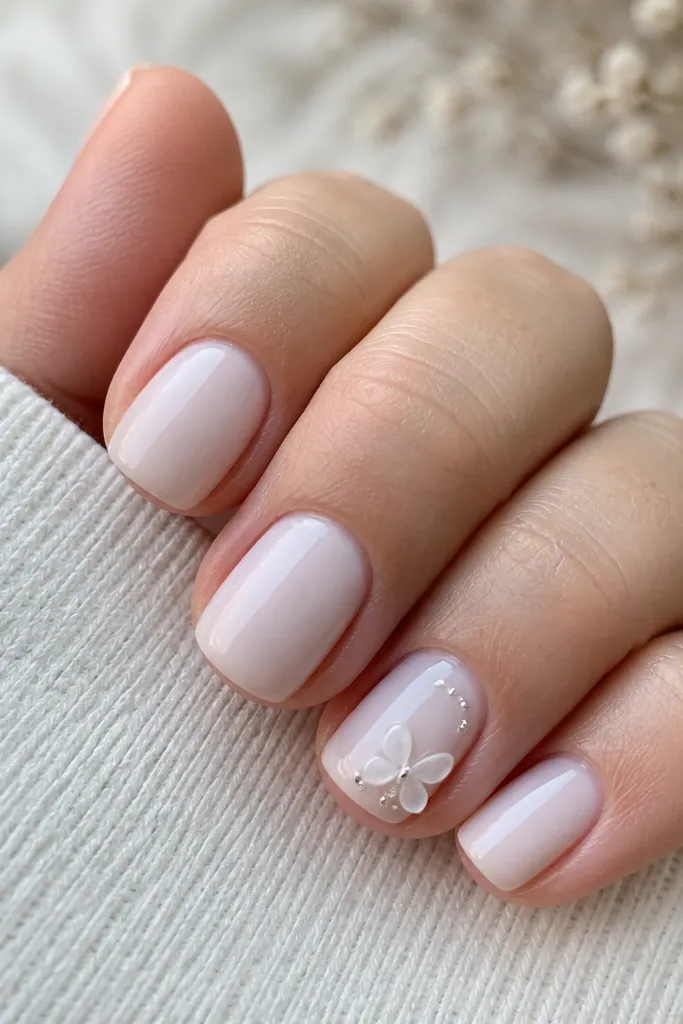
3D charms look best on short nails when you keep them small and place them near the sidewall so the charm sits flat. The milky white base makes the butterfly pop without needing extra color. Tiny rhinestones around it act like a soft halo. This is a "special" version of milky white short nails simple that still feels clean.
Milky white base on all nails, cure. On one accent nail, add a small dot of clear gel where the charm will sit. Place a tiny butterfly charm (not a big one) and cure. Add 2-3 micro rhinestones around the charm edges, then top coat carefully so you don't flood the charm details.
Editor's noteTop coat in thin layers around the charm so it doesn't sink or get cloudy.
Watch outAvoid big charms - they lift on short nails and catch on hair.
14. Milky white with fine silver line at the tip edge
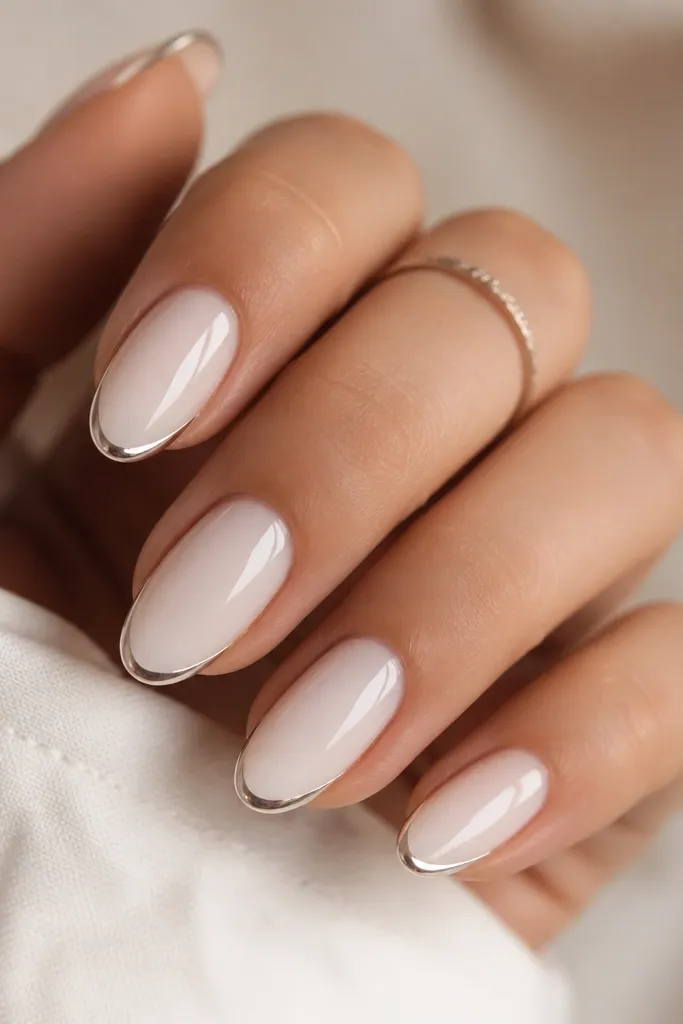
A silver edge line turns milky white into something that looks styled, not plain. It's clean because the line is straight and thin, and the milky base stays the star. This is the easiest way to add shine without glitter chunks. It works for weddings, holiday parties, and any time you want your manicure to look deliberate.
Do a sheer milky white base, cure, then build to full coverage in thin coats. Apply a striping tape or use a liner brush to draw a line 0.5-1 mm above the free edge, then seal with top coat. If you use striping tape, remove it before curing so you don't get a ridge.
Editor's noteIf the line looks uneven, fix it with a second micro-pass - don't try to erase with top coat.
Watch outAvoid thick foil tape - it makes short nails look heavy and uneven.
15. Milky white ombré blur with white-to-clear center
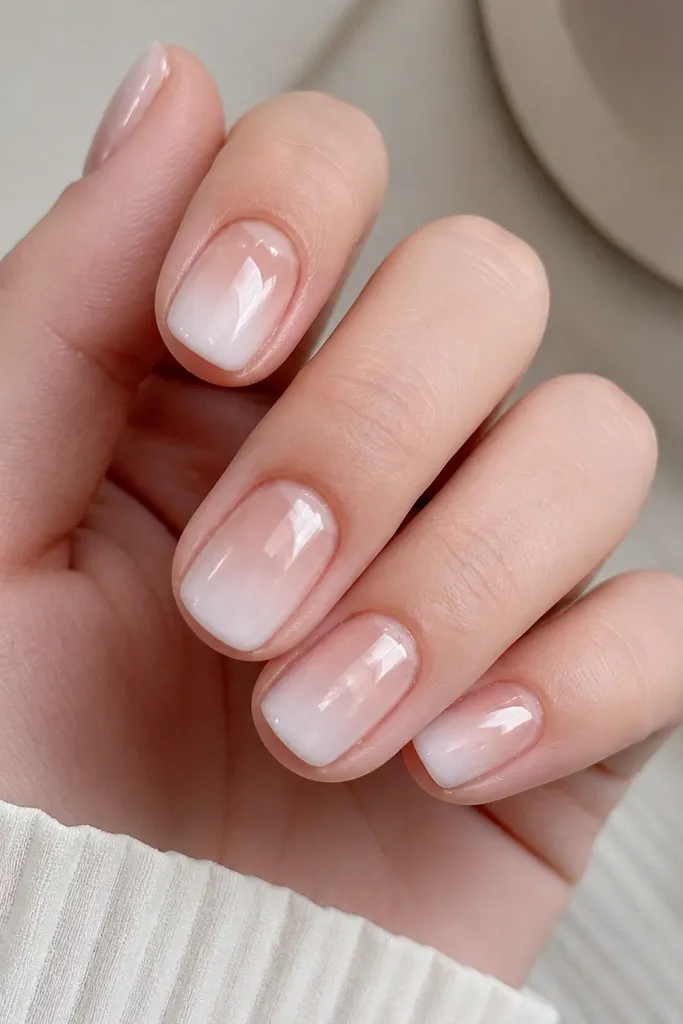
This look is airy and clean because it keeps the center light. The blur effect hides brush marks and makes the manicure feel "soft focus." On short nails, the clearer center keeps the nail from looking blocky. It's milky white short nails simple at its most flattering.
Start with a clear base for the center. Tap milky white gel mainly at the tip, then blend outward using a clean sponge with minimal product. Cure, then repeat one more time only if the tip needs more opacity. Finish with glossy top coat to smooth the blur.
Editor's noteUse a sponge that's slightly dry - wet sponge makes streaks.
Watch outDon't over-blend down the nail - you lose the cloud-to-clear contrast.