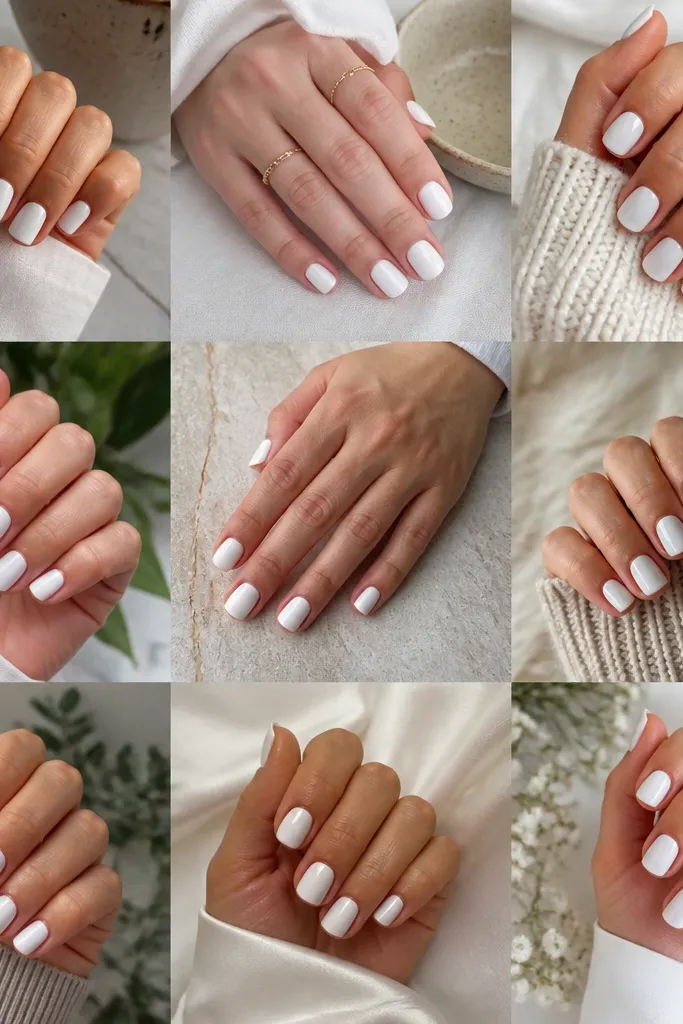
1. Micro French with creamy white tips
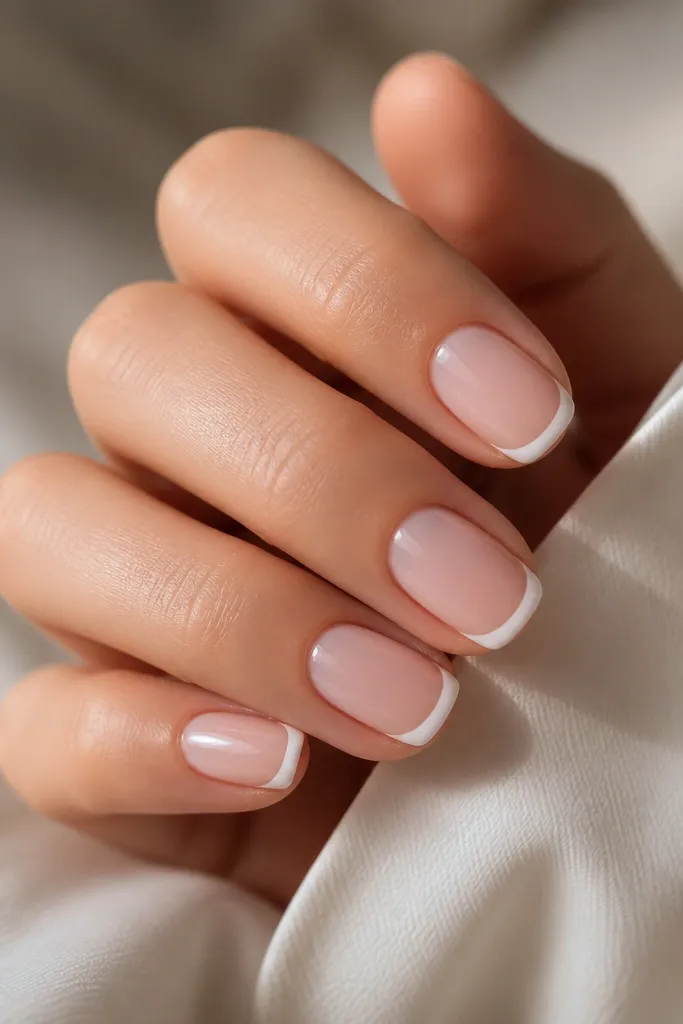
This design makes short nails look longer without turning into thick blocky tips. The French line is narrow and sits close to the free edge, so your nail bed still shows. Creamy white also blends better than icy white and avoids the "sticker white" look.
File your nails into short squoval (rounded corners). Apply a sheer nude base, then paint a micro French line about 1 mm wide. Keep the smile curve gentle so it doesn't look like a manicure sticker.
Editor's noteAfter top coat, run a quick swipe of clear top coat along the free-edge underside so the white stays crisp longer.
Watch outDon't make the tips too wide - it kills the length effect and can look chunky.
2. Negative space half-moon with white overlay
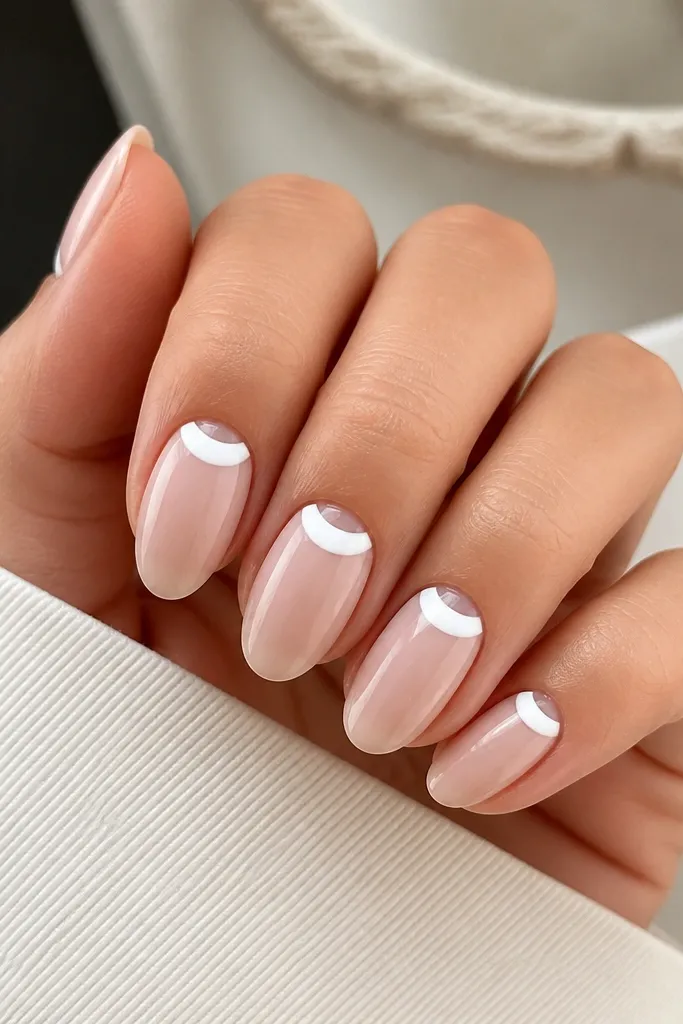
Half-moon negative space makes white feel modern and keeps the design airy on short nails. The white crescent frames your cuticle instead of covering the whole nail. The contrast between sheer nude and opaque white makes edges look sharp.
Start with a sheer nude base. Use a thin brush to place a white crescent just outside the cuticle line, leaving the center negative space. Seal with a glossy top coat and cap the free edge.
Editor's noteUse a cuticle pusher to clean the crescent edge while the gel is still slightly tacky.
Watch outDon't let the white cross over the cuticle - messy overlap makes the half-moon disappear.
3. White marble streaks on sheer nude
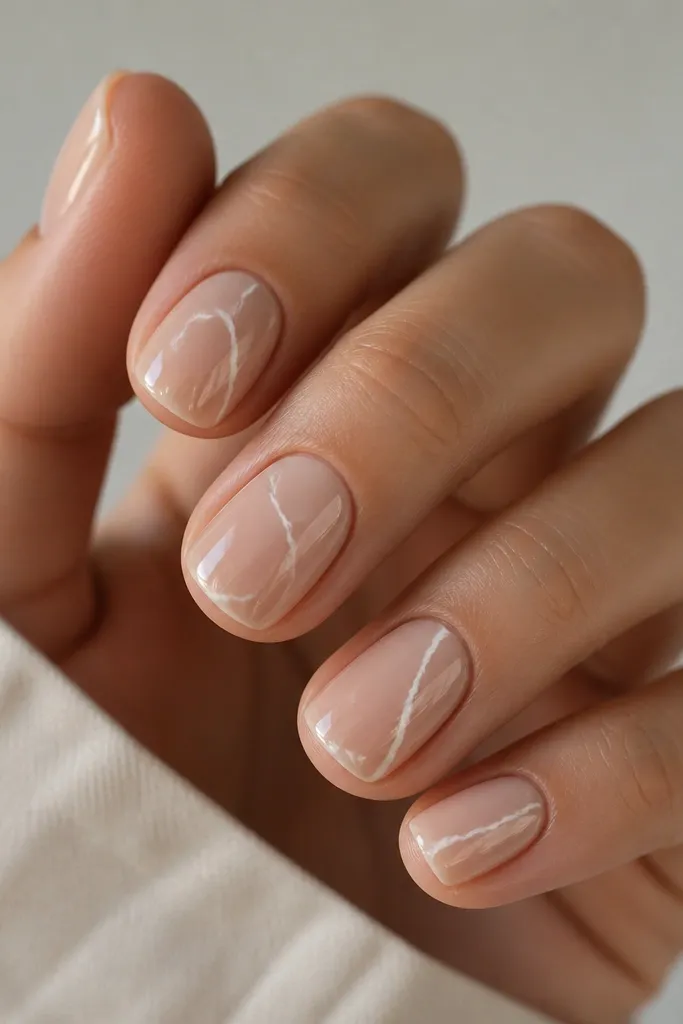
Marble works on short acrylic because the design is mostly linework. The white veins give movement without adding bulk. Keeping the background sheer prevents the nails from looking like a solid white block.
Build a sheer nude base first. With a striping brush, drag thin white lines diagonally, then add a few lighter off-white flicks for veining. Blend the lines by lightly tapping with a clean brush, then top coat.
Editor's noteDo one nail at a time - marble looks best when the veins are still fresh and you can adjust the thickness.
Watch outDon't draw thick marble blobs; they make short nails look uneven and bulky.
4. White glossy solid with one gold foil cuticle pop
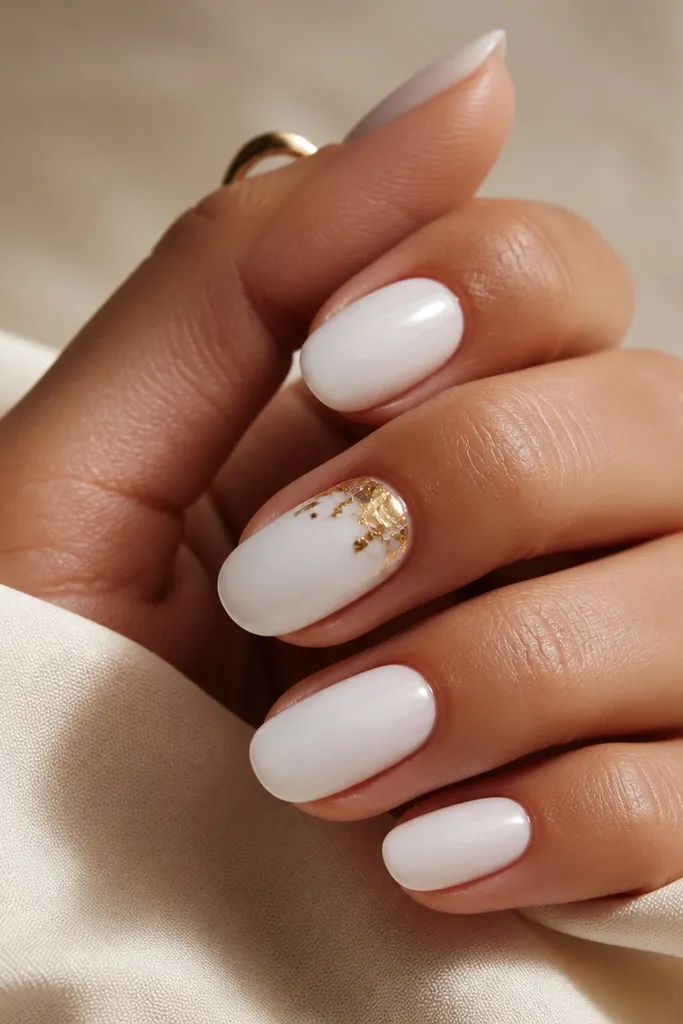
Solid white looks clean and polished, but gold foil at the cuticle adds interest without taking up space. Foil is perfect for short nails because you can keep it tiny and let it catch light. The contrast also photographs well.
Cover all nails in opaque milky white. On accent nails, apply a small sticky layer or foil adhesive close to the cuticle (not on the free edge), press gold foil pieces in a tight cluster, then seal with top coat.
Editor's notePress the foil with a silicone tool, not your finger, so you don't smear it into the white.
Watch outDon't put foil on the tip - it lifts and chips faster on the stress area.
5. Tiny white daisies on nude with white tips
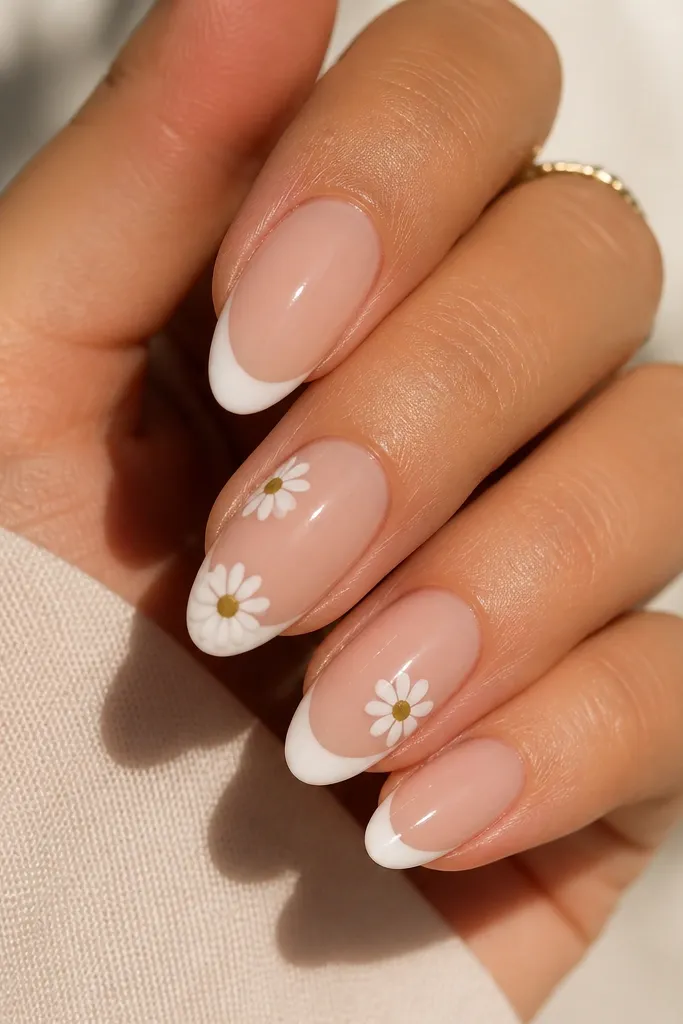
This is the cute option that still stays wearable. The white micro tips keep it crisp, and the tiny daisies add personality without covering the whole nail. Yellow centers bring warmth so the set doesn't look too stark.
Do a nude base with micro French tips. On two nails, paint one daisy near the cuticle: five small white petals and a tiny yellow dot center. Outline lightly if needed, then top coat.
Editor's noteUse a dotting tool for the yellow center - it keeps the circle perfectly round.
Watch outDon't scatter multiple flowers on every nail; short nails get crowded fast.
6. White pearl dots over sheer nude
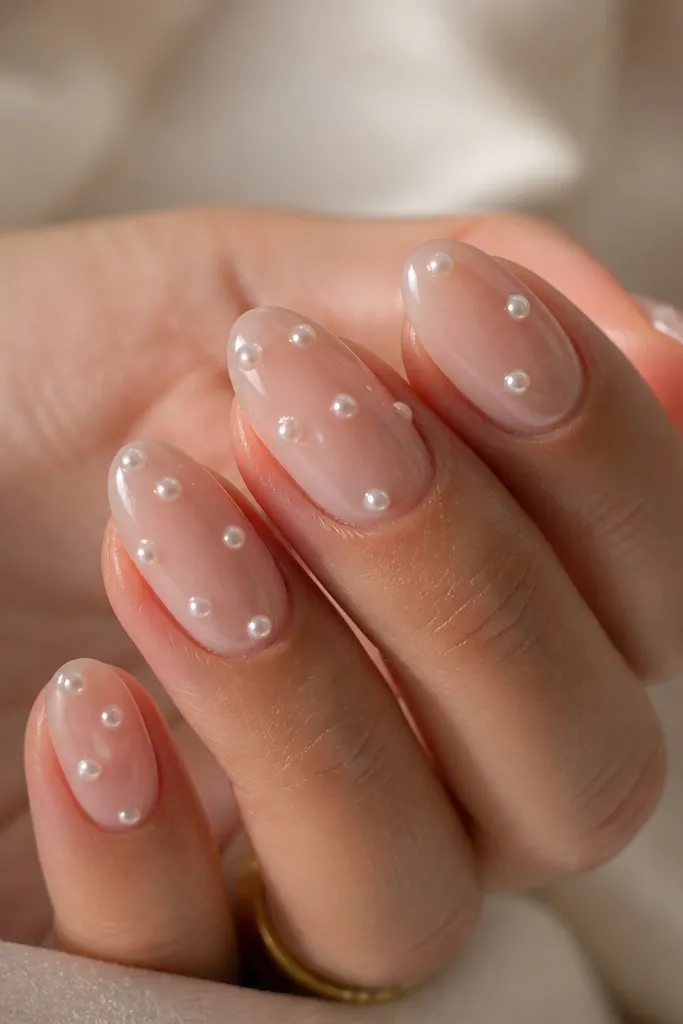
Pearl dots look luxurious because they add texture and light reflection. On short nails, a diagonal string of dots creates a slimming effect. White pearls against nude also keep the look bright but soft.
Apply sheer nude base and cure. Place three to five small white pearl dots per nail in a diagonal, spacing them evenly (about 1-2 mm apart). Seal with a thick top coat so the dots feel smooth.
Editor's noteIf the dots snag, add a second top coat layer and cap the edges where the dot sits.
Watch outDon't use overly large beads; they make short nails feel bulky and can lift.
7. White gel outline hearts at the cuticle
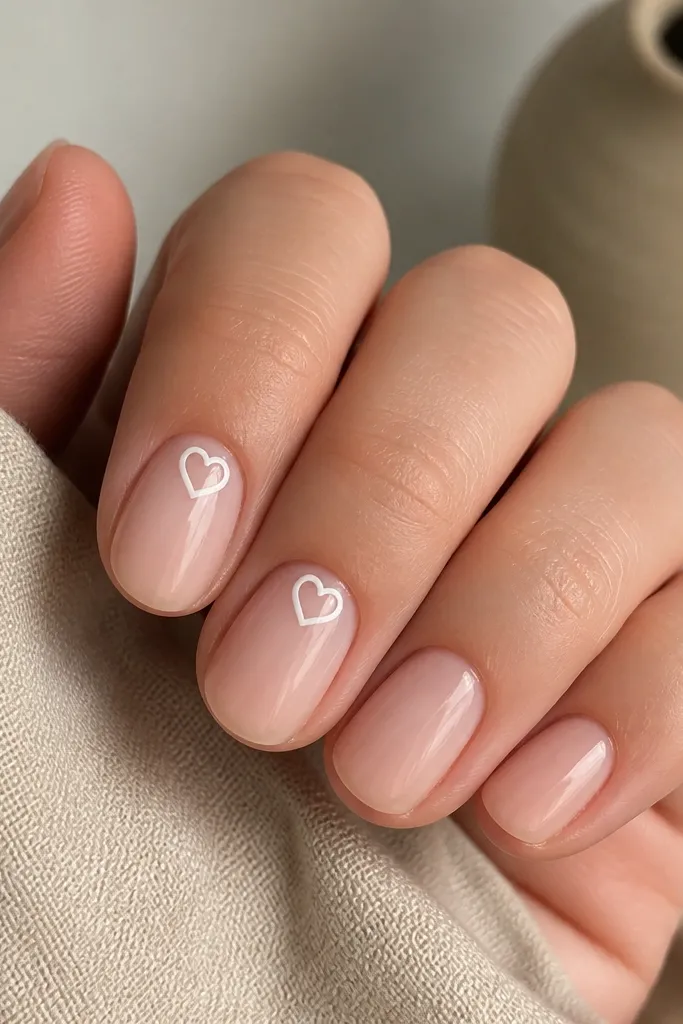
Outline hearts keep the design light and clean, which matters on short length. The heart sits near the cuticle where it looks intentional, not like a sticker on the tip. White outlines also match almost any outfit color.
Paint sheer nude base. On accent nails, draw a small heart outline using a fine striping brush. Place it centered under the nail curve, then fill the outline with opaque white only at the stroke ends for crisp edges.
Editor's noteChill your hand for 30 seconds before drawing outlines - less tremor means cleaner heart points.
Watch outDon't fill the entire heart solid white if you want it to stay delicate; it can look heavy.
8. Reverse French with white base and nude tip window
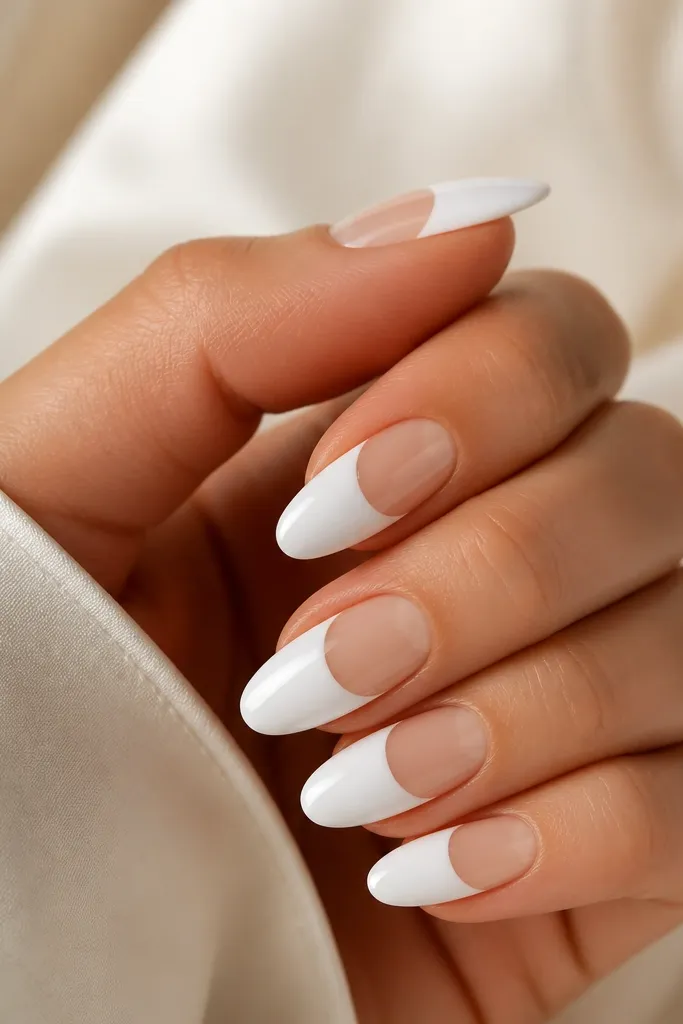
Reverse French flips the usual look and makes short nails feel graphic. The nude window at the tip keeps it from turning into a full white block. The clean arc also makes the nails look neat even as they grow.
Cover the nail with opaque milky white. Then mask the tip arc with a thin striping guide or tape and paint the nude window using sheer nude gel. Cure, remove masking, and top coat.
Editor's noteUse a thin tape strip and press it lightly - too much pressure can peel the white layer.
Watch outDon't make the nude window too large or it turns into uneven negative space.
9. White chrome top on matte base with one glossy nail
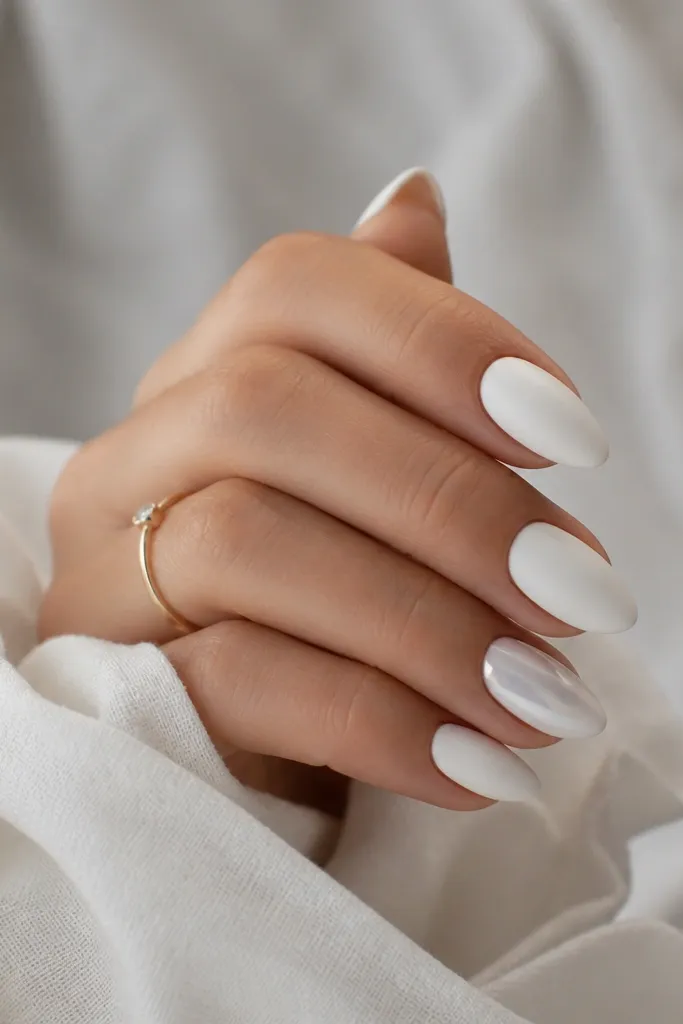
This set plays with finish, and finish is what makes white designs look high-end. Matte white looks soft and modern, and a single glossy chrome nail gives you that "fresh manicure" glare. The contrast is strong even on short nails.
Build your acrylic and file smooth. Paint matte milky white on most nails and cure. For the accent, use glossy white gel, then apply white chrome powder and seal with a high-shine top coat.
Editor's noteKeep chrome away from the cuticle line - rub it in only where you want the sparkle.
Watch outDon't top coat matte nails with glossy everywhere; it removes the matte effect and flattens the look.
10. White lace line art over sheer nude
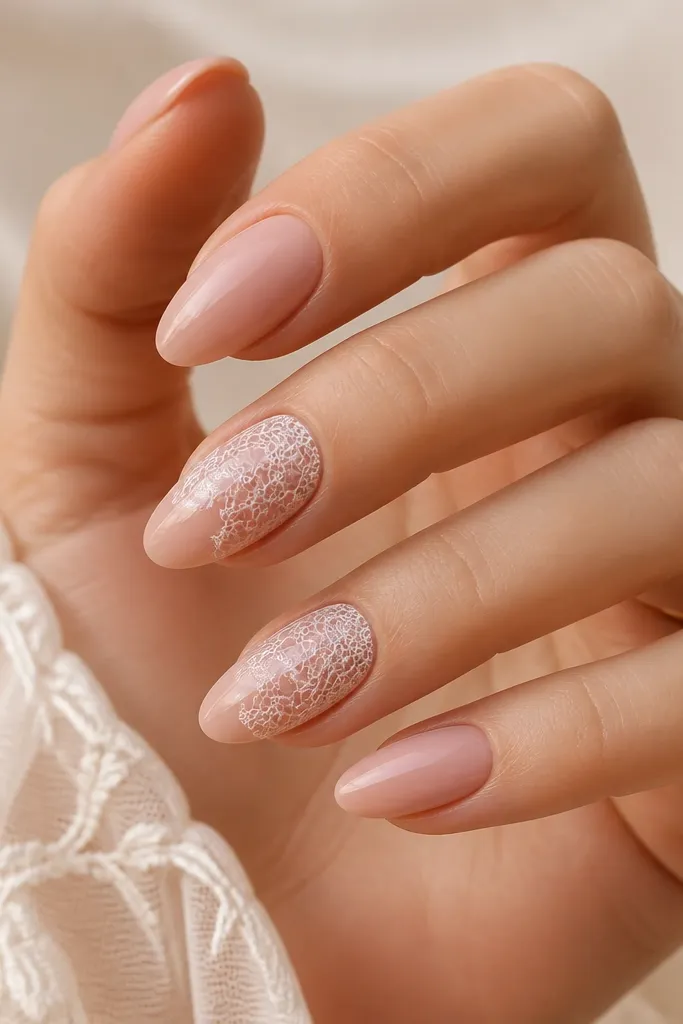
Lace line art is delicate and works because it's mostly thin strokes. It gives the illusion of detail without adding thickness. White on nude stays bright and doesn't look heavy like full lace decals can.
Use sheer nude base. With a fine liner brush, draw a vertical lace pattern: a central vine line with small loops branching out. Stop the pattern about 2-3 mm above the tip so it stays readable on short length.
Editor's noteIf your lines wobble, do the center vine first, then add the loops - it keeps the pattern aligned.
Watch outDon't crowd the lace up to the tip; it makes the short nail look cramped.
11. White grid French with silver micro lines
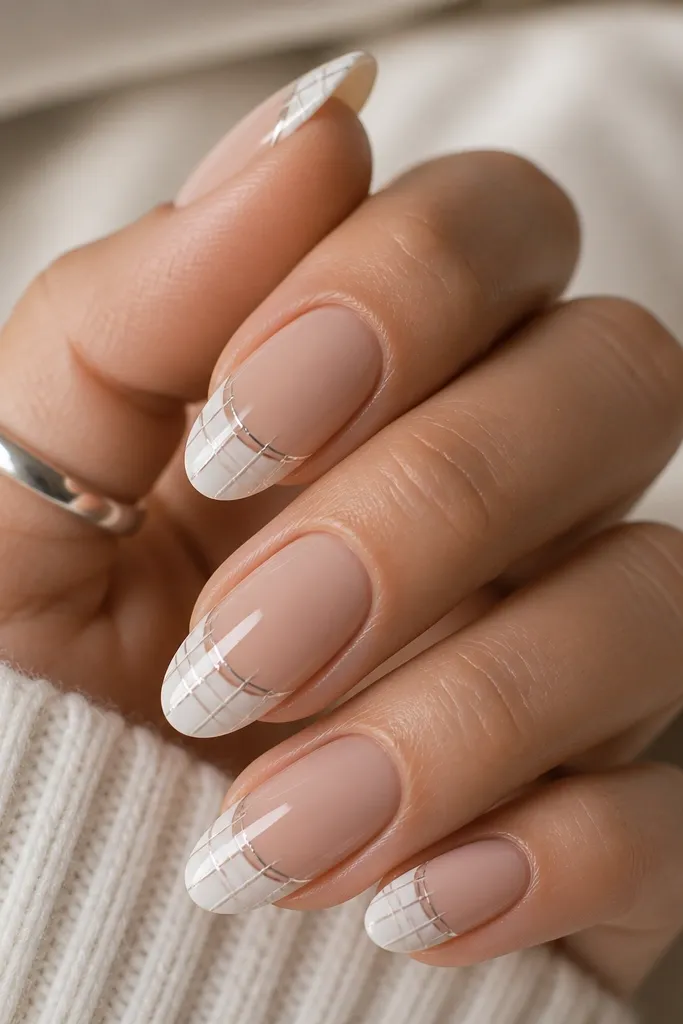
This one makes white short acrylic nails look styled for events. The grid adds structure, and silver lines sharpen the white so it doesn't look flat. It's geometric without being harsh.
Start with nude base and micro French tips in opaque white. Cure, then use a silver striping gel to draw one vertical and one horizontal line across each tip panel. Keep the grid tight within the tip area, then top coat.
Editor's noteWipe your brush on a lint-free pad between lines so the silver stays crisp.
Watch outDon't drag silver over wet gel; you'll get smudges that ruin the grid.
12. White ombre to nude with a soft blur line
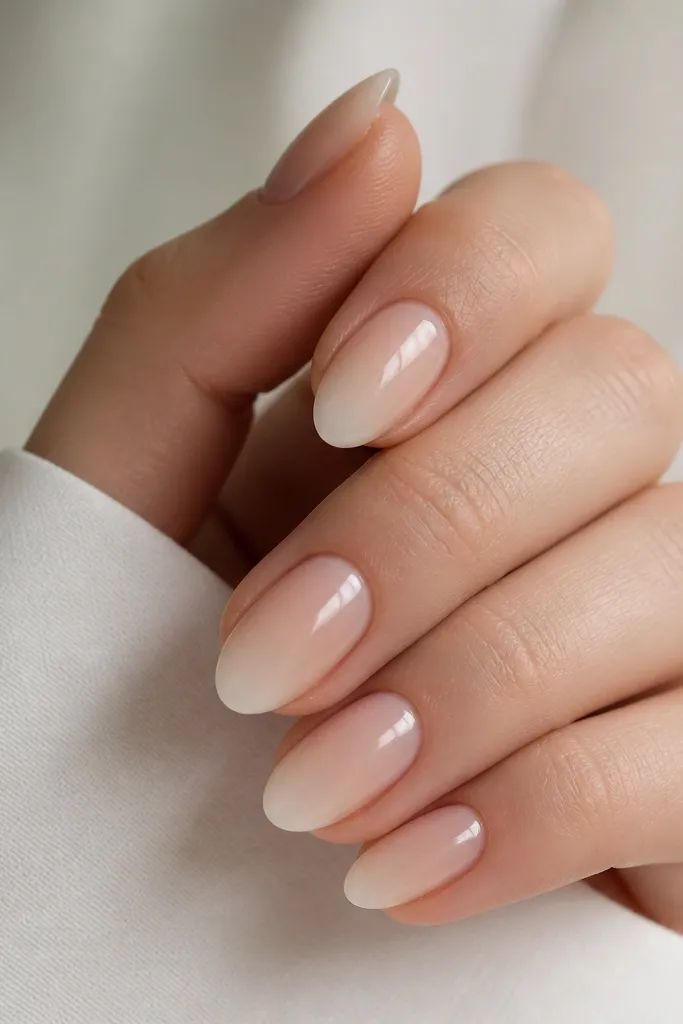
Ombre looks clean on short nails when the fade is subtle. The blur line makes the nails look longer because your eye travels from nude to white gradually. This is also the easiest white look to maintain when nails grow out.
Use nude base. Sponge on milky white from the free edge upward, keeping the density strongest at the tip. Blend the middle edge with a clean sponge so there's no hard line, then seal with glossy top coat.
Editor's noteTwo light sponge passes beat one heavy pass - it keeps the ombre smooth.
Watch outDon't overbuild white at the tip; it can turn into a thick gradient blob.
13. White bow accent on one nail, solid white rest
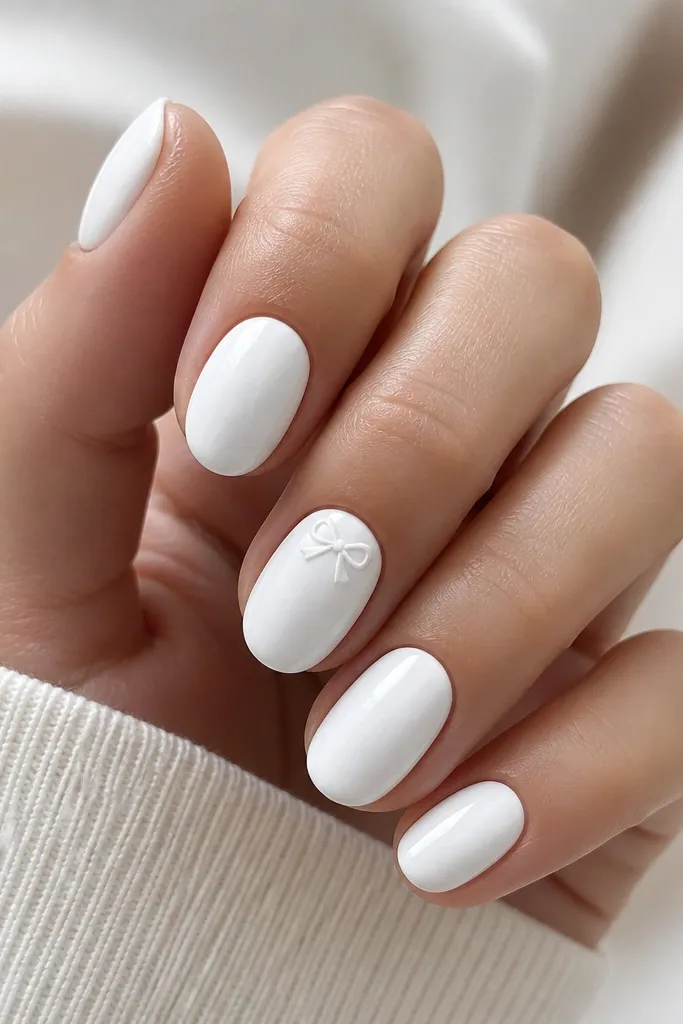
A tiny bow adds "put together" energy without making your nails look childish. Keeping the rest solid white keeps the set chic and lets the bow be the focus. The bow edge details make it look like 3D jewelry when you top coat correctly.
Paint all nails opaque milky white. On one accent nail, sculpt or paint a small bow: two loops and a center knot, about the width of your cuticle. Add a faint gray-white shadow line so the bow looks dimensional, then top coat.
Editor's noteFor a crisp bow, use a small acrylic bead and shape it with a silicone tool, then cure.
Watch outDon't make the bow too wide - short nails need negative space around it.
14. White cat-eye shimmer with clear base
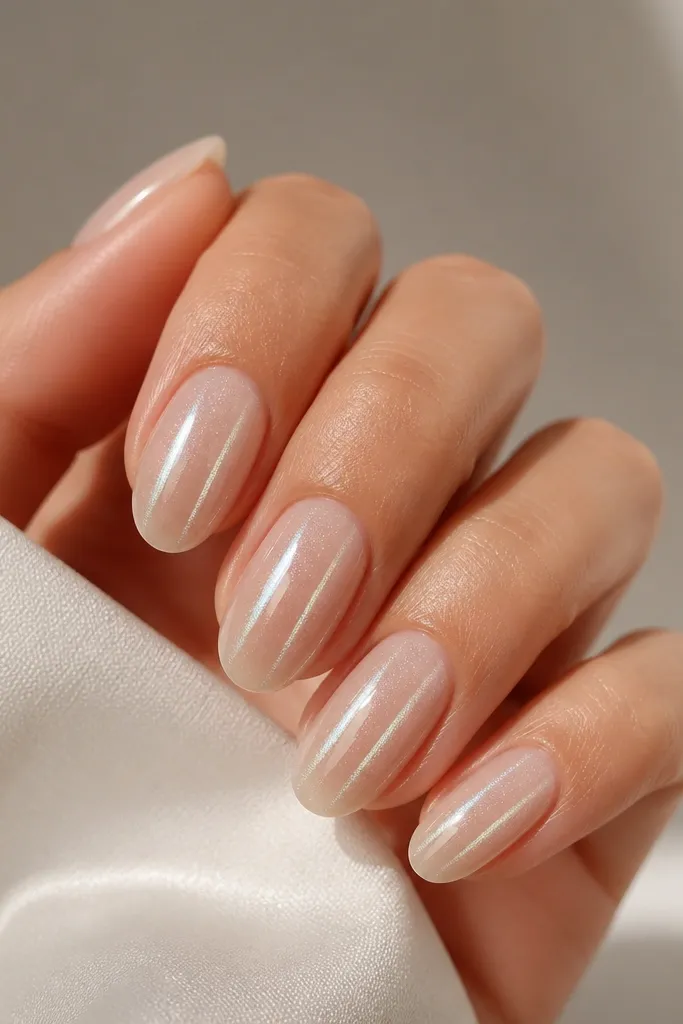
Cat-eye shimmer looks stunning on short nails because the light streak makes the nail look longer. The white tone stays wearable, unlike darker cat-eye shades that can feel heavy. The clear base keeps it light and fresh.
Apply a clear or sheer nude base. Use a white cat-eye acrylic powder or gel, then magnetize to pull the streak straight down the center. Cure flat and finish with a glossy top coat.
Editor's noteHold the magnet steady for the full recommended time so the streak doesn't blur.
Watch outDon't move the magnet while curing; it smears the line.
15. White floral French tips with tiny green leaves
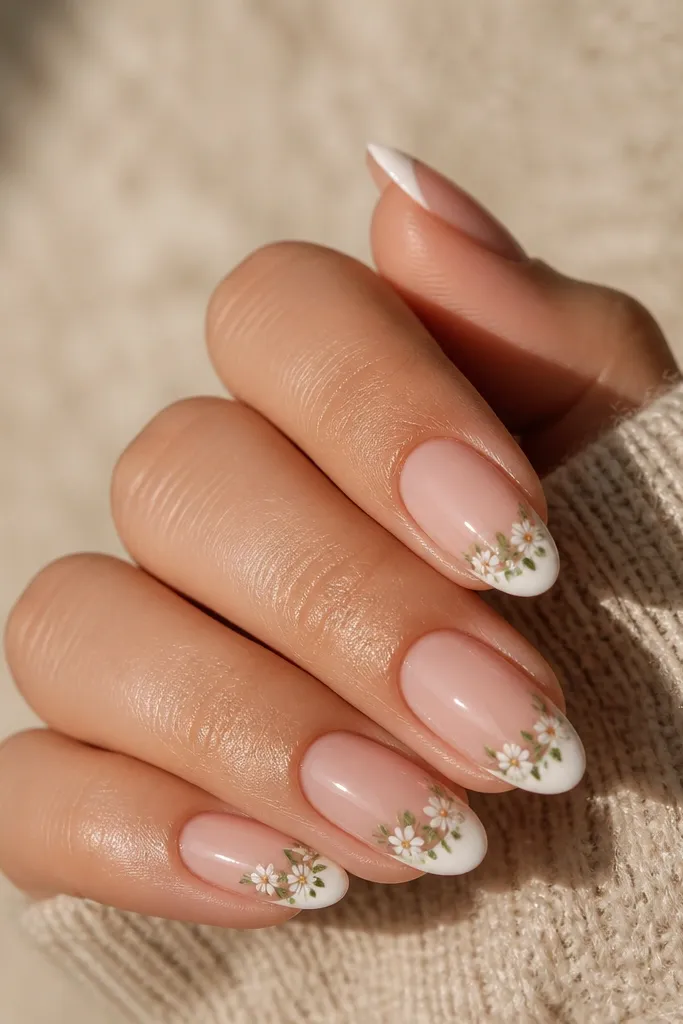
This design keeps the classic French shape but adds a garden detail that doesn't overwhelm short length. Tiny green leaves make the white look warmer and more natural. It's perfect for spring events and weddings.
Paint nude base, then micro French tips. On accent nails, add one small flower near the center of the tip and two tiny leaves on either side. Keep the art inside the tip area so the short nail stays clean.
Editor's noteUse two greens: a darker leaf outline and a lighter fill - it makes the leaves look dimensional.
Watch outDon't paint big bouquets on short nails; they crowd the nail bed.
16. White rhinestone line across the middle
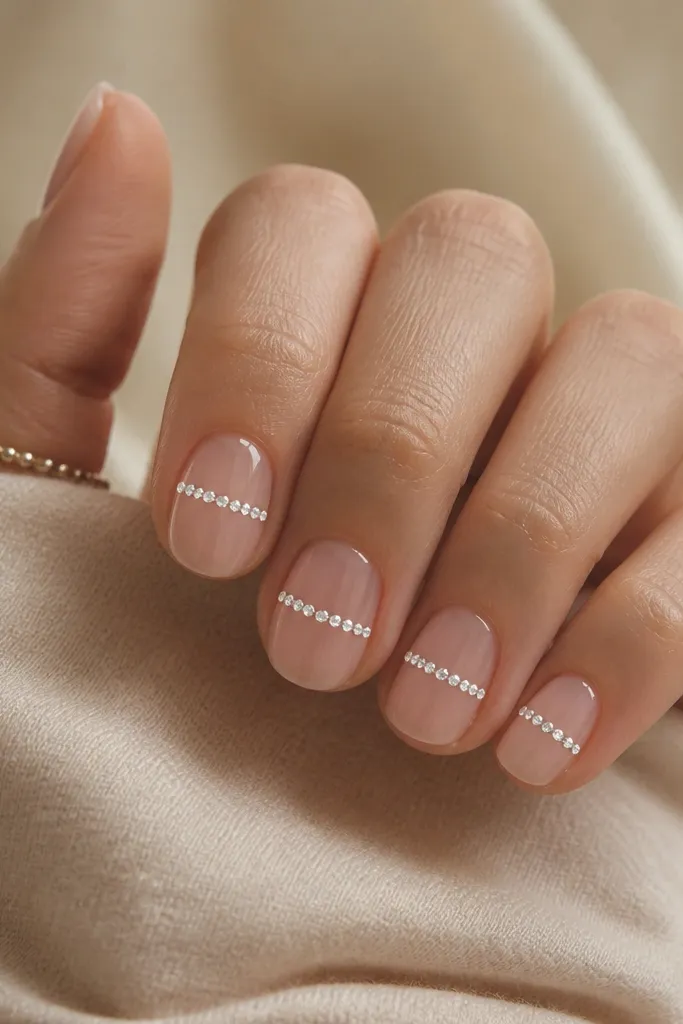
A straight rhinestone line gives instant "done" energy and makes white nails look extra polished. The mid-nail placement is flattering because it draws attention across the widest part of the nail. White stones also match the acrylic without looking flashy.
Use sheer nude base for a clean look. Add a thin strip of gel at mid-nail, place small white rhinestones in a straight row, then cure. Top coat carefully, making sure the stones are fully sealed so they don't catch.
Editor's noteLeave a tiny gap at each end of the row - it looks intentional, not crowded.
Watch outDon't use oversized stones; they create uneven pressure points on short nails.
17. All-white with thin black micro stems
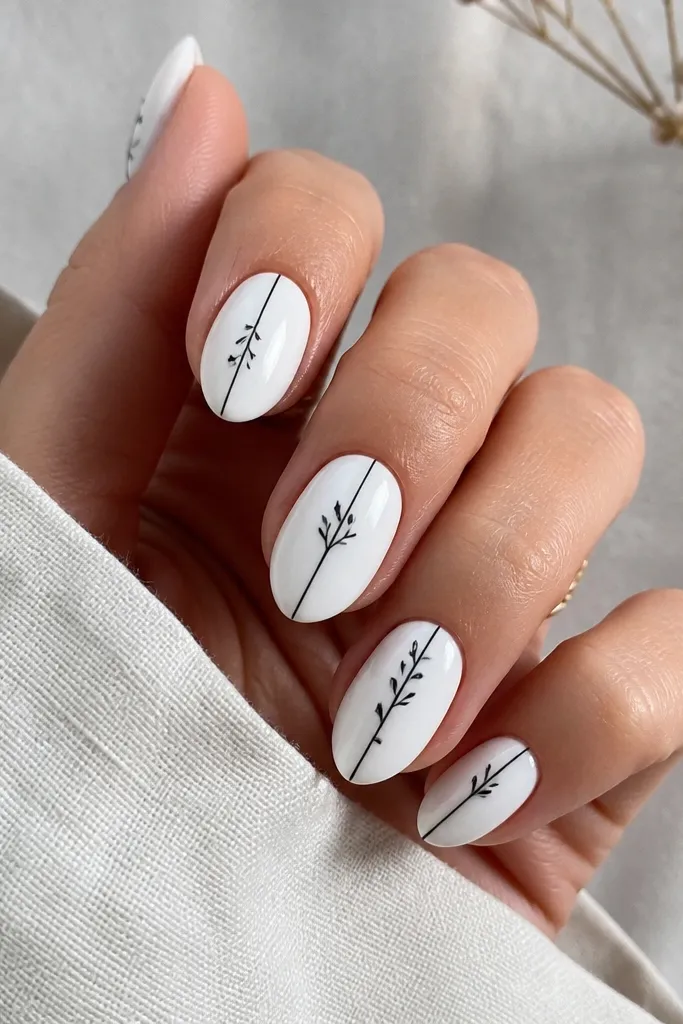
Black line art makes white look graphic and sharp. On short nails, thin stems read clean and don't take up space. It's also a great choice if you want something different from pure French or florals.
Paint all nails opaque milky white and cure. With a fine striping brush, draw a vertical black line from near the cuticle toward the middle, then add 2-3 tiny branch marks. Keep lines thin and stop before the tip so it stays airy.
Editor's noteUse a gel liner brush and cure after each nail if your lines smear.
Watch outDon't thicken the black lines; heavy strokes make the set look harsh.
18. White and blush swirl tips
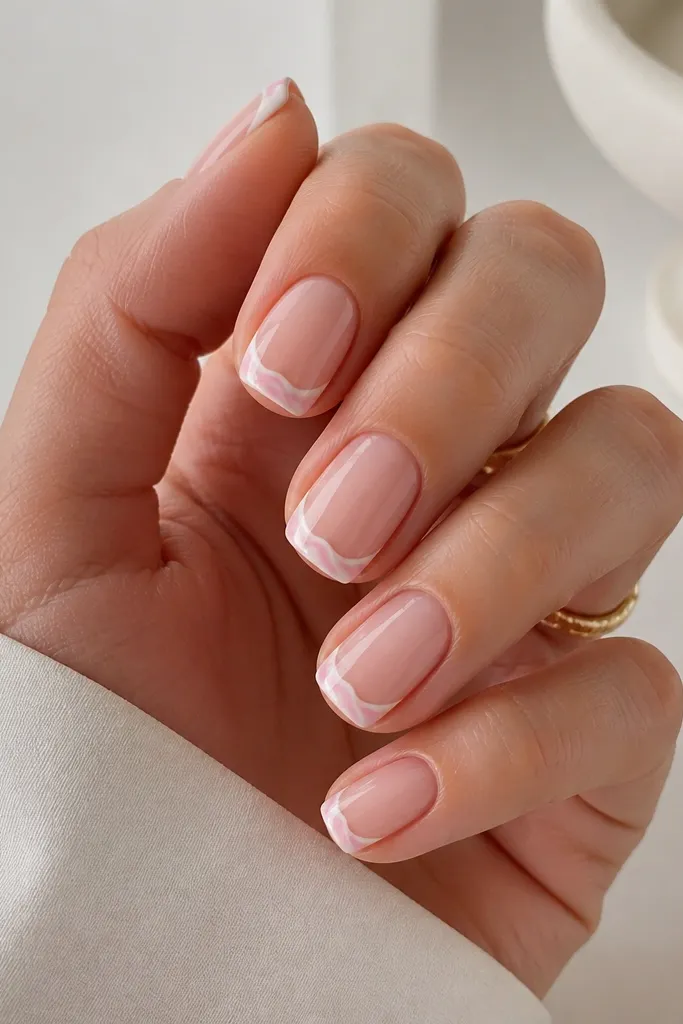
Blush through white makes the set softer and more flattering on cooler or warmer skin tones. The swirl gives motion, and because it stays inside the tip, it doesn't crowd short nails. This is one of my favorite "date night but still classy" looks.
Do nude base and opaque white tips. Add blush gel swirl lines in a loose spiral at the center of the tip, then drag a little through the white so it looks blended. Cure and top coat.
Editor's noteUse a thin brush for the swirl and keep it small - a tiny spiral looks intentional on short length.
Watch outDon't overmix the blush into a full blush tip; it stops reading as a swirl.
19. White short acrylic nails with mini stars near cuticle
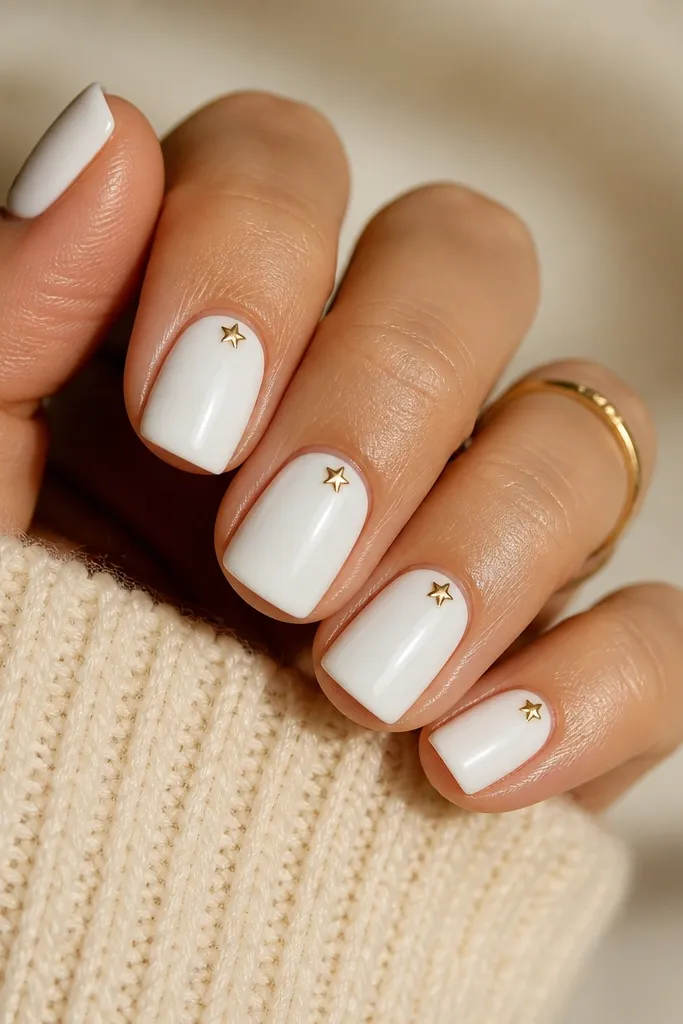
Mini stars look playful but still clean when they're small and placed near the cuticle. The nude base keeps it light, and the white stars pop without looking childish. This design works great for nights out because the stars catch light under the top coat.
Start with a sheer nude base. Add a small opaque white patch near the cuticle on each nail, then paint or apply tiny stars in the white area. Cure and seal with glossy top coat so the stars feel smooth.
Editor's noteUse a dotting tool to place star points first, then connect them with a liner brush.
Watch outDon't add big stars or too many - short nails need breathing room.
20. White short acrylic nails with pearl bow half-moon
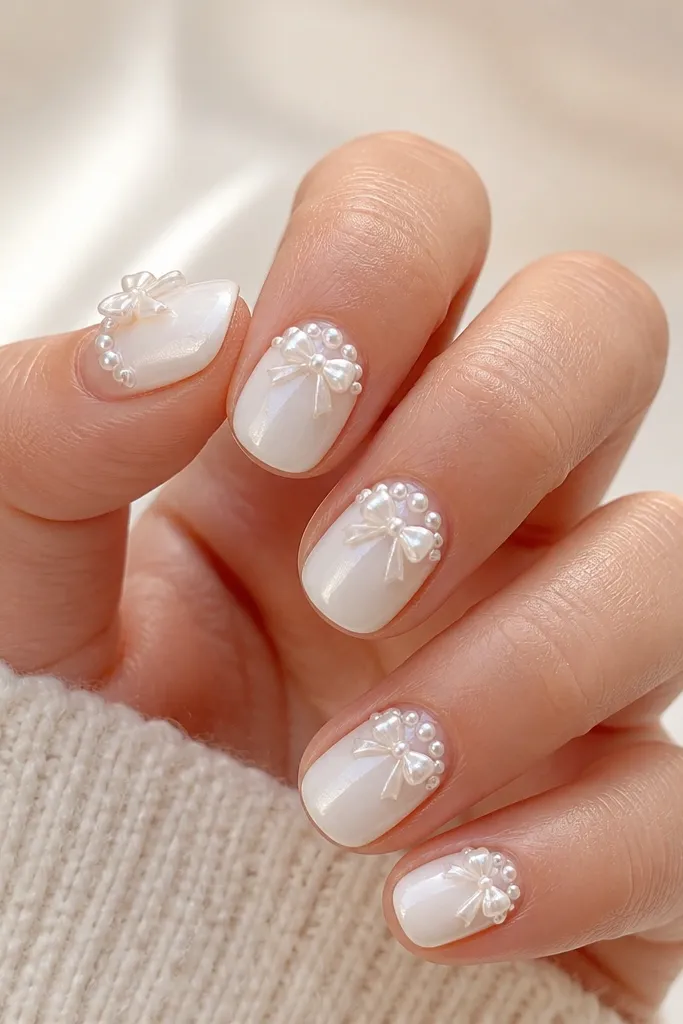
This is a fancier cousin of the half-moon. The bow gives a clear focal point, and pearls make it look like nail jewelry. The half-moon shape keeps the design compact so it still reads clean on short length.
Paint sheer nude base. Create a white half-moon at the cuticle using a thin brush. Place a tiny bow with two small pearl-looking dots for the loops and a small knot in the center, then seal with a glossy top coat.
Editor's noteIf you're building the bow in acrylic, keep it low-profile so it doesn't snag on hair.
Watch outDon't put the bow too close to the sidewalls; it looks crooked on short nails.