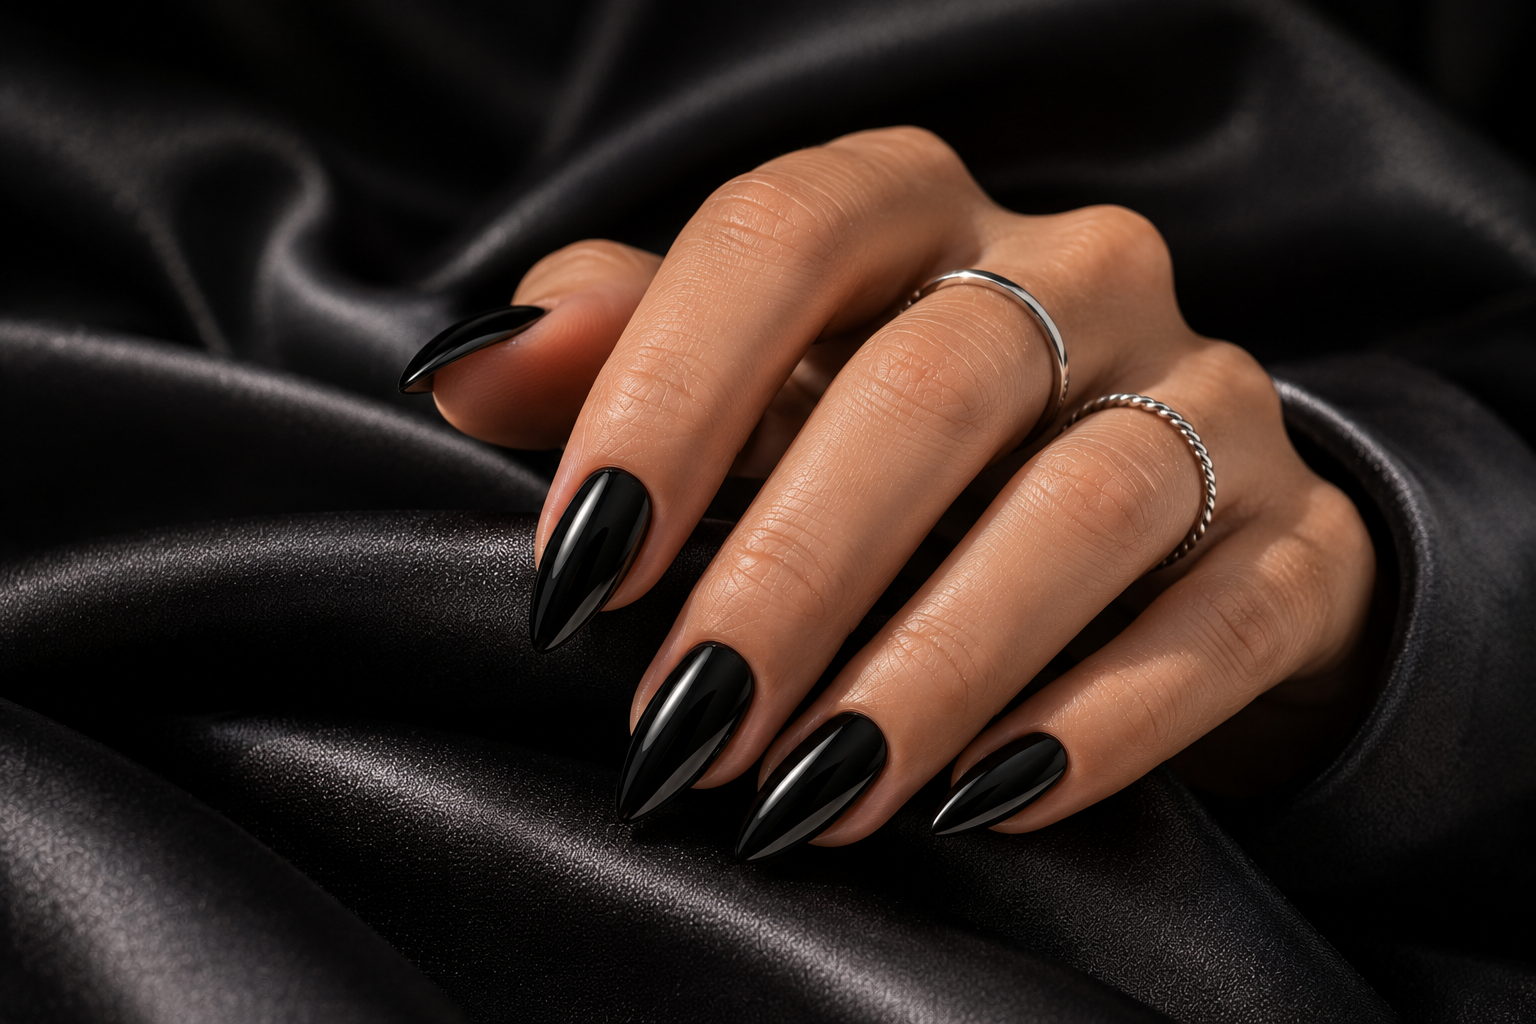
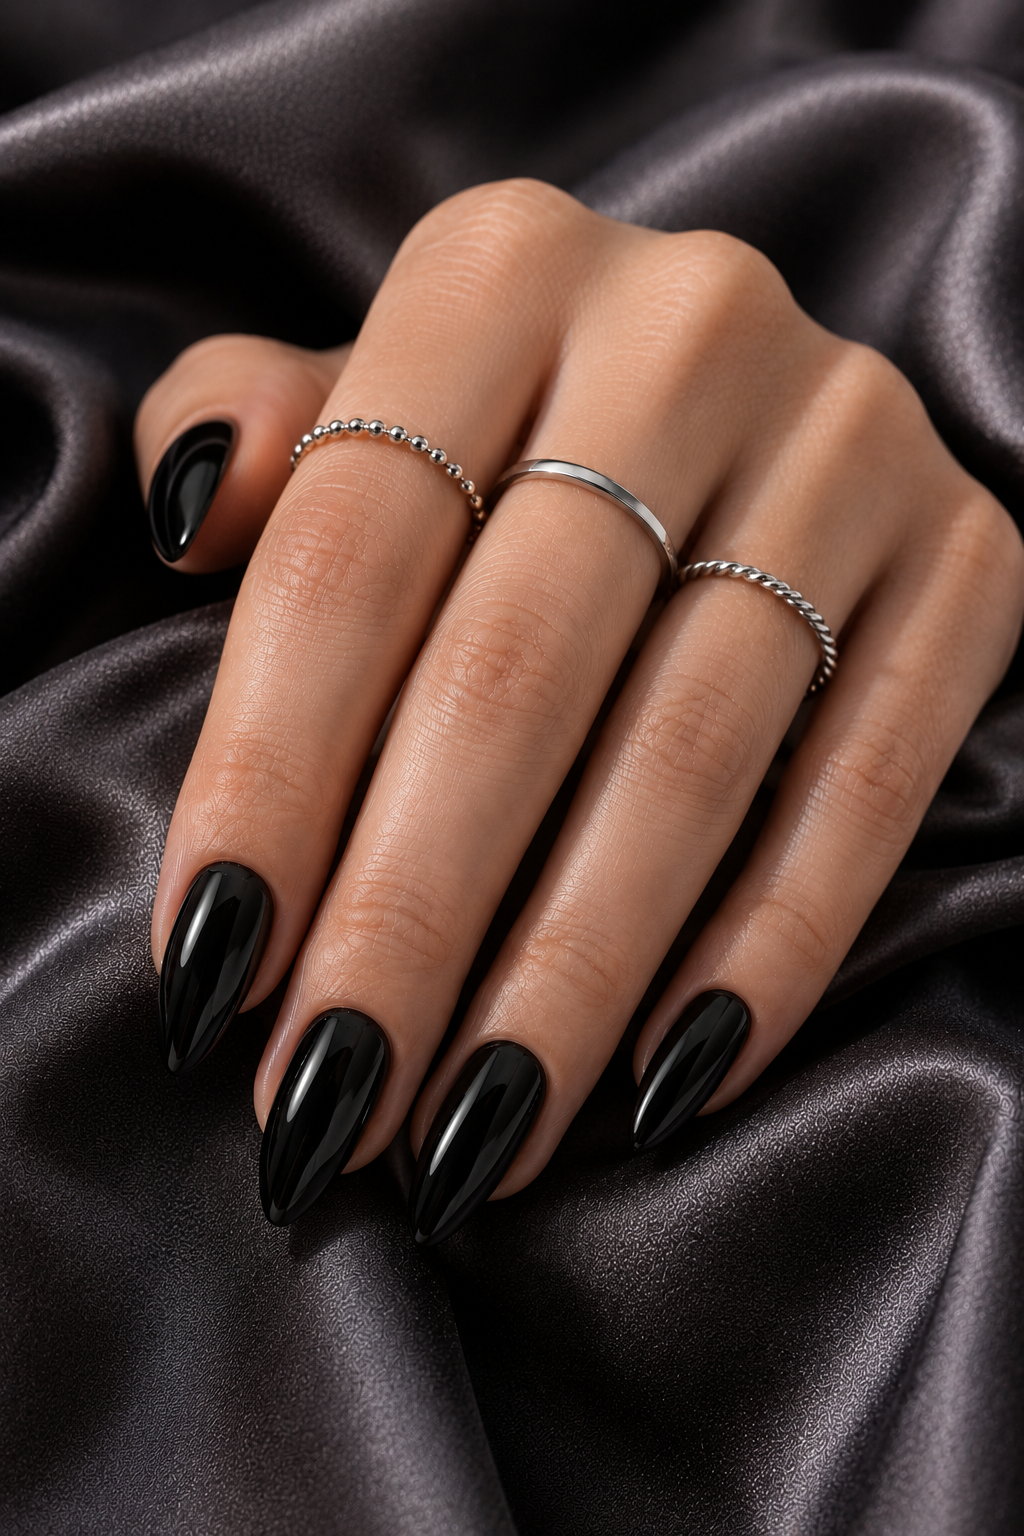
1. Glossy Jet-Black Short Stiletto
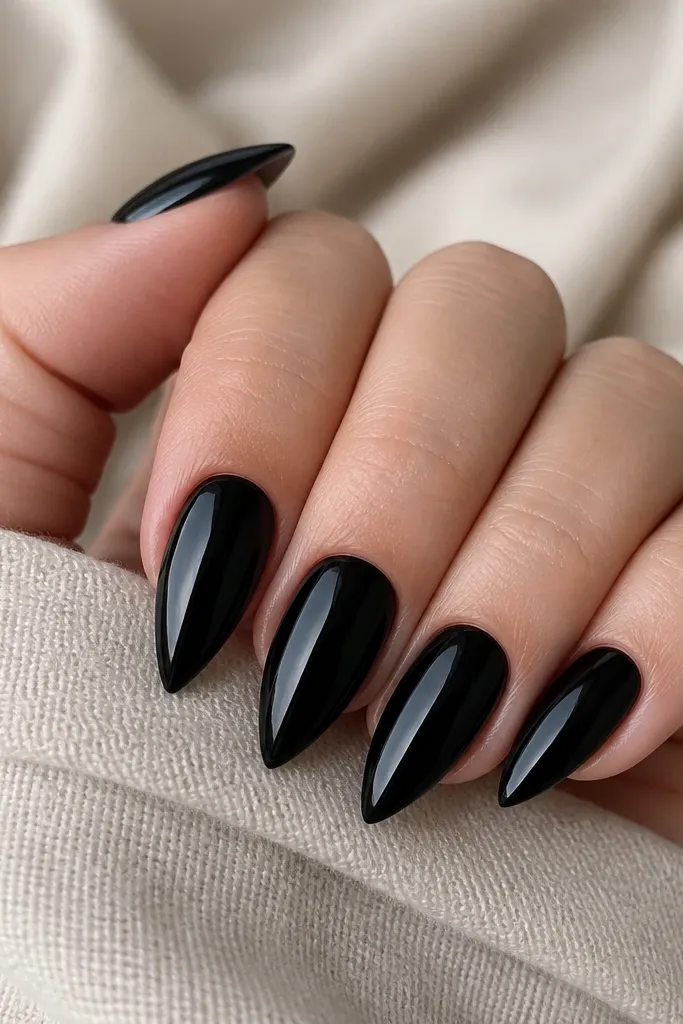
This is the cleanest "cheap but looks expensive" option. True jet-black with a glassy top coat makes short stiletto look sharper because the light reflects in a smooth curve. I like it on smaller nail beds because the narrow tip balances the width. It also hides tiny surface texture better than matte when your prep is decent.
Use a black gel polish or a thick lacquer with 2-3 thin coats. Shape the free edge so the tip is about 2-3 mm longer than the sidewall width at the apex. Finish with a top coat that levels - you should see a smooth dome, not a flat shine.
Editor's noteAfter the final coat, cap the tip and swipe a thin line along the free edge so chips don't start there.
Watch outAvoid one thick black coat - it dries uneven and can look patchy near the cuticle.
2. Black Micro-Glitter Fade at the Tip
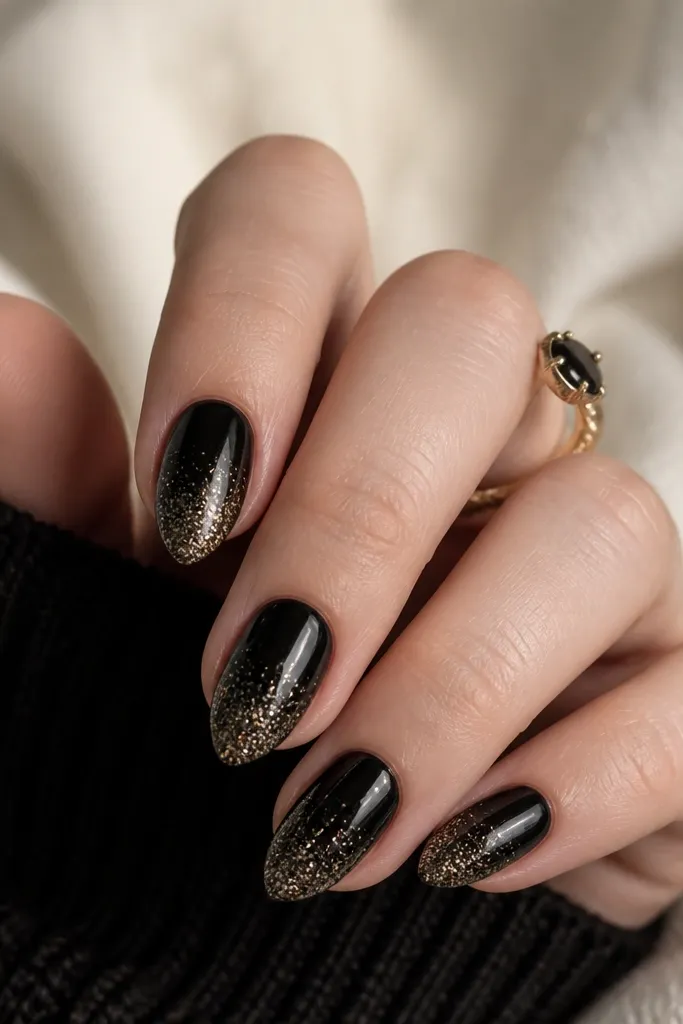
Micro-glitter at the tip reads fancy without needing big bling. The fade keeps it wearable and prevents the set from looking like it's trying too hard. Fine glitter also makes the stiletto point look sharper because it catches light right where the tip narrows. It's forgiving if your black base isn't perfectly even, since the glitter texture masks it.
Paint solid black first. Sponge or dab glitter gel starting 1-2 mm from the tip, then feather inward so there's a soft gradient. Cure each glitter layer so it doesn't smear.
Editor's noteUse a glitter that's labeled "fine" or "micro" - chunky glitter makes short nails look lumpy.
Watch outDon't build the glitter too high up the nail or it will make the short stiletto look wider.
3. Black Marble Veins on One Accent Nail
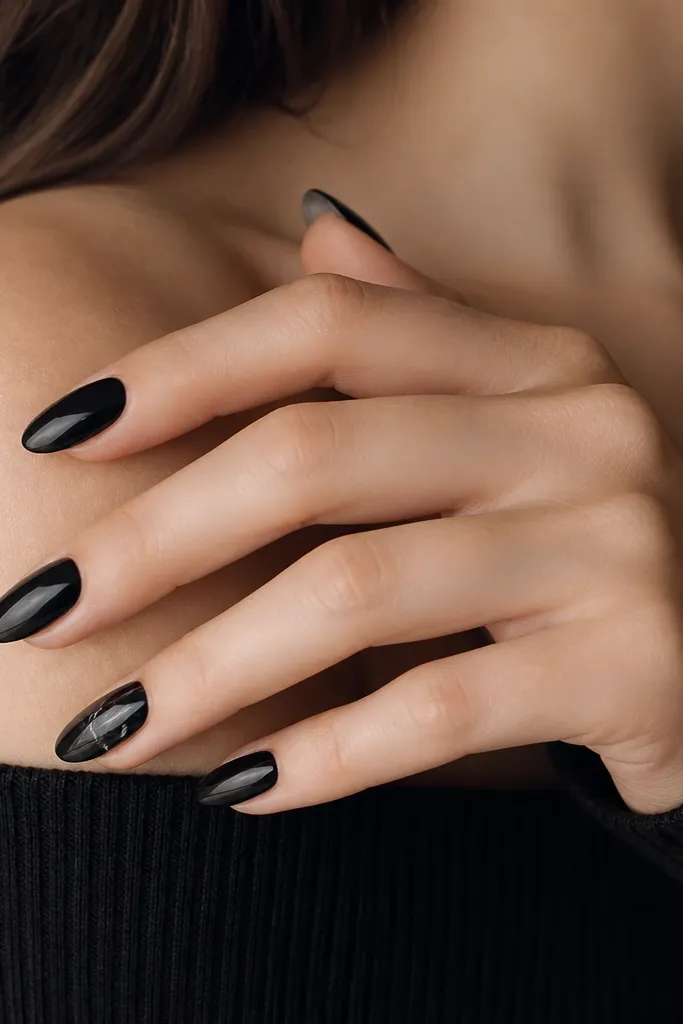
Marble looks expensive because the pattern is thin and controlled. Keeping it to one or two accent nails makes the set feel intentional instead of busy. The white-gray veins brighten the black and make the stiletto point pop in photos. I like this for work because it still looks "clean" at a glance.
Start with a solid black base. Add a few wispy lines using a striping brush with diluted white or gray gel, then drag through lightly with a clean brush tip to soften. Seal with glossy top coat so the veins look like they're under glass.
Editor's notePractice on a paper nail or the back of a swatch: marble looks best when the lines are uneven, not perfectly parallel.
Watch outAvoid thick marble blobs - they look like paint splatter and kill the sleek stiletto look.
4. Black Chrome Half-Moon Tips
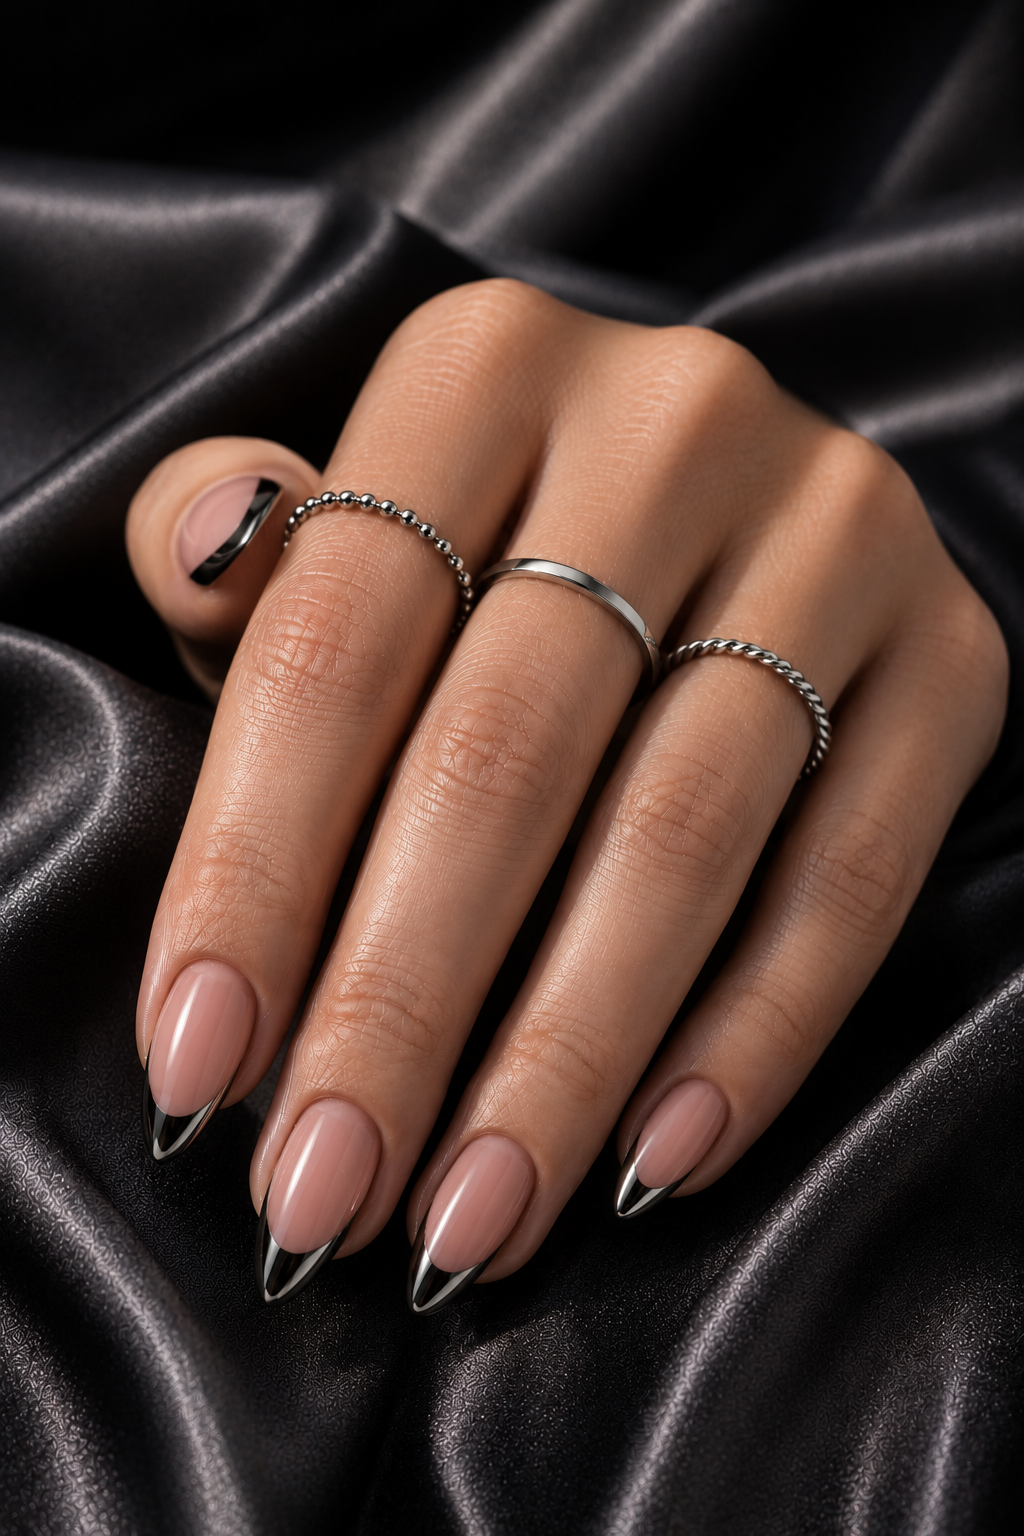
Chrome at the tips makes short stiletto look like jewelry. The half-moon shape keeps it graphic and modern, and it makes the narrow tip look even pointier. Use a blackened chrome or a dark silver mirror effect so it stays in the "black" family. Under bright light, the chrome catches without looking silver-heavy.
Paint black first and cure fully. Apply chrome foil or chrome powder with a sticky base only on the top 3-4 mm, then buff to mirror. Keep the curve centered so it looks like a deliberate band, not an accidental smear.
Editor's noteWipe the nail with a lint-free pad after chrome so the shine stays crisp.
Watch outDon't let chrome overlap the cuticle area - it can look smoky and cheap fast.
5. Matte Black with Glossy Tip Seal
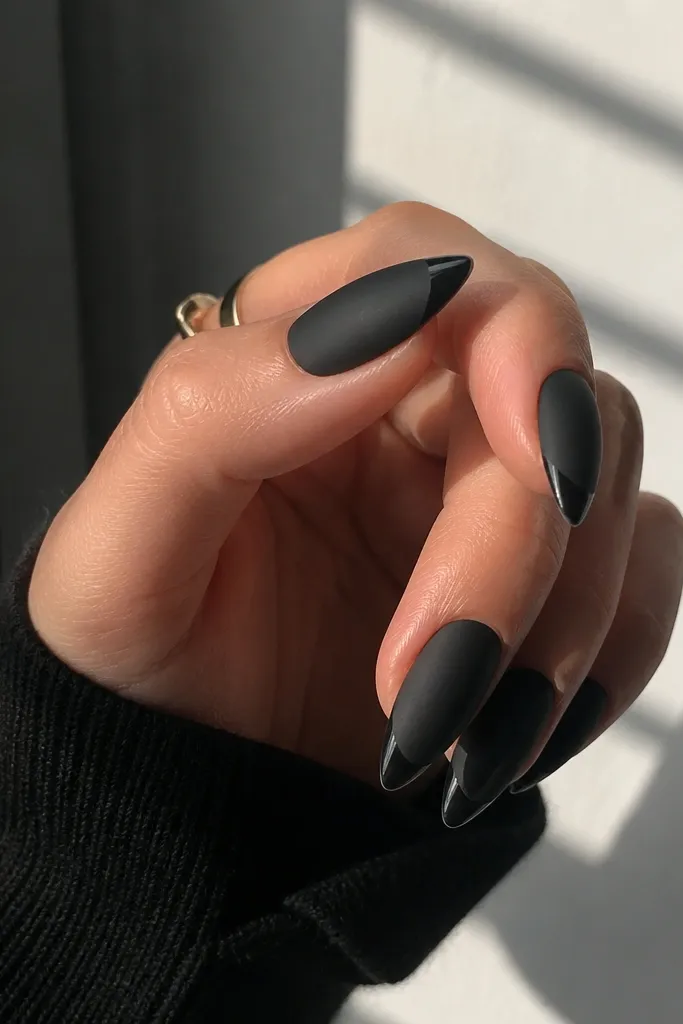
This combo looks designer because it creates a clean contrast line. Matte makes the black look smooth and hides minor texture, while glossy at the tip adds dimension and a "blade" look. It's also practical - matte doesn't show tiny micro-scratches as badly as mirror gloss. The glossy seal makes the stiletto tip catch light when you move.
Do your black base then apply a matte top coat over the whole nail. After it cures, paint or apply gel top coat only on the tip area and cure again. Keep the boundary straight or slightly curved, but always within the last 2-3 mm.
Editor's noteUse a small detail brush to draw the glossy edge - it's the difference between chic and messy.
Watch outAvoid mixing matte and glossy in one coat - you'll get a cloudy middle.
6. Tiny Silver Studs on Two Nails
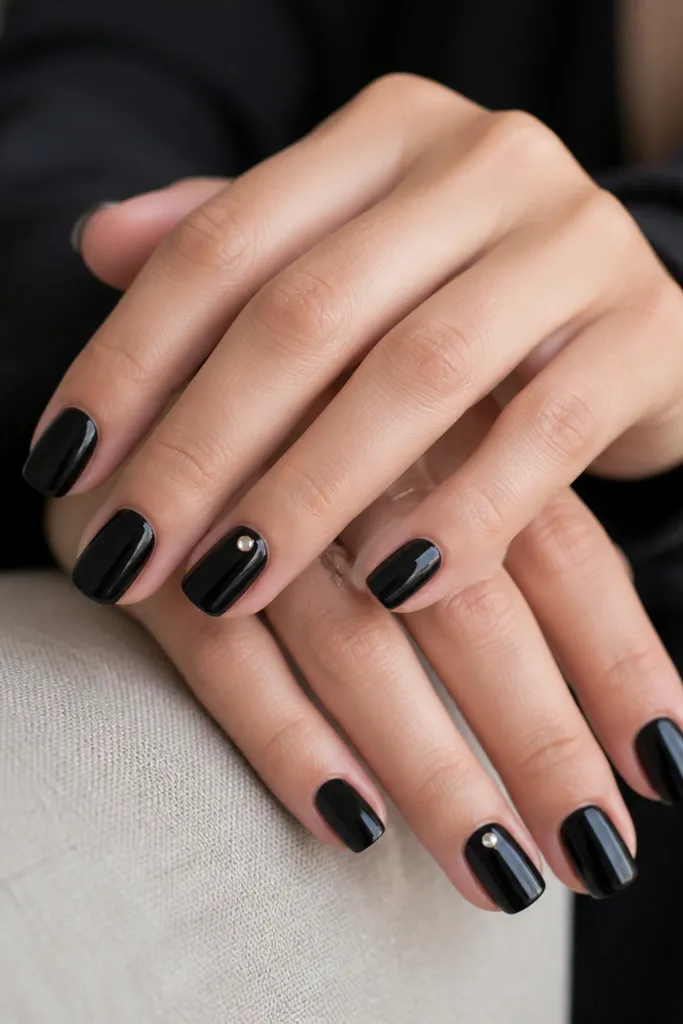
One stud looks sharper than a row of studs on short stiletto. Placement matters: I put it around the upper third so it visually lifts the nail and makes the tip look longer. Silver against black gives a crisp contrast that reads high-end in daylight. This design is easy to repeat and looks good on short lengths.
Use black glossy base. Add a dot of clear gel where you want the stud, place the stud, then cure. Cap over the top so the stud feels smooth and doesn't snag on fabric.
Editor's notePress studs lightly with tweezers - too much pressure can crack gel and trap bubbles.
Watch outSkip the second stud row - short stiletto gets crowded fast.
7. Black Lace Outline at the Tip
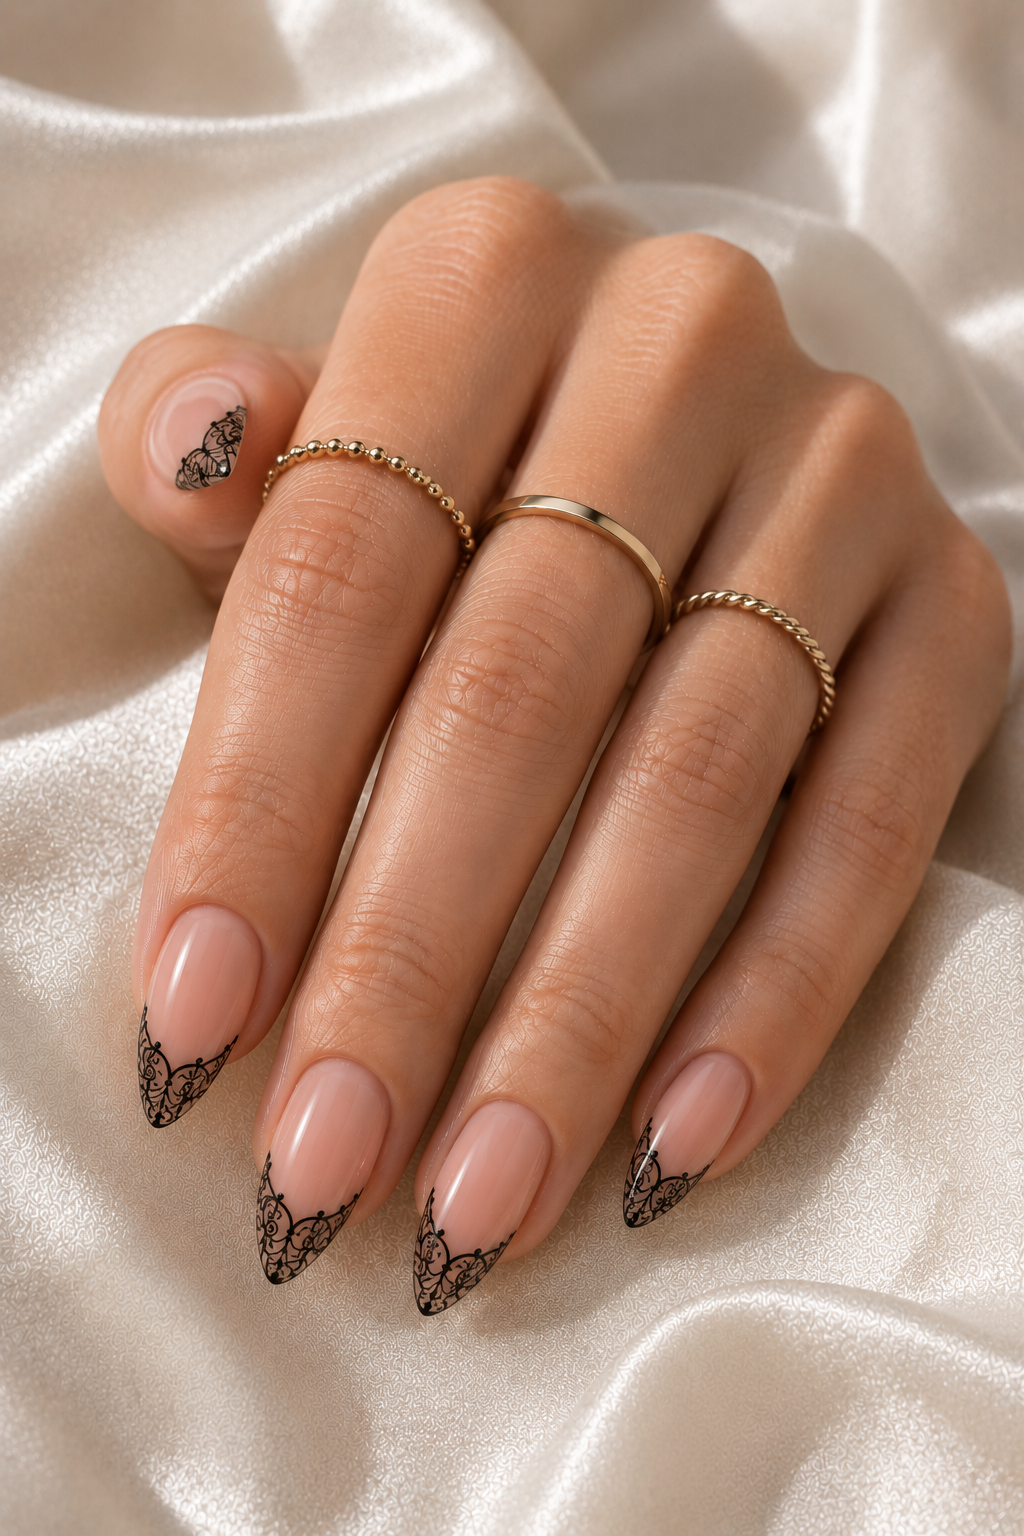
Lace outline is subtle but it reads romantic and sharp. Because it's an outline instead of full lace coverage, it stays neat on short nails. The border near the tip makes the point look intentional. I like doing it in dark gray or softened black instead of stark white so it still feels "black" themed.
Paint a solid black base and cure. Use a lace stamping plate or a fine liner brush to trace a lace border across the last 3-4 mm. Seal with glossy top coat so the pattern looks raised but smooth.
Editor's noteIf you hand-paint, start with 2-3 anchor loops near the center, then fill outward so it doesn't look wobbly.
Watch outDon't try to lace the whole nail - it turns into clutter on short stiletto.
8. Black and Smoke Gray Gradient Tips
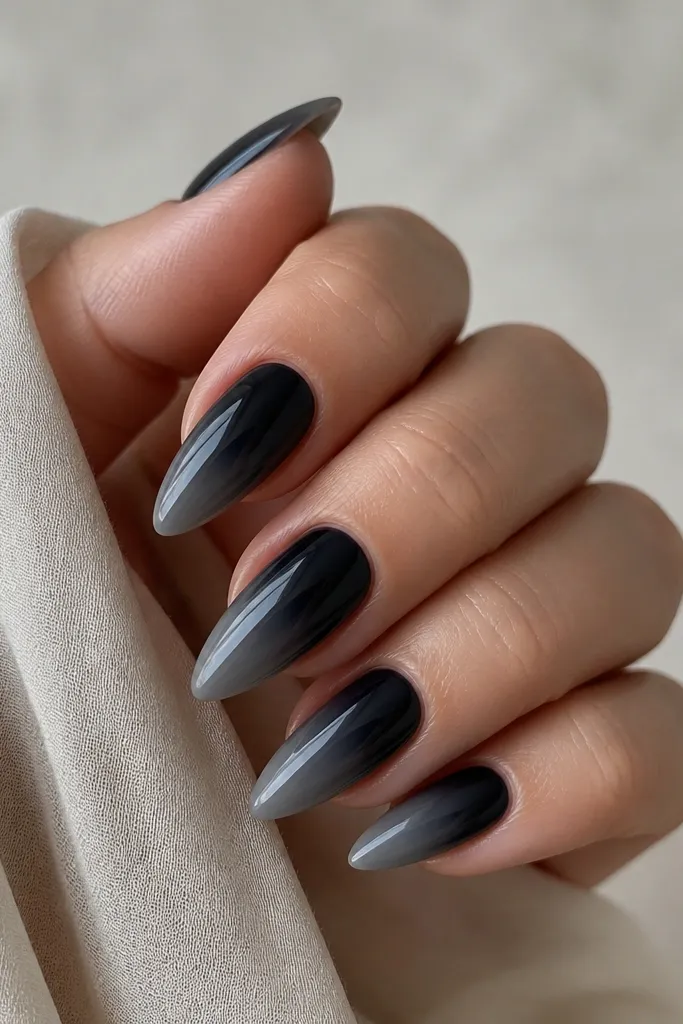
A black-to-smoke gradient keeps the look softer than solid black while still reading dramatic. The fade makes the tip feel longer and more dimensional, especially on short stiletto where every millimeter counts. Glossy top coat makes the gradient look airbrushed. This is my go-to when solid black feels too heavy.
Start with black base. Sponge on smoke gray only on the top half, then blend down with a clean makeup sponge lightly. Cure, then add a glossy top coat to smooth the transition.
Editor's noteUse a small sponge piece and do 3-4 light dabs instead of one heavy pass.
Watch outAvoid harsh lines - if you can see where black stops and gray starts, it looks cheap.
9. Black Floral Sticker Accent with Clear Gel Overcoat
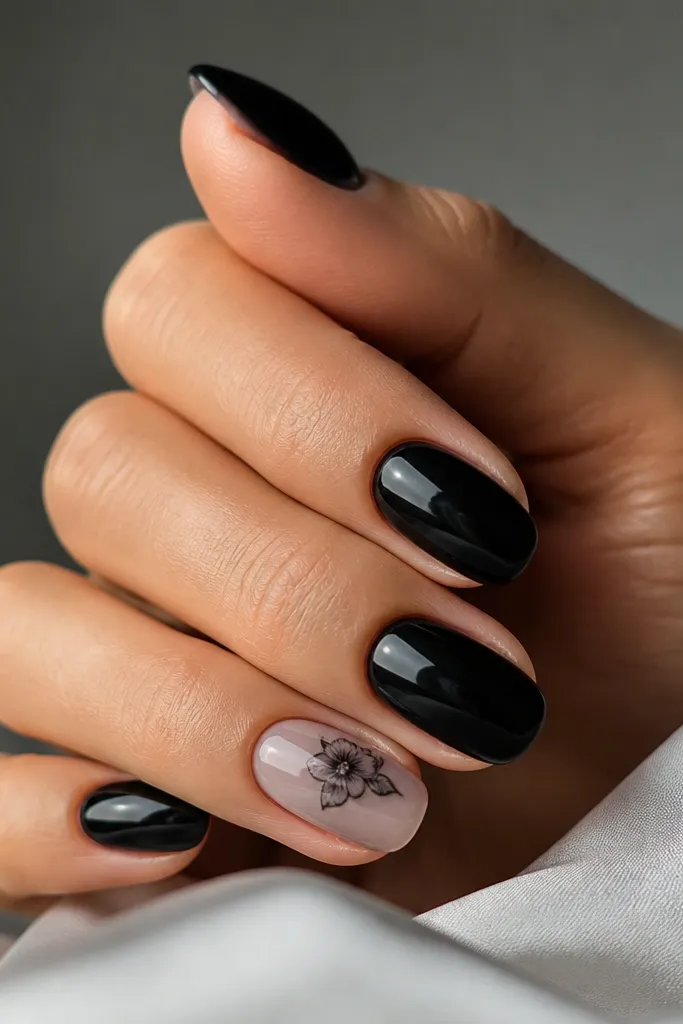
Floral stickers work because you get the detail without hand-drawing. Using black-and-gray florals keeps it classy and on-theme with the "black stiletto" vibe. Sealing the sticker under clear gel makes it look embedded, not pasted on top. On short nails, a small placement near the cuticle looks most natural.
Paint black base and cure. Apply the sticker with tweezers, then dab a thin layer of clear gel over it and cure. Finish with a normal glossy top coat over the whole nail for a smooth surface.
Editor's noteTrim sticker edges with a sharp nail scissors before sealing, or you'll feel a ridge.
Watch outDon't skip the clear gel seal - stickers can lift at the edges.
10. Black and Rose Gold Foil Spear
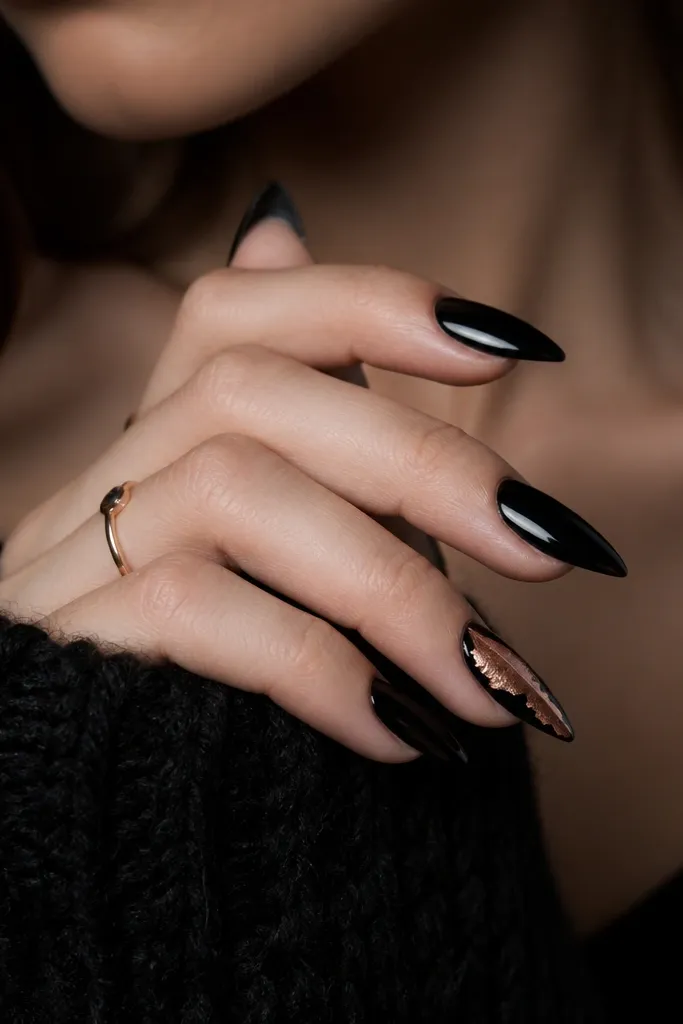
Foil looks like metal art even when you're using budget materials. A spear placement - diagonal line from mid-nail toward the tip - elongates short stiletto. Rose gold stays warm against black and looks flattering on most skin tones. It also photographs well because foil has sharp light reflections.
Base coat black and cure. Apply a foil adhesive gel only along a diagonal path, then press foil pieces so they cluster at the tip. Seal with glossy top coat in two thin layers so the foil stays smooth.
Editor's notePress foil with a folded tissue or a silicone tool - it grabs edges without smearing.
Watch outDon't cover the whole nail with foil; it makes short nails look wider.
11. Black Outline French Tips
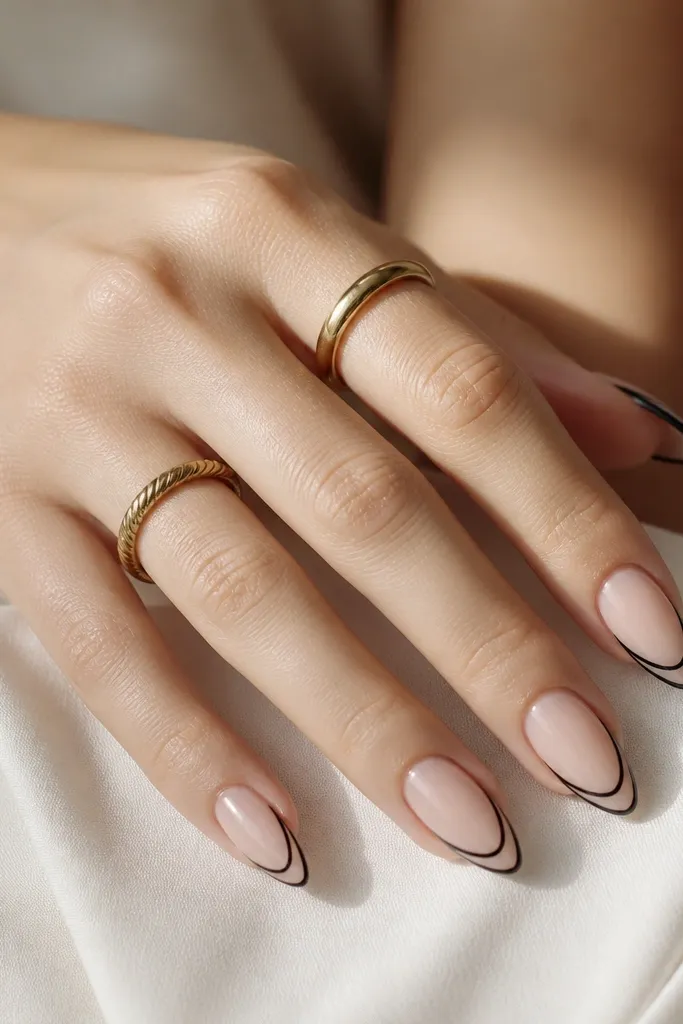
Outline French is the "clean" version of dramatic tips. The nude base makes the nail look longer, and the thin black outline keeps it sharp without blocking the whole tip. On short stiletto, this is the best way to keep the shape crisp while avoiding a thick-looking black block. It also pairs with almost any outfit.
Use a nude builder gel or nude polish base. Paint a black outline around the tip shape with a fine brush. Keep the outline thickness around 1/3 of the tip width, then seal with glossy top coat.
Editor's noteUse tape or a nail guide strip to keep the curve even on both sides.
Watch outAvoid filling the whole tip solid black if you want the elongating effect.
12. Black Glitter Jelly Top Coat
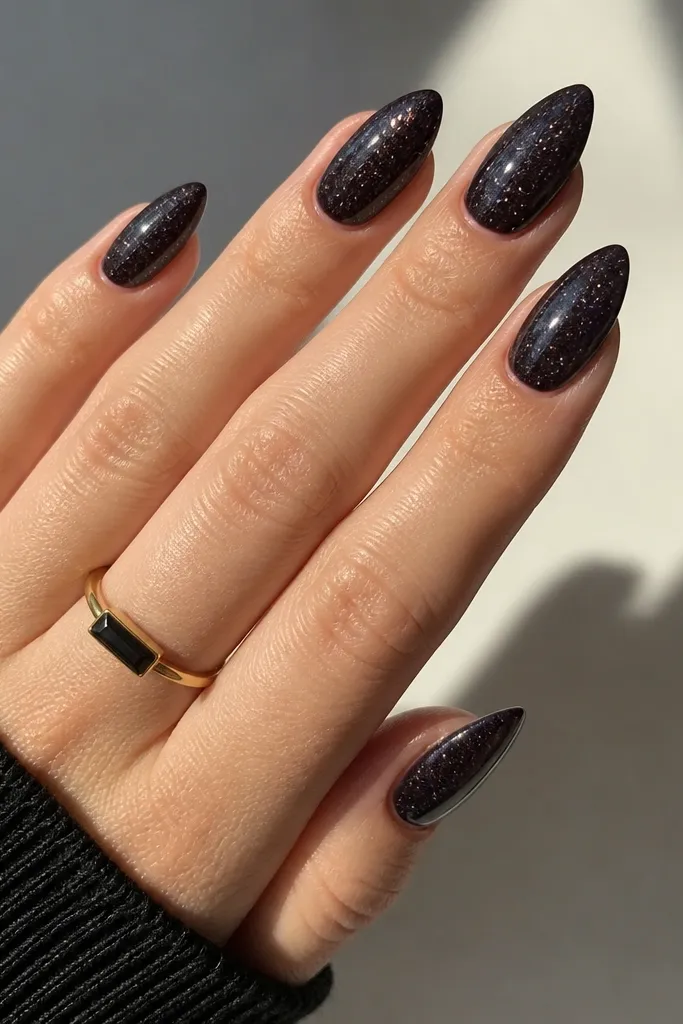
Jelly black looks lush because light passes through the color. With glitter suspended in a dark jelly, you get depth without needing heavy layers. This makes short stiletto look richer and more dimensional than flat black. It also hides slight unevenness because the jelly finish softens it.
Paint a thin black base layer first. Apply the jelly glitter top coat across the whole nail, focusing on the center so it spreads evenly. Cure fully, then add one more glossy top coat if the glitter isn't already glossy.
Editor's noteUse 2 thinner jelly layers instead of one thick layer to prevent shrinkage lines.
Watch outDon't skip a base color - bare nails under jelly glitter can look uneven.
13. Black Negative Space X at the Tip
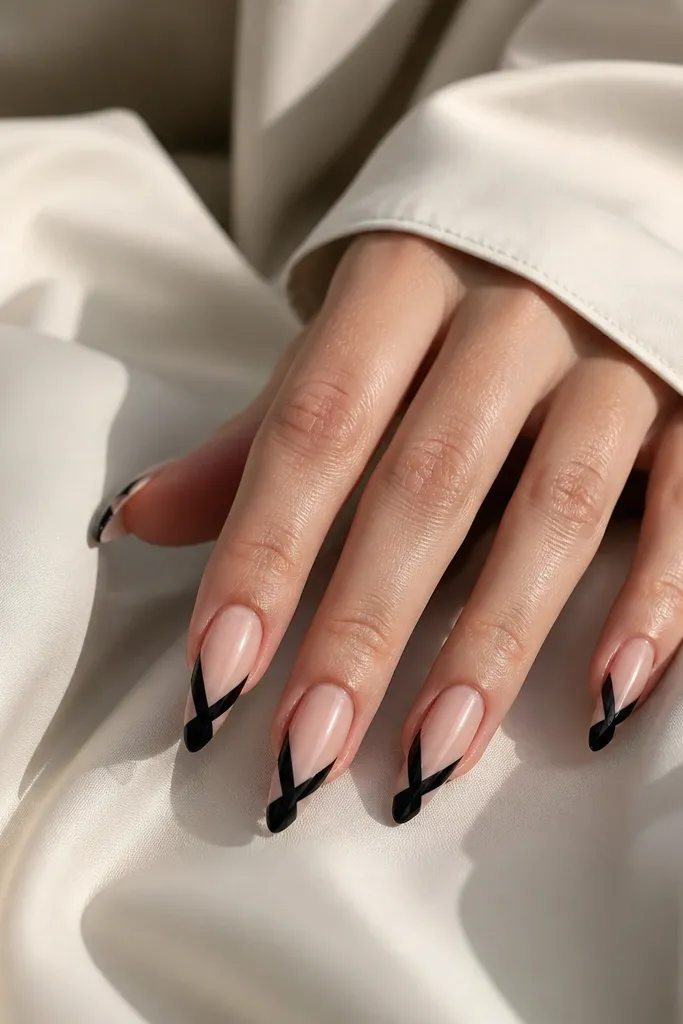
Negative space makes the design feel modern and sharp. The X at the tip focuses attention on the point and makes short stiletto look intentional rather than bulky. Keeping the rest of the nail nude or clear makes the black lines look crisp. It's also a great way to wear stiletto style when you're bored of full black.
Start with a nude base or clear builder. Use striping tape or a thin liner brush to create two diagonal black lines that cross near the top 1/3. Seal with top coat; keep lines thin so they don't look thick and cheap.
Editor's noteLet the black lines level for 30 seconds before curing - it reduces ridges from brush strokes.
Watch outAvoid thick lines - they turn X designs into chunky blocks.
14. Black Cat-Eye with Silver Edge
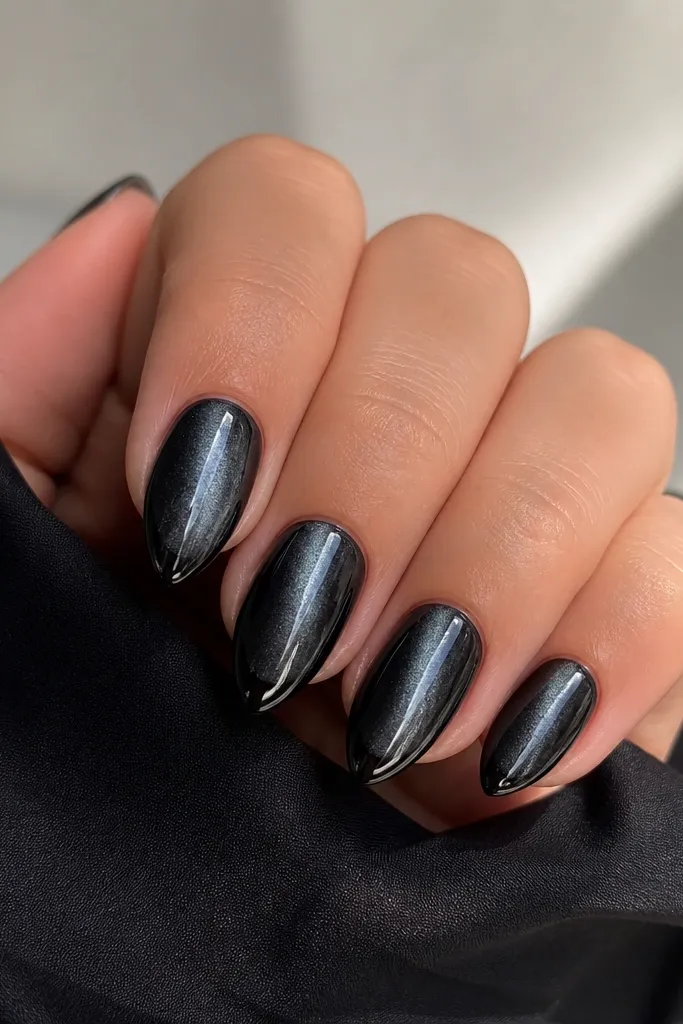
Cat-eye gel makes the nail look like it has a spotlight down the center. On short stiletto, that vertical line makes the nail appear longer and more sculpted. Add a subtle silver edge only at the tip to keep it from looking plain. This design feels edgy without needing gems.
Apply black cat-eye gel and use a magnet to pull the streak straight down the center. Cure while the magnet is in place. For the edge, paint a thin line of silver chrome or metallic gel just along the tip sides, then top coat.
Editor's noteHold the magnet steady for the full cure timing listed on your gel - rushing shifts the streak.
Watch outAvoid moving the magnet mid-cure; the streak blurs and looks messy.
15. Black and White Polka Dot Accent
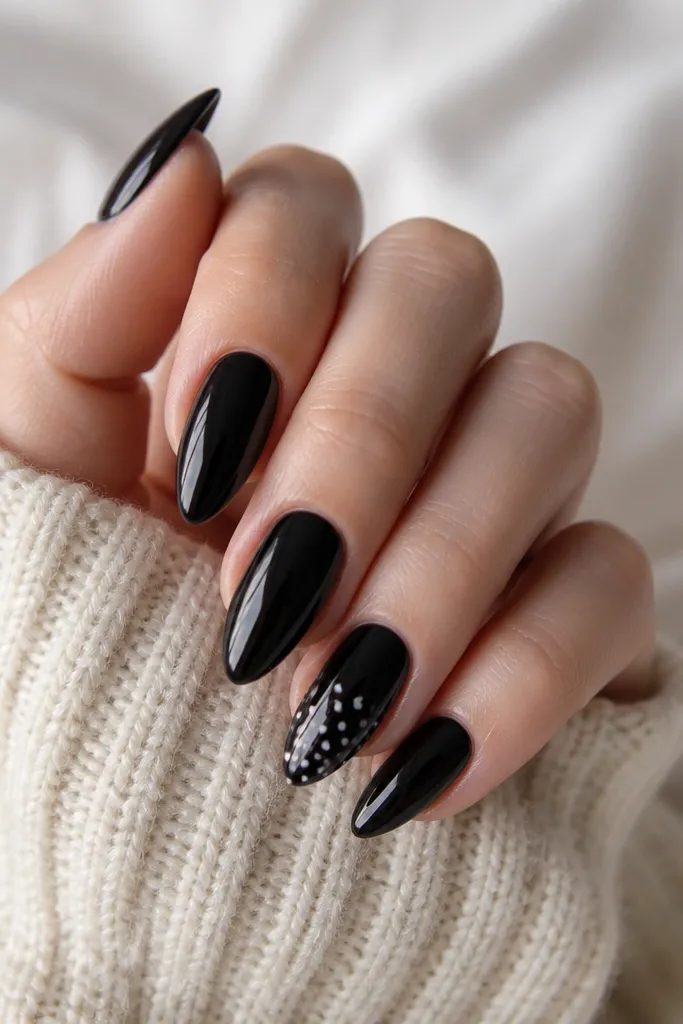
Polka dots are simple but they look cute and high-contrast on black. Keeping them small and clustered near the tip makes the nail feel playful without turning childish. White dots also make the stiletto point stand out in close-up photos. I like this for weekends when you want something different from plain black.
Paint solid black on all nails. On one or two accent nails, dab tiny white dots with a dotting tool - start near the tip and work upward slightly. Cure and seal with glossy top coat to lock the dots flat.
Editor's noteUse a dotting tool tip size that makes dots about 1 mm - bigger dots look cartoonish on short nails.
Watch outAvoid drawing dots with a brush - they bleed and look uneven.
16. Black Studded Outline Around the Cuticle
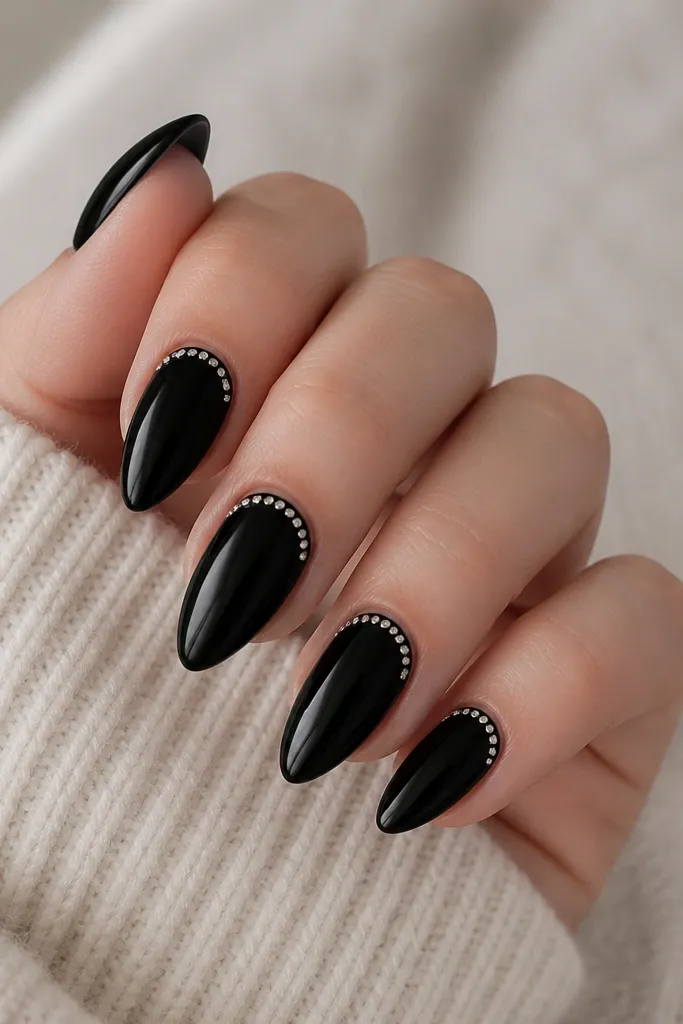
A cuticle outline gives the impression of a halo and makes the nail look longer because your eye starts near the base. Tiny studs reflect light without taking over. This is a "wearable bling" look that still feels sleek because the studs are small and placed in a controlled curve. It also looks great with short stiletto because there's less nail surface for clutter.
Base coat black and cure. Place studs along an arc about 1-2 mm from the cuticle edge, leaving the center clean. Cap with a thick glossy top coat so studs feel smooth.
Editor's noteUse a strip of tape as a placement guide for the arc, then remove it before curing.
Watch outAvoid placing studs too close to the cuticle - they lift when you wash your hands.
17. Black Velvet-Look Dots with Glossy Black Base
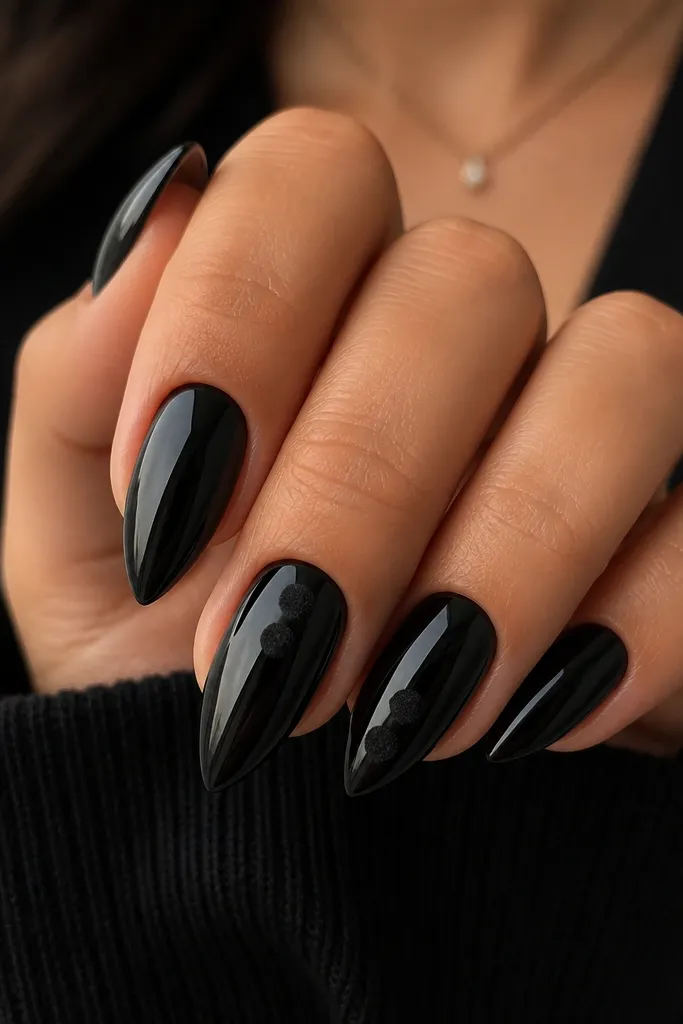
Velvet-look dots add texture without adding color. The contrast between glossy black base and matte dots looks intentional and expensive in person. It's also great for hiding tiny smudges on the accent area. Keep the dots sparse so the nail still reads sleek as a stiletto.
Paint glossy black base and cure. Apply a small dot of tacky gel where you want dots, then press on velvet powder or use a matte texture product designed for nails. Cure if your system requires it, then finish with top coat only on the glossy areas - velvet products usually hate full top coat.
Editor's noteSeal only the non-textured parts with top coat so the velvet stays soft-looking.
Watch outAvoid covering velvet dots with normal top coat - they flatten and lose the effect.
18. Black Gradient with One Red Micro-Line
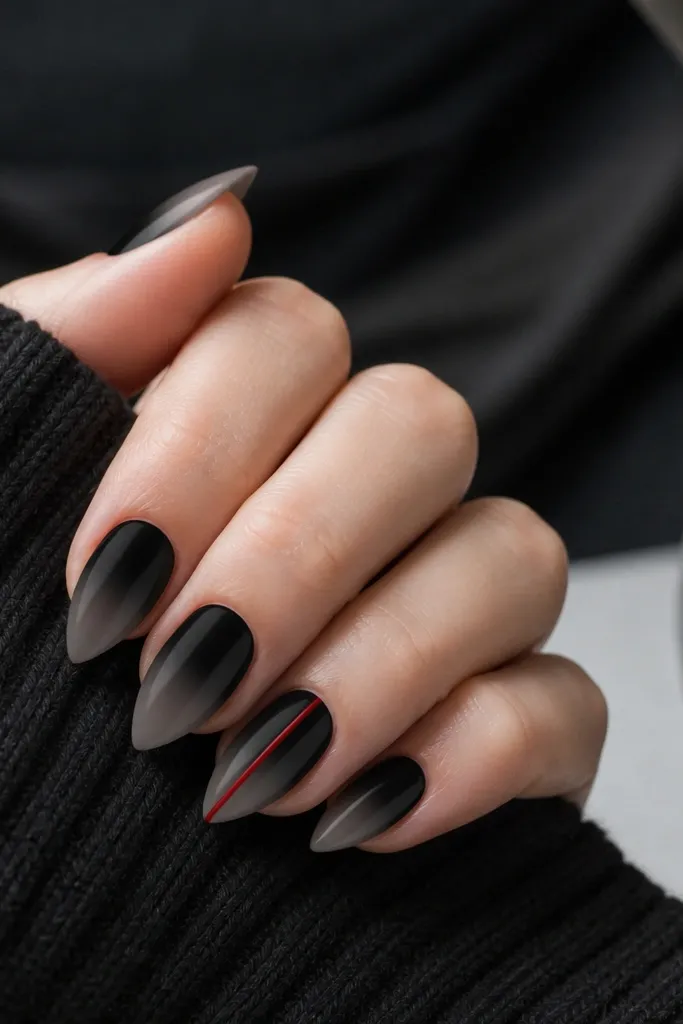
One red line gives you a "designer manicure" vibe with almost no effort. The black gradient adds softness so the red looks like a highlight, not a random sticker. On short stiletto, the center line pulls your eye upward and makes the nail look longer. This is my pick when you want black nails but still want color energy.
Create a subtle black gradient using a sponge: dark at the base, slightly lighter toward the tip. Add a thin vertical red striping line on the accent nail using gel paint and a fine liner brush. Cure and seal with glossy top coat.
Editor's noteMake the red line 1/6 to 1/4 of the nail width so it stays elegant on short tips.
Watch outAvoid multiple red lines - it turns into messy "home art" fast.
19. Black Foil Confetti on Clear Tips
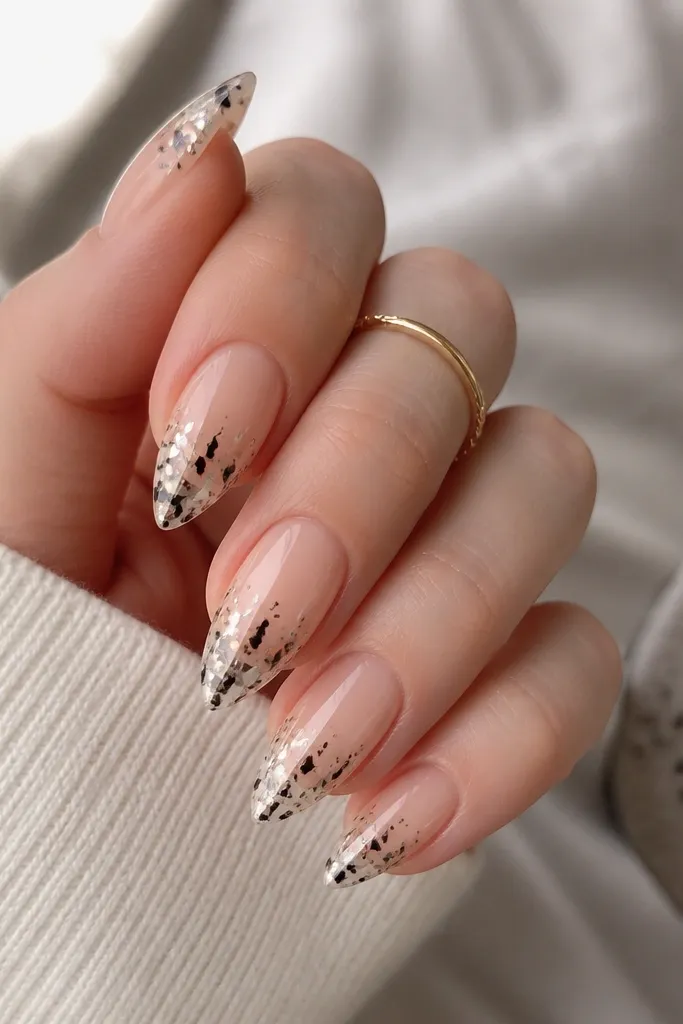
This look is light and still dramatic because the foil confetti is concentrated at the tip. Clear tips make short stiletto feel longer and less heavy than full black. The foil pieces catch light in tiny flashes, so it looks special even with minimal art. It also grows out better because the base is transparent.
Use a clear or nude base. Add foil adhesive only at the tip area (last 3-4 mm), press small foil pieces, then seal with glossy gel top coat. Keep foil density moderate so it doesn't look like a sticker bag.
Editor's noteDust off loose foil with a dry lint-free pad before sealing so you don't get gritty bumps.
Watch outAvoid full-coverage foil - it makes short nails thick and uneven.