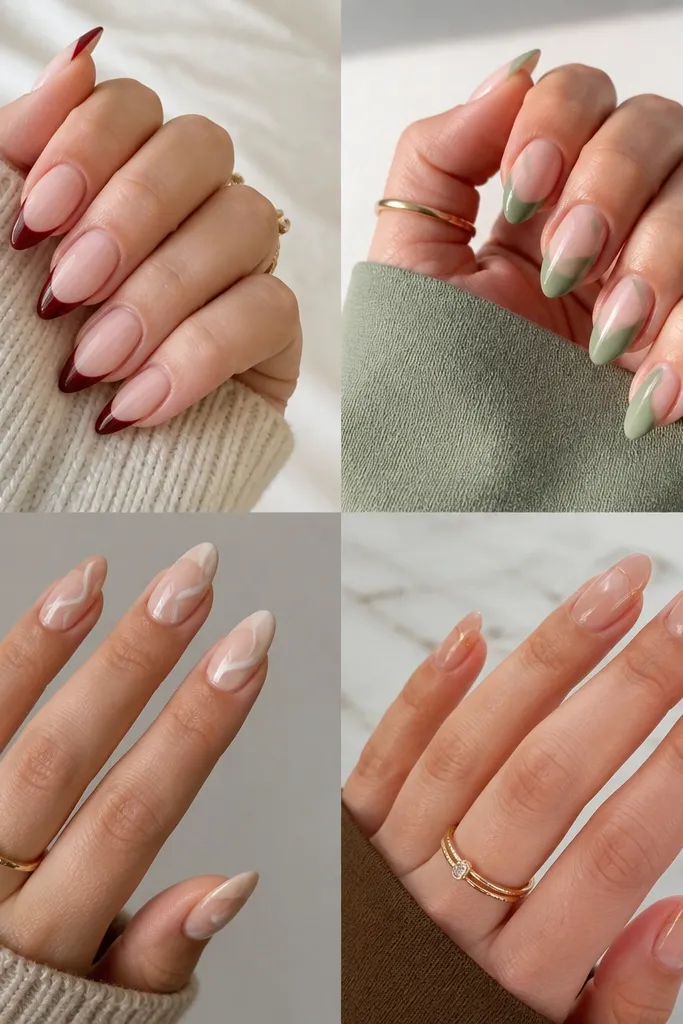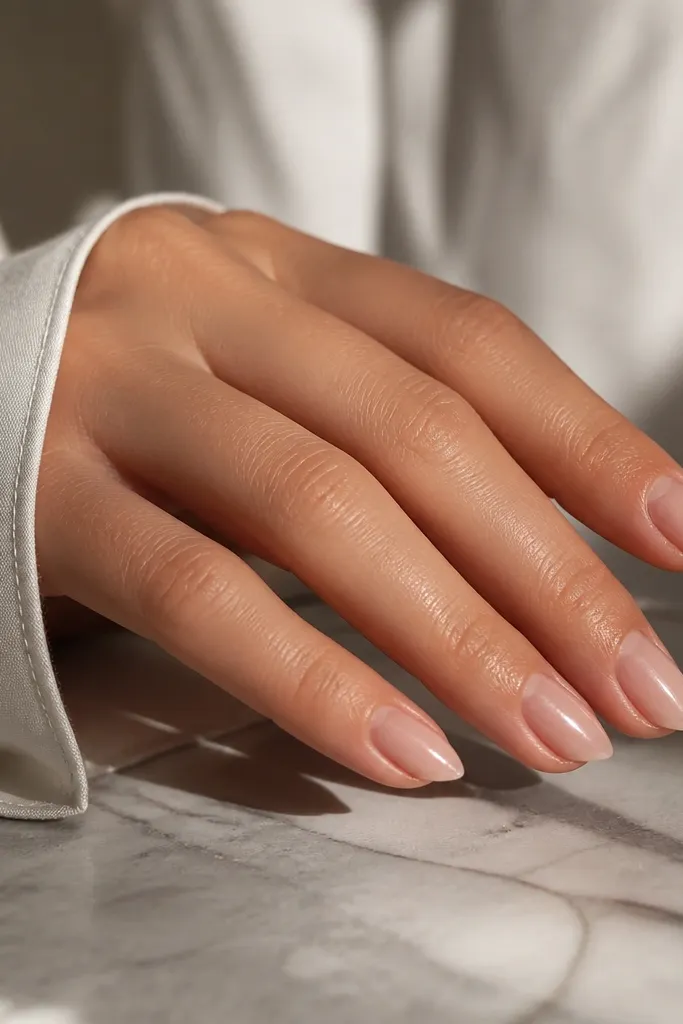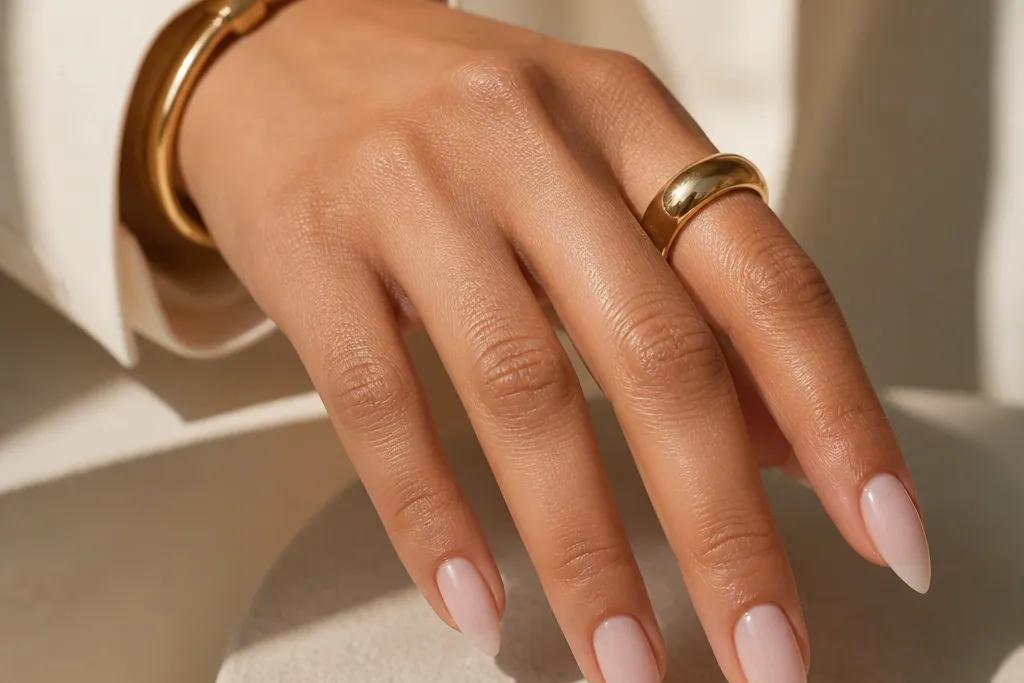
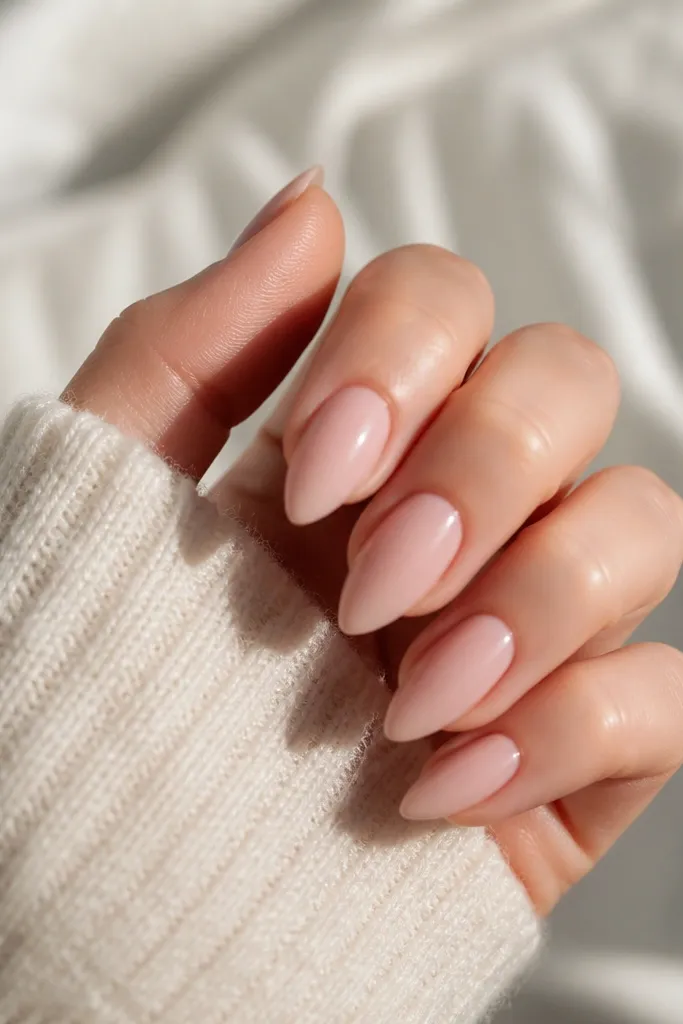
1. Milky Nude Micro French Stiletto
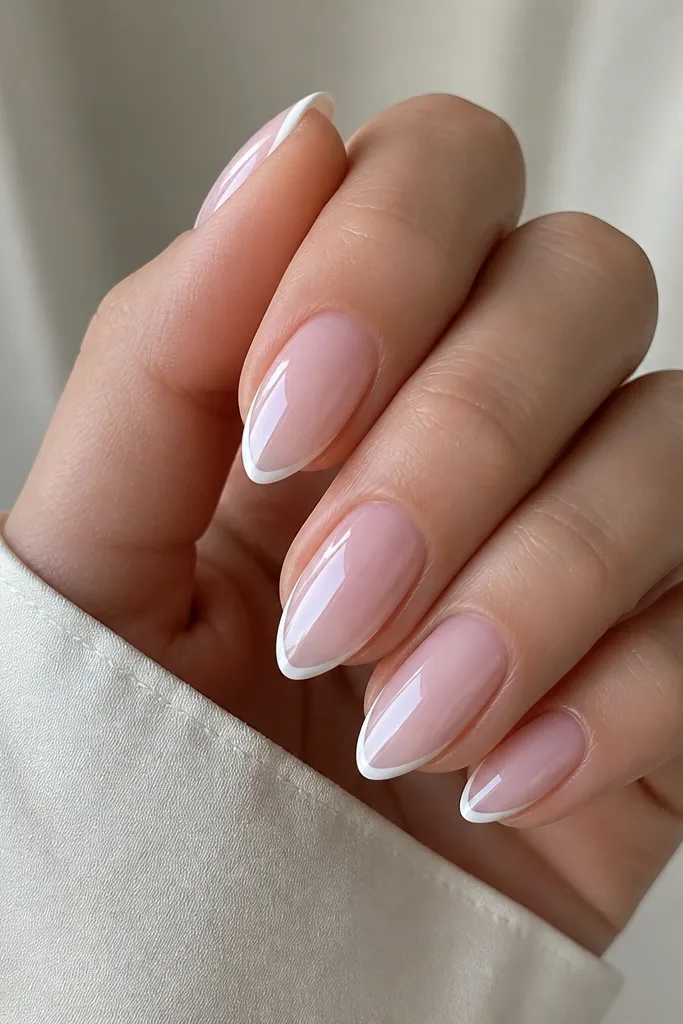
This one is my "always works" set. The milky nude base blends with your nail bed, so the first growth line you get looks like part of the design. The micro French tip stays crisp because it's narrow - less surface area means less chipping at the edge.
Ask for a short stiletto with a 6-7 mm free edge, then build a sheer milky pink overlay. Keep the French line thin - around 1 mm at the center of the tip - and taper it slightly toward the corners. Seal with a high-gloss top coat so it looks freshly done even after a few showers.
Editor's noteIf you want it to last longer, request a strong cuticle seal and avoid over-filing the nail plate during prep. The thinner French line shows less wear than a wide one.
Watch outDon't make the French too thick or it starts to look like press-on nails after a week.
2. Sheer Pink Gloss with Clear Crystal Cuticle
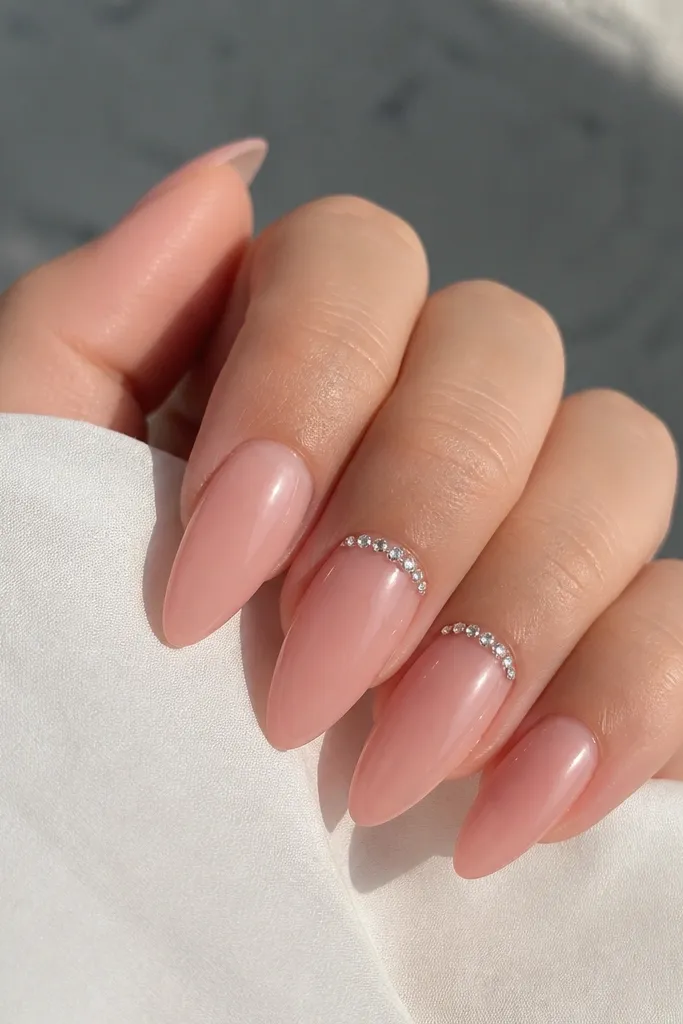
Sheer pink stays low maintenance because it doesn't scream "new fill" when your nails grow out. The crystal placement is small and concentrated at the cuticle, so it catches light and makes your hands look dressed-up without heavy art. Clear crystals also match everything - work, casual, and date nights.
Use a sheer builder pink that's close to your natural nail color. Place a tight row of micro crystals (not big gems) along the cuticle on ring fingers only, leaving the rest plain. Keep crystals flat - domed stones snag on sleeves.
Editor's noteUse a gel top coat to fully cap around the crystals so you can run your finger over it and feel no edges.
Watch outAvoid huge stones - they lift faster and feel rough at the cuticle.
3. Chocolate Brown Velvet Tips
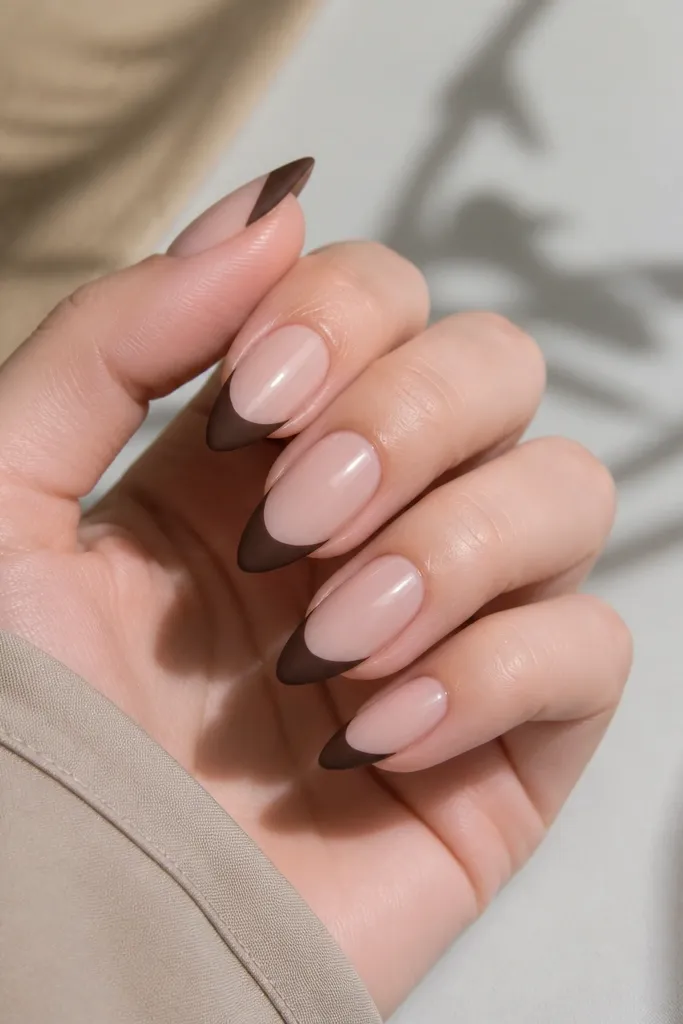
Chocolate tips make short stiletto look expensive because the color is deep but still wearable. The matte-velvet texture hides tiny scuffs better than a super shiny finish. Keeping the base glossy prevents the set from looking flat.
Build a nude sheer base, then create a gradient into chocolate brown at the tip. For the velvet effect, use a velvet powder over the brown area only and cure it properly. Leave the nude base glossy with a regular top coat so you get that two-texture contrast.
Editor's noteTell your tech to keep the velvet only on the very tip area - 2-3 mm - so it doesn't feel rough on the sides.
Watch outDon't velvet the entire nail; it looks dusty and wears faster on the sides.
4. Rose Quartz Swirl Accent
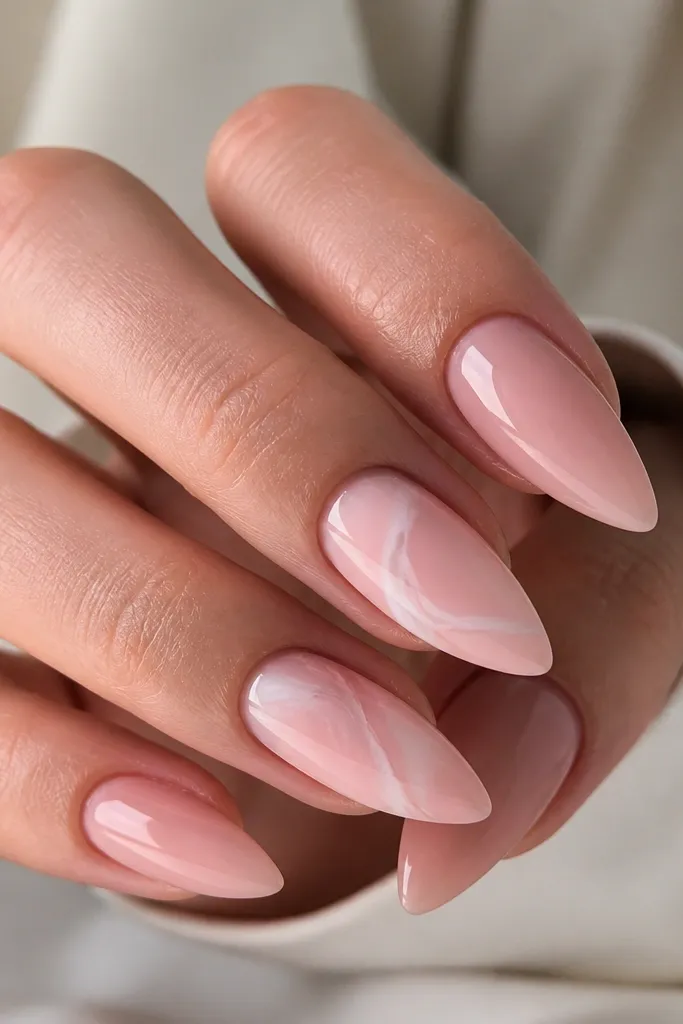
This gives you that pretty stone look without the time-sink of full marbling. The sheer base keeps it subtle, and a single swirl reads like nail art even when it's just one design element. It's also forgiving during growth because the base tone stays consistent.
Use a sheer pink gel-leaning acrylic color, then on the index and ring fingers add a thin swirl line in off-white. Pull a second line in pale pink to mimic stone veining, keeping both lines narrow. Finish with a glossy top coat to make the swirl look suspended under glass.
Editor's noteKeep the swirl away from the sidewalls by about 1 mm so it doesn't smear during filing.
Watch outDon't add thick blobs of white - it turns into chalky blobs instead of stone.
5. Classic Black Micro Tips
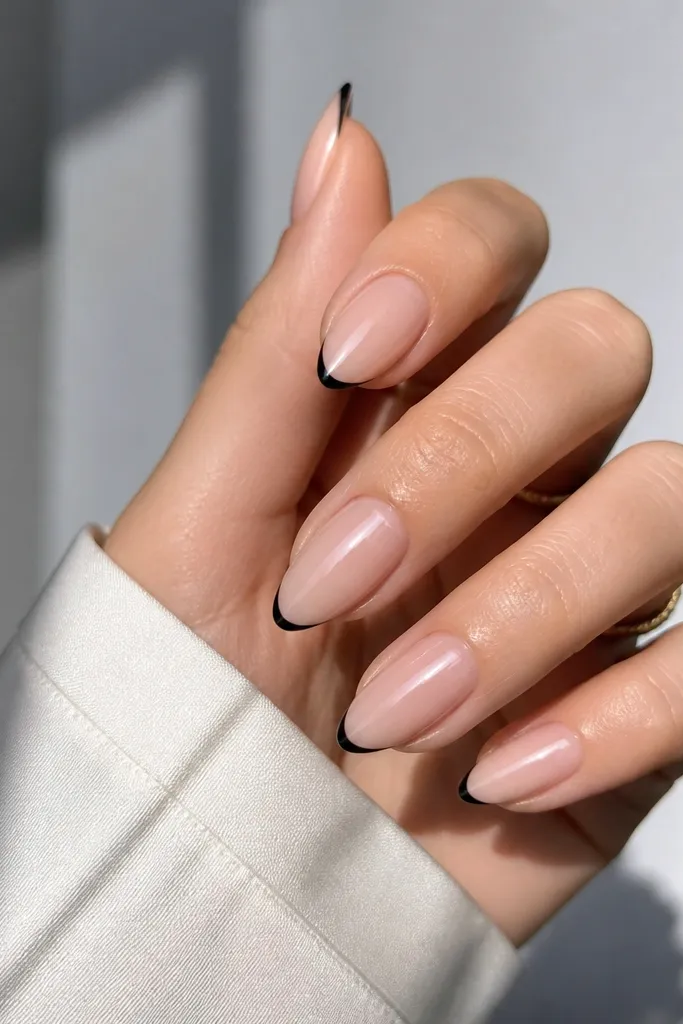
Black micro tips make your nails look sharp without needing length. The nude base keeps it wearable, and the thin black edge reads "fresh" even after a couple weeks. It's also one of the easiest sets to maintain because you don't have to match a complex pattern.
Ask for a nude sheer base, then paint a micro tip in black that's about the same width as a marker line. Keep the tip centered and slightly narrower at the corners. Use a thick, even top coat so the black looks smooth and not streaky.
Editor's noteIf you're doing this at home, use a striping brush and steady your hand on a table so the tip stays symmetrical.
Watch outDon't go wide with the black; wide tips look bulky on short stiletto.
6. Pearlized Nude with Side Shimmer Stripe
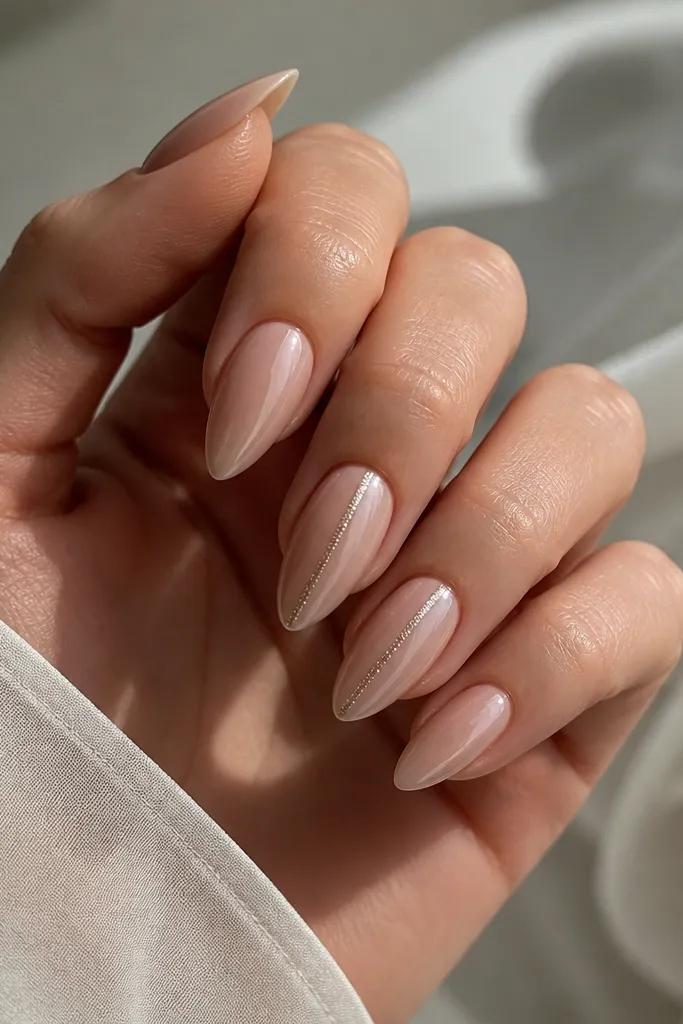
Pearlized nude gives you a soft glow that hides small imperfections. The side shimmer stripe elongates the nail visually, which is exactly what short stiletto needs. It looks intentional because it's one clean line, not scattered glitter.
Build with a pearlized nude acrylic powder or a pearl overlay mixed into clear. Add the shimmer stripe on the index and ring fingers using a thin strip of fine iridescent pigment gel. Cure, then cap with clear acrylic or gel so the stripe feels flat.
Editor's noteKeep the stripe 1-2 mm from the sidewall so it doesn't catch on hair and clothes.
Watch outAvoid chunky glitter - it makes the stripe bumpy and it lifts sooner.
7. Deep Burgundy Jelly Base
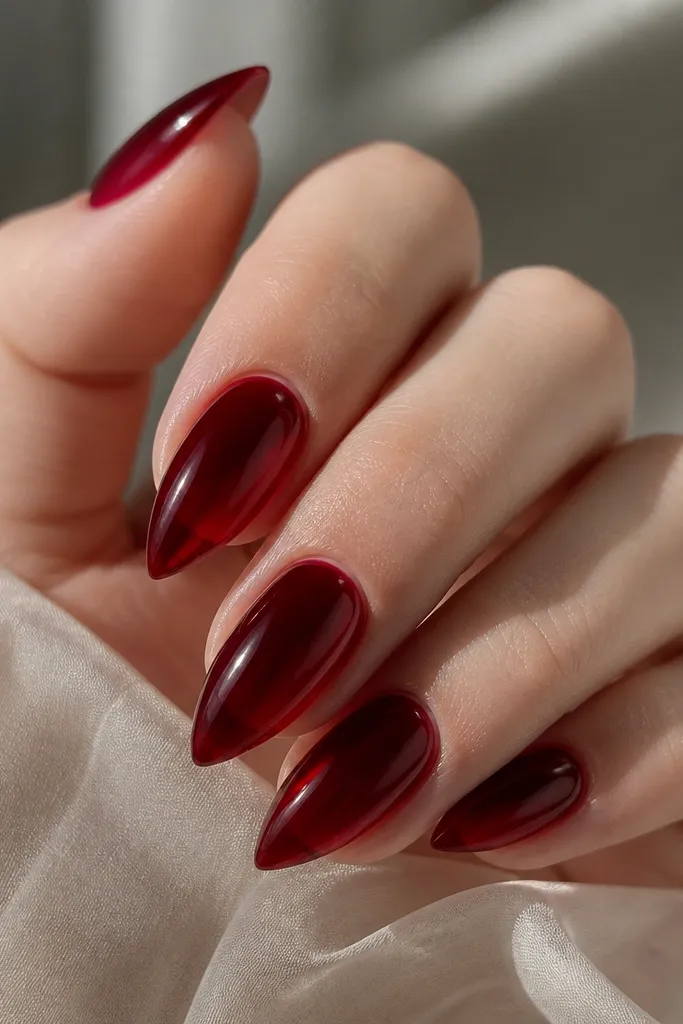
A jelly burgundy base looks rich but still low maintenance because the translucency makes the nail look smooth as it grows. Light passes through the color instead of sitting on top, so the set looks "alive" rather than painted. It's also flattering on most skin tones.
Use a translucent burgundy acrylic or gel, then build it to a medium thickness so it stays glossy. Keep the shape tight - short stiletto with a smooth apex - so the jelly doesn't look uneven. Finish with a mirror-gloss top coat and cap the free edge for extra wear.
Editor's noteAsk for a slightly thicker build at the center (apex) so it resists flex and reduces lifting.
Watch outDon't over-thin the jelly layer or it turns patchy after a few days.
8. Creamy Vanilla Nude with Tiny Gold Dot Tips
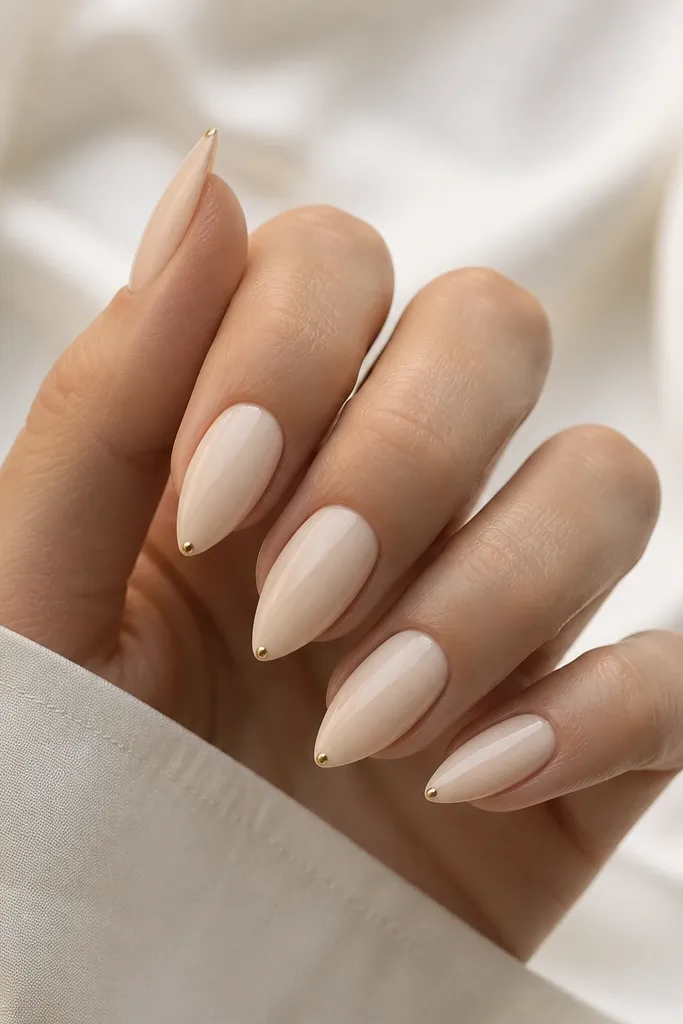
This is a cute "grown-up" set that still feels fun. The creamy vanilla base looks warm and hides growth lines, and the tiny gold dots at the tip add sparkle without needing detailed art. Because the dots are small, they don't snag like decals.
Pick a creamy nude close to vanilla or warm beige, not gray-toned. Place one micro gold dot (or a tiny cluster of two dots) centered on each tip. Seal with a glossy top coat that fully covers the dot so it doesn't catch on fabric.
Editor's noteUse dotting tools with a steady hand and place the dot after the base is cured so you can see placement clearly.
Watch outSkip oversized dots - they look like nail stickers and lift at the edges.
9. Tangerine Orange Fade to Nude
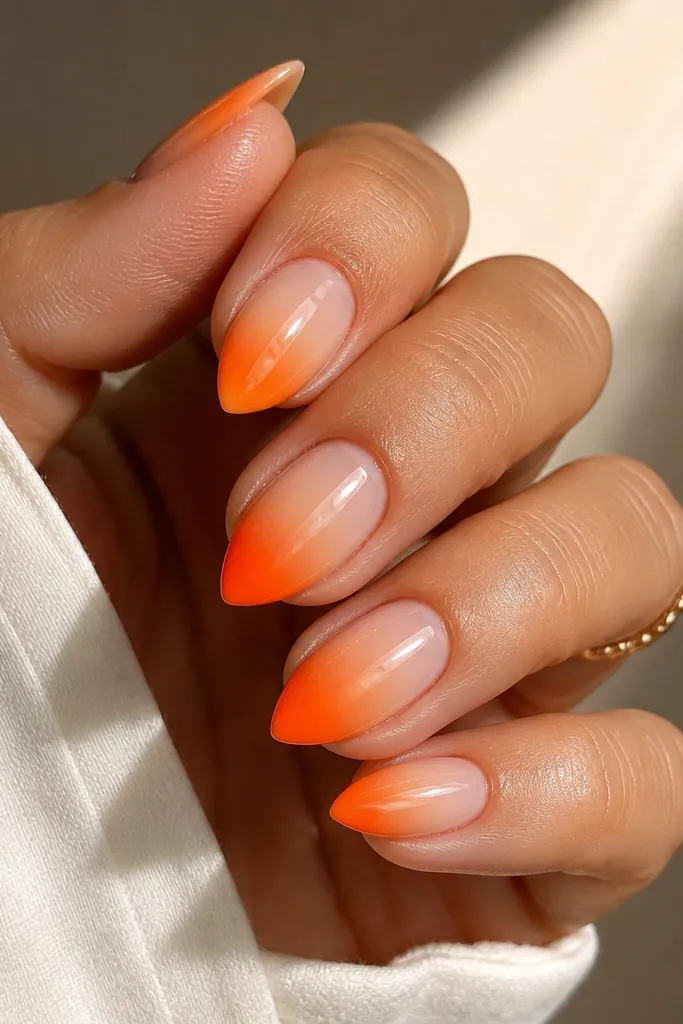
A tangerine fade is one of the fastest ways to make short stiletto look like you planned it. The fade transitions smoothly, so regrowth doesn't show as harshly as a solid color block. It also flatters hands because the warm color draws attention to the center of the nail.
Start with a nude base, then blend tangerine orange from about halfway down to the tip. Use a fine ombre sponge or an airbrush if you have one, keeping the blend soft. Cap with glossy top coat and make sure the free edge is fully sealed.
Editor's noteFor clean blending, wipe the sponge between nails so the color stays consistent.
Watch outDon't leave a hard line at the fade - that's the part that makes it look DIY.
10. Cool Mauve Sheer with Diagonal French
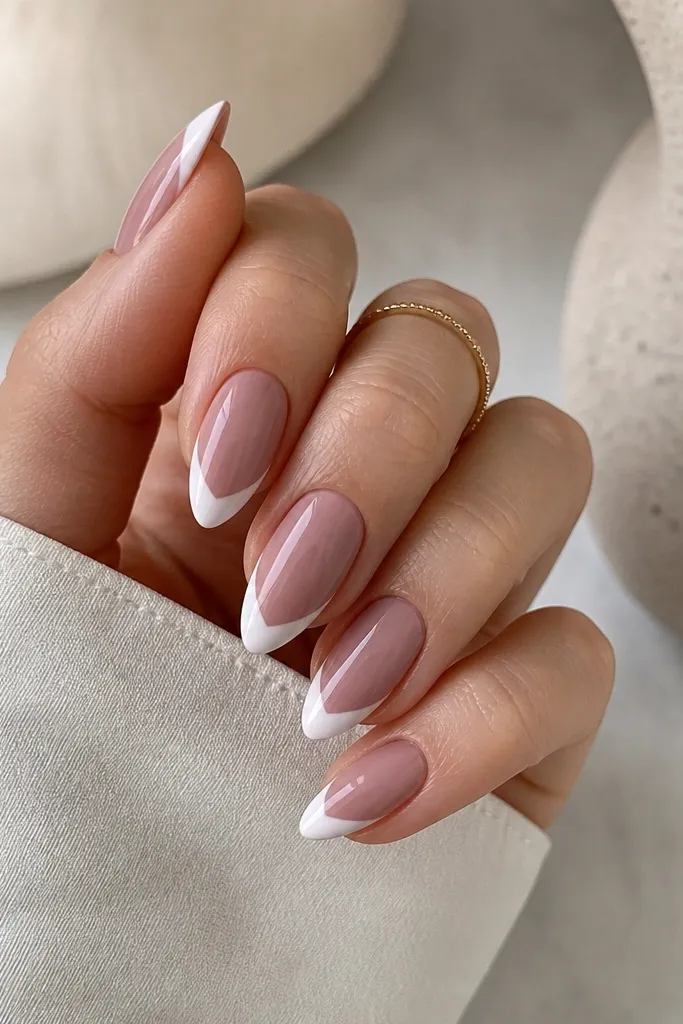
Diagonal French makes short stiletto look longer because the line runs across the nail from one corner to the other. A cool mauve base keeps it modern, and the diagonal layout hides small chips better than straight micro tips. This set looks styled even with minimal detail.
Use a cool mauve sheer builder as your base. Paint a diagonal white line on each nail starting near one sidewall and ending at the opposite tip corner. Keep the line thin and consistent, then top coat glossy.
Editor's noteUse nail tape as a guide for the first diagonal line so the angle matches nail to nail.
Watch outAvoid thick diagonal lines - they make short stiletto look stubby.
11. Olive Green Matte with Glossy Tip Edge
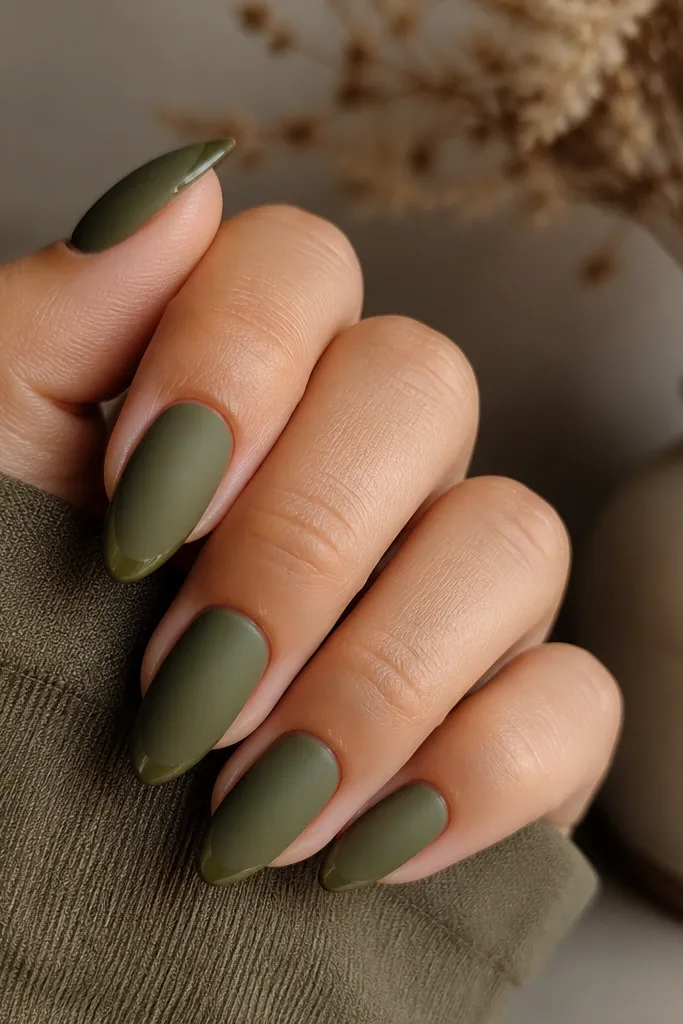
Olive matte is low maintenance because it hides tiny surface scratches better than glossy polish. The glossy tip edge gives you that "finished" look and keeps the set feeling intentional. This combo also works great if you want something different from pinks and nudes.
Build the nail in a solid olive green, then apply matte top coat over the whole nail. Add a thin glossy strip at the tip edge using a gel top coat or clear gel and cure it. Keep the glossy strip narrow so it reads as a detail, not a thick band.
Editor's noteIf your matte top coat dries uneven, buff lightly with a soft buffer before adding the glossy edge.
Watch outDon't put matte on the cuticle area - it can look dry and patchy.
12. Clear Pink Base with Rose Gold Foil Flakes
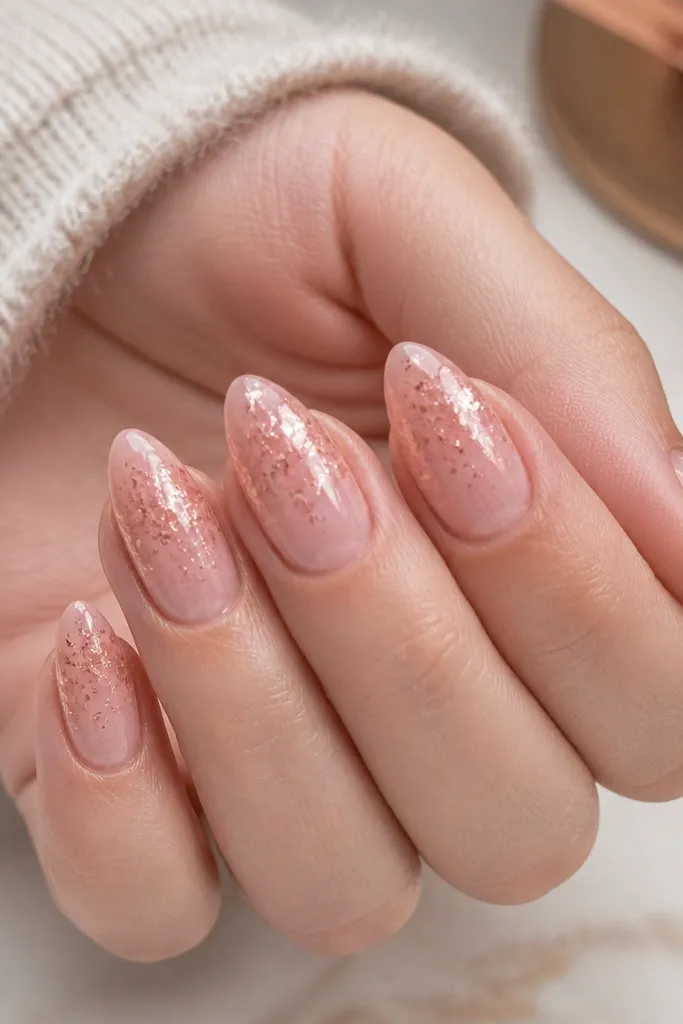
Foil flakes look fancy but they're easy to wear because the pattern is random. A clear pink base keeps it airy, and the foil near the cuticle makes your nails look lit from within. As your nails grow, the foil still looks like part of the design.
Use a clear-pink acrylic mix so the nail is translucent. Add rose gold foil flakes with foil adhesive near the cuticle, then gently blend by pressing lightly with a tool so flakes don't clump. Cap with clear acrylic or gel so no edges lift.
Editor's notePress flakes in with a flat silicone tool so they lie flat instead of sticking up.
Watch outAvoid leaving foil uncapped - it snags on sweaters and lifts fast.
13. Sky Blue Micro French with Gloss Gel
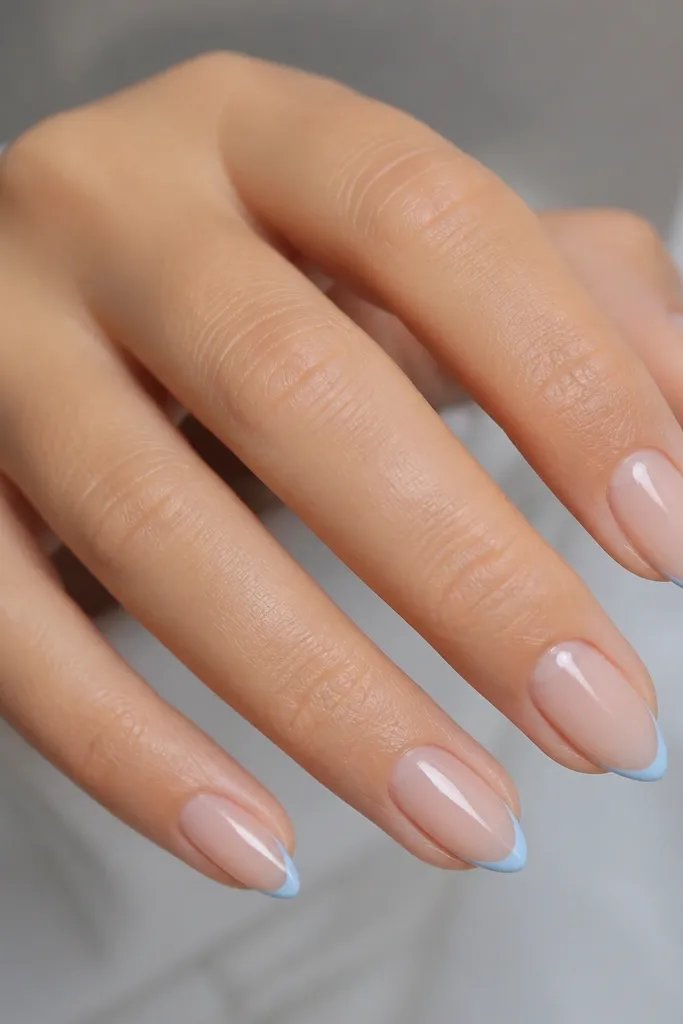
Sky blue micro French is crisp, springy, and still low maintenance. The sheer base keeps regrowth subtle, and the micro line means less wear at the edge. It also photographs well because the color is light and consistent.
Start with a sheer nude base, then use a fine striping brush to paint a micro French line in sky blue. Keep the line narrow and center the tip. Finish with glossy top coat and cap the free edge to reduce tip chips.
Editor's noteIf your blue looks watery, build it in two thin layers instead of one thick layer.
Watch outDon't use glitter blue for micro French - it looks grainy and wears unevenly.
14. Lavender Sheer with Silver Halo at the Tip
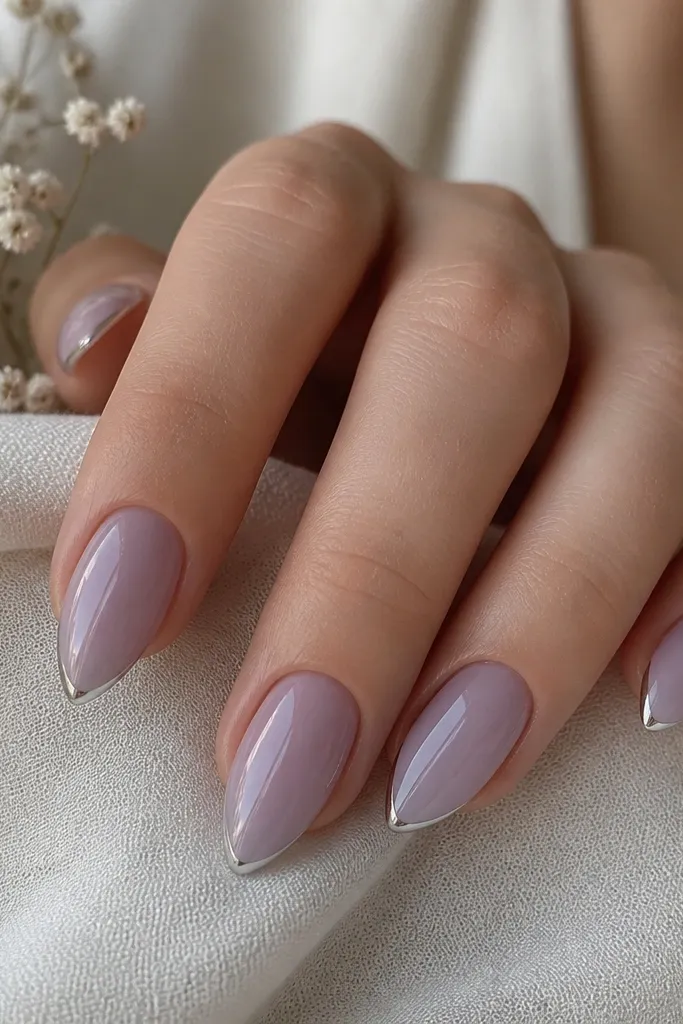
A silver halo makes short stiletto look like you did a full set of nail jewelry. The lavender sheer base stays soft, and the halo line is thin enough to grow out without looking messy. It's also a clean way to add shine without full bling.
Build a lavender sheer base. Add a thin curved silver line along the very tip edge, like a half-moon or halo, leaving the rest of the nail plain. Cure and cap with a glossy top coat so the line is smooth.
Editor's noteUse a chrome gel pen or foil gel for the silver line so you don't have to paint metallic with a brush.
Watch outDon't press the silver line too wide - it turns into a thick border and looks heavy.
15. Soft Peach Nude with Tiny Heart on One Accent Nail
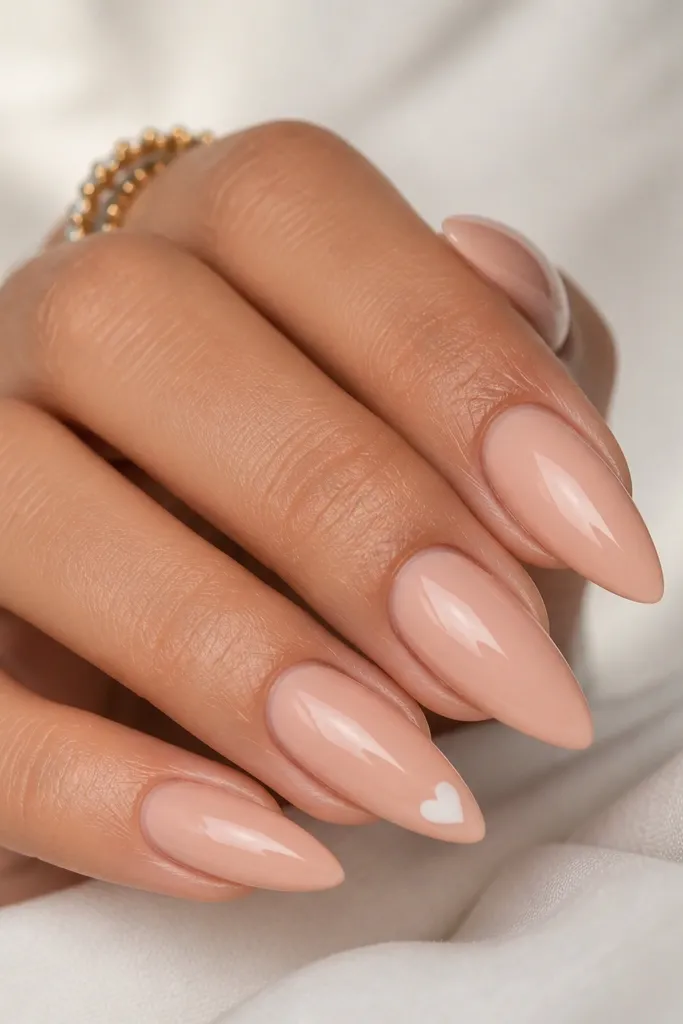
This set is sweet without being childish. The soft peach nude is forgiving and looks good with every outfit. The tiny heart on one nail gives you a focal point, so you don't need hearts on all ten nails to make it cute.
Choose a soft peach nude close to your natural undertone. Paint a tiny white heart only on your ring finger (or one nail per hand). Keep the heart small, about 2 mm across, and seal it under a clear top coat so it feels flat.
Editor's noteDraw the heart with a dotting tool first, then connect the dots with a fine brush.
Watch outSkip big hearts - they catch on hair and look uneven on short stiletto.
16. Charcoal Gray Smoke Gradient
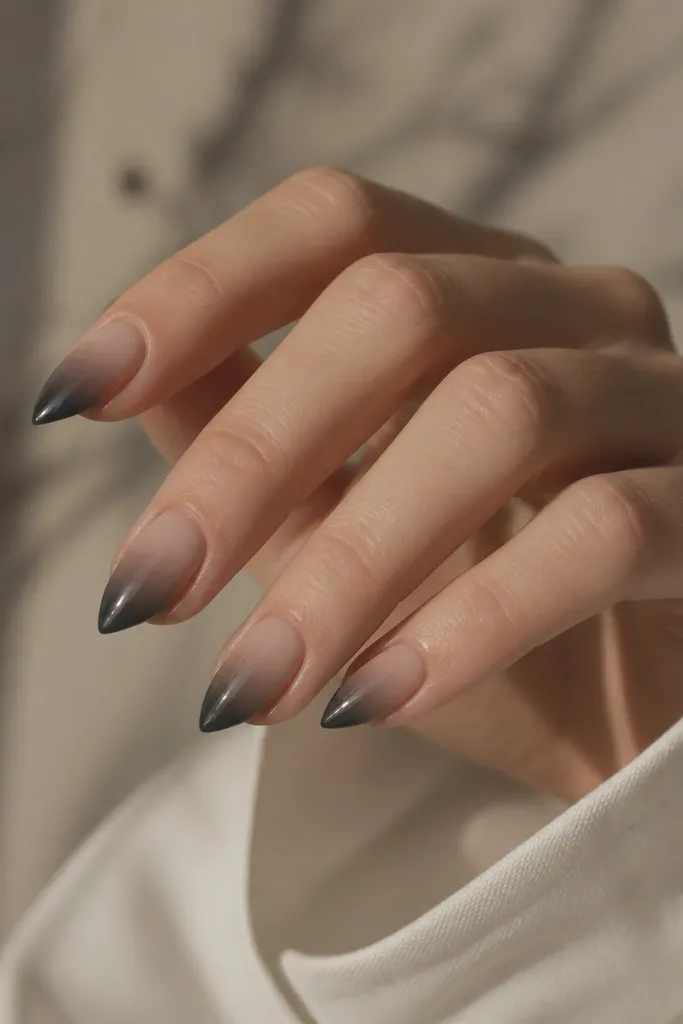
Smoke gradients make short stiletto look sleek and modern. The gradient is forgiving as it grows because there's no hard color block. Charcoal also hides small tip wear because it's dark and uniform.
Start with a sheer nude base, then blend charcoal gray into the tip using an ombre sponge. Keep the smoky look by diffusing the color edges instead of making a hard fade. Top coat glossy for a smooth, glassy finish.
Editor's noteDo one extra feathering step with a clean sponge to soften the transition at the midpoint.
Watch outDon't over-saturate the tip - thick gray can look like a dark sticker.
17. Red Jelly Base with Micro Glitter at the Tip
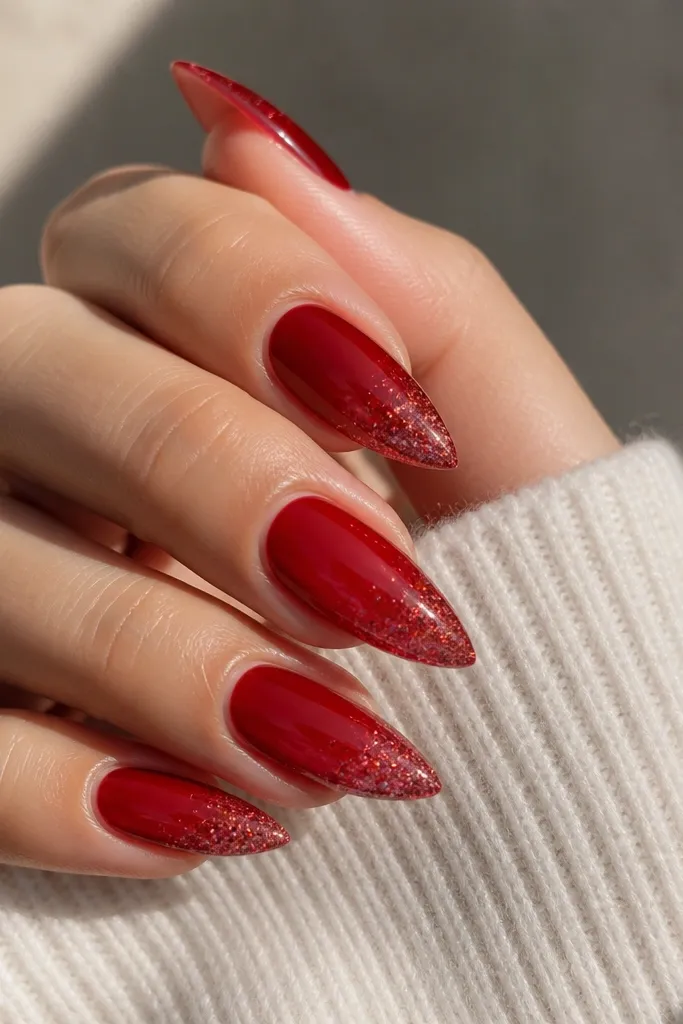
A red jelly base looks glossy and juicy, and it stays attractive as it grows because the translucency makes the nail look uniform. Micro glitter at the tip adds sparkle without covering the whole nail. The glitter placement is tiny, so you get bling that doesn't feel gritty.
Use a translucent red jelly acrylic or gel as the base. Apply micro fine glitter gel only on the last 2-3 mm of the tip and blend slightly inward. Cap with clear gel so glitter is sealed and smooth to the touch.
Editor's noteUse a denser glitter gel for the tip so it stays bright instead of fading to clear.
Watch outAvoid chunky glitter - it feels rough and lifts around the edges.
18. Ivory Nude with Thin Black Side Lines
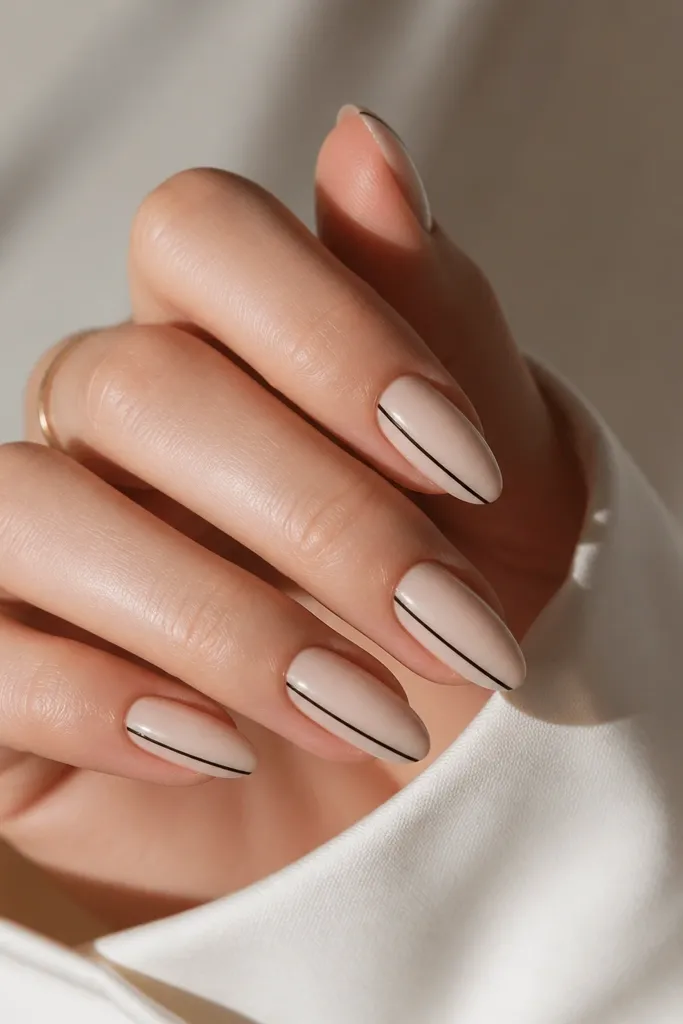
Thin side lines make fingers look longer because they pull the eye vertically. Ivory nude is warm and forgiving, and the black line is bold enough to feel stylish without covering the nail entirely. It's also a great option if you want graphic style but hate busy nail art.
Build an ivory nude base, then paint a single thin black line down one sidewall of each nail. Keep the line 1-2 mm from the cuticle so it looks clean, and taper it slightly as it reaches the tip. Top coat glossy to keep the line crisp.
Editor's noteUse a nail striping tape to place the line, then remove it right after painting for a sharp edge.
Watch outDon't draw the line too close to the side - it will smear and catch on fabric.
19. Champagne Nude with Gold Foil Half-Moons
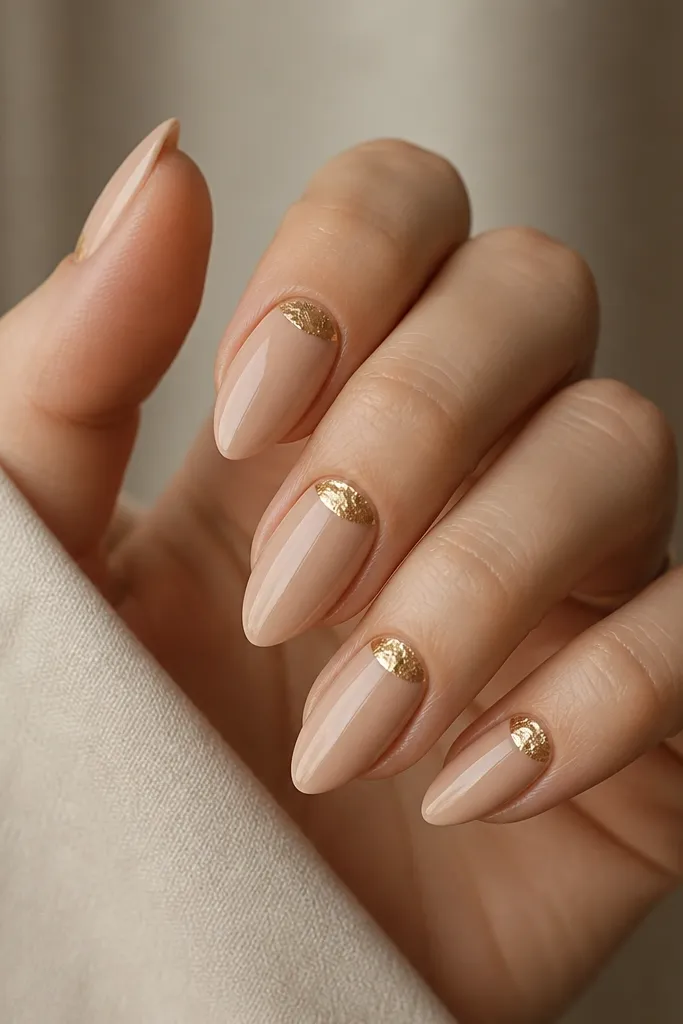
Champagne nude looks classy and hides regrowth well. Half-moon foil at the cuticle gives you a structured, salon-style look without filling the whole nail. Foil is also easy to maintain because it doesn't chip like paint - it just stays present until your fill.
Use a champagne nude base with a slight shimmer. Create a half-moon placement at the cuticle using foil adhesive, then press gold foil in a curved shape. Cap with clear top coat or acrylic so the foil edge is smooth.
Editor's noteKeep the half-moon small - about the width of your thumbnail's cuticle line - so it looks intentional on short length.
Watch outAvoid full foil coverage - it makes the set look heavy and it lifts faster.
20. Soft Beige with Nude Pink Reverse French
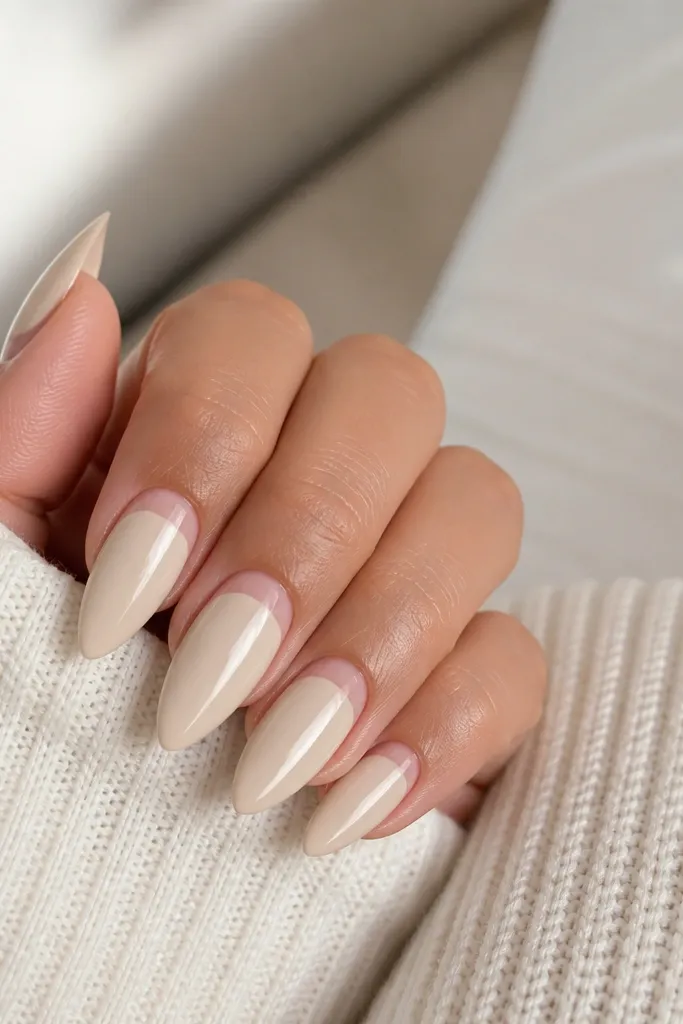
Reverse French flips the usual French idea and looks sharp on short stiletto. The contrast sits near the cuticle, so it looks styled even when your nails grow out. Nude pink and beige are close enough that it stays soft, not harsh.
Build a soft beige base, then paint a nude pink arc at the cuticle, leaving a thin gap at the center. Keep the arc tidy and symmetrical across nails. Finish with glossy top coat to blur any micro imperfections and make the design look clean.
Editor's noteUse a small angled brush and do the arc in one controlled sweep for a smooth curve.
Watch outDon't overfill the cuticle arc - it can flood the skin and lift sooner.