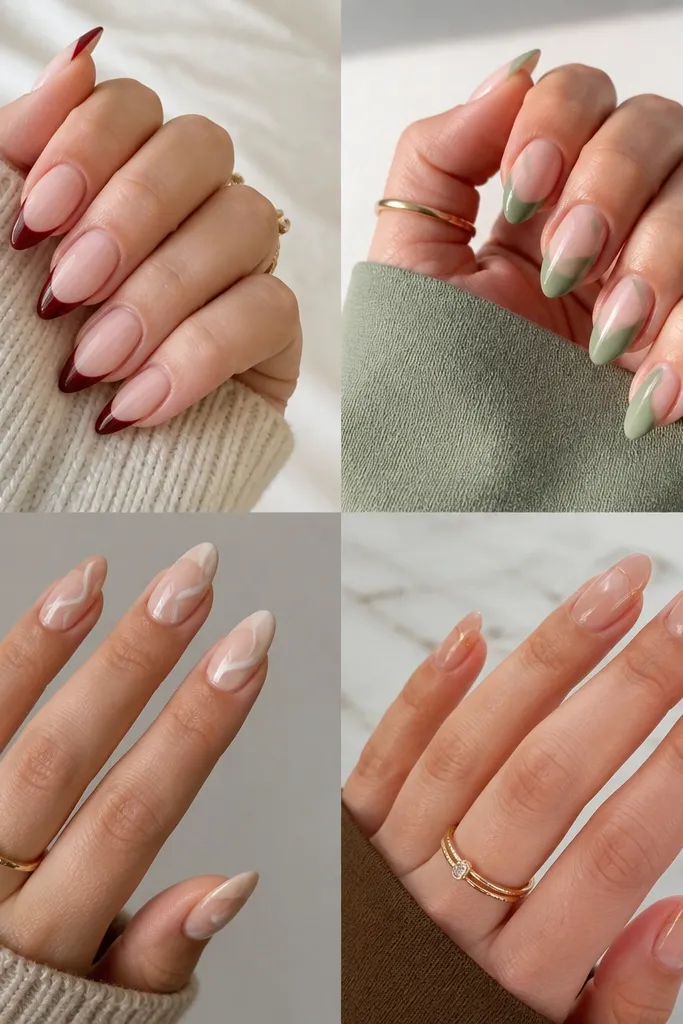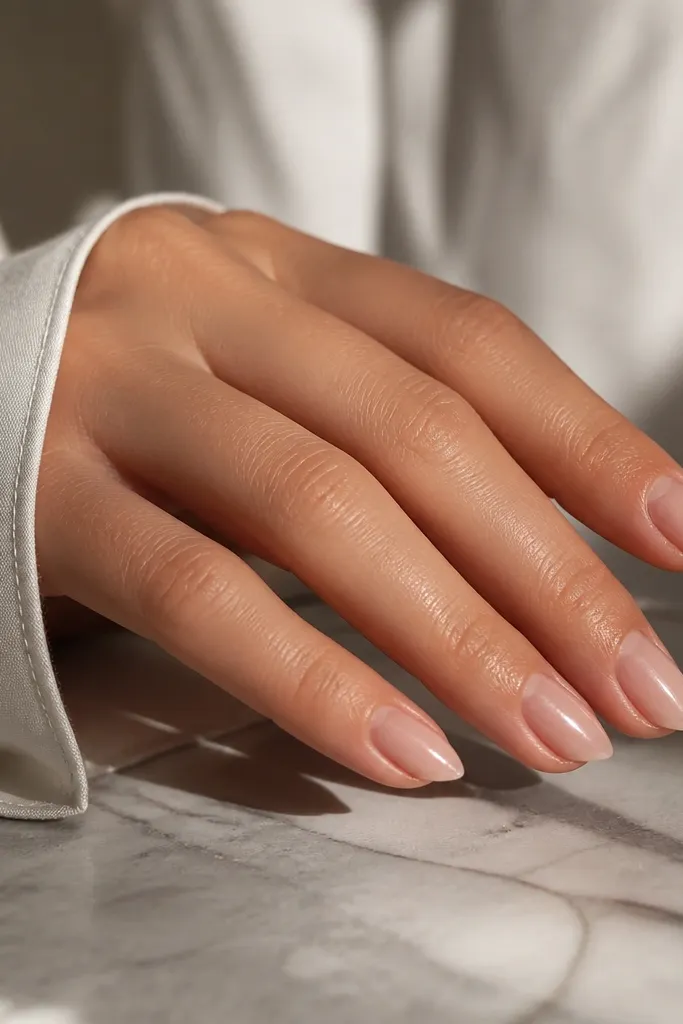
1. Milky nude short stiletto with crisp white micro-French
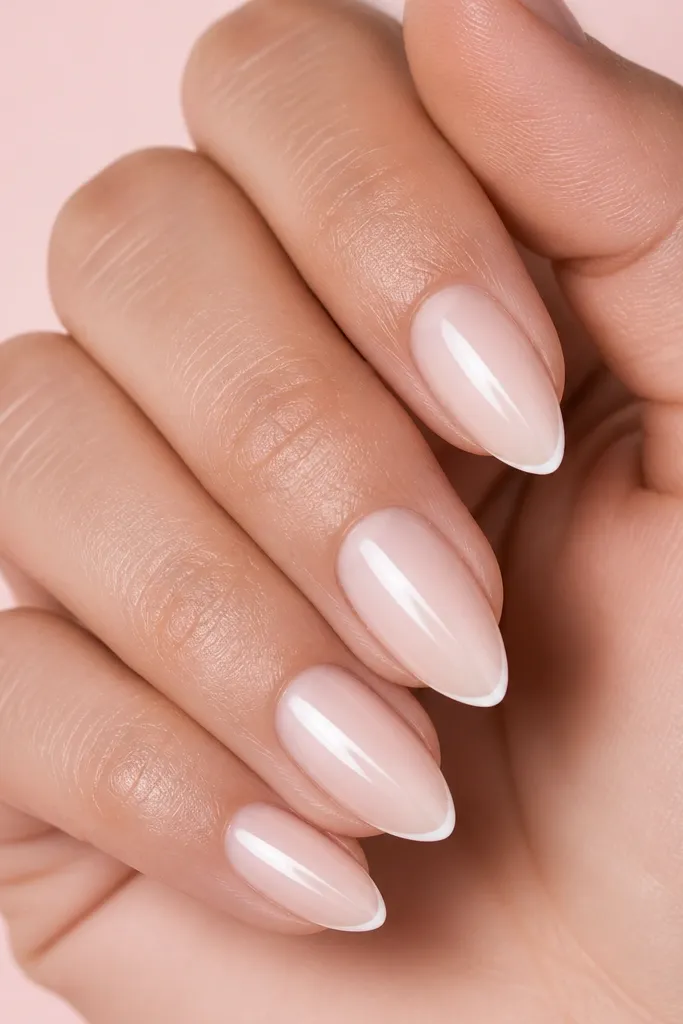
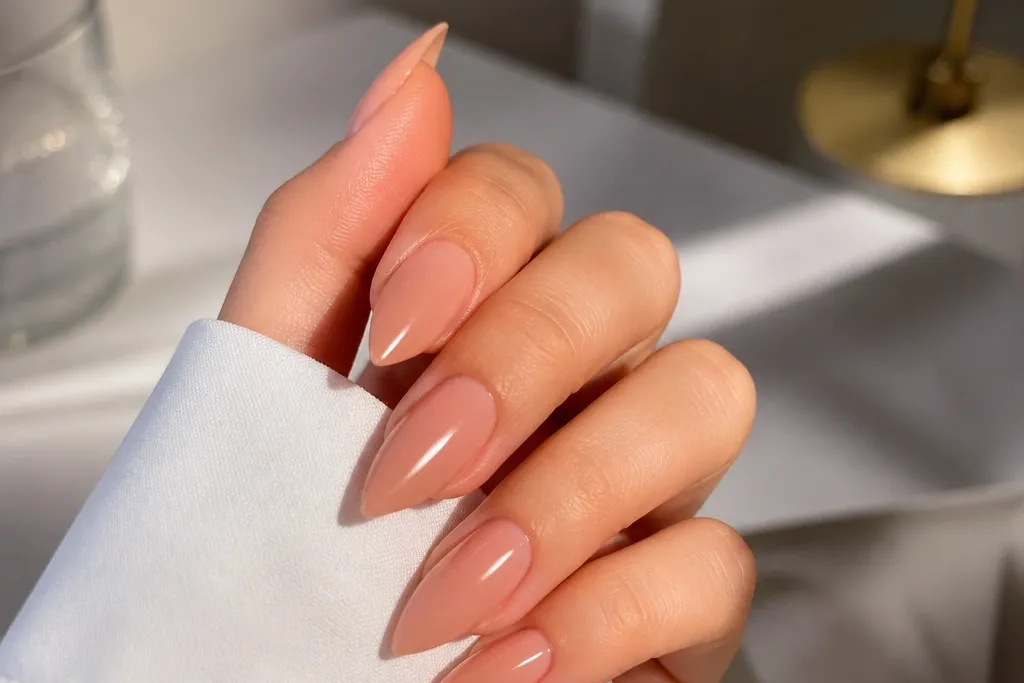
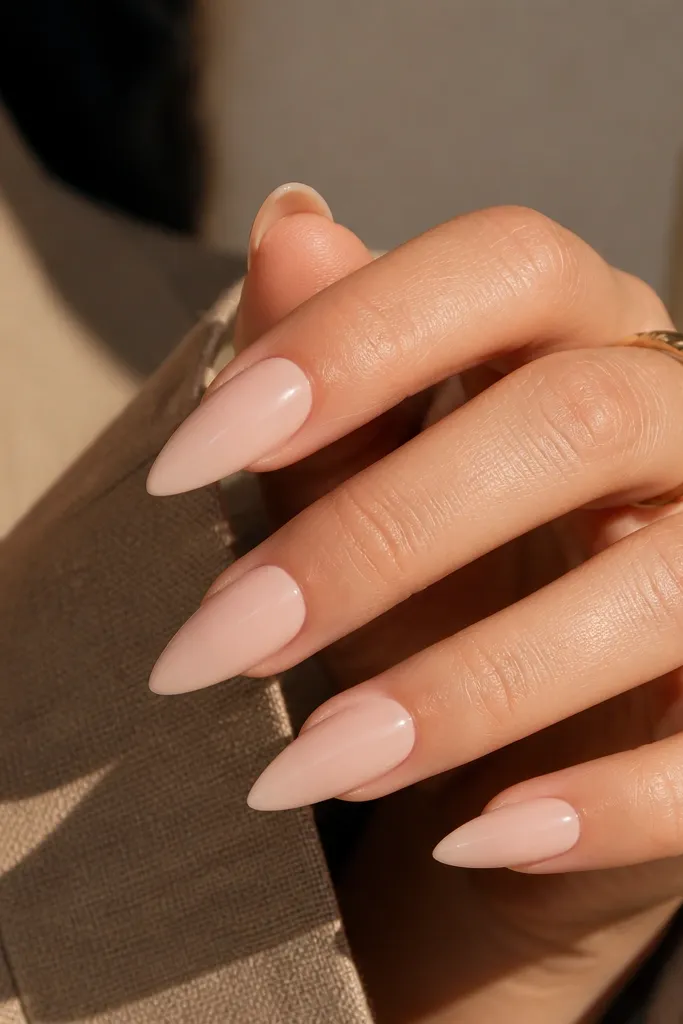
This look is fast because the milky nude hides small filing dips, and the micro-French gives you that sharp stiletto vibe without covering the whole nail. I like a sheer base (not opaque) so the nail looks healthy and the white line looks crisp. The contrast is subtle, but it reads "done" even when you're wearing minimal outfits.
Paint two thin coats of milky nude, letting each coat self-level. Add white French using a striping brush or striping tape placed a millimeter above the tip edge, then finish with a glossy top coat.
Editor's noteTo keep the French line straight, press striping tape down firmly on the sidewalls and keep your hand flat while painting.
Watch outDon't use thick white polish for the line - it bleeds and makes short tips look clunky.
2. Sheer pink base with gold foil shards (one accent nail)
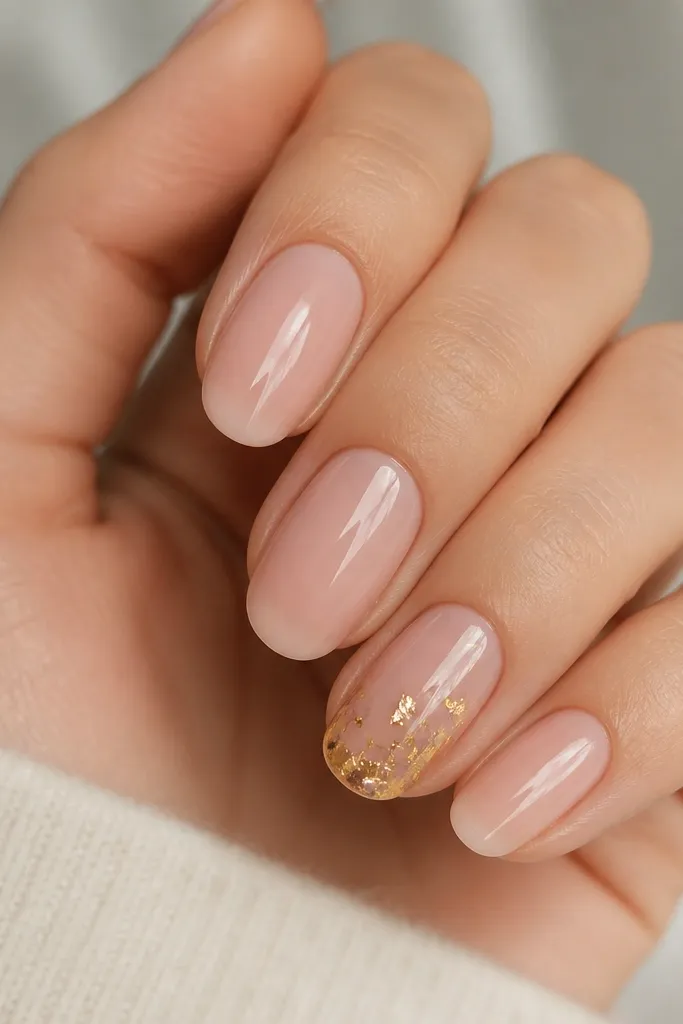
Gold foil shards look expensive even when the nail is short because the pieces catch light at different angles. Using one accent nail keeps the set quick and keeps it from looking busy on a small surface. Sheer pink makes the gold look warmer and cleaner than a dark base.
Start with a sheer pink or blush acrylic overlay. Press gold foil shards onto the tip area with a thin layer of clear gel or acrylic medium, then top coat over everything to smooth the surface.
Editor's noteUse tweezers and place foil in a loose diagonal - it elongates the stiletto point.
Watch outDon't skip sealing - loose foil edges catch on fabric and peel.
3. Black satin tips over nude acrylic (reverse French)
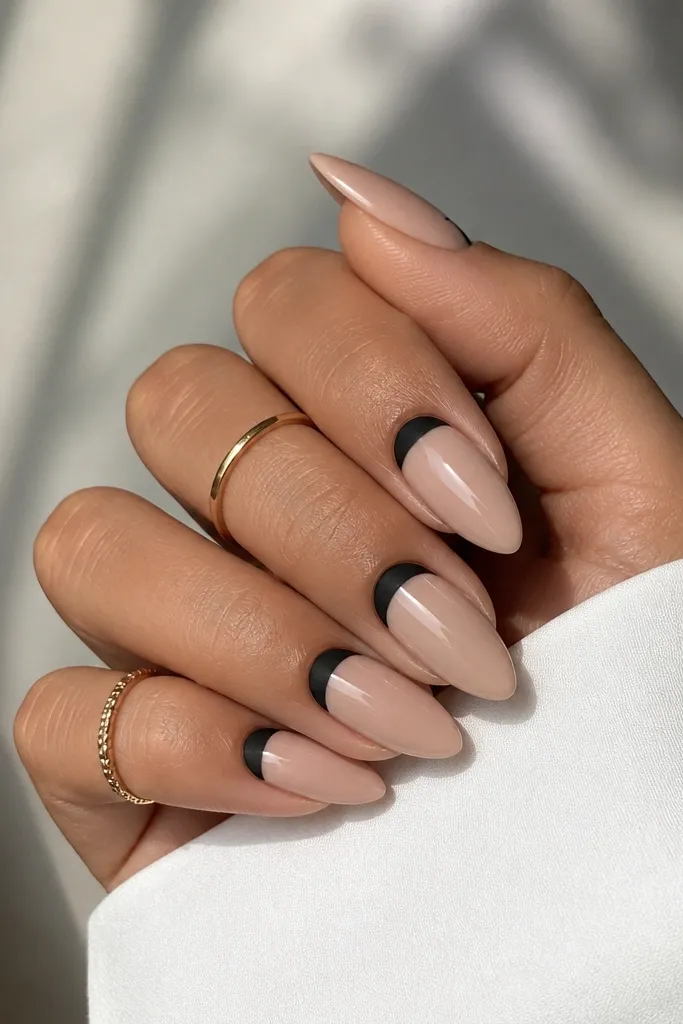
Reverse French is quick because you only need to paint one shape. The black satin band near the cuticle makes your fingers look longer, and satin black doesn't show tiny streaks like glossy black does. It also looks bold without needing a lot of detail work.
Apply nude acrylic, then use a small sponge or thin brush to paint black satin at the cuticle area. Leave a tiny nude gap so the line looks intentional, then cap with a glossy top coat only over the black section if you want it semi-satin.
Editor's noteIf your cuticle line gets messy, wipe the edge with a cotton swab dipped in acetone before it sets.
Watch outDon't paint the black band too wide - on short stiletto it can overpower the nail.
4. Clear jelly base with red heart dots (thumb + ring finger)
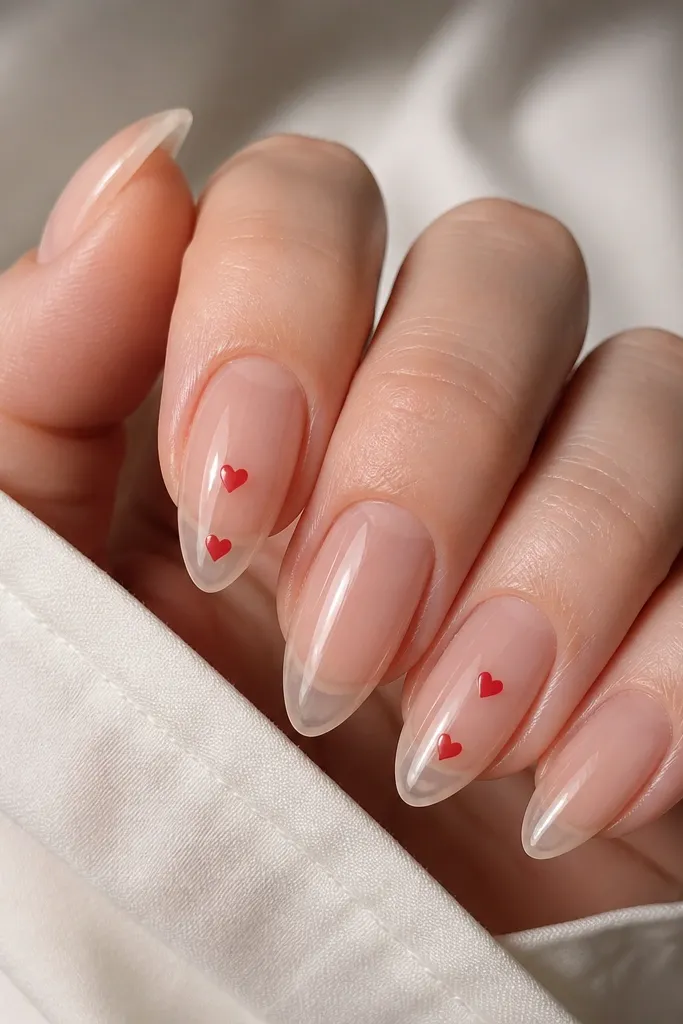
Jelly clear makes acrylic look fresh and lets your natural nail color peek through. Red heart dots are tiny but high impact, and limiting them to two nails keeps the set quick. The glossy top coat makes the jelly effect look like glass.
Use clear acrylic or a clear overlay over your base. Dot small red hearts using a dotting tool, then add a thin top coat in two passes to keep the hearts smooth.
Editor's notePlace hearts in a diagonal line from the sidewall toward the center - it looks more flattering than centered dots.
Watch outDon't flood the hearts with thick gel - they'll mound and snag.
5. Chocolate brown ombre to nude (soft gradient)
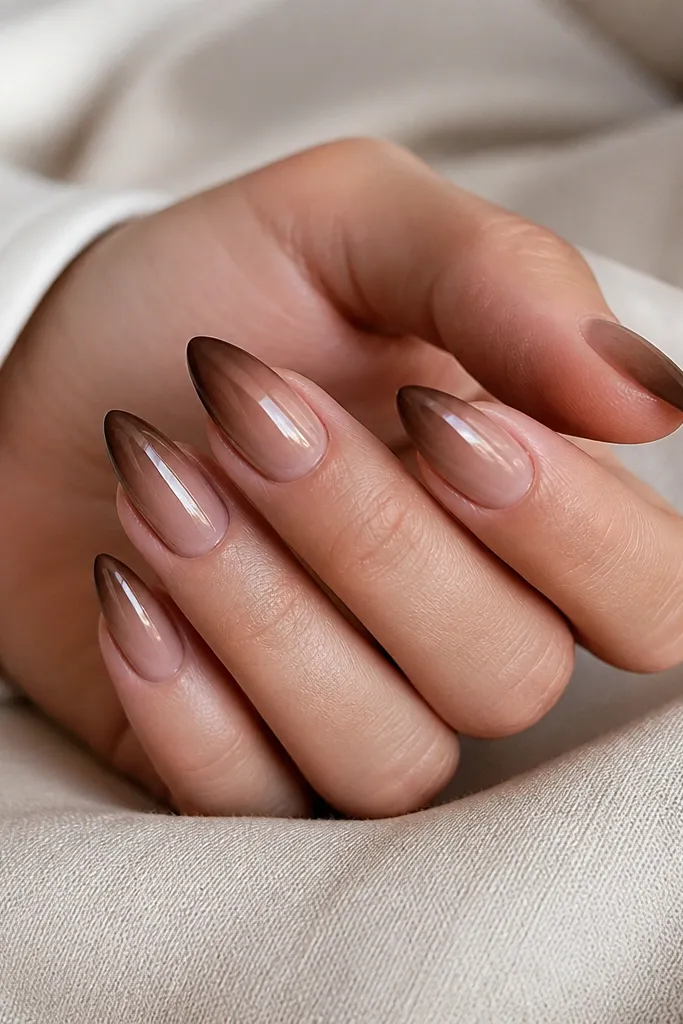
Ombre is forgiving on short stiletto because you can blend with a makeup sponge and hide tiny filing marks. Chocolate brown looks warm against skin and doesn't scream "Halloween" like black or neon does. It also grows out better than high-contrast designs.
Start with a nude base. Sponge chocolate brown starting from mid-nail and blend upward with a slightly damp sponge, then add a second light layer until you like the fade. Finish with top coat to smooth everything.
Editor's noteUse a small piece of sponge and dab, don't swipe - swiping streaks show on short tips.
Watch outDon't apply ombre too close to the cuticle or it will look muddy.
6. Icy white sparkle fade (tip-only glitter)
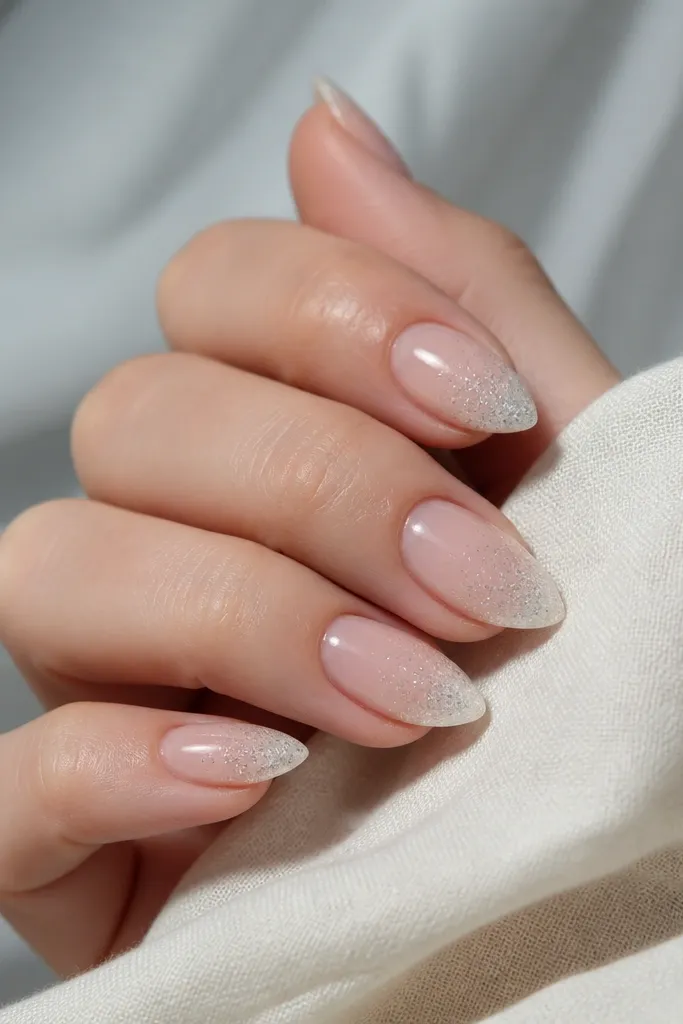
Tip-only glitter is the easiest way to get "party nails" without doing full coverage. The icy white glitter makes short stiletto points look extra sharp. Keeping glitter at the tip also prevents gritty texture near your cuticles.
Paint nude base, then mix glitter with clear acrylic or clear gel. Tap glitter on starting halfway down the nail and fade it upward with a thin brush. Seal with top coat in two thin layers.
Editor's noteUse a matte top coat on the glitter layer first, then glossy top coat over the nude - it makes the sparkle pop without looking chunky.
Watch outDon't skip a smoothing top coat pass - glitter texture catches on hair and sweaters.
7. Tiny chrome line down the center (barely-there detailing)
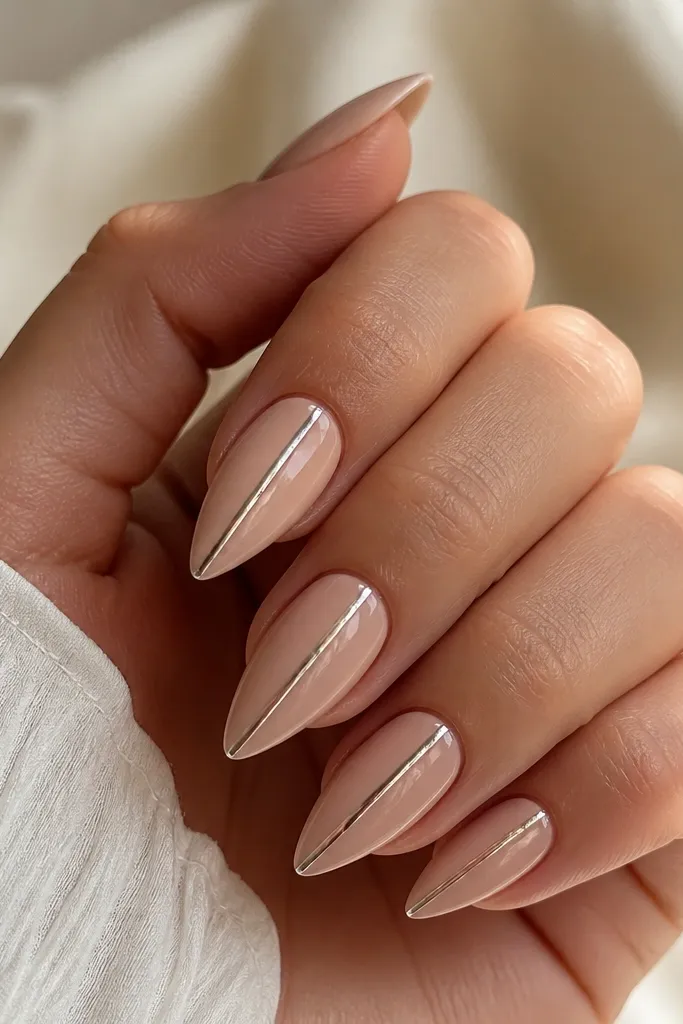
A single chrome line makes short stiletto nails look sleek and longer. Chrome is reflective, so even a thin stripe reads like a design instead of a random accent. It's quick because you only need one straight line per nail.
Apply nude base, then use chrome powder with a liner gel or a chrome foil transfer strip. Draw a thin line with a striping brush and make sure it stops a millimeter before the cuticle for a clean look.
Editor's noteIf your line wobbles, cover it with a hair-thin nude layer and redo while the base is still tacky.
Watch outDon't use a thick chrome strip - it looks like a sticker on short nails.
8. Pastel checker accent on two nails
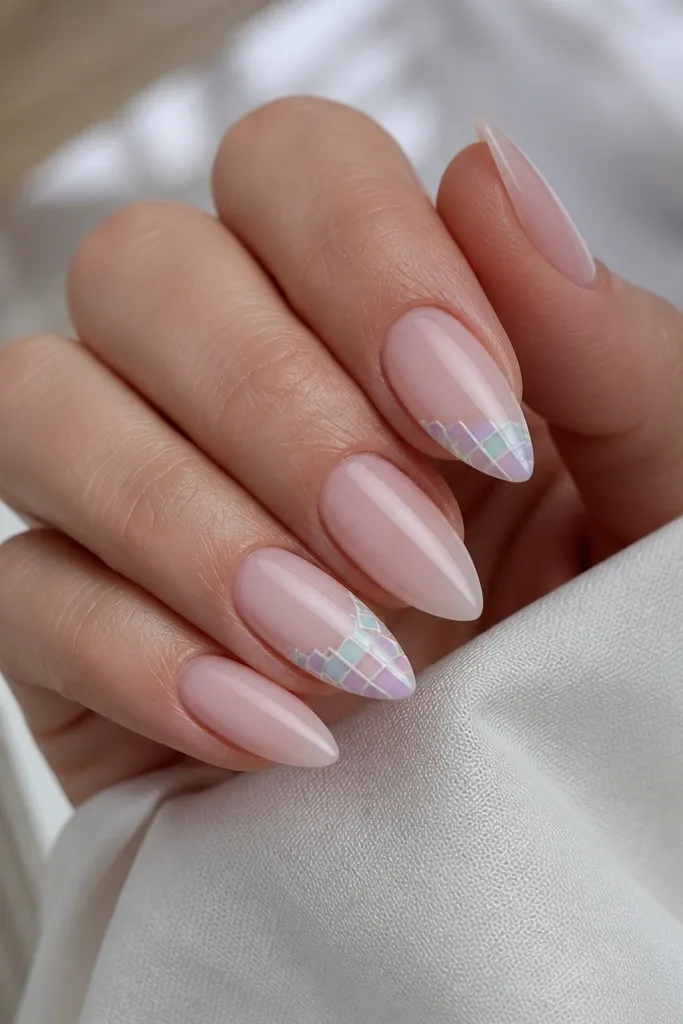
Checker patterns look neat even when the nail is short because the blocks can be tiny. Limiting it to two nails makes the set still feel quick, and the pastel palette keeps it wearable. White lines make the squares look crisp instead of blurry.
Paint all nails pale pink. On two accent nails, place small nail vinyl squares or use thin striping tape to create 3-4 small boxes, then fill with mint, lavender, and baby blue polish. Remove the tape carefully and seal with top coat.
Editor's noteMake the squares smaller than you think - 1-2 mm blocks look best on short stiletto.
Watch outDon't use too many pastel colors on one nail; three shades is enough.
9. Red velvet matte with glossy cuticle border
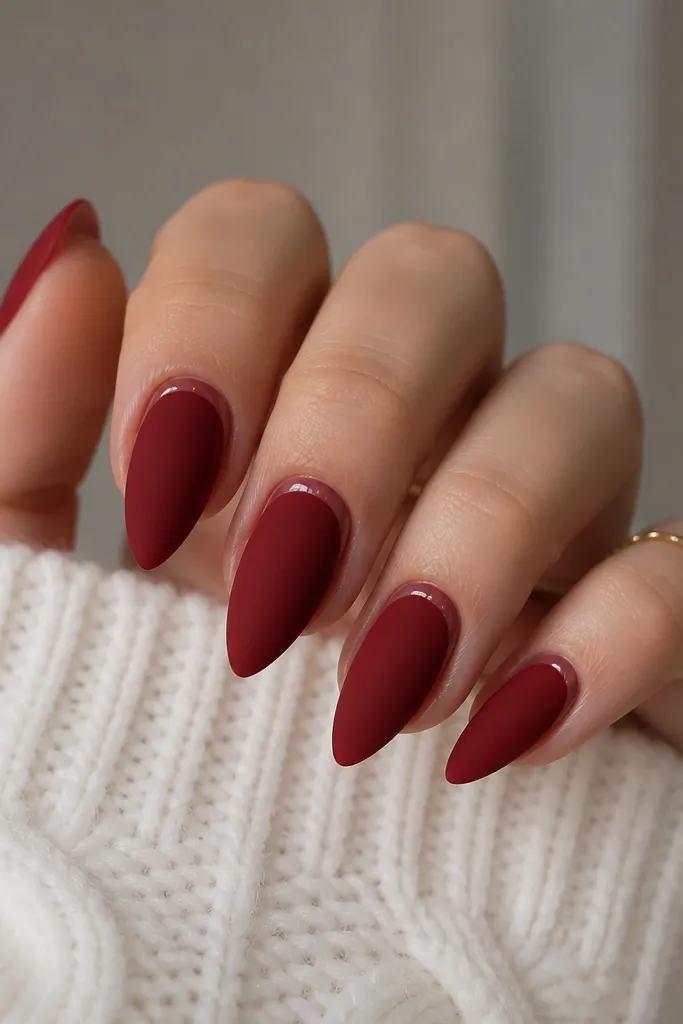
Matte velvet red is a mood and it hides minor surface unevenness after filing. The glossy cuticle border adds shine exactly where your eye lands first when you look at your hands. This combo looks high-end and still stays simple.
Do your red acrylic or gel base, then apply matte top coat. Use a thin striping brush to paint a glossy clear gel around the cuticle crescent and cure or set it, then cap the rest lightly so it doesn't smear.
Editor's noteKeep the glossy border slim - about 0.5 mm - so it reads as a detail, not a stripe.
Watch outDon't rub matte top coat too hard - it pills and leaves fuzzy patches.
10. Neutral swirl marble using nude + taupe + white
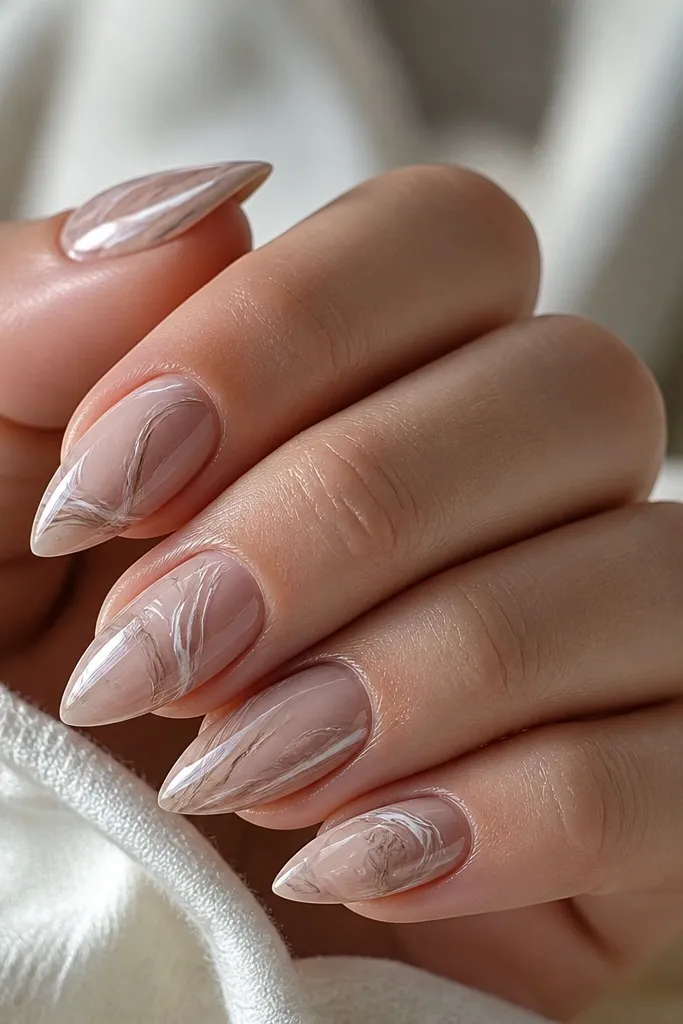
Swirl marble looks hard but it's quick when you keep it soft and thin. Nude, taupe, and white blend together so you don't need perfect artist lines - you need movement. On short stiletto, the swirls should stay centered so they don't crowd the point.
Paint a sheer nude base. Add taupe in small streaks, then drag white through it with a thin brush handle or liner brush tip. Finish with glossy top coat so the swirls look wet and smooth.
Editor's noteWork with a damp brush tip so the lines feather instead of forming hard ridges.
Watch outDon't add black to this set - it makes the marble look harsh on short nails.