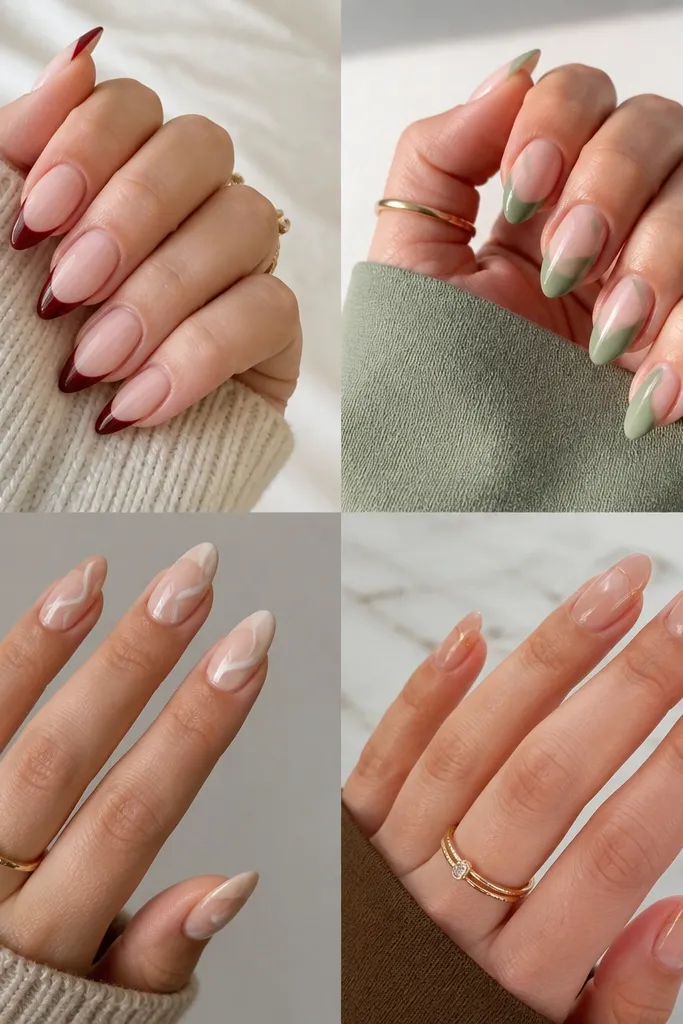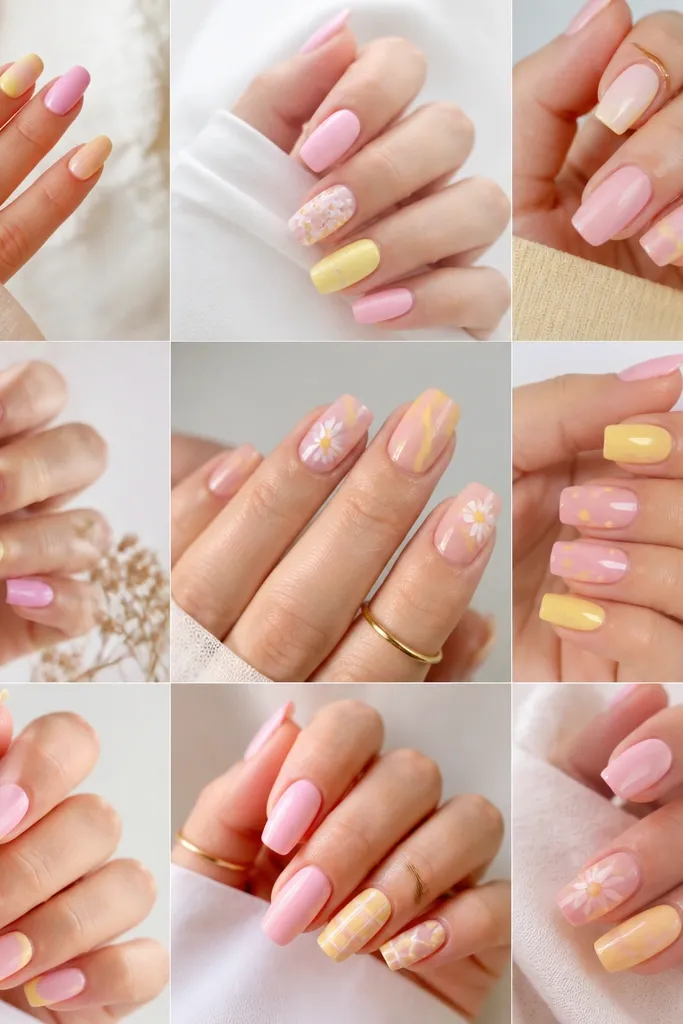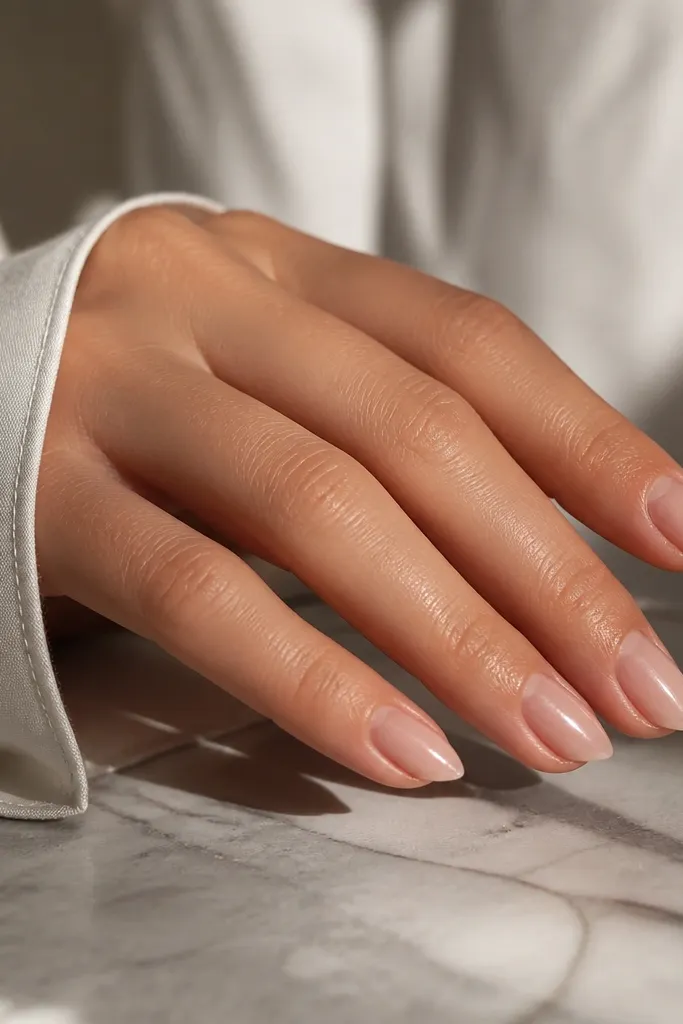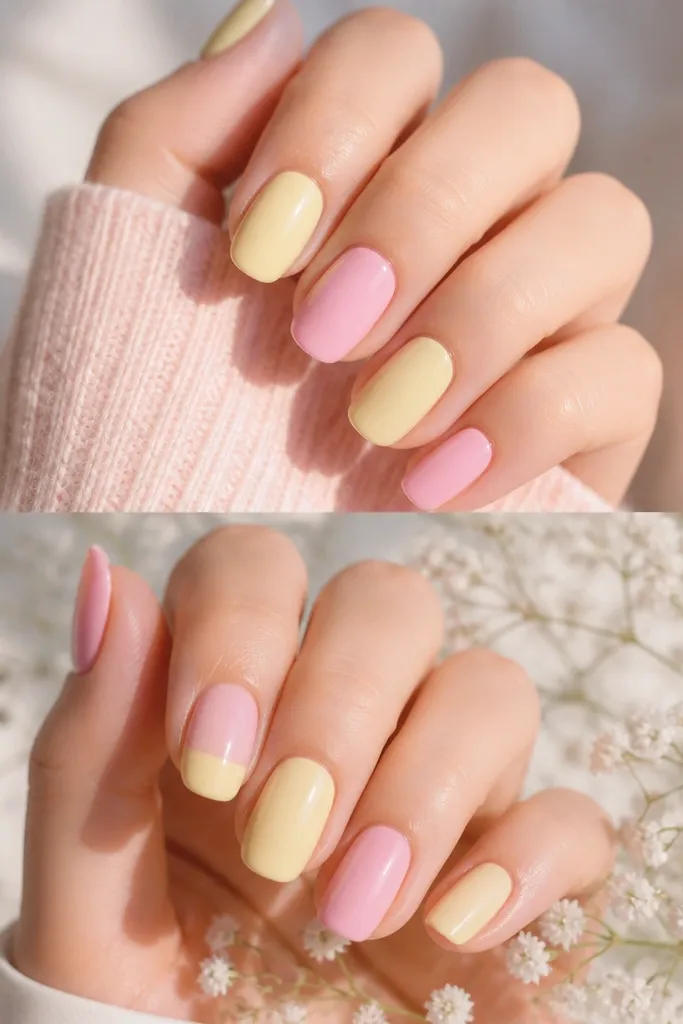
1. Milky nude with a razor-thin white tip
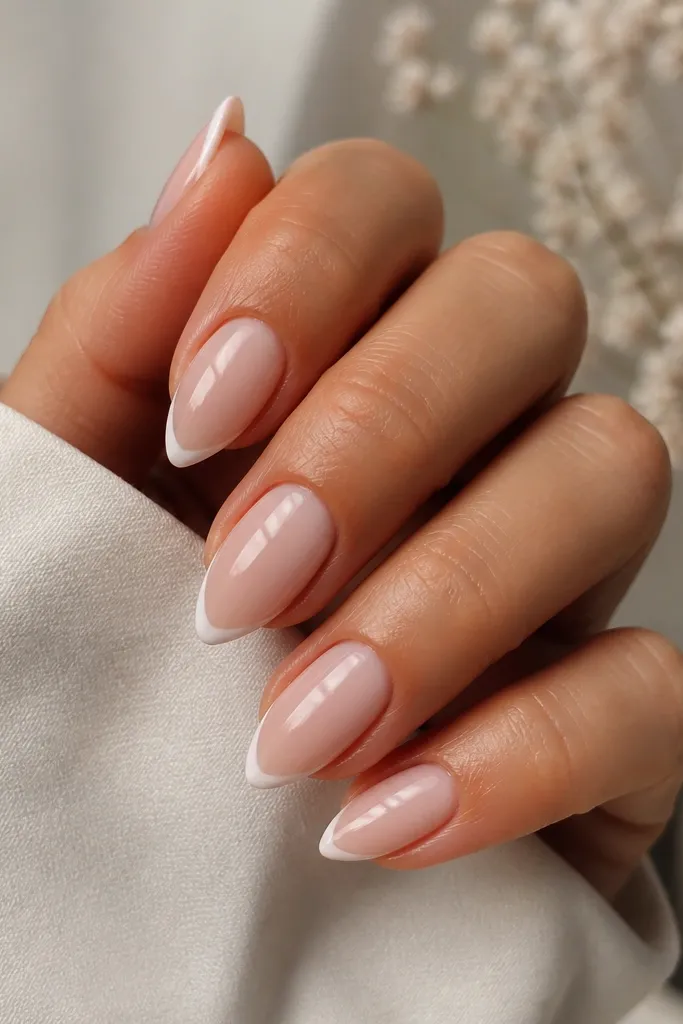
This look gives you stiletto drama without heavy color blocking. The milky nude blends into your nail bed so the shape reads as longer, and the white line is thin enough that it doesn't widen the tip. Glossy top coat makes the sidewalls catch light, which is what makes short stiletto look "sharp" instead of just pointy.
Use a milky nude builder gel or acrylic base in the 70-80% opacity range, then file the stiletto taper before you paint the tip. For the French, paint a line that's about 1 mm thick at the center of the tip, tapering it thinner toward the sidewalls. Keep the white off the very edge by a hair so it doesn't look chalky.
Editor's noteAfter painting the French line, run a tiny dot of clear top coat over the white edge - it seals the pigment and stops tip wear.
Watch outDon't make the French line wide - wide tips make short stiletto look stubby.
2. Clear pink base with a single gold micro-dot near the cuticle
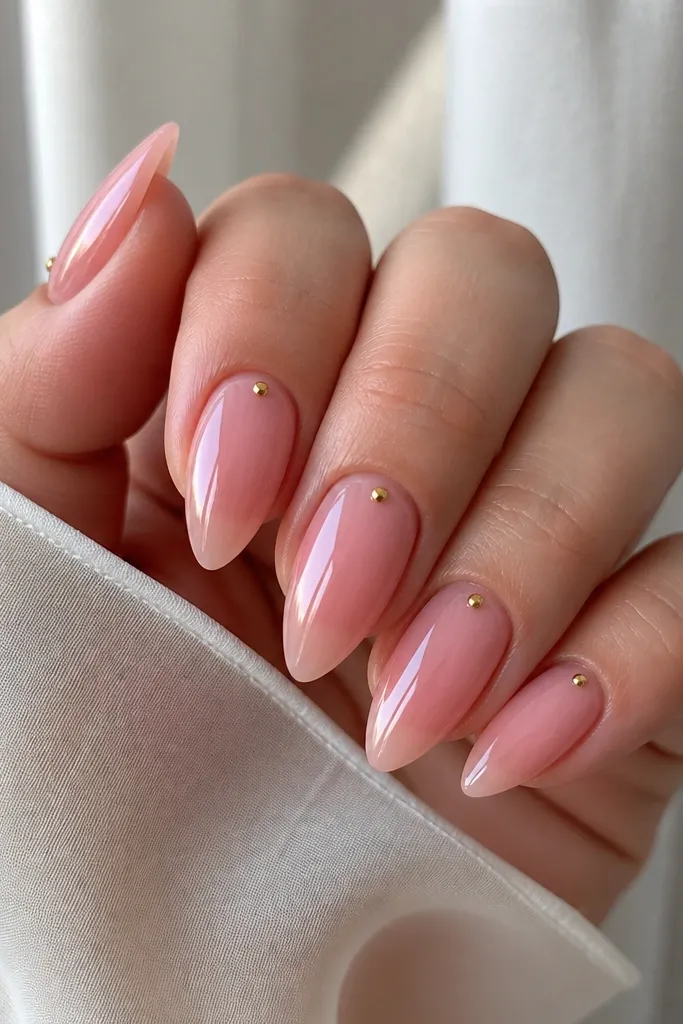
The jelly clear-pink base looks fresh because it shows a hint of your natural nail underneath. The gold micro-dot gives a "jewelry" effect without turning into full nail art. On short stiletto, small placement near the cuticle draws the eye upward and keeps the point feeling intentional.
Build with a clear-pink acrylic that you can file smooth - avoid thick opaque pink. Place the gold dot 1-2 mm above the cuticle line, centered, using a metal dotting tool or a tiny strip of gold foil pressed into gel. Seal with a high-gloss top coat in two thin layers.
Editor's noteIf the dot looks too bright, mix it with a single layer of sheer pink top coat before sealing.
Watch outSkip big charms on short nails - they lift fast and make the tip look bulky.
3. Chocolate brown gloss with a caramel shimmer stripe
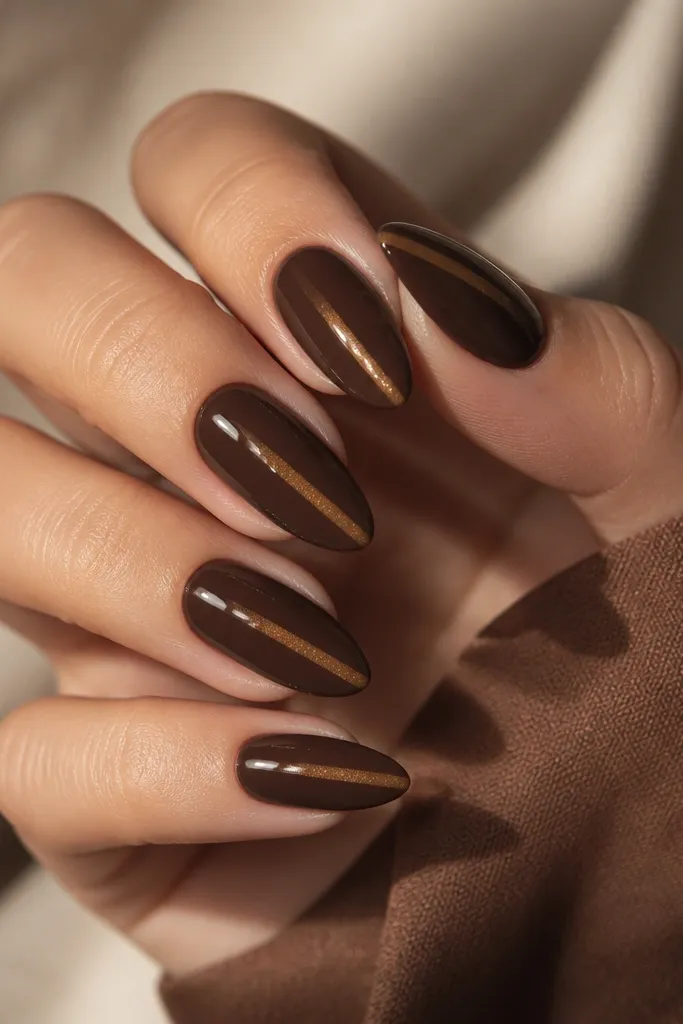
Chocolate brown is forgiving and looks rich without extra decoration. The caramel shimmer stripe adds movement and makes the stiletto taper look slimmer. Because the stripe is narrow, it reads elegant instead of busy.
Paint a solid chocolate brown base (opaque in two coats). Add a vertical stripe using a fine liner brush with caramel shimmer gel or loose shimmer mixed into a clear gel. Keep the stripe about 1 mm wide and centered on the nail.
Editor's noteAfter curing, wipe tacky residue lightly and top coat over the stripe - shimmer can dull if you only coat around it.
Watch outDon't pull the shimmer stripe to the very tip - leaving a 1 mm gap keeps it crisp and prevents gritty ends.
4. Soft sage green with a white "smile line" accent
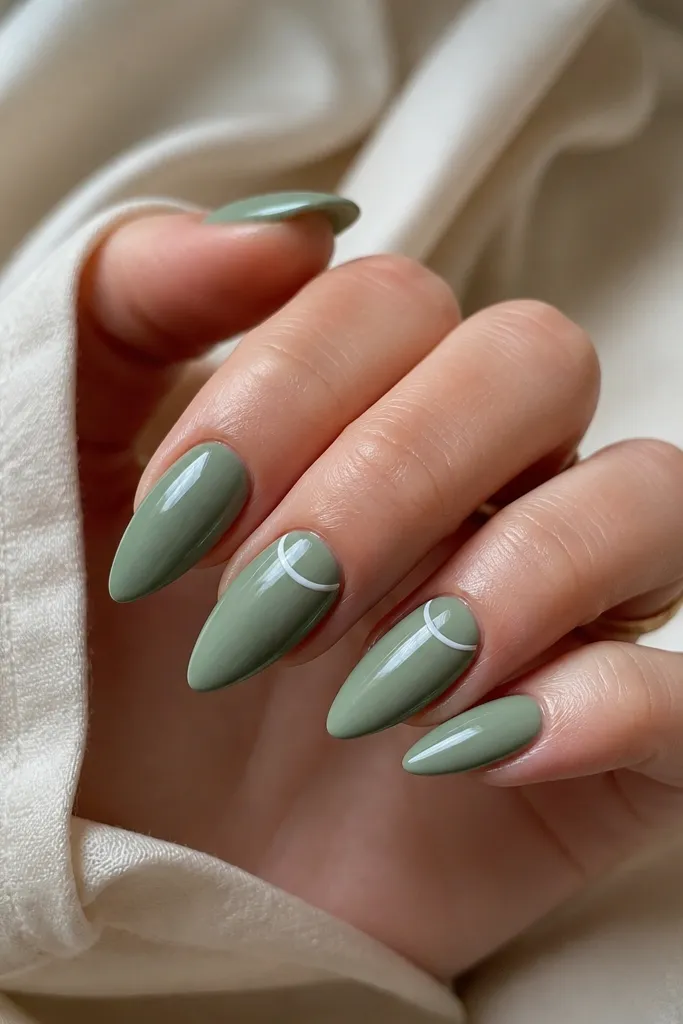
Sage green is calm but still looks modern on stiletto because it has a slight cool tone. The tiny white smile line gives a playful French-inspired detail without covering the whole tip. Short stiletto loves this because the accent sits high and makes your nail look longer.
Use a creamy sage that covers well in two coats. For the accent, paint a thin curved line about the width of your cuticle and keep it 1-2 mm away from the skin. Pick two accent nails per hand so the rest stays simple.
Editor's noteFor a cleaner curve, place a small gel dot on each end of the smile, then connect them with the liner brush.
Watch outAvoid thick white lines - they look opaque and make the nail look wider at the top.
5. Black glossy with a single clear negative-space diagonal
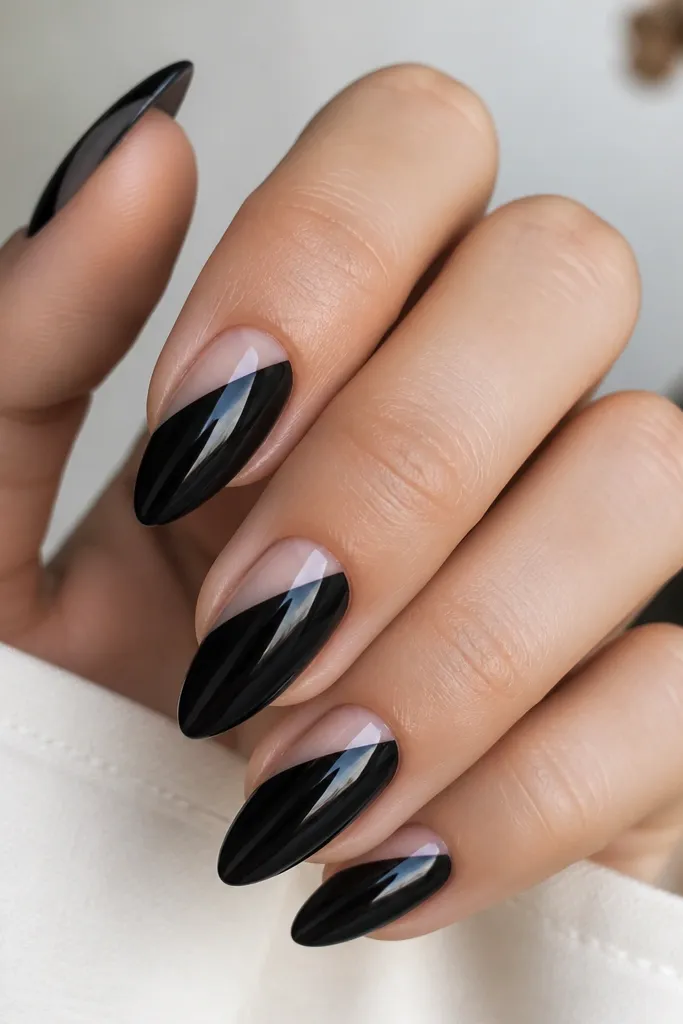
This is the cleanest way I've found to make black look sleek on short stiletto. The negative-space diagonal breaks up the solid color and gives the illusion of extra length. It also hides small imperfections because the clear area draws attention to the design rather than the base.
Paint the black base in two thin coats and cure fully. Use a thin strip of clear tape or a strip of latex-free barrier to mask the diagonal, then apply a clear builder gel over the masked area instead of black. After you remove the mask, cure and top coat over everything.
Editor's noteUse a tape strip with a sharp edge - fuzzy edges make the diagonal look messy.
Watch outDon't rush the masking step - moving tape while paint is wet creates ragged clear lines.
6. Baby pink with a tiny nude ombre near the tip
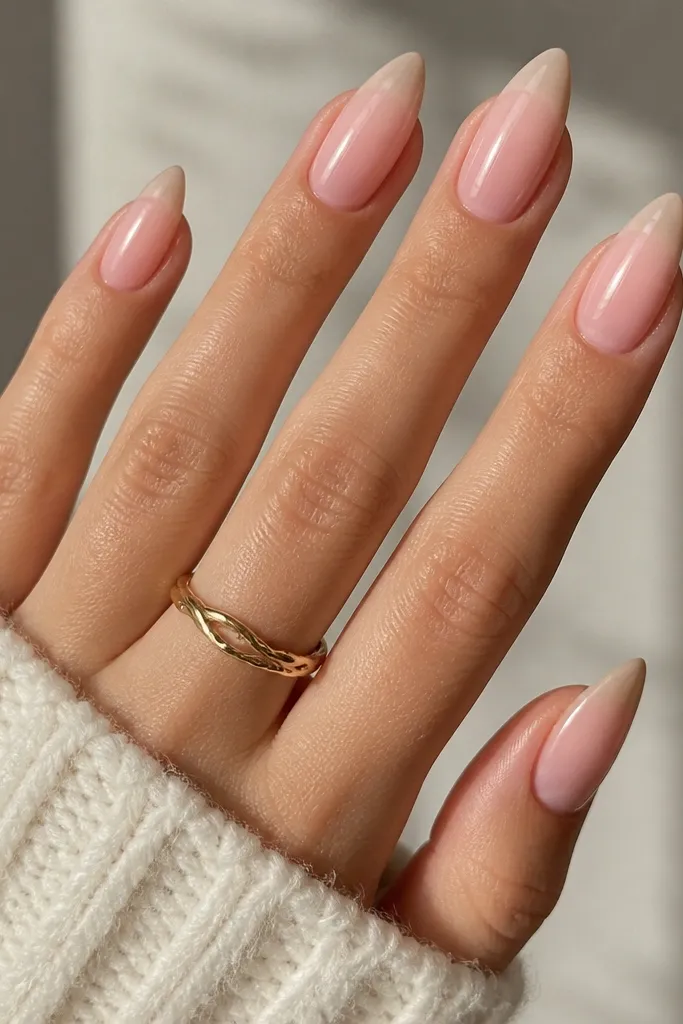
This is soft, wearable ombre on short stiletto. The nude fade at the tip visually smooths the taper, so the point looks refined rather than harsh. It's also forgiving if your filing isn't identical on every nail.
Start with baby pink as a full base. For the ombre, use a nude-beige gel that's only one shade deeper than your skin tone, and blend it from the top third of the tip area downward using a makeup sponge or ombre brush. Keep the ombre area small - about 3-4 mm tall.
Editor's noteWipe your sponge on a paper towel before you dab - too much product makes ombre look cloudy.
Watch outDon't let the ombre reach the cuticle - then it stops looking "short stiletto" and starts looking messy.
7. Icy pearly nude with a single silver foil flake
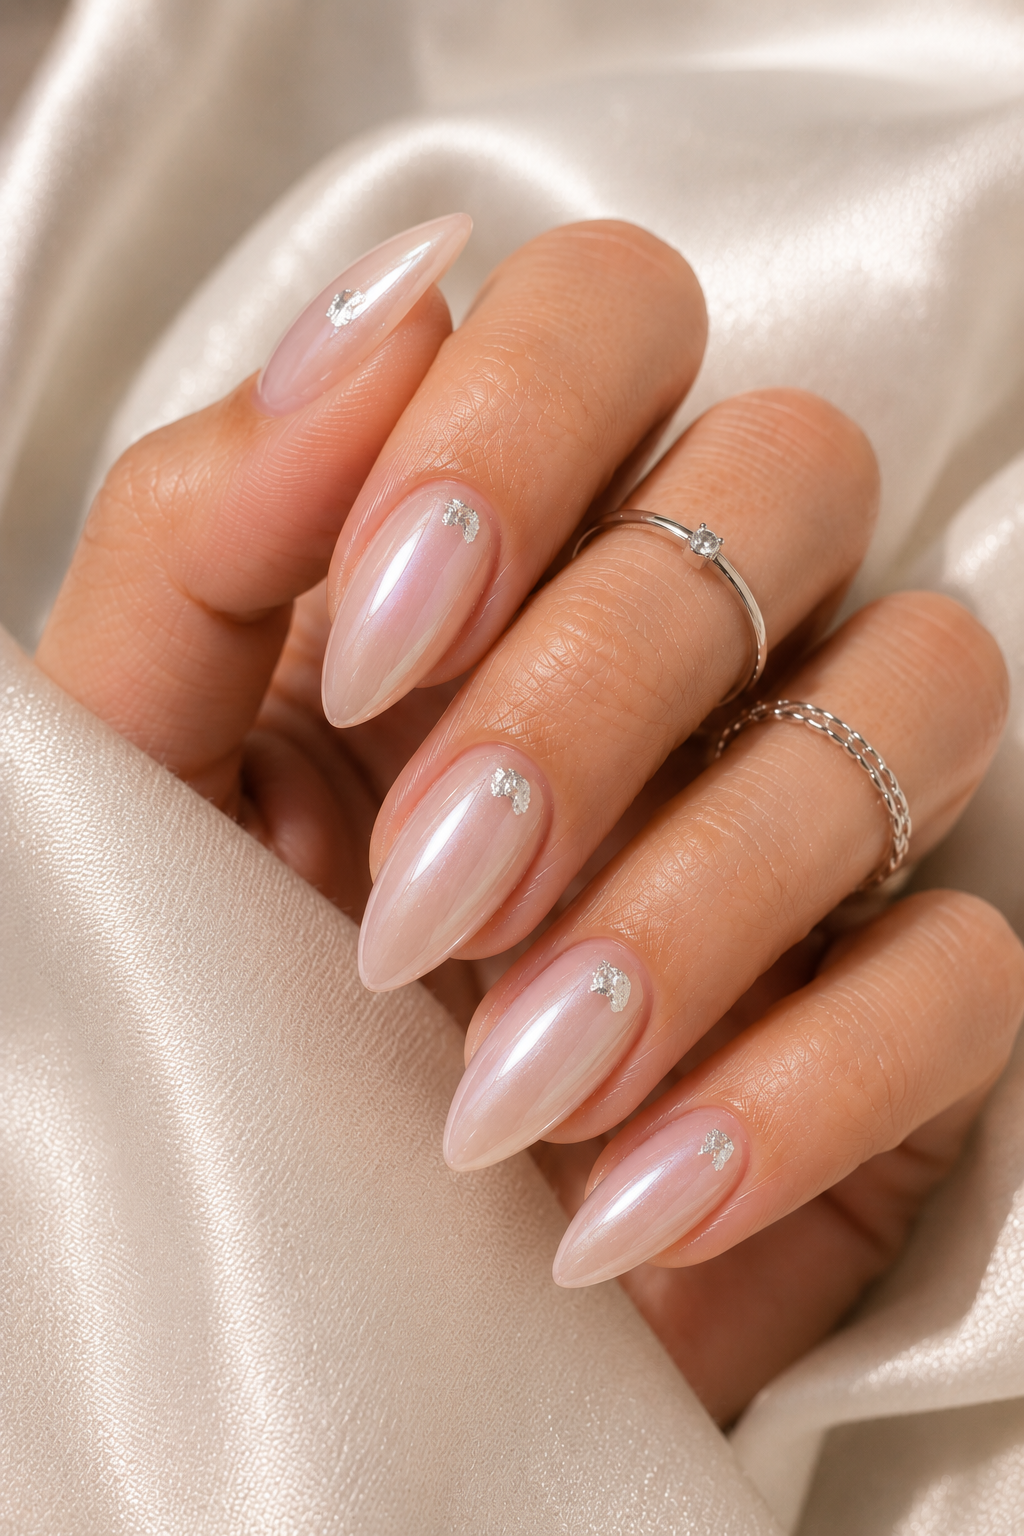
Pearly nude turns short stiletto into something photo-ready without heavy pigment. The silver foil flake is tiny, so it reads like a jewelry accent instead of full foil coverage. Placing it slightly off-center makes the nail look more dimensional.
Use an icy pearly nude acrylic or gel that has visible shimmer particles but still looks sheer. Press a small foil flake into a thin layer of clear gel on one accent nail, then cure. Seal with top coat so the foil doesn't snag on fabric.
Editor's noteIf foil lifts, dab a micro amount of clear gel directly over the edge before curing.
Watch outDon't cover foil with matte top coat - it dulls the sparkle and makes foil look like dust.
8. Red velvet matte with a glossy micro border at the tip
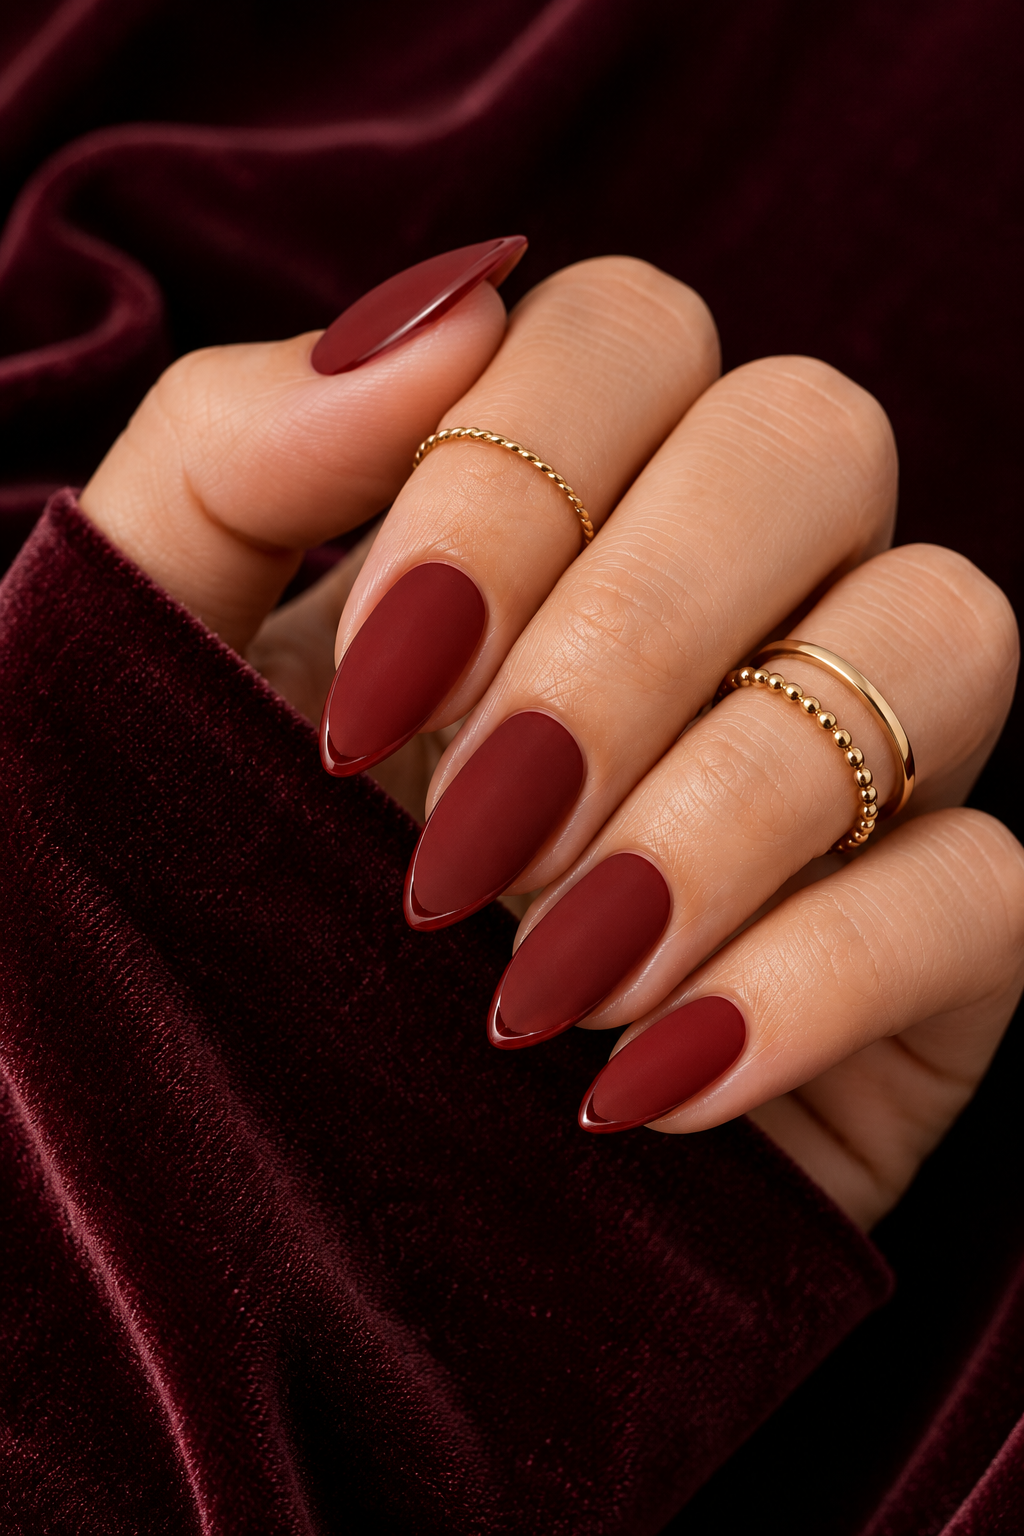
Matte red is dramatic, and short stiletto makes it feel intentional instead of costume-y. The glossy micro border at the tip gives crisp definition and prevents the matte tip from looking rounded. The contrast makes the shape look sharper, especially in sunlight.
Paint deep red gel and cure, then apply matte top coat over the whole nail. After matte cures, use a fine liner brush to paint a 0.5-1 mm glossy top coat line right at the tip edge and cure again. Keep the border straight - it should look like a clean frame.
Editor's noteUse a smaller brush than you think you need - matte makes edges unforgiving.
Watch outDon't add thick glossy lines - they look like paint drips on matte.
9. Nude base with tiny black dot trail along the sidewall
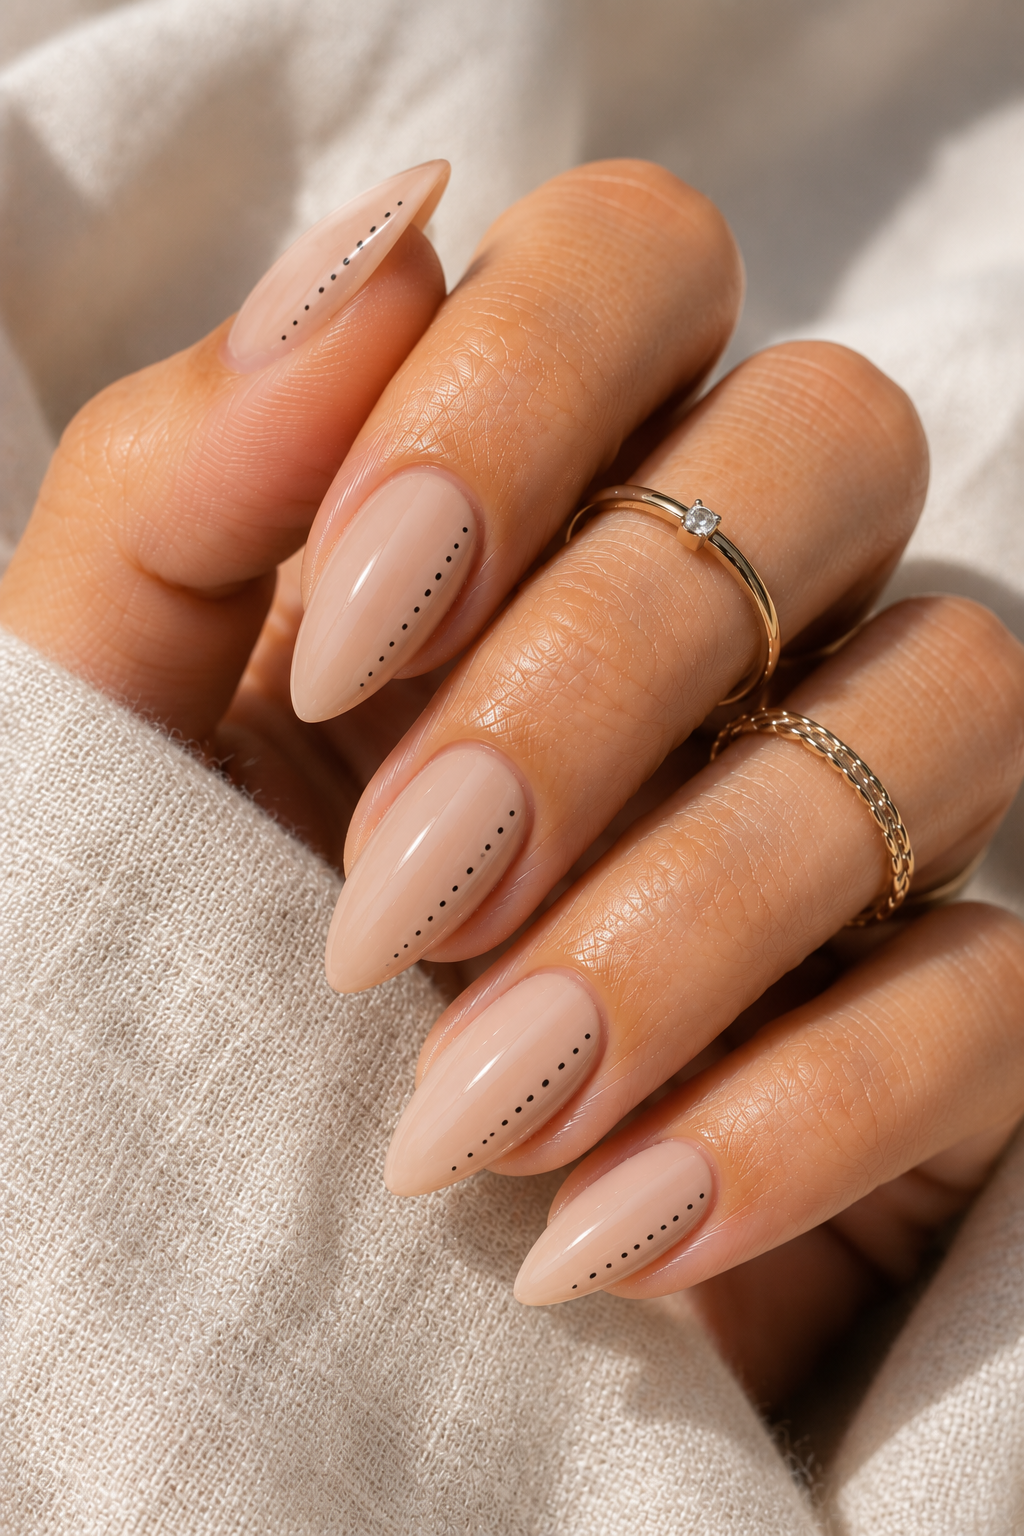
This is one of my favorite "simple but not plain" designs because it's all about placement. The dot trail follows the sidewall and makes the taper look cleaner. Nude keeps it wearable, while black dots add graphic contrast.
Use a nude acrylic that matches your natural nail tone closely. With a dotting tool, place 6-8 tiny dots spaced evenly starting about mid-nail and tapering them slightly smaller as you reach the tip. Cure, then top coat carefully so the dots stay crisp.
Editor's notePress the dot onto a hard surface first (like a ceramic palette) to control dot size.
Watch outDon't let dots touch each other - merged dots look like a smudge.
10. Lavender lilac with a white "V" at the tip
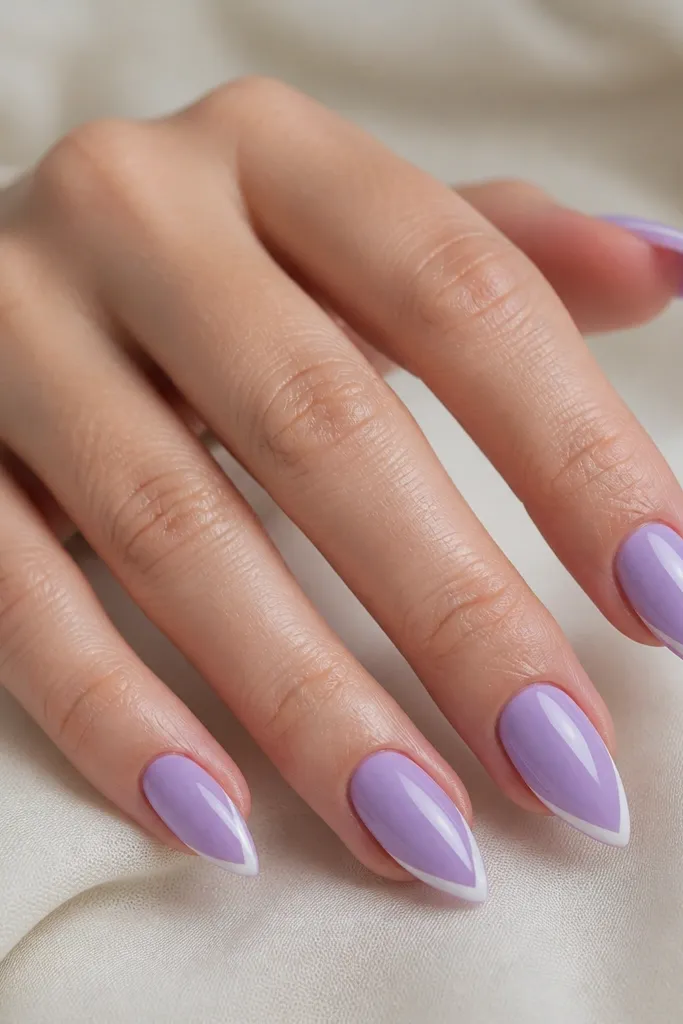
The white V is a stiletto-friendly French twist because it follows the point. Lavender lilac gives a soft cool color that still pops in photos. The V shape keeps attention on the tip without making the whole nail busy.
Paint lavender in two coats for full coverage. For the V, use a striping brush and draw two diagonal lines from each side of the tip toward the center, then connect the bottom with a tiny line. Keep the V height at about 2-3 mm so it stays "short" and neat.
Editor's noteUse nail tape to guide the diagonals - it keeps both sides symmetrical on every nail.
Watch outAvoid V shapes that reach too far down - they make short stiletto look wider at the top.
11. Clear builder gel with rose gold glitter at the tip only
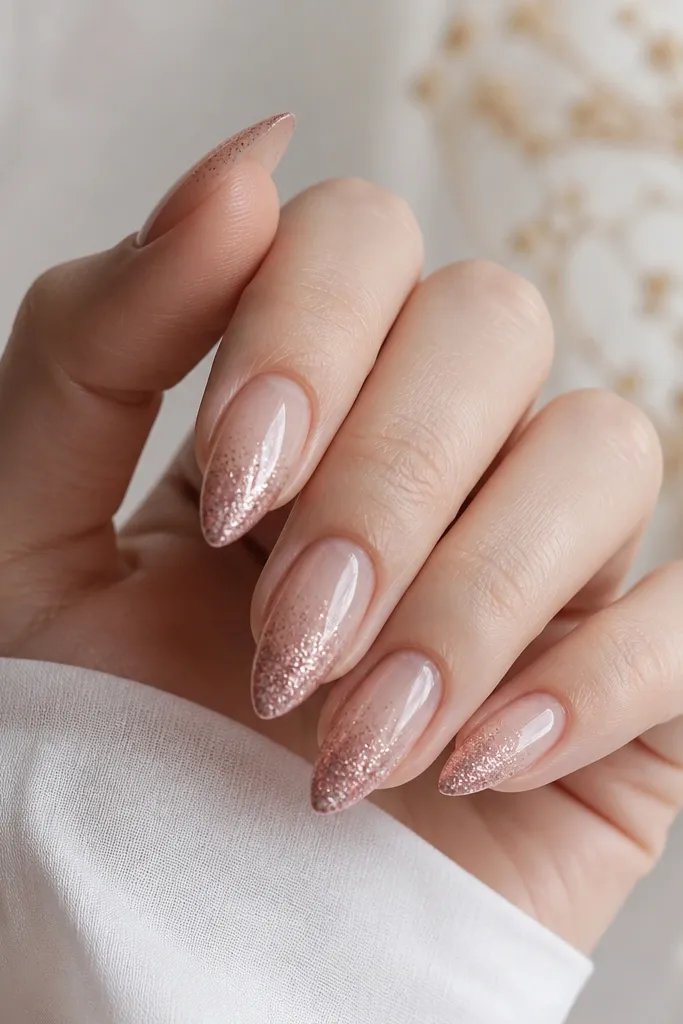
Clear builder gel makes the nail look light and healthy while still showing off the stiletto taper. Rose gold glitter on only the tip makes the point sparkle when you move your hands, not all day everywhere. This is a great "simple short acrylic stiletto nails" option because it looks intentional even with minimal art.
Use a clear or very sheer base so the glitter placement is the star. Apply rose gold glitter gel starting at the top of the tip area and blend upward with a clean brush for a soft fade. Cure, then seal with a thick top coat so glitter doesn't shed.
Editor's notePress a thin layer of clear gel over the glitter before top coat - it smooths the surface.
Watch outDon't leave glitter unsealed - it catches on hair and lifts faster.
12. Warm caramel nude with a glossy curved half-moon near cuticle
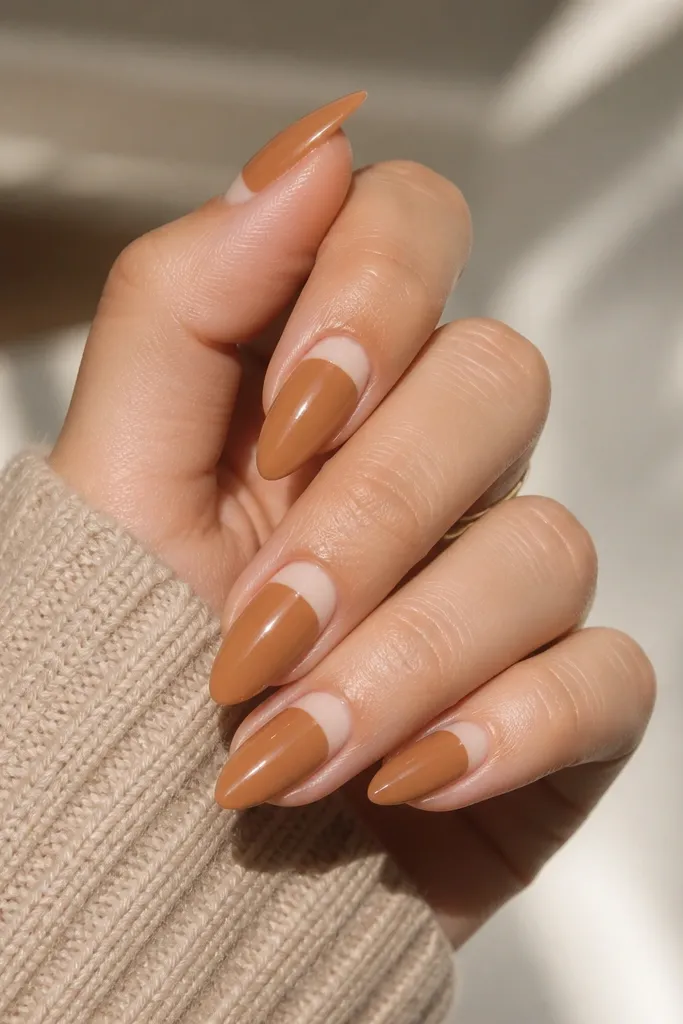
This gives you a "natural manicure" vibe but with design that reads clean on stiletto. The half-moon near the cuticle keeps the look simple while adding a highlight effect. Warm caramel shades photograph beautifully and hide minor filing differences.
Paint the full nail in warm caramel nude. For the half-moon, use a slightly lighter shade (or white-gold cream gel diluted with clear) and draw a soft arc that follows the cuticle curve. Keep the arc thickness thin - about 1 mm - and cure before top coat.
Editor's noteIf your half-moon looks shaky, paint it with gel on a thin brush and clean edges with a liner brush dipped in cleanser.
Watch outDon't make the half-moon too big - large arcs can make nails look shorter than they are.
13. Ocean teal with a single white wave line
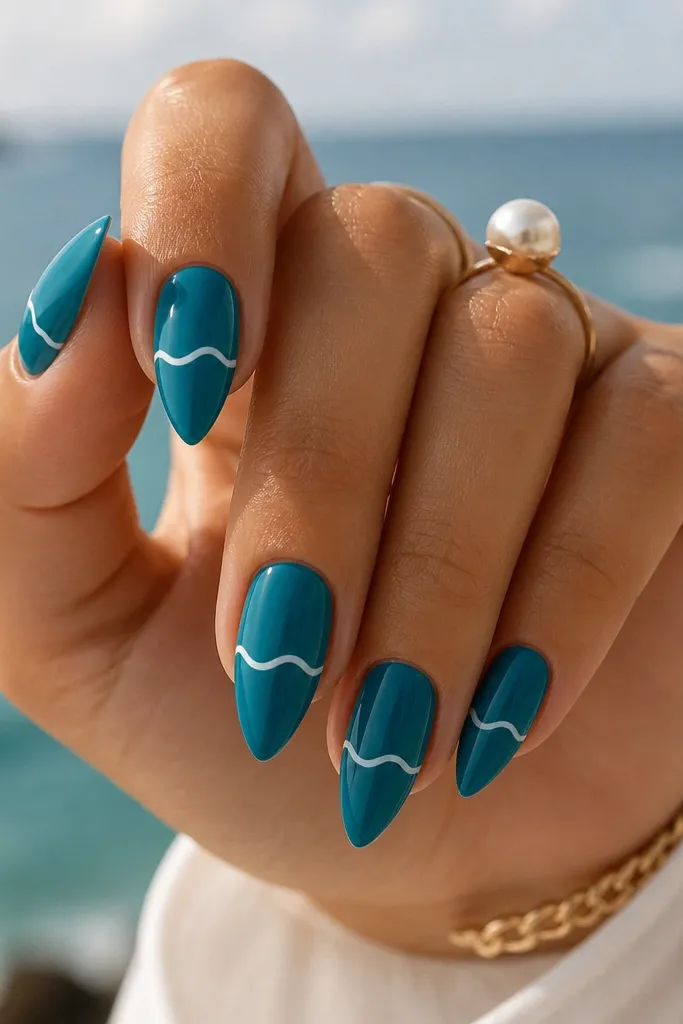
Ocean teal is crisp and modern, and the white wave line adds movement without turning into a full beach scene. Short stiletto makes the wave line feel graphic, like a design on a poster. Keep the line thin so the nail still reads sleek.
Apply ocean teal gel in two coats. Place the wave line about mid-nail, spanning roughly 60-70% of the width. Use a striping brush and draw a single smooth wave, then cure and top coat.
Editor's noteMake one perfect wave on a practice nail first - your second attempt will match the rhythm.
Watch outSkip multiple wave lines - two or three lines look crowded on short nails.
14. Matte nude with a thin metallic copper stripe down the center
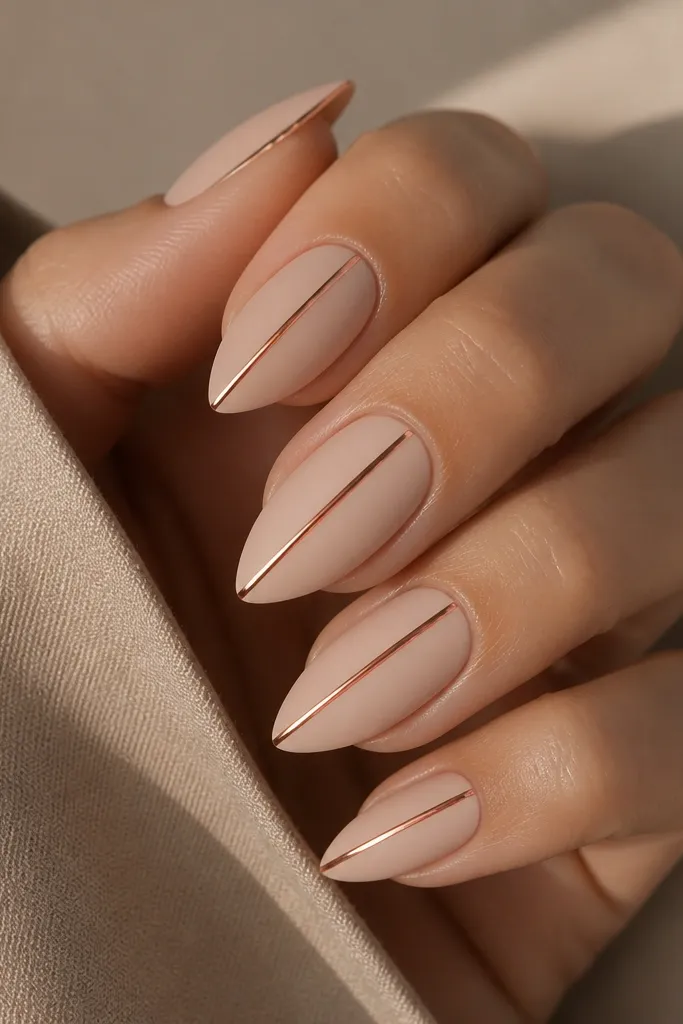
Matte nude is my go-to base when I want the shape to look soft and grown-up. The copper stripe adds warmth and keeps the design minimal. A straight center stripe makes short stiletto look longer because it creates a vertical line.
Paint matte nude and cure, then apply matte top coat. Use metallic copper striping gel and a fine liner brush to draw one straight stripe from just above the tip start to near the cuticle, leaving a 1-2 mm gap. Cure and top coat only over the stripe edges if you want it extra shiny.
Editor's noteIf copper looks patchy, apply two thin stripe coats instead of one thick coat.
Watch outDon't let the stripe touch the skin - it turns into a smudge zone fast.
15. Classic nude French with a micro pearl at the tip
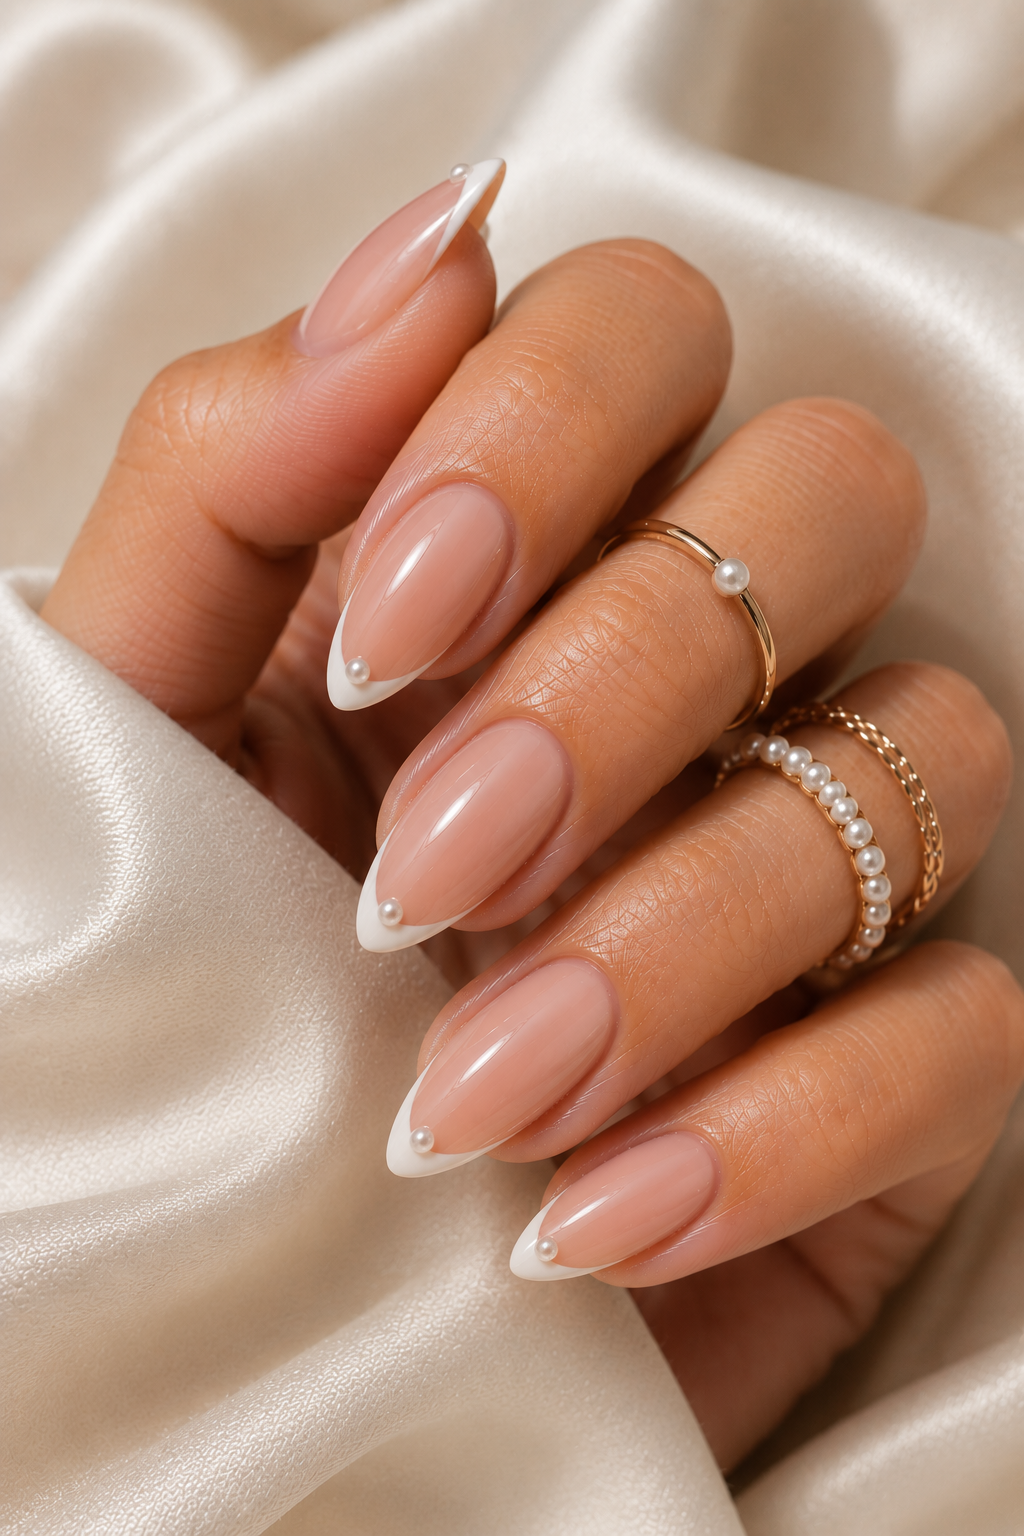
This is the "simple" version of pearl nails that still looks fancy. The nude French keeps it clean, and one micro pearl at the tip makes the point feel special. The key is tiny size - large pearls look heavy on short stiletto.
Build a nude base, then paint a classic French tip in a creamy white. Place one micro pearl (size 1.0-1.3 mm) at the center of each tip onto a small dot of gel adhesive, then cure. Seal around the pearl with clear gel so it doesn't snag.
Editor's noteUse a top coat that stays slightly flexible - pearls crack if the top coat is too hard.
Watch outDon't place pearls too close to the sidewalls - they pop off when nails hit things.