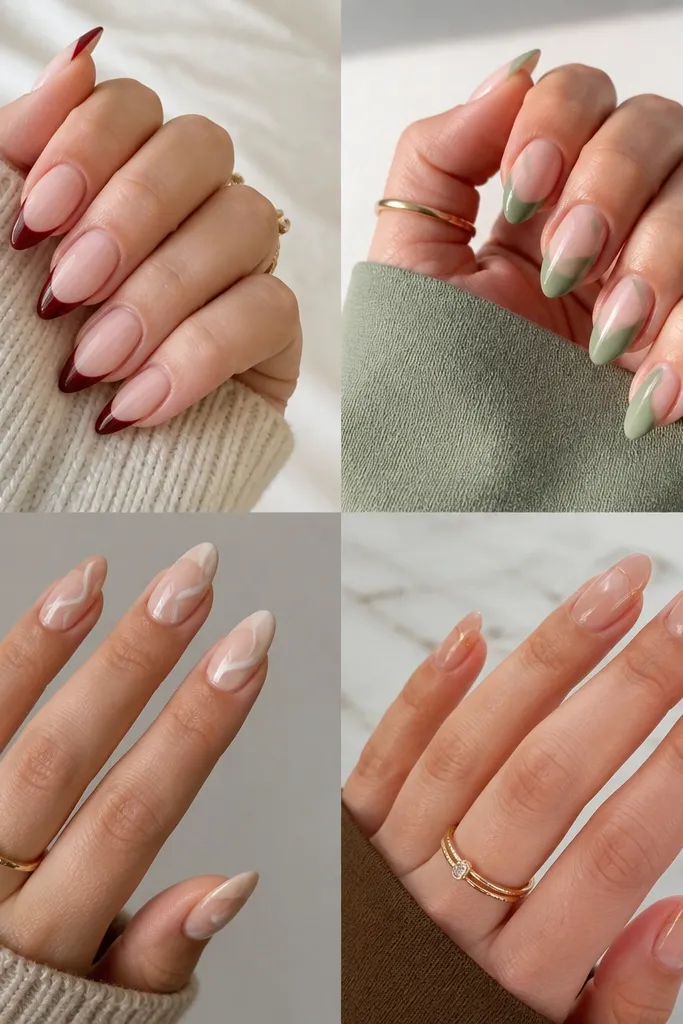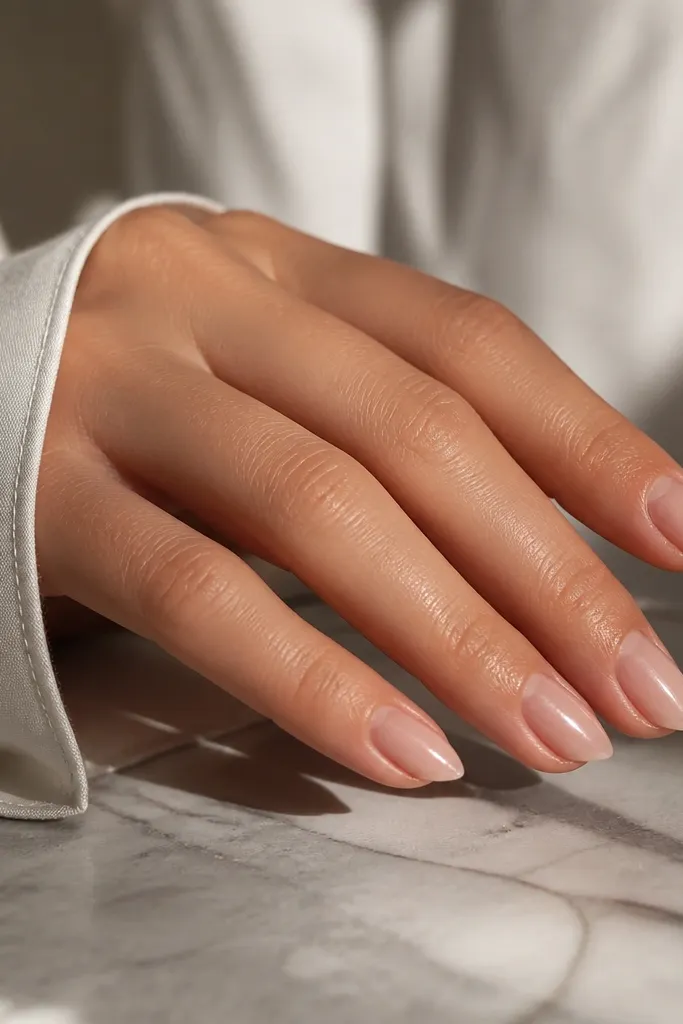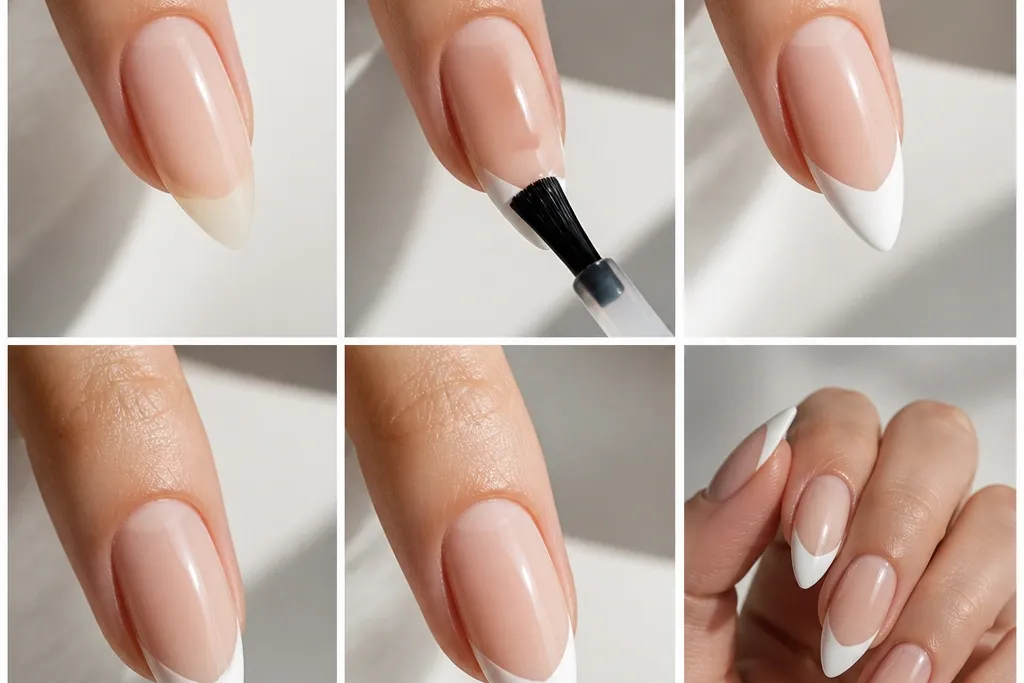
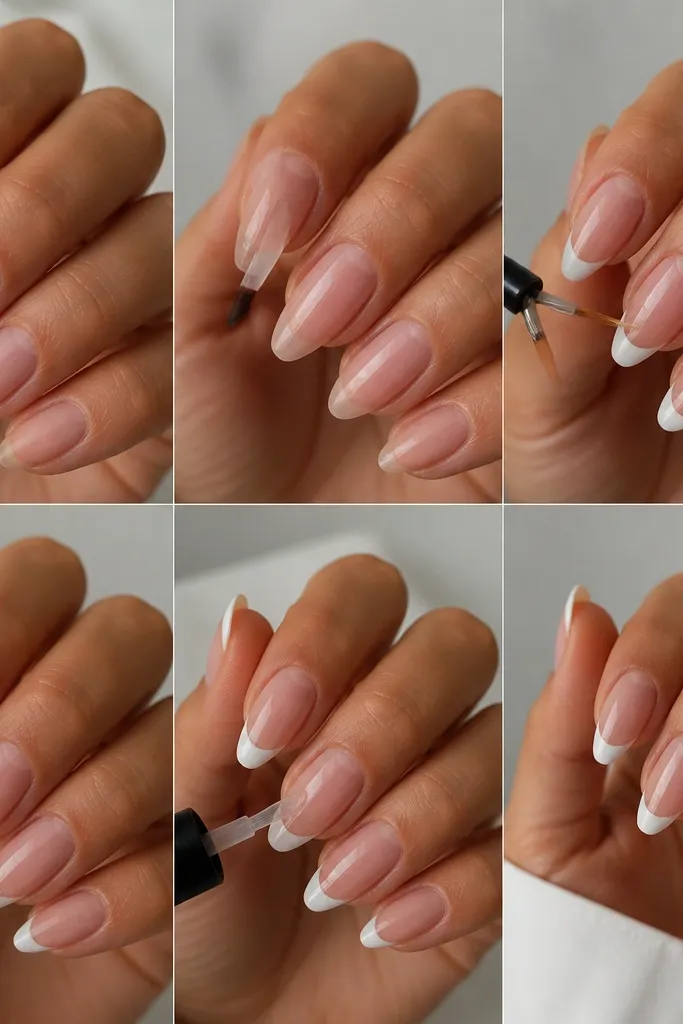
1. Classic thin French on a sheer blush base
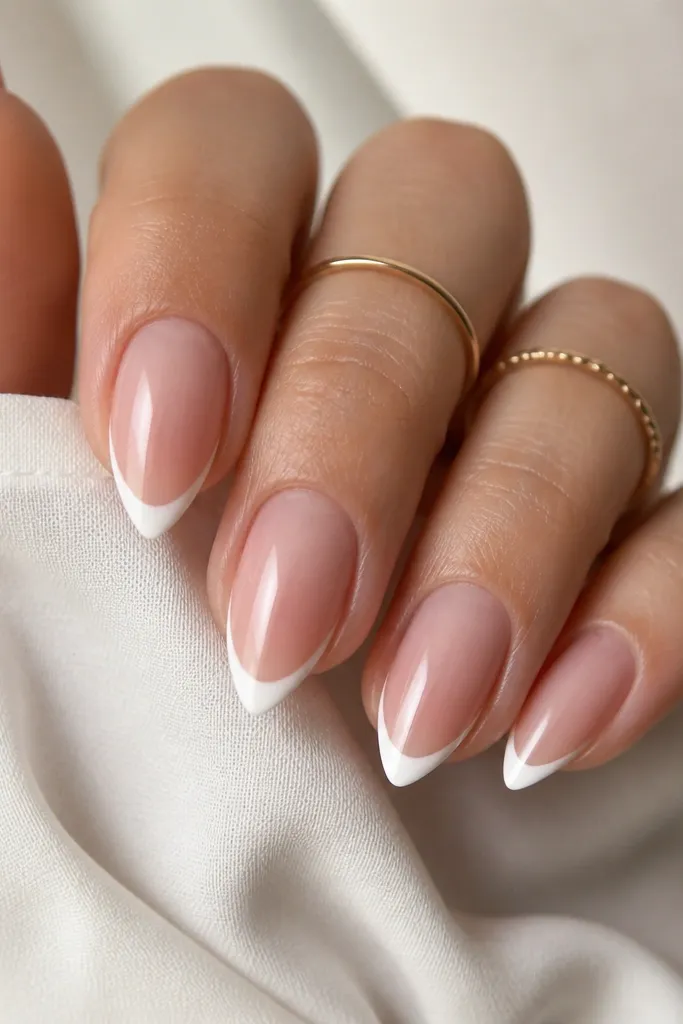
This is the version that looks expensive without trying. The sheer blush makes the white tip read clean and bright, and the thin line keeps the short stiletto feeling long. I use creamy white gel instead of stark white because it blends with the pink base better.
Keep the French width around 2 mm from the free edge. Cure in thin coats so the white stays smooth and doesn't look streaky on the narrow tip.
Editor's noteAfter you paint the white, run a brush along the sidewalls with a tiny amount of base gel to sharpen the edge.
Watch outDon't widen the French to cover the whole free edge - it makes short stiletto look stubby.
2. Micro French with a pointed center notch
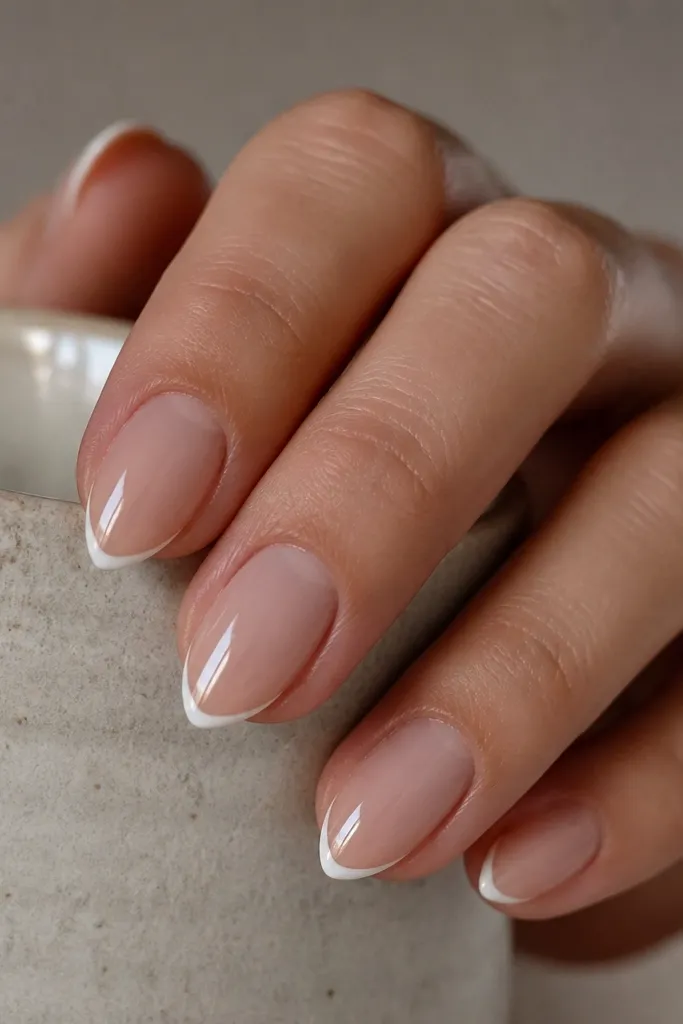
The tiny French line makes your nail look extra precise. The center notch trick gives the tip a custom, "tailored" look instead of a straight smile. It's flattering on shorter lengths because it adds shape without adding bulk.
Paint the white as a thin stripe, then add a tiny inward dip at the center using the tip of your liner brush. Keep everything under 2 mm wide so the notch doesn't look like a mistake.
Editor's noteStabilize your hand by resting your pinky on the table while you place the notch.
Watch outDon't make the notch too deep - it turns into a gap instead of a shaped smile.
3. Off-white French with a nude mauve base
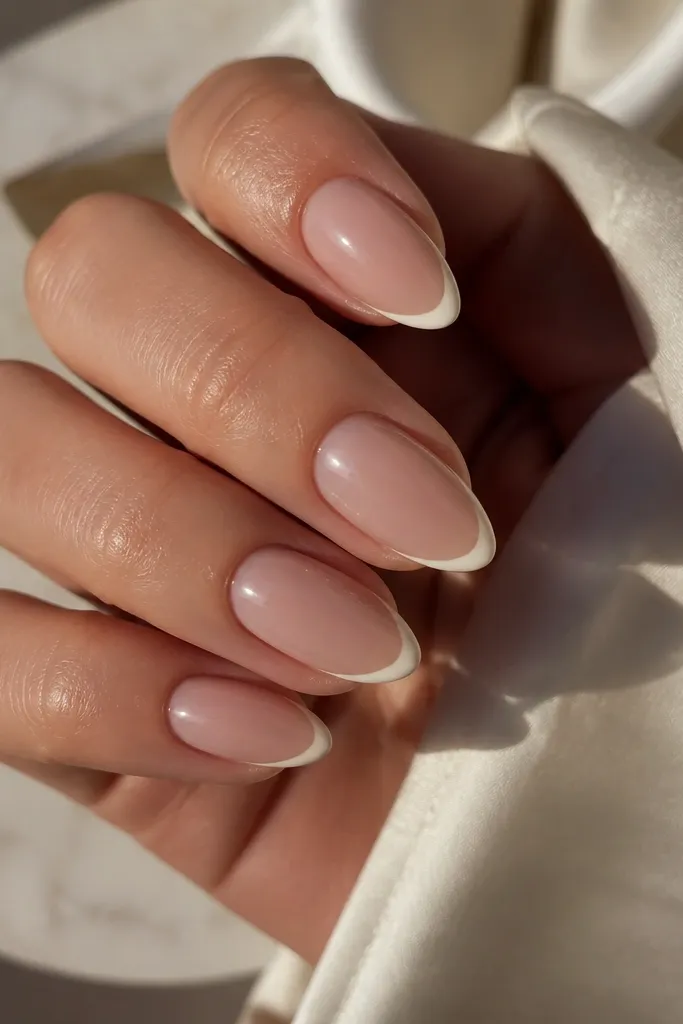
Off-white is my go-to when pure white looks chalky. The mauve nude anchors the look and makes the French feel soft and wearable. This combo also hides tiny imperfections in the base because the undertone matches.
Use a nude mauve jelly or sheer polish as the base, then paint the French with a creamy ivory gel. Keep the line tight and clean - the warmth does the rest.
Editor's noteIf your base is cool-toned, pick a whiter ivory; if it's warm, pick a creamier shade.
Watch outAvoid using bright optical white over a warm nude - it can look mismatched.
4. Reverse French with a white inner curve
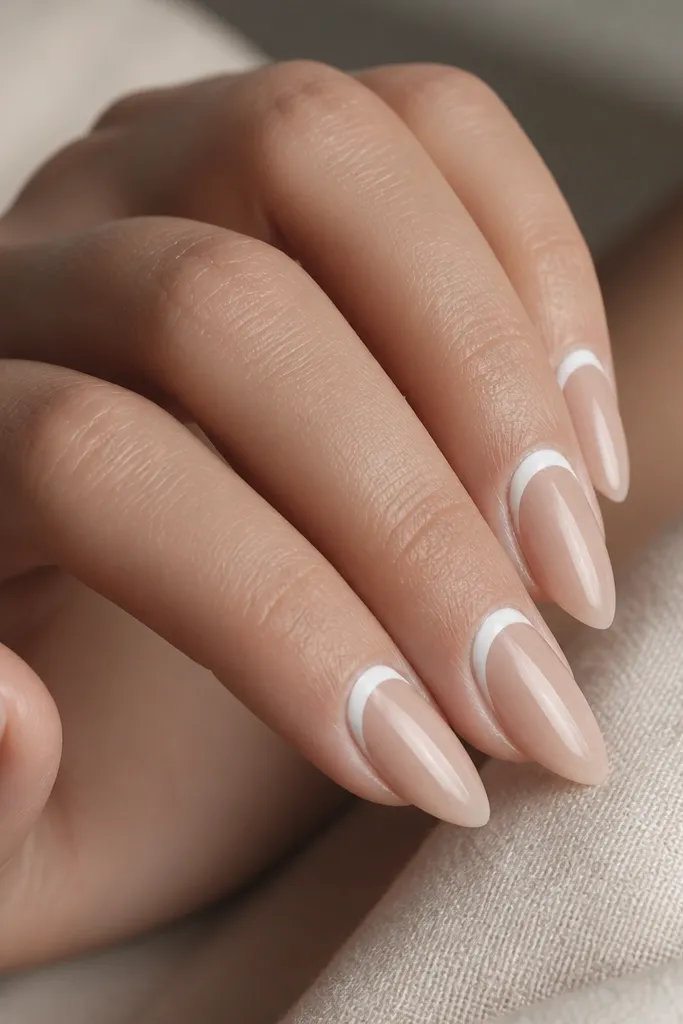
Reverse French makes short stiletto look sharp without covering the free edge. The inner curve frames your nail bed and makes the center area look longer. It also looks great when your tips get wear first, because the design sits near the cuticle.
Paint a thin white line starting at one side of the nail near the cuticle, then curve it toward the center. Leave a small gap from the cuticle to keep it clean, then cap with top coat.
Editor's noteUse striping tape as a guide for the inner curve so both hands match.
Watch outDon't paint too close to the cuticle - it lifts faster and looks messy.
5. French tip with a thin silver outline
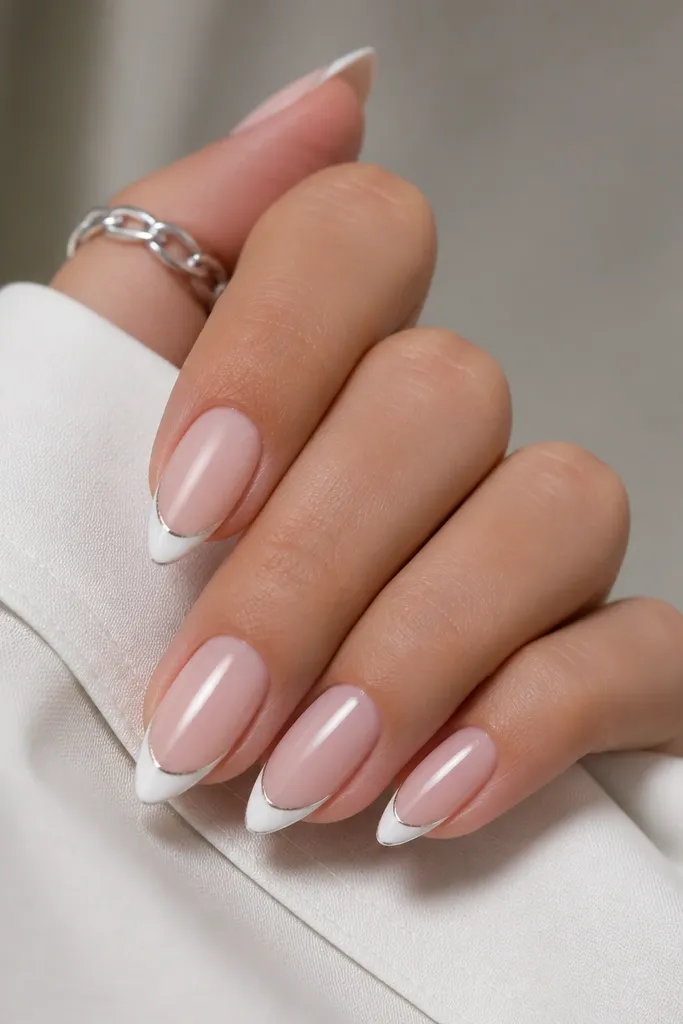
This is the "party but still neat" option. The silver outline makes the French tip look sharper and adds dimension without filling space. I like it on short stiletto because it emphasizes the point instead of spreading the tip.
Paint your white French first, then cure. Use a thin striping gel and a micro liner brush to trace the top edge of the white, then cure again before top coat.
Editor's noteKeep the silver line about half the thickness of the white stripe so it doesn't overpower.
Watch outDon't flood metallic gel - it spreads and blurs the outline after curing.
6. Half-moon French blend (white fades into nude)
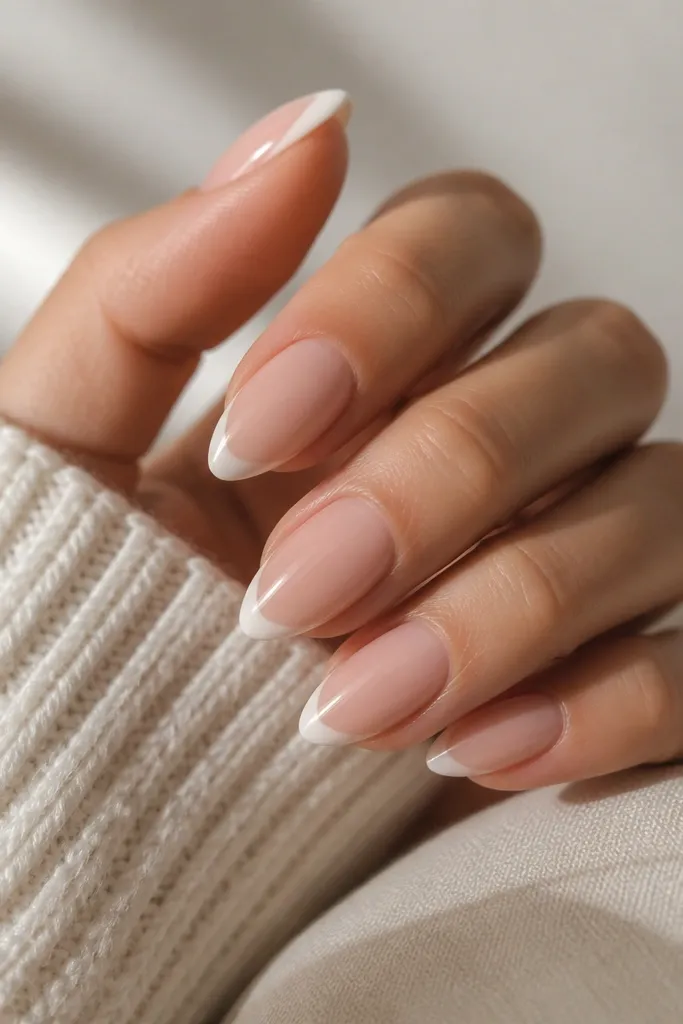
This style softens the hard line of French tips. The fade makes short stiletto look less "painted" and more like a smooth nail art finish. It's also forgiving if your white application isn't perfectly even.
Use a tiny makeup sponge to dab white gel at the corners and drag it slightly toward the center. Cure, then add a second thin layer if you need more opacity.
Editor's noteWipe your sponge between nails with alcohol so you don't pick up too much white.
Watch outDon't try to blend with thick gel - it creates bubbles and a chalky texture.
7. Matte French with glossy tip edge
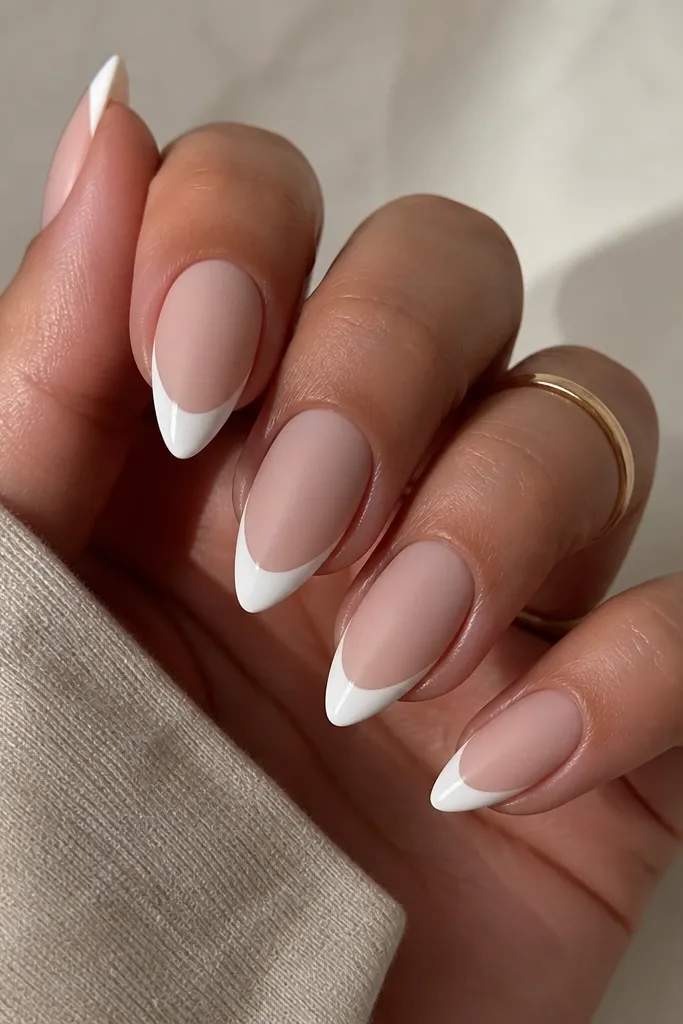
Matte French looks modern and hides tiny filing marks. Adding one glossy edge line gives you a crisp boundary so the nail doesn't look flat. It's a great option if your nails get smudged easily because matte finishes show fingerprints less.
Paint and cure your French tip first, then apply matte top coat over everything except the boundary line. Use a striping brush to paint a thin clear gloss line right along the edge, then cure.
Editor's noteTest the matte top coat on one nail first - some brands make white look slightly gray.
Watch outDon't apply matte top coat too thick on the tip edge - it can dull the point.
8. French with tiny heart cutouts at the center
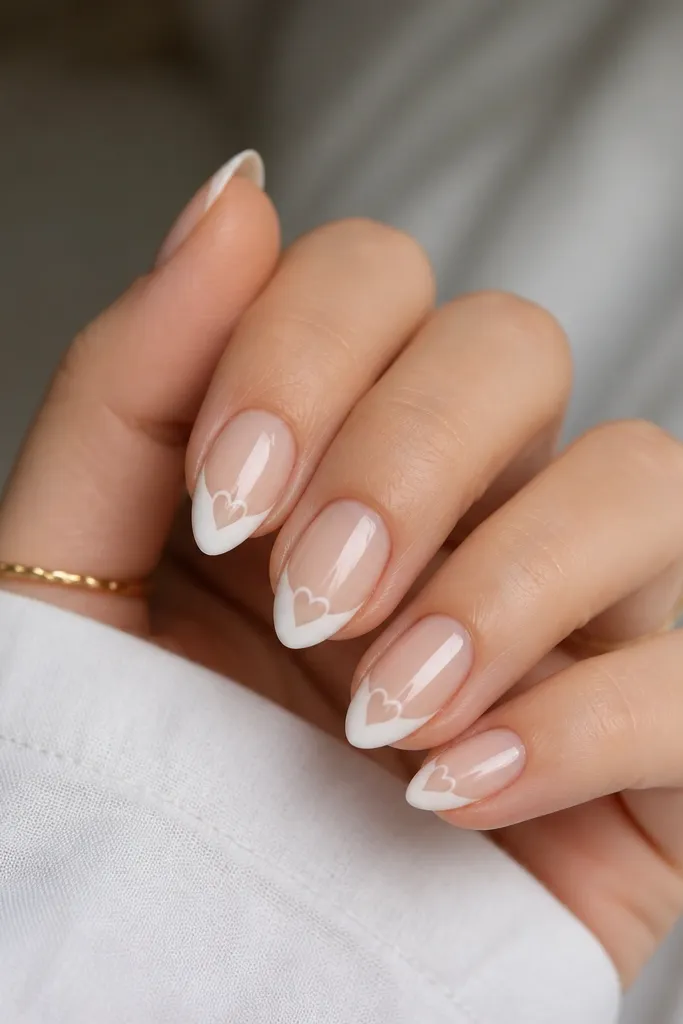
This is cute without going full 3D. The negative-space heart keeps the design light, and the white tip still reads clean. It looks best on short stiletto because the heart sits in the narrow center where it's easy to see.
Paint your French tip, cure, then use a small dotting tool to mark the heart points. Remove a tiny amount of white with a cleanup brush dipped in alcohol, then seal with top coat.
Editor's noteUse a heart stamp or a metal heart hole punch on a practice nail first for consistent size.
Watch outDon't make the heart too big - it ruins the clean French shape.
9. Ombre French tip (white-to-clear fade)
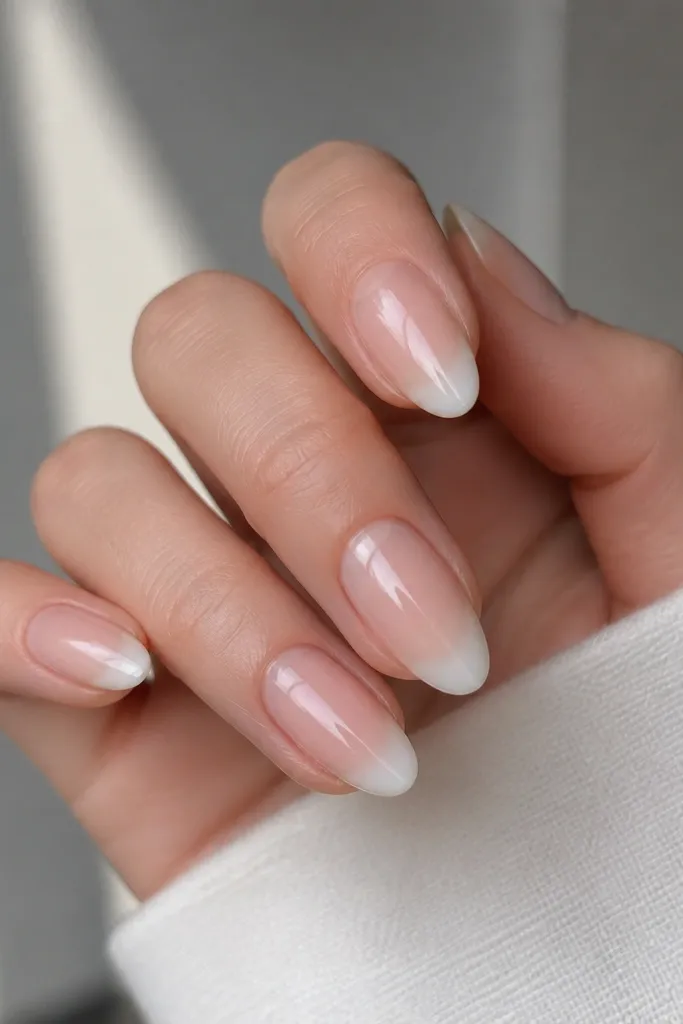
This looks like a softer French that still has structure. The fade keeps the tip from looking like a sticker, and it helps your nails grow out because the transition is natural. I use it when my cuticle area needs a little extra camouflage.
Apply white gel at the outer edge and blend inward with a clean brush. Leave the center more translucent, then cure. Follow with top coat to smooth the fade.
Editor's noteBlend with a barely damp brush, not a wet one, or the gel lifts and streaks.
Watch outAvoid over-layering white - too many coats make the fade disappear.
10. Press-on short stiletto French with a DIY crisp edge
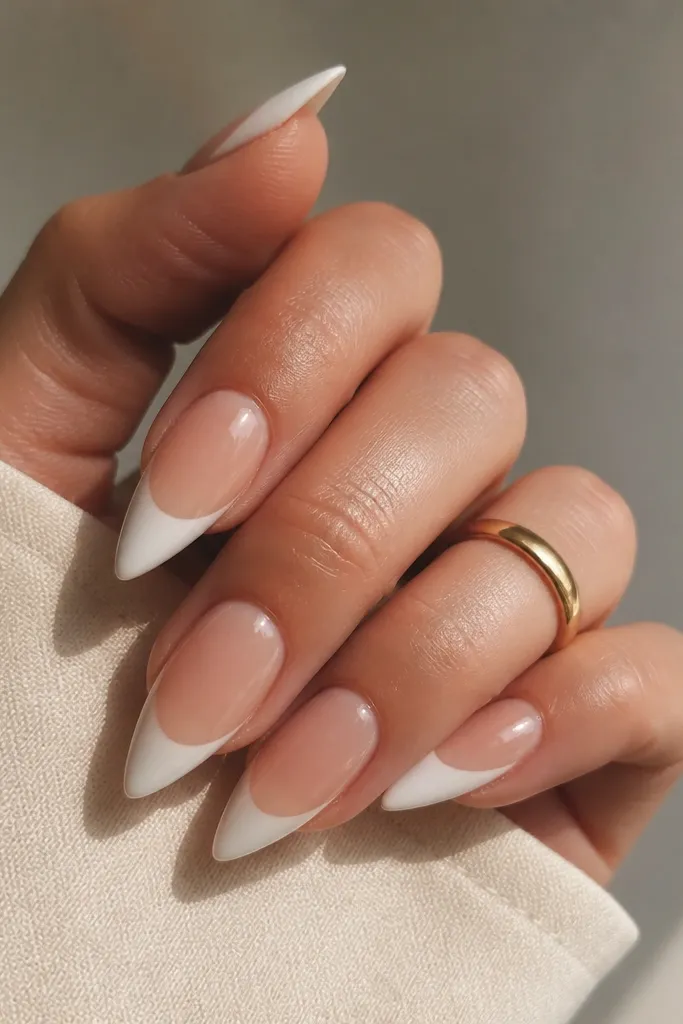
Press-ons get you the shape fast, but the factory edges can look thick. Refining the French edge with gel makes them look custom. This is the quickest way I've found to get sharp short stiletto tips without building or sculpting.
Rough up the press-on surface lightly, then use gel to trace and sharpen the French border. Cure, then cap with top coat so the edges don't peel.
Editor's noteUse nail glue sparingly - too much glue forces the press-on to lift at the smile line.
Watch outDon't skip a light buff on the press-on - gel won't grip and the French border chips.