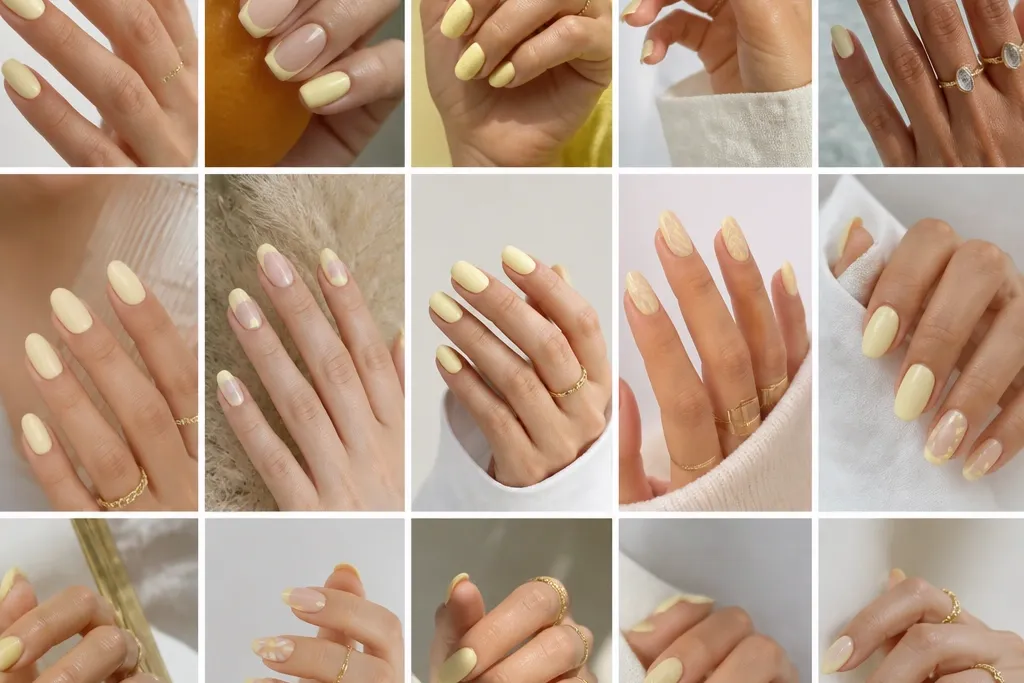
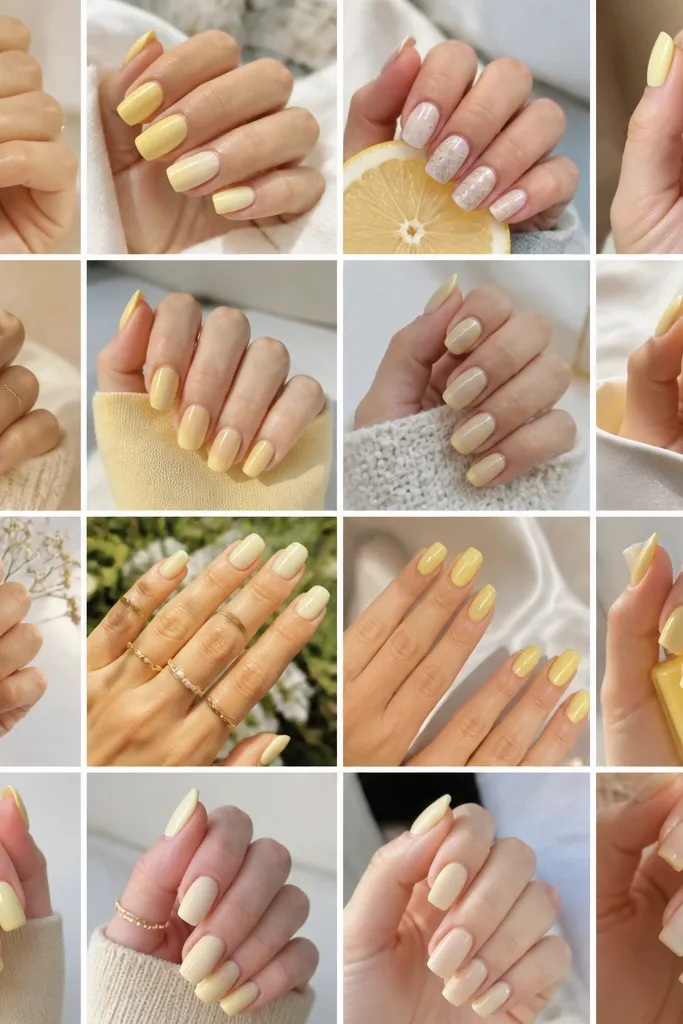
1. Creamy butter solid with glossy top
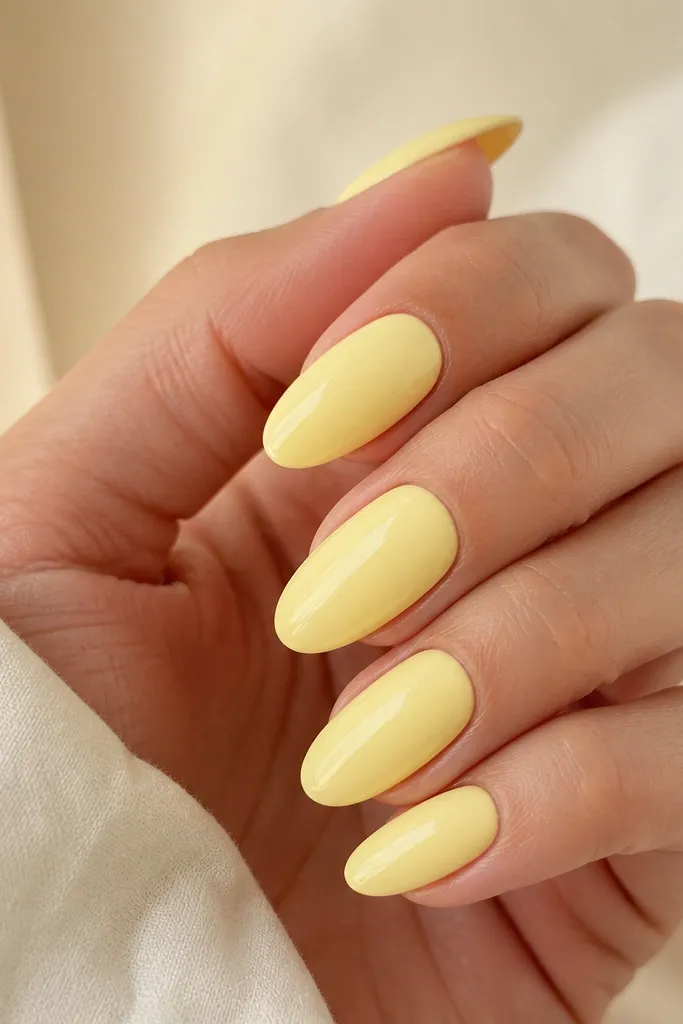
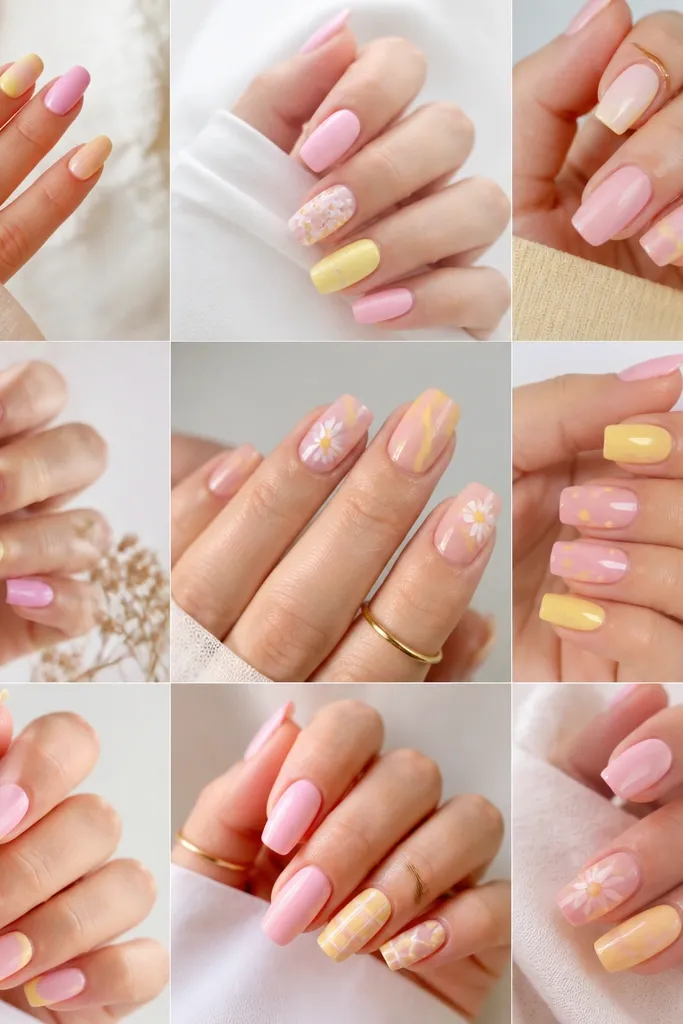
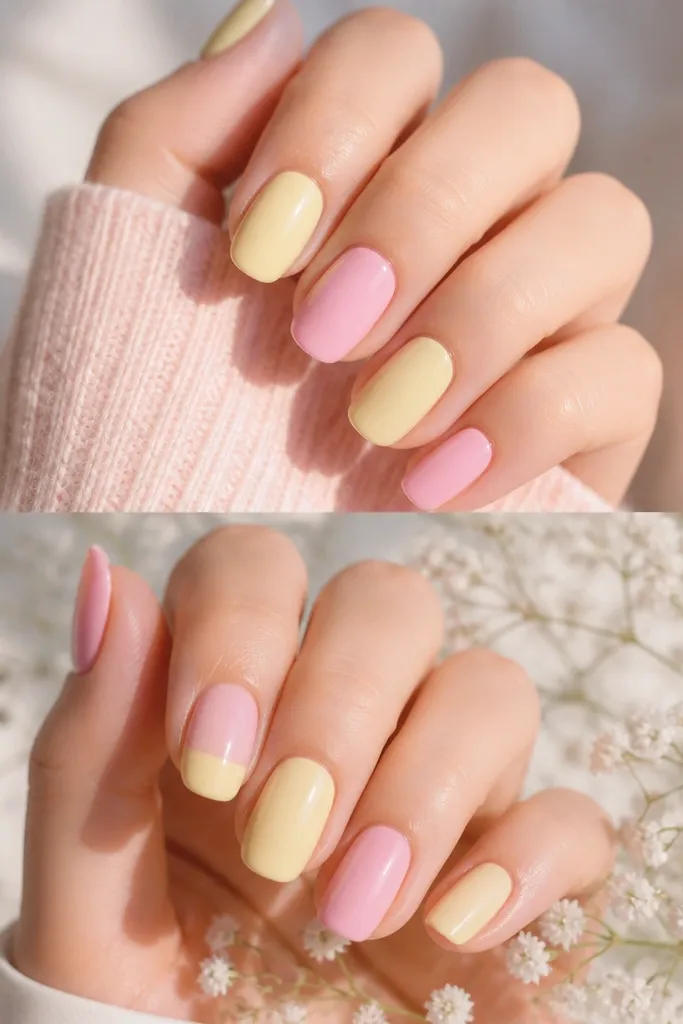
This is the easiest "summer ready" look because the color is soft enough to flatter every outfit. I use a buttery light yellow that leans slightly cream, not bright lemon, so it doesn't look harsh against skin. Glossy top coat makes it look like a gel manicure even if the polish is regular.
Go for a medium-opaque polish that reaches full coverage in two thin coats. Keep the cuticle gap clean - about the width of a match head. This works best on short to medium lengths; long nails can look too pastel unless your yellow is slightly warmer.
Editor's noteAfter the second coat, wait 2 minutes and gently check each nail under a bright desk lamp for any streaks before you top coat.
Watch outAvoid thick coats - they create ripples that show through light yellow.
2. Sheer butter wash with milky glow
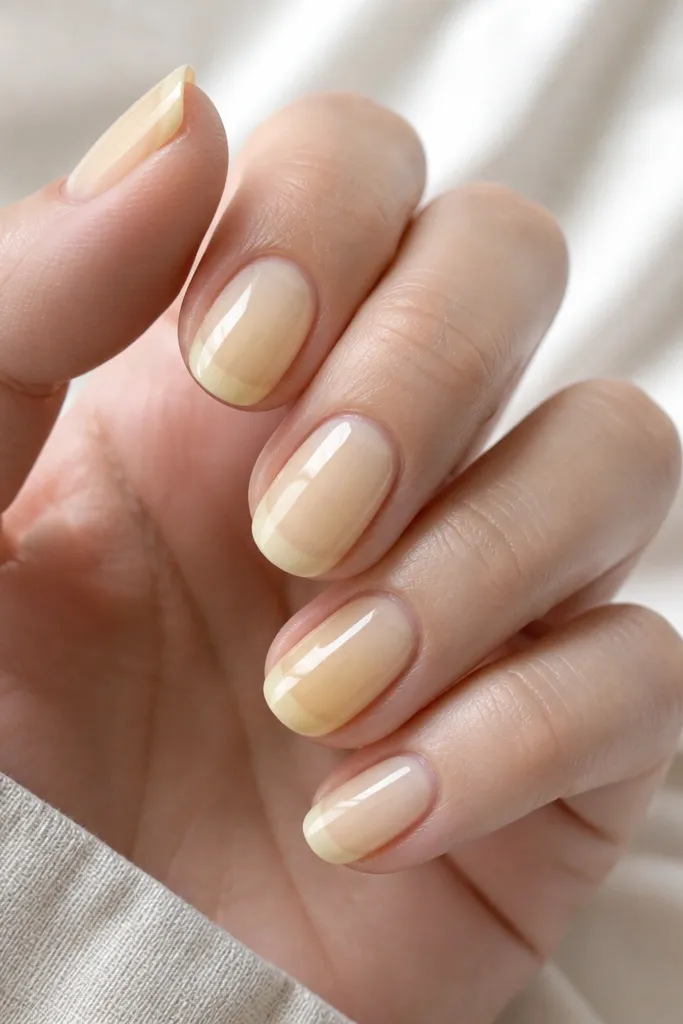
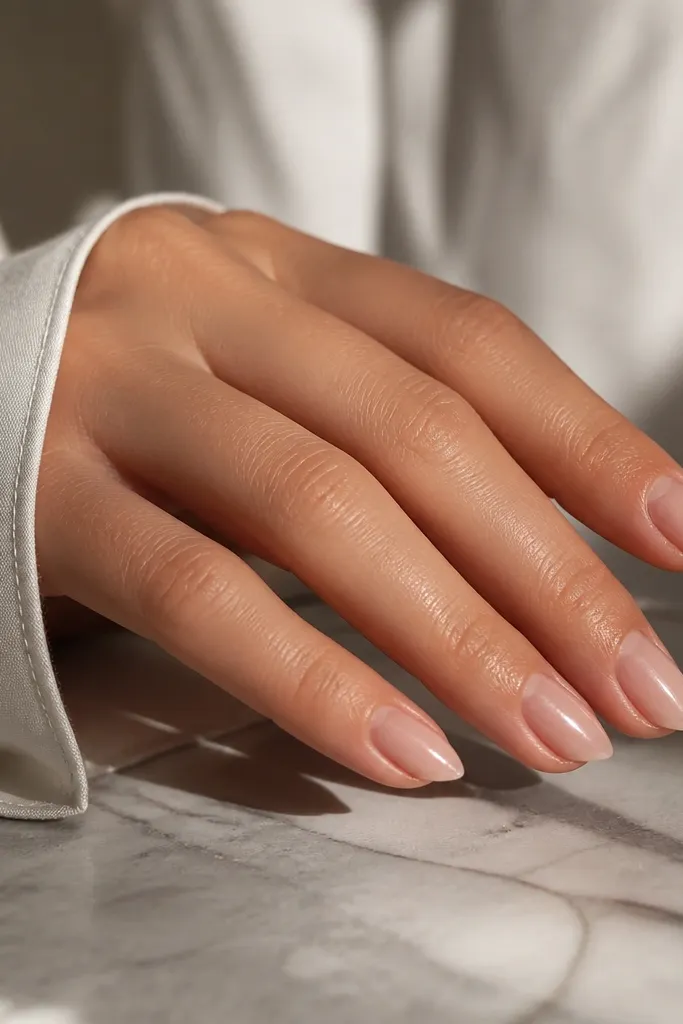
A sheer wash gives you that "my nails but better" look and grows out gracefully. The trick is choosing a light yellow that's more milky than opaque, so it blends instead of patching. It also looks great if you bite your nails sometimes because it hides tiny unevenness.
Use a base coat, then one thin coat of sheer yellow. If you want more color, add a second coat only in the center and blend outward with the brush tip. This looks best on oval nails and pairs well with minimal jewelry.
Editor's noteFor a smooth finish, wipe the brush on the inside of the bottle before painting so the coat stays thin.
Watch outDon't chase full opacity in one coat - sheer yellow looks best when it stays airy.
3. Micro dot accent on a single nail
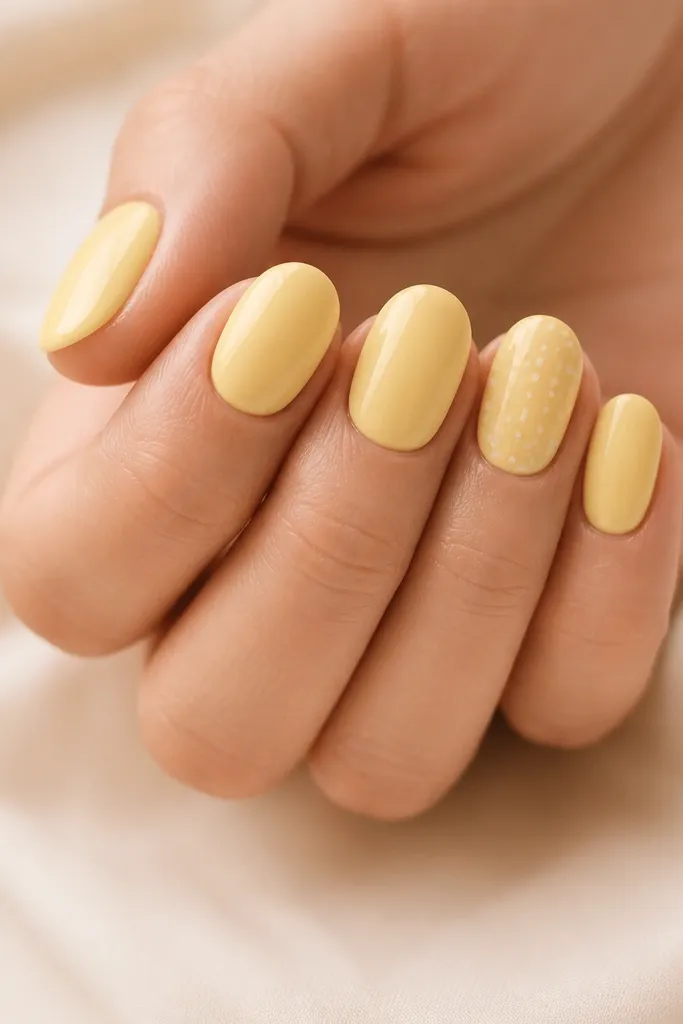
Micro dots look playful but still classy because they're small and controlled. White dots on light yellow create a crisp contrast without turning the design loud. I like placing them near the cuticle - it makes the nail look longer and cleaner.
Paint all nails light yellow first. On the accent nail, use a dotting tool to place 6-10 tiny white dots in a loose arc. Seal with top coat, and don't flood over the dots - just enough to smooth the surface.
Editor's noteIf your dot tool is too big, touch it to the polish cap to "thin" the paint before stamping the nail.
Watch outAvoid big dots - they look clunky on pastel backgrounds.
4. French tips in pastel lemon line
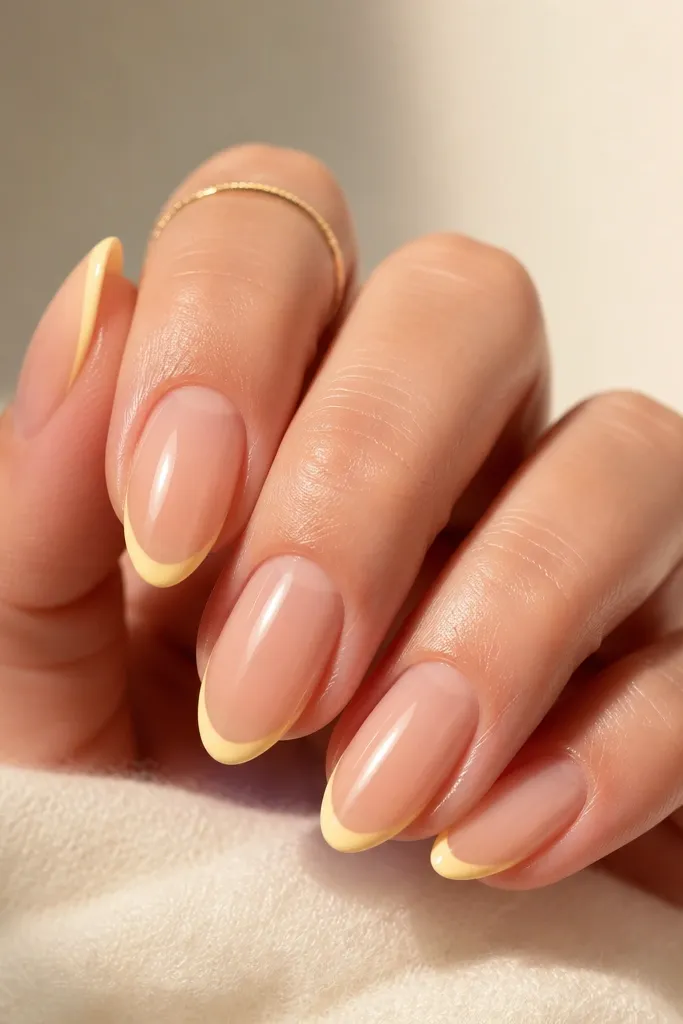
Thin French tips make light yellow feel polished instead of childish. Using a pastel lemon shade keeps it summery but not neon. The contrast between the base and the tip makes your nail shape look sharp.
Start with a sheer pink or milky nude base. Apply nail tape guides or use a French tip stencil, then paint the light yellow tips. Remove tape while the polish is still slightly tacky so the edge stays clean.
Editor's noteMake the tip width about 1/8 of the nail width so it stays delicate on short nails.
Watch outDon't make the tips too thick - thick yellow tips look heavy and cheap.
5. Reverse French half-moon in light yellow
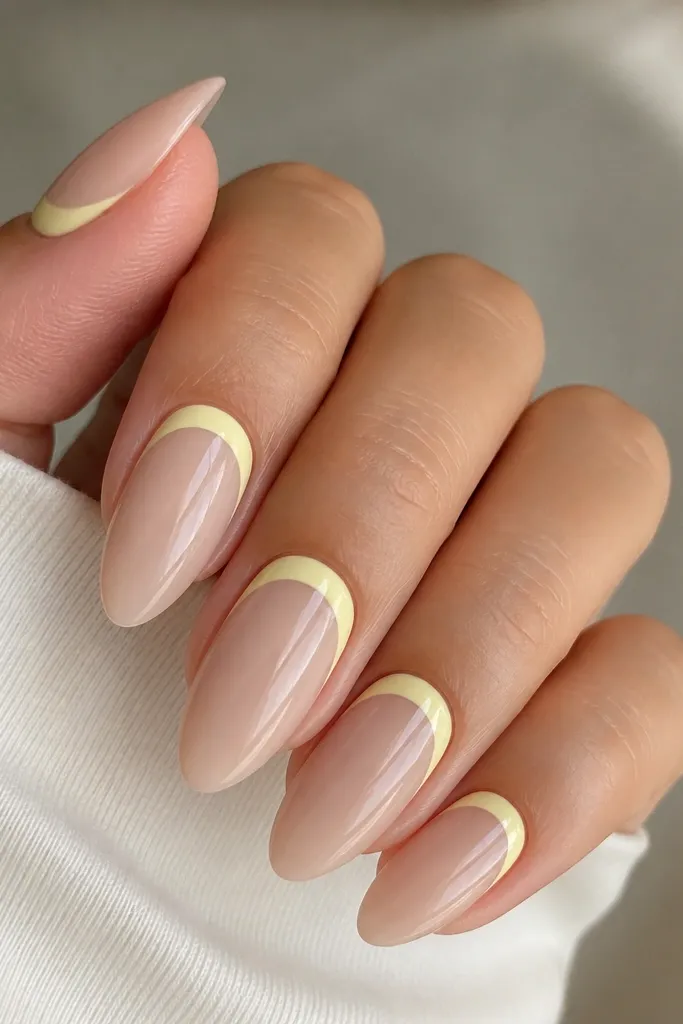
Reverse French is my go-to when I want something fresh but low-effort. The half-moon shape makes the nail look tidy and intentional. Light yellow at the cuticle also brightens your hand without needing full coverage.
Paint a milky nude base and let it set. Use a half-moon stencil or freehand with a fine striping brush. Fill the half-moon with light yellow and seal with top coat carefully around the cuticle line.
Editor's noteIf you freehand, rest your hand on a folded towel so your brush hand doesn't float.
Watch outAvoid messy cuticle edges - clean lines matter more than perfect symmetry.
6. Light yellow ombre into sheer white
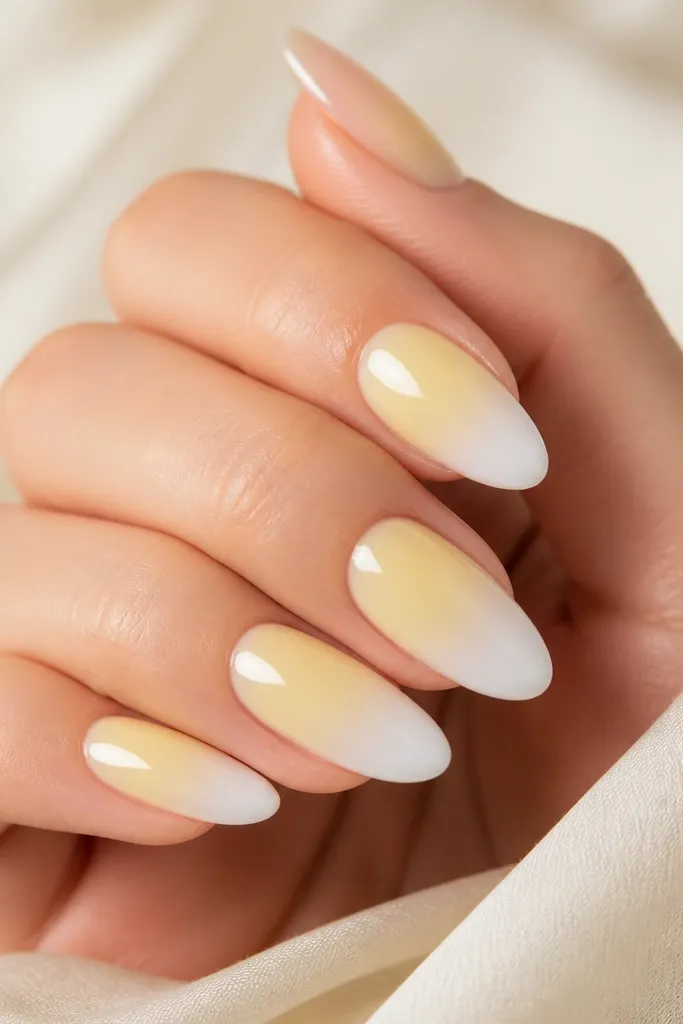
Ombre makes light yellow look airy and expensive. The blend into sheer white keeps it summer-bright while avoiding that "blocky" look you get with solid polish. I do this with a sponge for a soft transition that doesn't show harsh lines.
Base with a sheer nude or clear gel. Sponge a light yellow at the cuticle and blend downward with a slightly drier sponge. Finish with a translucent white or milky top layer at the tips, then seal with glossy top coat.
Editor's notePractice on one nail first - sponge ombre is all about controlling how much polish the sponge holds.
Watch outDon't press the sponge hard - that creates texture and muddy color.
7. Two-tone diagonal split (sunrise stripe)
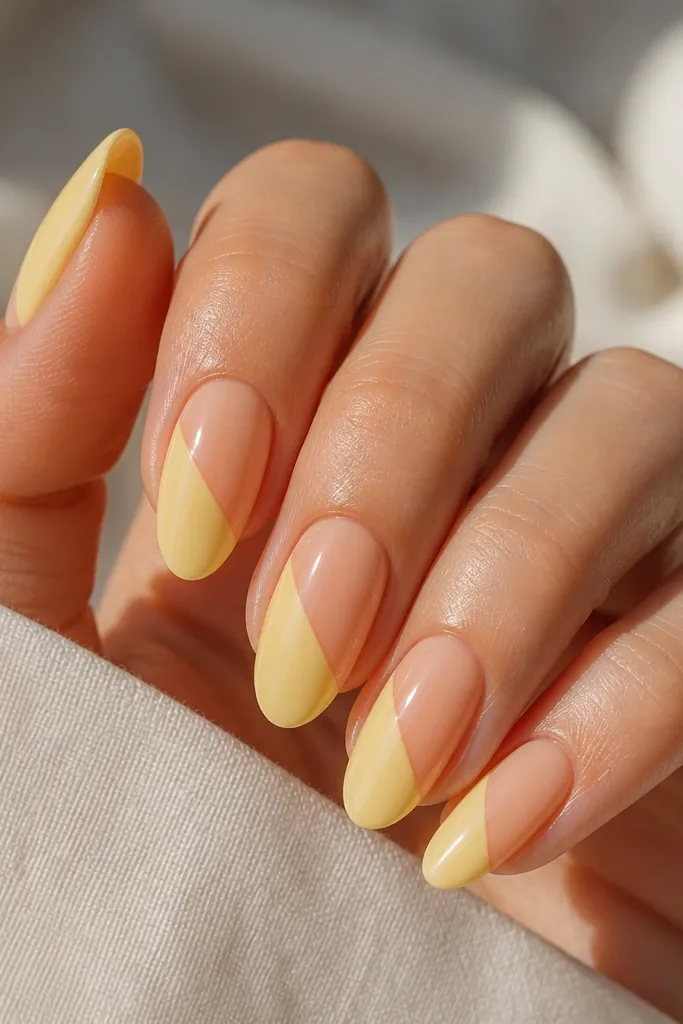
A diagonal split looks modern and graphic, but it still feels summery because one half is light yellow. I like using a pale cream or nude so the yellow stays the star. Keeping the line crisp is what makes it look salon-done.
Paint the base color first. For the diagonal, use thin nail tape laid at a consistent angle across each nail, then paint the light yellow side. Remove tape after the second coat dries, then top coat over the whole nail.
Editor's noteUse the same tape angle on every nail - even small angle changes look messy.
Watch outAvoid hand-eye freehand lines if you're new - tape makes this look clean fast.
8. Satin matte base with glossy yellow dots
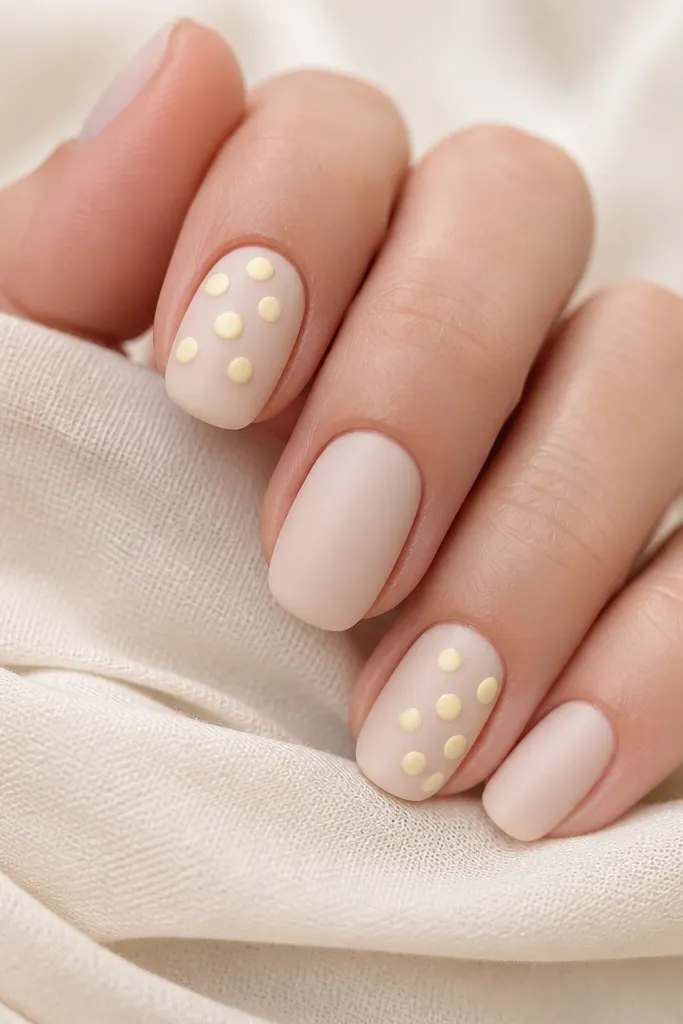
Mixing matte and glossy makes light yellow look designed even when you only add a few dots. Matte hides micro ridges and makes the color look soft. Then the glossy dots catch light and feel playful.
Paint nails with milky nude, then top with a matte top coat. On accent nails, dot light yellow using a thick polish or gel and cure or dry fully. Finish with glossy top coat only over the dots, not the whole nail.
Editor's noteIf your dots smear, let the matte top fully cure and use a small dotting tool with minimal polish.
Watch outAvoid putting glossy top coat over matte - it turns everything shiny and ruins the contrast.
9. Butter yellow with thin white squiggle
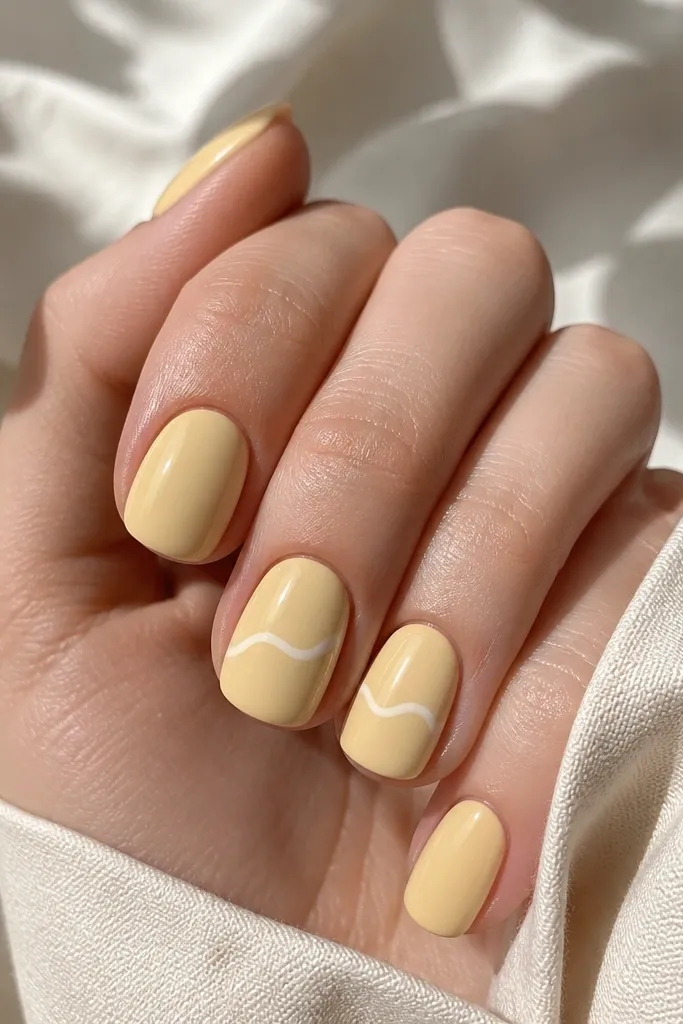
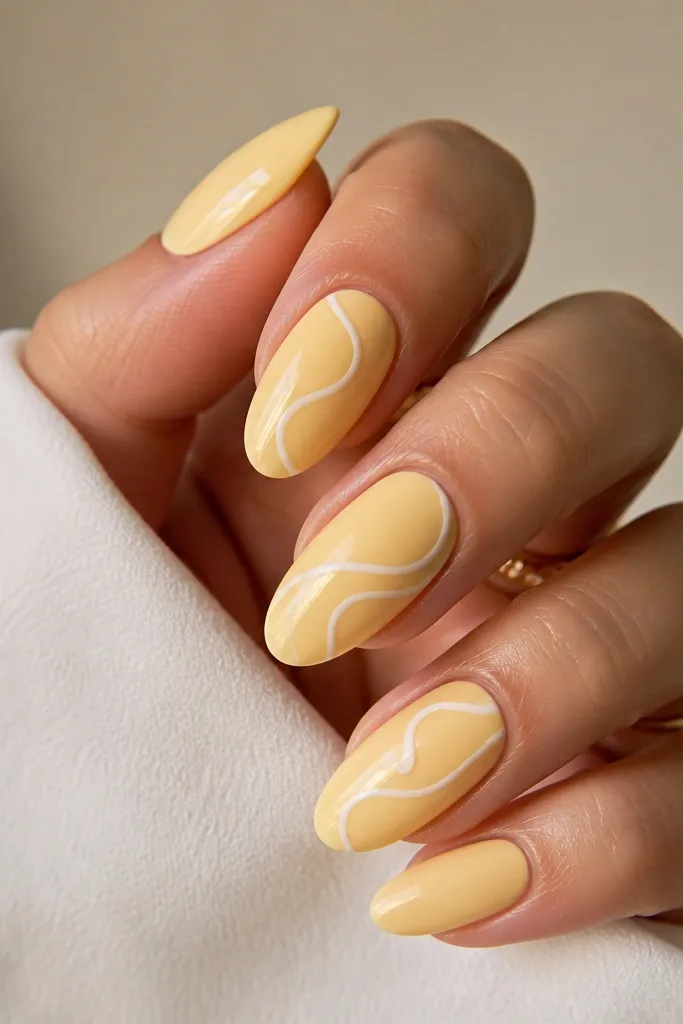
A squiggle adds movement and looks cute without covering the whole nail. White lines stay crisp on light yellow, and the thin brush keeps it from looking like a sticker. This is the design I pick when I want something artsy but still quick.
Paint all nails light yellow. On accent nails, use a striping brush to draw one thin squiggle centered on the nail. Keep the line height small so it doesn't overpower the pastel color.
Editor's notePull the squiggle in one slow stroke - stopping and restarting creates thick blobs.
Watch outAvoid thick paint lines - they look uneven on pastel backgrounds.
10. Light yellow glitter fade at the tips
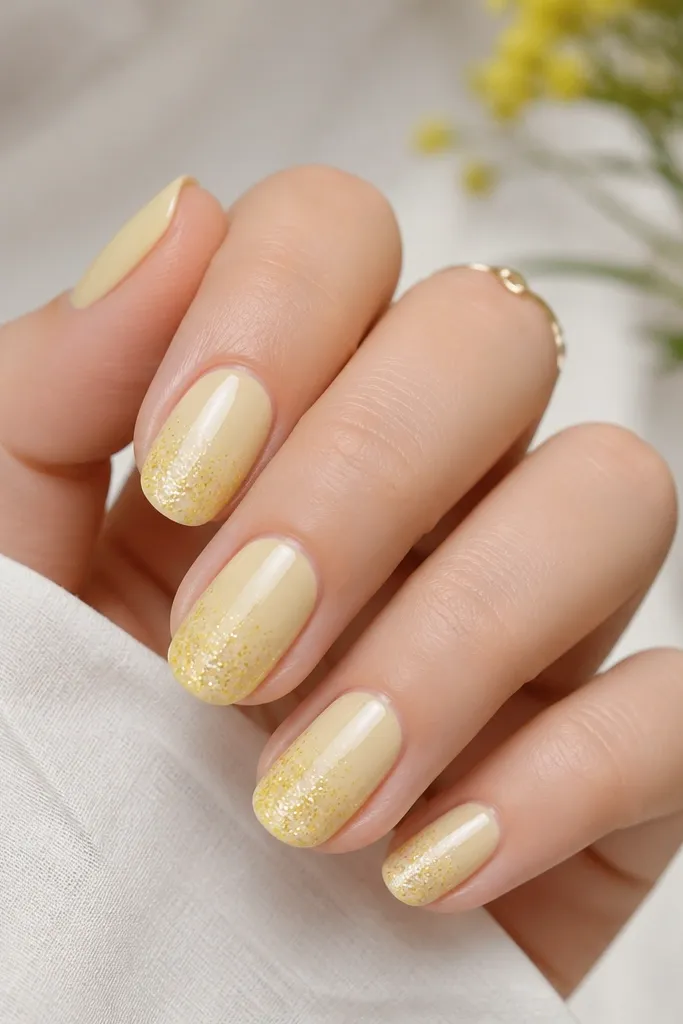
Tip glitter fades are the fastest way to make light yellow feel like a summer party manicure. The glitter catches sunlight at the edges where your hands move. I like using fine glitter so it looks smooth, not crunchy.
Base in light yellow. Dab fine glitter gel or loose glitter over the last third of the nail using a sponge, then blend upward slightly. Seal with a thicker top coat so the glitter lies flat.
Editor's noteUse a slightly tacky top coat layer to "grab" loose glitter, then cure and cap with a second top coat.
Watch outAvoid big chunky glitter - it catches on fabric and chips faster.
11. Light yellow "strawberry lemonade" nail with half fruit slice
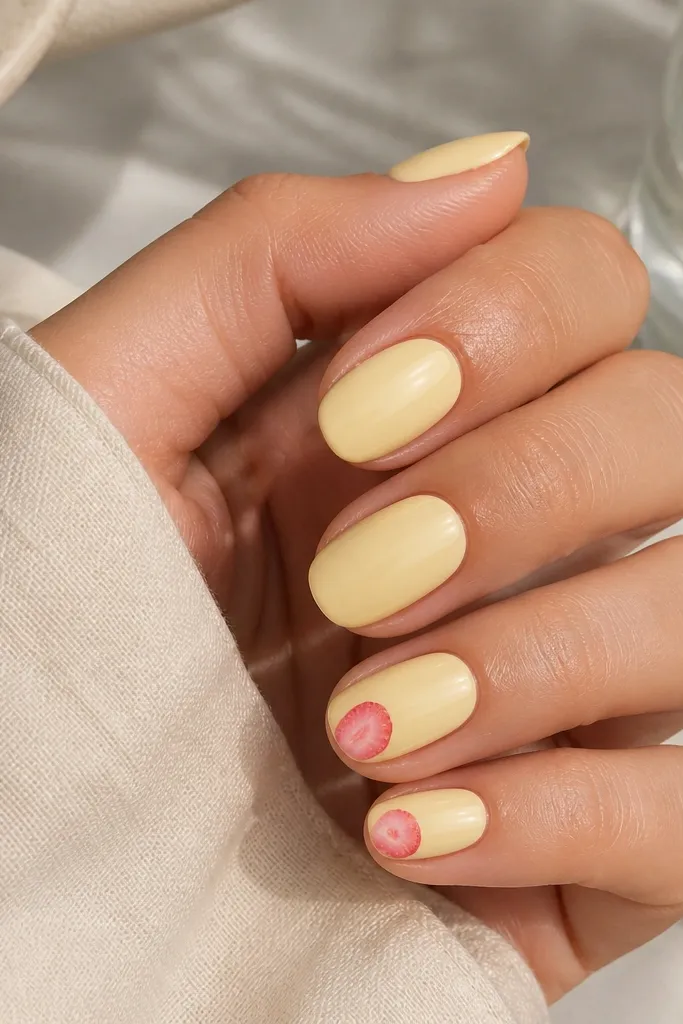
This look feels fun without being full-on cartoon. The tiny fruit slice gives you that summer snack vibe, and the light yellow background keeps it soft. Pink details look believable when you use light pink and a tiny seed dotting pattern.
Paint all nails light yellow. On one accent nail per hand, draw a small half strawberry slice near the tip using a light pink polish, then add tiny darker pink seed dots with a dotting tool. Add a thin lime-green curve under it if you want extra realism.
Editor's noteUse a reference photo on your phone for size - fruit nails always look better when they're small.
Watch outAvoid drawing the fruit too big - it makes the manicure feel childish fast.
12. Pastel yellow swirl on a clear base
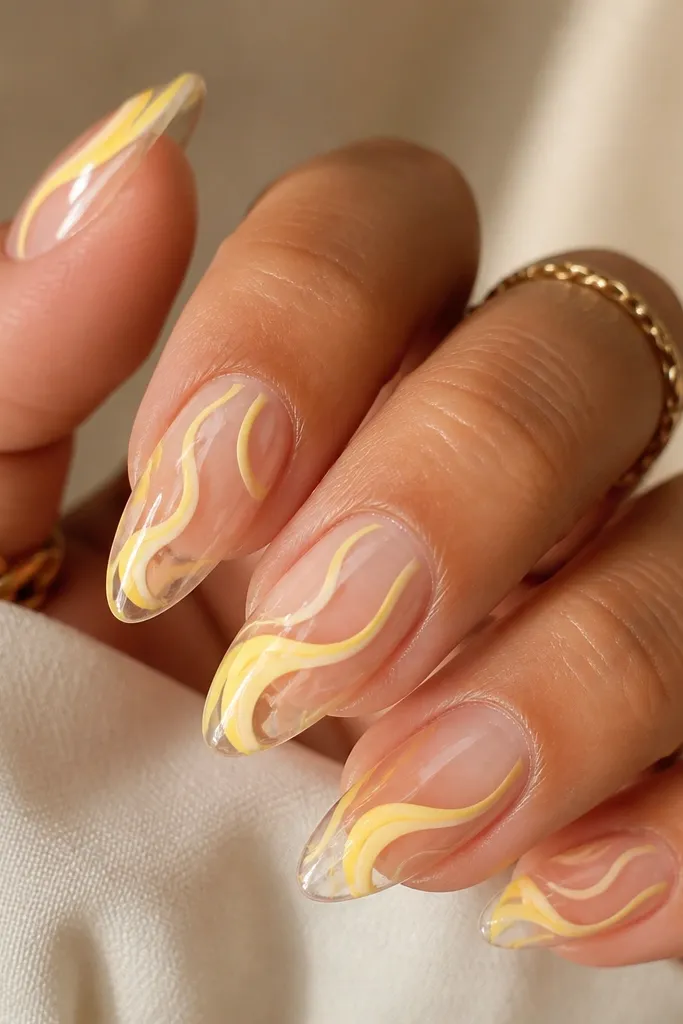
Swirls look airy because they use negative space. A clear or milky nude base keeps it clean and lets the yellow look light, not heavy. Thin swirls also hide small imperfections in the nail surface.
Start with a clear gloss or milky nude base. Use a striping brush to draw one loose swirl near the center of an accent nail. Keep the swirl lines thin and leave gaps so it doesn't turn into a blob.
Editor's noteIf your swirl gets messy, wipe the brush and drag the line into shape before it fully dries.
Watch outAvoid filling swirls solid - pastel yellow needs breathing room.
13. Yellow checker micro pattern on two nails
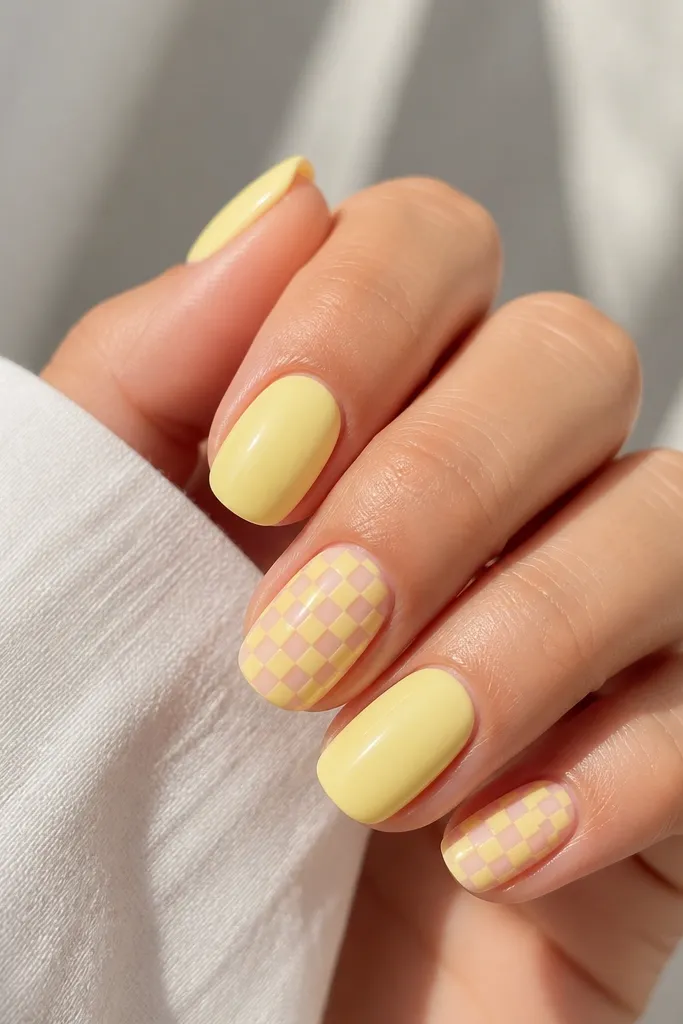
Micro checkers look retro-cute and they're easier than they look. You only need a small grid, and the pattern breaks up the solid color so it never feels flat. Light yellow checker on a nude base looks like summer accessories rather than costume nails.
Paint all nails light yellow. On two accent nails, paint over with a nude base instead, then create a tiny grid using thin striping tape cut into short lengths. Fill alternate squares with light yellow and seal with top coat.
Editor's noteMake the squares about the size of a grain of rice. Bigger squares look cartoonish fast.
Watch outAvoid thick tape edges - they leave ridges that show under gloss.
14. Light yellow aura glow around the cuticle
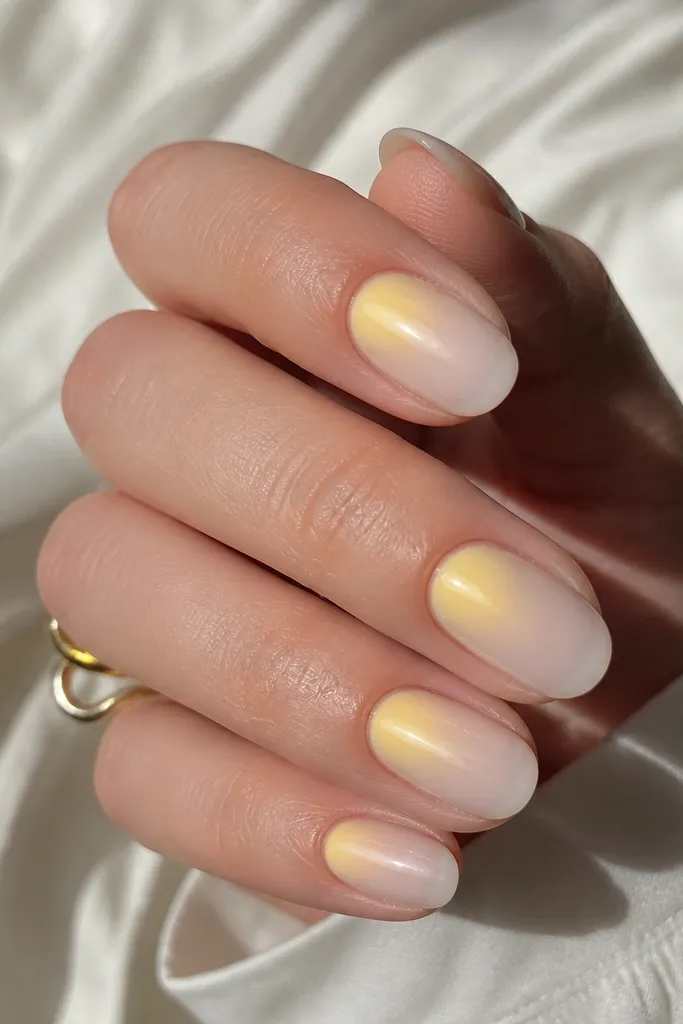
Aura nails make your cuticle area look softly lit, which is exactly what light yellow does well. The glow effect keeps it from looking like a flat block of color. It also looks flattering on short nails because the gradient draws the eye upward.
Paint a milky nude base. Sponge light yellow around the cuticle in a circular shape, then blend outward with a nearly dry sponge. Finish by adding a thin translucent top coat layer so the edges stay smooth.
Editor's noteKeep the sponge slightly drier than you think - aura looks best when it fades, not when it smears.
Watch outDon't go too heavy at the sides of the cuticle - it can look like a stain.
15. Pastel yellow and white side stripes
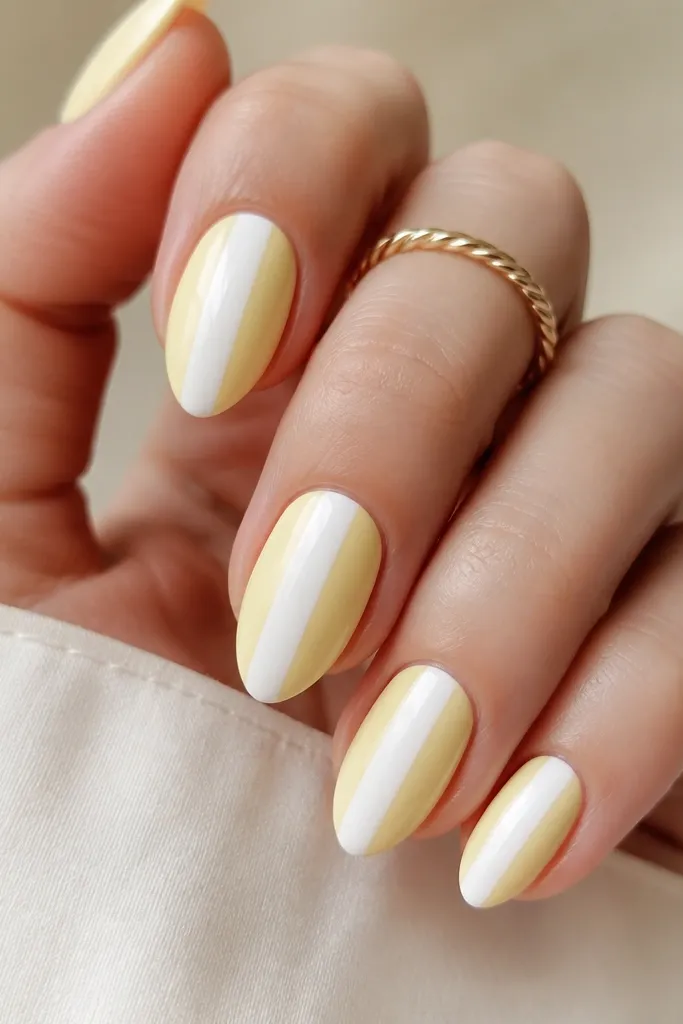
Side stripes make nails look longer because they guide the eye from cuticle to tip. White stays bright against light yellow, and the clean line feels "put together" even when you do it on only a few nails. I like this when I'm wearing simple outfits and want the nails to add detail.
Paint the whole nail light yellow. Then place a thin nail striping tape about 1-2 mm from the side edge and paint white in the exposed line. Remove tape after it sets and top coat to smooth the stripe.
Editor's noteUse one stripe per nail if you want it chic; two stripes can get busy quickly on short lengths.
Watch outAvoid shaky stripes - if your tape shifts, redo it. A crooked line is the whole look.
16. Light yellow floral stamp with one petal cluster
A small floral stamp gives you a summer garden vibe without hand-painting full flowers. Keep the petals pale and the center tiny so it stays delicate. Light yellow background makes the white petals look fresh instead of stark.
Paint all nails light yellow. On an accent nail, either stamp a tiny flower using a stamping plate or hand-paint 4-5 small petals with a dotting tool. Add one tiny dot center and seal with top coat.
Editor's noteIf you stamp, wipe the plate clean with alcohol right after each hit so the petals stay crisp.
Watch outAvoid thick outlines - they make flowers look like stickers.
17. Glazed light yellow with ultra-thin gold foil flecks
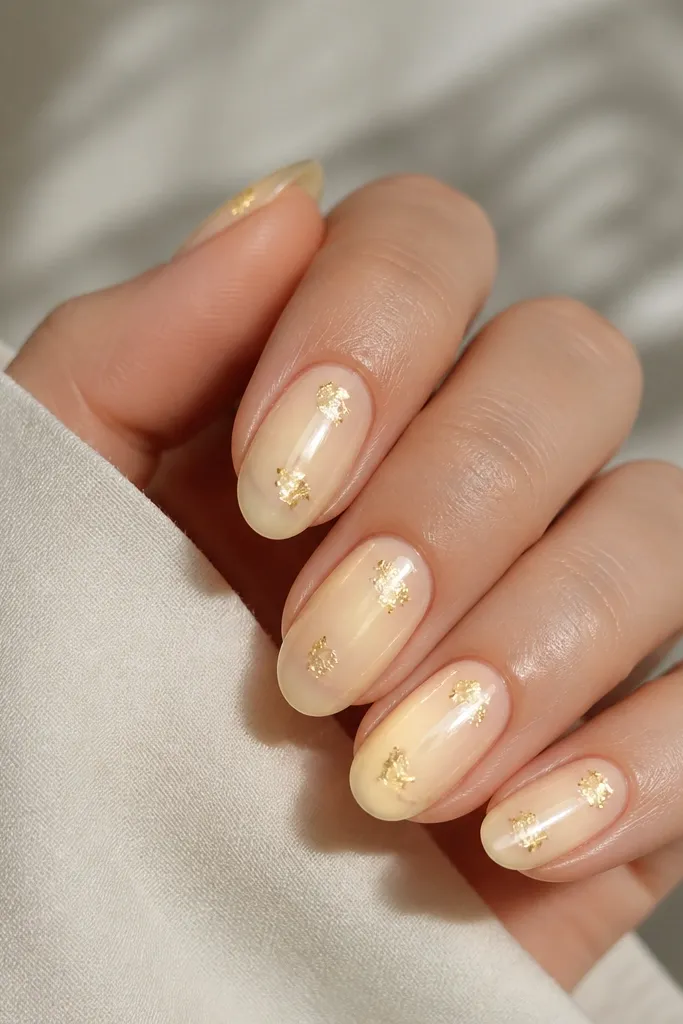
Gold flecks make light yellow look like jewelry. The effect is subtle: you see the shimmer when your hand moves, not as a heavy glitter layer. I like using real thin gold foil because it looks sharper than chunky glitter.
Paint nails light yellow and cure/dry fully. Press tiny pieces of thin gold foil onto a tacky top coat zone, then seal with a thick top coat to flatten. Keep foil placement to one or two nails if you want it extra wearable.
Editor's noteUse tweezers and cut foil into micro scraps first. Big pieces look like stuck-on confetti.
Watch outAvoid sealing too fast - foil can shift if the tack isn't right.