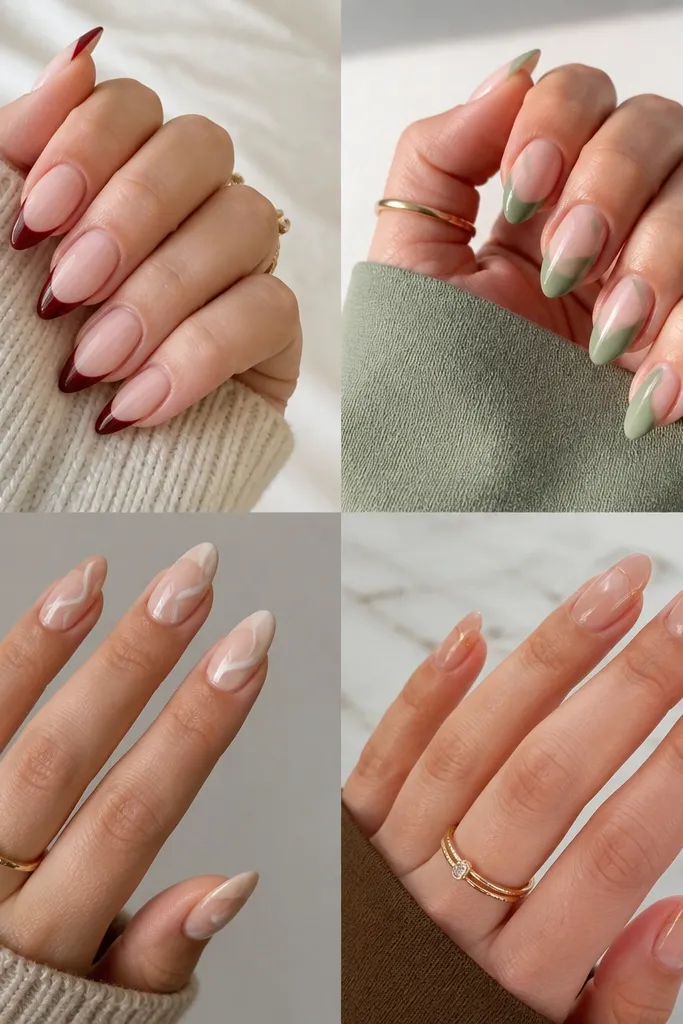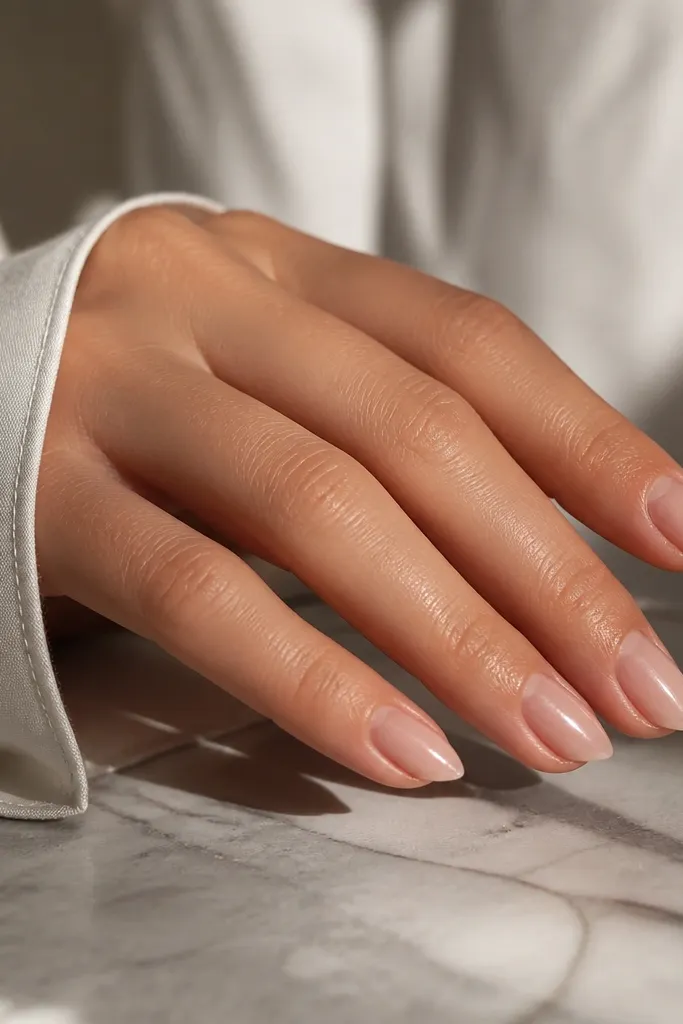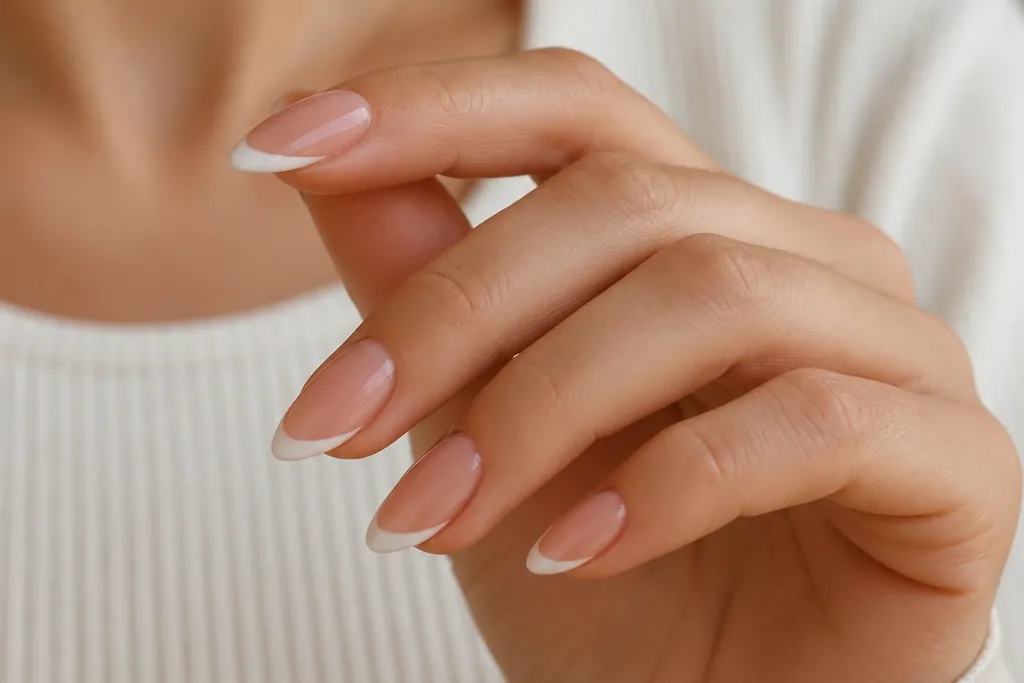
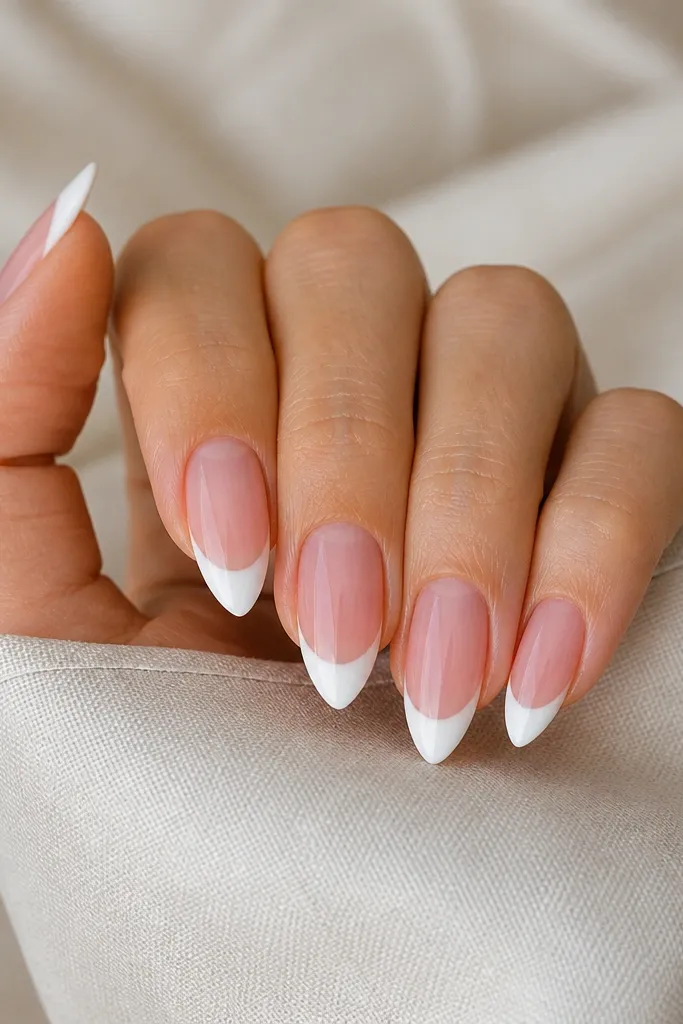
1. Classic Bright White French on Milky Nude Short Stiletto
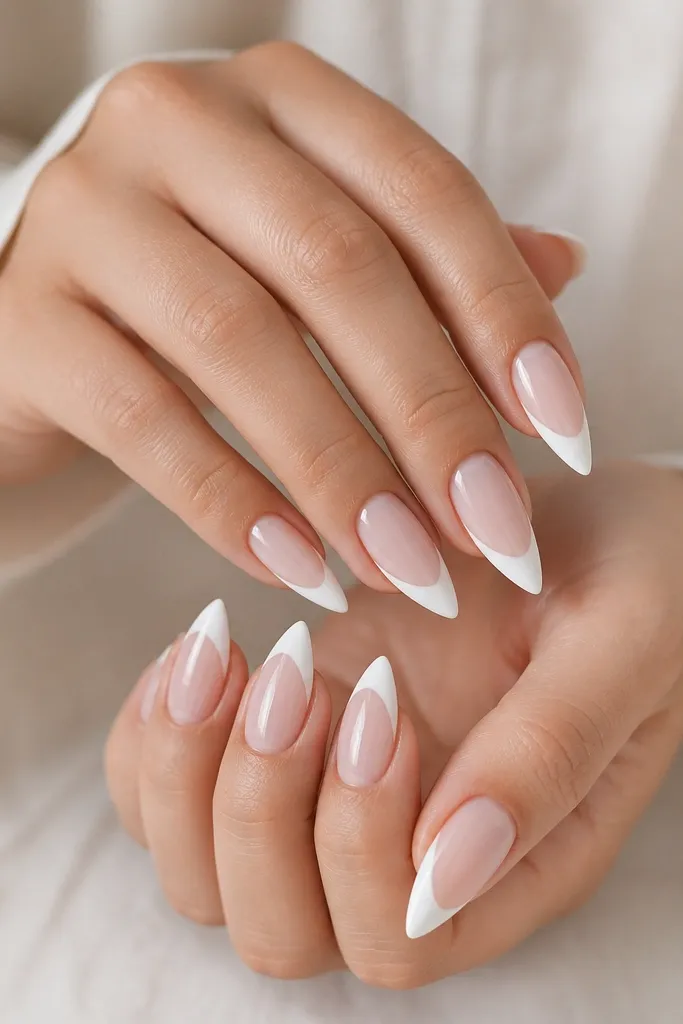
This is the version that always gets compliments because it reads clean from across the room. The milky nude base makes the white look brighter, and the short stiletto taper gives the tip a sharp line without needing long nails. I like a slightly thicker white at the very edge so it looks painted, not faded. Finish is glossy so the tip edge looks sealed.
Shape first: taper the sidewalls toward the center, then keep the free edge 4-5 mm. Use a sheer milky nude base in two thin layers, cure fully, then apply white gel with a striping brush. Aim for a tip width of about 1.5-2 mm at the widest point before it tapers to the point.
Editor's noteAfter curing the white, add a micro "seal coat" of clear gel only on the tip edge - it stops early chipping at the point.
Watch outDon't paint the white too wide at the corners or the nails will look shorter and blocky.
2. Soft Pink French Tips on Clear Rosy Sheer Base
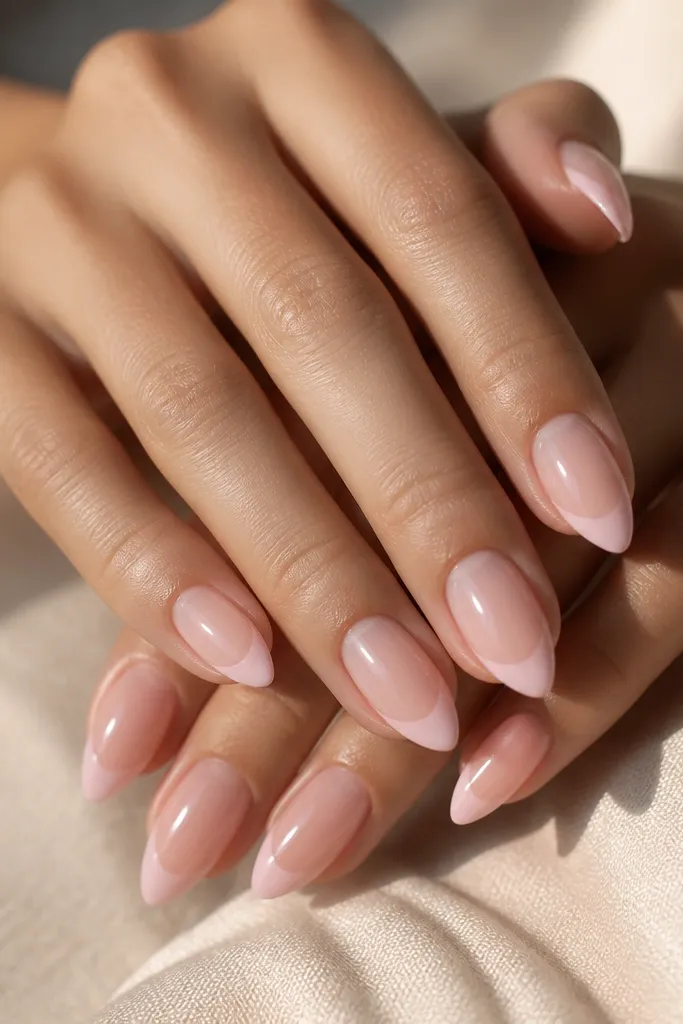
This one looks romantic and still feels fresh because the french isn't harsh white. The clear rosy base keeps everything looking wet and dimensional. I like pale pink because it flatters warm and cool skin tones - the color doesn't fight your undertone. The tapered stiletto tip makes the blush look intentional rather than "grown out."
Start with a clear-to-rosy base gel. Then mix or choose a blush pink gel and apply it with a liner brush in a narrow band. Build opacity with two very thin coats, curing between, so the inner edge stays soft.
Editor's noteUse a damp lint-free wipe after curing the base so the blush lays smooth without streaks.
Watch outSkip thick pink blobs - they dry uneven and make the smile curve look wobbly.
3. Milky White French with a Micro-Sheen Fade
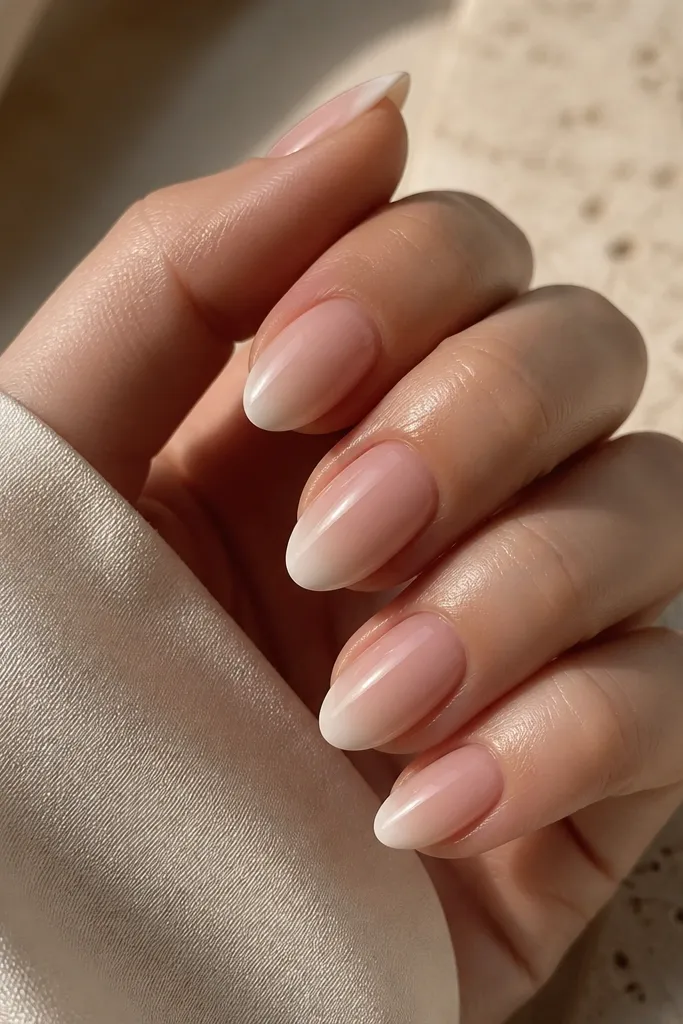
This is a softer french that still reads "French" but hides small application imperfections. The milky fade makes the tip look dimensional, so you don't need a perfectly symmetrical smile line. I've worn this when my brush control wasn't great and it still looked salon-clean. The stiletto taper keeps it from looking like a squircle tip.
Apply milky nude base. For the french, place milky white gel on the outer edge first, then lightly pull it inward with the brush tip (don't drag hard). Cure, then add a second thin layer only where you need more opacity.
Editor's noteKeep a second brush for blending - I use one with a tiny bit of gel on it so the fade stays controlled.
Watch outDon't over-blend into the base or you lose the french boundary.
4. French Tip with Thin Gold Outline
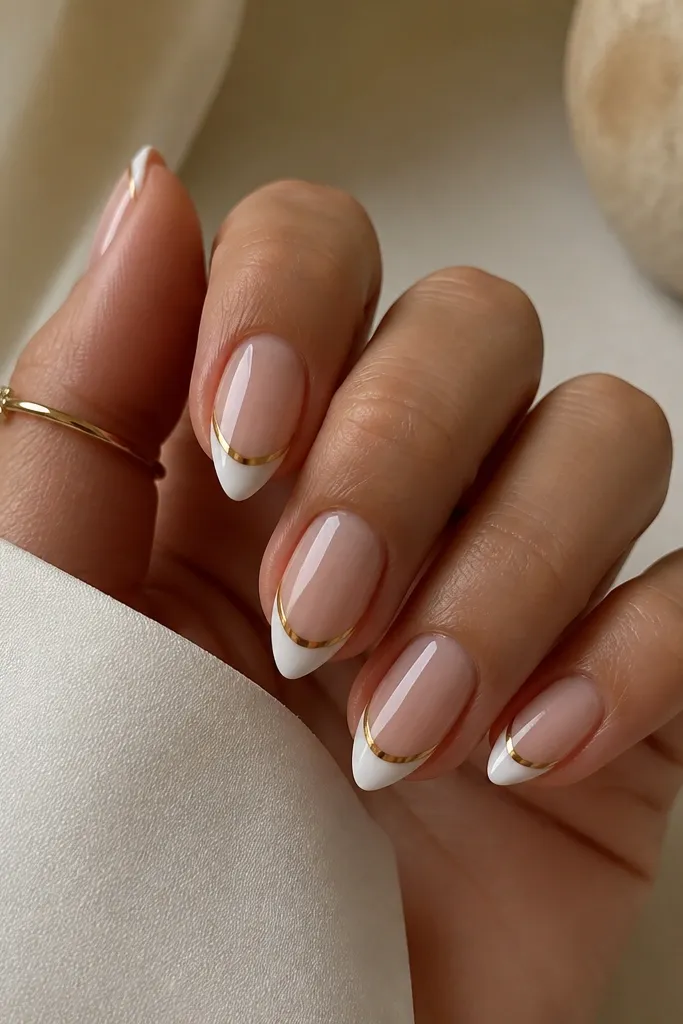
The gold outline makes the french look custom and expensive, even on short nails. It also gives you a visual guide for where the smile curve should land. The white base keeps the gold from looking dull. This style is great for events because it catches light without needing a full gold accent nail.
Paint the nude base and cure. Apply white french in the usual tapered shape. Then cure a thin strip of gold gel right along the smile curve, not inside the white - think "frame," not "fill."
Editor's noteIf your gold gel is thick, drag it with a liner brush that has a tiny bend near the tip so you get a straight line.
Watch outDon't outline the entire tip edge - it makes short stiletto look chunky.
5. Black Micro-French on Nude Beige Short Stiletto
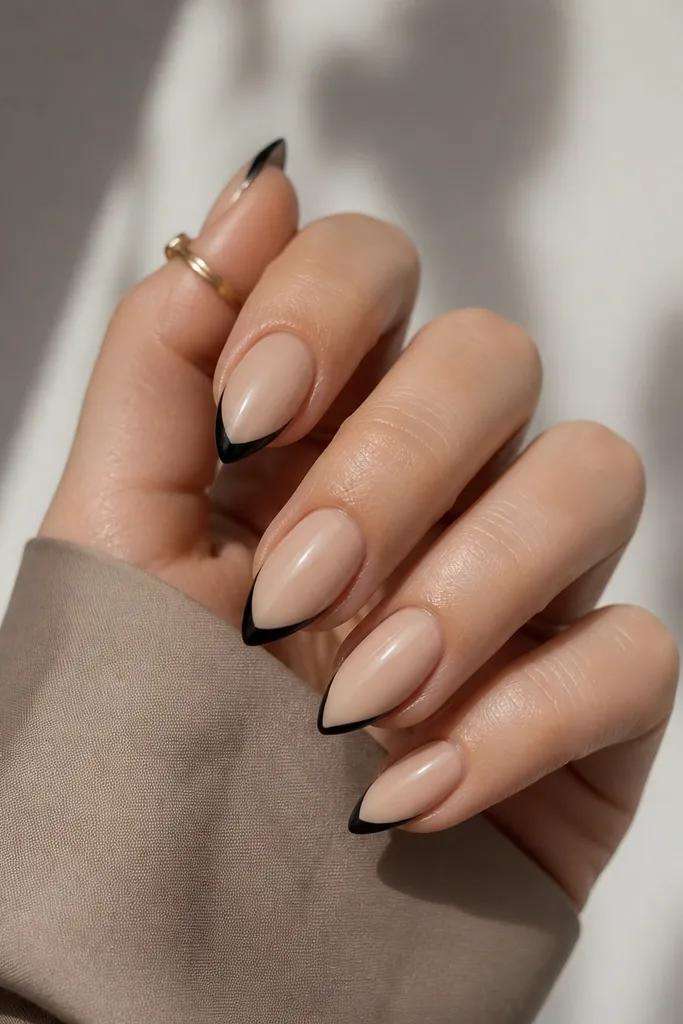
A micro-french in black makes short stiletto feel edgy without adding length. The narrow tip width keeps the nail looking long and clean. I like a satin finish here because full matte can show brush texture. Black tips also hide minor staining from coffee and dark makeup better than white.
Use nude beige gel as the base, then apply a very thin black line at the free edge. Keep tip width around 1 mm at the widest point. Cure, then finish with a satin topcoat or glossy top if you want extra pop.
Editor's noteUse a nail art guide strip or just rest your hand on a table so the liner brush stays steady for the micro line.
Watch outAvoid thick black - it overwhelms short nails and looks like a cap.
6. Glitter Dust French Tip on Sheer Pink Base
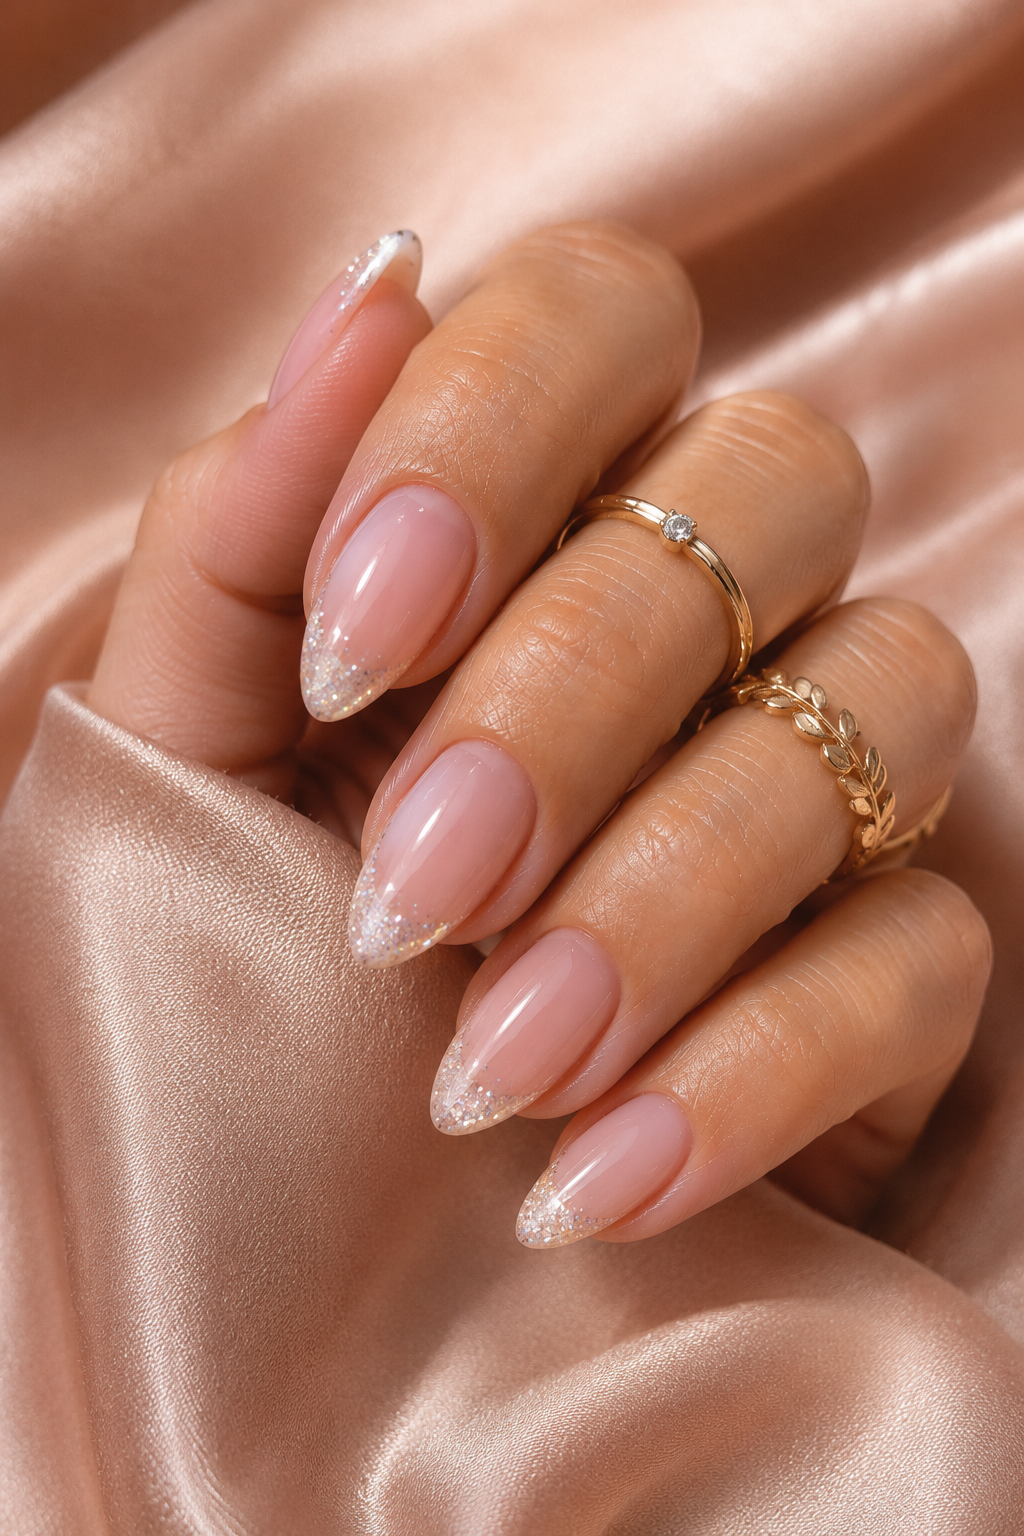
This gives you sparkle without full glitter coverage. The sheer pink base keeps it wearable, while the glitter dust makes the tip look textured and light-catching. I like fine glitter (not chunky) because it doesn't snag or catch on cuticles. On short stiletto, glitter dust also makes the taper look intentional.
Start with a sheer pink base gel. Apply a thin white french layer first, cure. Then dab fine glitter gel or loose fine glitter over the white, focusing on the outer half, and cure again. Seal with a glossy topcoat that fully covers the glitter.
Editor's notePress the glitter gently with the brush tip so it sticks only where you want it.
Watch outDon't skip the sealing topcoat or the glitter will feel rough within a day.
7. French Ombre Tip in White to Clear at the Smile
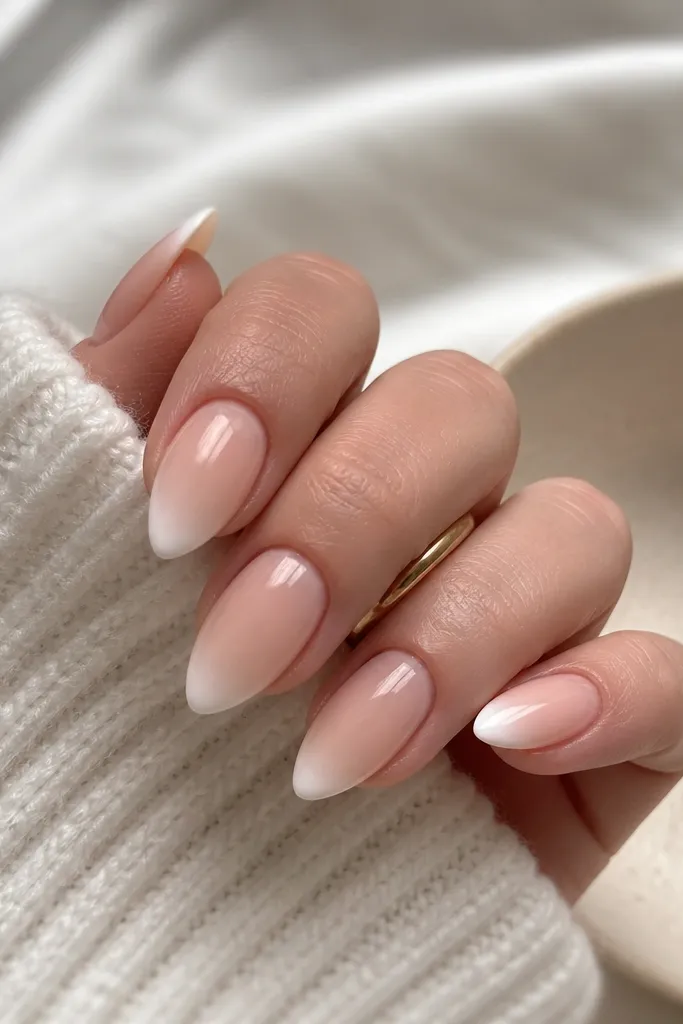
An ombre french looks like you paid for airbrushing, but it's hand-painted. The fade hides any wonky symmetry because the gradient softens the edges. White to clear also makes the nail look longer by reducing the visual "block" of a solid tip. It's one of my go-to looks when I'm in a hurry but still want the french vibe.
Use a nude base with a thin, glossy layer. Paint a white band at the tip and then tap a clean brush (or sponge tip) to soften the inner edge into the nude. Cure, then repeat once if you want more white intensity at the outer edge.
Editor's noteKeep the fade area small - about 1/3 of the tip width - so it still reads as french.
Watch outDon't make the whole tip a gradient - it turns into a full ombre manicure.
8. Half-Moon French Twist at the Cuticle Edge
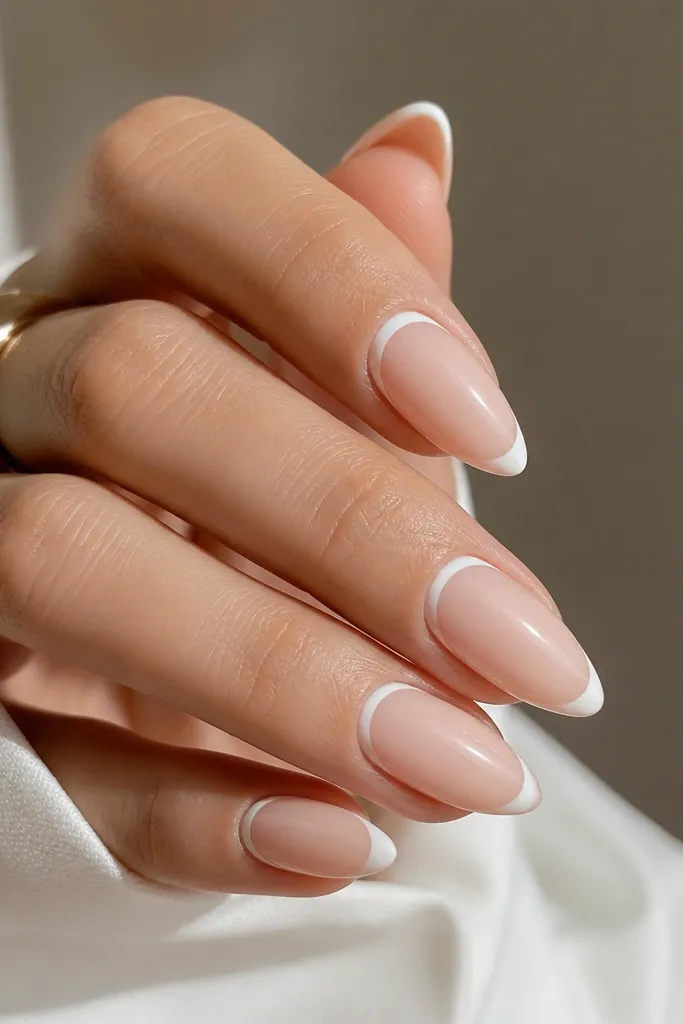
This twist looks fresh because it changes the "where the french starts" rule. The half-moon at the cuticle gives a lifted look, while a small tip keeps it balanced and short-stiletto friendly. I like it for people who hate wide tips - it still looks styled even if your nail bed is shorter. The white-on-nude contrast is clean and easy to read.
Apply nude base. Paint a thin half-moon near the cuticle (leave a tiny gap for natural nail growth). Then add a smaller tapered french tip at the free edge, keeping it narrow. Cure each section so the arcs stay crisp.
Editor's noteUse a dotting tool to place the half-moon points first, then connect them with the smallest liner brush.
Watch outAvoid touching the half-moon arc to the tip - it makes the nail look like one big white blob.
9. French Tip with Negative Space Triangle
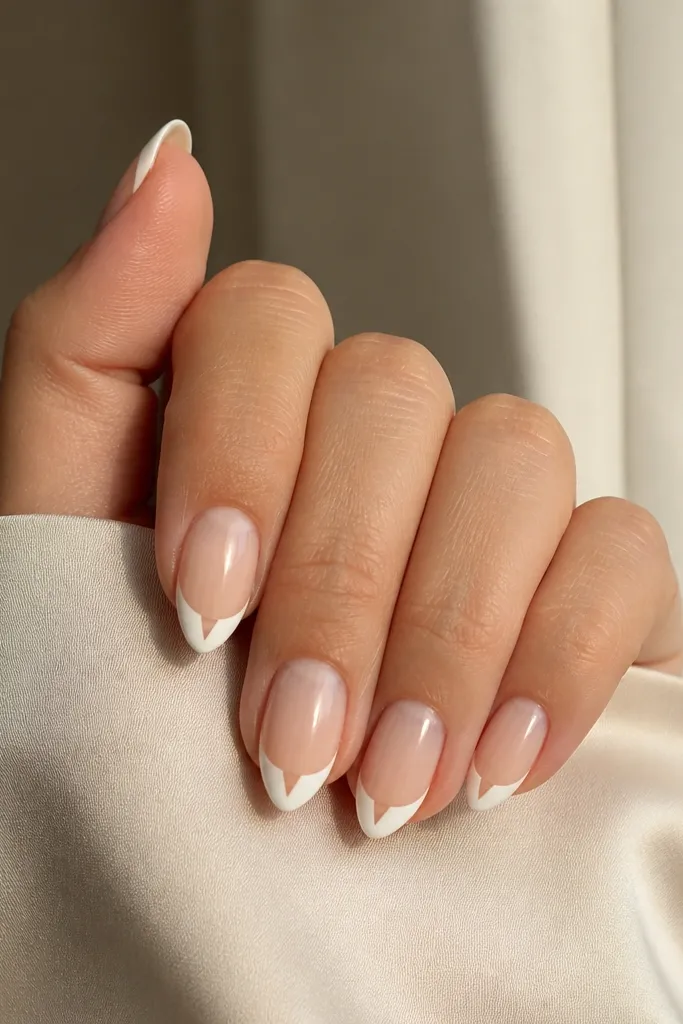
The negative-space triangle makes the stiletto point look sharper and gives a graphic feel. It also hides slight brush overlap because the triangle breaks up the white area. I've worn this when my nails were a little uneven and it still looked intentional. The look stays airy because you're not covering the whole tip.
Paint the nude base. Apply white french around the sides and outer edge, tapering toward the point. Before curing, leave a small center triangle untouched - about 1 mm wide at the smile and narrowing to the tip point. Clean the edges with a flat brush dipped in cleanser.
Editor's noteUse nail tape to mask the triangle if you struggle with freehand symmetry.
Watch outDon't make the triangle too big or it turns into a cut-out design instead of a french twist.
10. Sheer Nude Base with White French Side Tips
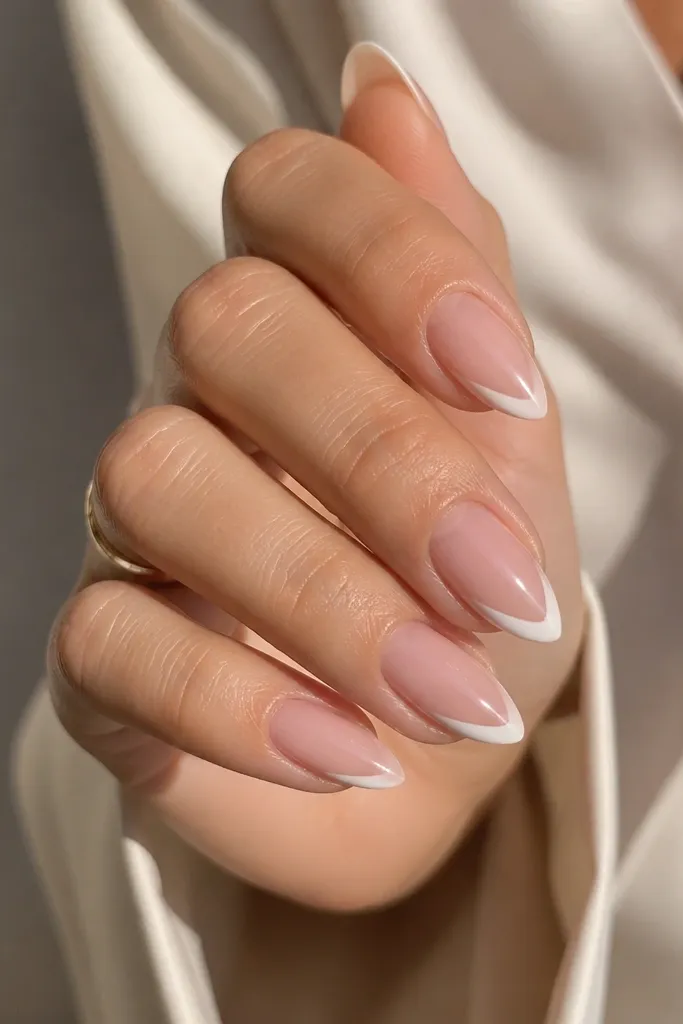
Side tips elongate the nail visually because the center stays light. It's a great option if you hate painting full french tips - you're only outlining the sides. The stiletto taper helps the V shape look clean. This one also hides small gaps because the design naturally has negative space.
Use a sheer nude base with a glossy finish. Paint two narrow white side wedges on each nail, stopping just short of the center. Connect them at the very tip point lightly so it still reads as a french-inspired shape.
Editor's noteKeep the side wedges equal thickness - I use the brush width as a measuring tool.
Watch outAvoid painting the sides too far inward or the nail looks blunt.
11. Two-Tone French in White + Pale Lavender
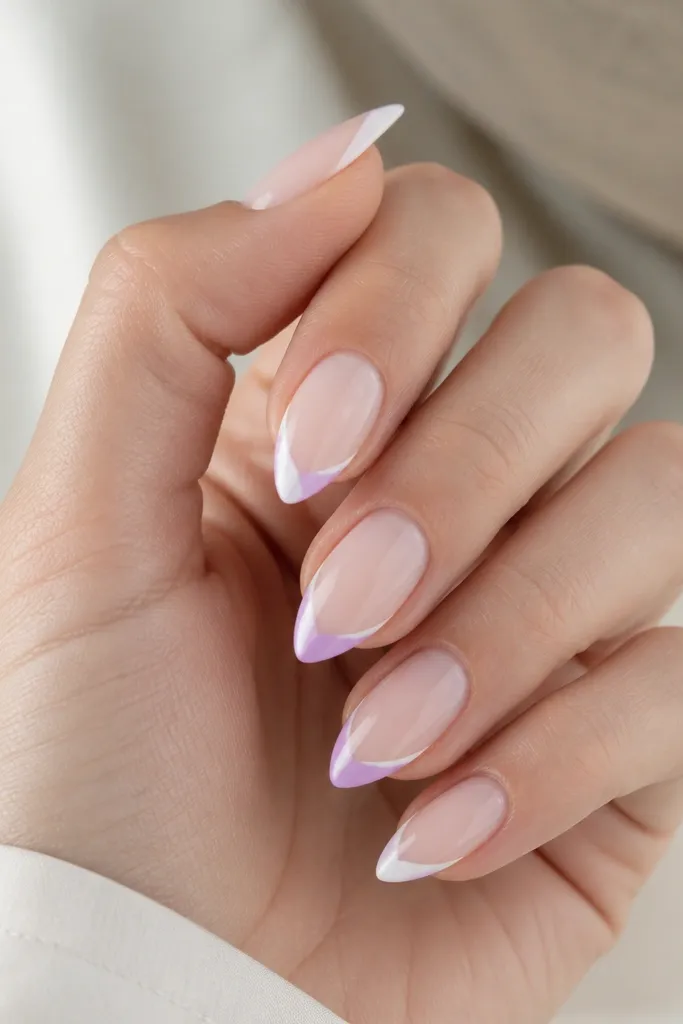
Two-tone french tips look high-end because they create depth on a short nail. The pale lavender keeps it soft, not harsh, while white anchors the design. I like this when I want color without committing to a full colored tip. The stiletto point helps the lavender-white split look like a deliberate gradient boundary.
Apply milky nude base. Paint the white outer edge of the french first and cure. Then add pale lavender along the inner edge of the tip, staying inside the white boundary. Cure again and seal with glossy topcoat.
Editor's noteWipe your brush on a lint-free pad between colors so you don't muddy the split.
Watch outDon't blend the two colors too much - the split should stay readable.
12. Iced French with Silver Micro-Glitter Line
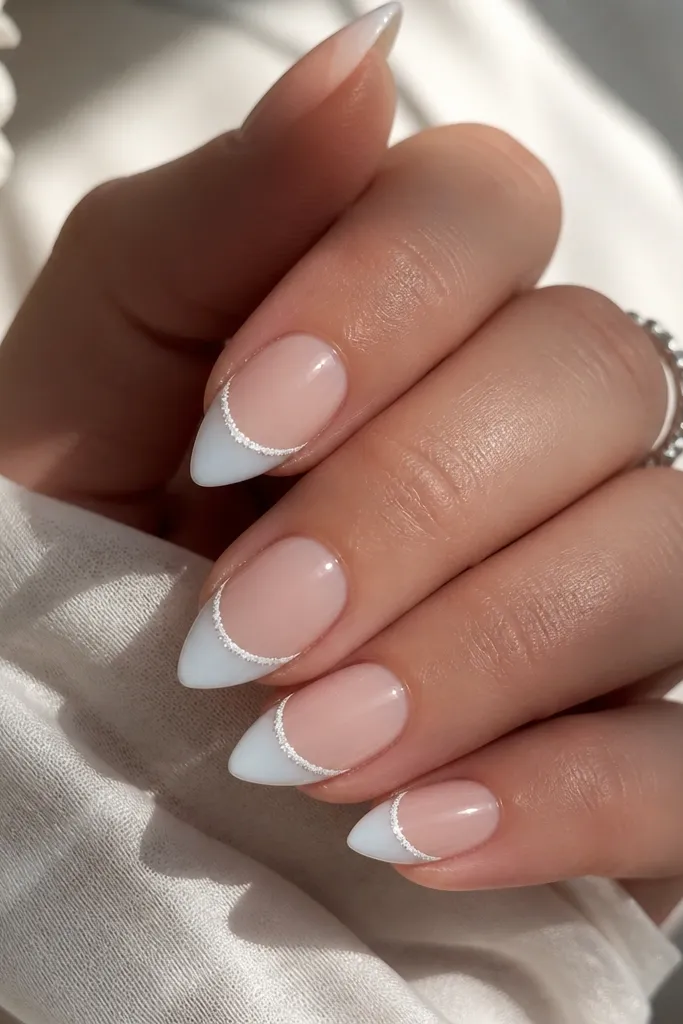
This looks like winter glass. The silver micro-glitter line gives you a crisp accent without adding bulk. Iced milky white keeps the whole manicure soft and not stark like pure white. On short stiletto, that thin glitter line makes the tip look longer.
Base: sheer nude gel. French: milky white gel in a narrow tapered smile. Add a silver micro-glitter gel line exactly along the smile curve, cure, then topcoat glossy. Keep the glitter line under 0.5 mm so it doesn't thicken the tip visually.
Editor's noteUse gravity: rest your hand on the table and let the brush tip drag straight, not at an angle.
Watch outAvoid chunky glitter on the smile - it lifts and chips fast.
13. Matte Nude with Glossy White French Tips
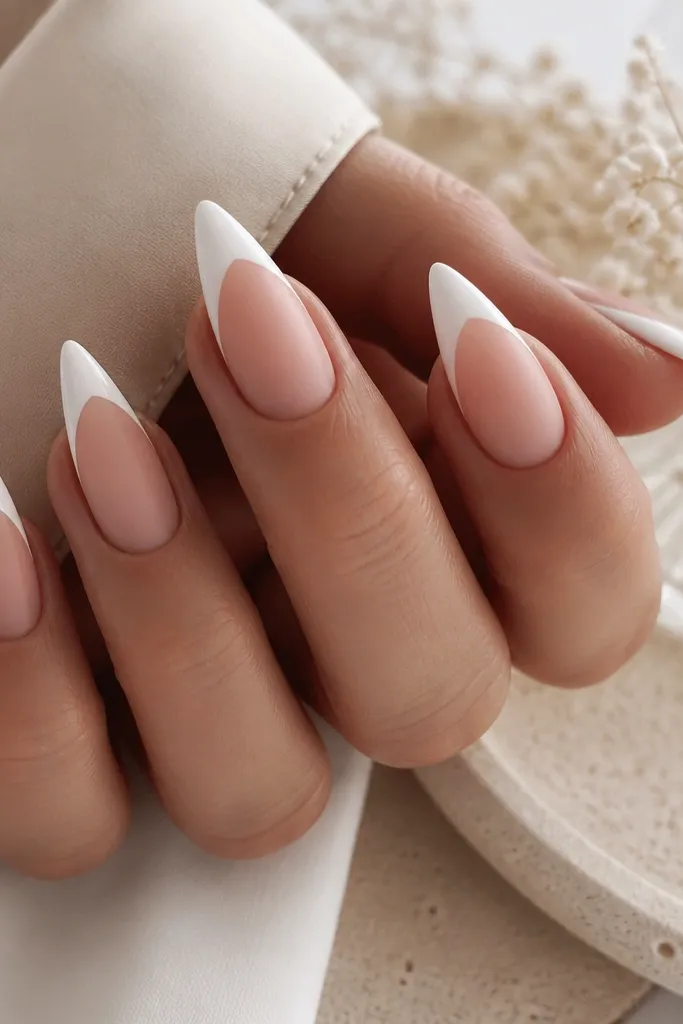
The matte base makes your cuticle area look smooth, and the glossy french tip looks crisp and clean. The contrast hides tiny texture on the base because matte forgives light streaks. I've worn this to meetings where I want neat nails that don't look too shiny. The stiletto point still shows even with the matte finish.
Apply nude base and cure. Topcoat the base portion with matte top (or matte all-over, then selectively seal tips with glossy). Paint bright white french and cure, then add glossy topcoat only on the tips and cap the edge.
Editor's noteIf you paint over matte, wait until it's fully cured so the brush doesn't drag.
Watch outDon't matte the tips - it kills the crisp french effect.
14. French Tip with Nude Cuticle Rim
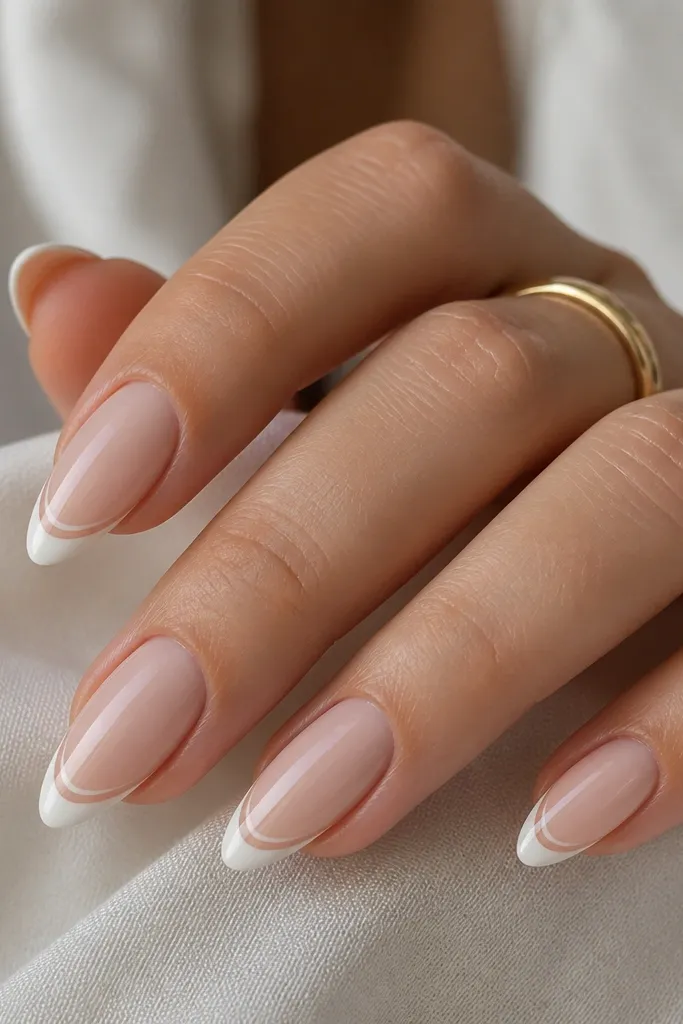
That little nude rim makes the french line look intentional and separates the design like a frame. It's also a lifesaver if your smile curve isn't perfect - the rim hides tiny unevenness. The look stays classy because it's still mostly nude and white. Short stiletto works because the gap makes the tip look longer.
Base: sheer nude. Paint the white tip slightly below where you want the smile. Then, after curing, add a thin nude line between the base and the white using a nude gel that matches your base. Cure and topcoat glossy.
Editor's noteUse a liner brush and wipe off excess gel so the rim line stays hair-thin.
Watch outDon't make the rim thick or it turns into a double-tip look.
15. French Tip with Micro Rhinestone at the Point
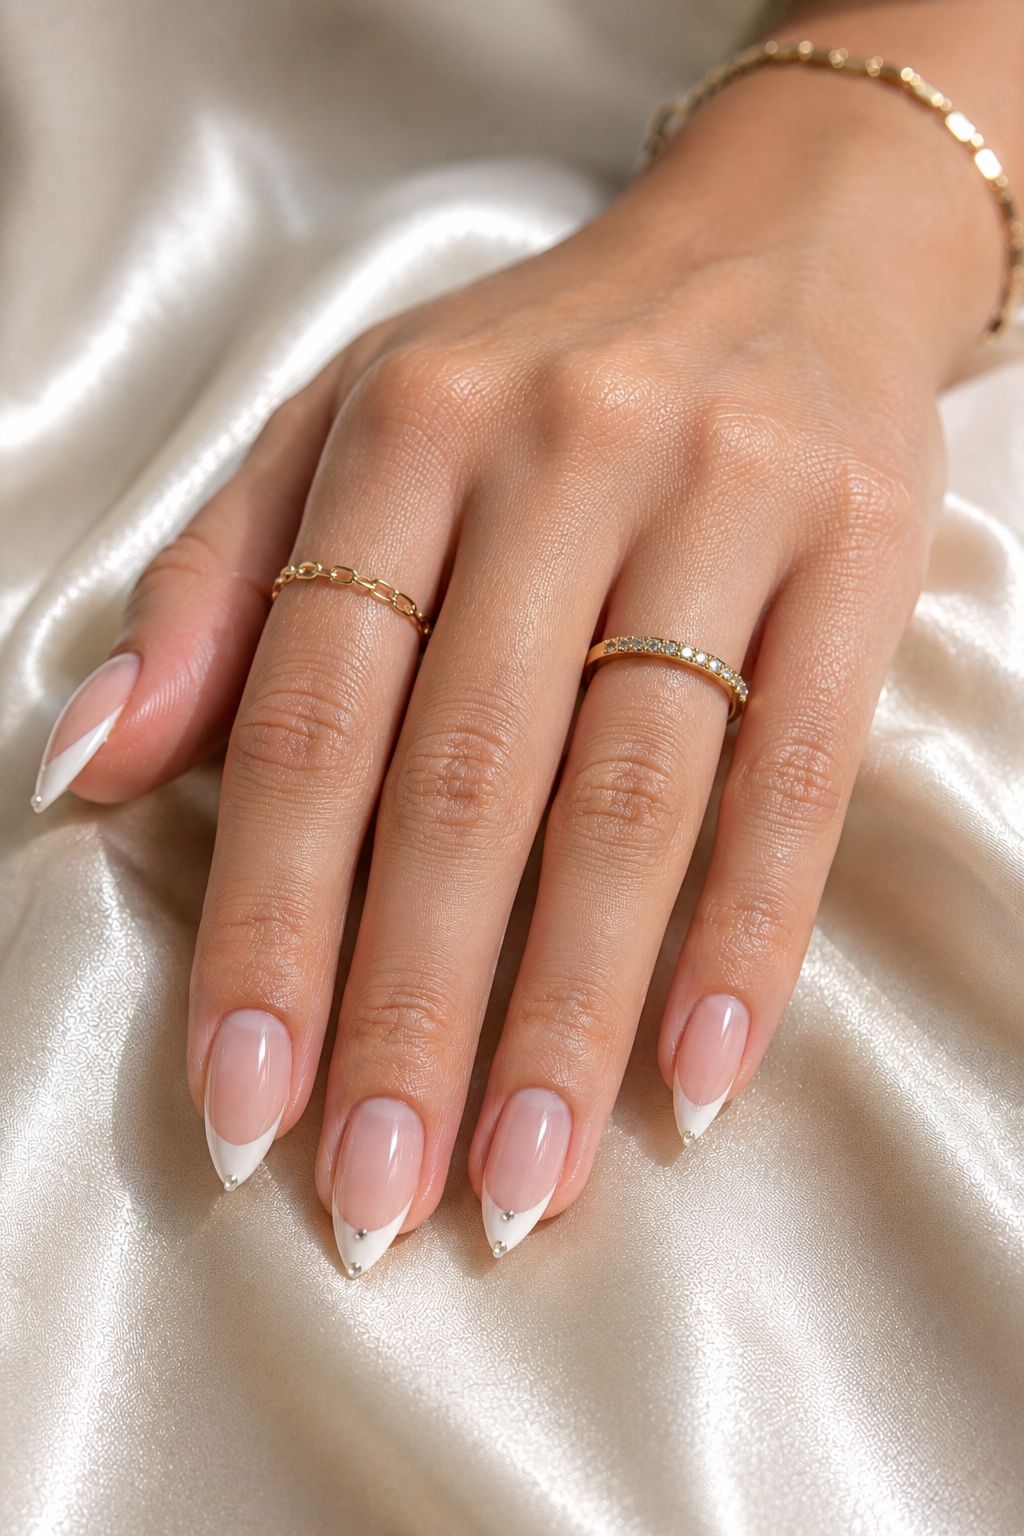
One rhinestone is enough on short stiletto. It draws the eye to the taper and makes the manicure look "done" without turning into full bling. I like clear stones because they match any outfit and don't clash with warm or cool polish. The white french gives the stone a clean background.
Paint base and cure. Apply white french and cure. Place one micro rhinestone using clear gel or rhinestone glue right at the tip point, then cap over it with clear gel so it doesn't catch fabric.
Editor's noteCap with gel across the point edge, then wipe the sides - that's what stops snagging.
Watch outAvoid big stones - they look heavy on short tips and pop off sooner.
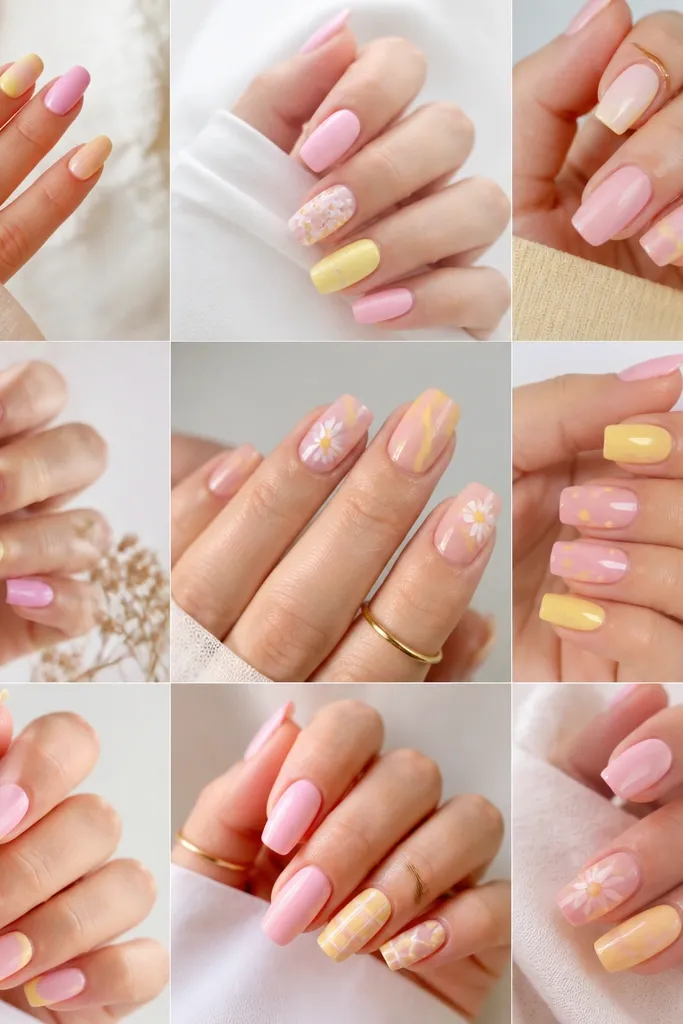
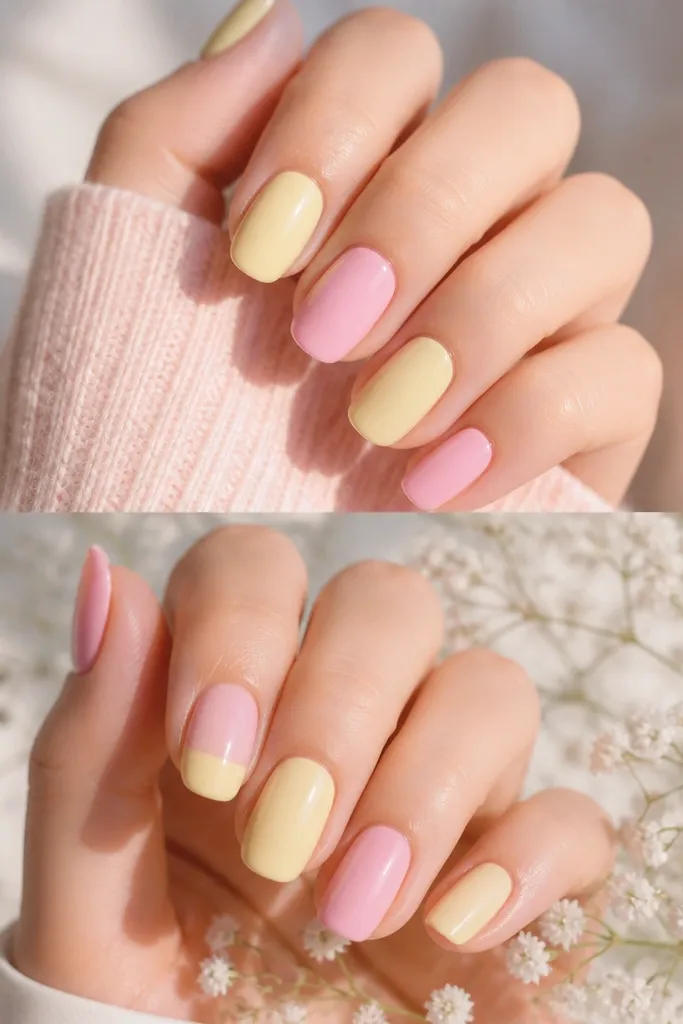
16. Pastel Lemon French Tips on Sheer Pink
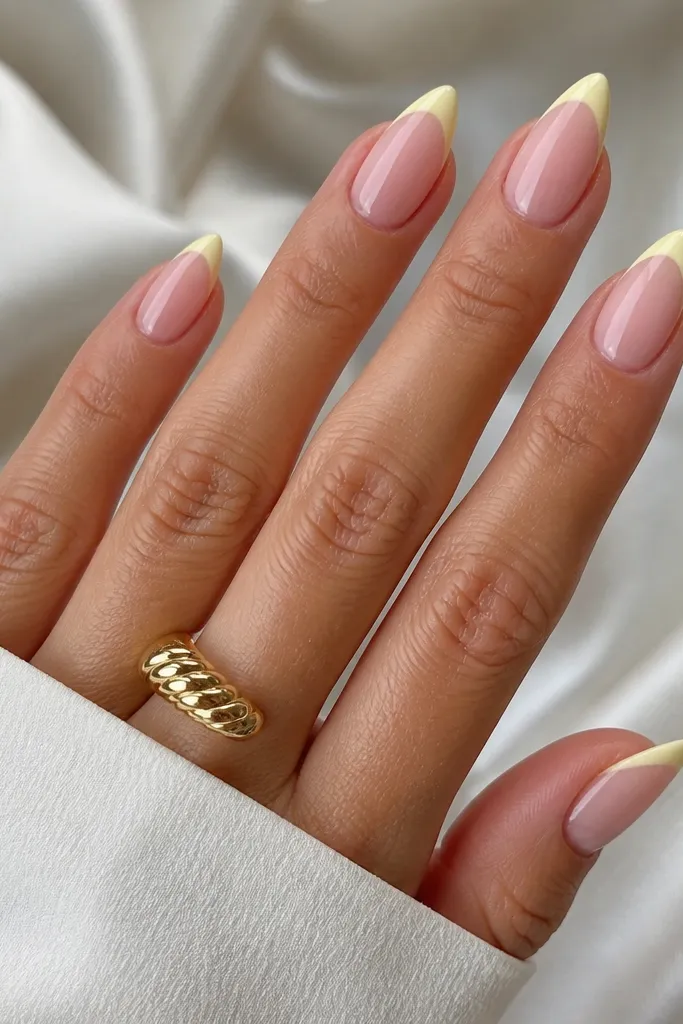
Pastel lemon french tips look fresh and clean, especially with short stiletto shape because the tip reads like a bright accent line. The sheer pink base keeps the yellow from looking neon. I've worn this in summer and it still looks good in fall because it's pale, not high-contrast. The tapered point makes the yellow feel crisp, not childish.
Use a sheer pink base gel. Apply pastel lemon gel as a french tip in a narrow width. Build opacity with two thin coats, curing each time, then finish with glossy topcoat.
Editor's noteIf your lemon gel looks streaky, do a thin first coat and don't try to fix it in one pass.
Watch outSkip thick yellow - it shrinks while curing and leaves a ridge.
17. Chocolate Brown French on Caramel Nude
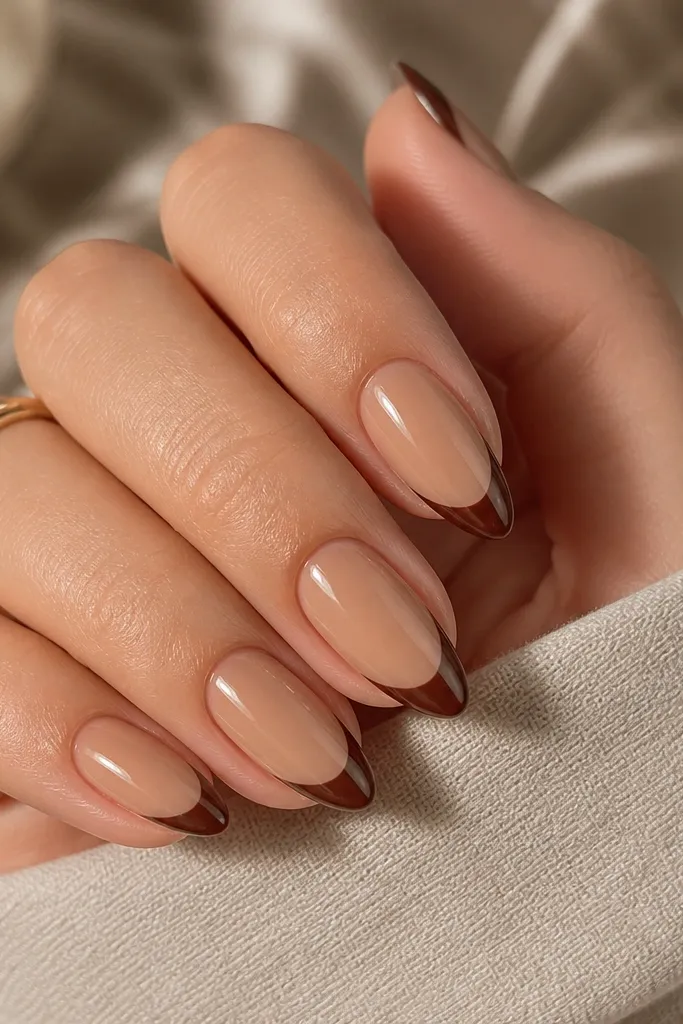
Brown french tips look expensive because they're less stark than black and more grounded than colorful tips. Caramel nude makes the brown look warm, not muddy. On short stiletto, the brown tip line gives shape and keeps the nail looking styled even when it grows out a bit. This is my go-to when I want something neutral that still looks designed.
Base: caramel nude gel, 2 thin layers. French: chocolate brown gel applied with a striping brush, keeping tip width around 1.5-2 mm. Cure and seal with glossy topcoat, paying attention to the edge at the point.
Editor's noteUse a slightly smaller brush than you think - brown polish shows mistakes more than white.
Watch outDon't use a gray-brown - it can look dirty on warm undertones.
18. White French with Soft Blue Tint at the Outer Edge
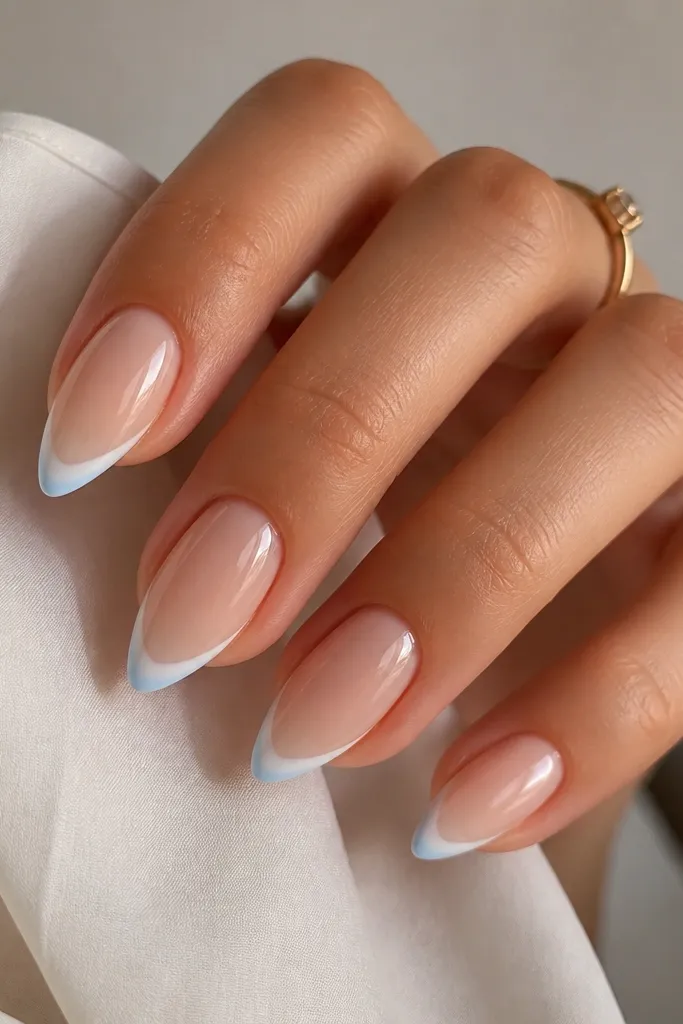
A tiny blue tint makes a classic french feel seasonal without turning it into a full blue manicure. The blue sits at the outer edge so it looks like light reflecting off the tip. I like milky nude + white with a whisper of blue because it flatters both everyday makeup and more colorful looks. The stiletto taper makes the blue fade look intentional.
Paint milky nude base and cure. Apply milky white french first. Before final cure, dab a small amount of pale blue gel only at the outer edge of the tip and blend slightly inward with the brush tip. Cure and topcoat glossy.
Editor's noteKeep the blue amount tiny - if you can see a block of blue, it's too much.
Watch outDon't carry the blue toward the smile line or it stops reading as french.
19. French Tips with Nude-to-White Reverse Fade
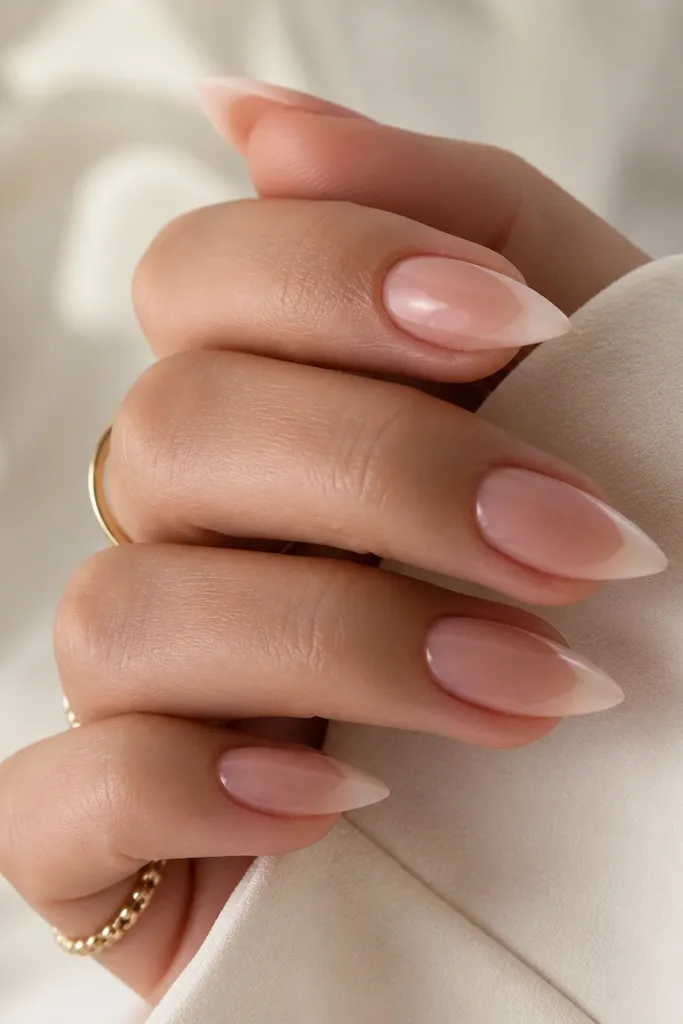
Reverse fade french looks different because the "heaviest color" starts near the smile, not at the tip. It makes short stiletto look extra sleek because your eye tracks the taper from the centerline out. The nude at the free edge keeps it soft and wearable. I wear this when I want a french that doesn't look like everyone else's bright white.
Base: nude gel. Apply a thin white layer just along the smile curve and slightly upward into the tip area. Feather it outward so the outer edge is mostly nude. Cure, then add one more thin layer at the smile if you want more opacity.
Editor's noteUse a damp brush tip for feathering; dry brushing leaves grainy edges.
Watch outAvoid leaving a hard white band - feather until it looks like light, not a sticker.