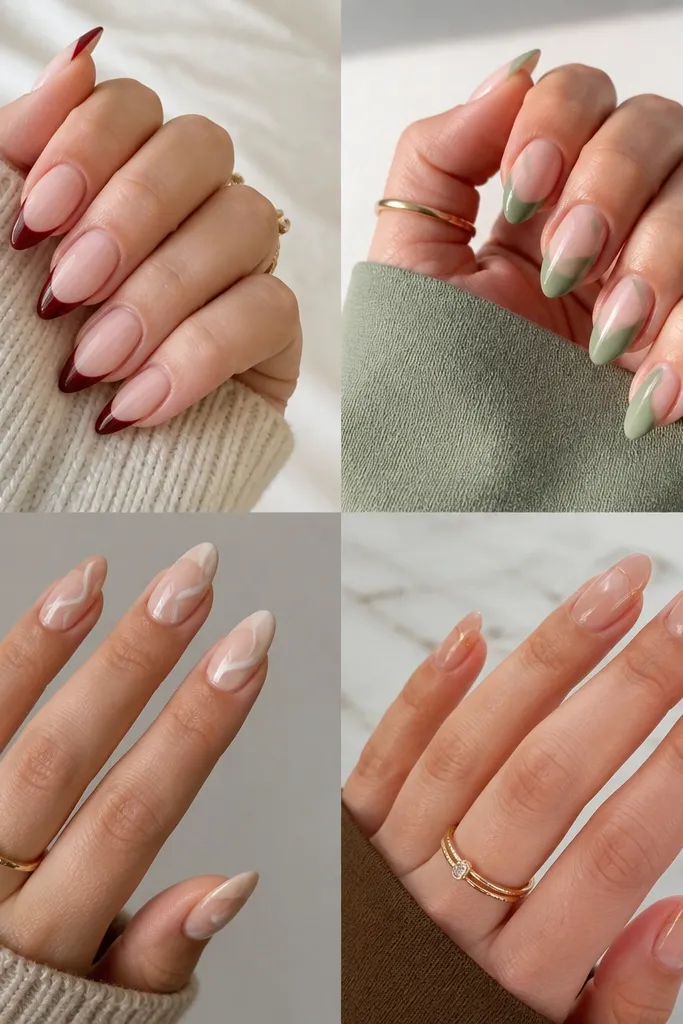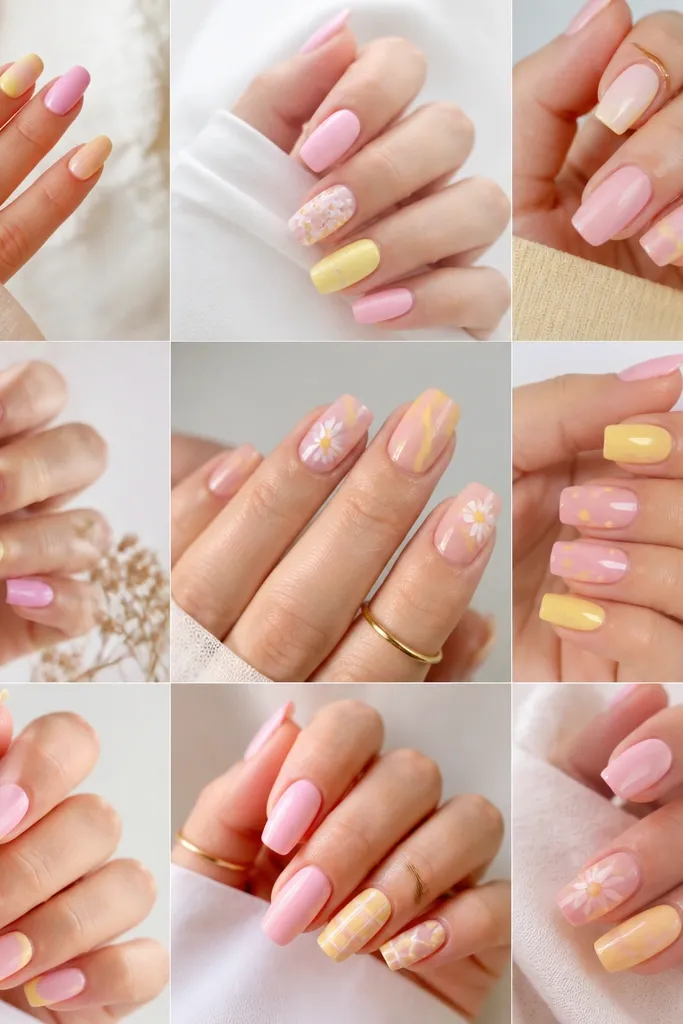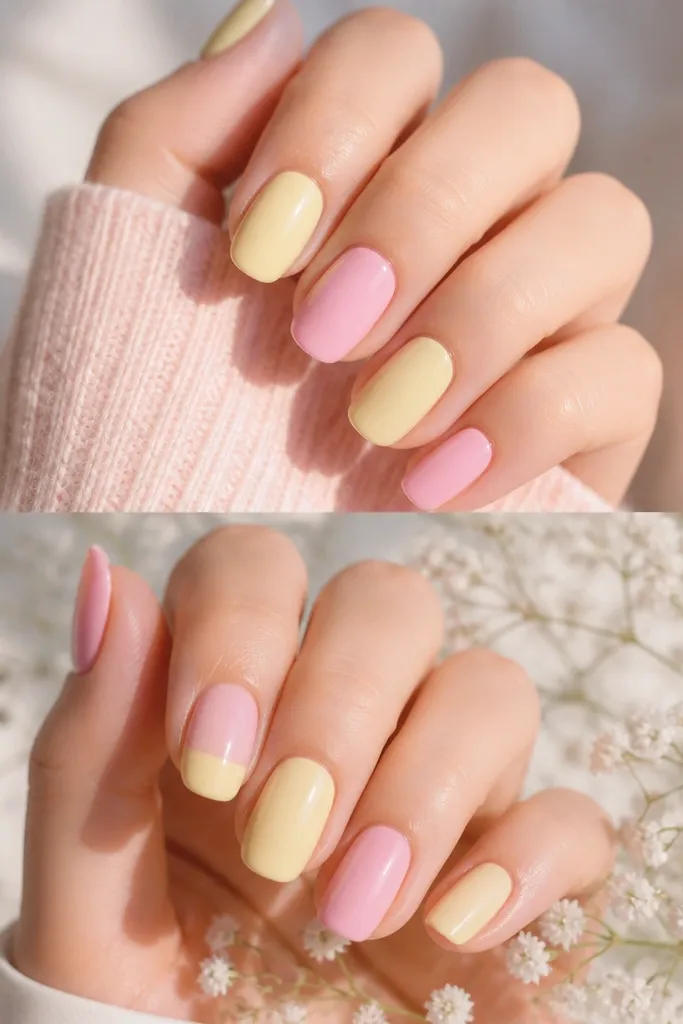
1. Butter Yellow Half-Moons with Periwinkle Tips
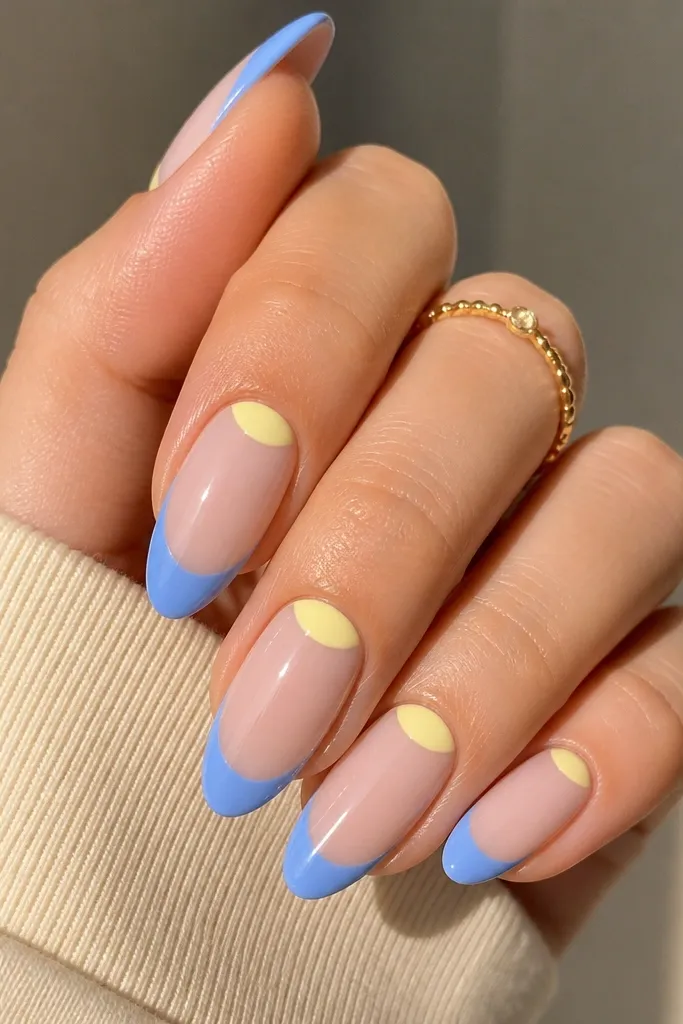
This layout looks bright because the half-moon shape gives yellow a defined boundary. Periwinkle tips keep the blue from going neon, so it reads light and airy instead of loud. The glossy top coat makes both shades reflect cleanly, which is what stops yellow from looking dry.
Start with a sheer nude base or go straight into a thin butter-yellow layer, then place periwinkle at the tip using a striping guide (tape strip works). Keep the half-moon line about 1/3 of the nail from the cuticle so it doesn't overpower short nails. Finish with a gel top coat that levels - I like one that self-smooths to avoid streaks.
Editor's noteUse a small piece of nail tape to guide the curve. Press it lightly so the edge stays crisp, then remove while the polish is still tacky.
Watch outDon't freehand the curve with thick polish - thick edges look fuzzy and cheap.
2. Thin White Divider Lines on Yellow and Light Blue Blocks
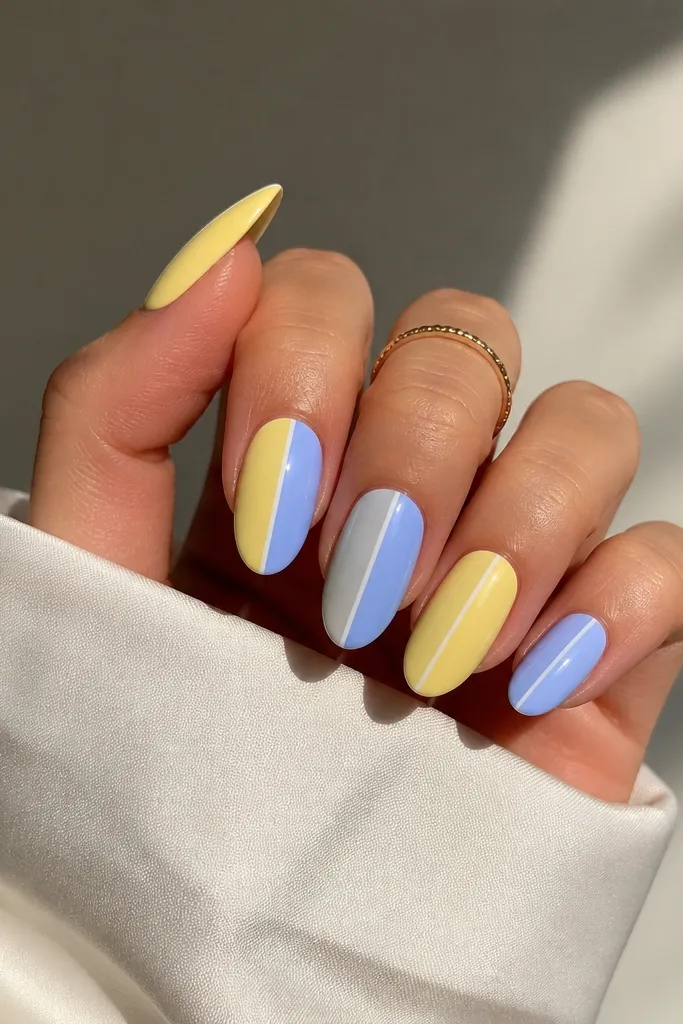
The white divider does the heavy lifting. It keeps the yellow and light blue from blending into a "greenish" mess on the edges. The blocks are bold, but the thin divider makes it look sharp, like nail art design rather than painted color.
Paint nails in two solid colors first: butter yellow on two nails and periwinkle blue on two nails (or all nails if you want a uniform look). Then use a striping brush with white gel/polish to draw a single vertical line down the center or slightly off-center. Leave a hairline gap so the colors don't smear.
Editor's noteIf you're using regular polish, wait until the base is fully dry, then add the white line with a brush you reserve for details.
Watch outAvoid thick striping - wide white lines make the set look cartoonish.
3. Sponge-Gradient Yellow to Light Blue Fade
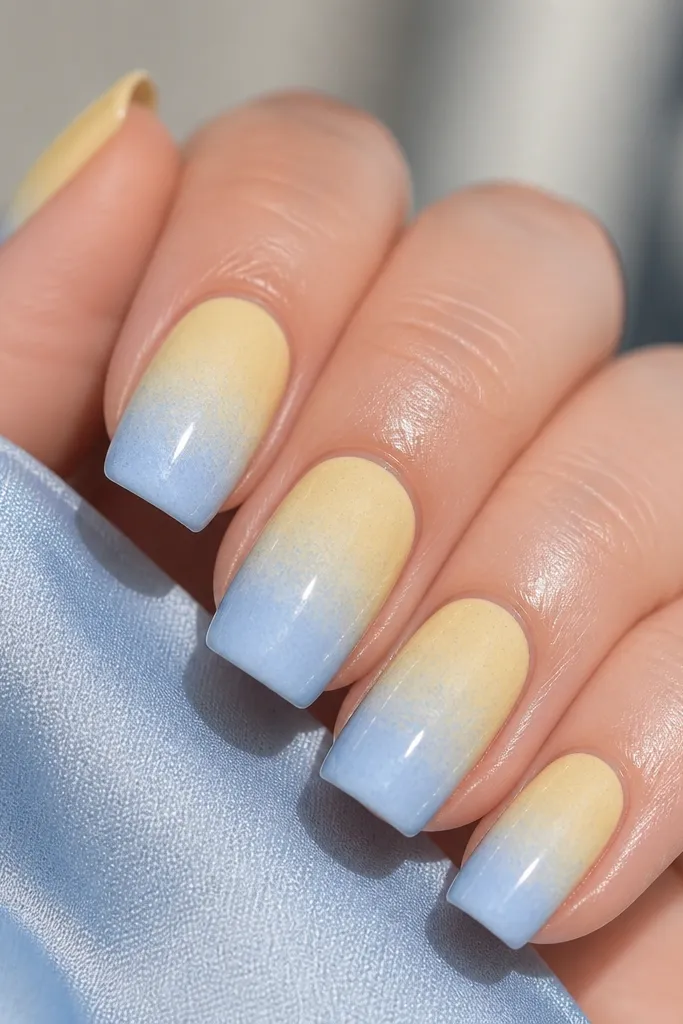
A sponge gradient looks expensive because the transition is soft, not stripey. It also hides minor application streaks better than a straight line design. Butter yellow at the base makes the fade warm, while light blue at the tip makes it feel fresh.
Use a small makeup sponge cut into a wedge. Dab butter yellow near the cuticle and light blue closer to the tip, overlapping in the middle for about 1-2 millimeters of blend. Work in thin layers and let each layer dry before adding another so you don't get patchy spots.
Editor's notePress the sponge once per layer, then lift - don't drag. Dragging creates hard bands.
Watch outDon't skip a cleanup brush. Sponge gradient can creep under the cuticle edge.
4. Sky Blue Base with Yellow Dots Like Polka Confetti
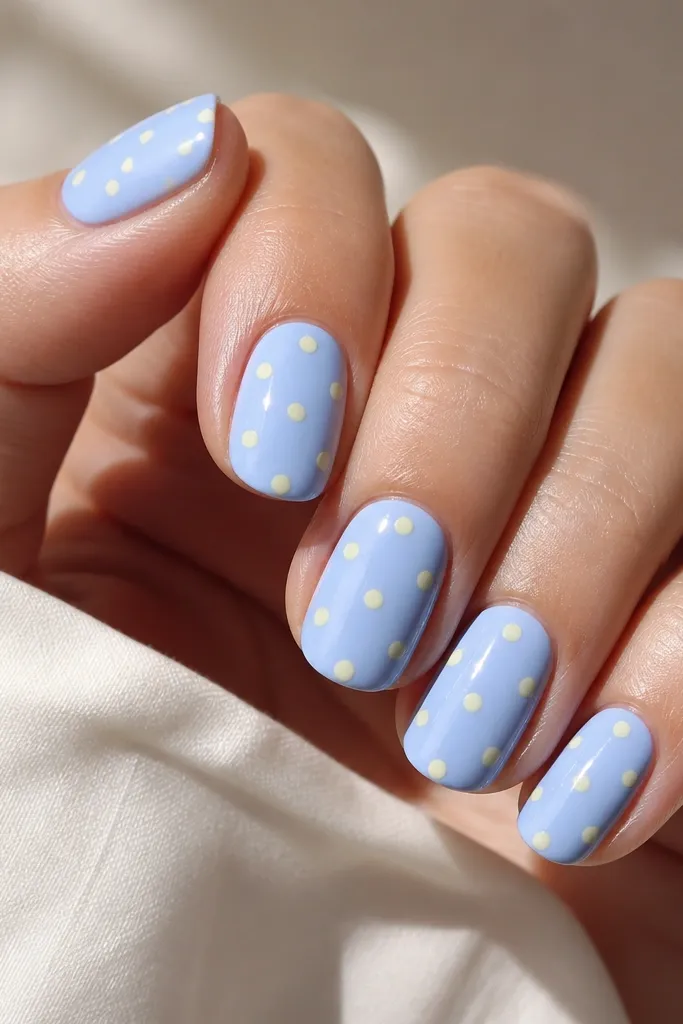
This one is playful but still clean because the dots are small and evenly spaced. A light blue base makes the yellow pop without getting too loud. Dots are also forgiving - if one dot is slightly off, it still reads as design.
Paint all nails periwinkle light blue. Let it dry fully, then use a dotting tool (I use 1.5-2mm tip for most nails). Place 8-12 dots per nail, varying slightly in placement but keeping them within the nail surface - don't go right up to the sidewalls.
Editor's noteDot on a plastic palette first to test paint thickness. Too thick dots look like blobs.
Watch outAvoid big dots on short nails - they swallow the nail shape.
5. Yellow Stars on Light Blue Half-Nails
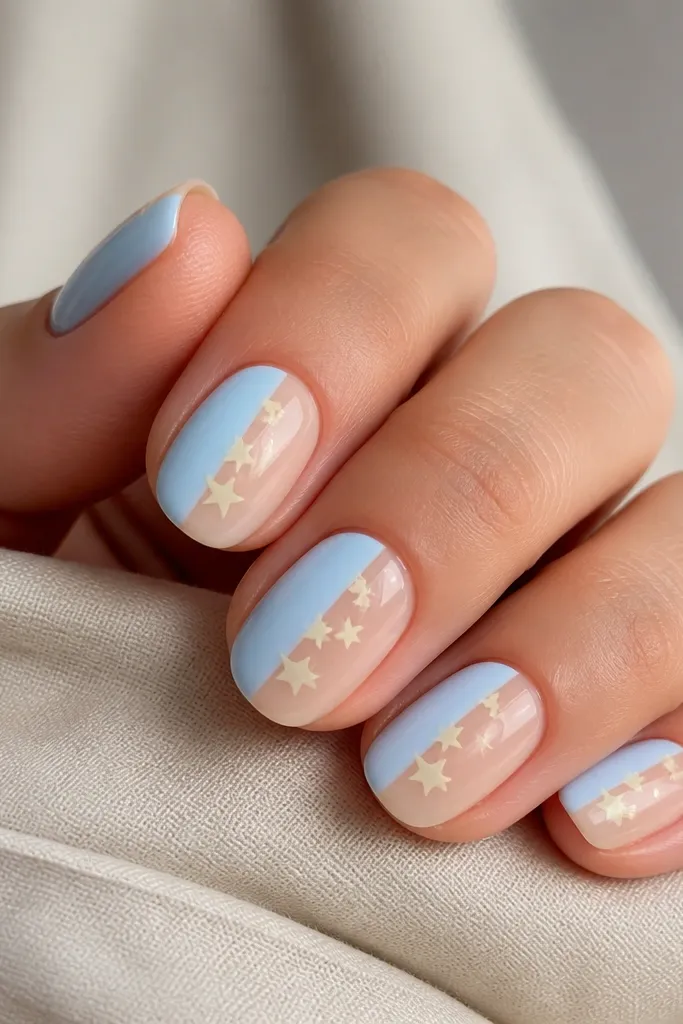
Stars look cute without needing a lot of detail work. By keeping the stars mostly in one zone, the set feels balanced and not busy. The light blue half makes the yellow stars stand out like little decals.
Paint the lower half or upper half of the nail with light blue using tape as a straight edge. Use nail art star stickers or stamp stars with butter yellow gel. Seal with a thick top coat that covers the star edges so they don't catch.
Editor's noteIf you hand-paint stars, do them in two steps: outline first, then fill. It keeps the points crisp.
Watch outDon't leave star edges unsealed - they snag on fabric and hair.
6. Butter Yellow French Tips with Light Blue Micro-Line
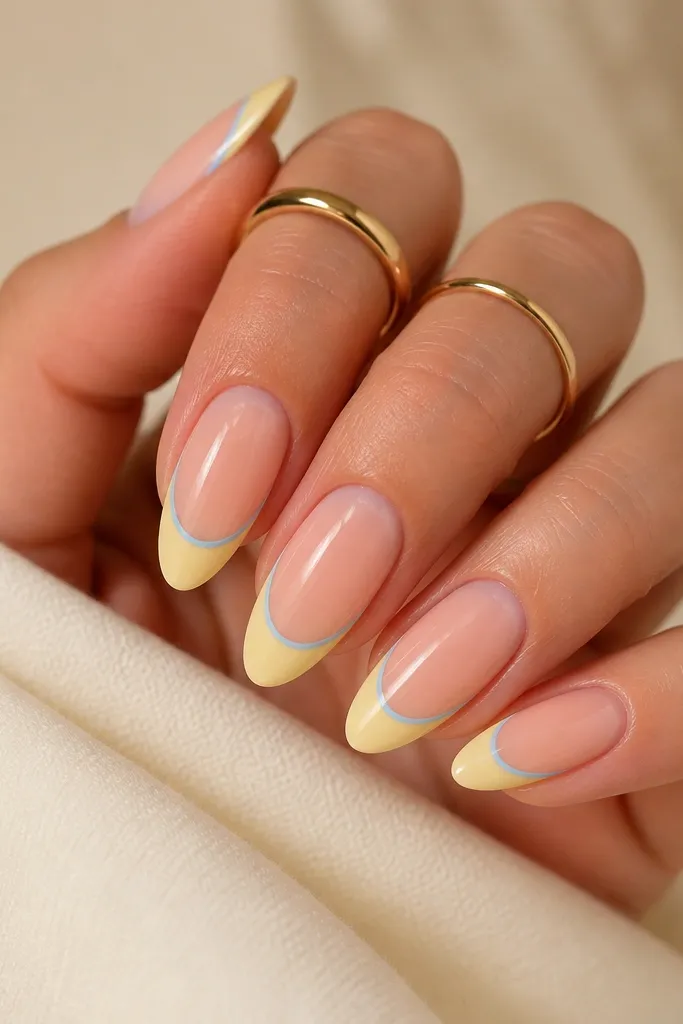
French tips look polished fast, and the micro-line is the twist that ties in the light blue. The blue line is thin enough to stay delicate, but it adds enough contrast to make the yellow look intentional. This combo also works on short square nails really well.
Create French tips with butter yellow using French tip guides or a steady striping brush. Once the yellow is set, draw a 0.5mm light blue line right at the tip edge. Keep the line straight - if it wobbles, do a second pass lightly.
Editor's noteWipe the brush edge on a paper towel after loading polish so the line stays hair-thin.
Watch outDon't make the micro-line too thick - it turns into a chunky stripe.
7. Light Blue Watercolor Wash Over Butter Yellow
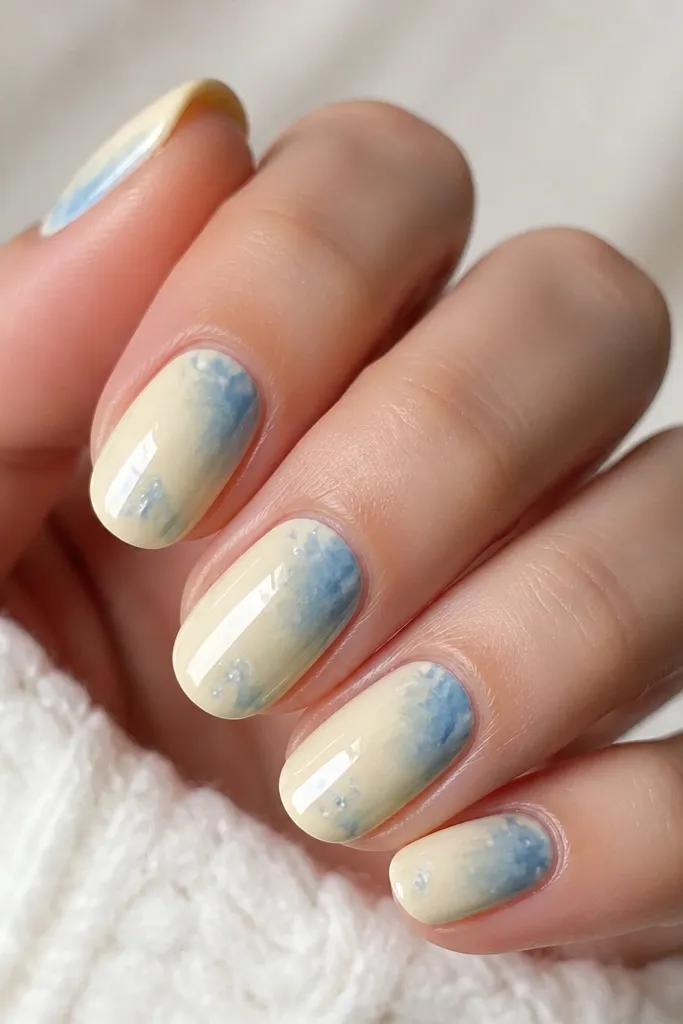
Watercolor washes look soft and artistic, and they hide brush marks. The translucent blue over yellow gives a gentle blend that doesn't go muddy. It also looks great when your nails have a little ridging because the wash texture breaks up the shine.
Paint butter yellow as the base. Then thin light blue polish with a few drops of gel polish medium or use a watery polish formula. Tap the brush onto the nail in small streaks and let some edges stay feathered. Seal with a glossy top coat to bring everything together.
Editor's noteUse a flat brush for watercolor taps - round brushes tend to make dots instead of washes.
Watch outAvoid full opacity blue over yellow - it turns into a flat two-tone block.
8. Yellow Base with Light Blue Diagonal Tape Lines
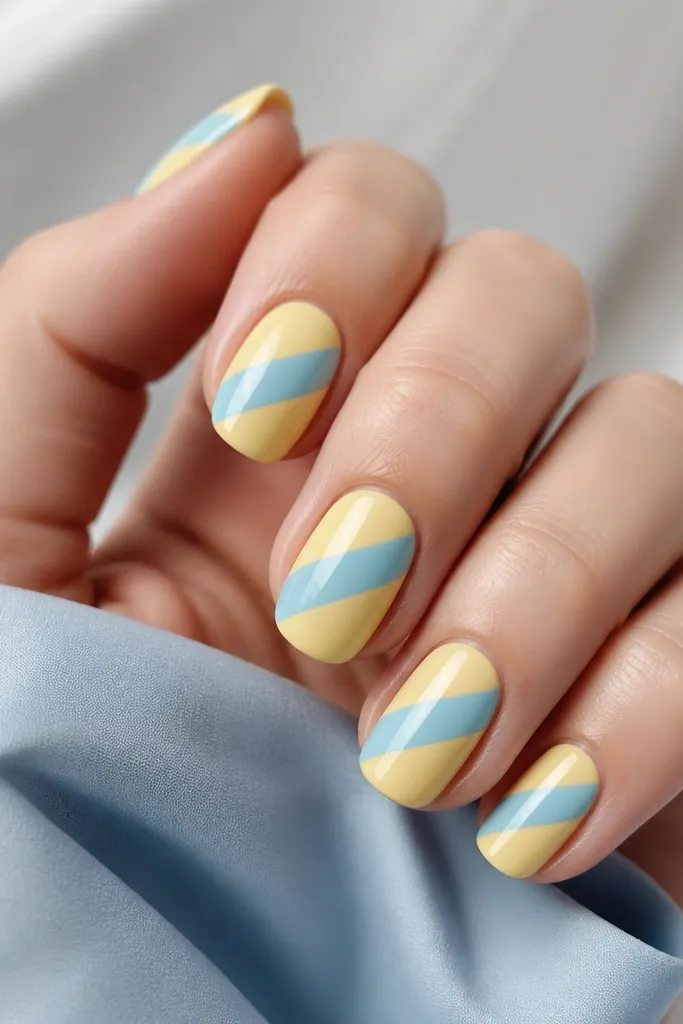
Diagonal tape lines look sharp because the edge is straight. Yellow is the main color, and the light blue stripe adds movement. This set is also beginner-friendly because tape does the precision work for you.
Paint all nails butter yellow. After it dries, place diagonal nail tape strips from lower-left to upper-right (or flip it on alternate nails). Fill the exposed area with light blue, then remove tape while the polish is slightly tacky for the cleanest edge.
Editor's notePress the tape down only at the edges. If you press in the middle, it can leave a ridge.
Watch outDon't use thick tape - it leaves a raised seam.
9. Periwinkle Half-Glow Cuticles with Yellow Outline
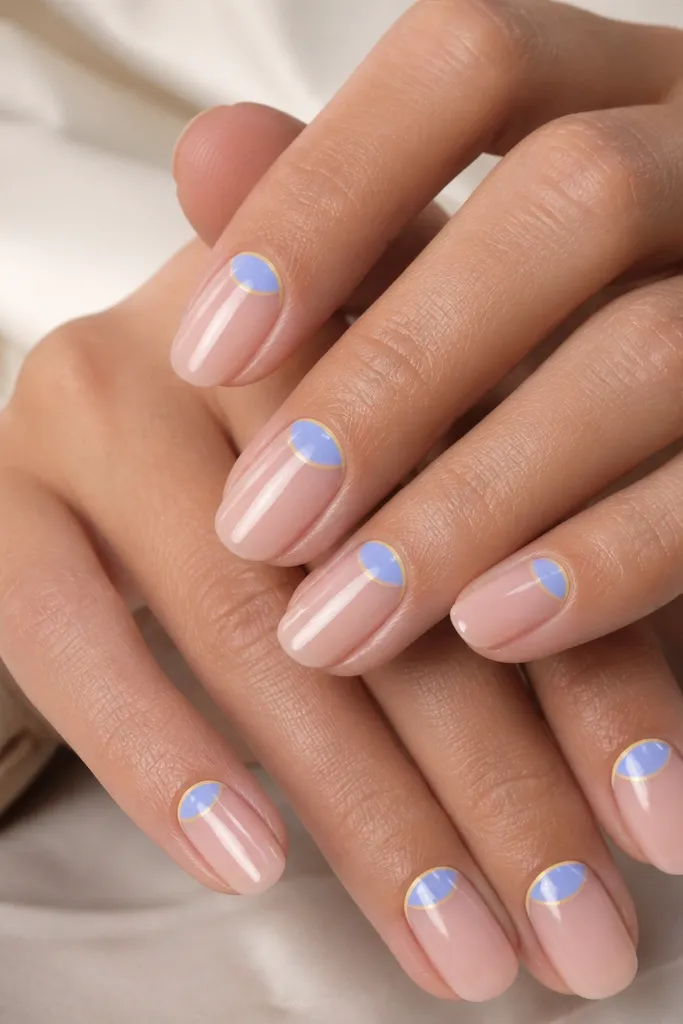
This is the "clean but different" version of cuticle nail art. The blue glow at the base draws the eye upward, and the yellow outline separates it so it doesn't blur. On real hands, it looks like you paid more attention than you did.
Start with a sheer nude base. Paint a crescent of light blue around the cuticle line, leaving the center nude. Then use butter yellow to outline that crescent with a thin brush. Keep the outline about the width of a strand of hair.
Editor's noteWork with gel polish and a fine detail brush because it lets you clean the line before curing.
Watch outAvoid painting right over the cuticle skin. Keep it 0.5mm away for a neat look.
10. Butter Yellow and Light Blue Checker on Two Accent Nails
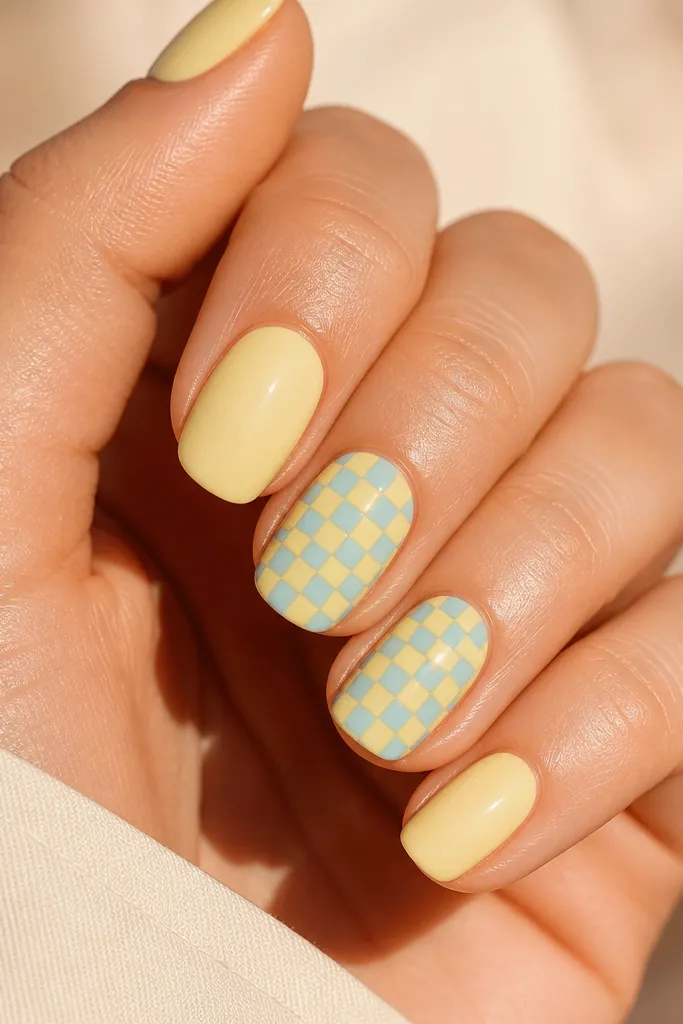
Checker patterns look cute without needing tiny flowers or complicated art. When the squares are small, the pattern reads tidy. Keeping checker only on two nails makes the set feel intentional instead of overdone.
Paint most nails solid light blue. For accent nails, use a striping tool or nail art brush to draw a grid, then fill alternating squares with butter yellow. Use a ruler edge of tape to keep rows straight.
Editor's noteMake the squares the same width as your detail brush tip. Consistency matters more than perfect symmetry.
Watch outAvoid large squares on short nails - they look cramped.
11. Yellow Sunbeam Lines from the Side on Light Blue
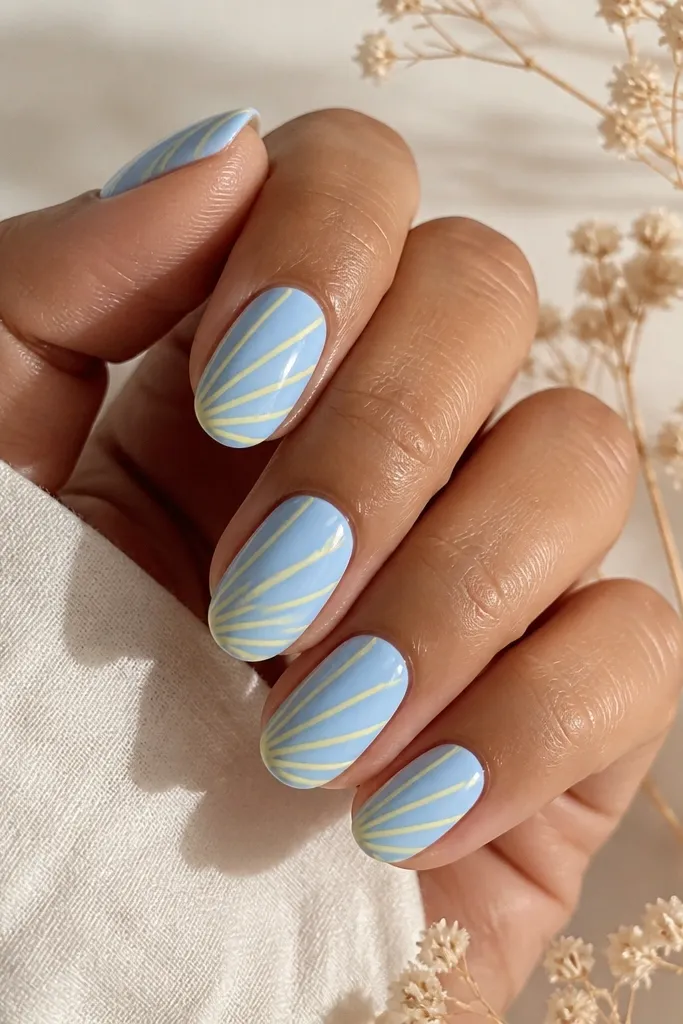
Sunbeam lines give direction, and direction makes the color pairing look designed. The light blue base stays calm, while the yellow lines add warmth. It also photographs well because the lines catch light at different angles.
Paint nails light blue. Use a striping brush to draw 4-6 thin yellow lines starting near one sidewall and ending near the free edge. Keep them separated by a consistent gap so it doesn't turn into one stripe.
Editor's noteIf your brush hair fans out, trim it slightly or use a liner brush made for nail art.
Watch outDon't cross lines in the middle. Crossing makes it look messy fast.
12. Yellow and Light Blue Half-and-Half with a Glossy Twist Knot
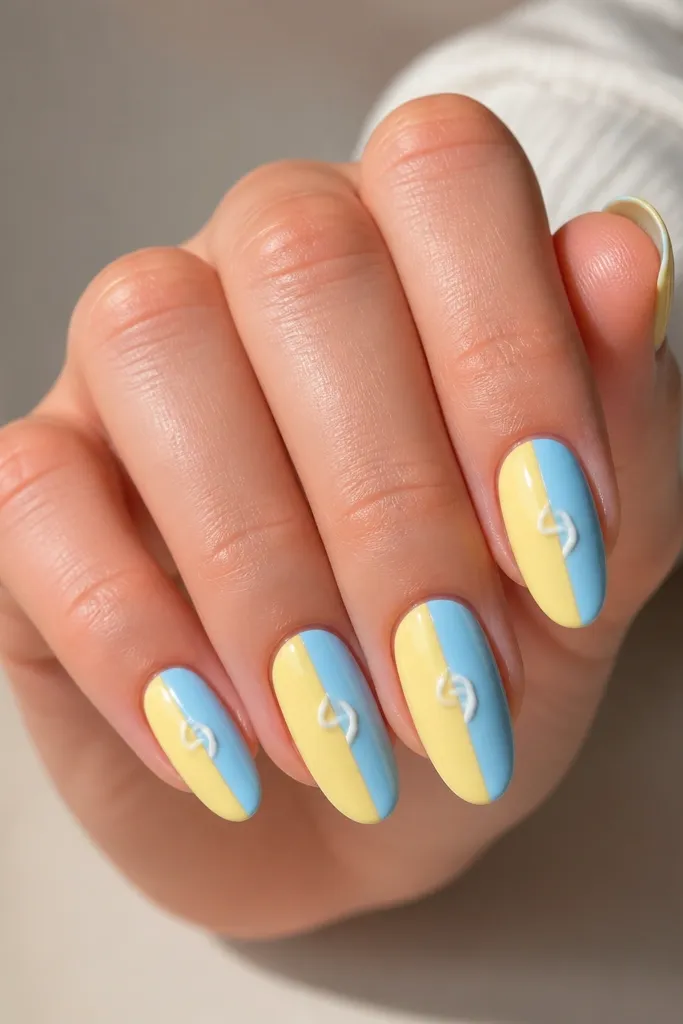
The half-and-half split gives you instant contrast. The small swirl detail makes it feel like a "jewelry" nail instead of basic color blocking. Using white for the knot keeps it bright and separates the two colors cleanly.
Create a straight split line using tape down the center. Fill left with butter yellow and right with light blue. Add a tiny white swirl at the center with a dotting tool or nail art brush, then top coat thickly to level over the swirl.
Editor's notePlace the swirl exactly where the tape line meets. That's where the eye expects detail.
Watch outAvoid leaving the split line thick. Thin edges look professional.
13. Light Blue Ombré Tips with Butter Yellow Base
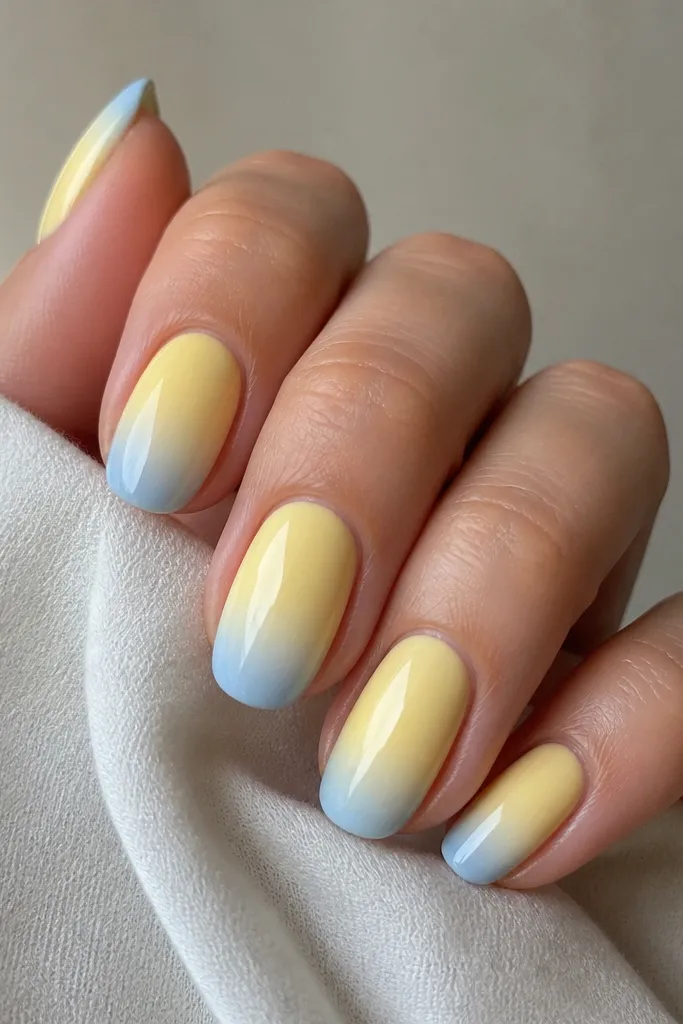
This ombré keeps the yellow as the warm foundation and makes the blue feel airy at the tips. It's a softer version of a French tip, and it grows out more gracefully because the gradient blends. The glossy finish keeps both colors looking hydrated.
Paint a solid butter-yellow base. Sponge or brush light blue starting at the tip, then blend upward 1/3 of the nail. Build layers until the fade looks smooth, then seal with a thick top coat.
Editor's noteUse fewer layers on the first try - you can always add more color, but removing patchiness is harder.
Watch outDon't apply a heavy blue blob at the tip. It makes the ombré look like a stain.
14. Yellow Outline Hearts on Light Blue Negative Space
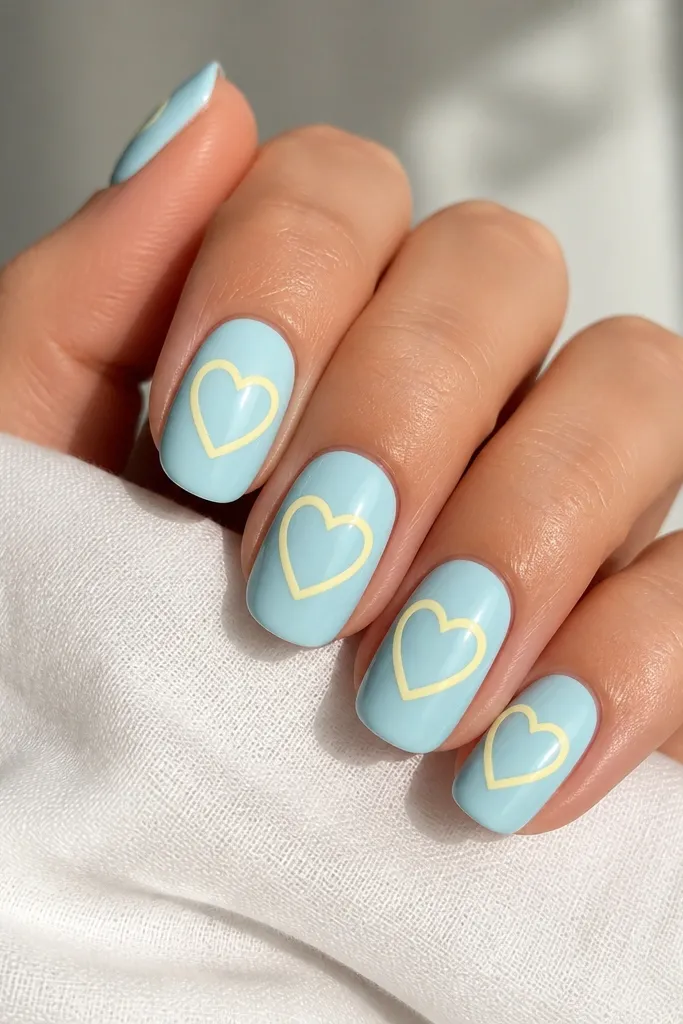
Negative space hearts look crisp and modern. The yellow outline gives the heart shape without making the nail feel heavy. Light blue as the background makes the heart look like a little sticker.
Paint nails light blue. Use a small dotting tool to place two top points of the heart, then connect them with a fine brush for an outline-only heart. Keep the heart about 1/2 the width of the nail so it doesn't crowd the cuticle.
Editor's noteLet the light blue cure fully before drawing the heart outline so the brush doesn't drag.
Watch outAvoid filling the heart in - outlines look cleaner and last longer because fewer layers chip.
15. Butter Yellow Marble Swirls with Light Blue Veins
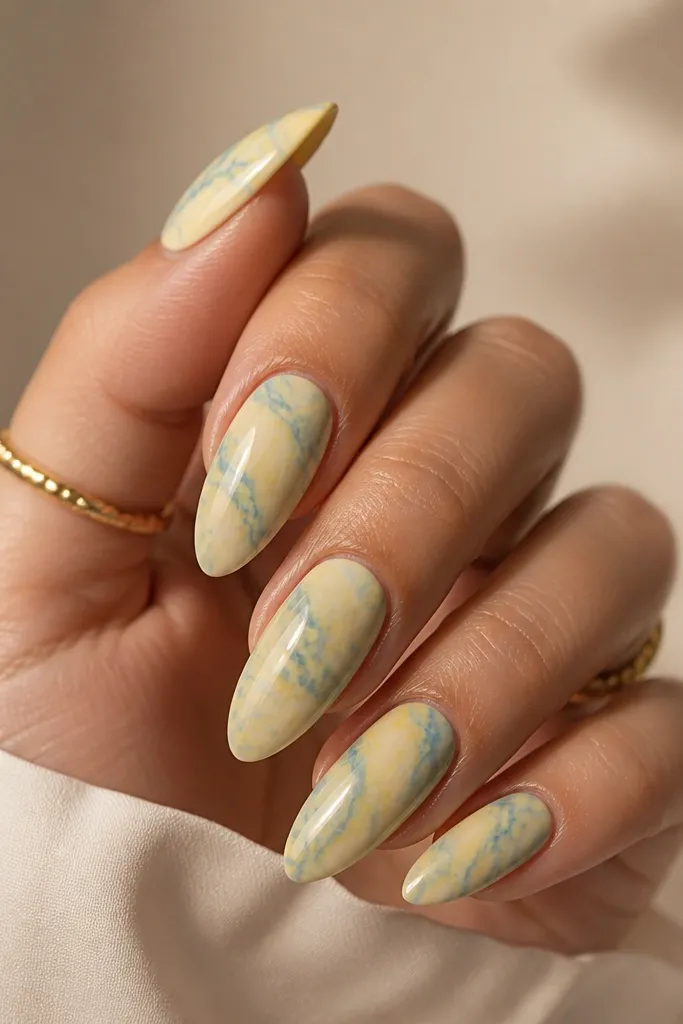
Marble nails look good when the veining is thin. Butter yellow reads warm like cream, and light blue veining keeps it fresh instead of old-school beige marble. The trick is to keep the swirls airy, not thick and muddy.
Start with butter yellow. Add a few wispy swirls of light blue using a thin detail brush, then drag a tiny amount of white through them for a stone look. Don't overwork - marble should look slightly imperfect.
Editor's noteDo marble on 2-4 nails max. Your hands will look more intentional and it's easier to keep the pattern clean.
Watch outAvoid painting big opaque swirls. That turns marble into blobs.
16. Light Blue Lace Look over Yellow Base
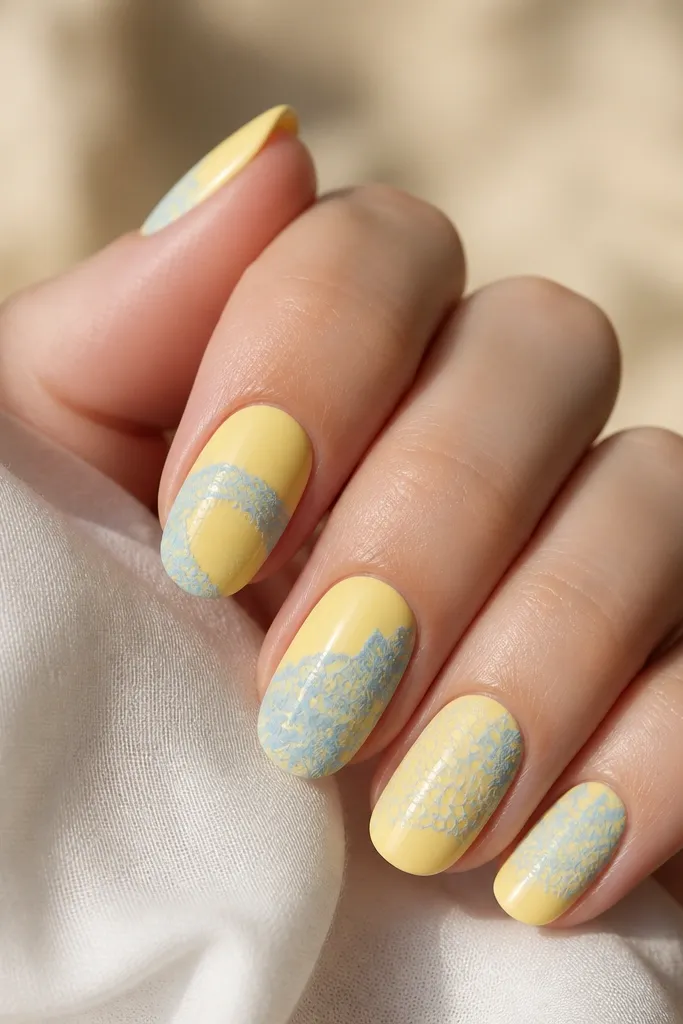
Lace patterns make this color combo feel girly without being childish. Yellow gives warmth, and light blue lace lines feel delicate and clean. It's also a good option if you want art that still looks neat when it grows out.
Paint nails butter yellow. Then use a lace stamping plate or lace sticker and stamp/press light blue near the tip area, leaving the lower nail plain. Seal with a top coat that covers edges so the lace doesn't lift.
Editor's noteWhen stamping, scrape hard and quickly. Slow scraping gives fuzzy edges.
Watch outAvoid covering the whole nail with lace. Too much pattern makes it look busy.
17. Yellow and Light Blue Vertical Stripes with Micro-Glitter Top Coat
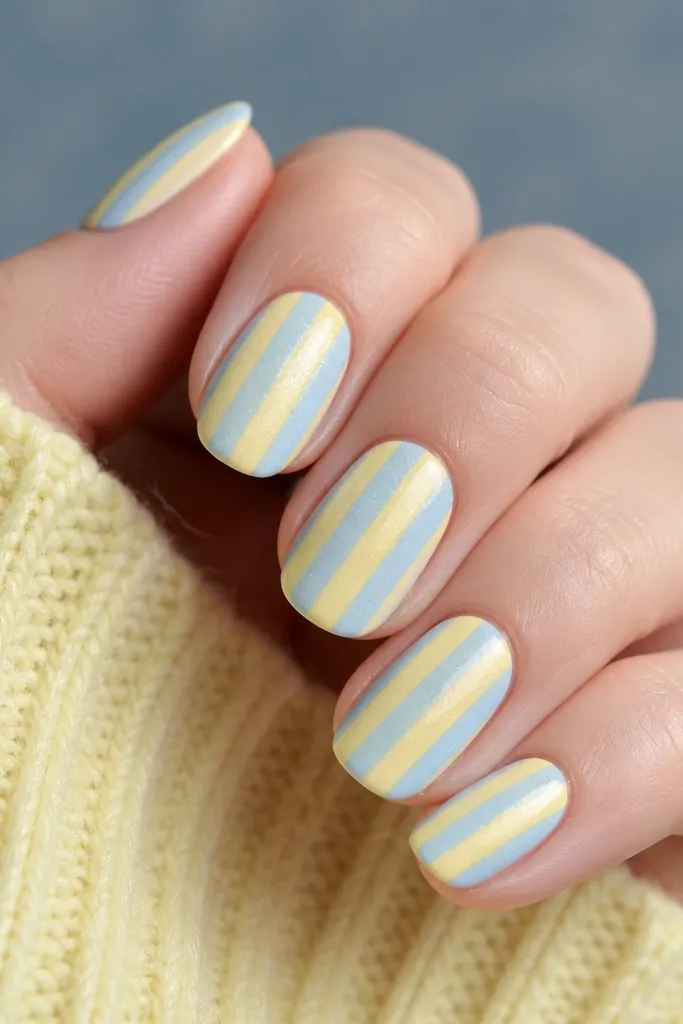
Vertical stripes elongate the nail, and the micro-glitter top coat makes yellow look less flat. Light blue stripes add contrast without needing extra art. This is one of the sets I reach for when I want "cute but polished" for events.
Paint a base of either butter yellow or light blue, then apply thin vertical stripes with a liner brush. Keep stripe width consistent, around 1mm. Finish with a clear top coat that has fine shimmer, not chunky glitter.
Editor's noteIf stripes start to smear, let the base cure fully and do one stripe at a time with a clean brush.
Watch outAvoid chunky glitter. It hides the stripe edges and looks messy.
18. Light Blue Half-Moon Tips with Yellow Outer Edge
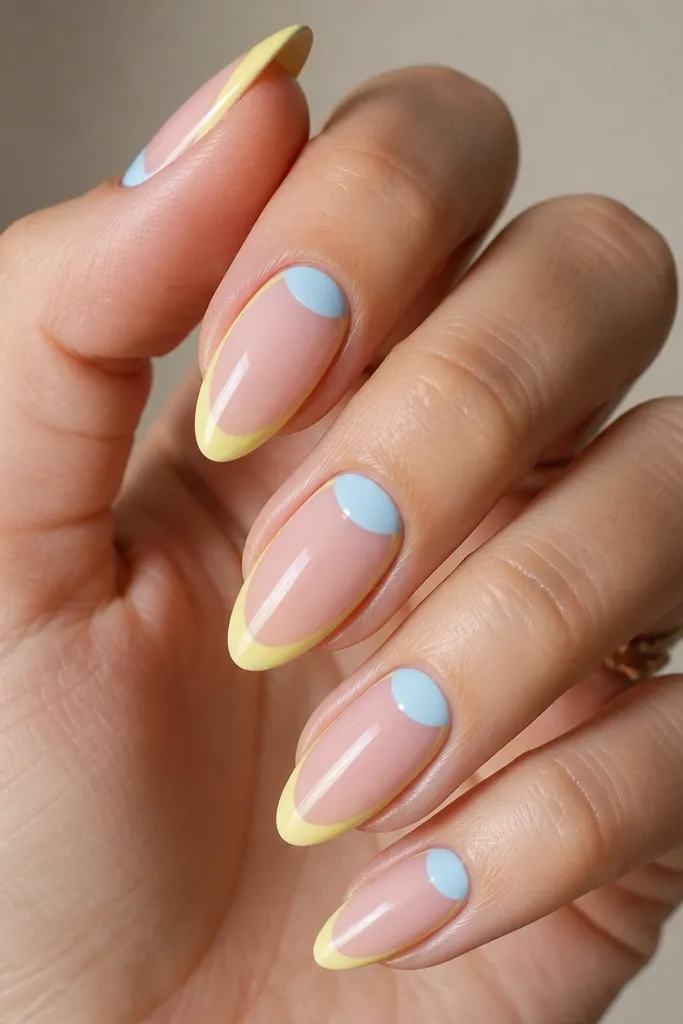
This is the "reverse French" idea. The nude base keeps things light, the light blue half-moon looks soft, and the yellow outline adds definition so it doesn't look like a smear. It's one of the most flattering versions for short nails.
Use a sheer nude base. Create the light blue half-moon at the tip with a small curved stamp or tape curve. Then outline the outer edge with butter yellow using a detail brush. Cure and top coat thick so the outline stays smooth.
Editor's noteIf the outline looks shaky, do it twice thin instead of once thick.
Watch outDon't let the yellow outline touch the cuticle. Keep it only on the tip curve.