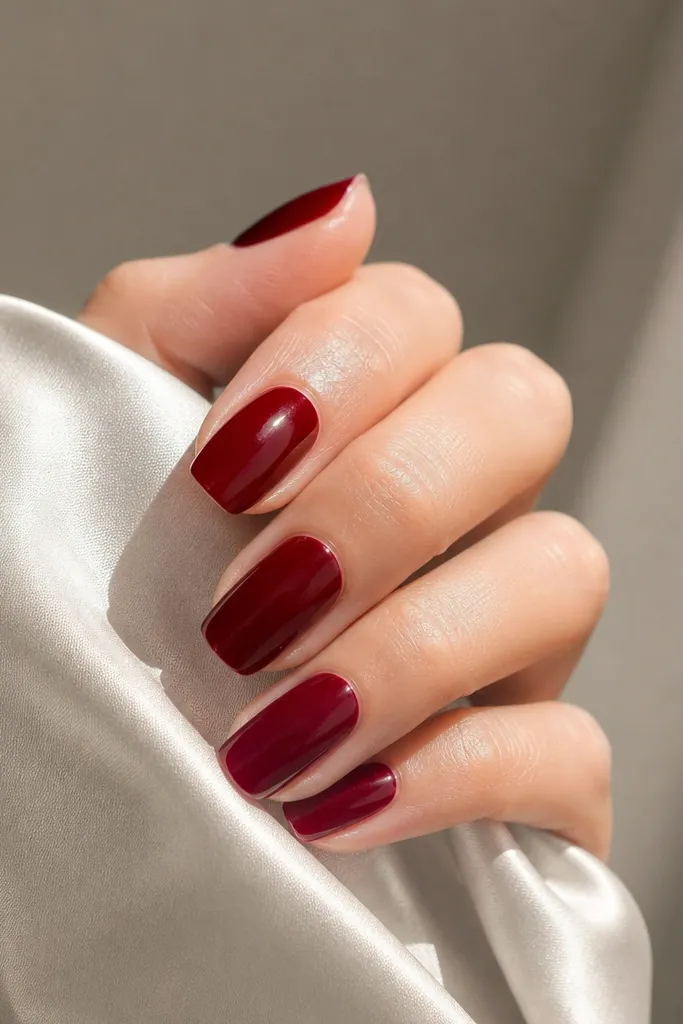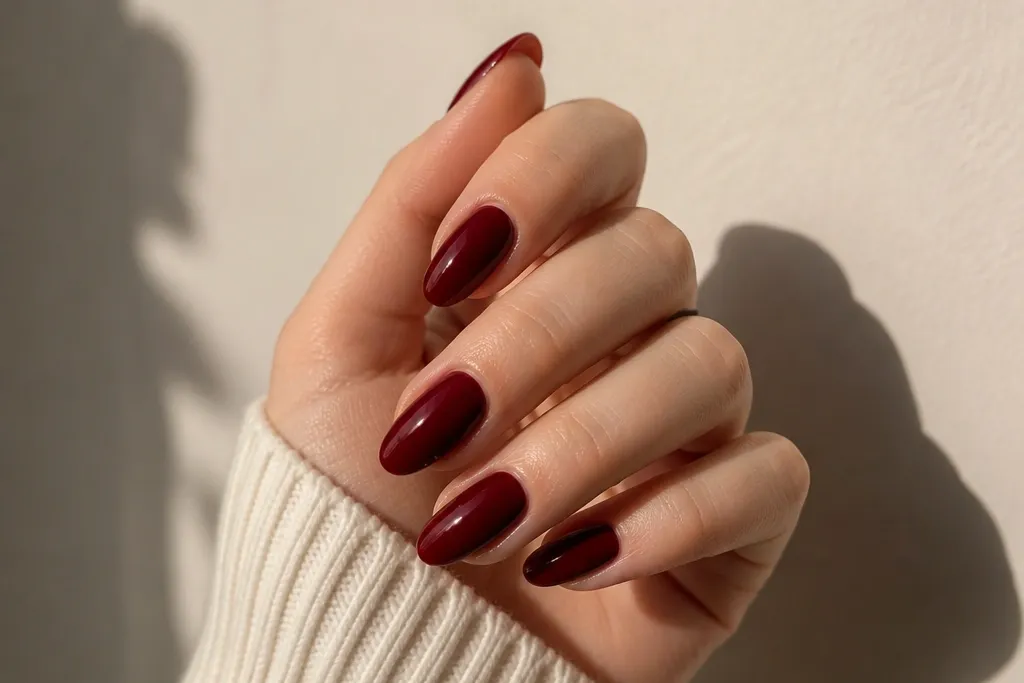
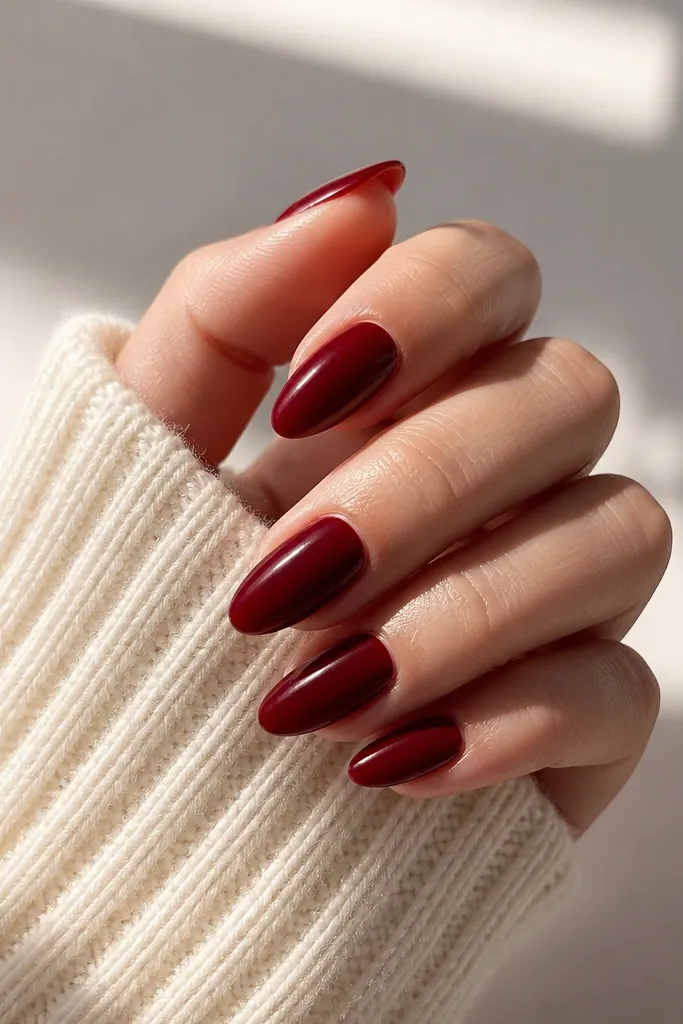
1. Classic glossy deep red almond (no art, just perfect edges)
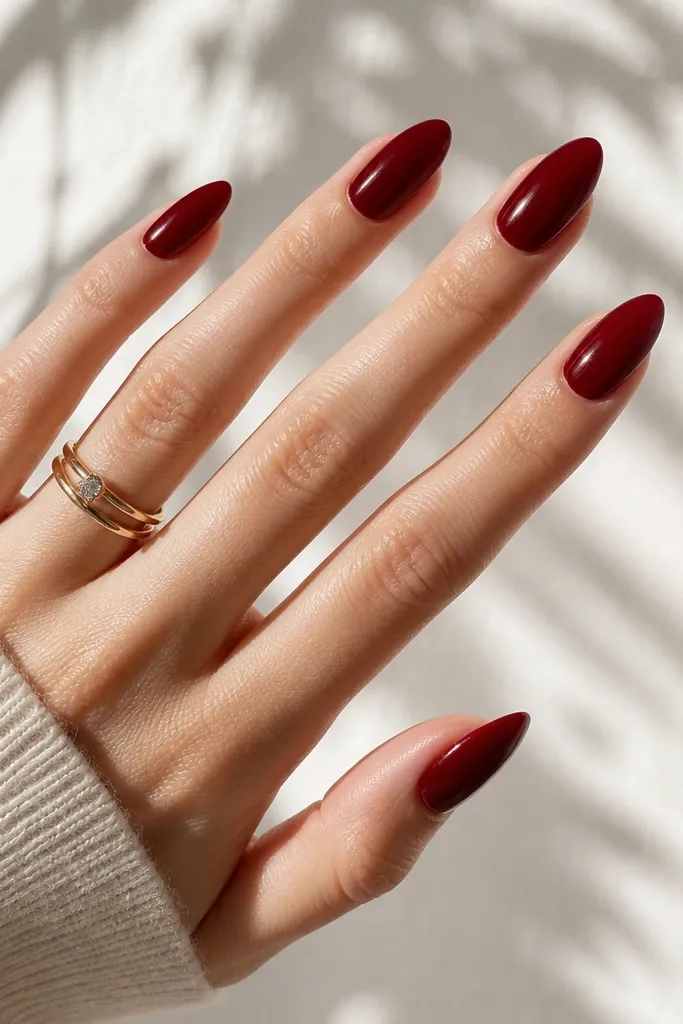
This look is all about control. A deep wine red that is opaque in two coats makes the almond shape look crisp instead of muddy. The glossy topcoat reflects light on the tapered sides, so small filing differences don't stand out as much. It's the fastest way to wear deep red without it looking harsh.
Paint two thin coats, then cap the free edge on coat two. Keep your brush centered so the sides get coverage without flooding the cuticle.
Editor's noteAfter your second coat, wait 2 minutes and check under a bright lamp - any thin spots show immediately, so fix them while the polish is still workable.
Watch outDon't let the red pool at the cuticle; it turns glossy red into a thick, uneven line.
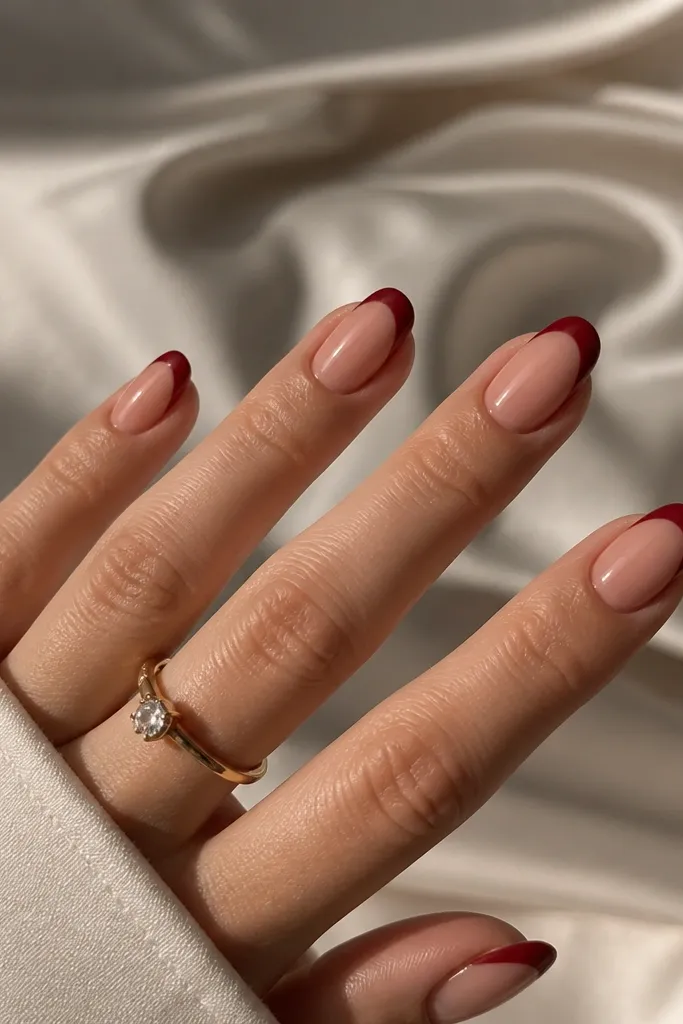
2. Deep red micro-French tip on almond (thin "smile" line)
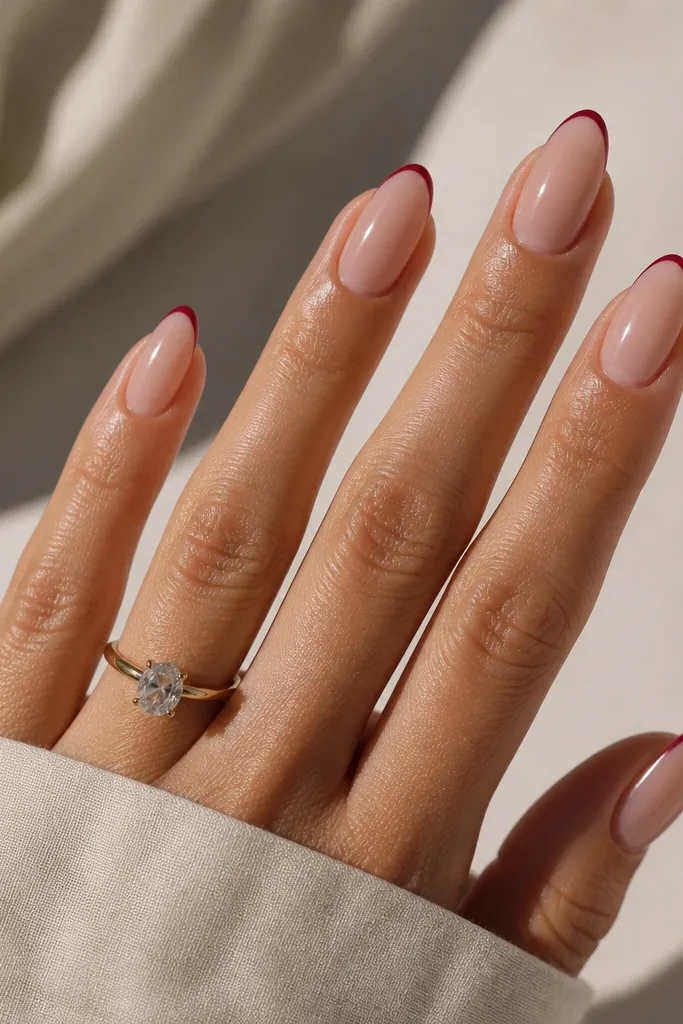
Micro-French makes almond nails look longer without adding extra length. The deep red tip creates a clean contrast, and because the line is thin, it doesn't bulk up the nail at the stress point. I like this when my hands look tired but I still want a bold red moment.
Use a sheer nude or rosy base, then paint a deep red French line about 1 mm wide. After it dries, topcoat the whole nail and cap the tip.
Editor's noteUse scotch tape or a thin strip of nail vinyl as a guide for one nail - once you get the line width right, freehand the rest to match.
Watch outSkipping the topcoat over the very edge makes the French line chip first.
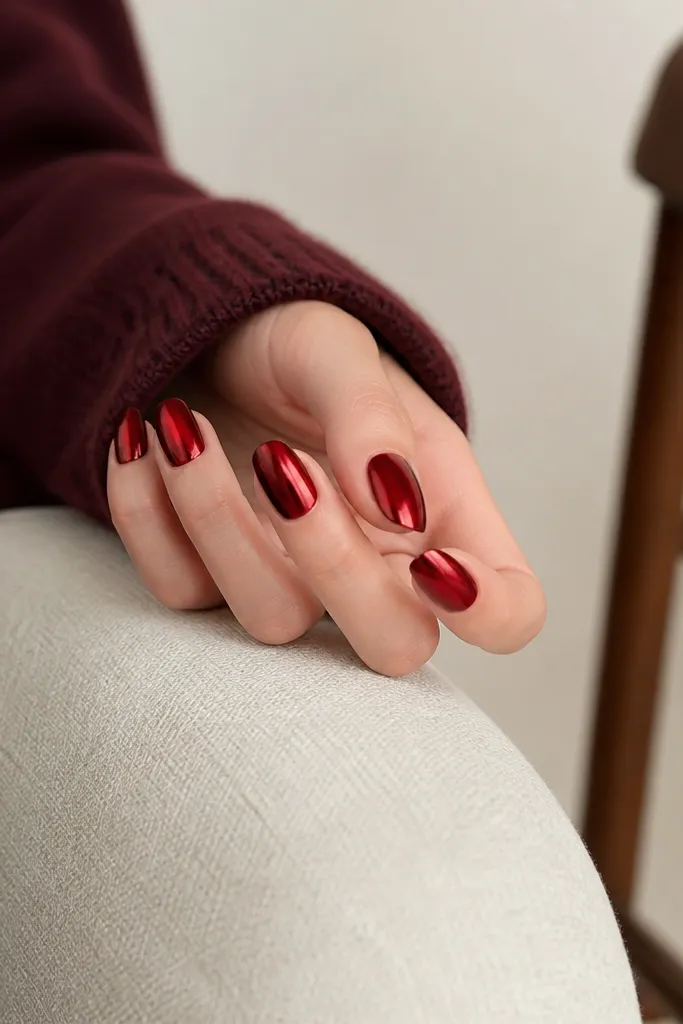
3. Oxblood red with a matte topcoat (velvet almond)
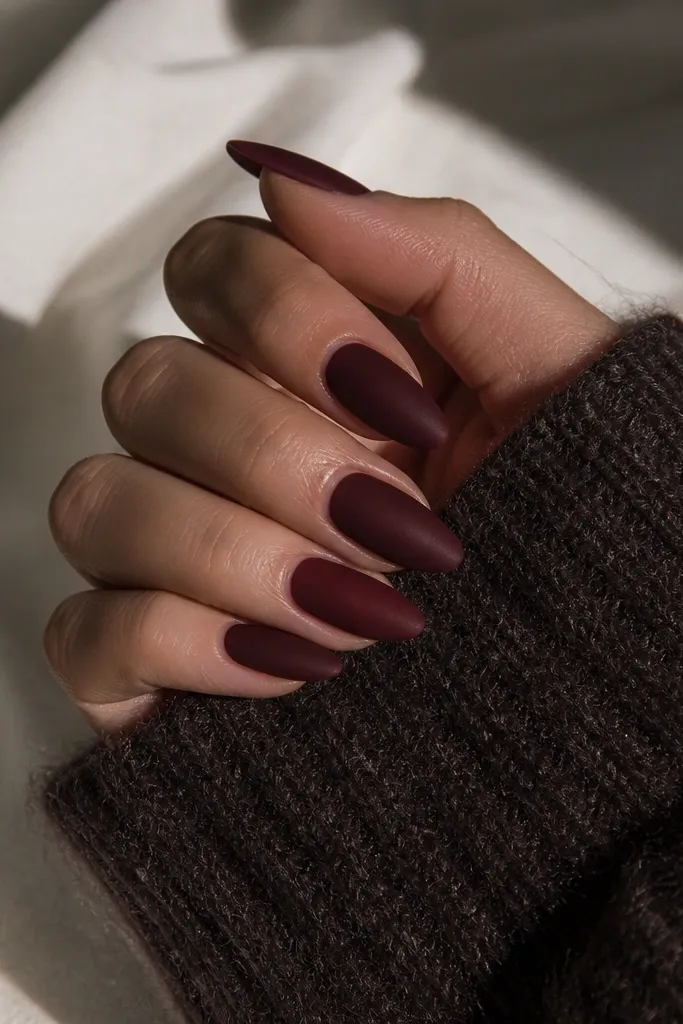
Matte turns deep red into something more moody and grown-up. On almond nails, matte hides tiny surface ridges because it doesn't reflect light the same way gloss does. Oxblood shades also look richer in matte than bright cherry reds.
Paint two coats of an oxblood deep red. Finish with matte topcoat only after the red is fully dry or fully cured, or you'll get a patchy look.
Editor's noteIf matte feels too flat, add a glossy topcoat only on the ring finger - it creates a simple two-finish contrast.
Watch outDon't shake matte topcoat; it can streak and leave dull patches.
4. Deep red ombre fade from cuticle (no harsh line)
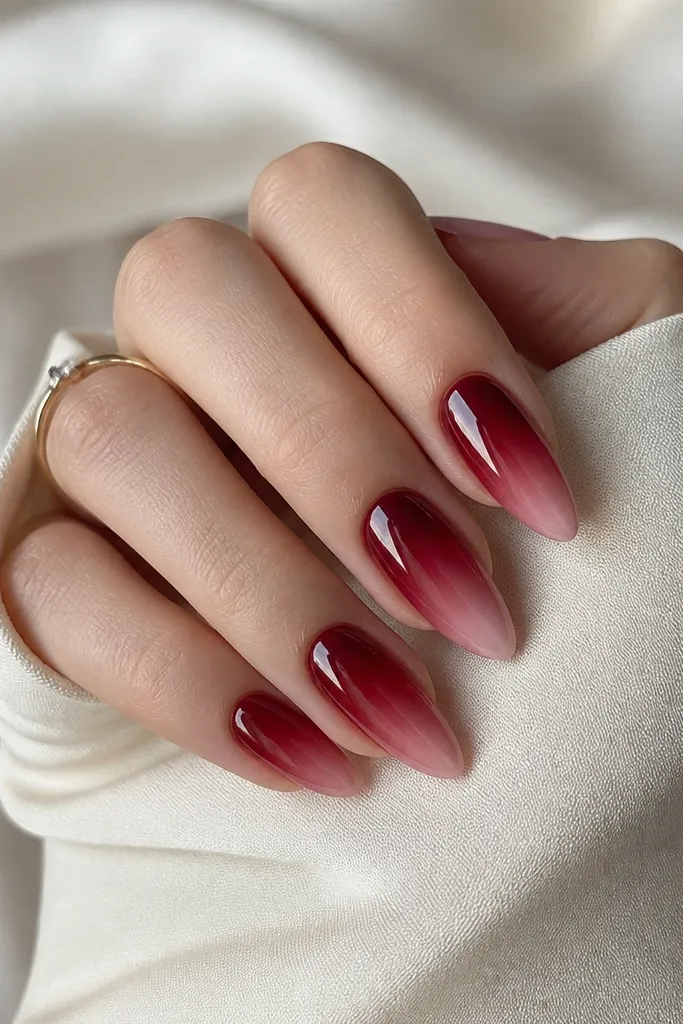
A cuticle-to-tip ombre makes almond nails look extra dimensional without adding decals. The darker base at the cuticle makes your nail bed look longer, and the fade at the tip keeps the red from looking too heavy. I do this when I want deep red but less "blocky."
After base coat, sponge a small amount of deep red near the cuticle and blend upward and outward with a makeup sponge. Clean the edges with a brush, then seal with two topcoat passes.
Editor's noteUse a light hand on the sponge - you should be able to see the fade building over 3-4 thin presses, not one thick swipe.
Watch outDon't skip cleanup around the cuticle; ombre shows smudges more than solid color.
5. Deep red glossy with a single gold foil stripe
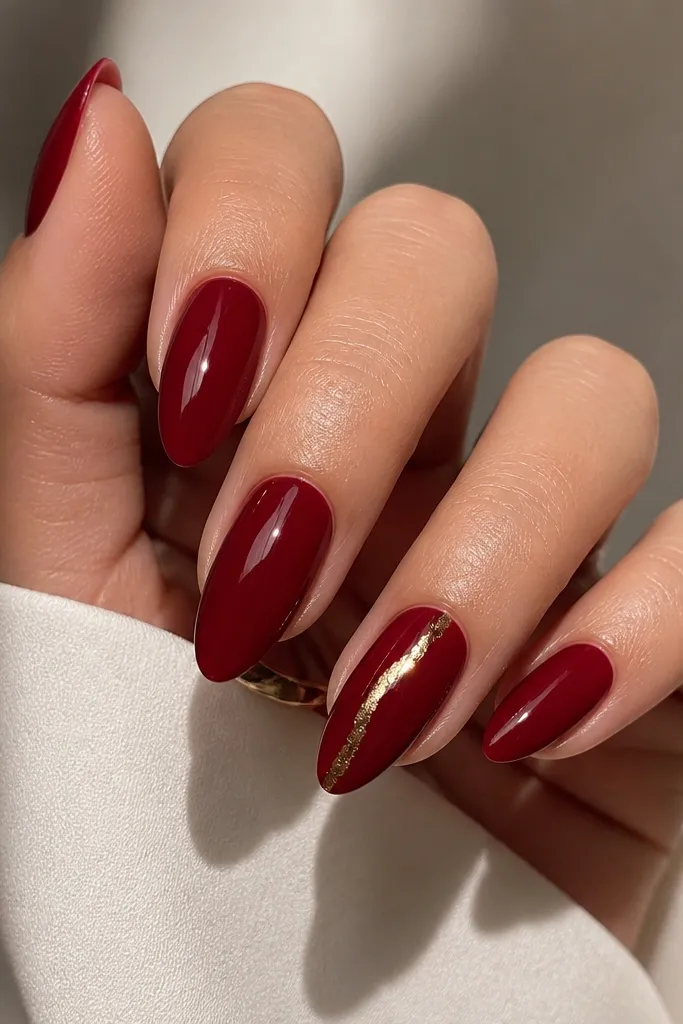
Gold foil makes deep red look expensive fast. The trick is keeping the foil line narrow so it doesn't overpower the almond shape. On one nail (or two max), it looks intentional instead of chaotic.
Press a small strip of gold foil onto a tacky layer (gel) or use foil adhesive for regular polish. Seal over with topcoat, and cap the foil edges so it doesn't lift.
Editor's noteTrim the foil strip with nail scissors before applying so it lands clean on the curve of the almond tip.
Watch outDon't use a thick layer of glue; it creates bumps under topcoat.
6. Deep red glossy with tiny white dots (one nail only)
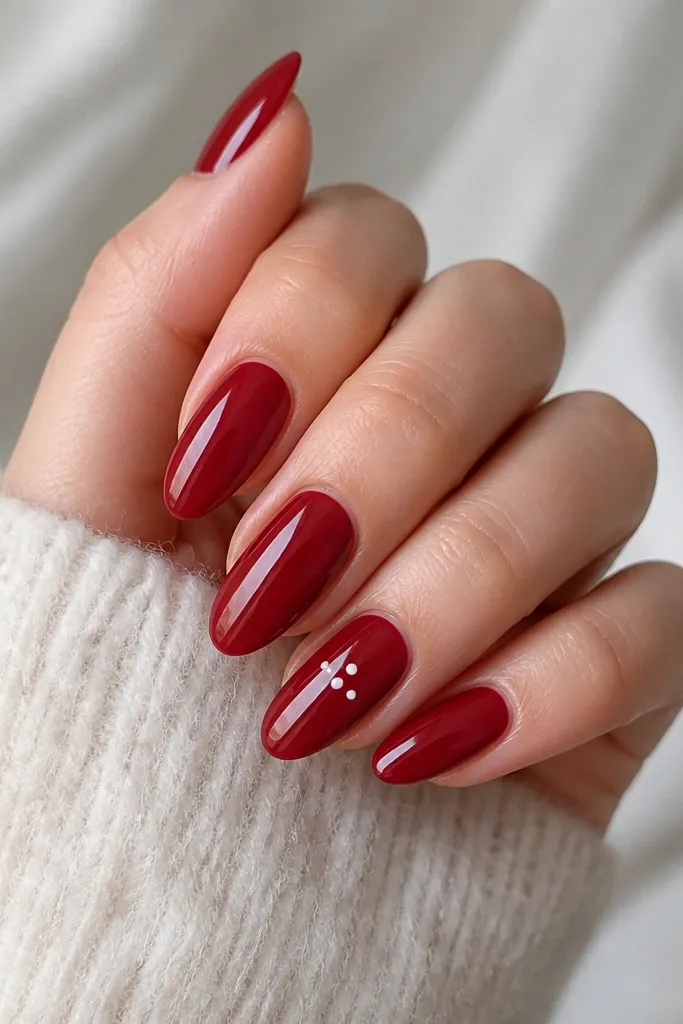
Tiny dots are the quickest way to add charm without turning deep red into a theme. White dots pop against deep red and look neat because they're small and controlled. I like placing them off-center so the nail still feels sleek.
After the second red coat, place 3-4 dots with a dotting tool dipped in white polish. Let them dry fully, then topcoat over carefully.
Editor's noteIf dots spread, your white polish is too thick - add one drop of thinner or use a fast-dry white gel.
Watch outDon't place dots too close to the cuticle; they can look like chips.
7. Deep red half-moon cuticle (negative space)
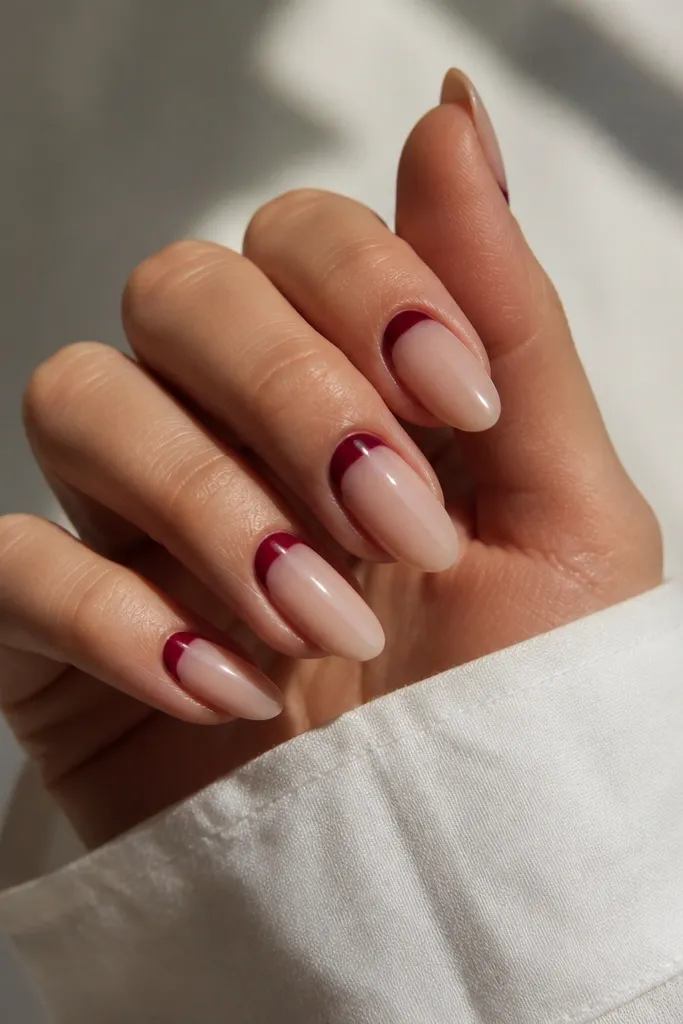
Half-moons make your cuticle area look sharp while keeping the nail lighter. The negative space makes the almond look longer, and deep red stays the star without covering the whole nail. It's also easier to clean than full coverage if you're learning.
Use a small brush to paint a deep red half-moon at the cuticle, then topcoat. If you want extra coverage, do a second thin half-moon layer and cap the edges.
Editor's noteStart with the inner curve first, then connect the outer corners - it keeps the half-moon symmetrical.
Watch outDon't paint all the way to the sidewalls; leave a hairline gap for a cleaner look.
8. Deep red "crystal" accent with clear rhinestones (ring finger)
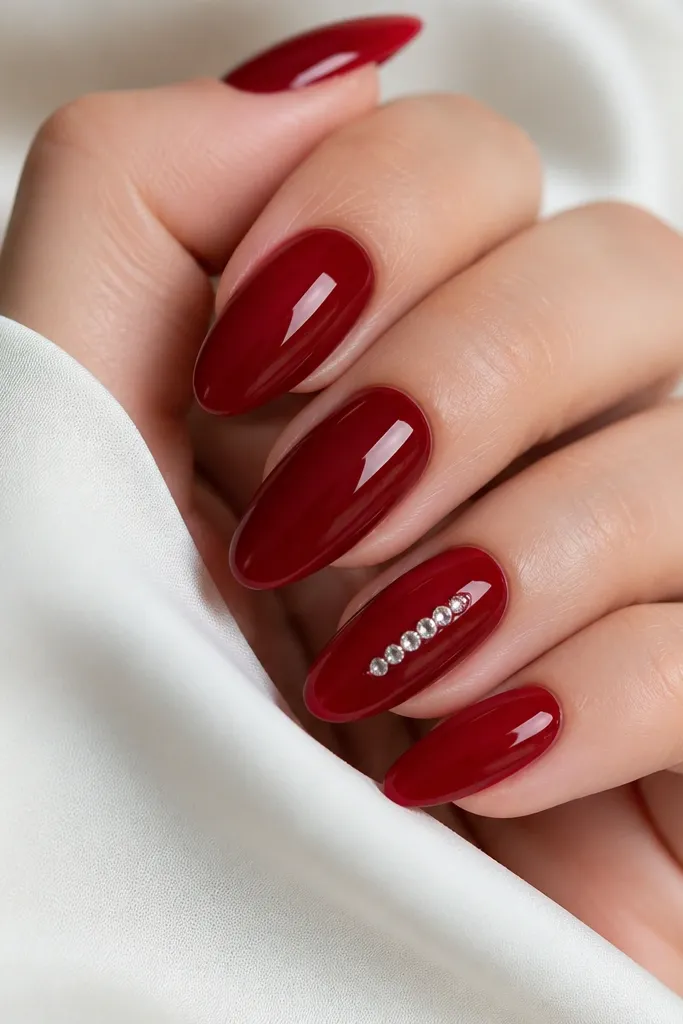
Rhinestones make deep red look party-ready, but only when the stones are small. Use a tight cluster on one nail so the almond shape stays elegant. The clear stones reflect like tiny highlights against the dark red.
Apply a small dot of nail glue or use a gel tack layer. Place 3-5 stones with tweezers, then seal with topcoat that covers the edges of each stone.
Editor's noteUse a toothpick to press each stone down - you want full contact before curing.
Watch outDon't put stones on a glossy surface without a tack layer; they slide around.
9. Deep red aura nails (soft glow around the center)
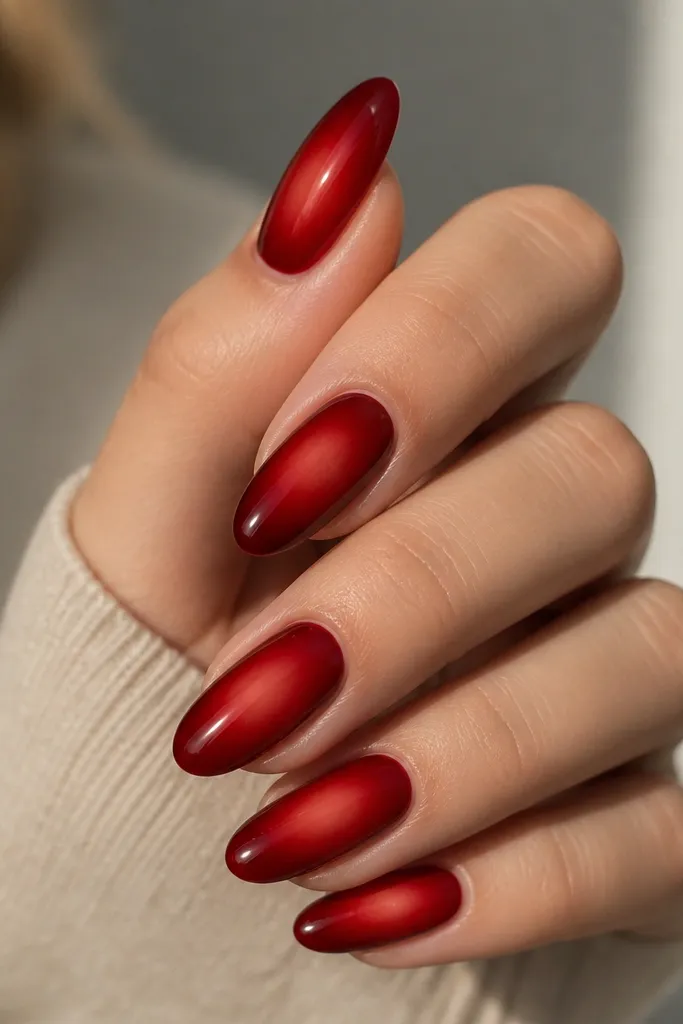
Aura nails look like light is reflecting from under the red. The blurred center keeps it modern and makes the almond tip look smooth instead of flat. This is one of my favorite "easy ways" because the blending hides small application marks.
After your base red coats, sponge a slightly lighter red or deep burgundy around the center area. Blend with 2-3 light presses, then topcoat.
Editor's noteChoose a second shade that is only 1-2 tones lighter, not bright - the aura looks natural instead of striped.
Watch outDon't over-sponge; too much lighter color turns the aura into a muddy patch.
10. Deep red glossy with a thin black diagonal line (editorial look)
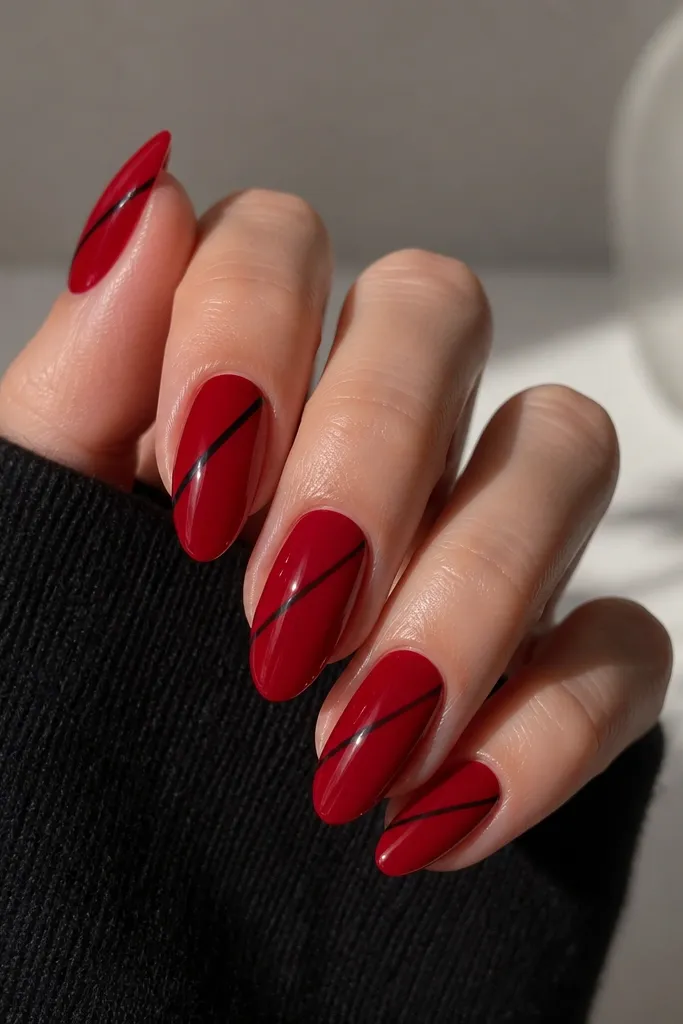
Black makes deep red look sharper and more graphic. A single diagonal line keeps it clean and doesn't fight the almond shape. I wear this when I want something bold but still wearable for work.
Use a fine liner brush with black polish. Paint one diagonal line, then topcoat over everything. Keep line thickness around the width of a hair.
Editor's notePractice the angle on a paper towel first - you'll know if your hand wants a steeper or flatter diagonal.
Watch outDon't freehand multiple lines; one line per nail is what keeps it looking intentional.
11. Deep red and sheer nude checker accent (only on two nails)
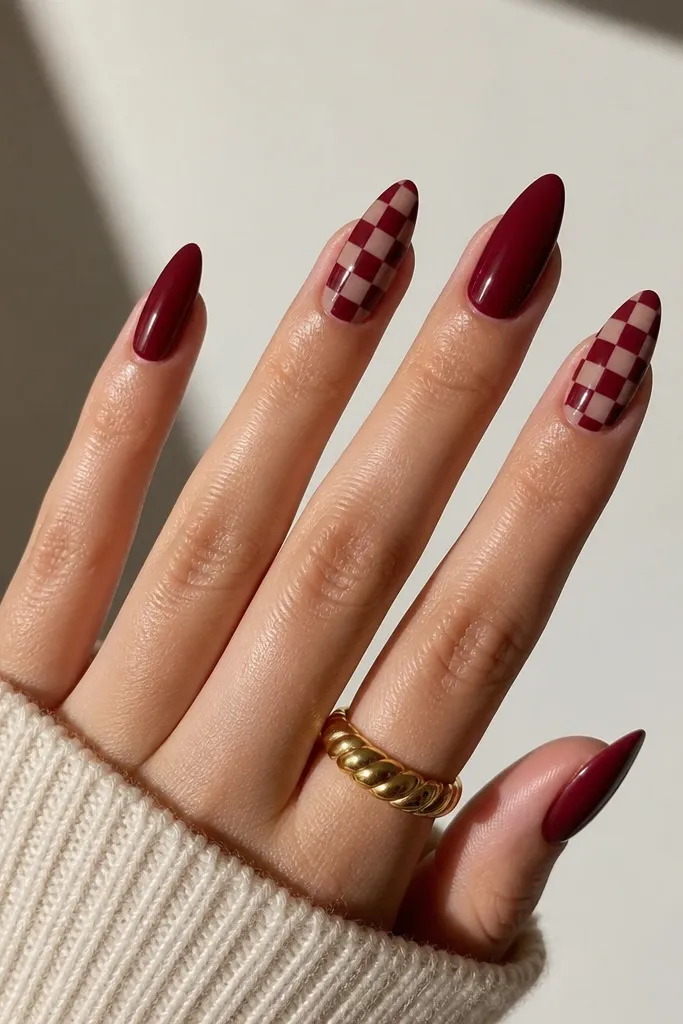
Checker accents look graphic without needing a lot of tools. Sheer nude keeps the pattern light so deep red doesn't feel overwhelming. I do this on two nails only so the rest of the set stays classic.
Paint deep red base, then use nail vinyl squares or tiny striping tape to block off small sections. Fill alternating squares with nude (sheer polish) and red, then seal with topcoat.
Editor's noteUse striping tape for straight edges - press it firmly along the almond curve so the lines don't bleed.
Watch outDon't paint over tape too soon; it smears if the base is still tacky.
12. Deep red glossy with a silver micro-glitter fade (tip only)
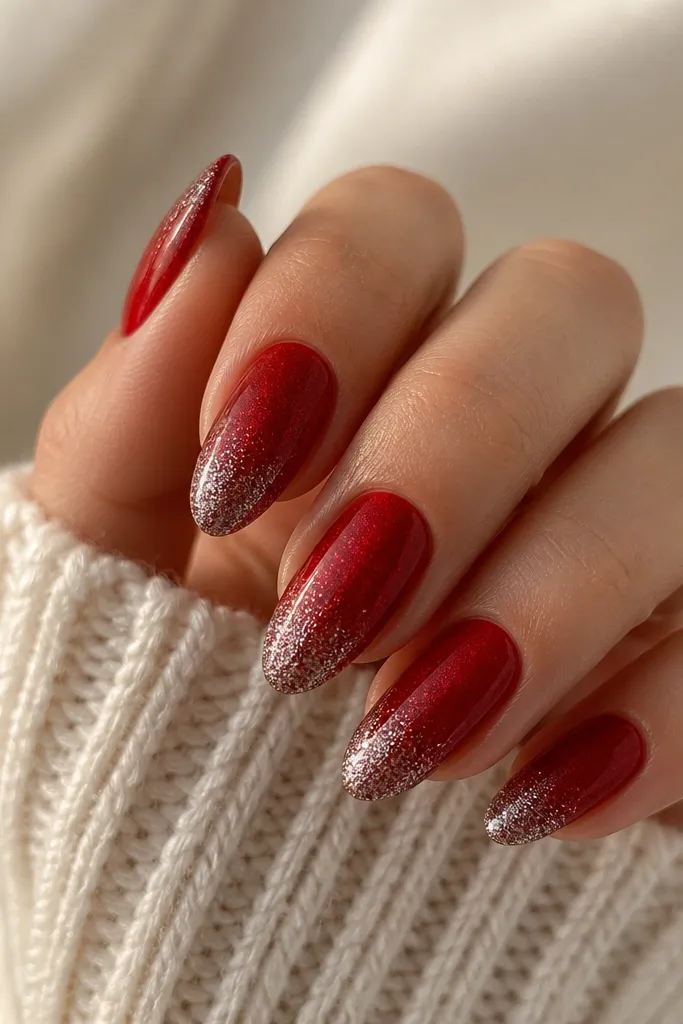
This is the easiest way to add sparkle without making deep red look like holiday overload. Keeping glitter only at the tip makes the almond shape look sleek and highlights the free edge. Micro-glitter is the key - it looks like shimmer, not chunks.
After your red coats, sponge a little silver glitter polish on the last 2-3 mm of the nail. Blend upward lightly with a clean sponge edge, then topcoat to smooth it.
Editor's noteIf your glitter catches on fabric, add one extra thin topcoat and cap the tip again.
Watch outDon't use chunky glitter; it makes the tip feel rough and chips faster.