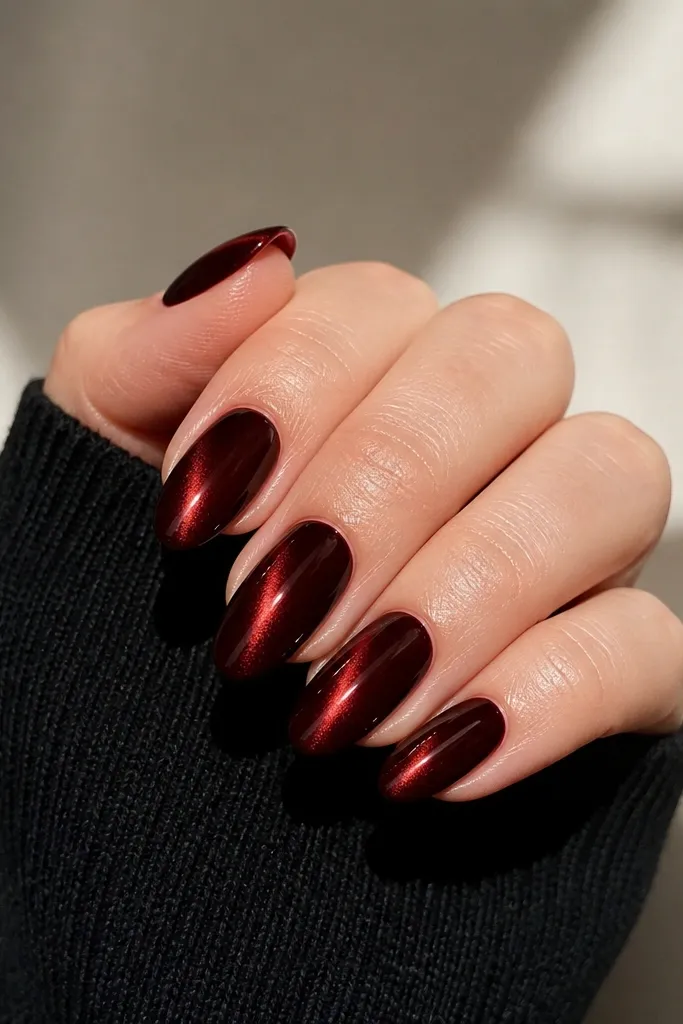
1. Classic wine stripe with a tight center line
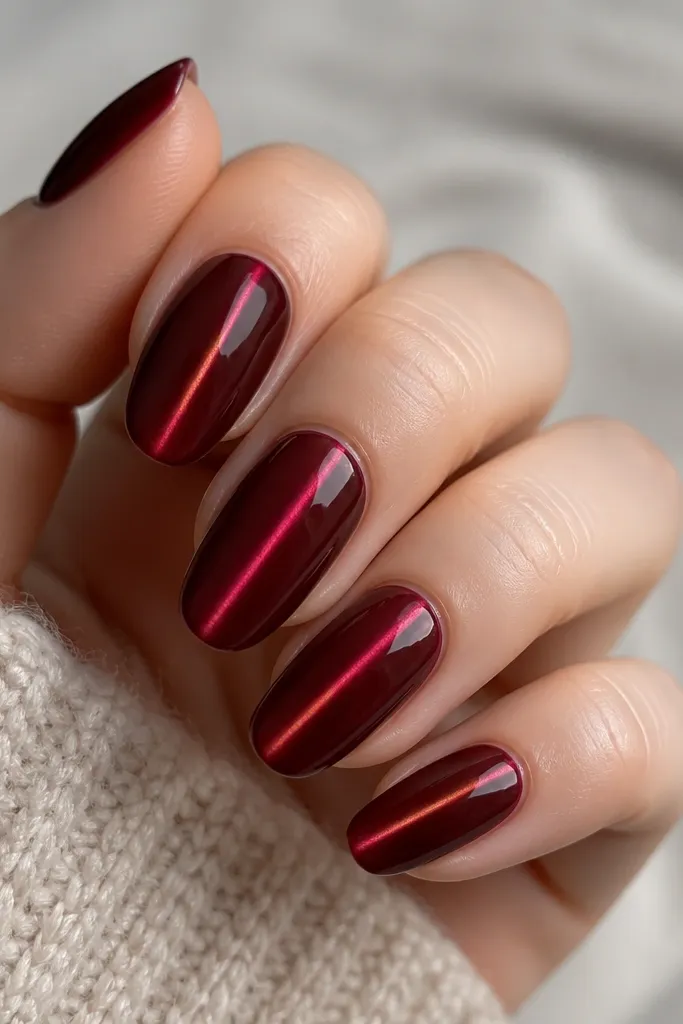
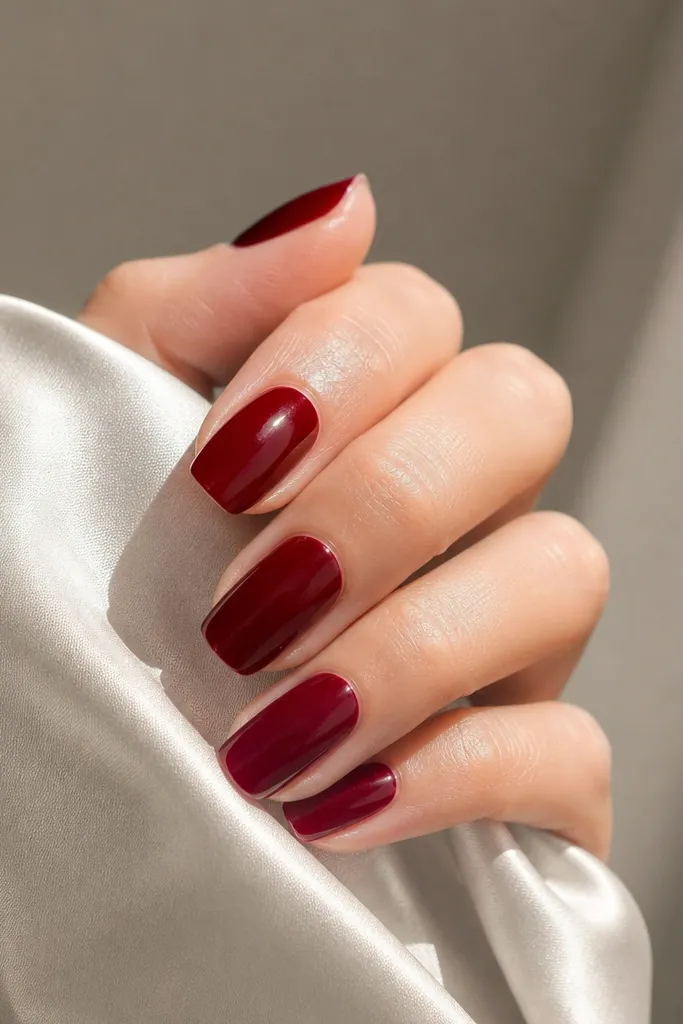
This is the "clean stripe" look I reach for when I want deep red cat eye nails low maintenance to actually stay neat. The wine base is opaque, so the stripe reads like a polished highlight instead of a gray shimmer. I use a deep red/burgundy cat-eye pigment that pulls into one direction for a crisp reflection.
Paint a medium-thin wine gel coat, cure, then apply cat-eye pigment thinly - think see-through coverage, not frosting. Magnet straight over the center and cure after 10-20 seconds. Finish with a glossy top coat and cap the free edge.
Editor's noteIf your stripe drifts, rotate the magnet angle slightly - small changes lock the line into place.
Watch outAvoid thick pigment layers that look milky after curing.
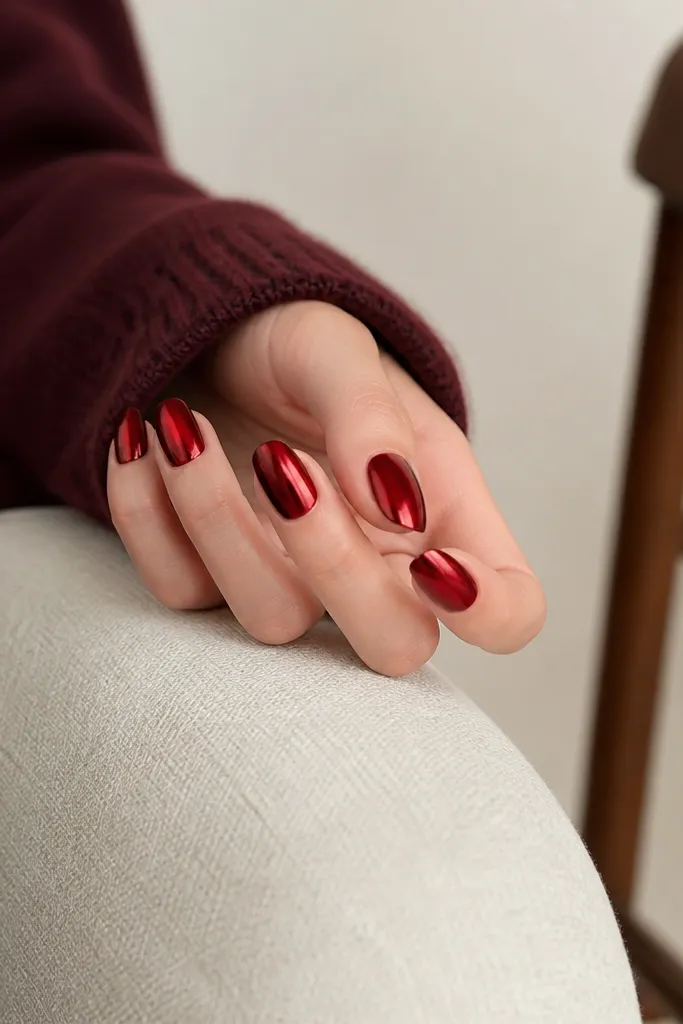
2. Cherry-red magnetic cat eye with micro-glow edges
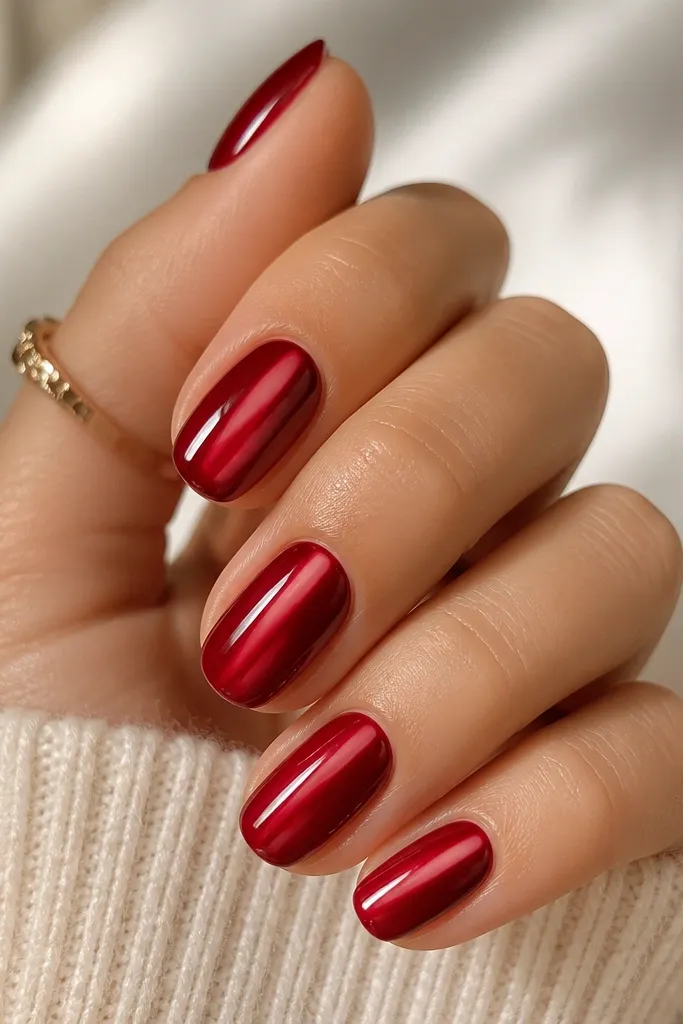
This version keeps the stripe as the hero but adds a faint glow near the side edges by lightly dragging the magnet. It looks dimensional without adding decals or glitter that snag on clothes. The deep cherry base makes the shimmer feel warm, not orange.
After base color cure, apply a thin magnetic pigment layer. Instead of holding the magnet perfectly still, angle it slightly toward one side for the last 5 seconds of magnet time, then cure. Top coat seals the glow so it doesn't shed.
Editor's noteUse a dual-arc magnet if you want the side shimmer to stay controlled instead of spreading.
Watch outDon't over-magnet for 30-40 seconds; it blurs the edges.
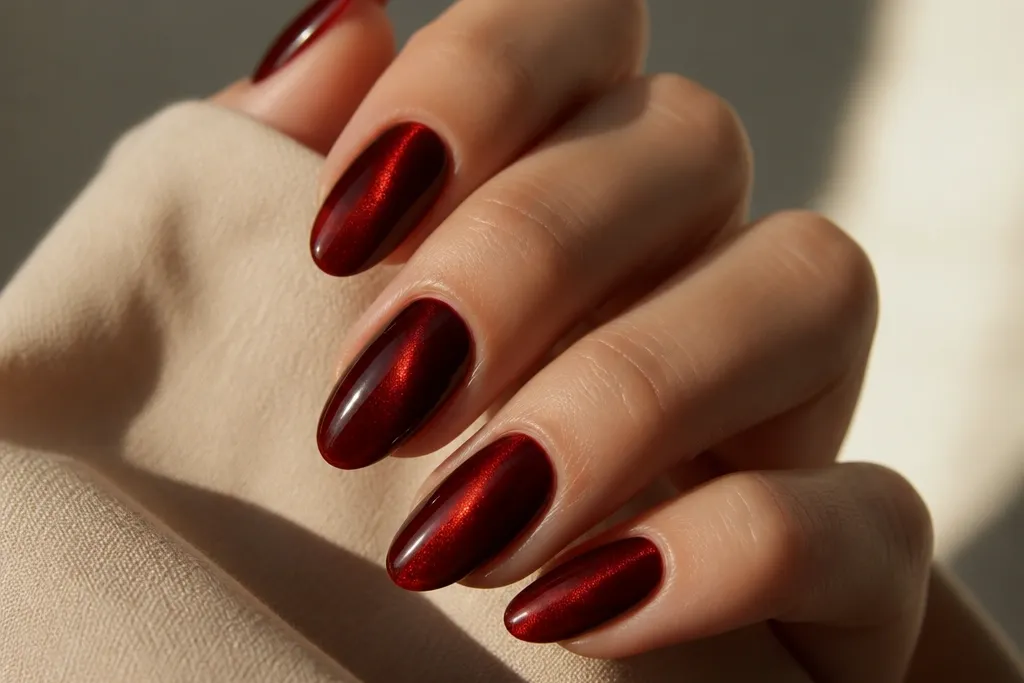
3. Short almond deep red cat eye with perfect cuticle clearance
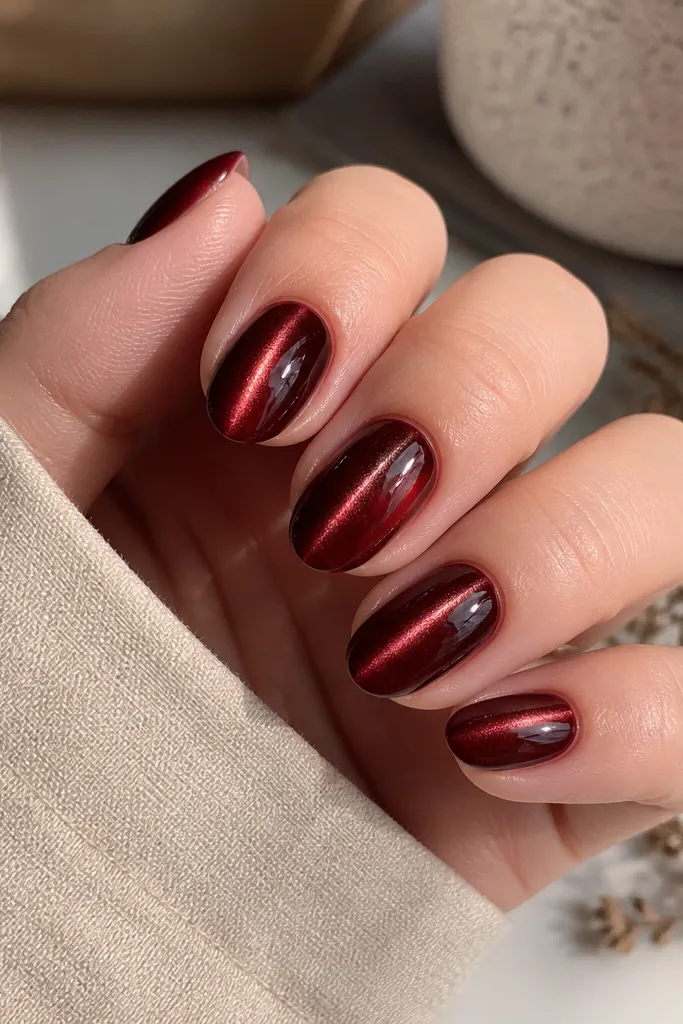
Short nails show every mistake, so this look is all about clean spacing. The stripe is centered and narrow, which makes the nail look longer even when you keep the length practical. Low maintenance comes from tight cuticle control and a strong top coat so the manicure wears evenly.
Shape short almond with a 240-grit finish for smoothness. Leave a tiny gap - about a hairline - around the cuticle, then paint and magnet. Cap the tip and run the top coat over the sidewalls lightly.
Editor's noteIf you flood near the cuticle, wipe with a brush dipped in cleanser before curing.
4. Deep red cat eye with a matte-to-gloss stripe contrast
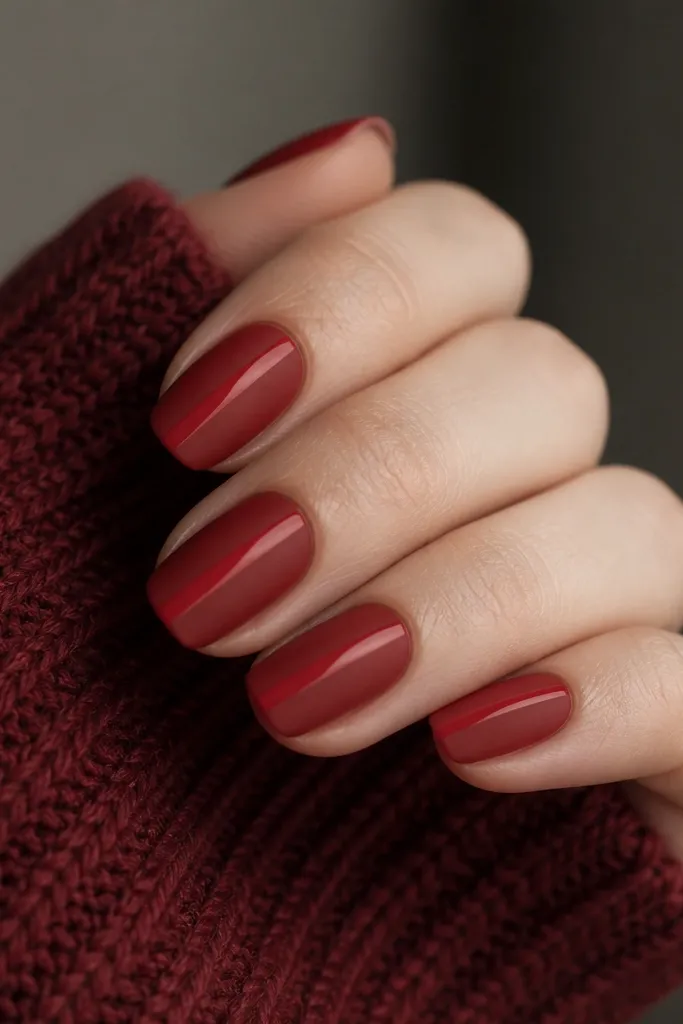
This one looks expensive because you get two finishes on the same nail. I matte the entire nail after magnet, then re-seal only the stripe area with glossy top coat. The stripe pops without adding metallic paint or extra steps that peel.
Do your deep red base and magnetic pigment, magnet, and cure. Apply matte top coat overall and cure. Use a thin detail brush to paint glossy top coat only along the stripe line, then cure again.
Editor's noteUse matte top coat that cures fully; under-cured matte can stay tacky and smear the stripe.
5. Burgundy cat eye with a smoky gradient near the tips
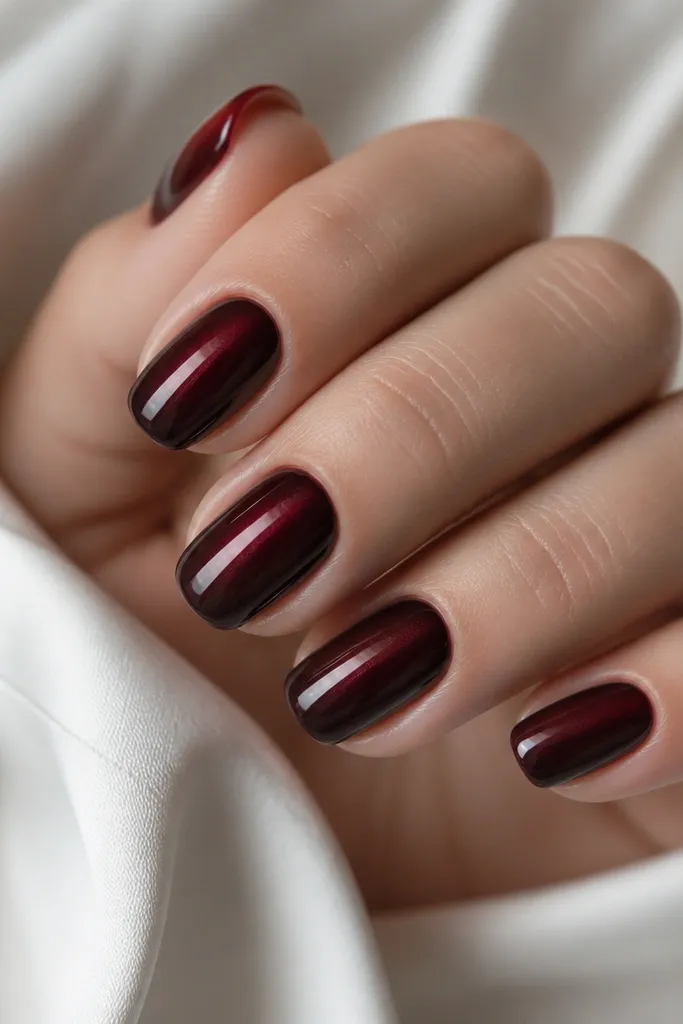
This gives you a "grown-up" look without glitter. The smoky tip happens when you feather a tiny amount of cat-eye pigment lower on the nail before magneting. It still reads as cat eye, but with a softer finish that hides small wear.
Apply pigment thin across the nail, then add a second micro-layer only on the last third. Magnet for 10-15 seconds so the stripe forms through both layers. Seal with high-shine top coat for the glassy stripe and smoky depth.
Editor's noteFeather with a sponge-tip applicator so you don't create a hard line.
6. Deep red cat eye French tip stripe
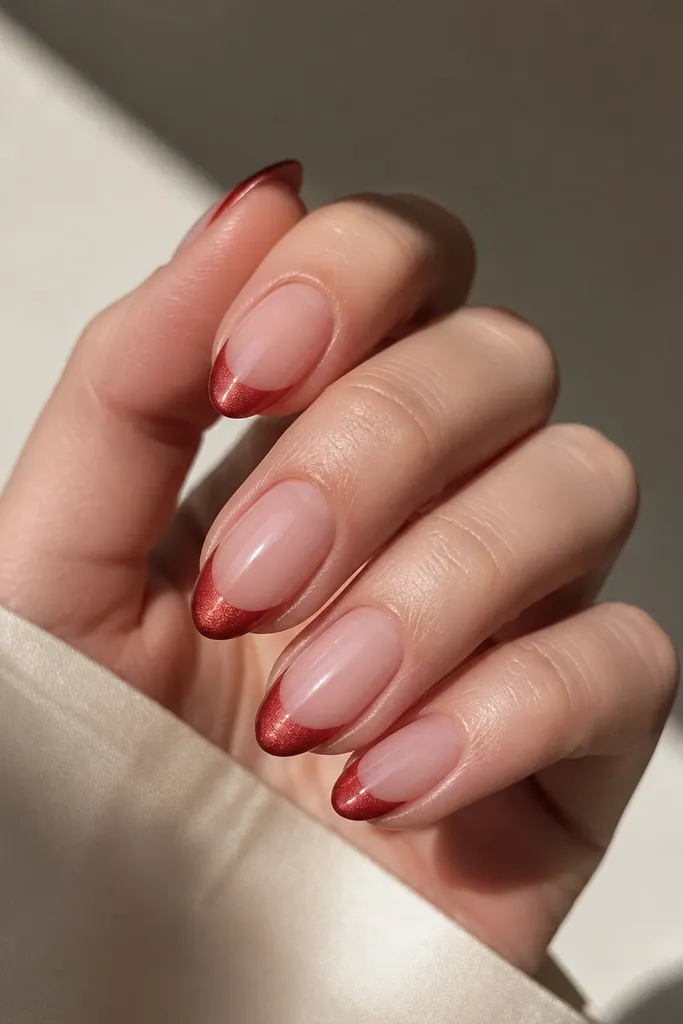
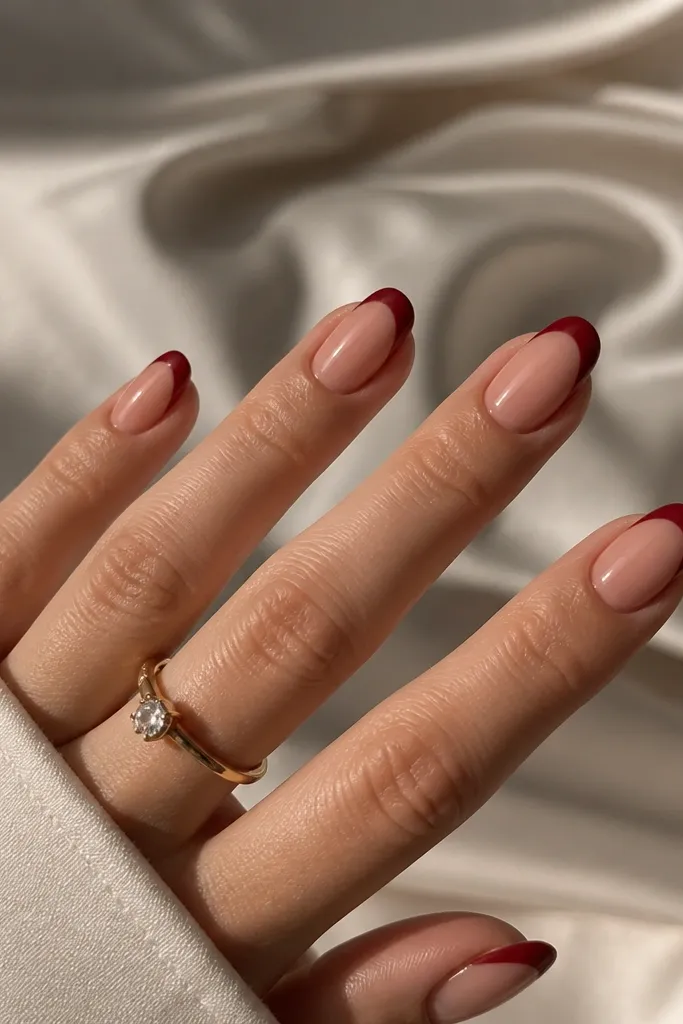
If you want low maintenance, French placement is forgiving because the visible area stays consistent even as nails grow. The cat-eye pigment in the tip makes the manicure look custom, not like a sticker. Keep the base sheer and the tip opaque so the stripe stays crisp.
Use a nude/pink base gel and cure. Paint a deep red French tip area with a thin cat-eye magnetic pigment layer on top of the red gel, magneting over the tip only. Top coat over both base and tip, cap the free edge.
Editor's noteUse a striping brush to draw the French line before you add magnetic pigment.
7. Deep red cat eye with a single star cutout sparkle
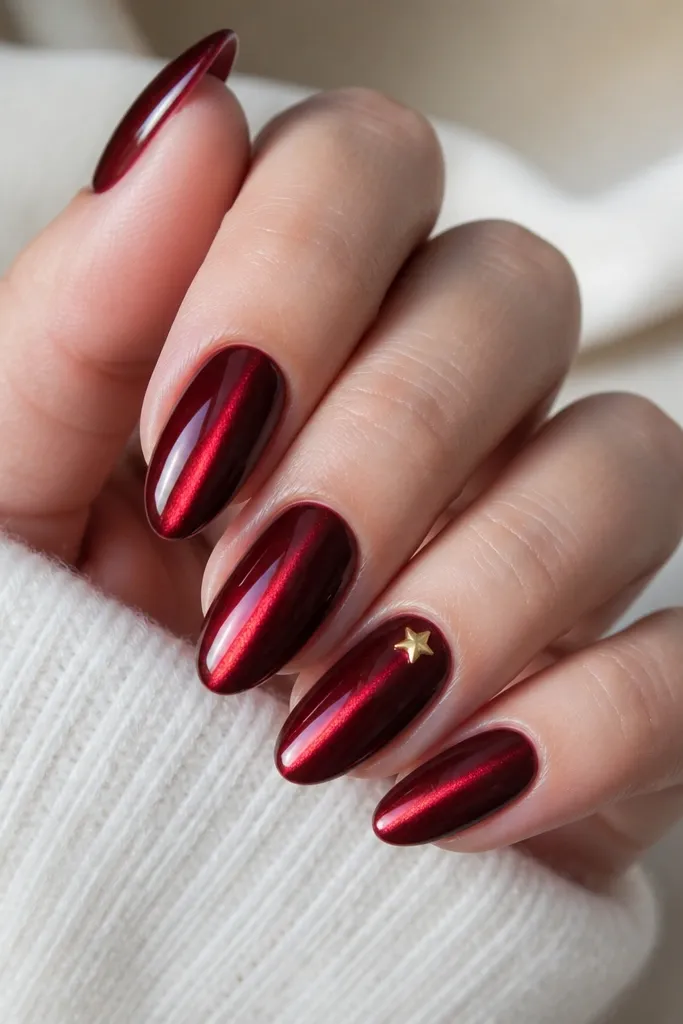
You get interest without turning the whole set into bling you'll regret in two weeks. The charm catches light, while the cat eye stripe handles the daily wow. I place the charm where it's least likely to snag - near the side of the nail, not the tip.
After top coat base cure, place a tiny gold star charm on one accent nail using gel and cure. Keep cat-eye stripe intact on all nails; magnet as usual. Seal charm with a thicker top coat layer only over the accent nail.
Editor's noteIf your charm sits uneven, build top coat under it to level the surface before curing.
8. Reverse cat eye on deep red - stripe runs upward
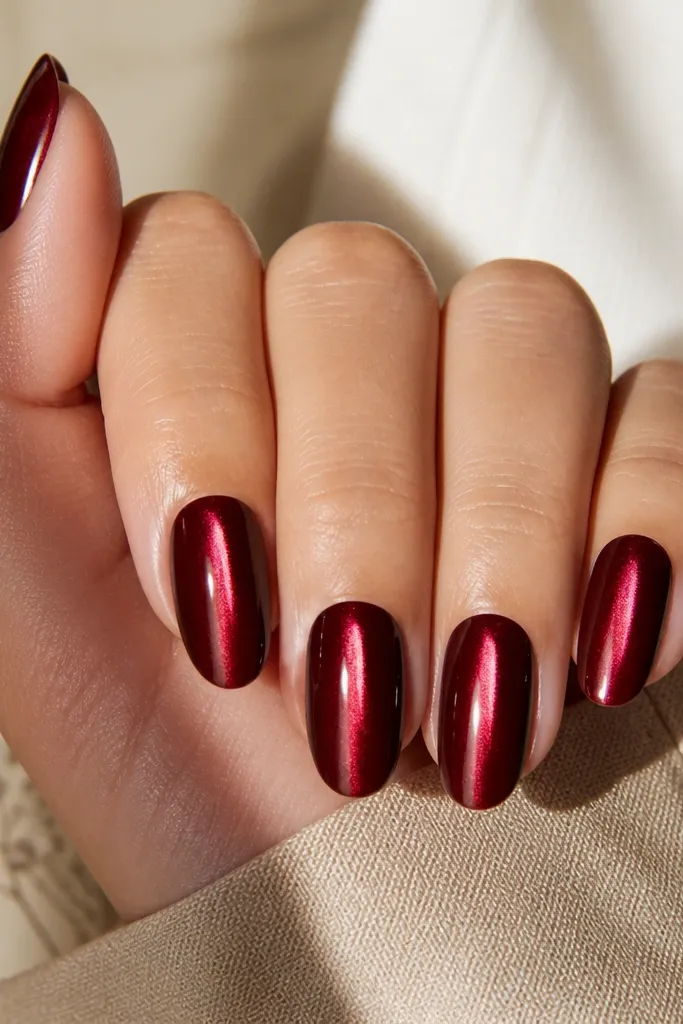
Most people pull the stripe straight down. If you reverse your magnet position, you get a "rising" effect that looks fresh and hides tiny tip wear. It's still deep red cat eye nails low maintenance because the stripe stays visible even when the nail grows.
Apply pigment thin, then place the magnet closer to the tip first for 5-8 seconds. Move magnet upward slightly and hold for the remaining 5-12 seconds. Cure and top coat.
Editor's noteUse a smaller magnet face so the stripe doesn't fan out.
9. Deep red cat eye with thin aurora shimmer halo
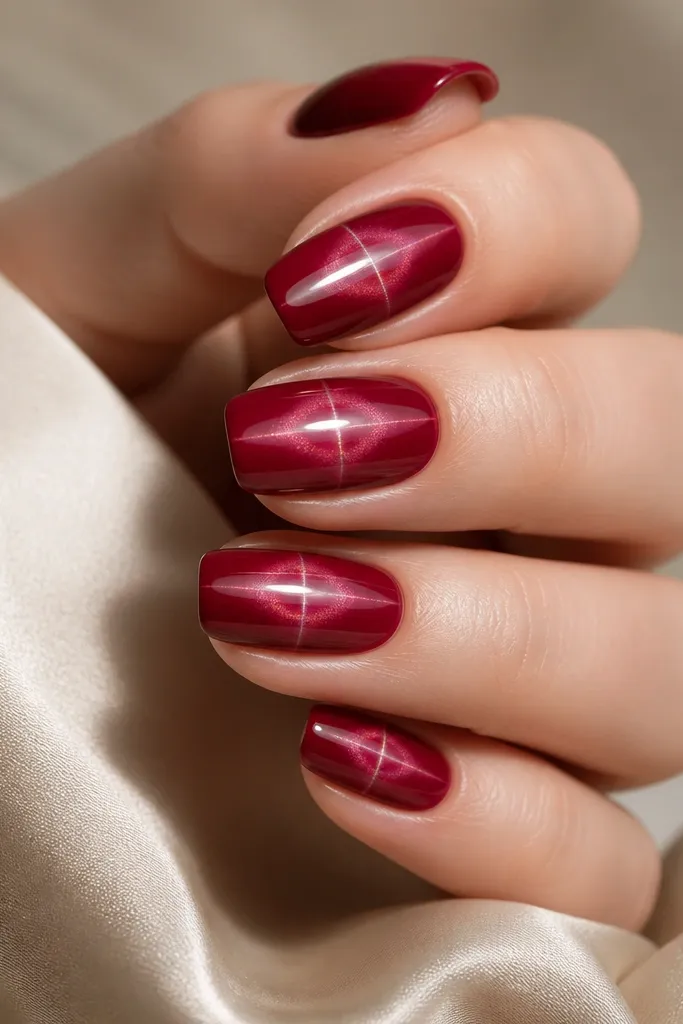
This look gives you a second light source without adding chunky glitter. The halo comes from applying a tiny amount of iridescent shimmer pigment around the stripe edge before magneting. It stays subtle on purpose so it doesn't look like a different manicure.
Do base and first magnetic pigment coat. Add a micro amount of iridescent shimmer around the stripe centerline, then magnet briefly for 8-12 seconds. Top coat seals everything so the halo doesn't dull.
Editor's noteLess shimmer gives a cleaner halo; start with a near-dust amount.
10. Deep red cat eye with a crystal-clear top coat thickness trick
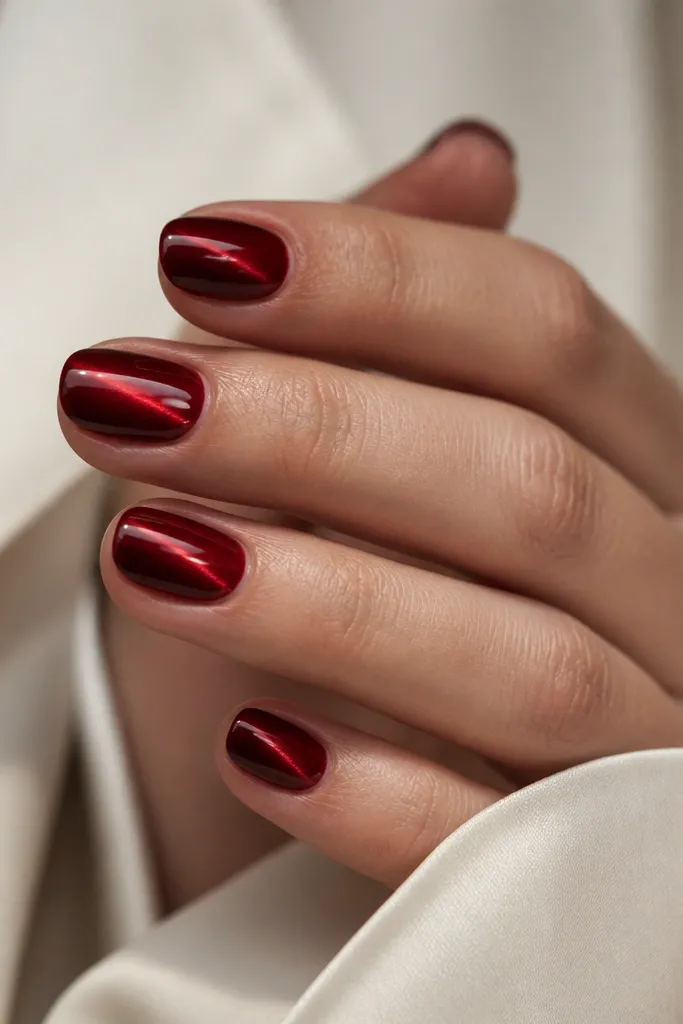
This is my "survives my life" finish. A thicker clear top coat makes the stripe look deeper and gives you a smoother surface that resists catching on fabric. It also helps minor surface scratches look less obvious because the top layer is doing the heavy lifting.
After your final top coat normal layer, cure, then add a second thin-but-slightly-thicker clear top coat. Use a brush to cap the free edge and smooth over the stripe. Cure fully and wipe if needed.
Editor's noteIf you see shrinkage lines after curing, your top coat was too thick in one spot - spread it thinner and cure in two layers.