1. Micro French in espresso with a nude base
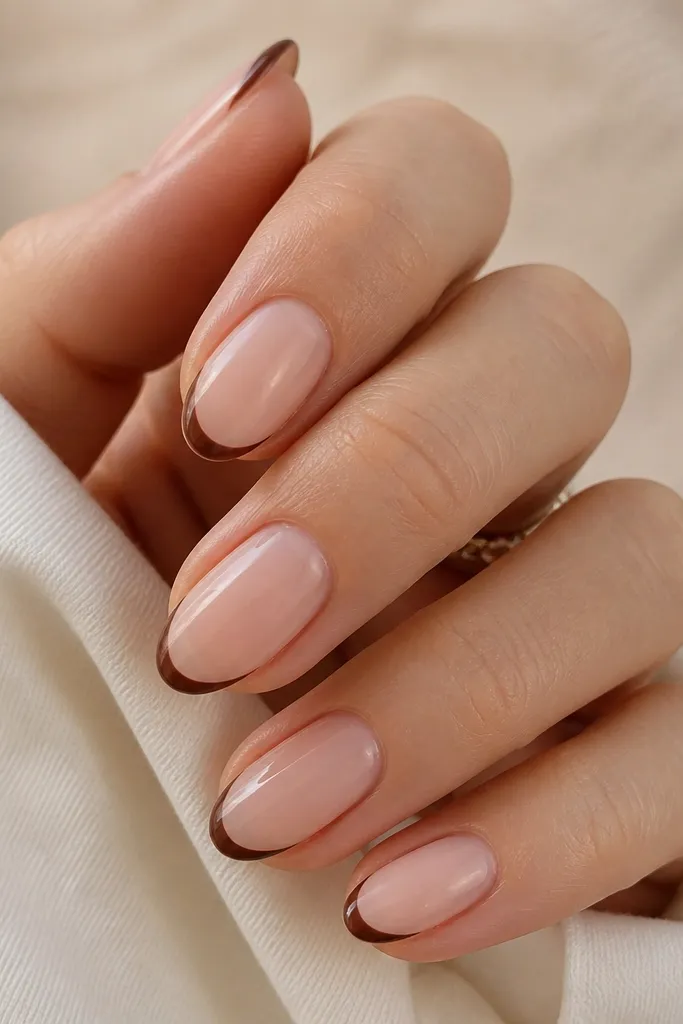
This makes short nails look longer because the brown only lives on the tip. I like espresso-brown for the line because it's deep enough to read clearly, even on tiny nail tips. The nude base keeps it light, so your fingers don't look visually "cut off."
Use nude polish first, then place a thin tape strip along the tip curve to guide the French line. Paint brown in one thin pass, remove the tape while the polish is slightly wet, and finish with top coat for a glassy look.
Editor's noteIf your line wobbles, fix it with a tiny brush dipped in nude - it's faster than starting over.
Watch outSkipping tape or freehanding thick lines makes the French look bulky on short nails.
2. Half-moon cuticle in caramel brown
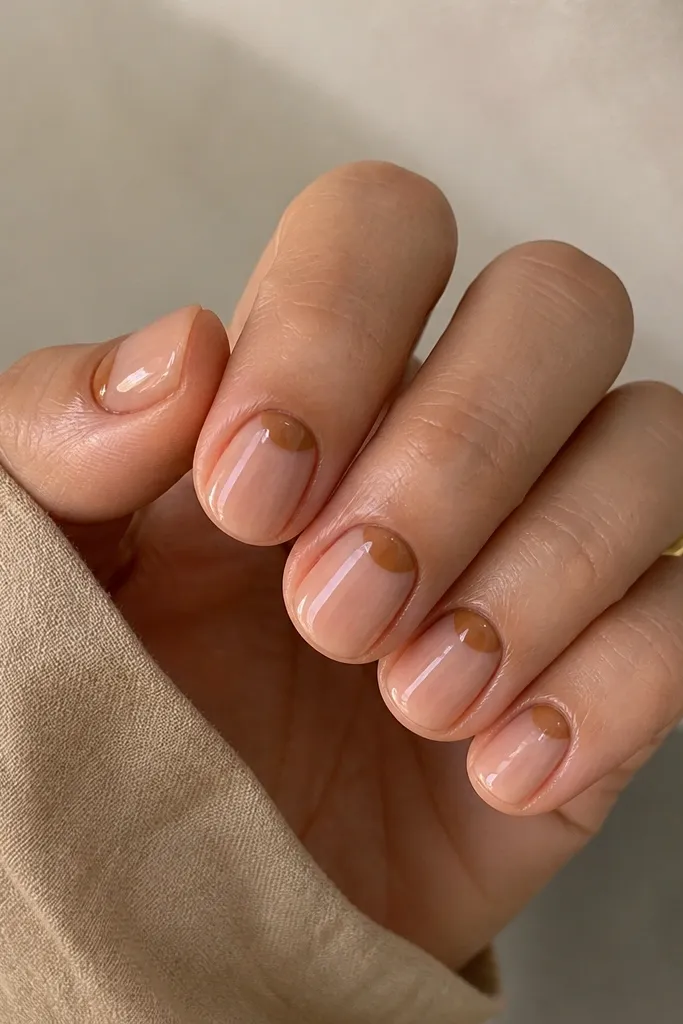
The half-moon pulls attention to the base of the nail, which makes the nail bed look tidy and longer. Caramel brown is forgiving because it has warmth and doesn't look harsh against skin. It also hides tiny imperfections around the cuticle line better than a stark dark brown.
Paint a sheer nude base, then use a dotting tool to place a small caramel-brown arc at the cuticle. Tap the edge with the dotting tool to smooth it, then seal with top coat.
Editor's noteUse a slightly sheer brown for the half-moon so it blends instead of looking like a sticker.
Watch outOverfilling the half-moon so it covers half the nail bed makes short nails look shorter.
3. Brown-to-taupe dip gradient (center fade)
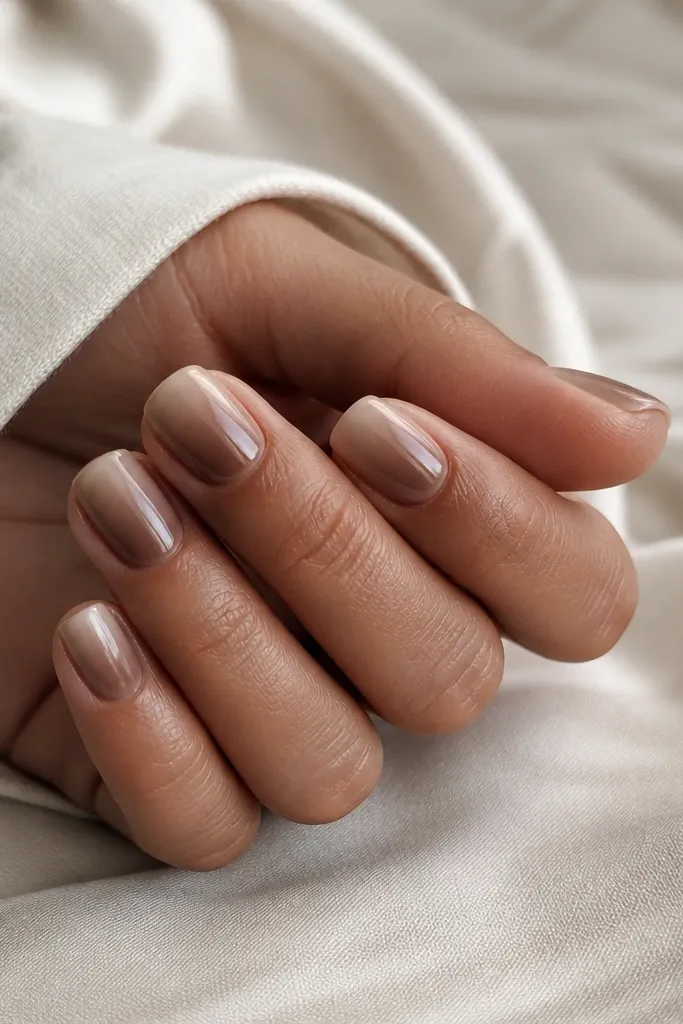
Gradients look fancy on short nails because they create a soft optical blur. The center stays darker, which visually lengthens the nail, while the taupe edges keep it light. I use a sponge and keep the fade tight so it doesn't spread too far toward the cuticle.
After two brown coats, dab a lighter taupe (or milky nude-taupe) sponge blend just on the center area and feather outward. Clean up the edges with acetone on a small brush, then top coat.
Editor's noteDo two quick sponge passes instead of one heavy one - the blend looks smoother.
Watch outSponge-blending over wet polish smears and creates patchy spots on short nails.
4. Dot confetti in chocolate and oat nude
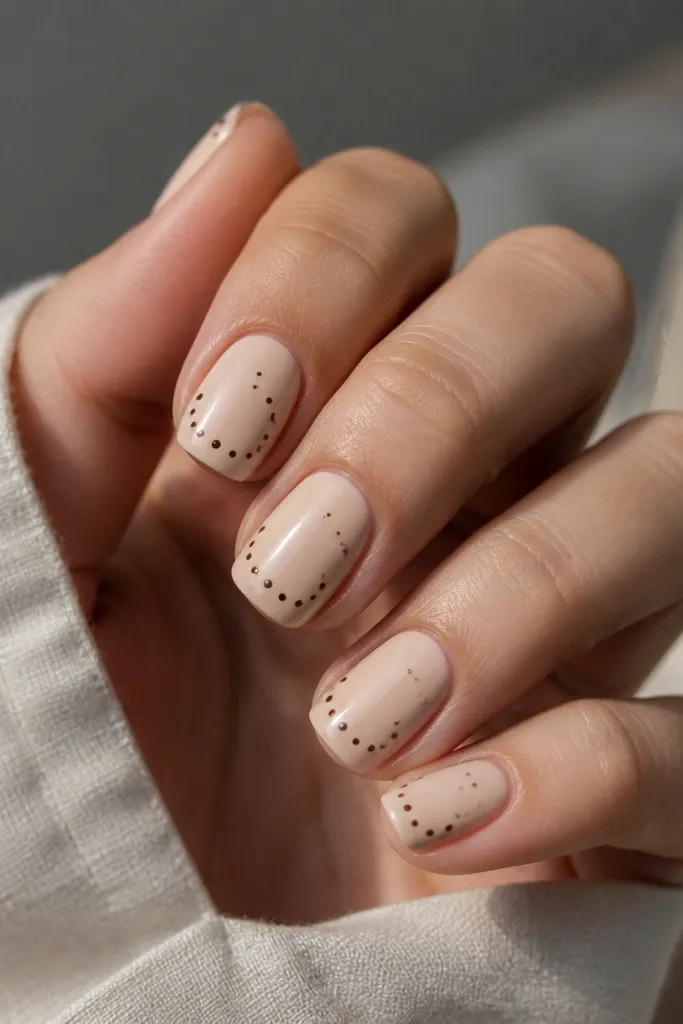
Dots are the easiest way to make brown look playful without needing long nail space. Chocolate dots on an oat-nude base stay crisp and readable at short length. I keep the dots small - they make the set look intentional, not random.
Start with an oat nude base, then load your dotting tool with chocolate brown. Place one dot near the tip center, then add 2-3 smaller dots around the sides. Finish with top coat so the dots look slightly domed.
Editor's noteIf your dots look too big, clean the dotting tool and reload with less polish.
Watch outDoing big dots all over the nail - it overwhelms short length.
5. One-stroke brown swirl on a nude base
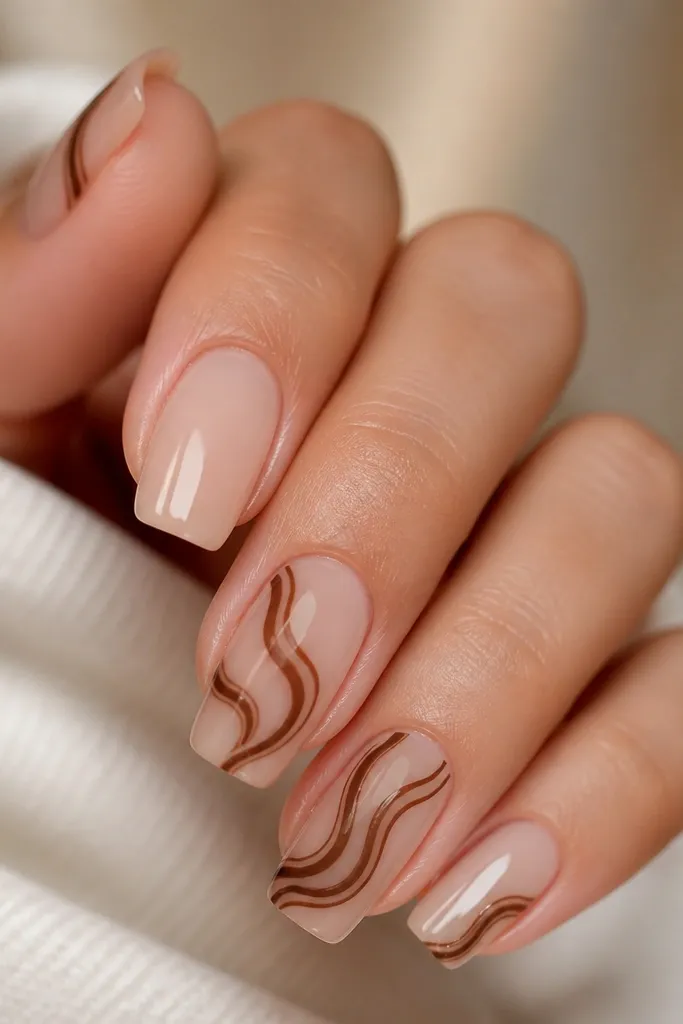
A single line swirl gives movement without covering the whole nail. Thin espresso-brown looks clean and modern, especially on short nails. The nude base keeps your hands bright and makes the swirl stand out.
Use a striping brush to draw one continuous swirl: start with a small dot near the cuticle, drag a curved line, then taper it as you reach the side. Keep it thin so it doesn't thicken at the tip.
Editor's notePractice on a paper towel first - your brush control improves fast.
Watch outThick swirls that look like paint strokes instead of nail art lines.
6. Taped outline: brown border with nude center
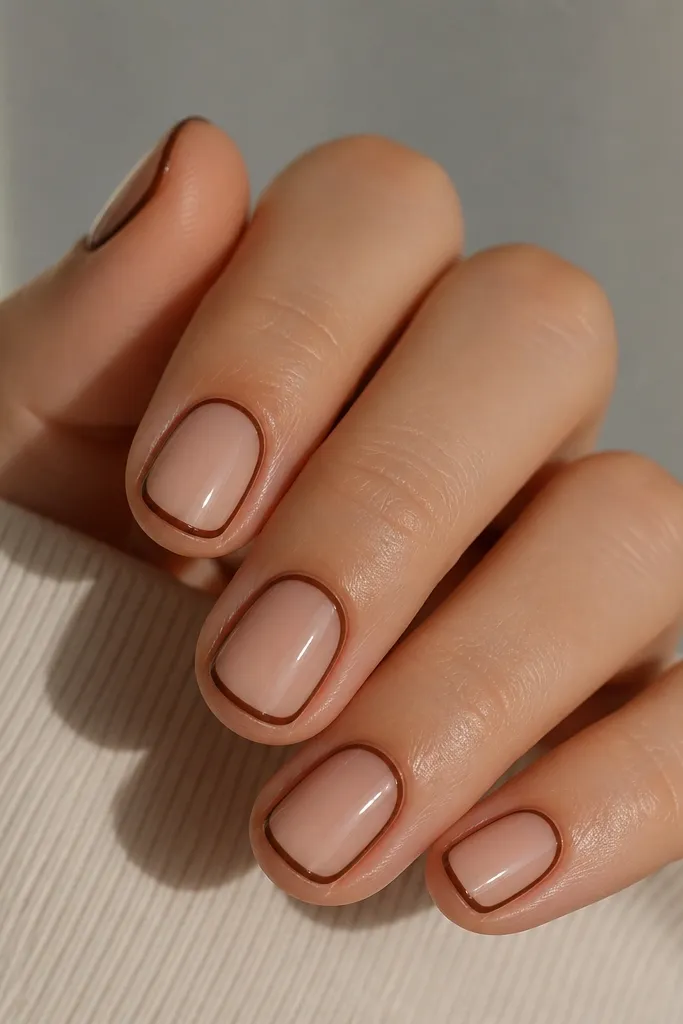
This trick creates the illusion of a longer nail because the border guides your eye along the shape. Brown is perfect because it defines the edges without needing black. Keep the center nude so the design doesn't shrink the nail visually.
Apply nude base. Place thin tape strips along one side, then another to form a V or frame shape. Paint brown along the tape edges, remove tape while damp, and top coat.
Editor's noteIf tape pulls up polish, wait 5 minutes after base coat before taping.
Watch outLeaving the center too narrow - it turns into a blocky frame.
7. Chocolate ombre tips with a soft brush
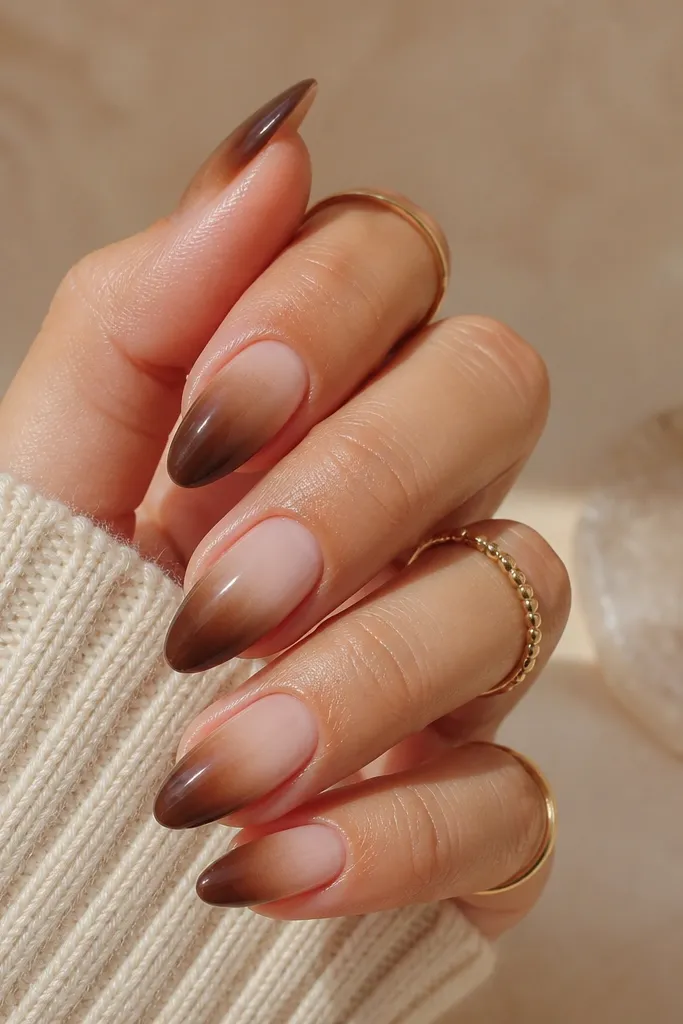
Tip ombre is the easiest gradient for short nails because the fade naturally fits the nail shape. Milky nude makes the brown look smoother and less harsh. I use a small makeup sponge or a soft nail art brush to keep the fade gentle.
After nude base, dab chocolate brown at the tip only. Use a clean brush to blend upward about 1/3 of the nail. Clean side edges, then top coat.
Editor's noteBlend while the brown is still slightly tacky - it smooths the transition.
Watch outOmbre that starts too high on the nail - it makes the nail look stubby.
8. Half-tip zebra stripe in warm brown
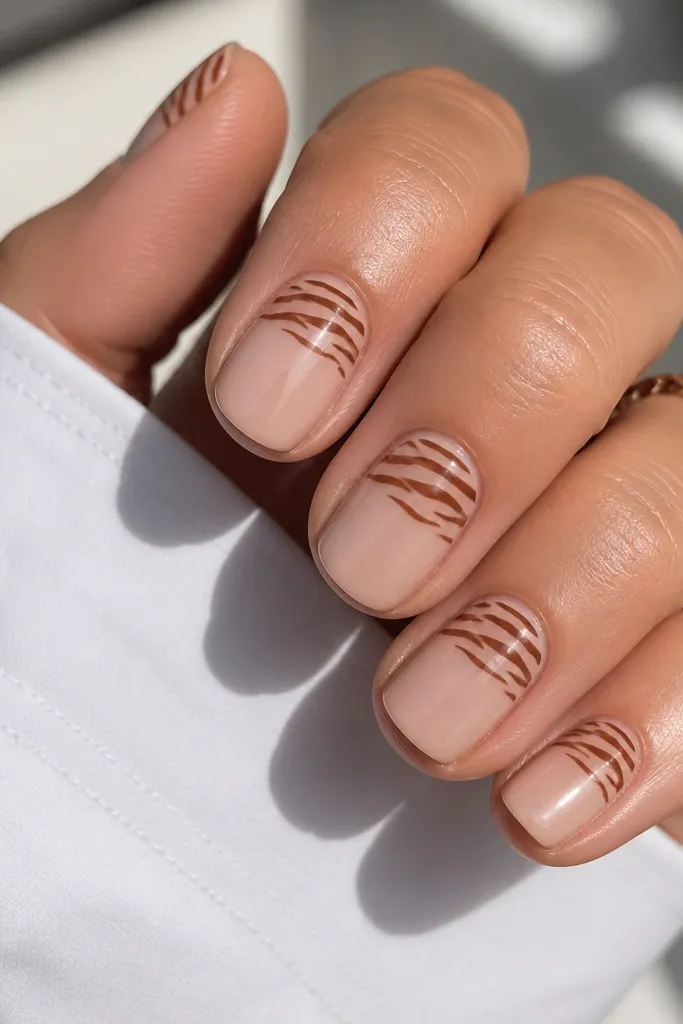
Zebra reads bold, but limiting it to the top half keeps it wearable on short nails. Warm brown looks softer than black zebra and blends better with skin tones. The sheer base keeps it from looking heavy.
Use a sheer nude base. With a striping brush, paint thin warm brown zigzag lines across the tip, then add a few small gaps to mimic zebra texture. Keep stripes narrow so they don't merge into one blob.
Editor's noteUse a light hand on the first stripe pass. You can darken later with a second pass.
Watch outThick zebra stripes - they look messy at short length.
9. Brown marble swipe with clear top glaze
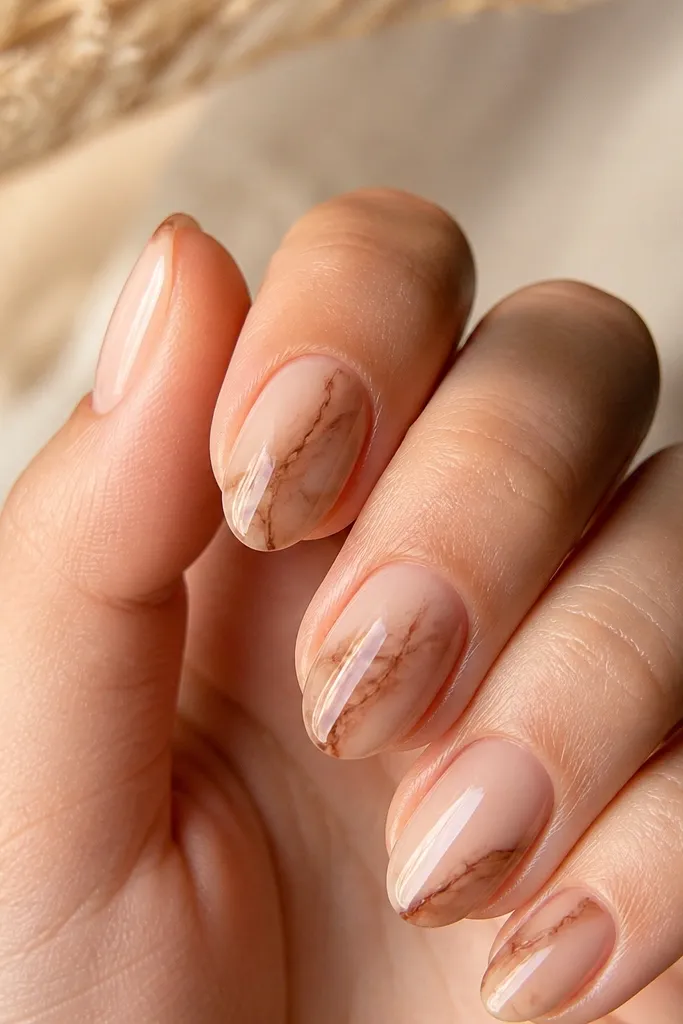
Marble works because it has movement, and short nails don't need full coverage to look detailed. I use thin brown swipes so the marble lines stay delicate and don't turn muddy. A clear top glaze makes the marbling look like it's under glass.
On a milky nude base, drag a striping brush loaded with brown in quick, thin swipes. Keep them irregular - a few thicker, mostly thin. Add a clear top coat layer to smooth and level the look.
Editor's noteIf it looks too busy, remove one swipe with a tiny brush dipped in remover.
Watch outMarbling with thick polish - it turns into stains instead of lines.
10. Chocolate checkered accent on one nail per hand
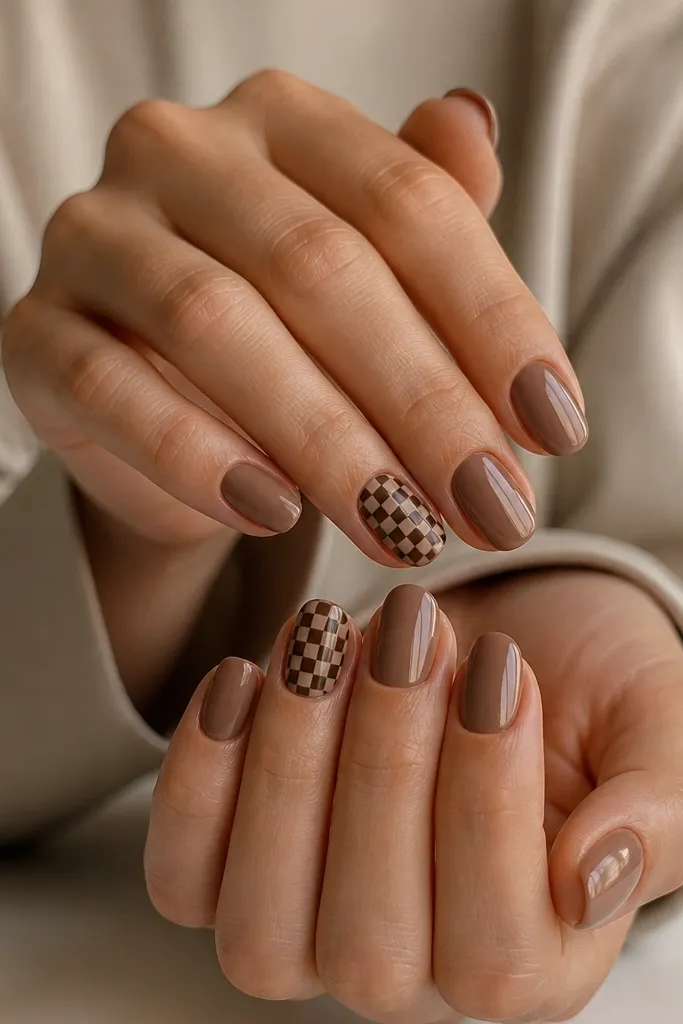
Solid brown is clean and fast, and a single accent nail gives you variety without extra time. The checkered pattern looks cute on short length because the squares can be tiny and still readable. Using taupe for the lighter squares keeps it soft rather than stark.
Paint all nails chocolate brown. On one accent nail, use a dotting tool or the brush tip to place small taupe squares, then connect with chocolate lines. Seal with top coat.
Editor's noteKeep the accent nail pattern to 6-8 squares max so it stays crisp on a short nail.
Watch outPutting checkers on every nail - it gets busy fast.
11. Matte brown base with glossy dot highlight
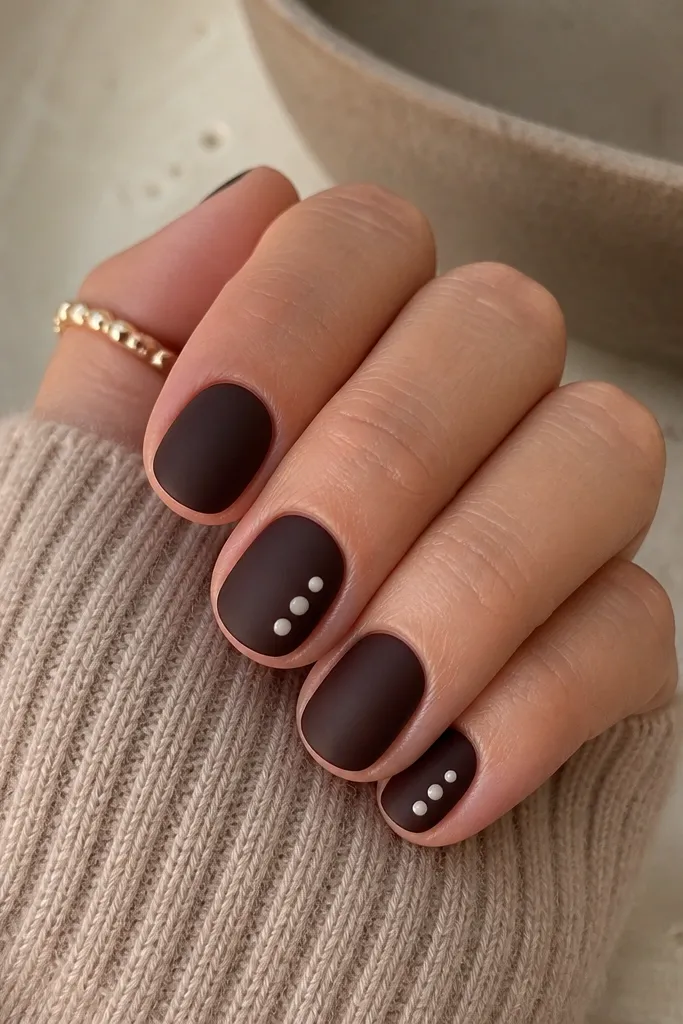
Matte makes brown look modern and hides tiny texture. Then you add a few glossy dots to bring back shine where your eye lands. I like using white-nude dots so they don't clash with brown.
Paint brown and let it fully dry. Apply matte top coat to everything. Add glossy dots with a gel top coat or glossy top coat over matte, then cure/dry and finish.
Editor's noteUse fewer dots than you think - 3-5 per accent nail looks clean.
Watch outSkipping full drying before matte top coat - it can streak.
12. Brown "sketch" line art on nude
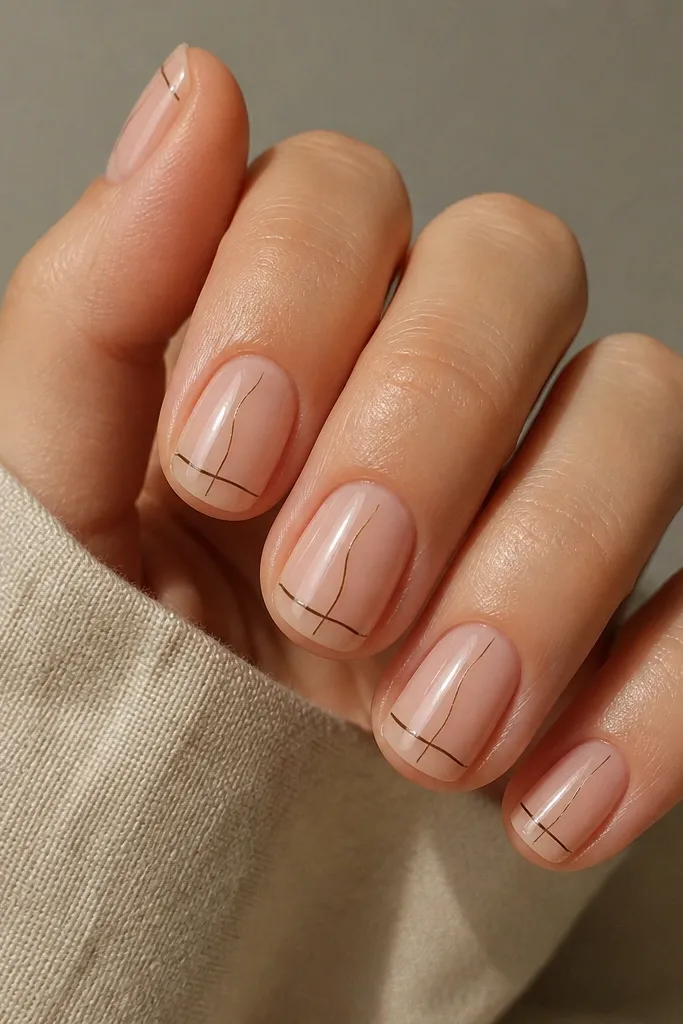
Sketch lines look artsy without needing precision like French tips. Brown pencil-like lines keep the set soft and wearable. Nude base keeps it bright, and the line placement makes short nails look more shaped.
Apply nude base, then use a striping brush loaded with thin brown polish to draw 2-3 lines per nail. Leave gaps so the design looks light, not painted solid. Top coat seals it.
Editor's noteIf lines look shaky, draw fewer - even one clean line looks intentional.
Watch outFilling every gap - solid line coverage makes short nails feel crowded.