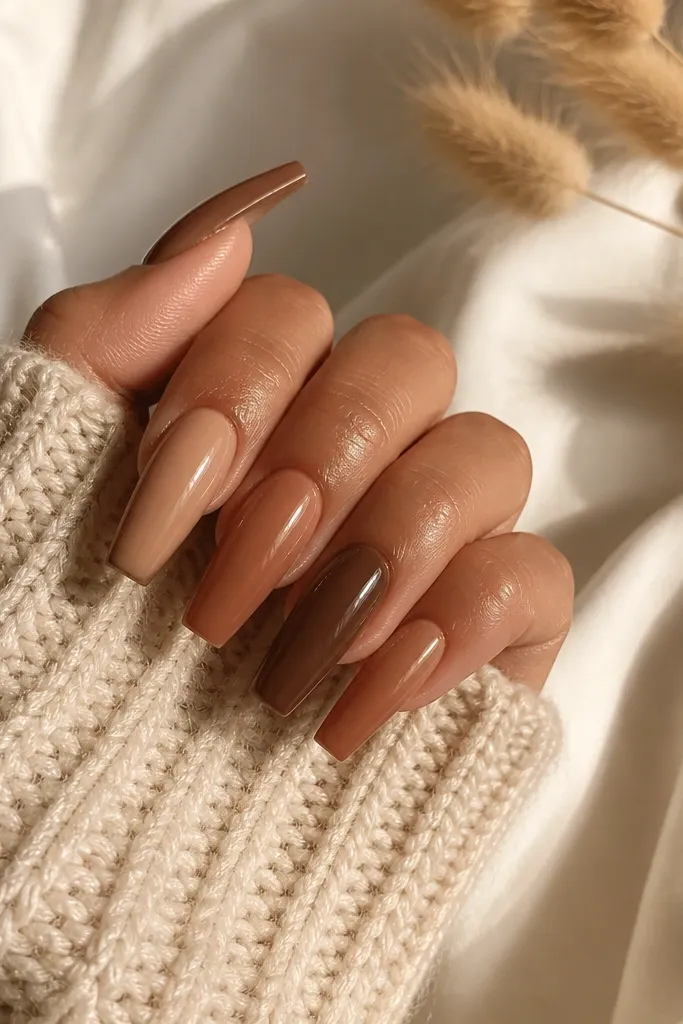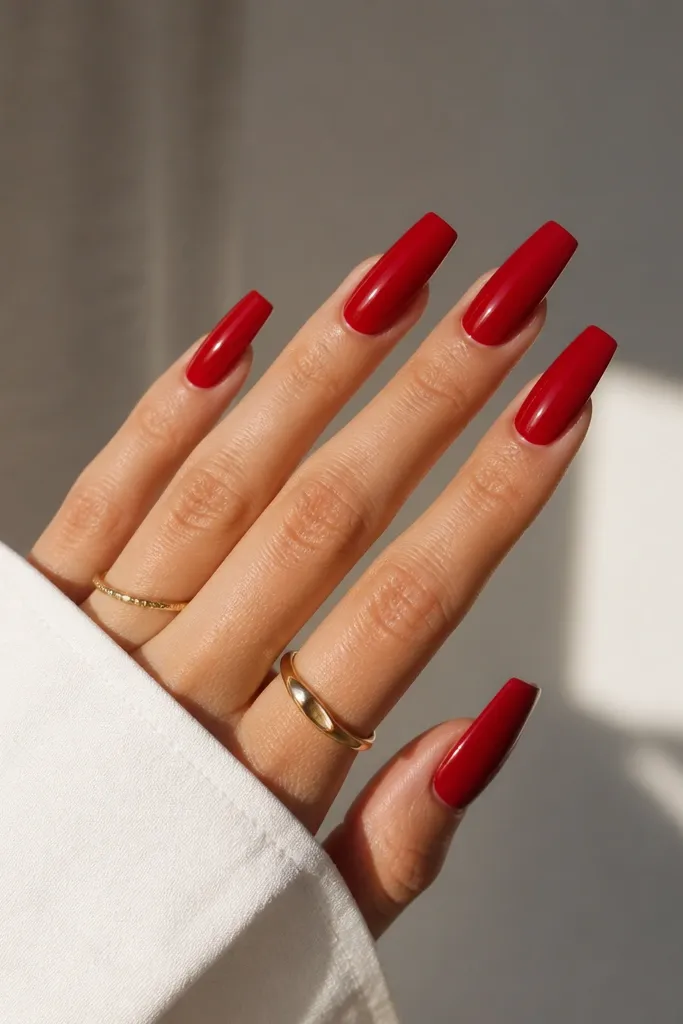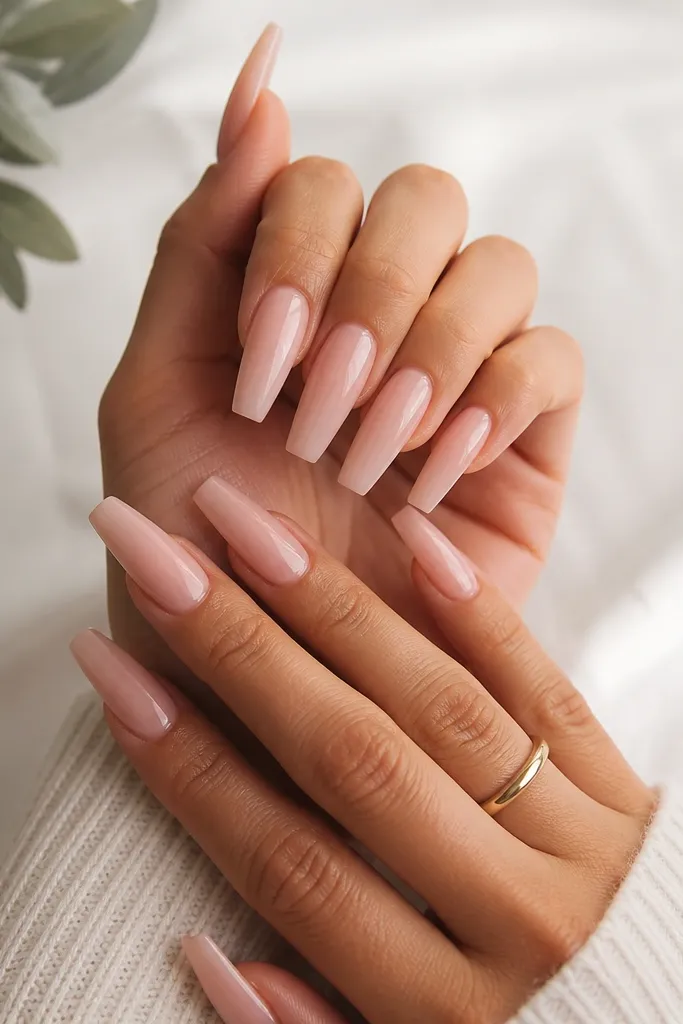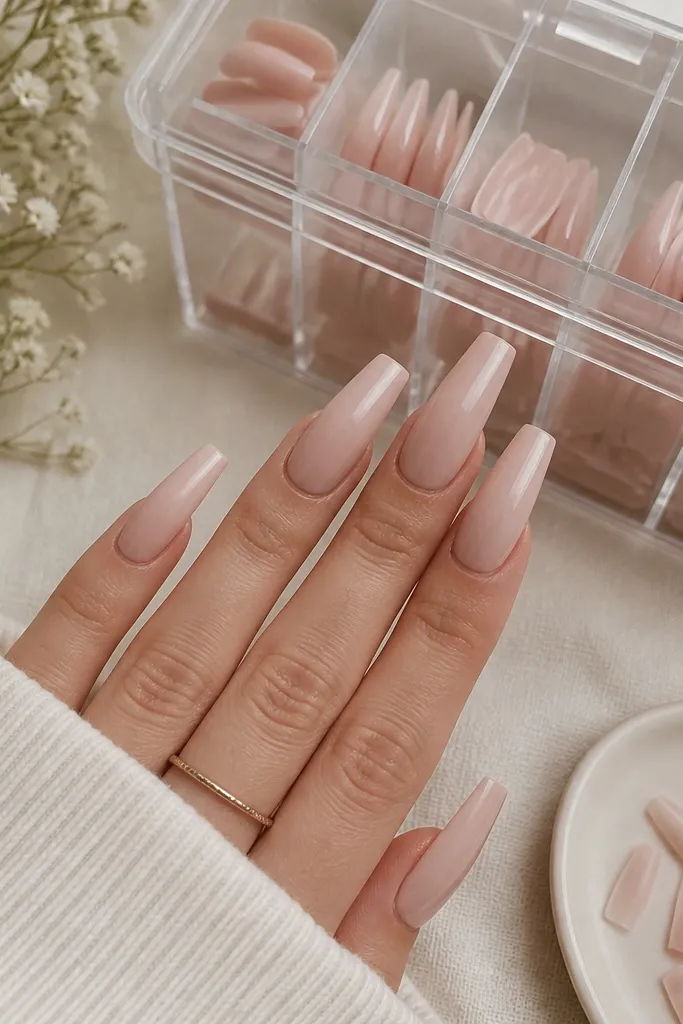
1. Milky Nude Coffin with Black Micro-French Tips
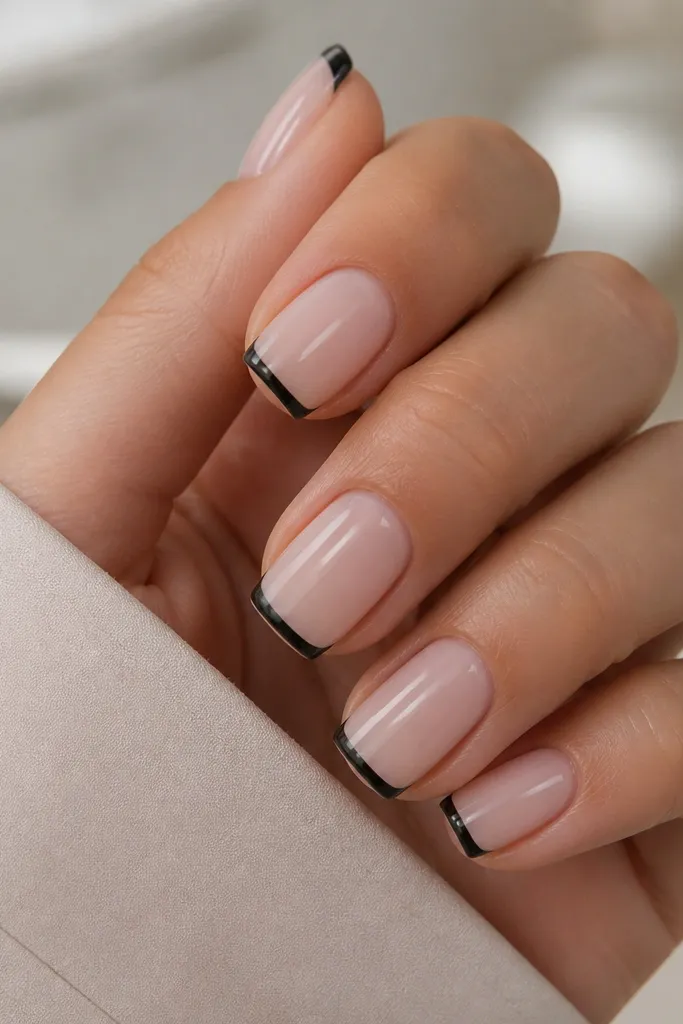
This look works because the base is soft and forgiving, while the black tip gives sharp contrast. I use a milky nude that's slightly opaque, so you don't see filing lines under the glossy top coat. The micro French keeps the design budget-friendly because it takes less time than a full thick tip. It also makes short coffin nails look longer and slimmer.
File the free edge into a narrow coffin shape, then keep the tip line thin - about 1 mm at the widest point. Paint the milky nude first in two thin coats, cure fully, then apply black using a striping brush or French guide tape. Finish with a high-gloss top coat and cap the tip edge.
Editor's noteUse striping tape to place the French line, then remove it while the last layer is still tacky so the edge stays crisp.
Watch outAvoid a thick black French tip - it makes short coffin look stubby and cheap.
2. Sheer Pink Coffin with Tiny Silver Star Clusters
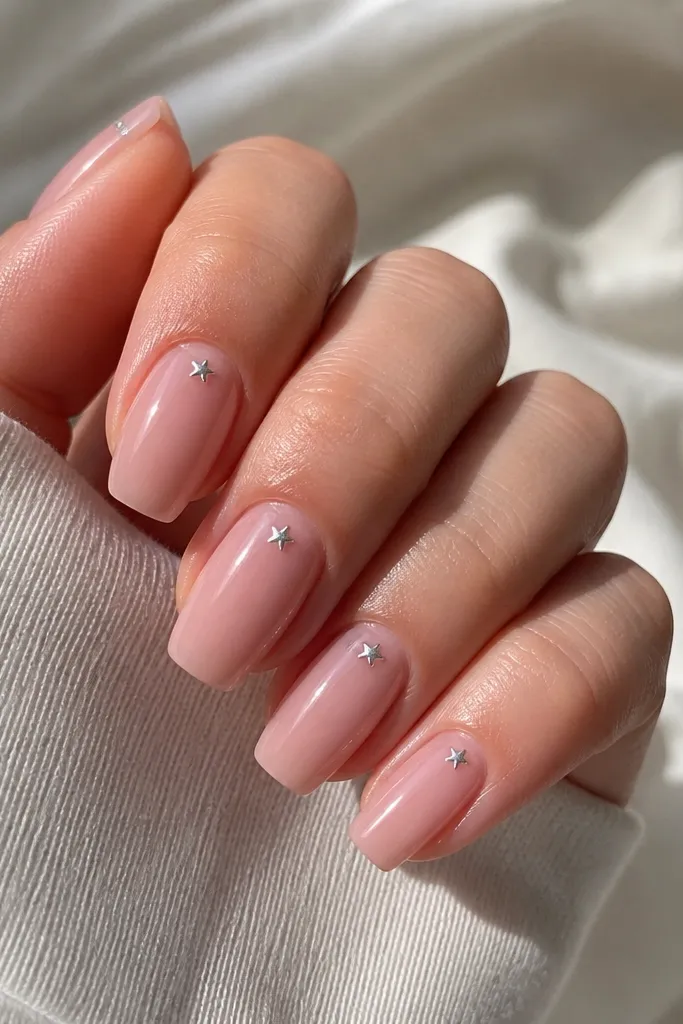
Star clusters near the cuticle look cute without taking over the whole nail. The sheer pink base makes the silver feel bright and clean instead of heavy. I like tiny stars because they're light in weight and don't lift as easily as bigger gems. It's the easiest "event" design that still reads wearable.
Start with sheer pink builder gel or sheer acrylic, then cure/finish. Place one tiny silver star charm per nail using a dot of clear gel. For one accent nail, place two stars angled slightly so they look placed, not scattered.
Editor's notePress each charm gently with the flat end of a metal tool so it seats without bubbles.
Watch outAvoid globs of gel under the charm - they create a raised edge that catches on sleeves.
3. Creamy White Coffin with Soft Peach Half-Moons
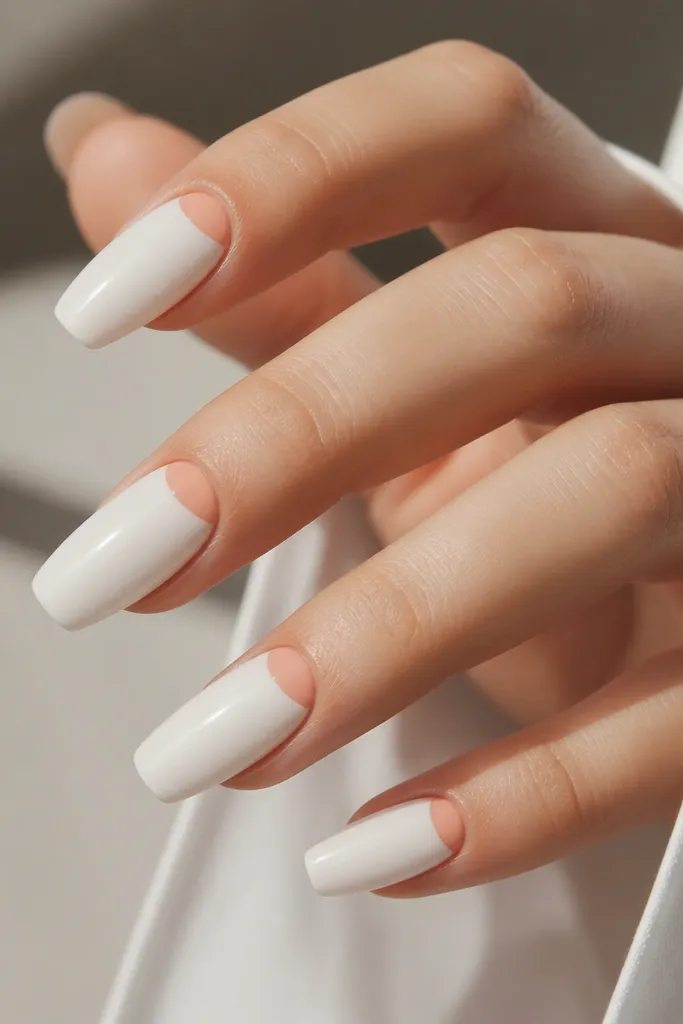
Half-moons look expensive because they mimic a manicure detail you'd expect from a pro. The creamy white base makes the peach pop without turning neon. Peach half-moons are also forgiving if your lines aren't perfectly symmetrical because the curve hides tiny wobbles. It's a sweet spring-to-summer repeat for me.
Paint creamy white in two thin coats so it's opaque but not thick. Use a makeup sponge or a small curved stencil to place peach half-moons right above the cuticle line. Clean up edges with a brush dipped in acetone, then seal with top coat.
Editor's noteMake the half-moon slightly smaller than the cuticle width; oversizing looks messy on short nails.
Watch outSkip heavy peach covering the whole base - it turns into a blunt block instead of a half-moon.
4. Nude Rose Coffin with Burgundy Diagonal Lines
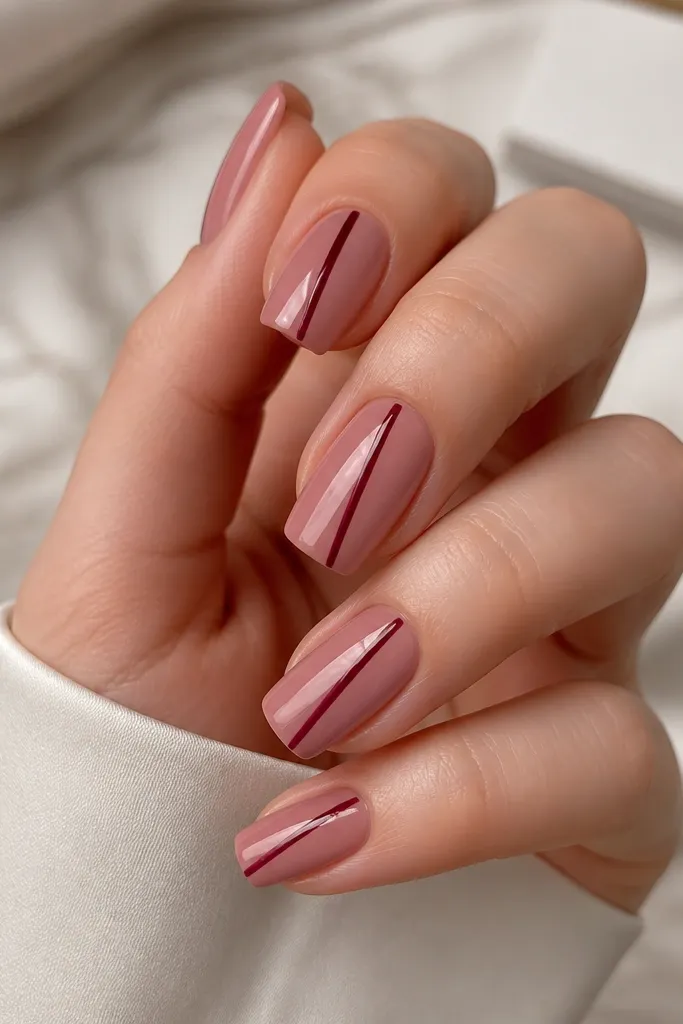
One diagonal line gives movement and makes short coffin nails look styled, not plain. Nude rose is a perfect budget base because it hides uneven filing and looks good even with slight color variation across nails. Burgundy is deep enough to feel fall-ready but still classy. This is one of my go-to "I need nails fast" sets.
Use nude rose as the base and cure fully. Apply diagonal lines with striping tape as a guide, or freehand with a thin detail brush. Clean the line edges with a tiny brush and acetone, then add top coat.
Editor's noteKeep the line thickness consistent - about 0.5 mm - so it reads intentional.
Watch outDon't add multiple lines on every nail; it clutters short coffin shapes.
5. Clear Pink Coffin with Pink-Gold Chrome Gradient
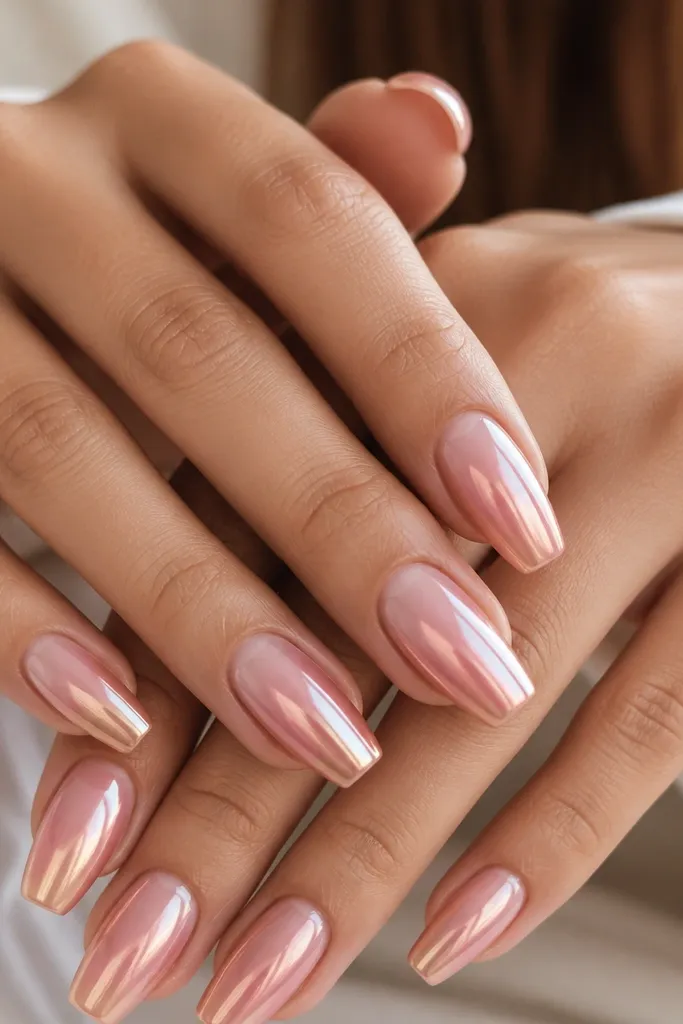
Chrome gradients look like salon work because the light shifts across the curve of the coffin shape. The clear pink base keeps it affordable by reducing how much pigment you need. I like pink-gold chrome powder because it warms the skin tone instead of looking icy. The gradient also hides small imperfections at the free edge.
Start with a clear pink base layer. Apply chrome gel only on the top half of the nail, then blend downward with a sponge tool. Rub chrome powder in small circular motions, then seal with a thick top coat that doesn't dull the shine.
Editor's noteDo the gradient on the nail before full cure if your chrome gel allows tack - it blends smoother.
Watch outAvoid overloading chrome gel at the edges - it makes the fade look like a stripe.
6. Black Coffin with Matte Top and One Glossy Accent Nail
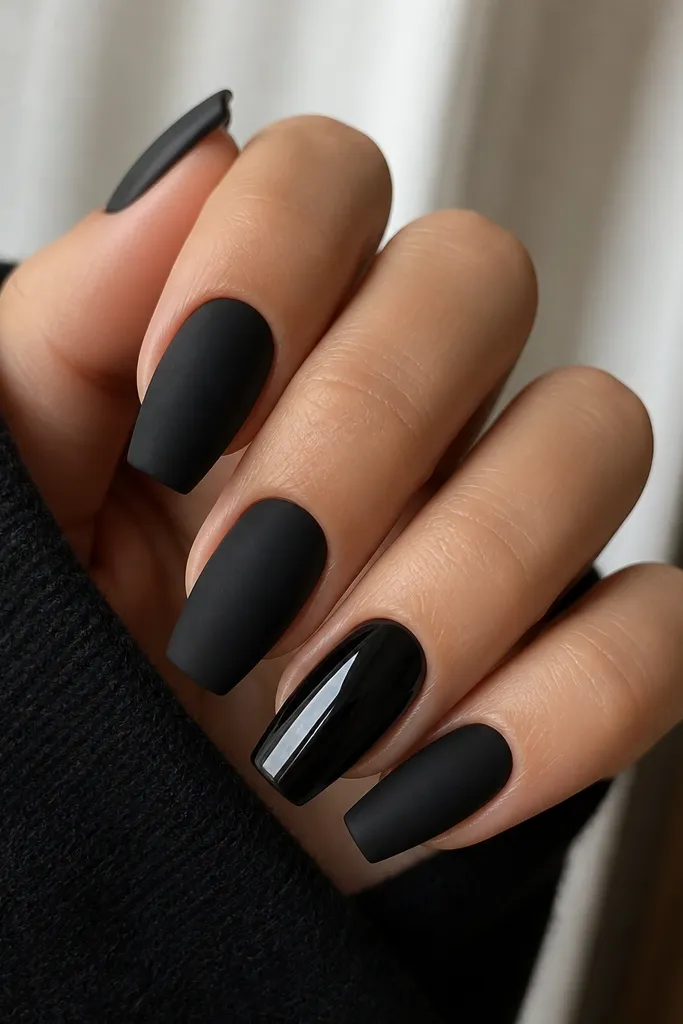
Matte black reads bold and clean, and one glossy nail breaks the pattern so it doesn't look flat. For nails acrylic coffin budget affordable, matte is forgiving because tiny brush streaks disappear into the finish. I use a matte top coat that dries smooth, then keep one nail glossy to catch light. It's dramatic without needing art tools.
Paint solid black in two thin coats. Cure between coats. Apply matte top coat to four nails and glossy top coat to one nail. Cap the free edge on all nails so the finish doesn't chip at the tip.
Editor's noteUse a lint-free wipe after curing to remove tack before matte top coat so it doesn't spot.
Watch outDon't apply matte top coat too thick - it can turn cloudy on short coffin nails.
7. Milky Nude Coffin with White Cloud Dots
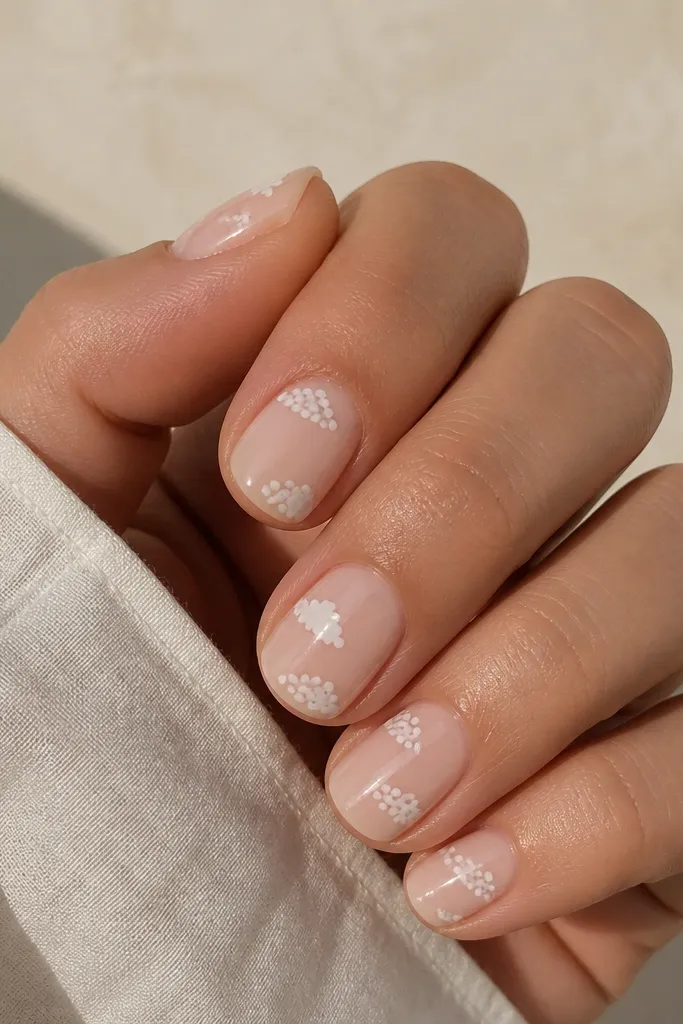
This is a "cute but not childish" pattern. Milky nude makes the white look soft, not stark, and the dot clusters create a cloud effect without needing freehand art. It's fast because you're repeating one dot size and spacing. I wear it when I want something playful that still looks neat.
Base: milky nude or sheer pink. Use a dotting tool to place three to five white dots per nail, clustered like a cloud, leaving space between clusters. Add a second smaller dot layer if you want depth, then top coat.
Editor's noteKeep dots consistent in size by dipping the tool the same amount each time.
Watch outAvoid giant dots on short nails - they look like blobs and kill the coffin taper.
8. Sage Green Coffin with Tiny White Daisy Centers
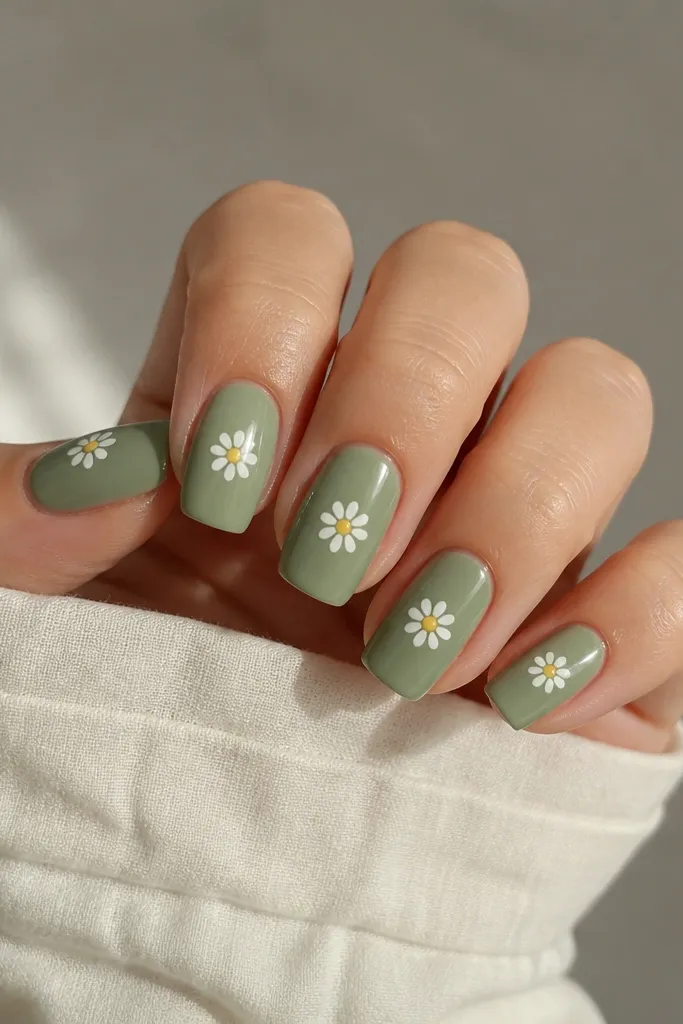
Sage green is the calm version of spring color. Tiny daisies make it look hand-done, and the small scale keeps it budget-friendly. I like using white petals with a small center dot because it reads like a flower even if your petals aren't perfect. This set looks great with denim and light knits.
Paint sage green in two coats. For each flower, place one dot for the center, then add five small petal dots around it. Keep the flower centered on the nail so it doesn't drift off the coffin shape. Seal with top coat, making sure the edges are smooth.
Editor's noteUse a toothpick for the center dot - it's easier to keep it tiny.
Watch outSkip overcrowding flowers on every nail - one or two accent nails look cleaner.
9. Nude Coffin with Copper Foil Shards at the Tip
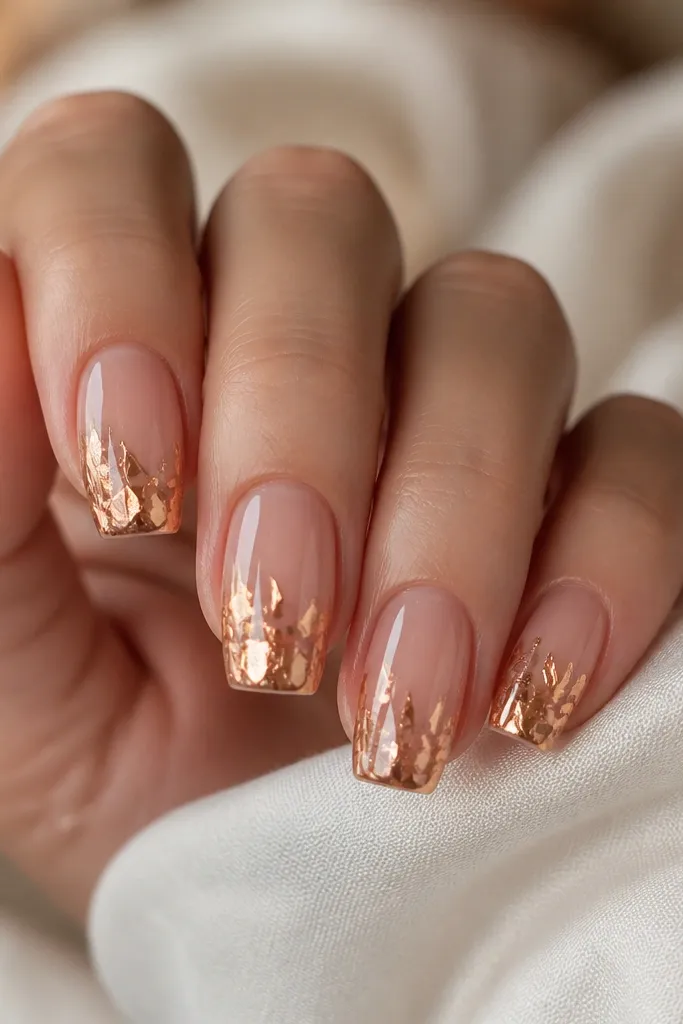
Foil shards look expensive because they catch light differently from nail to nail. Concentrating the foil at the tip keeps it from getting busy and helps your nails acrylic coffin budget affordable stay simple. Copper foil is warmer than silver, so it flatters a lot of skin tones. It also hides minor unevenness at the very tip.
Use a nude base that matches your natural nail tone. Apply a small amount of foil adhesive gel to the top half of the nail, then press foil shards in angled pieces. Trim excess foil at the free edge and seal with a glossy top coat that smooths over the shards.
Editor's notePress foil in tiny sections - big sheets crease and look messy on short coffin.
Watch outDon't leave foil unsealed at the tip - that's how chips and lifting start.
10. Baby Blue Coffin with White Wave Lines
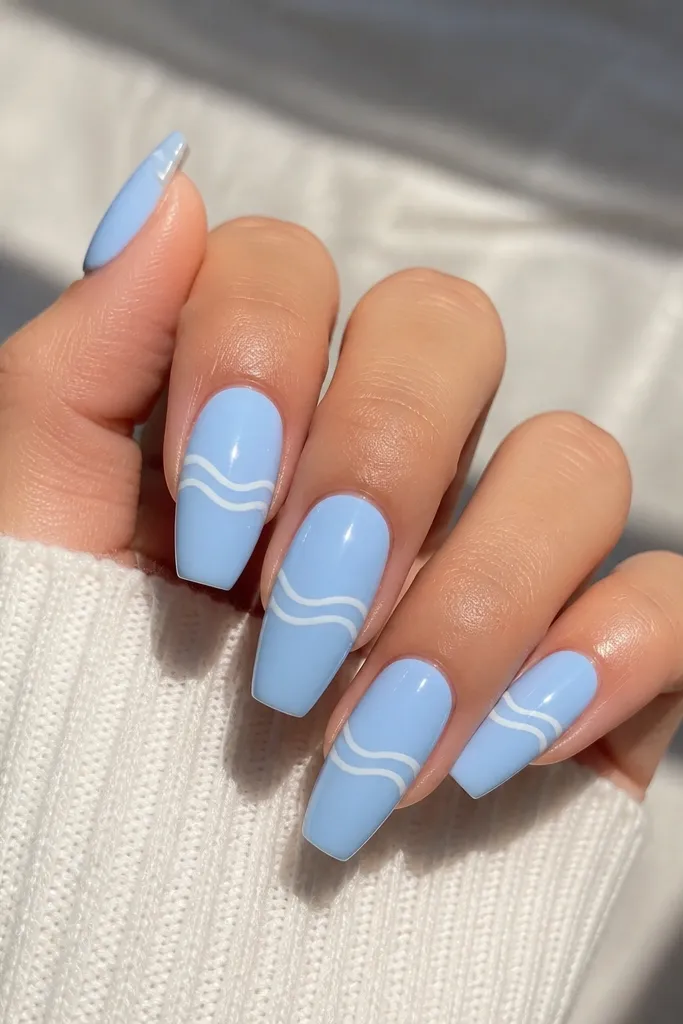
Wave lines give a "beach day" vibe without needing a whole scene. Baby blue is light and flattering, and white lines look crisp if you keep them thin. This design works because it uses negative space - you don't cover the whole nail with patterns. It's also fast with striping tape or a wavy guide.
Paint baby blue in two coats. Use a thin striping brush or nail wave stencil to draw one wave line across the center. Add a second wave line on one accent nail only so it doesn't look repetitive. Top coat after the lines dry fully.
Editor's noteWipe your brush on a paper towel first so the line stays hair-thin.
Watch outAvoid thick wave lines on short coffin - they make the nail look wider than it is.
11. Clear Pink Coffin with Red Micro Hearts
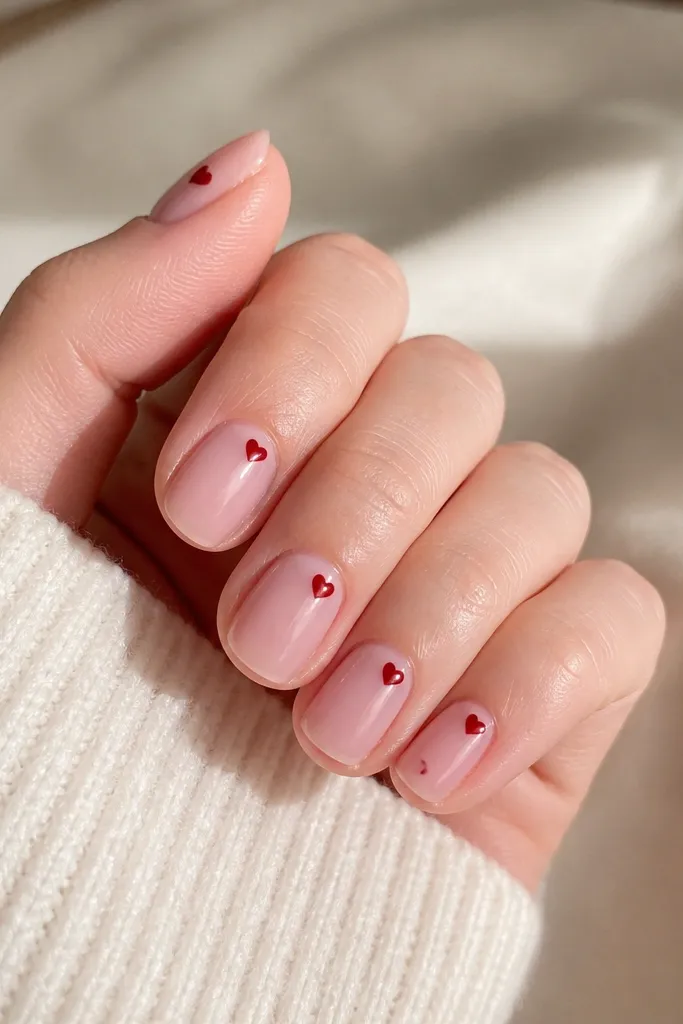
Micro hearts are the fastest way to get a romantic set without heavy art. Clear pink keeps it light and makes the red look like it's floating. I place hearts near the cuticle because short coffin nails have less space - this placement fills the area that still looks intentional. It's perfect for Valentine's, but I also wear it on random weekends.
Build with clear pink base. Use a dotting tool to place one heart outline at a time: two small dots for the top lobes, then connect with a curved line. Keep each heart under 2 mm wide so it stays "micro." Seal with a glossy top coat and cap the edges.
Editor's noteSketch heart placement lightly with a liner brush before you paint the final red.
Watch outSkip oversized hearts - they overpower short coffin and look like stickers.
12. Chocolate Brown Coffin with Nude Swirl Accent
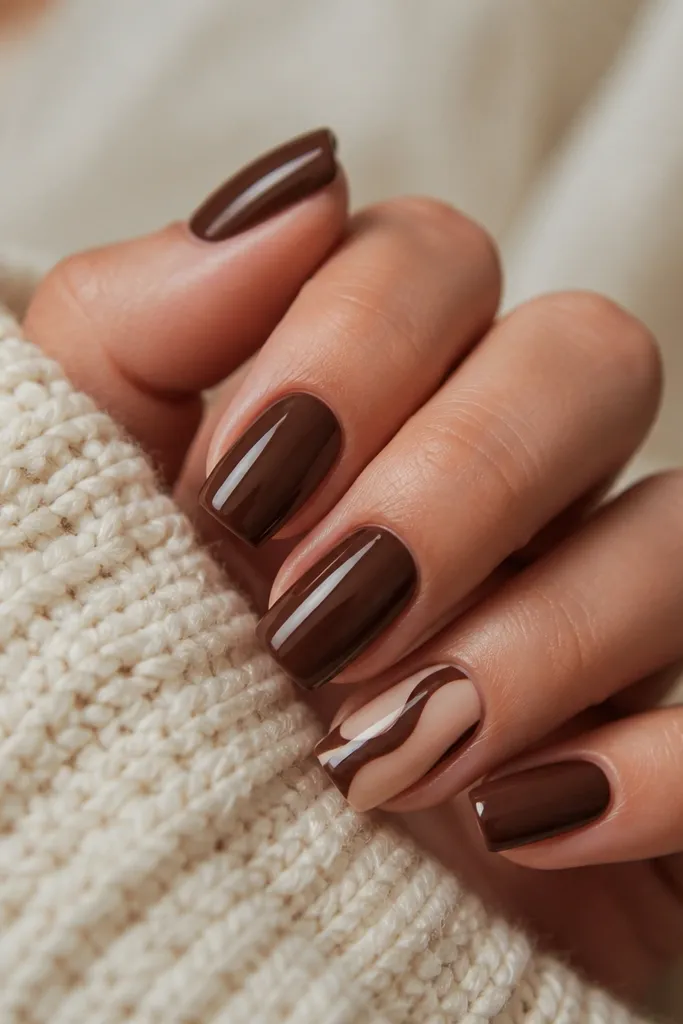
Chocolate brown looks expensive and hides dirt better than light colors, which matters if you do dishes a lot. The nude swirl adds movement and keeps the set from feeling flat. I like doing the swirl on one nail only because it keeps the design balanced on short length. This is my go-to for fall weeks.
Paint chocolate brown in two thin coats and cure. On the accent nail, paint a nude swirl with a thin liner brush from lower side to upper center. Add a small highlight line inside the swirl if you want extra depth. Top coat everything the same gloss level.
Editor's noteMake the swirl start thinner than you think; short coffin swirls get wide fast.
Watch outDon't put swirls on every nail - they look busy and shrink the coffin shape.
13. Rose Quartz Coffin Marble in Soft Pink and White
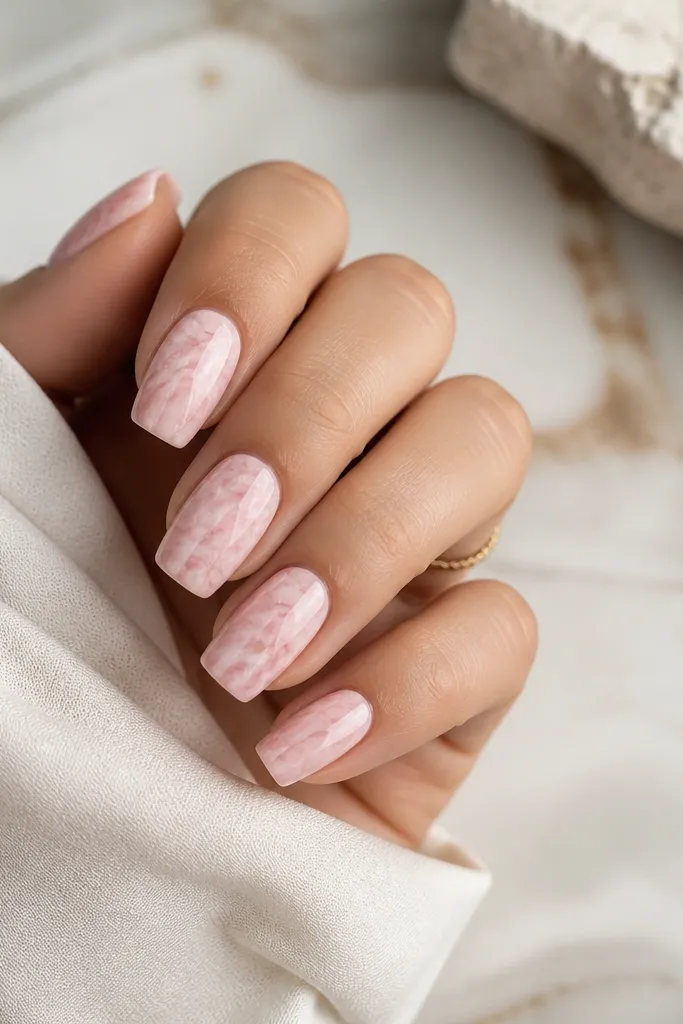
Marble looks good on coffin because the natural curve helps the veins flow. I keep the palette to soft pink, white, and one darker blush so it stays budget-friendly and not overly busy. The thin veins are the key - they look like real stone instead of "paint blobs." This design also photographs beautifully in sunlight.
Base: soft pink. Add thin white veins with a liner brush, then lightly add darker blush veins crossing at angles. Use a small brush to blur the vein edges slightly so it looks layered, not outlined. Seal with a glossy top coat so the stone effect pops.
Editor's noteDo veins in two passes - first the main lines, then add thinner offshoot lines after curing.
Watch outAvoid thick black outlines - they make the marble look like nail art decals.
14. Champagne Nude Coffin with Pearly Micro Glitter Fade
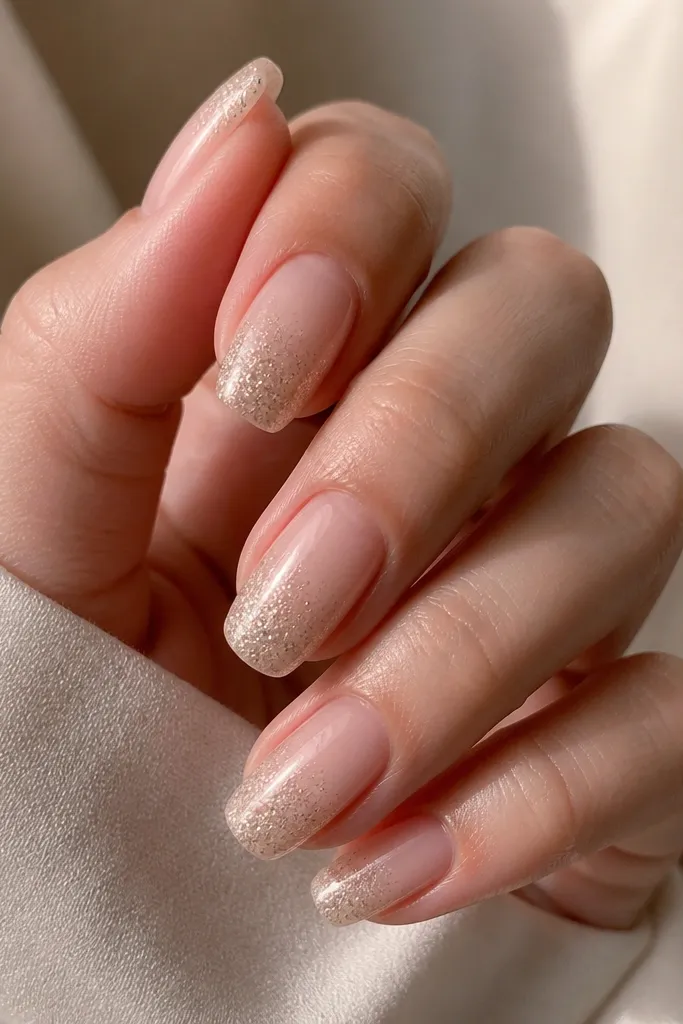
A glitter fade looks fancy because it mimics how light hits real jewelry. Champagne nude keeps it warm and wearable, and micro glitter looks cleaner than chunky sparkle. Concentrating the glitter near the tip makes the short coffin length feel intentional. It's also easy to repeat for parties without changing your whole routine.
Base: champagne nude in two coats. Apply glitter gel or loose micro glitter mixed into clear gel at the top third of the nail. Blend downward with a sponge so the fade is smooth. Cure, then top coat twice to flatten and lock the glitter.
Editor's noteUse a makeup sponge for the blend - it gives a softer edge than a brush.
Watch outSkip chunky glitter - it catches on fabric and feels rough on short coffin.
15. Black Cherry Coffin with Red Gel Outline Tips
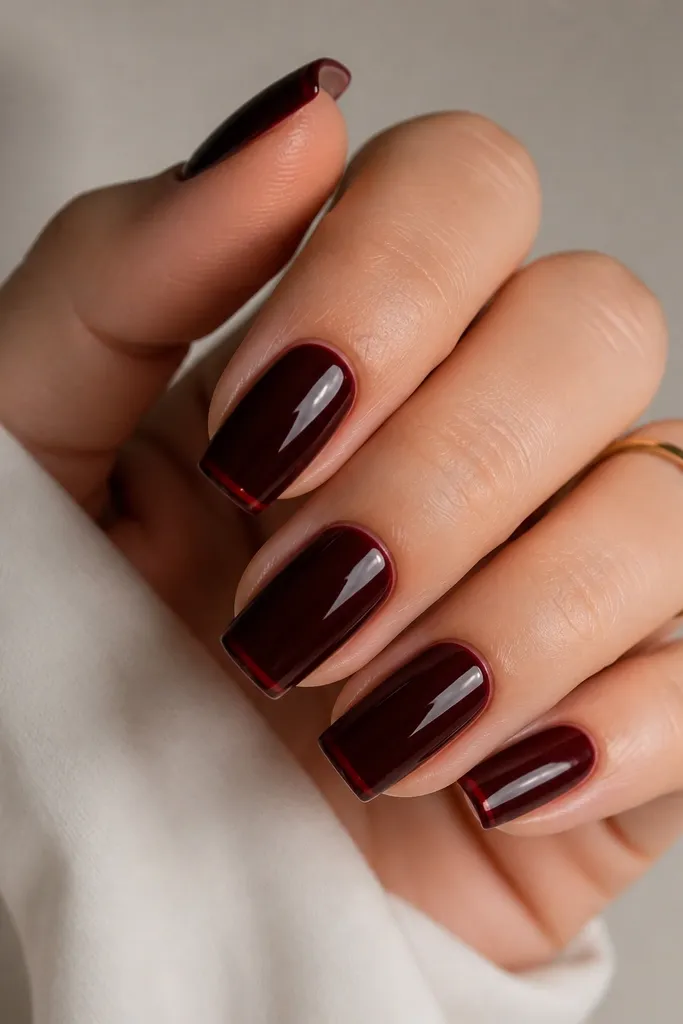
This set looks like a graphic French tip but stays understated. The black-cherry base adds depth, and the thin red outline gives a clean border that reads "designed." It's budget-friendly because you only paint a tiny line - no complex icons. The glossy top coat makes the outline pop.
Paint black cherry in two thin coats. After curing, add a thin red line right at the tip edge - not filling the whole tip, just outlining. Use a detail brush or tape guide. Top coat and cap the free edge so the line doesn't lift.
Editor's noteIf your line wobbles, wait until it's tacky, then correct with a thin brush dipped in cleaner.
Watch outDon't overfill the outline - thick borders look heavy on short nails.
16. Olive Green Coffin with Gold Leaf Accent at the Side
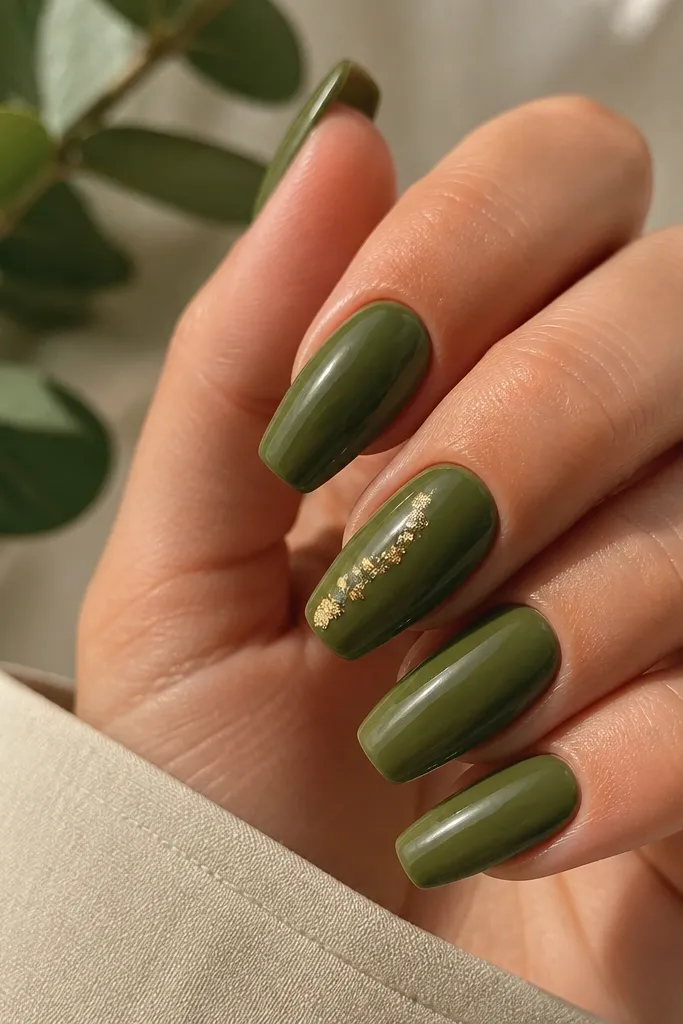
Olive green is earthy and looks great in fall and winter. Gold leaf adds a luxe texture without needing rhinestones. Placing leaf on the side keeps it from covering the whole nail and keeps the set looking intentional. It also hides tiny imperfections because leaf is naturally irregular.
Apply olive green base in two coats. Use gold leaf adhesive gel and press small pieces along one side of one or two nails. Tap down lightly, then seal with a glossy top coat in two layers to smooth the texture. Keep leaf away from the very tip edge.
Editor's noteUse a small piece of tape to pick up stray gold leaf bits, then place them deliberately.
Watch outAvoid placing gold leaf across the free edge - it chips faster.
17. Soft Lavender Coffin with White Bow on One Nail
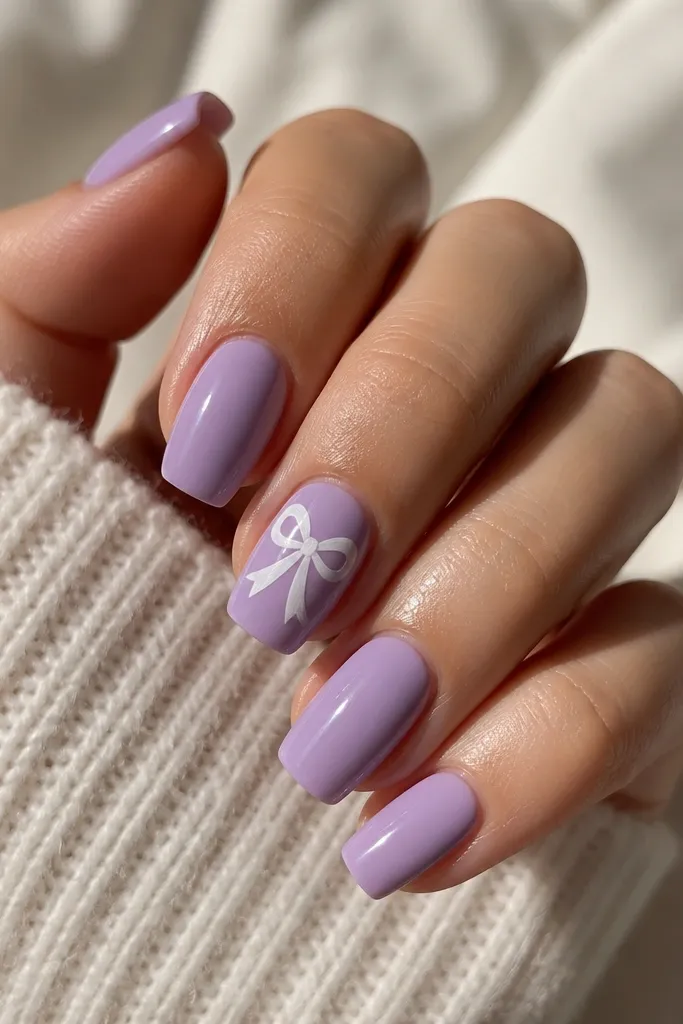
One bow looks cute but still grown-up when the base is muted. Soft lavender gives a smooth, pretty color that makes white details stand out. I keep the bow on just one nail because short coffin space is limited and too many bows look like kids' nail art. The bow also gives you an easy focal point for photos.
Paint lavender in two coats. On the accent nail, draw a bow using a thin liner brush: two loops, a small center knot, then tiny highlights with a slightly off-white shade. Let it dry, then top coat over everything. Keep the bow size under half the nail width.
Editor's noteUse a gel paint for the bow if you want crisp edges that don't fade.
Watch outSkip big bows - they swallow the coffin taper and look flat.
18. Nude Base with Black and White Checker Corner
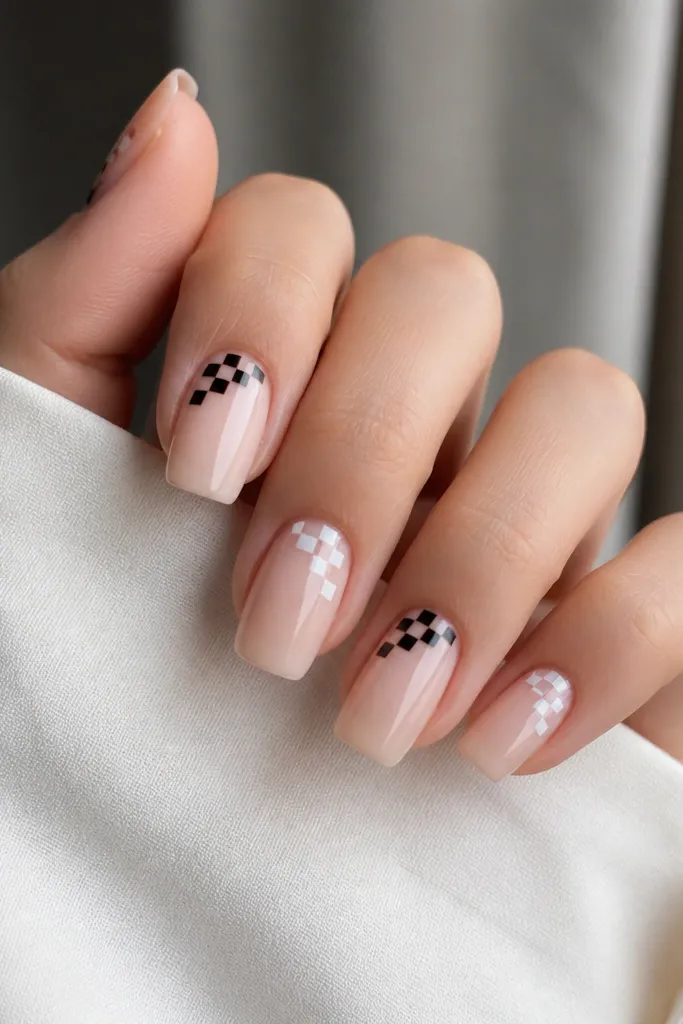
Checker corner patterns look graphic and clean because they take up a small area. Nude base keeps the set affordable and wearable, while black-and-white gives that bold contrast you'd pay for at a salon. I like doing it only in the corner so the nail still reads short and elegant. It also hides small mistakes because the squares cover tiny uneven spots.
Use a nude base in two coats. Place tiny squares near the tip corner: alternate black and white using a dotting tool or square nail stencil. Keep each square about 1.5-2 mm wide. Seal with a glossy top coat and cap the free edge.
Editor's noteMake the checker squares slightly angled to follow the coffin tip line - it looks intentional.
Watch outAvoid full checker across the whole nail - it makes short coffin look crowded.
19. Peachy Coral Coffin with White Dot Cuticle Border
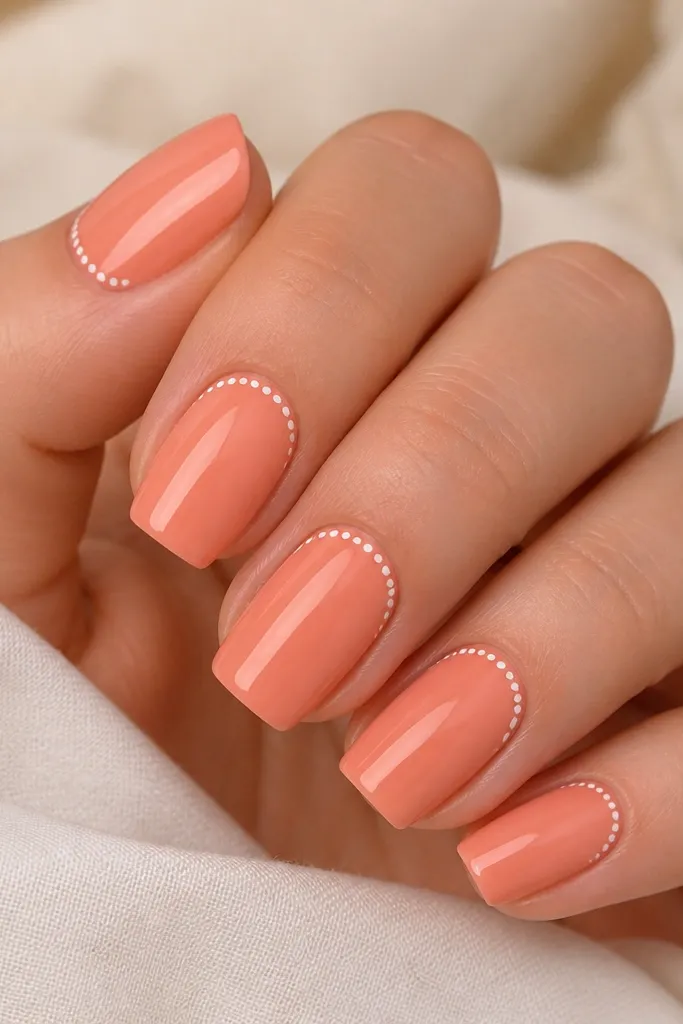
A dotted cuticle border frames the nail and makes it look professionally lined. Peachy coral is warm and flattering, and the white dots look crisp without heavy lines. This design is cheap in time because you're repeating one small dot pattern. It also grows out better because the border sits right near the natural cuticle line.
Paint peachy coral base in two coats. Use a dotting tool to place a single row of tiny white dots along the cuticle curve. Leave a small gap at each side so it doesn't look like a thick ring. Top coat and make sure the dots are sealed.
Editor's noteDo the dot row in one direction so spacing stays consistent.
Watch outAvoid making the dots too big - they turn into a thick band and look messy.
20. Clear Nude Coffin with Silver Half-Tip Foil
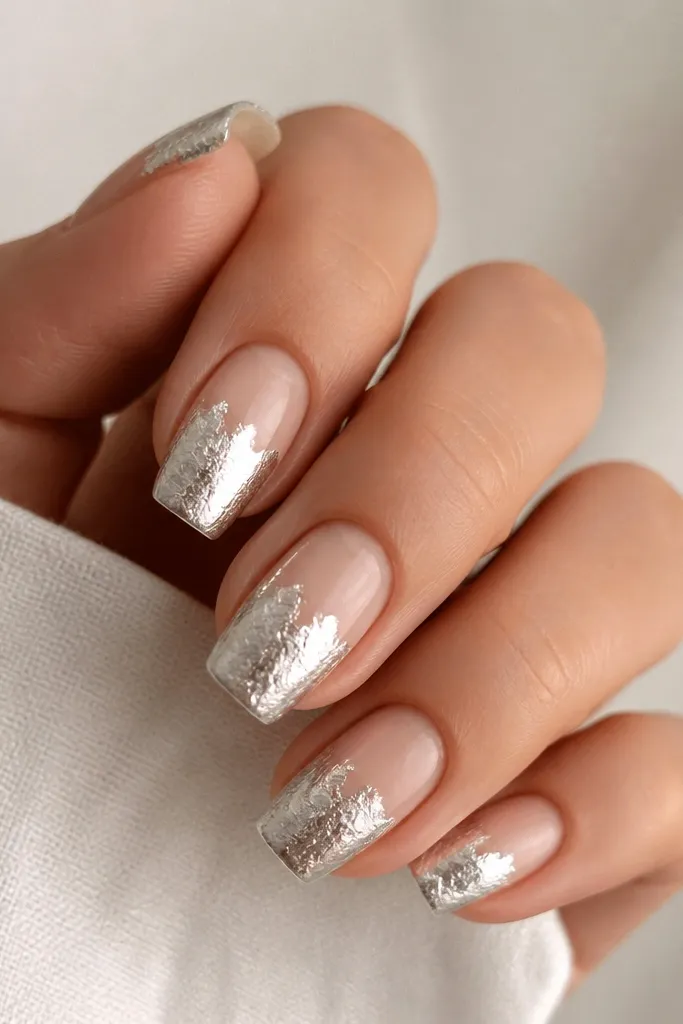
Half-tip foil is the easiest way to make short coffin look "party-ready" without hand painting. The clear nude base keeps it light and budget-friendly because you don't need opaque layers. Silver foil reflects light sharply, so the nails look sharper in photos and in daylight. It's also quick once you get the placement right.
Apply clear nude base in two thin coats. Add foil adhesive gel to the top third of the nail, then press silver foil and trim the edges. Seal with a glossy top coat, focusing on smoothing over the foil so it doesn't feel gritty.
Editor's noteIf the foil looks patchy, press it again with a silicone tool - don't add more adhesive.
Watch outSkip thick top coat on foil - it can dull the shine instead of leveling the surface.