1. Milky Nude Short Coffin with Clear Gloss Top
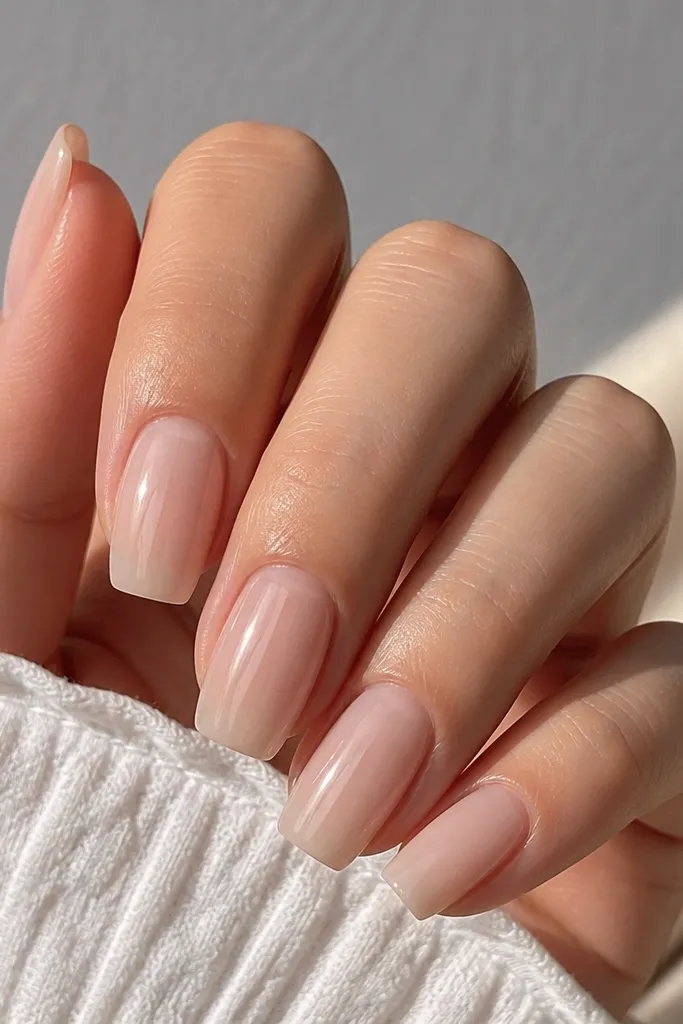
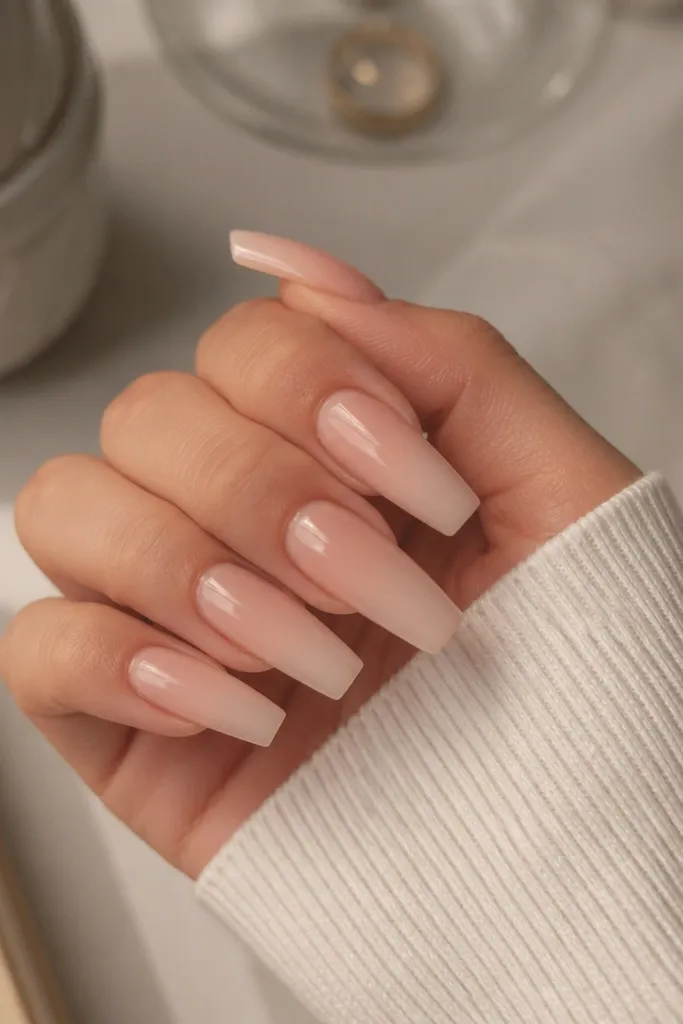
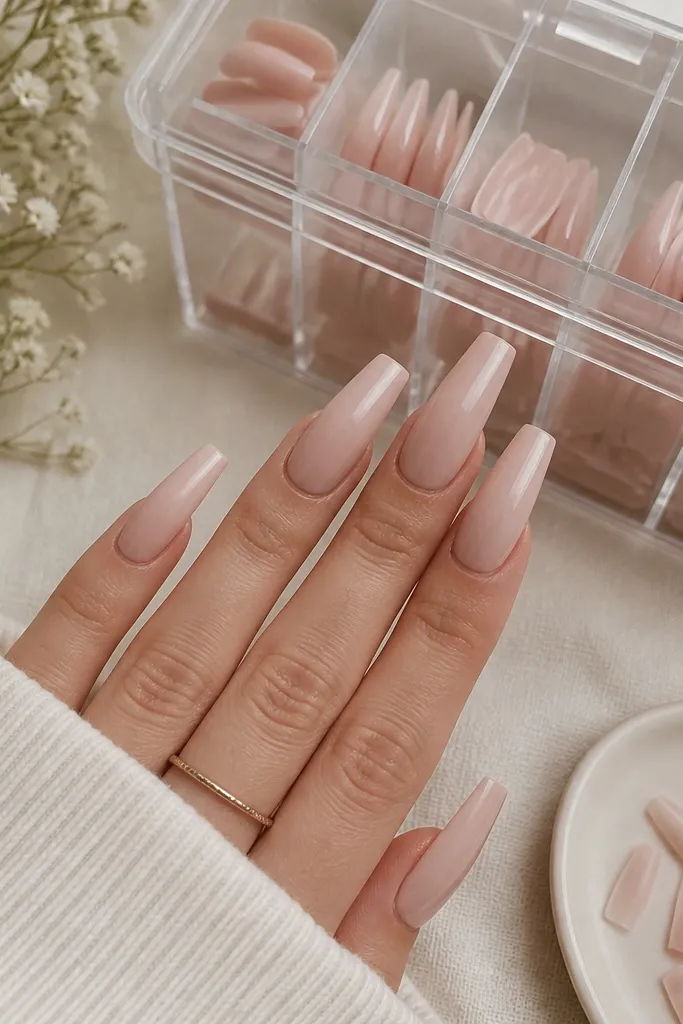
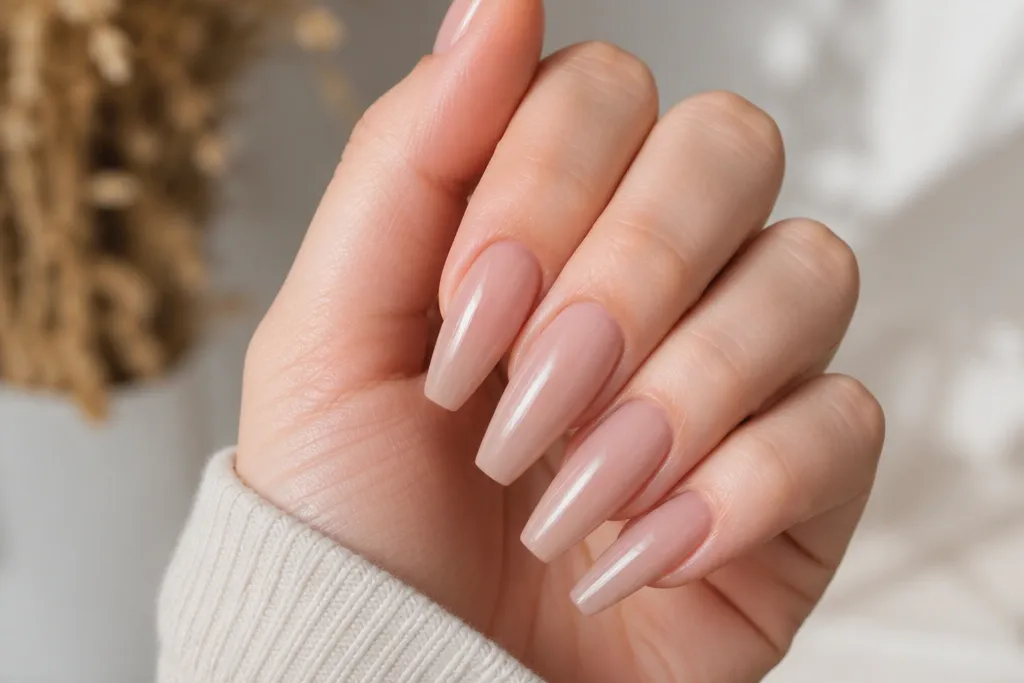
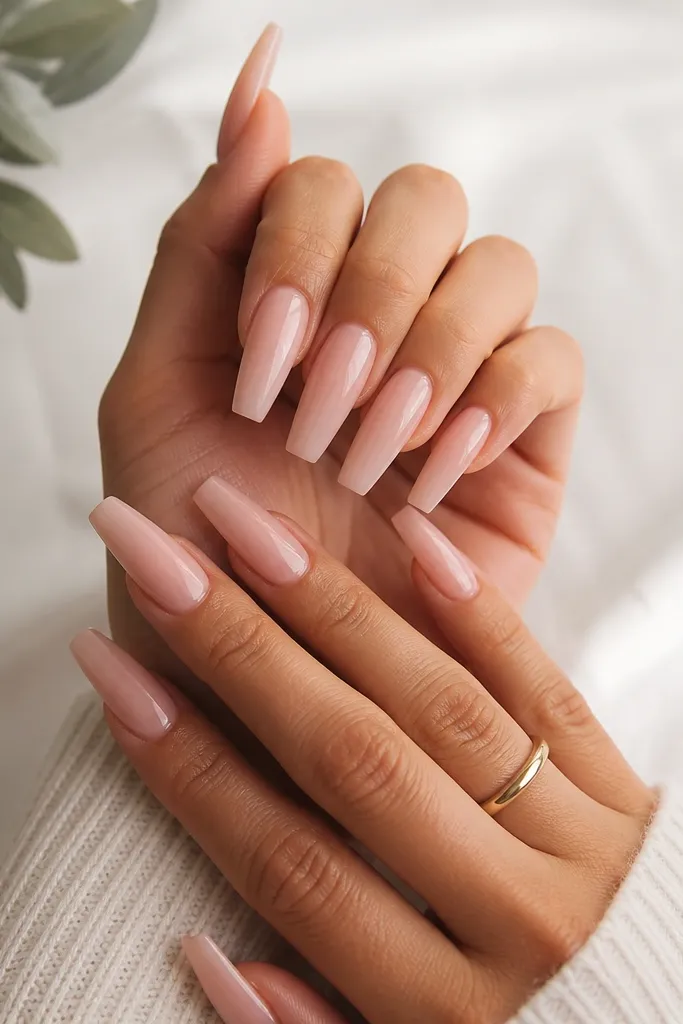
This is the "my nails look like I got them done" set. The milky nude base is semi-opaque, so it hides uneven natural nail tone without turning chalky. The clear gloss top makes the coffin tips catch light, which reads like actual acrylic rather than press-on film.
Choose a short coffin length that ends just past your fingertip crease, not mid-finger. If your natural nails are pink, go for a warmer nude; if they're more yellow, pick a cooler milky nude. Apply the nail so the cuticle edge sits about 0.5 mm away from your skin - close enough to look seamless, not so close it floods.
Editor's noteAfter placement, press along the cuticle for 20 seconds with a flat tool or your thumb pad. It helps the edge bond evenly.
Watch outAvoid sets that are too white or too opaque - they look like painted plastic on short coffin.
2. Butter French Short Coffin with Micro Smile Line
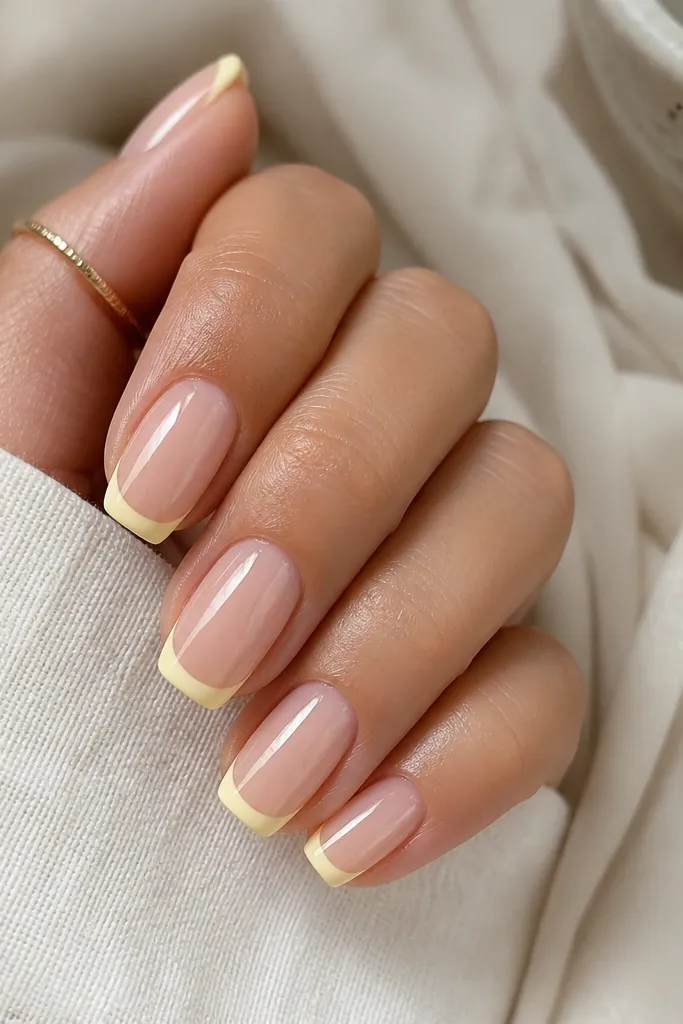
French nails look best on coffin when the smile line is tight. This butter French gives warmth without the stark look of bright white. A micro smile line keeps the tip from overpowering short length, so your nails still look "long," not chunky.
Use a nude base that matches your cuticle tone, then keep the yellow tip thin. Aim for a tip thickness that looks like a clean stripe, not a block. This set works great for renters because it grows out gracefully - the nude base camouflages small gaps.
Editor's noteIf you're between sizes, pick the narrower one. A wide tip makes the French look like it's spilling over your nail bed.
Watch outSkip thick French tips - they look heavy and can lift at the sidewalls on short nails.
3. Chocolate Gloss Short Coffin with Thin Gold Pinstripe
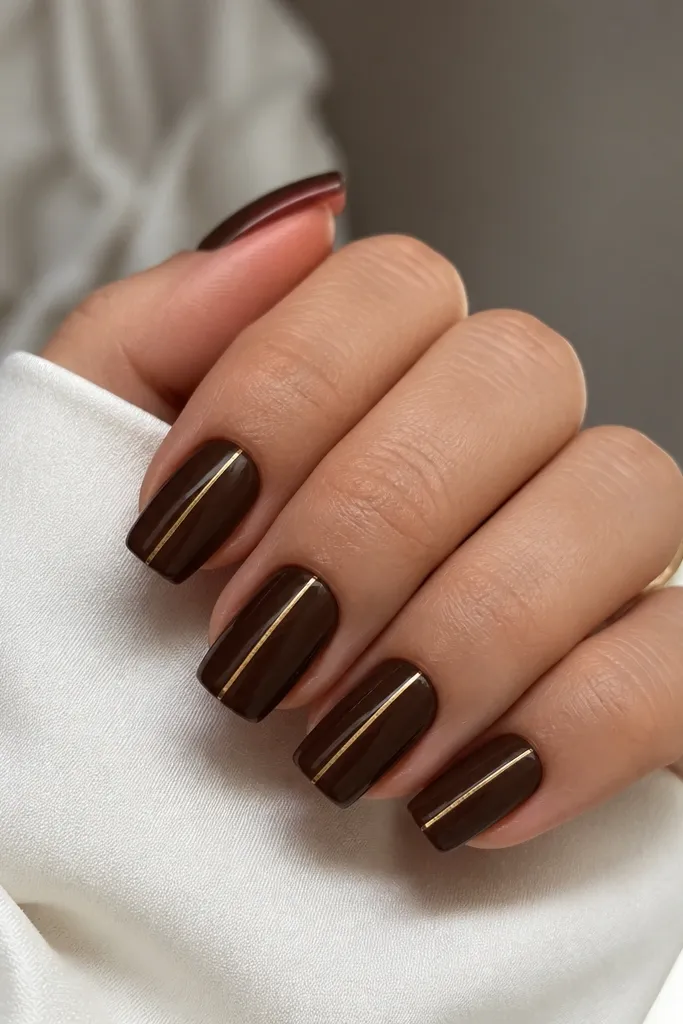
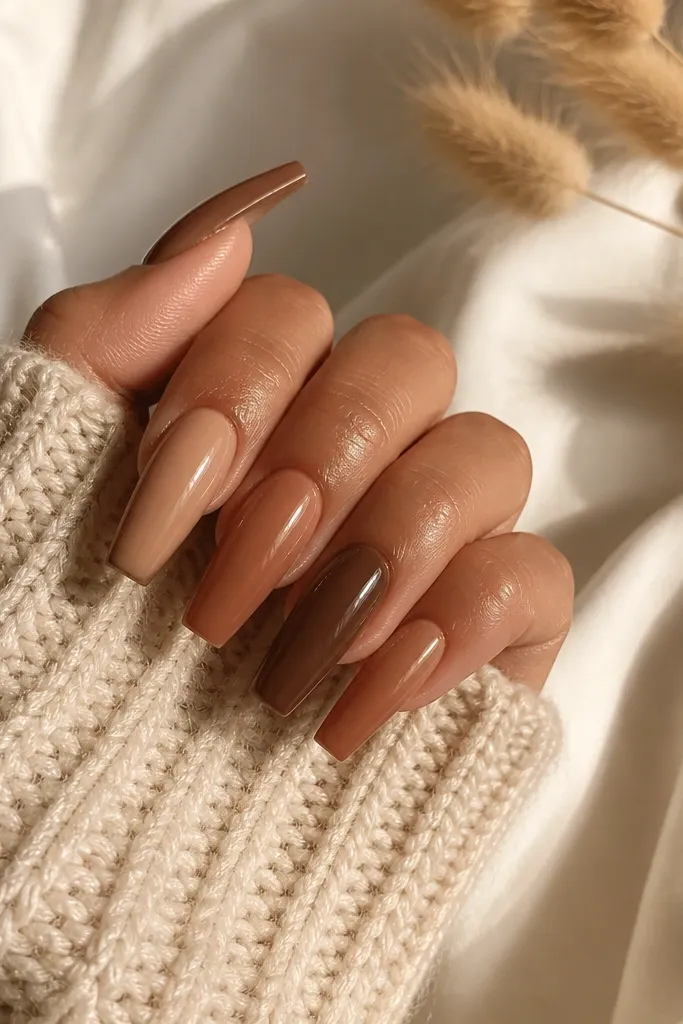
Brown acrylic coffin nails look luxe fast when you keep the design minimal. The chocolate base has depth under the shine, so it doesn't look flat in indoor lighting. The gold pinstripe adds a clean line that makes short coffin feel intentional and styled.
Pick a chocolate that's not black-brown. If it's too dark, the gold stripe disappears. Place the stripe slightly off-center toward the side that matches your natural nail curvature - it looks more dimensional than perfectly centered.
Editor's noteSeal the stripe with a glossy top layer right over the edges so it stays smooth when you wash your hands.
Watch outDon't use chunky foil stripes - they catch on fabric and lift at the tip.
4. Cherry Jam Red Short Coffin with Rounded Cuticle Blush
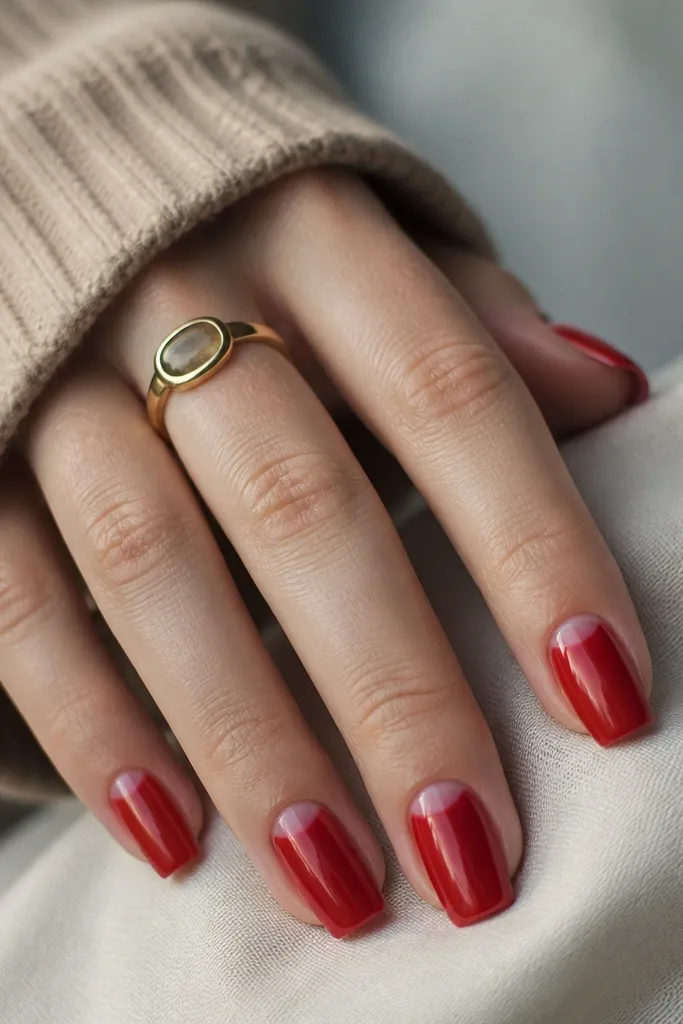
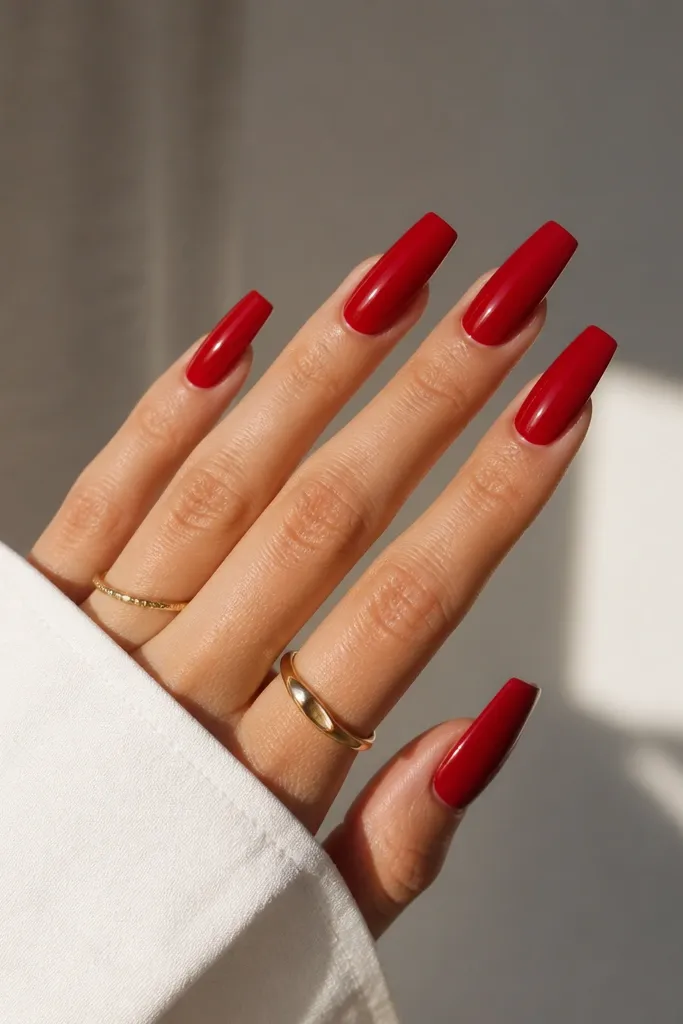
Cherry jam red flatters almost every skin tone because it has a warm undertone. The lighter blush band at the cuticle mimics how real acrylic blends near the cuticle, which makes the manicure look grown-out even on short nails. The rounded fade keeps it from looking like a sticker gradient.
Choose a set where the cuticle area is smooth and not grainy. If you have dry cuticles, this style still looks good because it pulls attention to the center, not the edges. Apply so the cuticle blend lands on your natural cuticle line, leaving a small gap from skin.
Editor's noteAfter you place each nail, wipe the sides with a dry lint-free wipe to remove any excess glue, then press again.
Watch outAvoid red sets with matte finish if you want "acrylic" realism - matte can look like colored plastic.
5. Olive Glass Short Coffin with Smudged Edge Tint
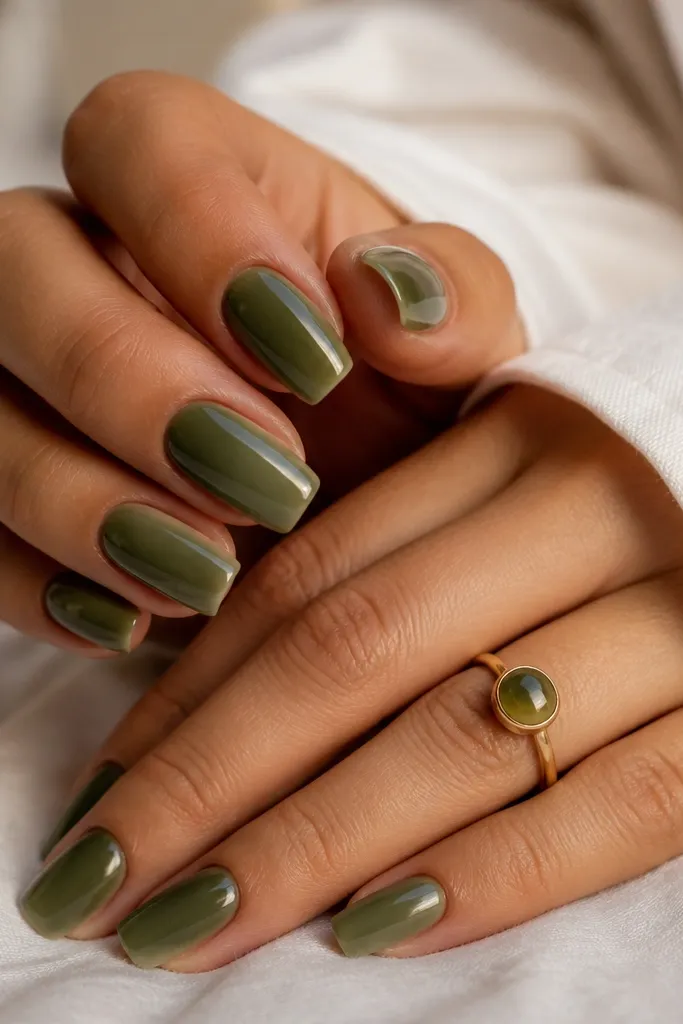
Olive reads modern and makes your hands look grounded. The smudged edge tint gives that "aura" look without needing lots of decals. With a glassy top, the green looks like it's trapped under clear acrylic.
Go for a medium olive, not neon. The tint should be subtle at the sidewalls, not a full gradient, or it will look messy on short coffin. This set looks best in fall outfits and also works with denim and gold jewelry.
Editor's noteIf your nail bed is narrow, file the sidewalls of the press-on tip lightly so the olive doesn't flare outward.
Watch outSkip sets with glitter-heavy olive - the texture can make short nails feel rough and snag.
6. Iced Lavender Short Coffin with Frosted Tips
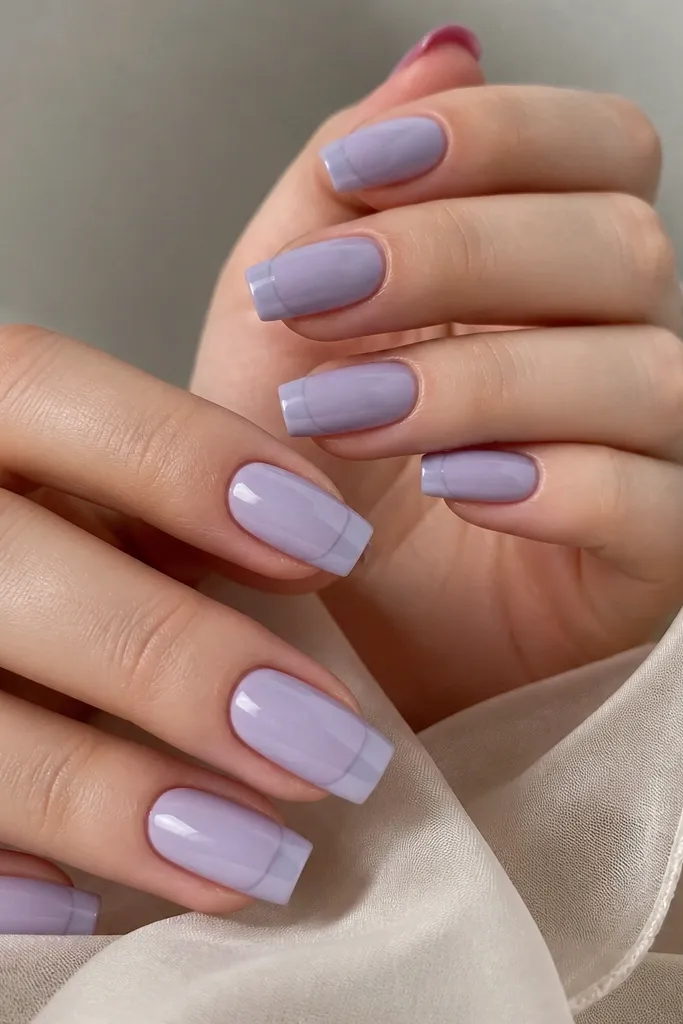
This is a cool-weather look that still stays clean. The glossy base keeps it polished, while the frosted tips add contrast so the coffin shape shows. Iced lavender also photographs well because it doesn't absorb light like darker purples.
Pick frosted tips that are semi-matte, not chalky. Keep the frost only on the free edge so it doesn't make the whole nail look dry. If you're doing this for a special event, match it with silver rings or a cool-toned lip.
Editor's noteBefore application, wipe your nails with alcohol and let them dry fully. Moisture makes frosted finishes lift faster.
Watch outDon't choose a frosted tip that's too wide - it can shrink the look of short coffin.
7. Sea Glass Short Coffin with Teal Micro Flakes
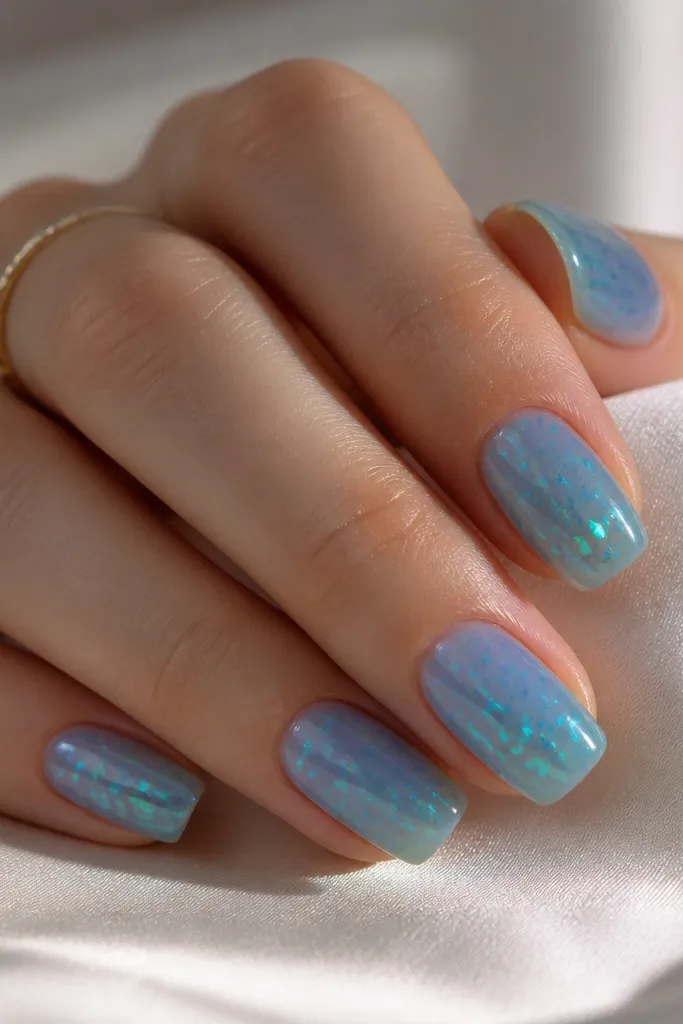
Sea glass nails look like real acrylic because the color is semi-transparent and the flakes sit under the shine. The micro flakes give sparkle without turning into chunky glitter. On short coffin, this effect stays delicate instead of overpowering.
Choose a translucent blue that still shows your nail bed tone. The flakes should be small - think dust-to-confetti size - and evenly scattered. Apply with extra attention at the cuticle because translucent bases show gaps more than opaque colors.
Editor's notePress each nail for longer at the cuticle edge - about 30 seconds - so the translucent base doesn't lift at the line.
Watch outAvoid large glitter flecks - they make short coffin feel scratchy and uneven.
8. Soft Black Short Coffin with Sheer Smoke Overlay
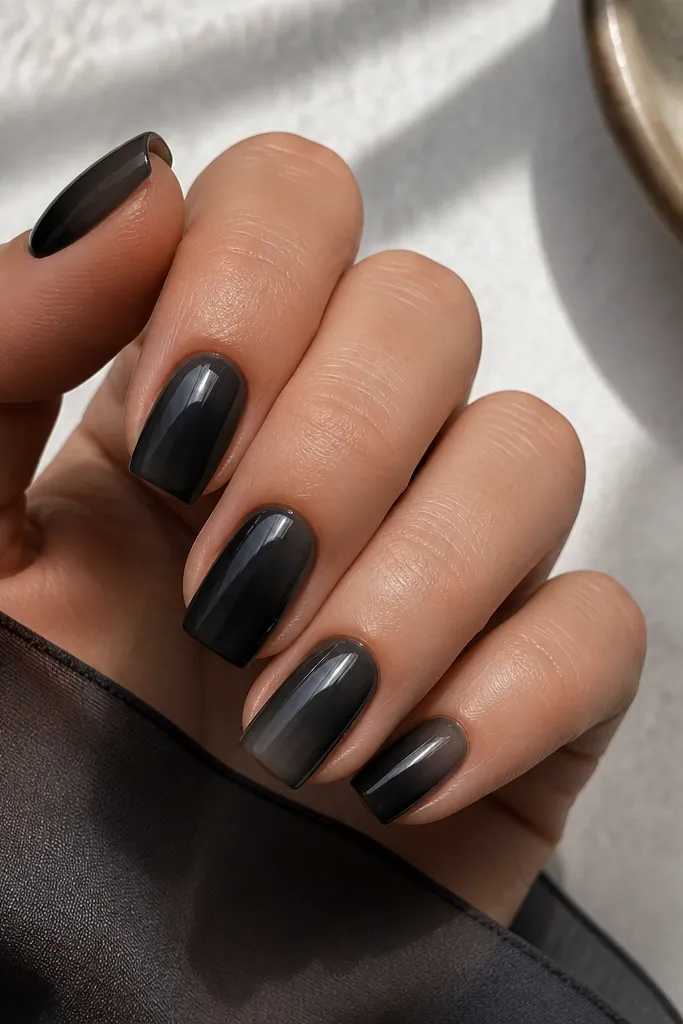
Black nails can look harsh, but a sheer smoke overlay makes them wearable. The gray haze creates depth and keeps the manicure from looking like a solid sticker. On short coffin, this style stays sleek and doesn't feel heavy.
Use a black that's not blue-black; a neutral black looks more expensive. The smoke should fade outward, not form a hard line. This set works with both casual outfits and office wear because the finish stays glossy and controlled.
Editor's noteIf your nails stain easily, wipe with alcohol twice before applying. Smoke overlays show staining more clearly.
Watch outSkip solid black with no transparency - it can look flat and too costume-like on short nails.
9. Pink Quartz Short Coffin with Tiny Clear Rhinestones
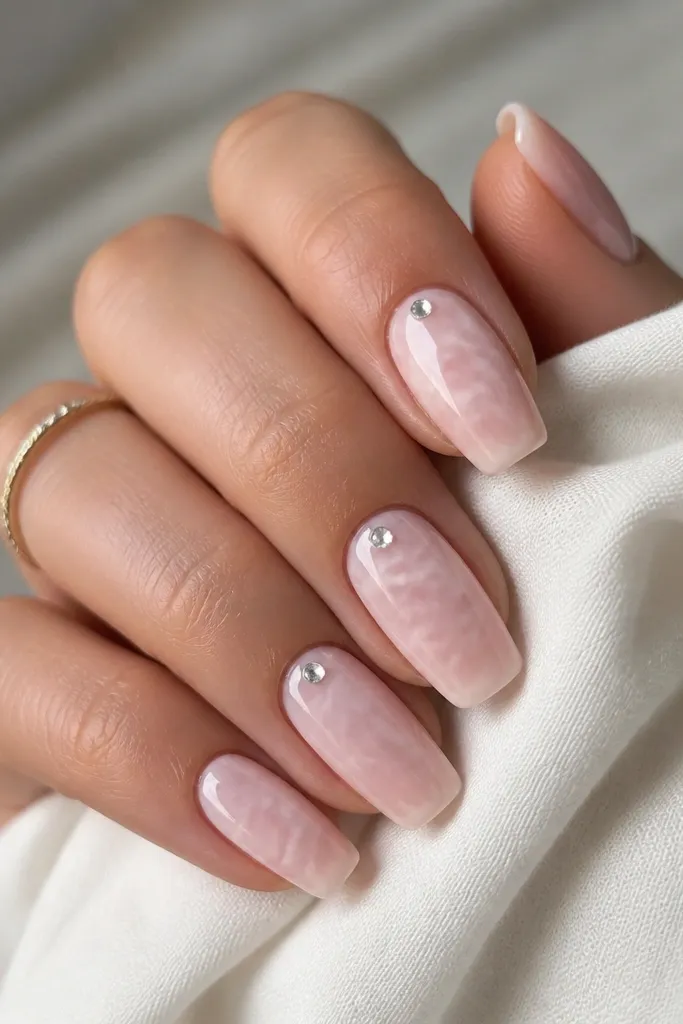
Pink quartz looks expensive because of the cloudy marbling and the way light hits the clear stones. The rhinestones should be small enough to look like jewelry, not decoration. This design makes your cuticle area look "finished," which matters for renters because gaps are the first thing that shows.
Pick marbling that looks like thin veins, not big blobs. Place rhinestones along a diagonal near the cuticle - usually one per nail or two on accent nails. Keep the stones off the sidewalls so they don't catch on hair and masks.
Editor's notePress rhinestones down with a flat silicone tool for 10 seconds, then seal with top coat over the stone edges.
Watch outAvoid large stones - short coffin turns them into snag points fast.
10. Sunset Orange Short Coffin with Gradient Fade
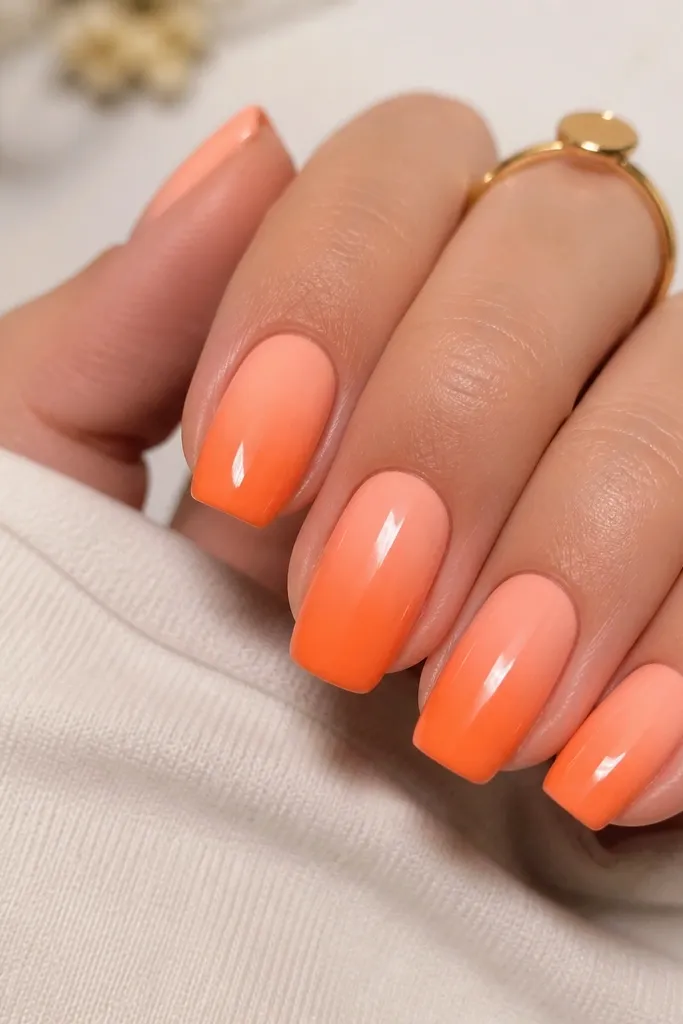
Gradient fades make short coffin look longer because your eye travels from the cuticle to the tip. Peach-to-orange is flattering and feels seasonal without screaming summer. The glossy finish keeps it looking like a smooth acrylic pour, not a printed design.
Choose a fade that starts soft at the cuticle and intensifies toward the free edge. If the gradient starts too low, it can look like a stripe. This set looks great with gold hoops and warm-toned sweaters.
Editor's noteAfter placing nails, run a fine buffer lightly over any raised edge at the cuticle so it doesn't feel bumpy.
Watch outSkip gradients with harsh lines - they look like decals on short coffin.
11. Burgundy Velvet Short Coffin with Micro Pearls
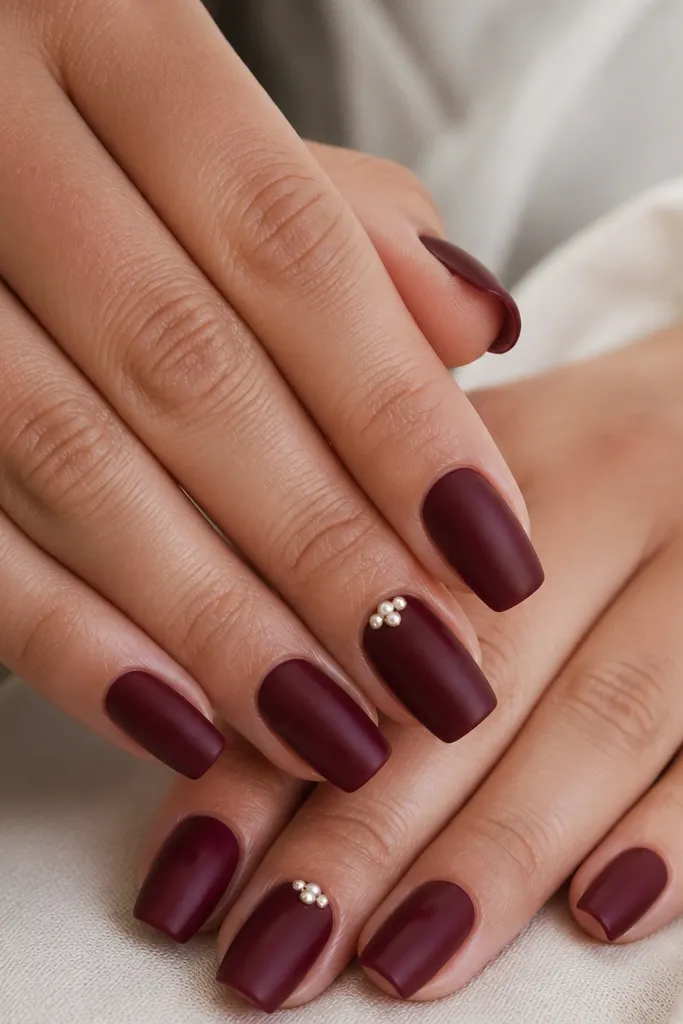
Burgundy velvet looks cozy and polished, especially for cooler months. The satin-leaning finish hides small imperfections better than high gloss, and micro pearls add texture without big chunky sparkle. It's a good pick if your hands look dry - the finish is forgiving.
Use micro pearls placed in a small cluster, not a full line. Keep the base burgundy even, with no patchy streaks. For application, avoid flooding near the cuticle because pearl texture can trap glue residue.
Editor's noteSeal the pearl cluster with a thin top coat layer so it stays smooth when you wash your hands.
Watch outAvoid thick pearl bands - they make short nails feel bulky.
12. Glazed Donut Short Coffin with Clear Jelly Center
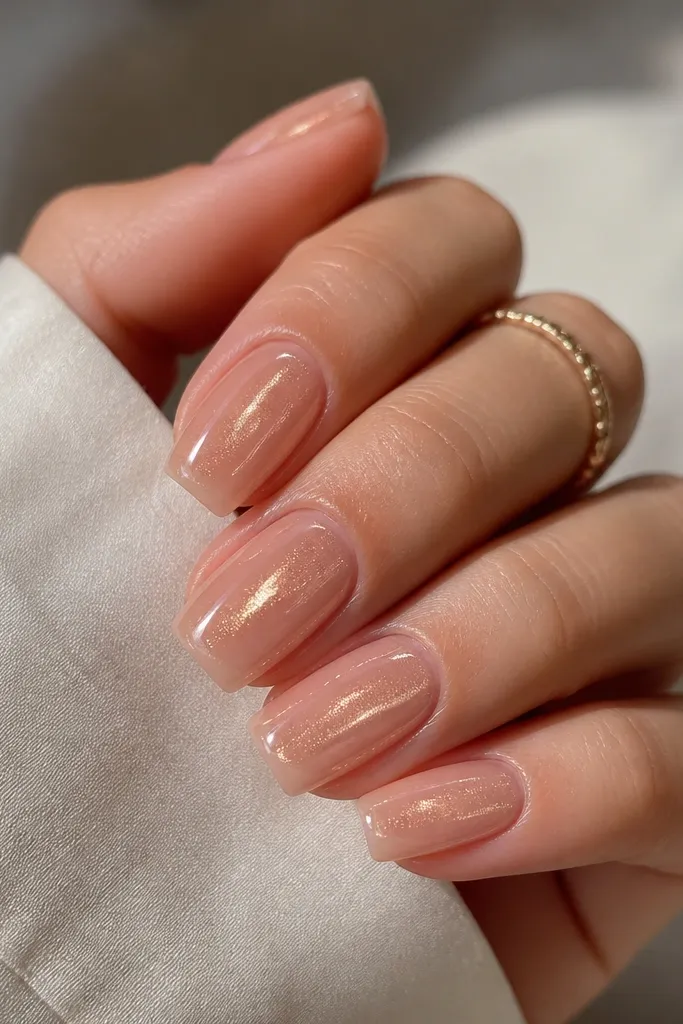
This look mimics the glossy "glazed" effect you see on nails that are built with clear acrylic. The clear jelly center adds dimension and makes the nude base look more natural. Warm shimmer makes it feel sweet without turning into full glitter.
Pick a set where the jelly panel is smooth and not bubbly. The center should run from just above the cuticle to about halfway to the tip, leaving the edges nude. This works well for renters because the nude base helps hide small growth gaps.
Editor's noteIf your nails are short, keep the jelly center narrow. A wide center can make the nail look too wide.
Watch outSkip sets with cloudy clear jelly - they look like foggy plastic.
13. Emerald Mirror Short Coffin with One Side Highlight
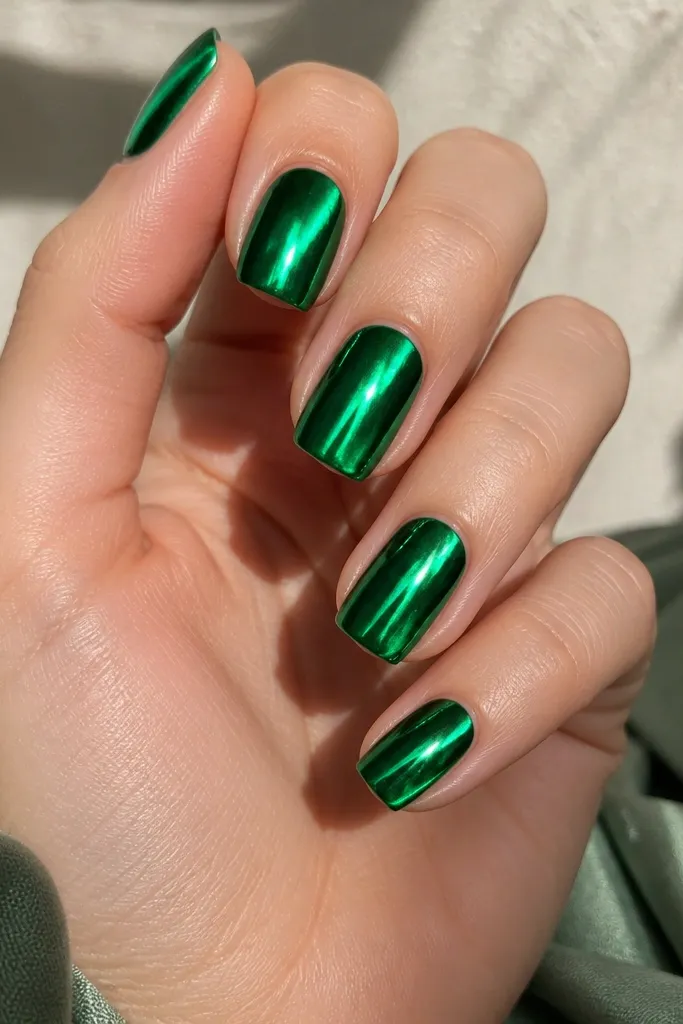
Mirror chrome reads bold even at short length. The one-side highlight keeps it from looking flat and makes each nail feel shaped, not painted. Emerald also pops against both warm and cool skin tones, which is why I always come back to it for seasonal sets.
Use a true chrome, not an overly glittery green. The highlight stripe should be narrow and angled, usually from mid-nail toward the tip. If you're applying yourself, press firmly at the apex so the chrome doesn't look wrinkled.
Editor's noteAvoid top coats that dull chrome. If you need extra wear, use a thin, chrome-safe top made for reflective finishes.
Watch outDon't rub a chrome finish with a heavy file - it scuffs fast.
14. Spiced Latte Short Coffin with Caramel Outline
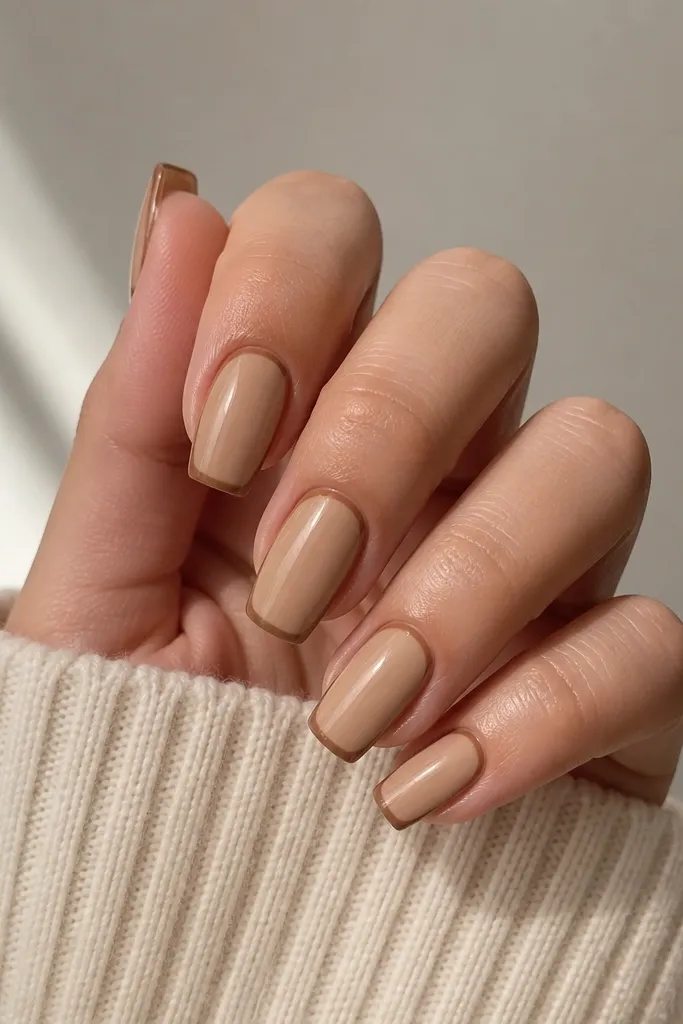
Latte nails look clean and expensive because they're neutral with a defined edge. The caramel outline adds structure and makes the coffin shape show even on very short nails. This is a great renters option because it still looks put-together when you're between sizes.
Pick a beige that matches your natural nail tone, not one that's too gray. The outline should trace the perimeter lightly, leaving the center smooth. This works for workdays and holiday dinners without clashing with outfits.
Editor's noteIf the outline is slightly raised, gently smooth it with a fine buffer before you apply the last top coat.
Watch outSkip outlines that are too thick - they make short coffin look like fake press-ons.
15. Midnight Navy Short Coffin with Starry Dot Confetti
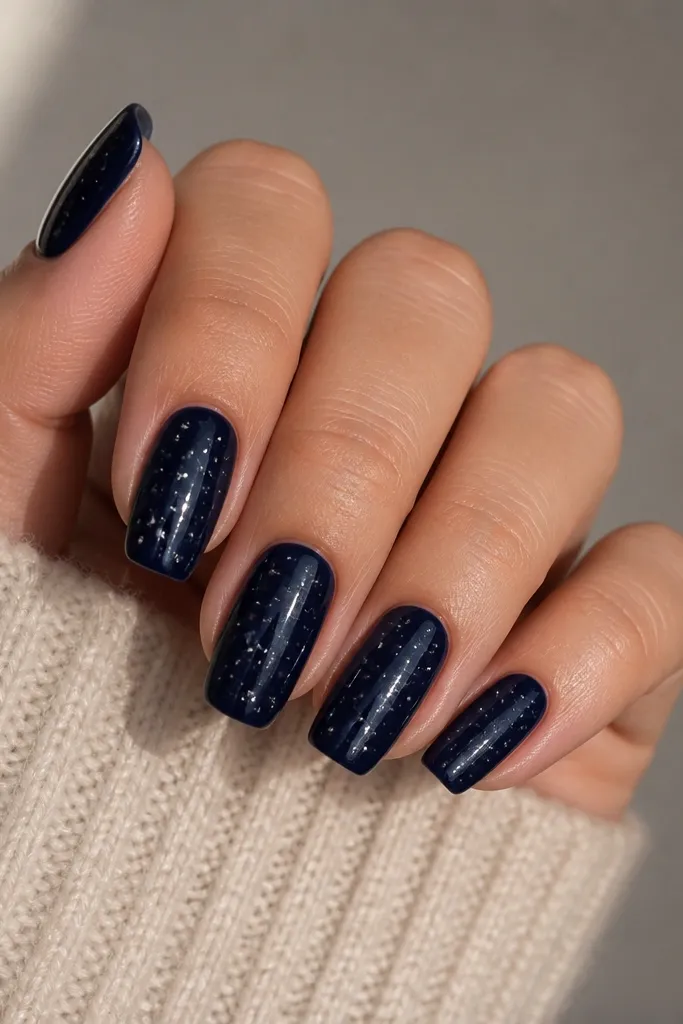
Midnight navy feels seasonal because it's deep, but the silver dot confetti keeps it playful. The specks should be tiny so they look like "stars," not glitter. On short coffin, the confetti stays concentrated near the tip so your nail bed doesn't look busy.
Choose a navy that's truly deep, not teal. The dots should cluster lightly on the free edge, with fewer specks near the cuticle. This set looks good with silver jewelry and dark denim.
Editor's noteAfter application, keep your first day glue dry time strict. Wet hands early on can lift the speckled edges.
Watch outAvoid big glitter chunks - they catch on sweaters and pull up at the corners.